Adjusted Wheel Pant Brackets

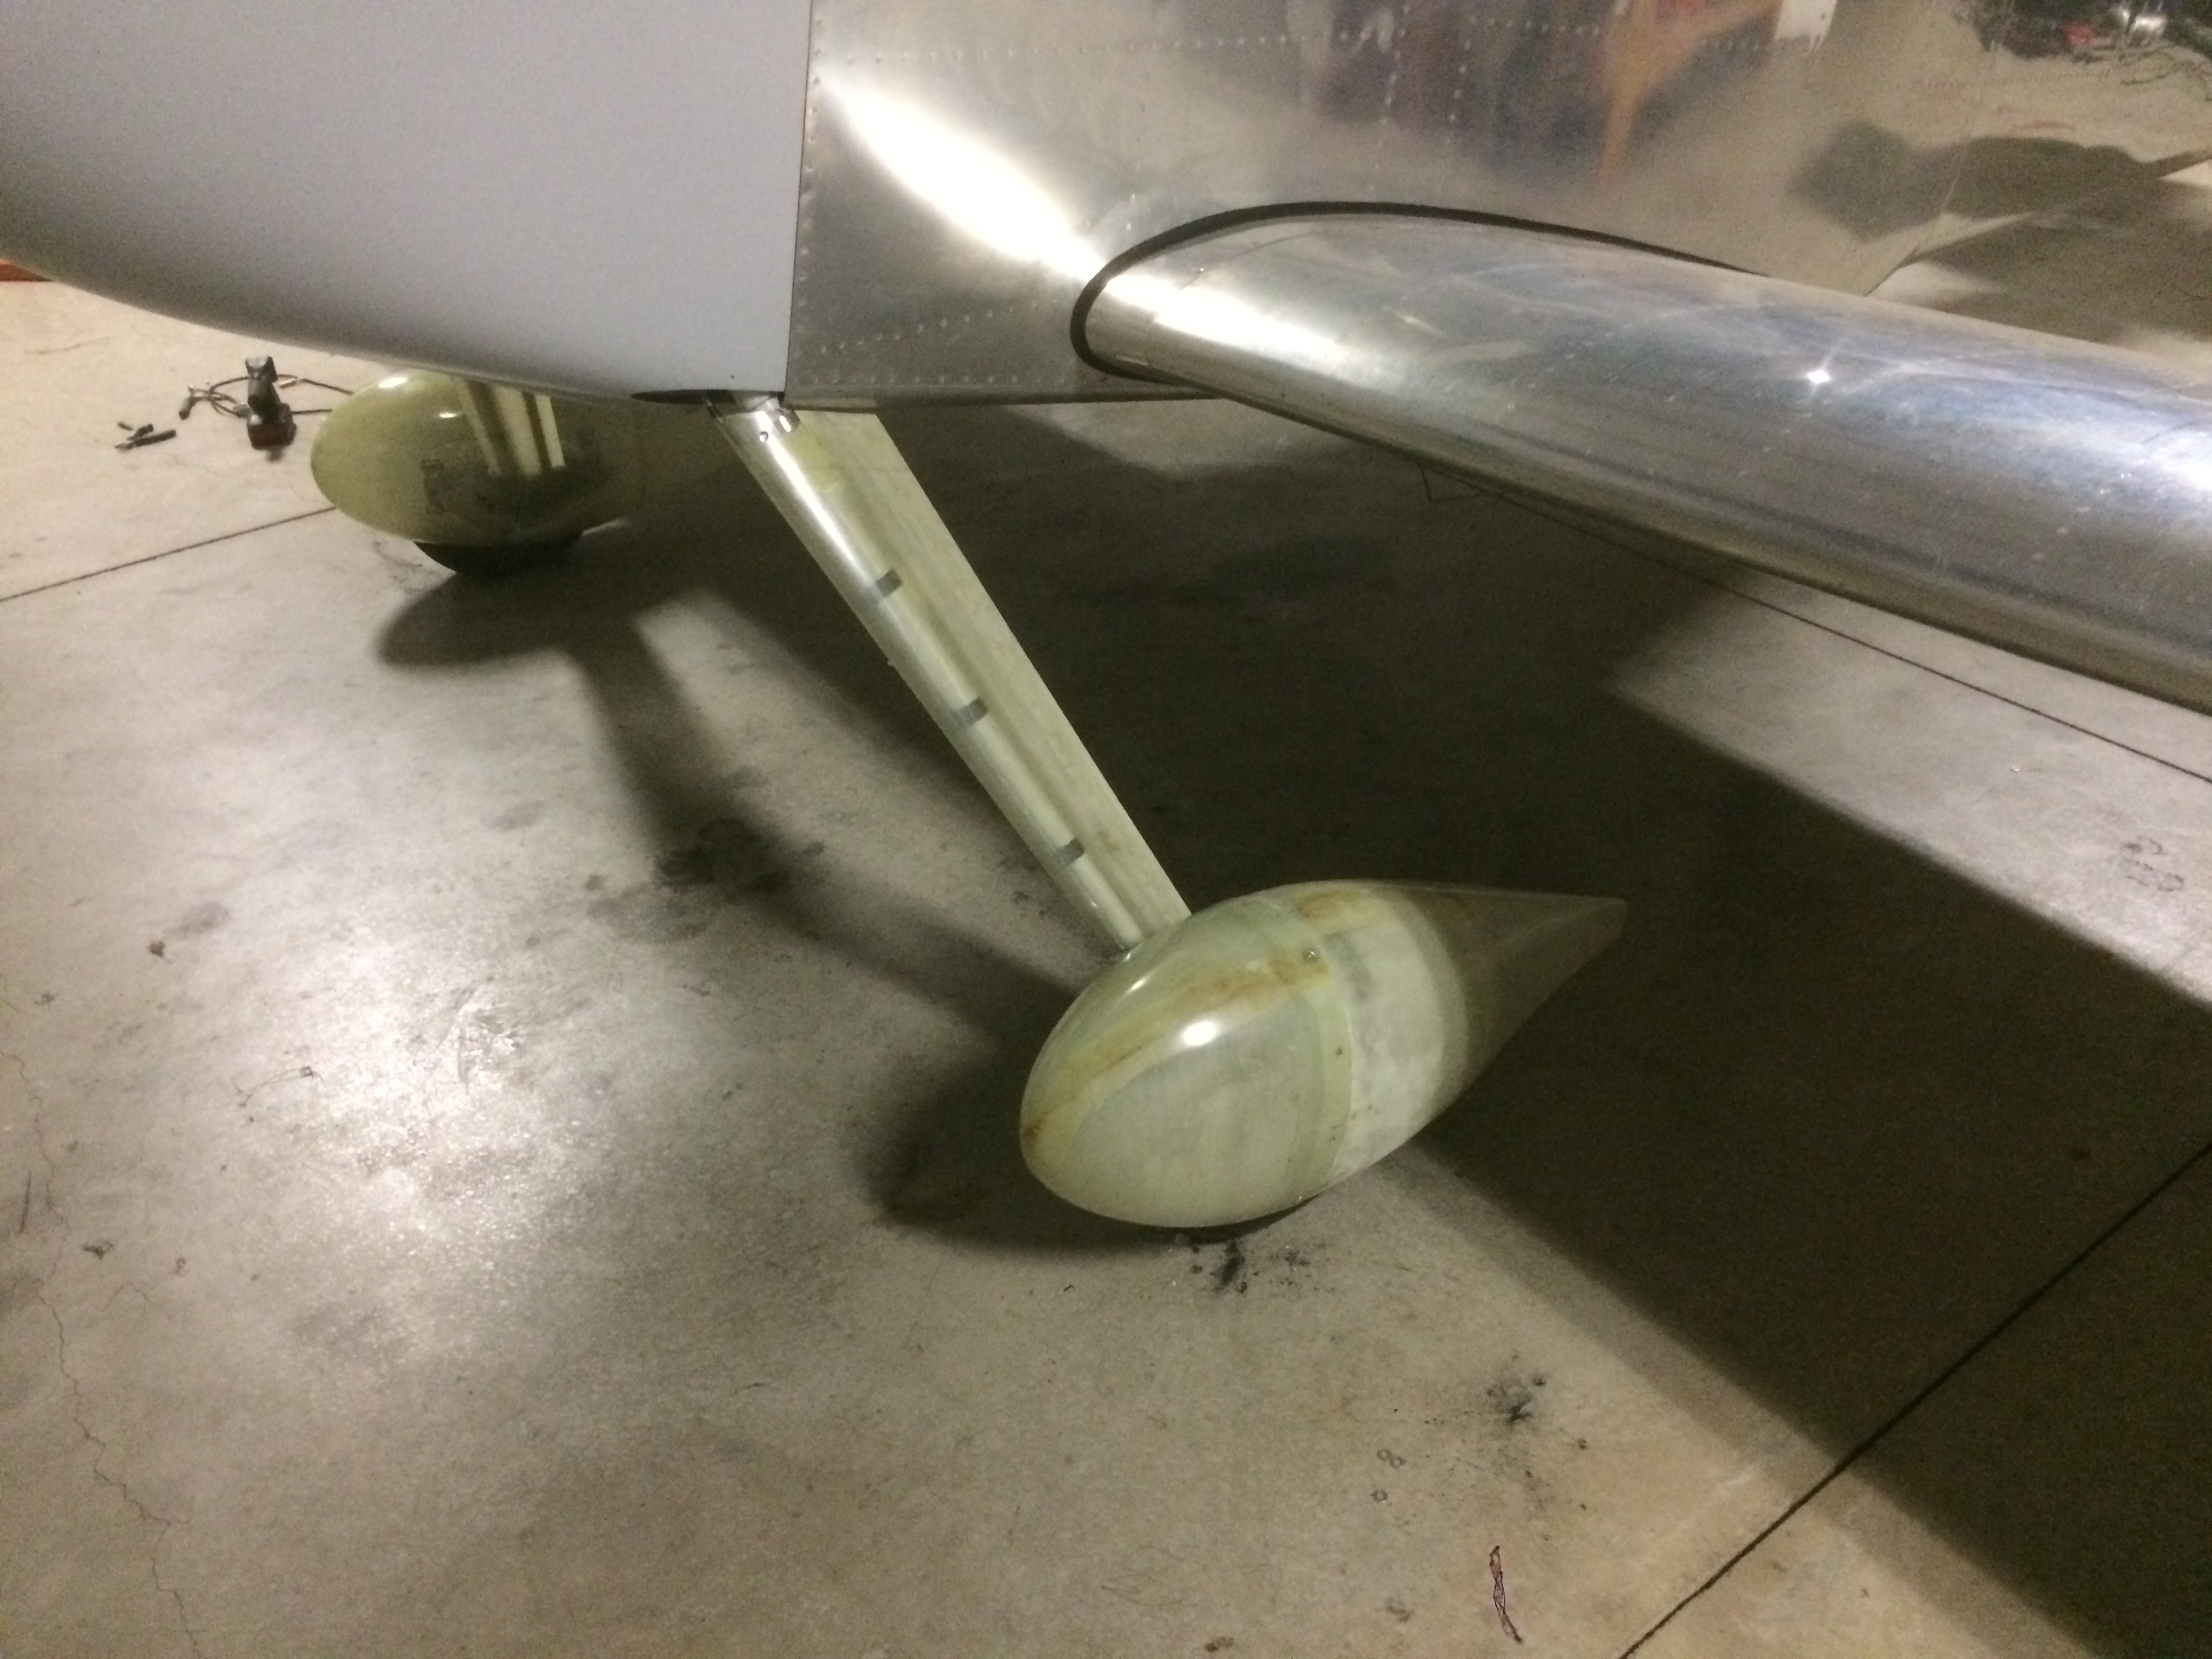
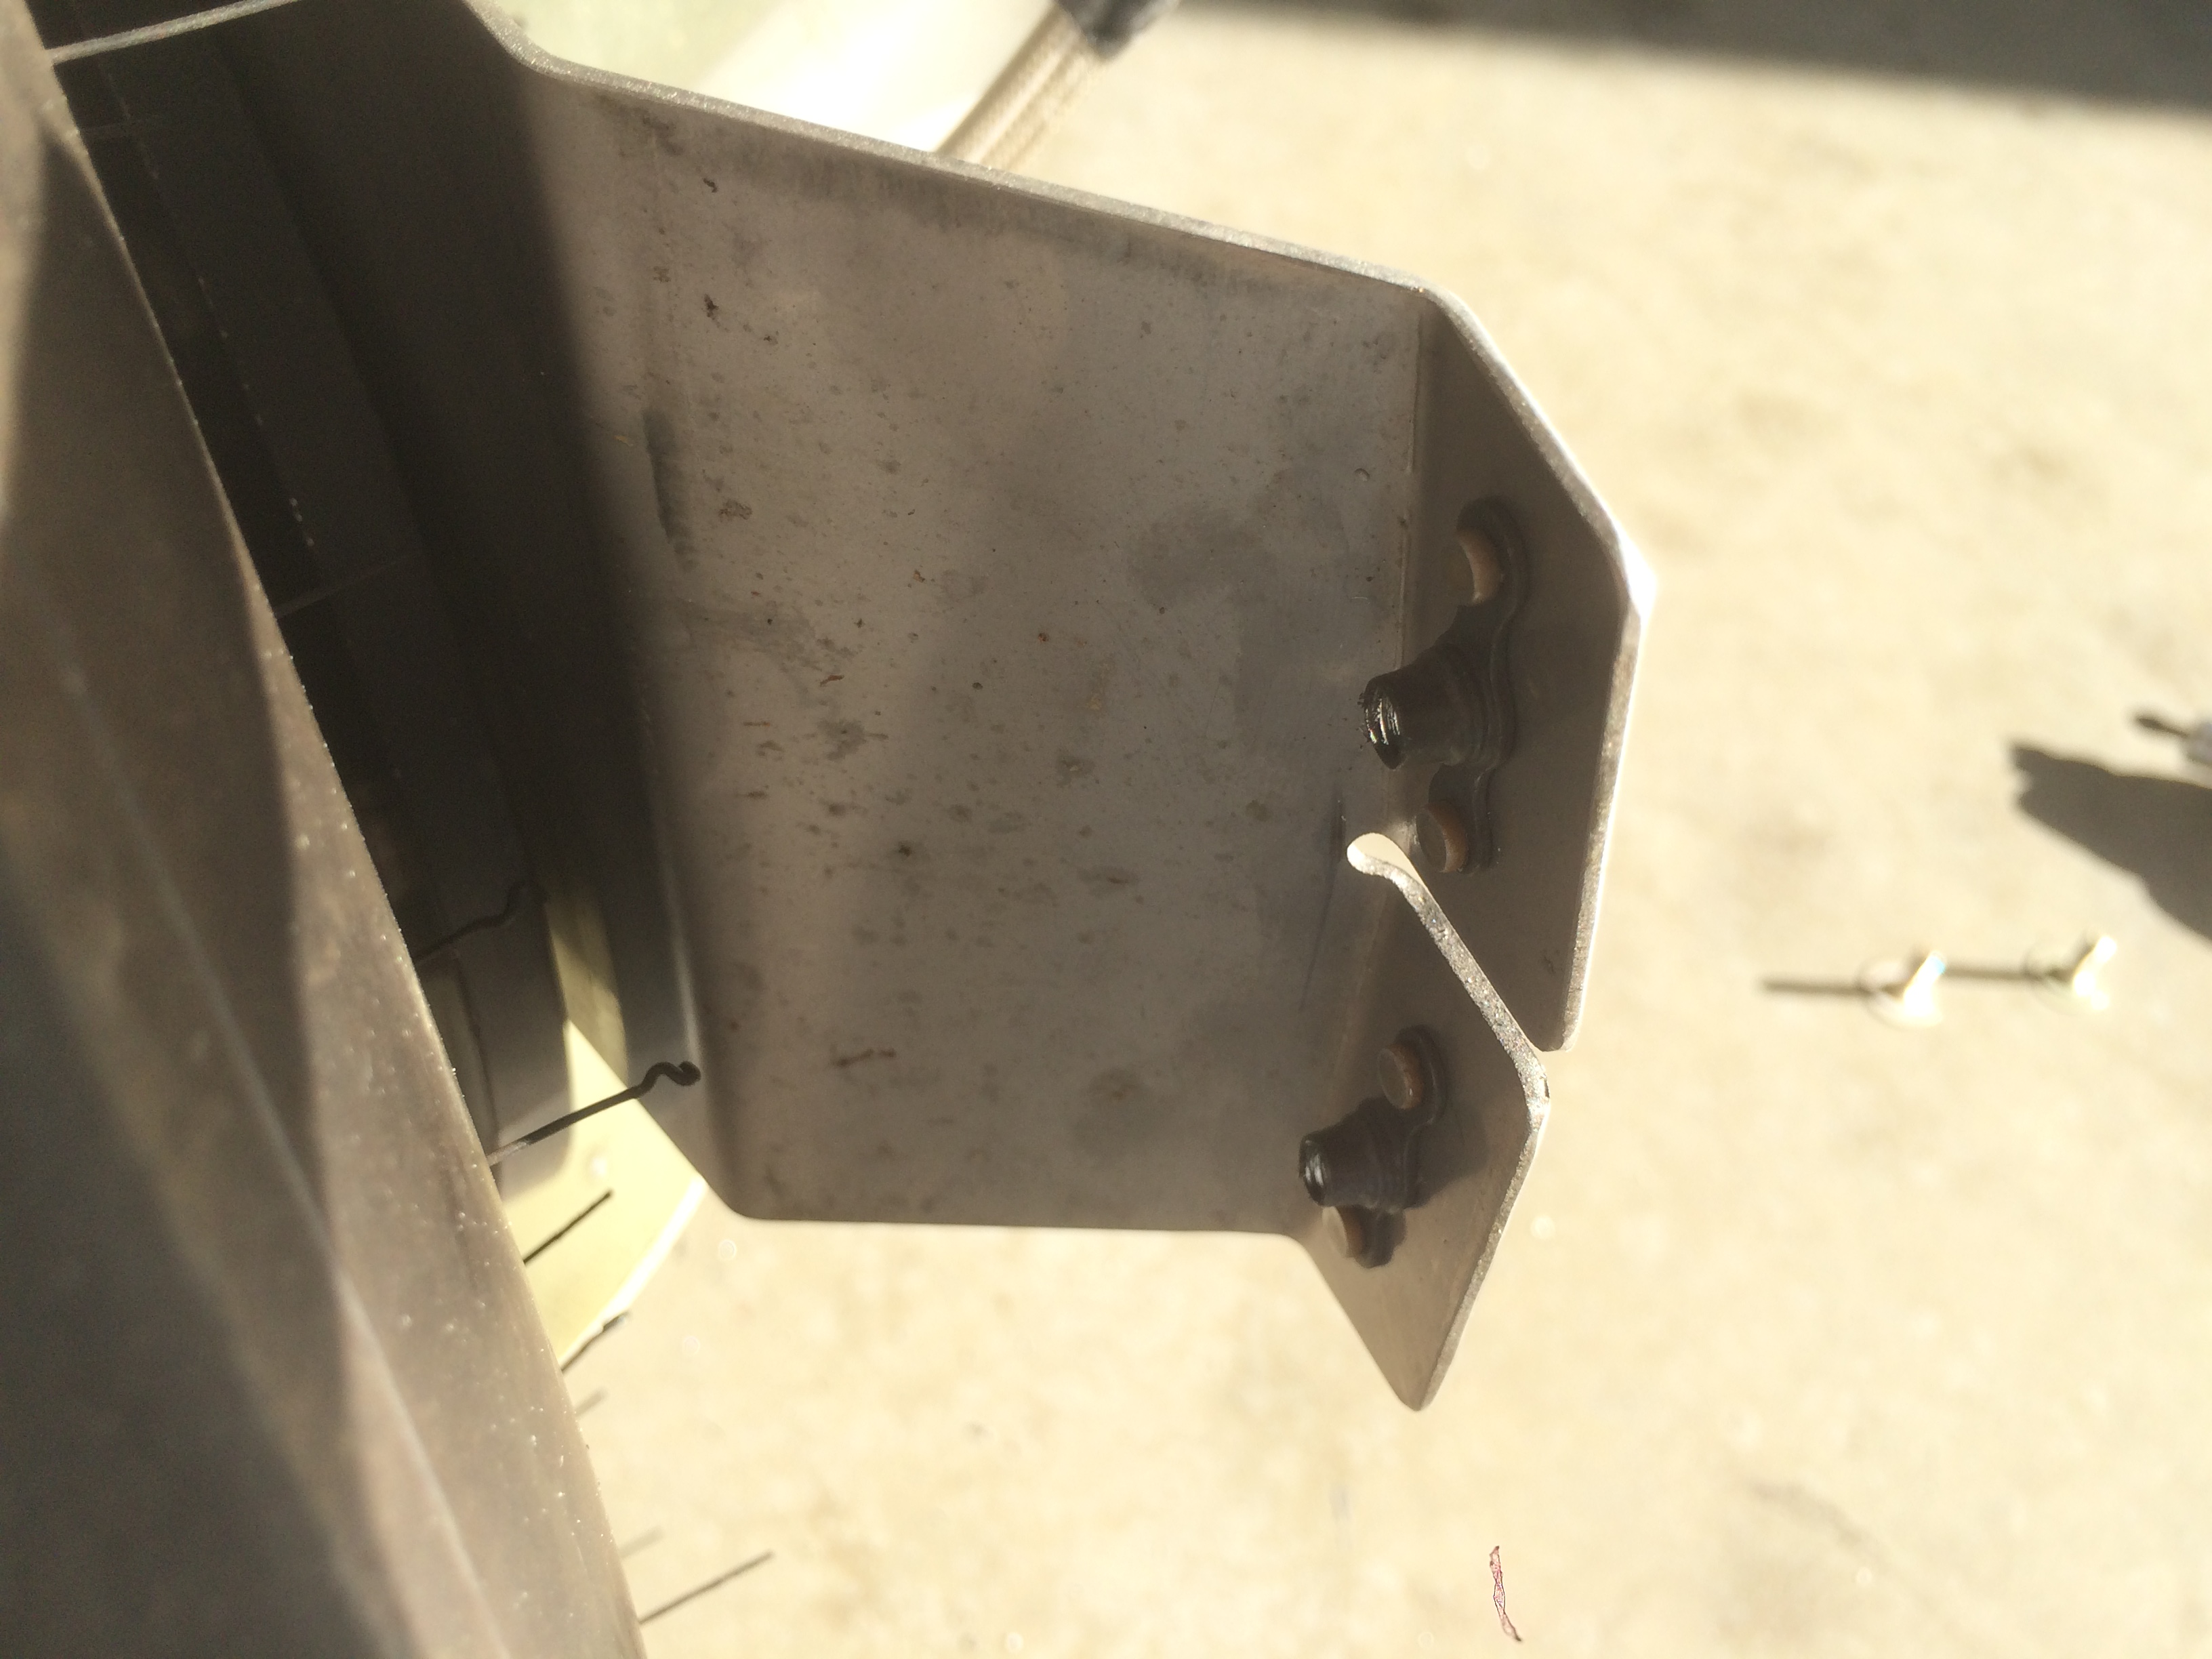
I took the plane up for the first test flight with the wheel pants installed.  Everything seemed solid and the ball was still centered, so I guess I did a good job with the alignment.  On the taxi back however, I heard a funny sound coming from the wheels, so I pulled the wheel pants to see what was up.  I took a close look at all of the components and it was apparent that the bracket was being flexed into the brake rotor when the pants were installed.  I pulled the wheel and the bracket to take a better look.  You can pretty clearly see the mark that was being left on the bracket.  Fortunately, since this was stainless steel, the damage barely penetrates the surface and should be easy to remove.

The worst spot is right here and is still probably less than 10% of the thickness of the part.

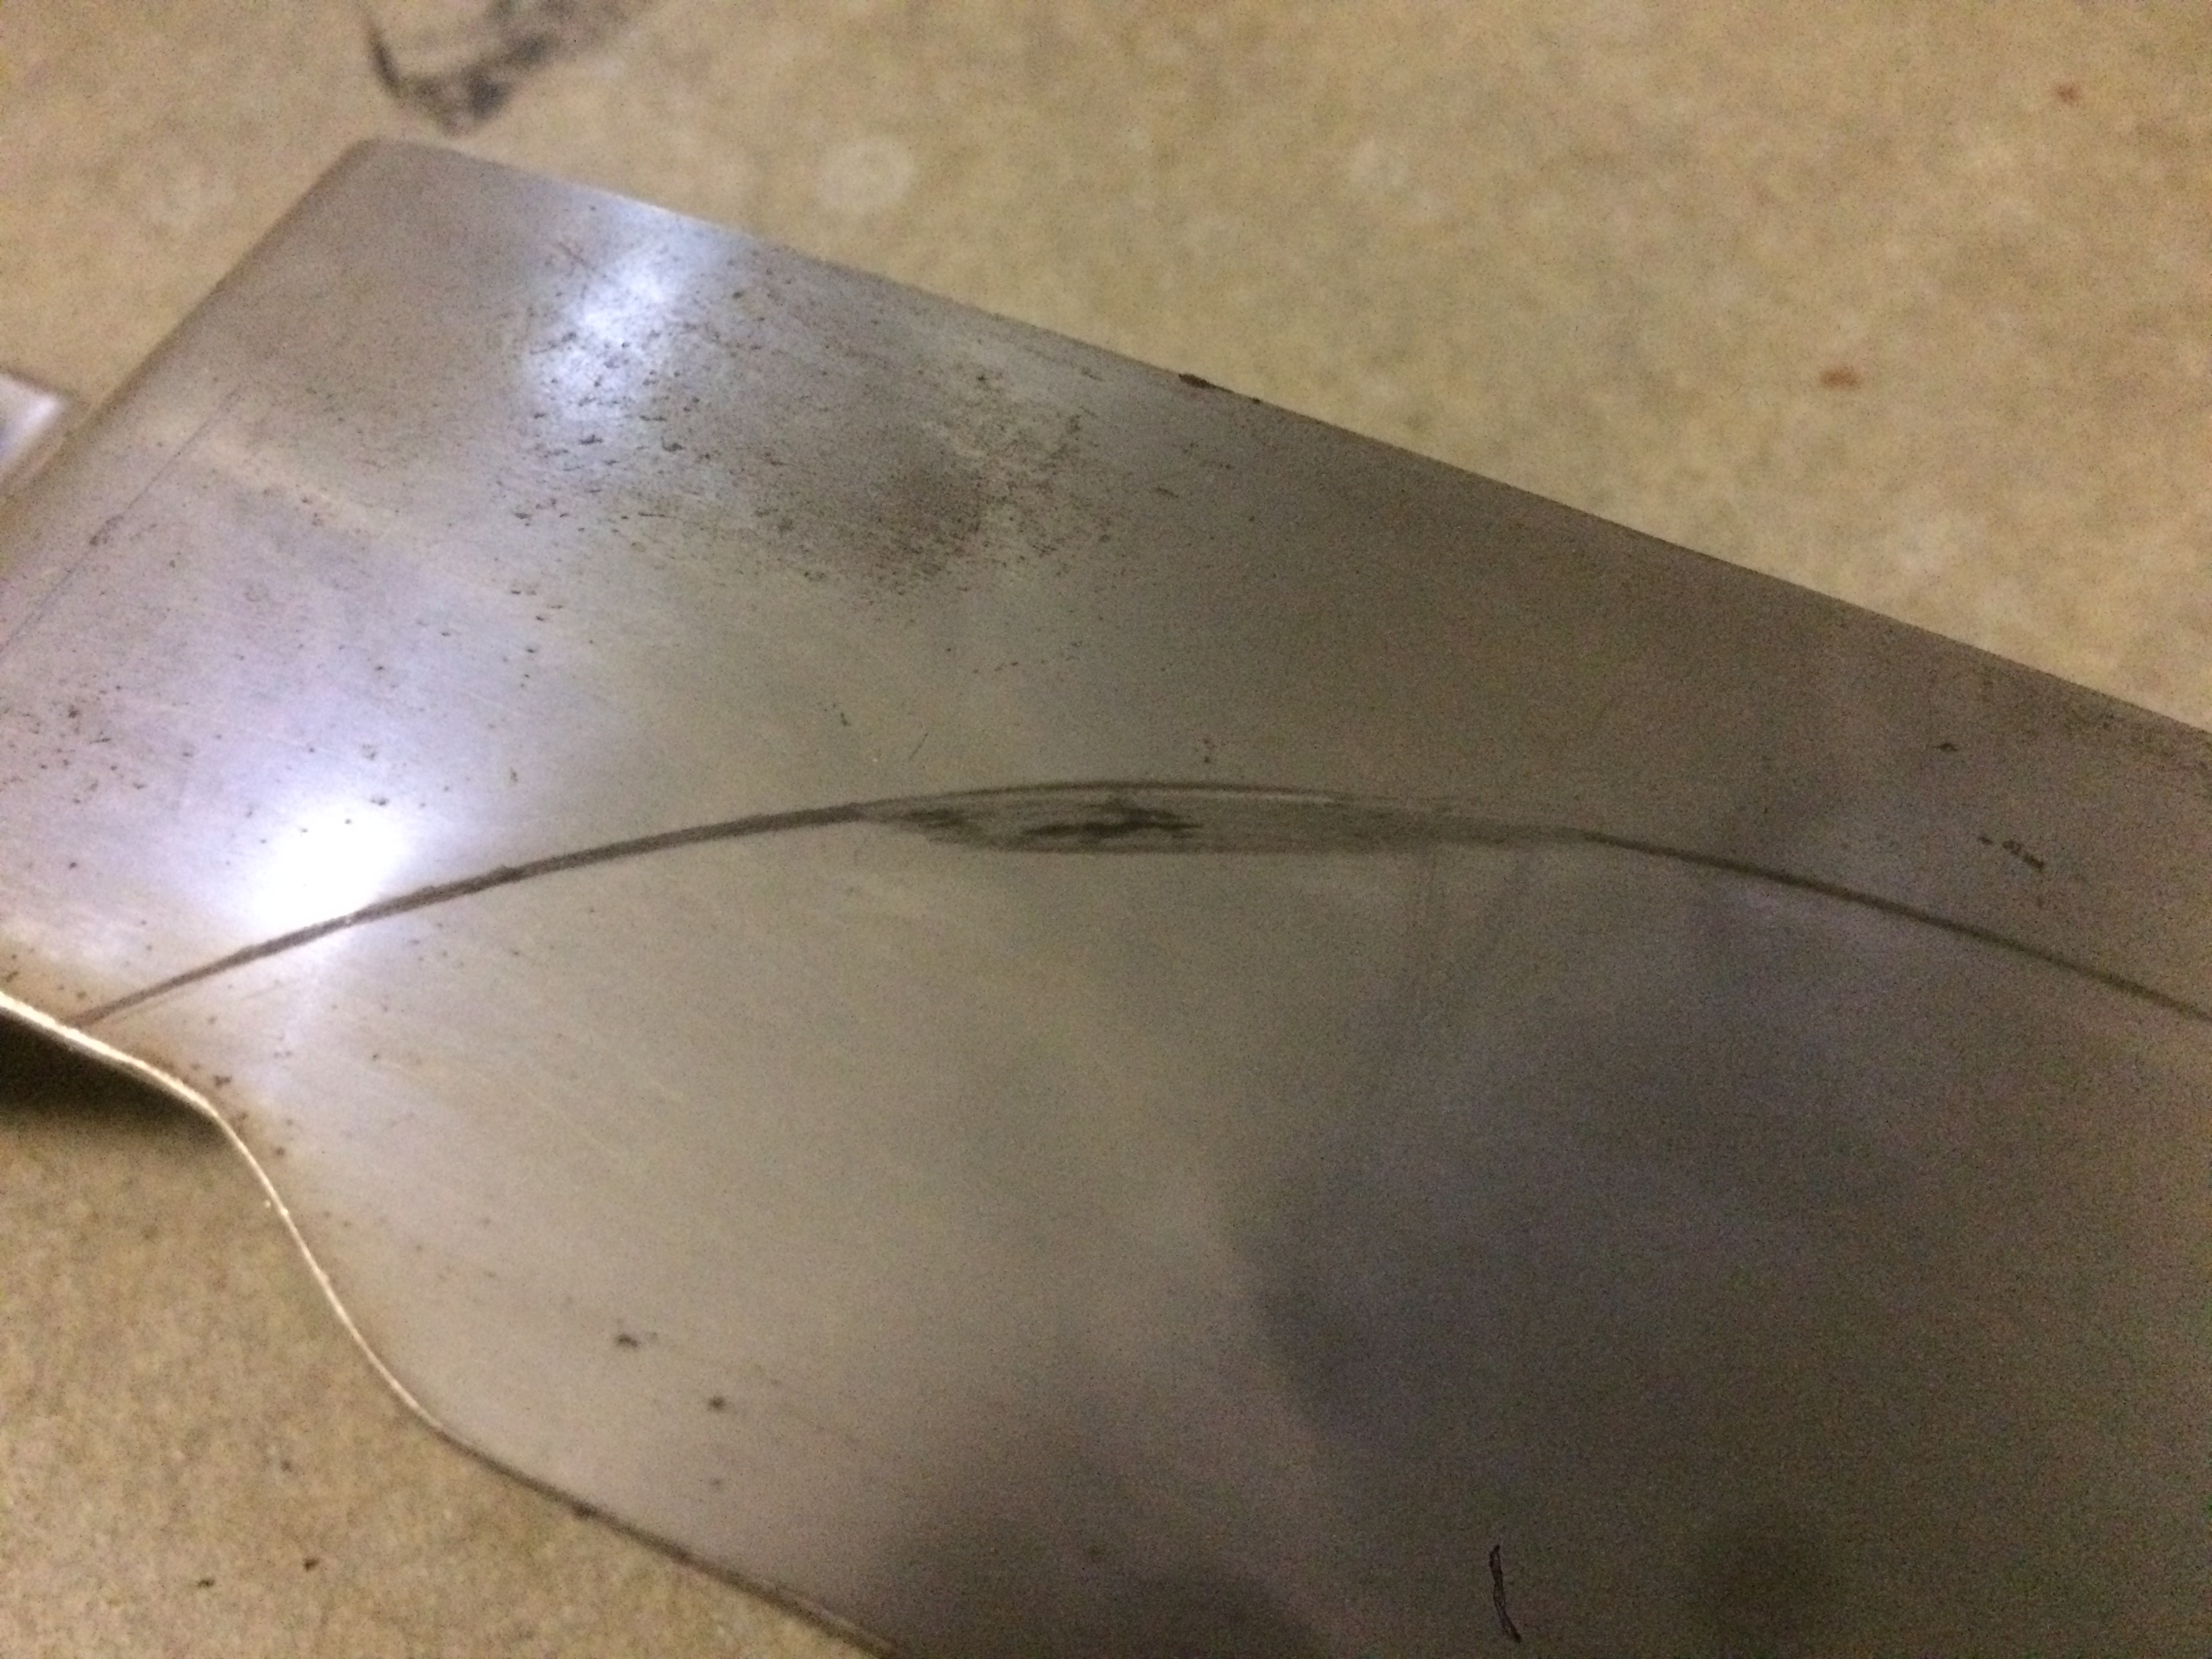
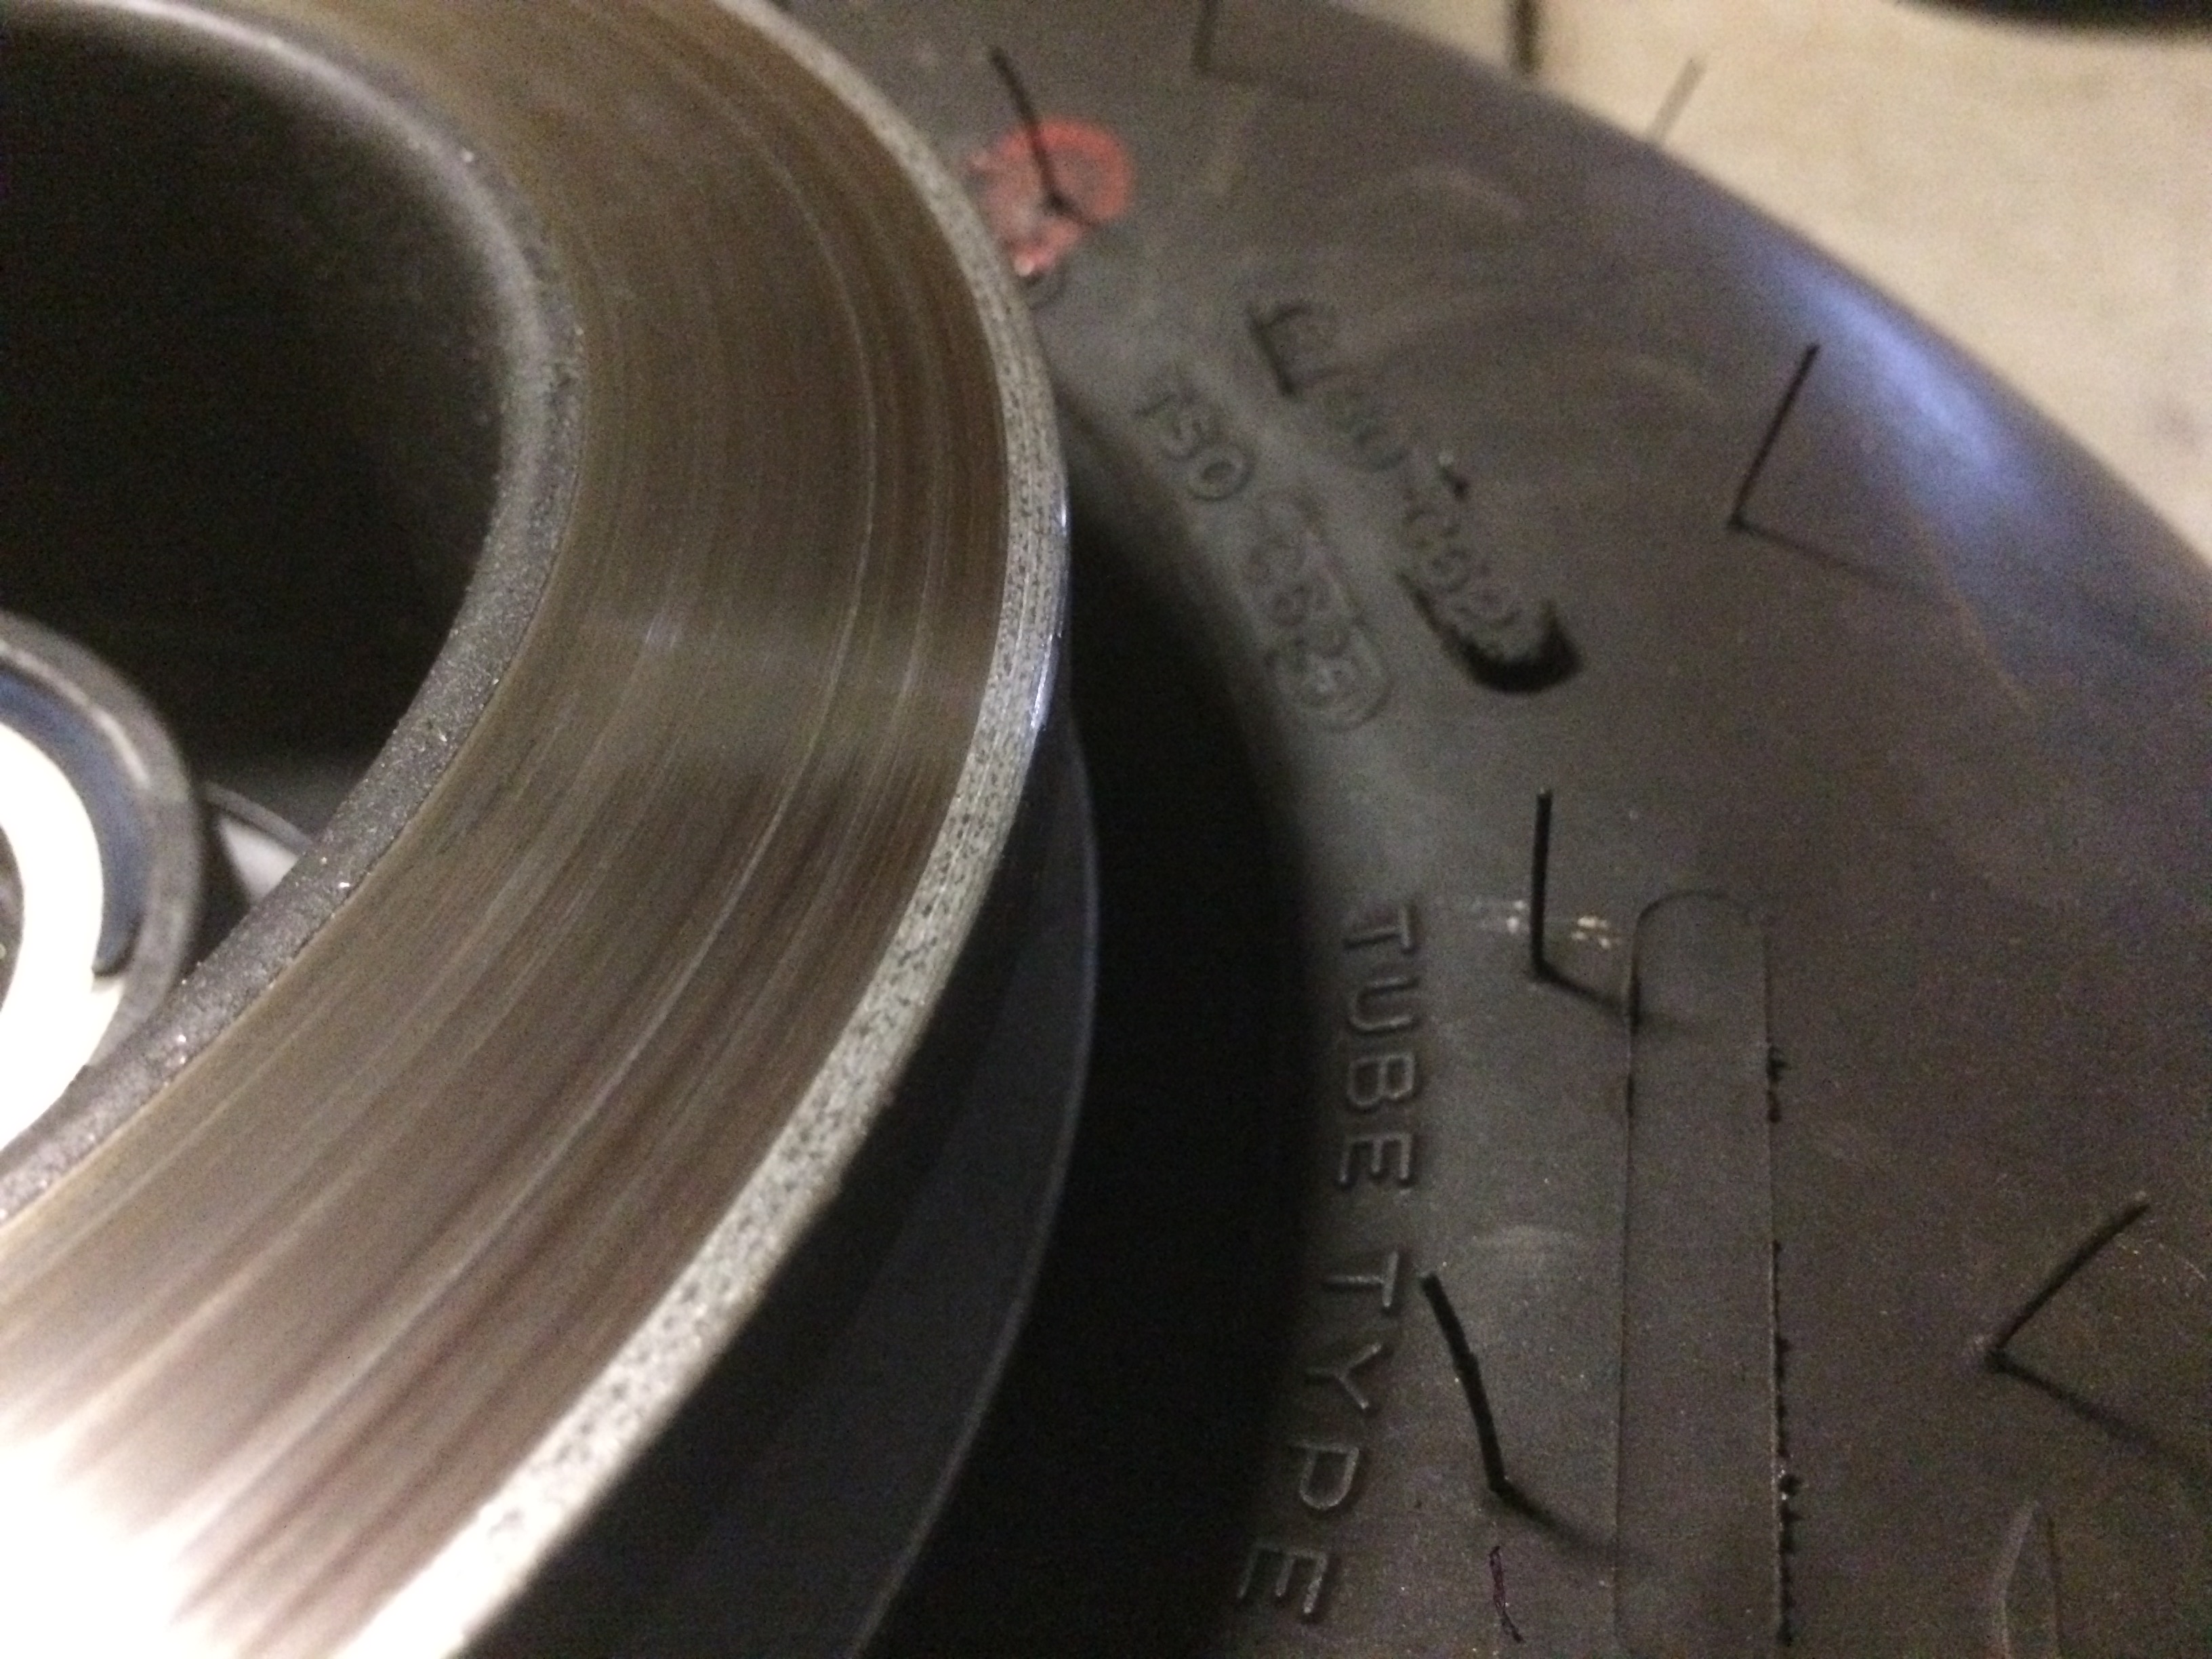
You can see that the bracket was also damaging the brake rotor.  Since these are both steel, it looks like galling.

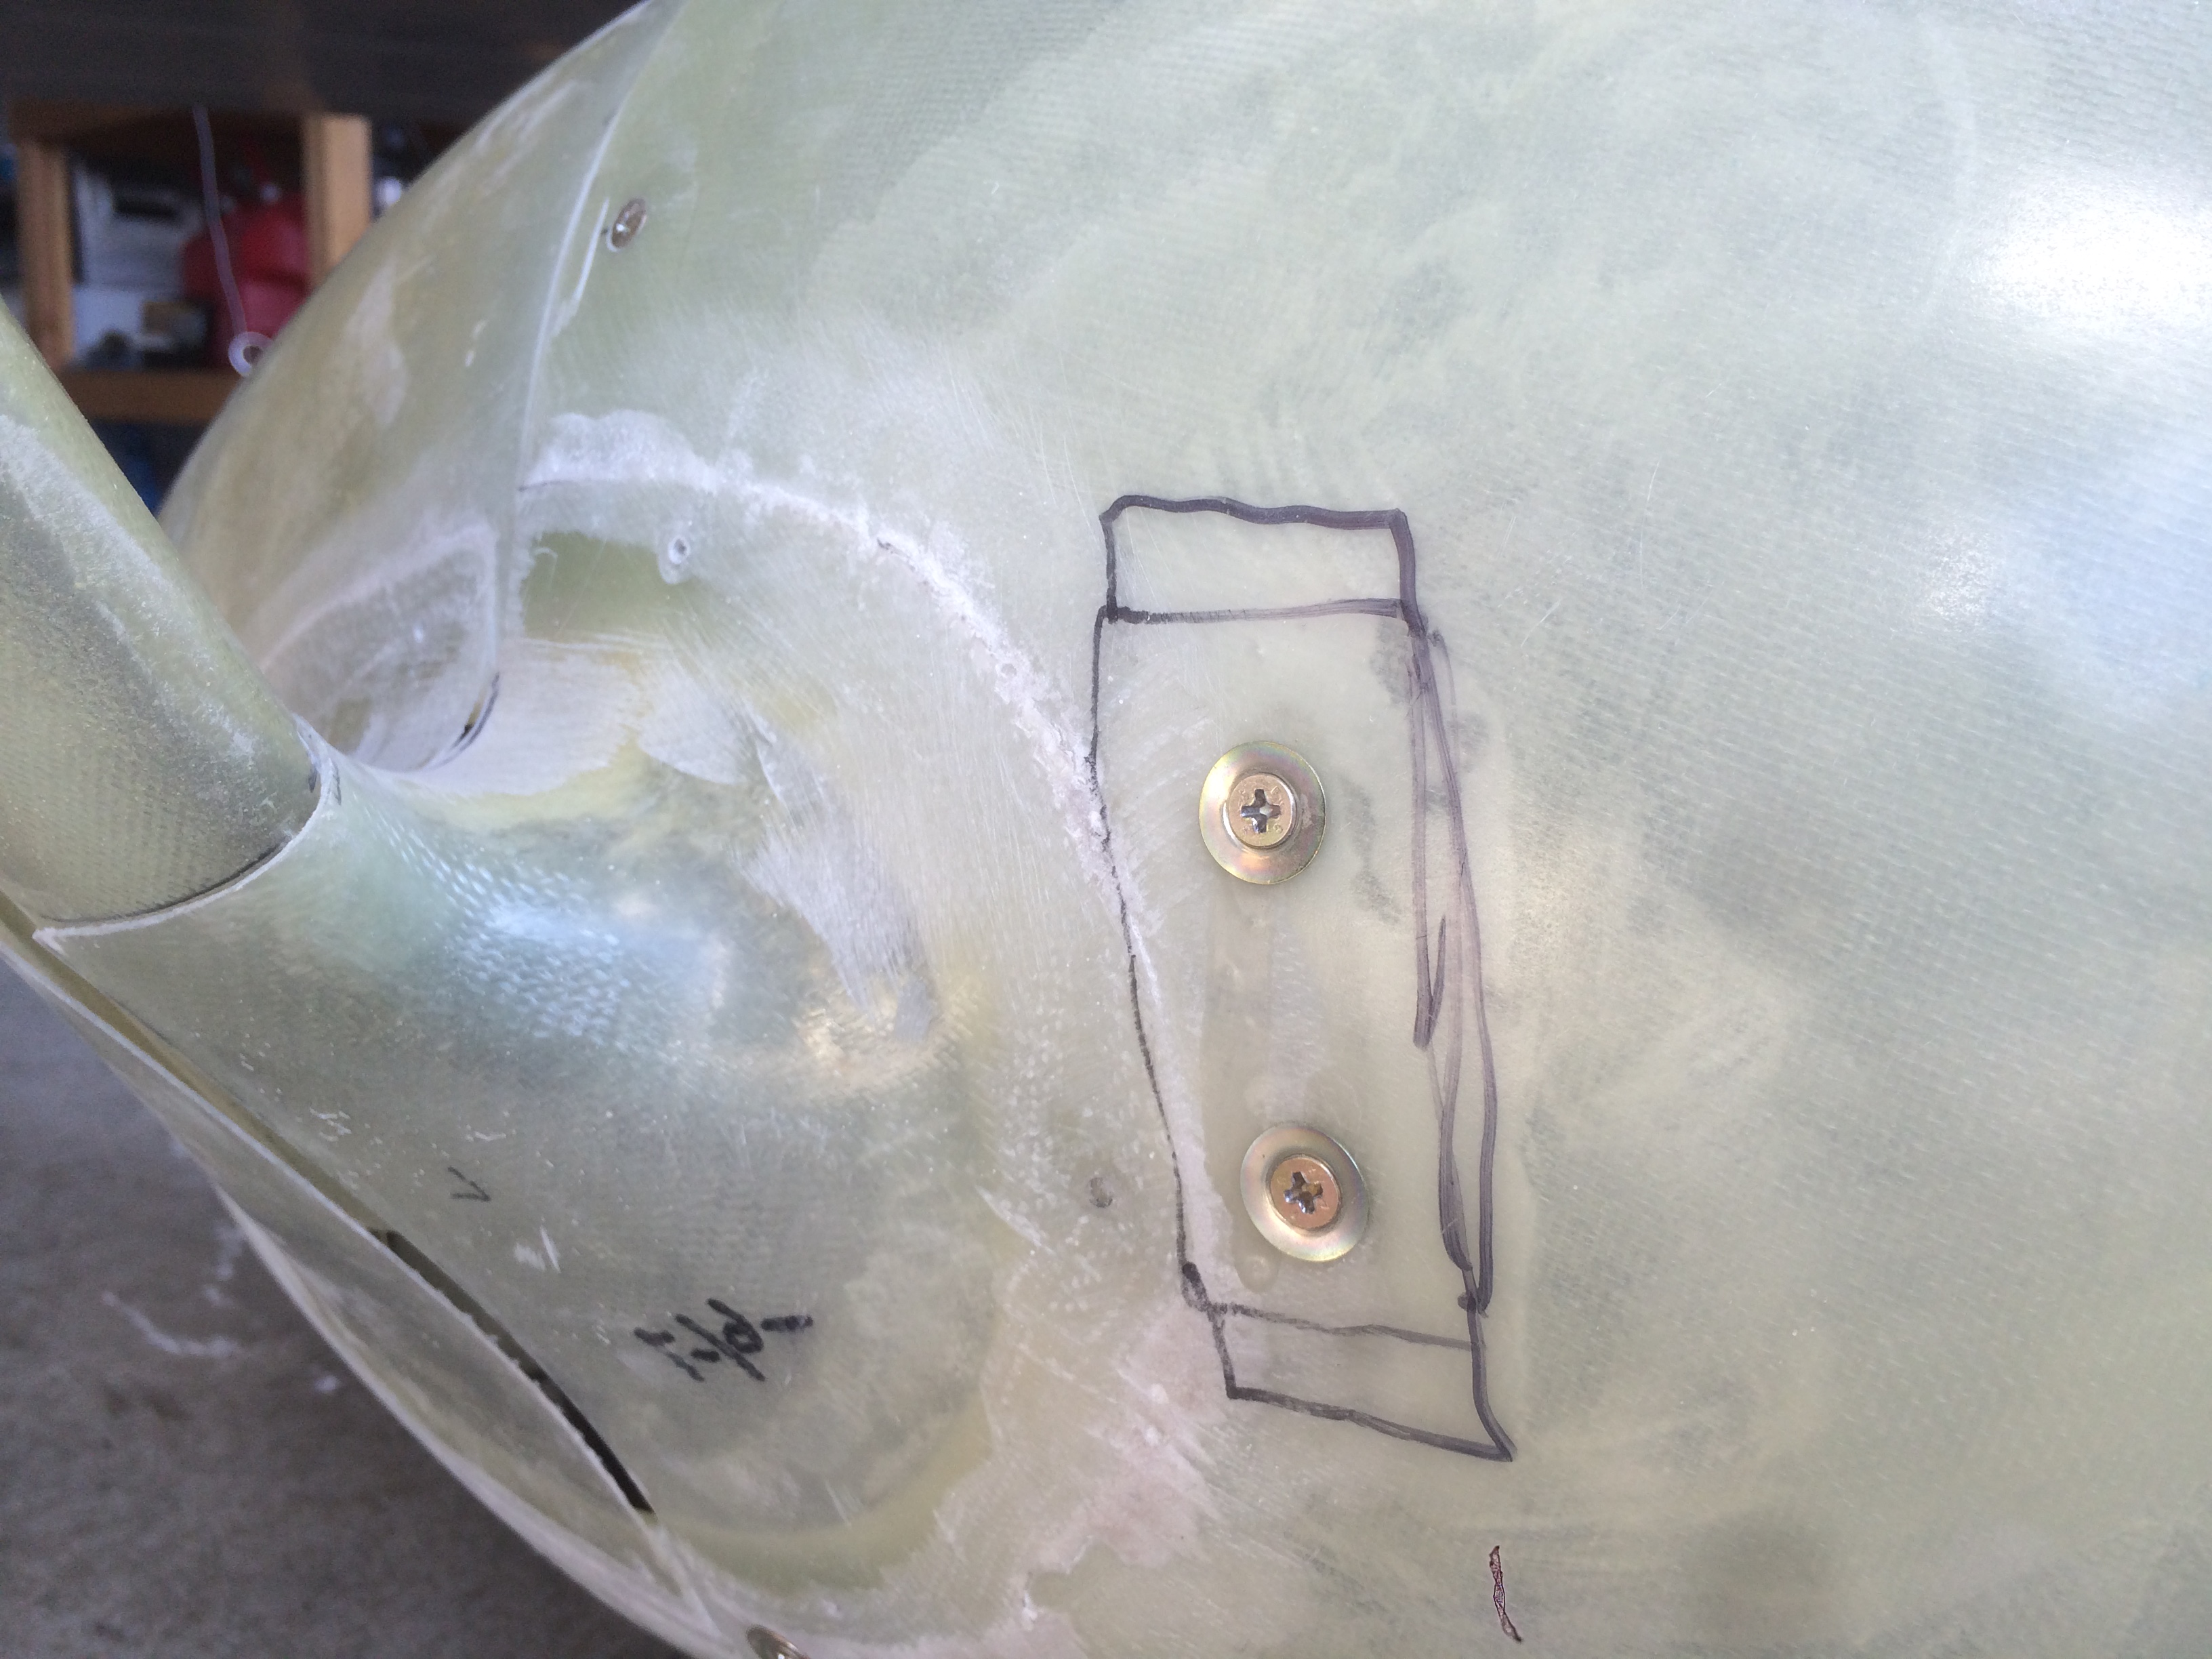
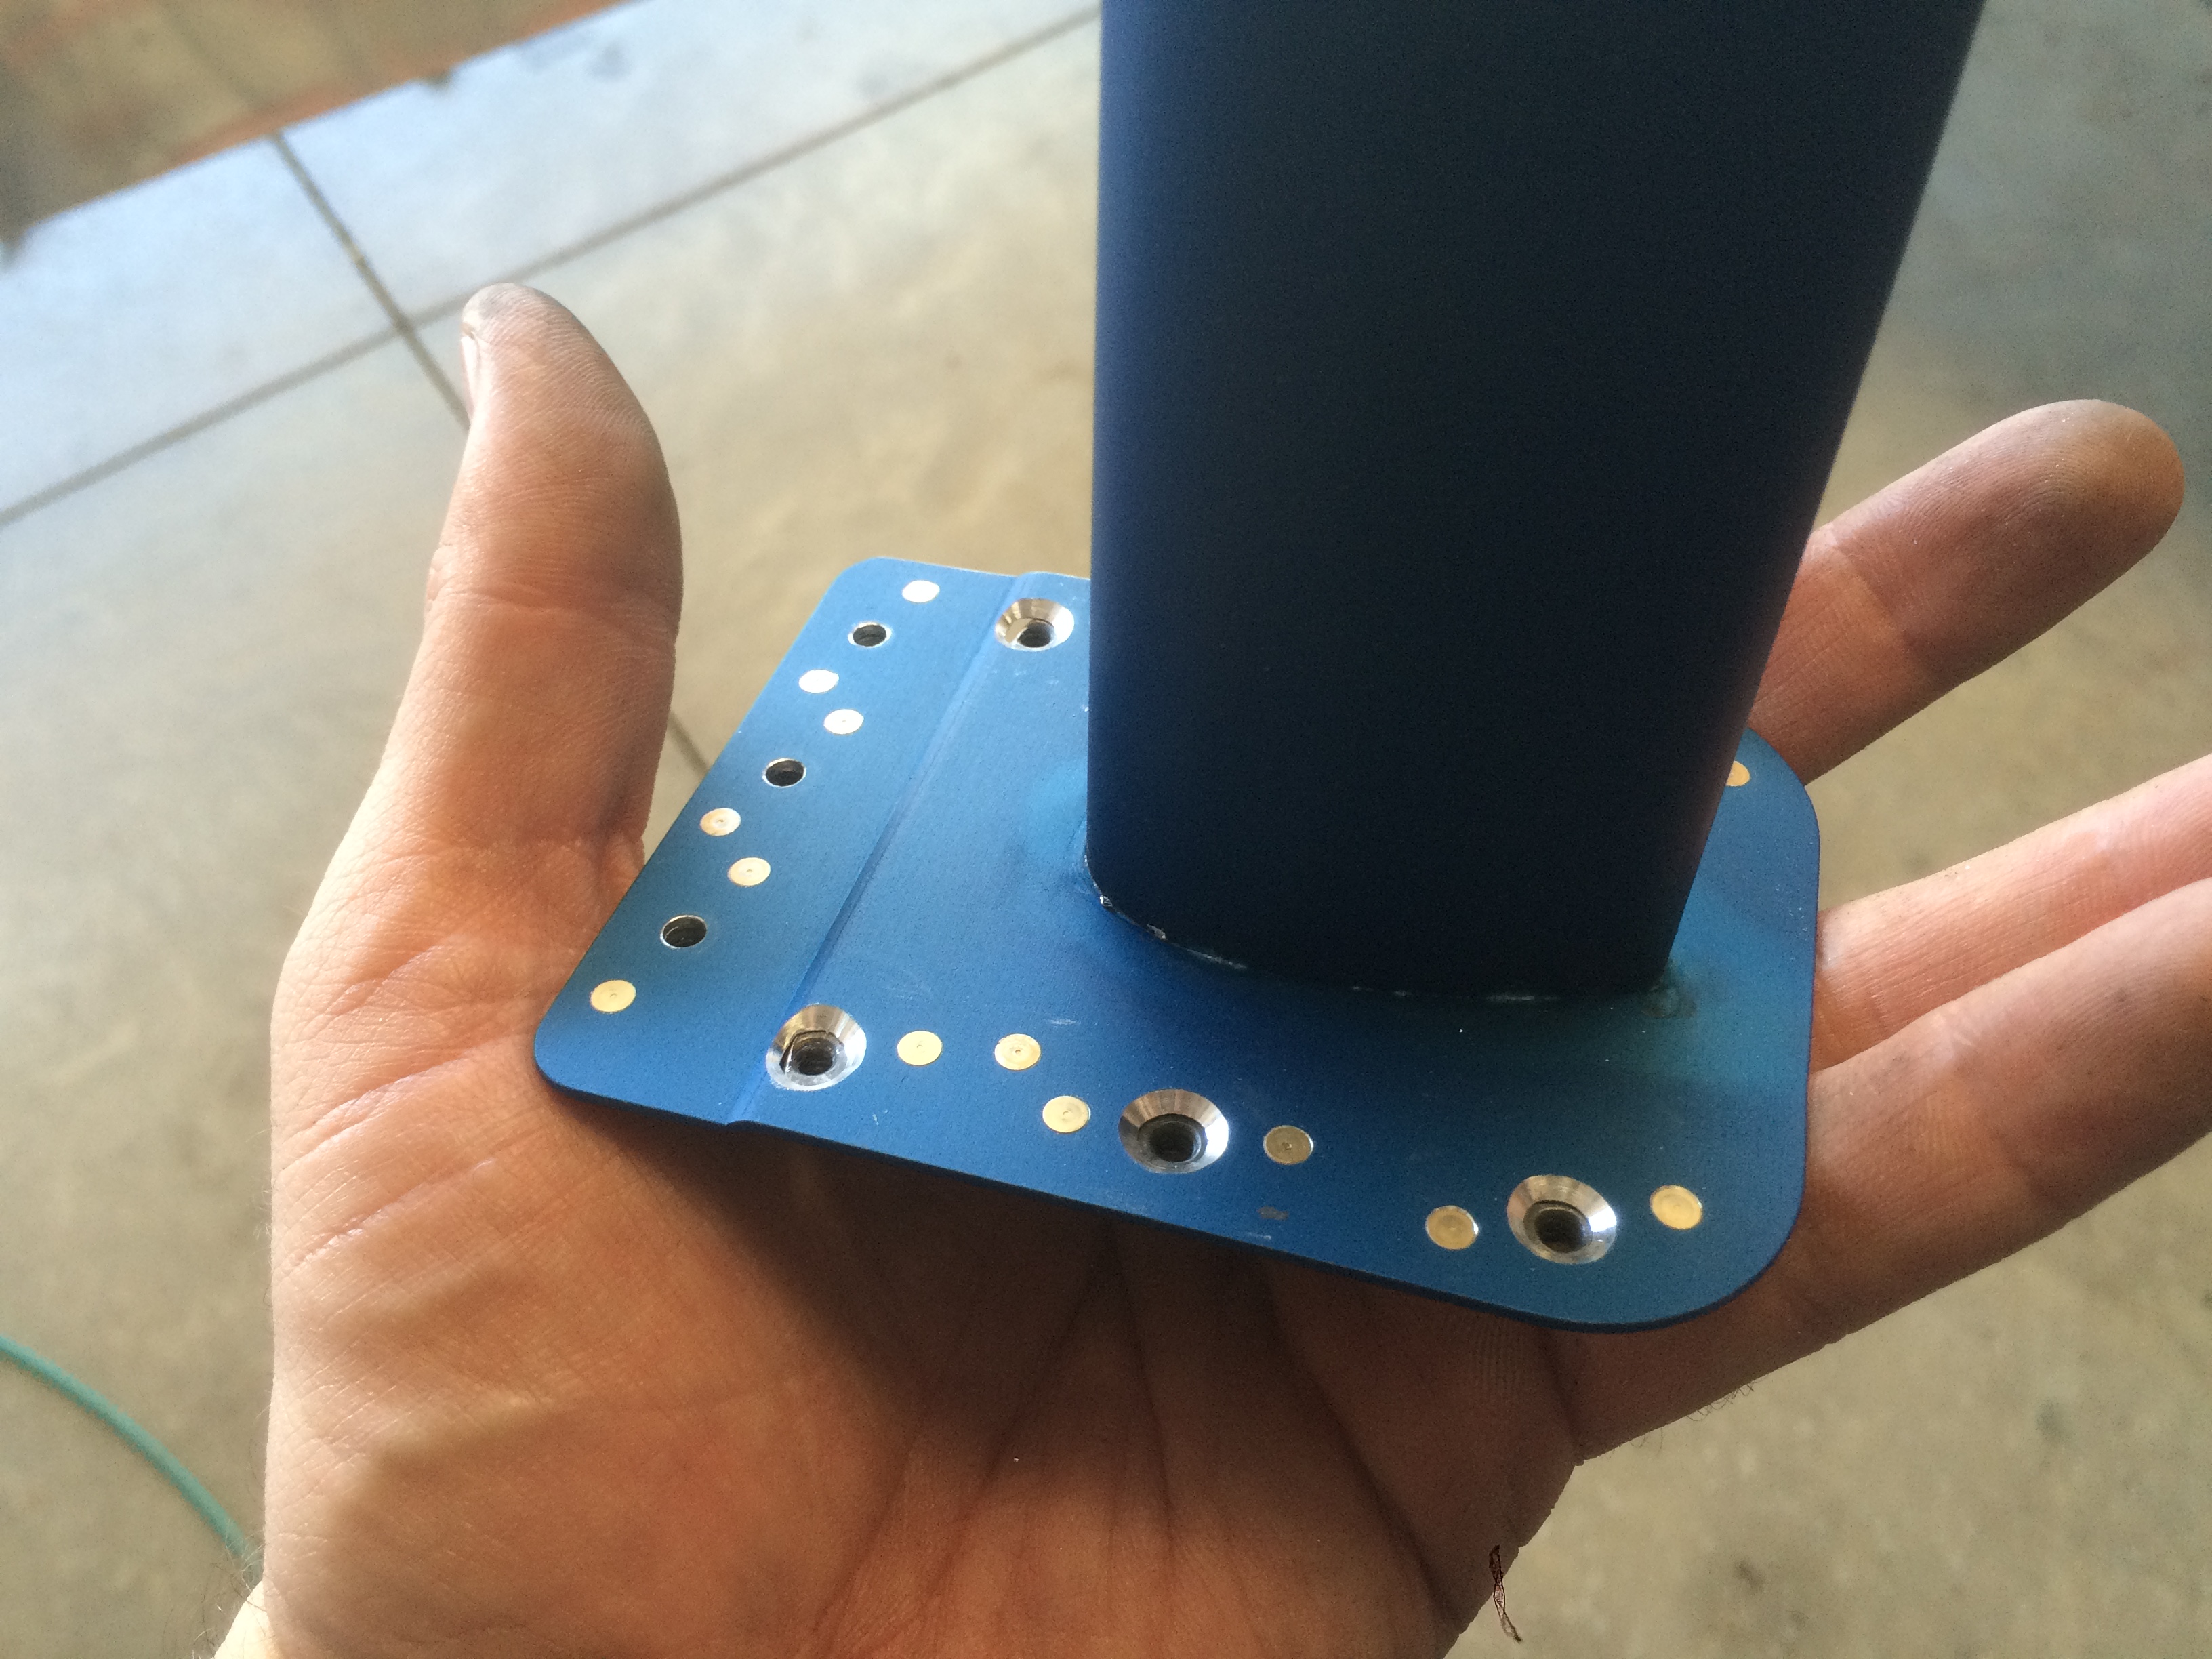
I used the scotchbrite disk to remove the marks from the bracket and then added an additional washer to push the bracket out an additional 1/16 of an inch.

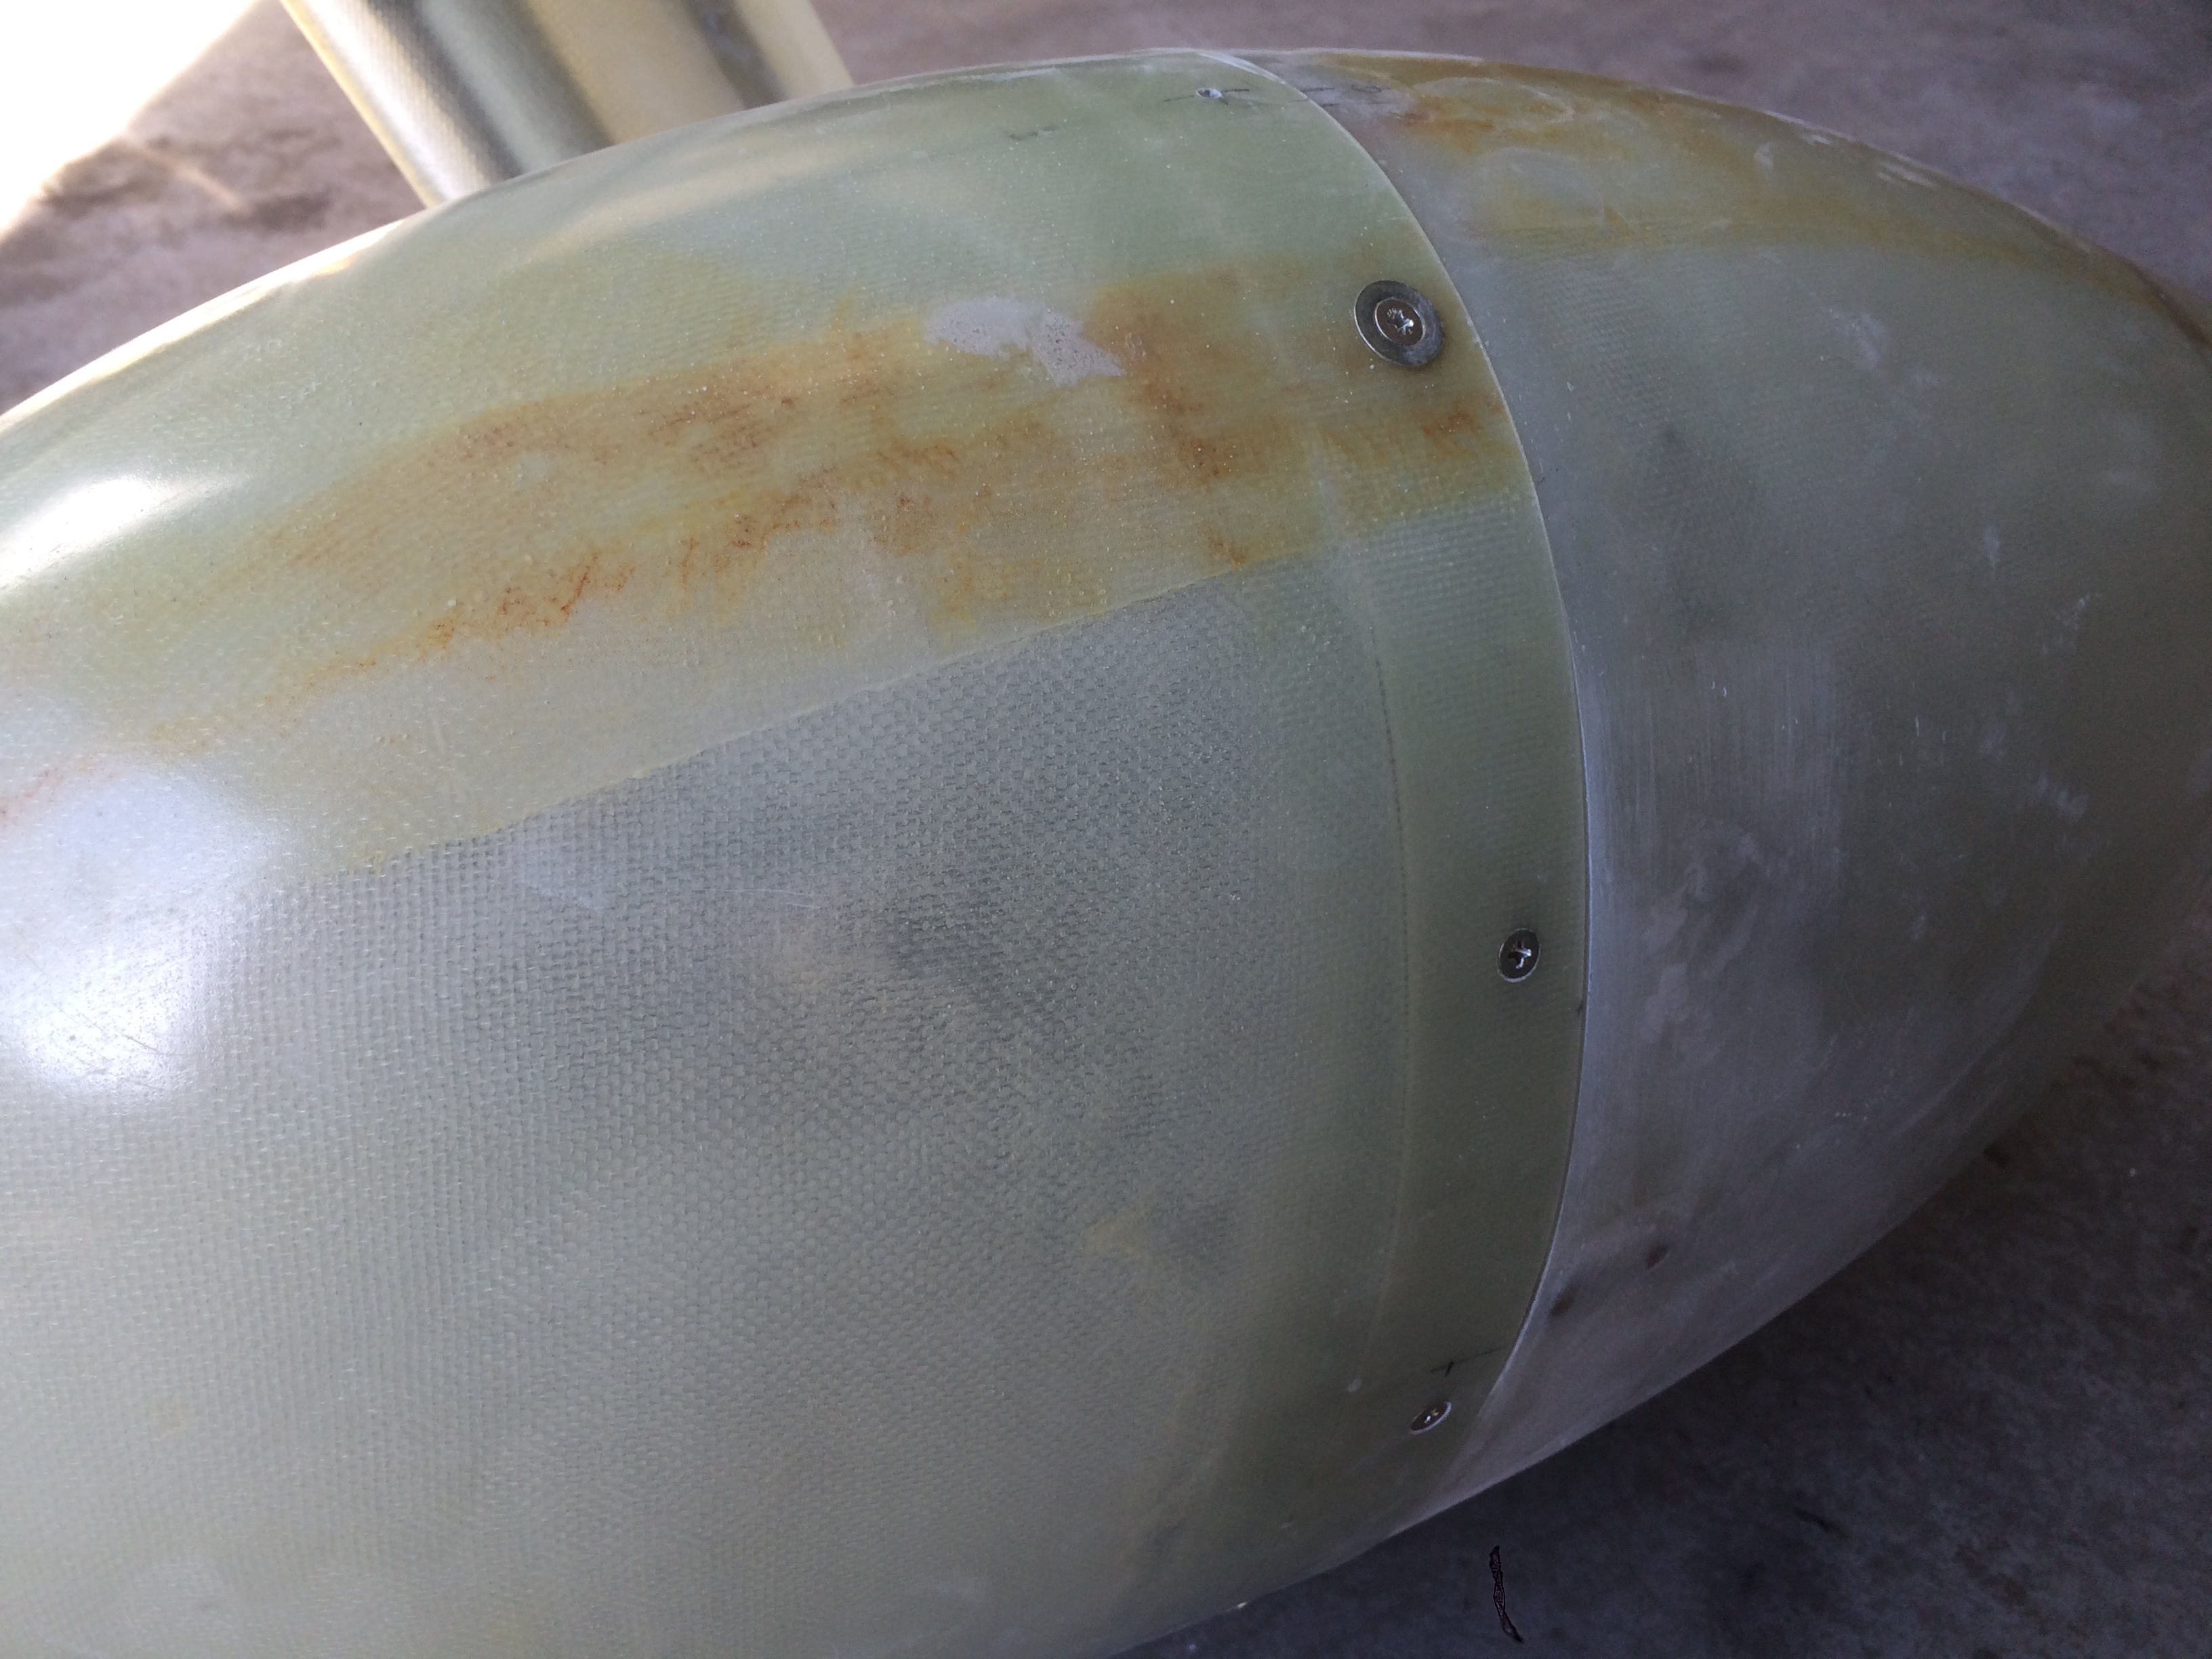
I reinstalled the wheel pants and snaked an inspection camera inside to make sure there was still clearance between the bracket and the brake rotor.  Everything looked good, so I took it up for another test flight.  Problem solved.

More Work on Wheel Pants

I had another chunk of time today at the airport, so I decided to make a little more progress on the wheel pants.  I first drilled and mounted all of the nutplates on the mounting flanges.  These are stainless, so drilling them is a pain.

I also added 7 nutplates around the flange where the forward and aft halves of the left wheel pant join.  I also iterated a bit on the opening around the tire.  I now have 5/8″ of clearance all the way around with the weight on the tire.

With the pant attached to the mounting flanges, the left wheel pant is ready for flight.  I still have 2-3 hours of work to get the right pant to this stage, but then I’ll be ready for flight with these.

Replaced Pitot Mast

A few months ago, Tony Munday (owner of SafeAir1) contacted me about the pitot mast I purchased from them.  There were apparently some instances of cracking in the weld that joins the mast to the mounting plate and he is replacing all of them free of charge.  He sent me the new mast, but I’ve been so busy with Phase 1 and other maintenance that I haven’t had the time to do the swap.  I had a good chunk of time today, so I decided to take care of it.  Drilling out the old mast was fairly straight forward, but I decided to attach the new mast with screws in case I ever have to take it out again in the future.  I dropped the new mast down through the hole and then drilled all nine spots for #6 screws.  I then pulled the mast out and added nutplates on the mounting plate.

I dimpled or countersunk the surface and then attached the new mast with some stainless steel torx screws.  I transferred the mounting holes for the screws that mount the pitot tube on the mast and then installed everything for good.

The forward three holes go through the spar flange, so I had to countersink there.  The others I could dimple.  For some reason, the new mast is much stiffer than the old one.