Three Ship Formation Work

I spent most of the weekend working (not on the plane), but I did get out a bit to meet up with a prospective RV builder down at Hollister.  He checked out Greg’s RV-8 and my RV-7, and we talked quite a bit about what’s involved in building.  Greg’s son Nicholas then arrived with his transition instructor in another RV-7, so we decided to do some three ship formation work.

We started out with me flying lead since I have the least formation experience.  Greg was off my right wing and Nicholas was off my left.

We then switched positions and I flew off of Nicholas’ right wing.  This was the first time I’ve ever flown this close to another plane, and it was a huge amount of work.  You literally can’t take your eyes off the lead plane for a second or you could move substantially out of position.

We then moved into a left echelon formation with Greg taking the lead and me in the middle.  I still have a ton to learn, but this was a blast.

Airplane Inspection Party Writeup in Kitplanes Magazine

One of the builders who stopped by my Airplane Inspection Party back in January is the Editor-in-Chief of Kitplanes magazine, Paul Dye.  We spent some time chatting about my reason for choosing to hold an inspection party and my effort to build my plane in a very public way.  With so many eyes on my plane over the years (both in person and from around the world through this website), countless issues have been caught before they could have caused a problem.

In this month’s issue of Kitplanes Magazine, Paul wrote up his visit in the editorial.  He was encouraging others to be as open and willing to take criticism as I was.  Far too many builders are afraid to let others examine their work for fear of exposing their mistakes.  Sadly, those are often the builders who most need another set of eyes on their projects.

Paul was very complimentary of my idea for a party: “Having a large number of experienced builders and opinionated pilots (are there any other kind?) drop in to dissect your many years of careful work takes intestinal fortitude of the highest order–and it shows a commitment to honest, open risk management that should be our standard in the Experimental world.”

He was also very complimentary of my work: “Truth be told, it was one of the nicest building jobs I have seen in all my years of working on airplanes and being a tech counselor. When a builder takes the time to lay the flat EGT wires against each other in a perfectly rectangular bundle, you know he has paid attention to details.”

I really hope others take Paul’s message to heart.  We need to keep an eye out for each other; our lives are on the line.

Sanded Gear Leg Fairings

I sanded down the glass I applied to the gear leg fairings so that the transition is smooth.  I’ll apply a couple of skim coats of epoxy, then the outside of these is ready for priming.  I still need to do a little work on the inside for mounting before that though.

Spin Testing

I snuck in a quick flight after work before it got dark. I had four goals for the flight: check prop RPM, confirm the fire sleeve fixes the fuel flow at high altitudes, do some spin testing and confirm idle mixture. On takeoff, the prop RPM came up to 2680, so I’m getting really close on the RPM. One more small tweak should get me there. I set up a cruise climb at 2500 RPM and about 120 kts and was still able to reach 10,000 ft by Hollister (less than 15 nm away). This plane really wants to climb. I continued the climb up to 12,500 ft and flew around a bit. At first, the fuel flow was rock solid around 12 gph (still reading high) with none of the dips near 0 gph that I saw earlier at 10,000 ft. After flying along for a few minutes though, I started getting occasional excursions up to around 16 gph, but they would generally come back down within a few seconds. It looks like I still have some work to do here.

I descended back down to 8,000 ft near an airport so that I could do some spin testing. I first slowed an did a couple of stalls to ensure the engine was leaned properly, then climbed back up to start spin testing. The started with an incipient spin. As the stall broke, I applied full left rudder and the plane rolled about 90º to the left. I applied full right rudder and broke the stall, then rolled level and pulled out of the dive. The recovery was nearly instantaneous, so I climbed back up and tried a second one with the intention of waiting a moment before recovery. This time, the plane rolled well past 90º and the spin started to accelerate. I applied full right rudder and was able to stop the spin after about 3/4 turn. The recovery wasn’t quite as instantaneous, but still very positive. I continued to repeat the testing, letting the spin develop further each time. The spin really accelerates after the first turn but stabilizes pretty quickly after that. It spins quite a bit faster than the Decathlon I have been flying, and fully developed spins seem to take nearly 1 full turn to recover, but recovery is always positive. After doing a number of spins to the left, I did a handful of spins to the right with roughly the result. All of these were power off with ailerons neutral. I’ll try power on and in/out spin ailerons on subsequent flights. Overall, it’s a fun plane to spin. One surprise was that the SkyView really freaks out while spinning. On one recovery, It showed me upside down after recovering to straight and level. It fixed itself within just a few seconds (which is substantially better than most competing EFISes).

After landing with a nice warm engine, I taxied back to the hangar and did a slow mixture pull to confirm a small RPM rise. There was no perceptible rise, so I think I overshot the correct mixture and I’m now running too lean. I’ll adjust it before the next flight.

Restored Airplane to Flight Status

Since I had the aft baggage wall out to adjust the ADAHRS, I took the opportunity to inspect all of the elevator linkages and relubricate them.  I then vacuumed out the entire fuselage.  Despite doing this thoroughly before first flight, there was an amazing amount of debris including a large number of small metal particles from the drilling operation when assembling the fuselage.  I have no idea where these particles were hiding when I earlier cleaned out the fuselage.  I then reinstalled the aft baggage wall and all of the interior.

Before reinstalling the cowl, I adjusted the prop RPM again to hopefully get pretty close to 2700 RPM.  I also wrapped the fuel flow sensor with some extra thick fire sleeve and some safety wire.  It’s not the prettiest wrap job, but I’ll redo it if works.

Adjusted ADAHRS

The inclinometer on my SkyView has always shown nearly 1/2 ball out to the left, even when the fuselage was absolutely level.  After doing some research, it looked like the only way to adjust this was to shim the ADAHRS until in showed a centered ball with the fuselage level.  I used my shop crane to raise the tail to a level attitude and put my aircraft jacks under the jacking points on the wings to hold the plane rigid in the roll axis and to make minute adjustments to the lateral level of the plane.

After getting the longerons level, I used the wing jacks to adjust the lateral angle until my digital level showed 0.0 when placed across the seat back support.  I then zeroed the smaller digital level I have and placed it on the ADAHRS.  Sure enough, it showed about 0.5º angle with the left edge low (exactly as a left ball would indicate).

I removed the attachment screws holding down the ADAHRS and fabricated some small aluminum shims to fit under the left edge.  After some experimentation, I found that I needed a 0.048″ thick shim to center the ball.  Now the ball is nearly perfectly centered.  I’m really surprised how sensitive this is.  Varying the shim thickness by just a few thousandths made a visible difference in the position of the ball.  Given that my digital angle is only accurate to 0.1º, it’s really hard to get this accurate since I can now move the ball from one vertical mark to the other while still reading 0.0º on my digital level.

While I had the plane in the level attitude, I was curious how much ground clearance I have from the propeller tip.  This is the best case without any further gear compression.  If I were to bounce a wheel landing or raise the tail too far, this clearance could diminish significantly.

Greg also stopped by with his Windows laptop so we could make a few adjustments to my VP-X.  My Windows laptop is acting up (surprise, surprise), so I haven’t been able to use it to connect.  We configured the Wig-Wag function, set up intermediate stops on the flaps (and configured the VP-X to use them instead of requiring me to hold the flap switch until they reach the position I want), and turned off current monitoring on the fuel pump.  I still need to adjust the flap airspeeds, but I forgot at the time.

SkyView Battery Test, Bowden Clamps and Fuel Filter Servicing

I previously sent the backup battery from my left SkyView screen into Dynon because it didn’t seem to be charging during the first few flights.  They charged the battery and tested it and it was fine.  They sent it back to me so I installed it tonight and ran the battery test on both screens.  Both passed by powering the screens for 45 minutes (and new batteries should power the screens for more than 1 hour).

While the battery test was running, I replaced a couple of cable clamps in the engine compartment with non-cushion bowden clamps that hold the cable much more securely than the cushion clamps I was using before.  This is the clamp for the oil cooler butterfly control cable.

I also replaced the cable clamp at the forward end of the alternate air door control cable.

Finally, I decided to pull and clean the fuel filter again.  There was a surprising amount of gunk in the filter.  Most of the volume was some sort of fuzzy material, but there was also a lot of dust and even one small metal particle.  I redid the safety wire and installed it back in the airplane.

Finished Oil Change and RAM Mounts

I wrapped up the oil change by installing a steel cap that Greg gave me to replace the aluminum one that I previously had installed.  I installed and torqued it down in order to mark where to drill for safety wire, then removed and drilled it.  I now no longer have any aluminum fittings anywhere forward of the firewall containing flammable liquids (oil, fuel and brake fluid).  I then filled the engine with oil.

While I had the interior out, I decided to install a couple of RAM ball mounts.  While the upper side panels were still in place, I marked and drilled through them and the upper channel here.  I then removed the upper side panels and installed some NAS1329A08K75 rivnuts.

I reinstalled the upper side panels and then attached the RAM ball mounts.  Here’s the one on the passenger’s side.

Here’s the one on the left side.

I’ve been flying with an iPad mini for ForeFlight since I like it as a nav backup and I keep my POH, avionics owner’s manuals, etc. in there.  I was just laying it on the seat, but that’s a pain when I want to do some acro.  Mounting it should keep it handy but also keep it from flying around the cockpit when inverted.

Oil Change

After letting the oil drain completely from the engine overnight, I pulled the oil filter and oil screen.  I really need to figure out a less messy way to pull the filter as I spent more time cleaning up spilled oil than actually removing the filter.

I also pulled the drain cap off of the low point at the oil cooler.  I captured some of this in a cup to get an idea how much oil is in here.  I’m guessing it’s at least half a quart.

Here’s the oil screen.  I’ve heard it’s not uncommon to find some carbon particles in here, but mine was clean as a whistle.

I reinstalled the screen with a new crush washer and safety wired it shut.  I’m really happy with how easy it is to access all of the parts of the engine necessary for an oil change.

Flight Testing

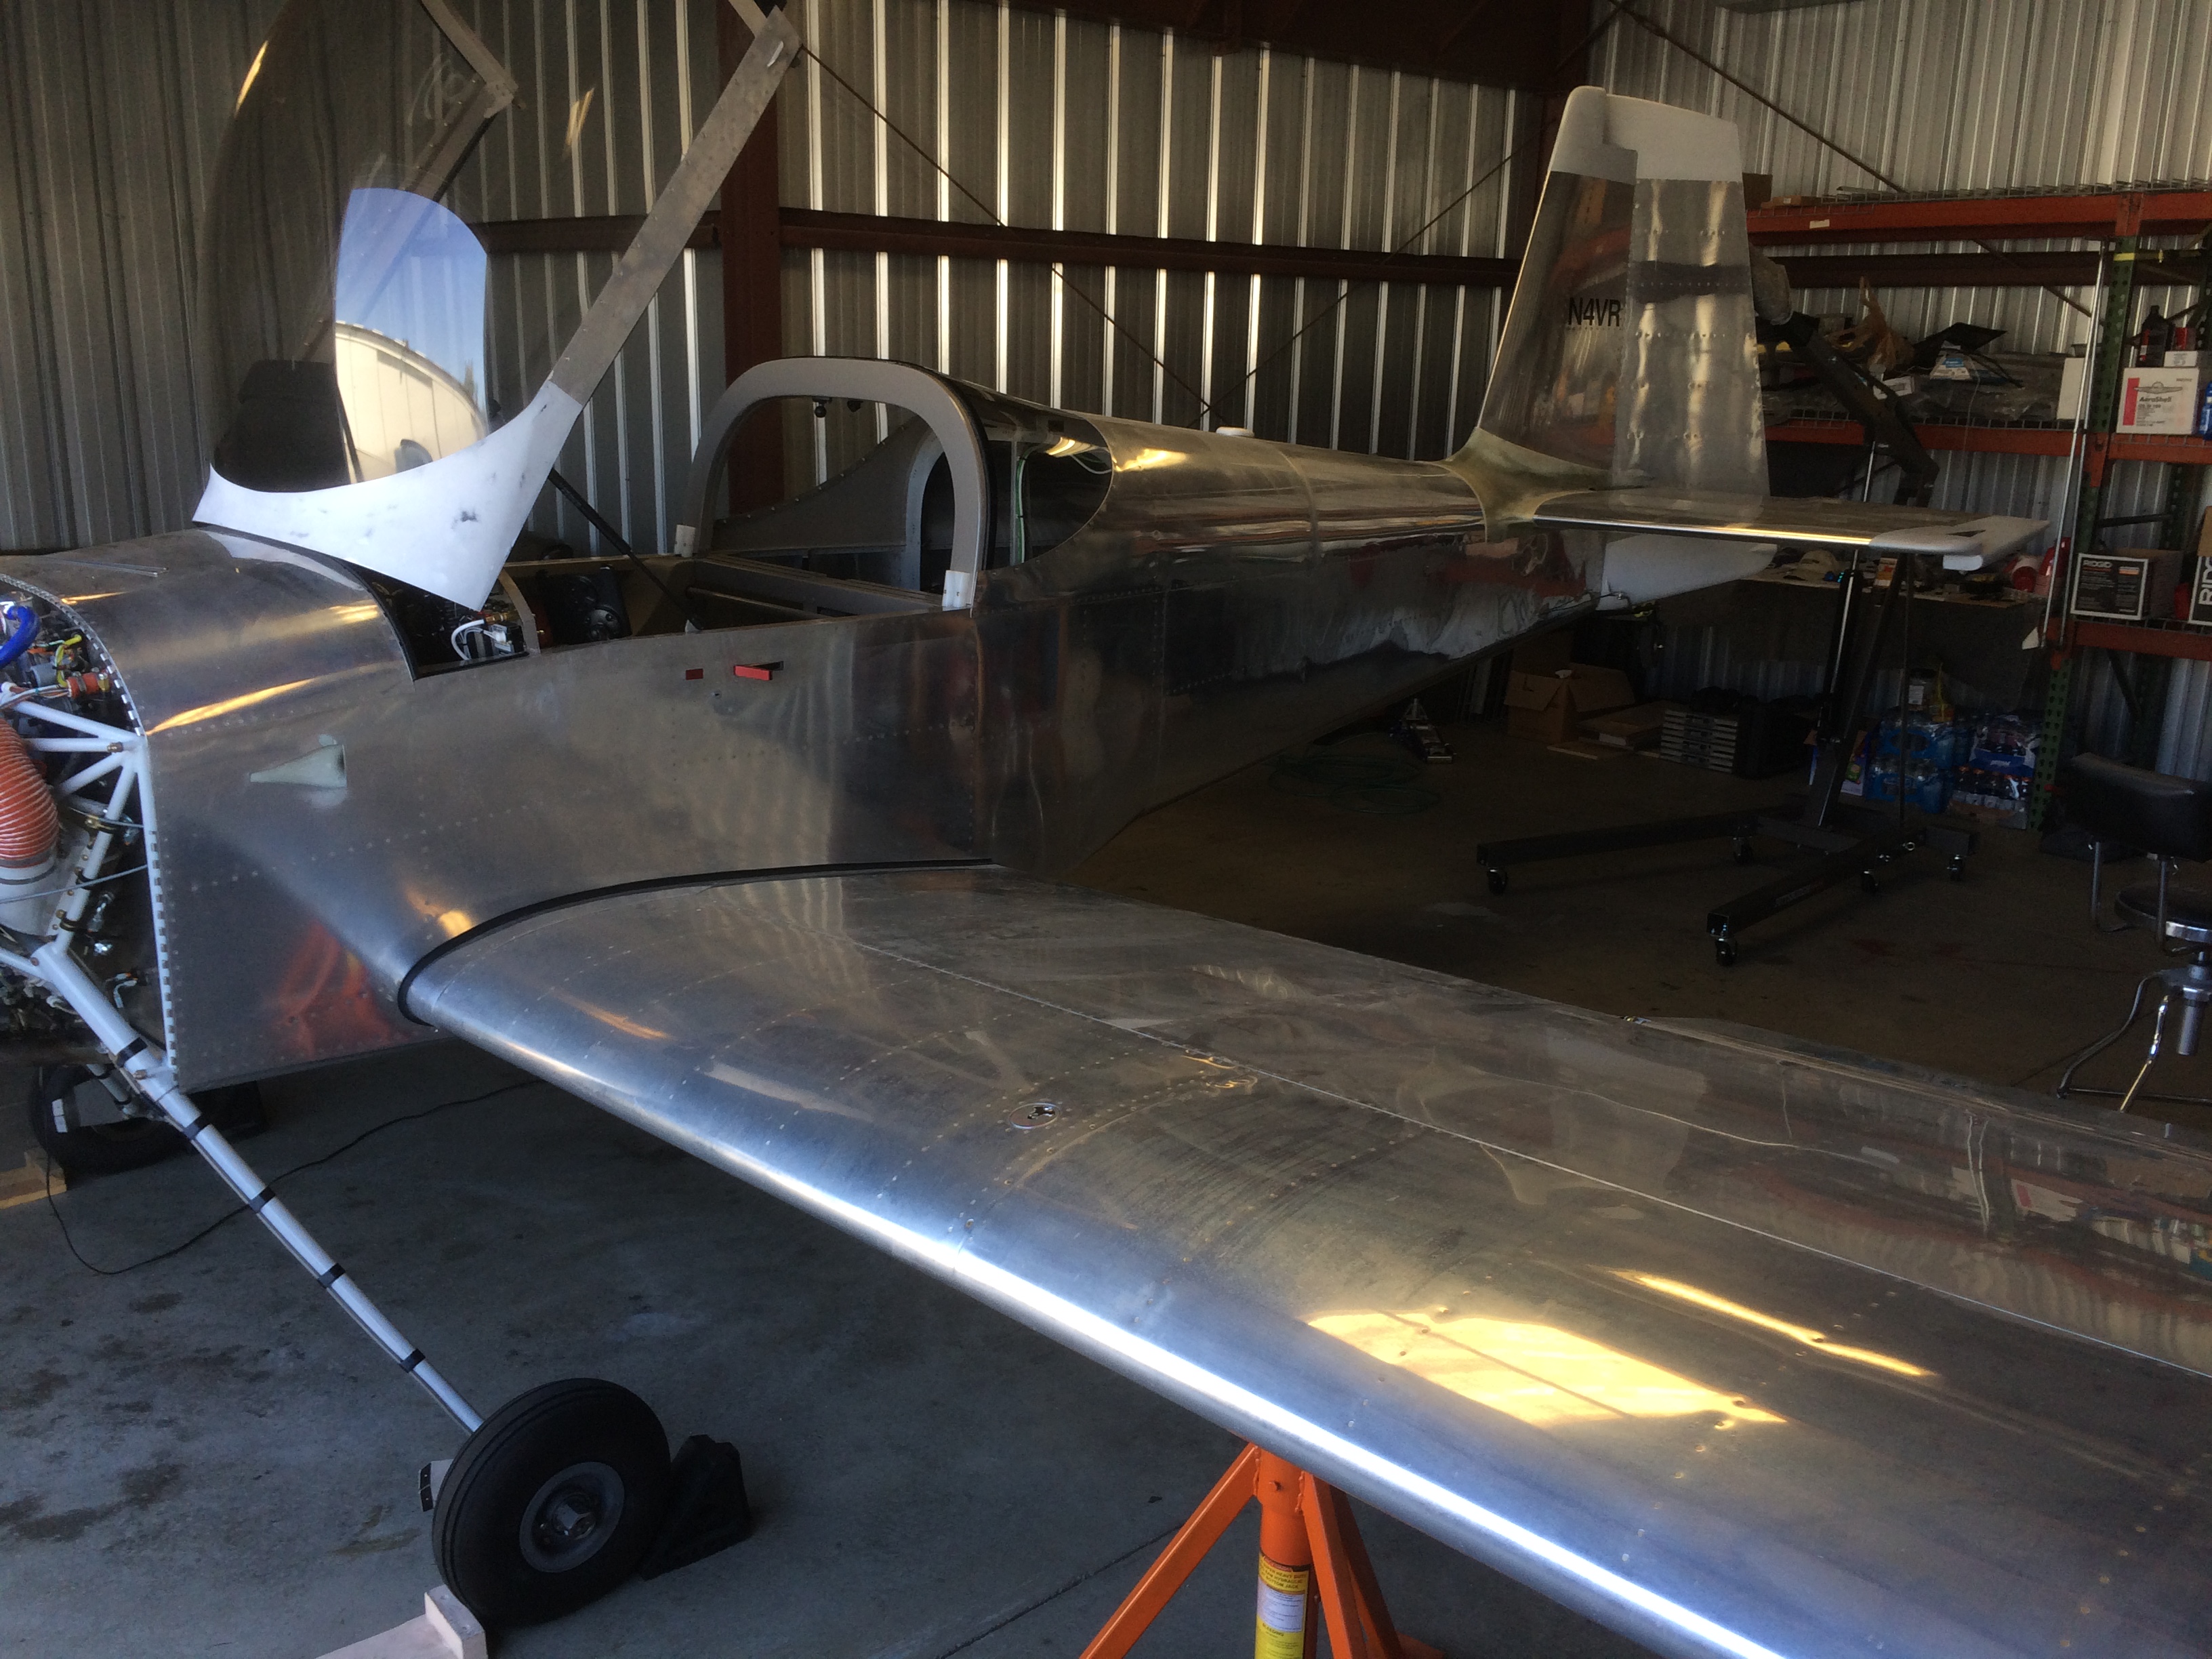
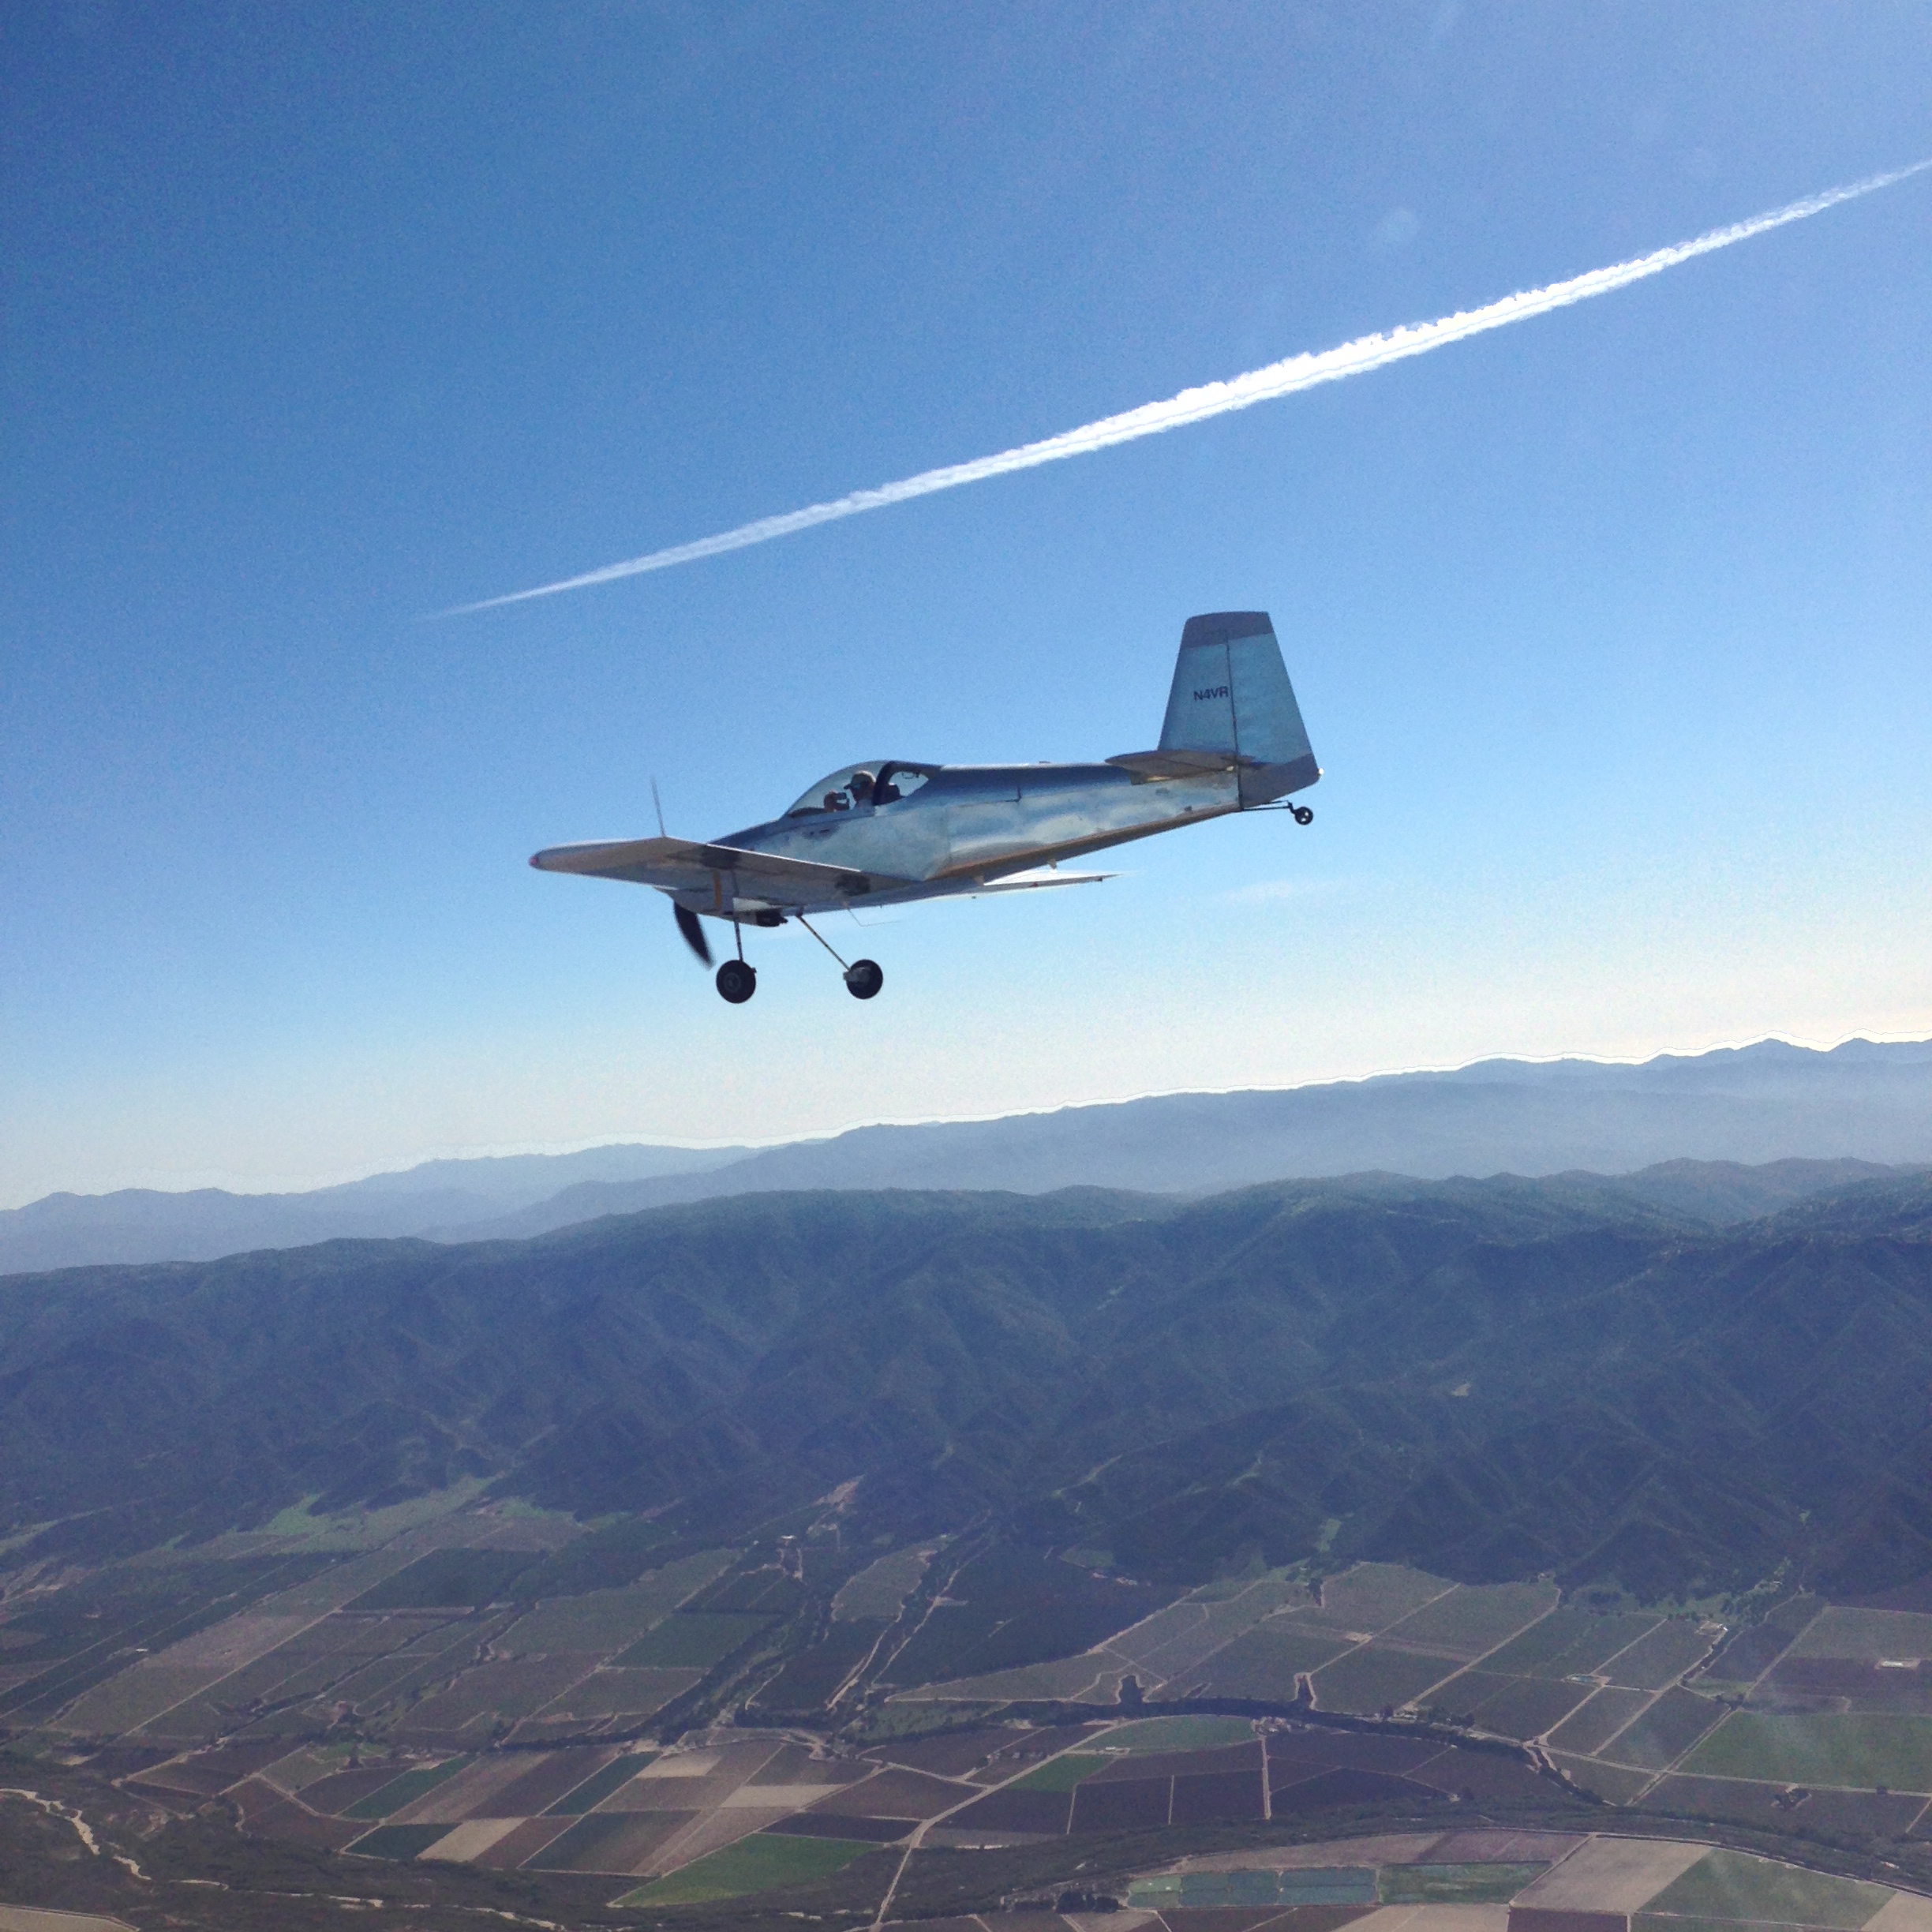
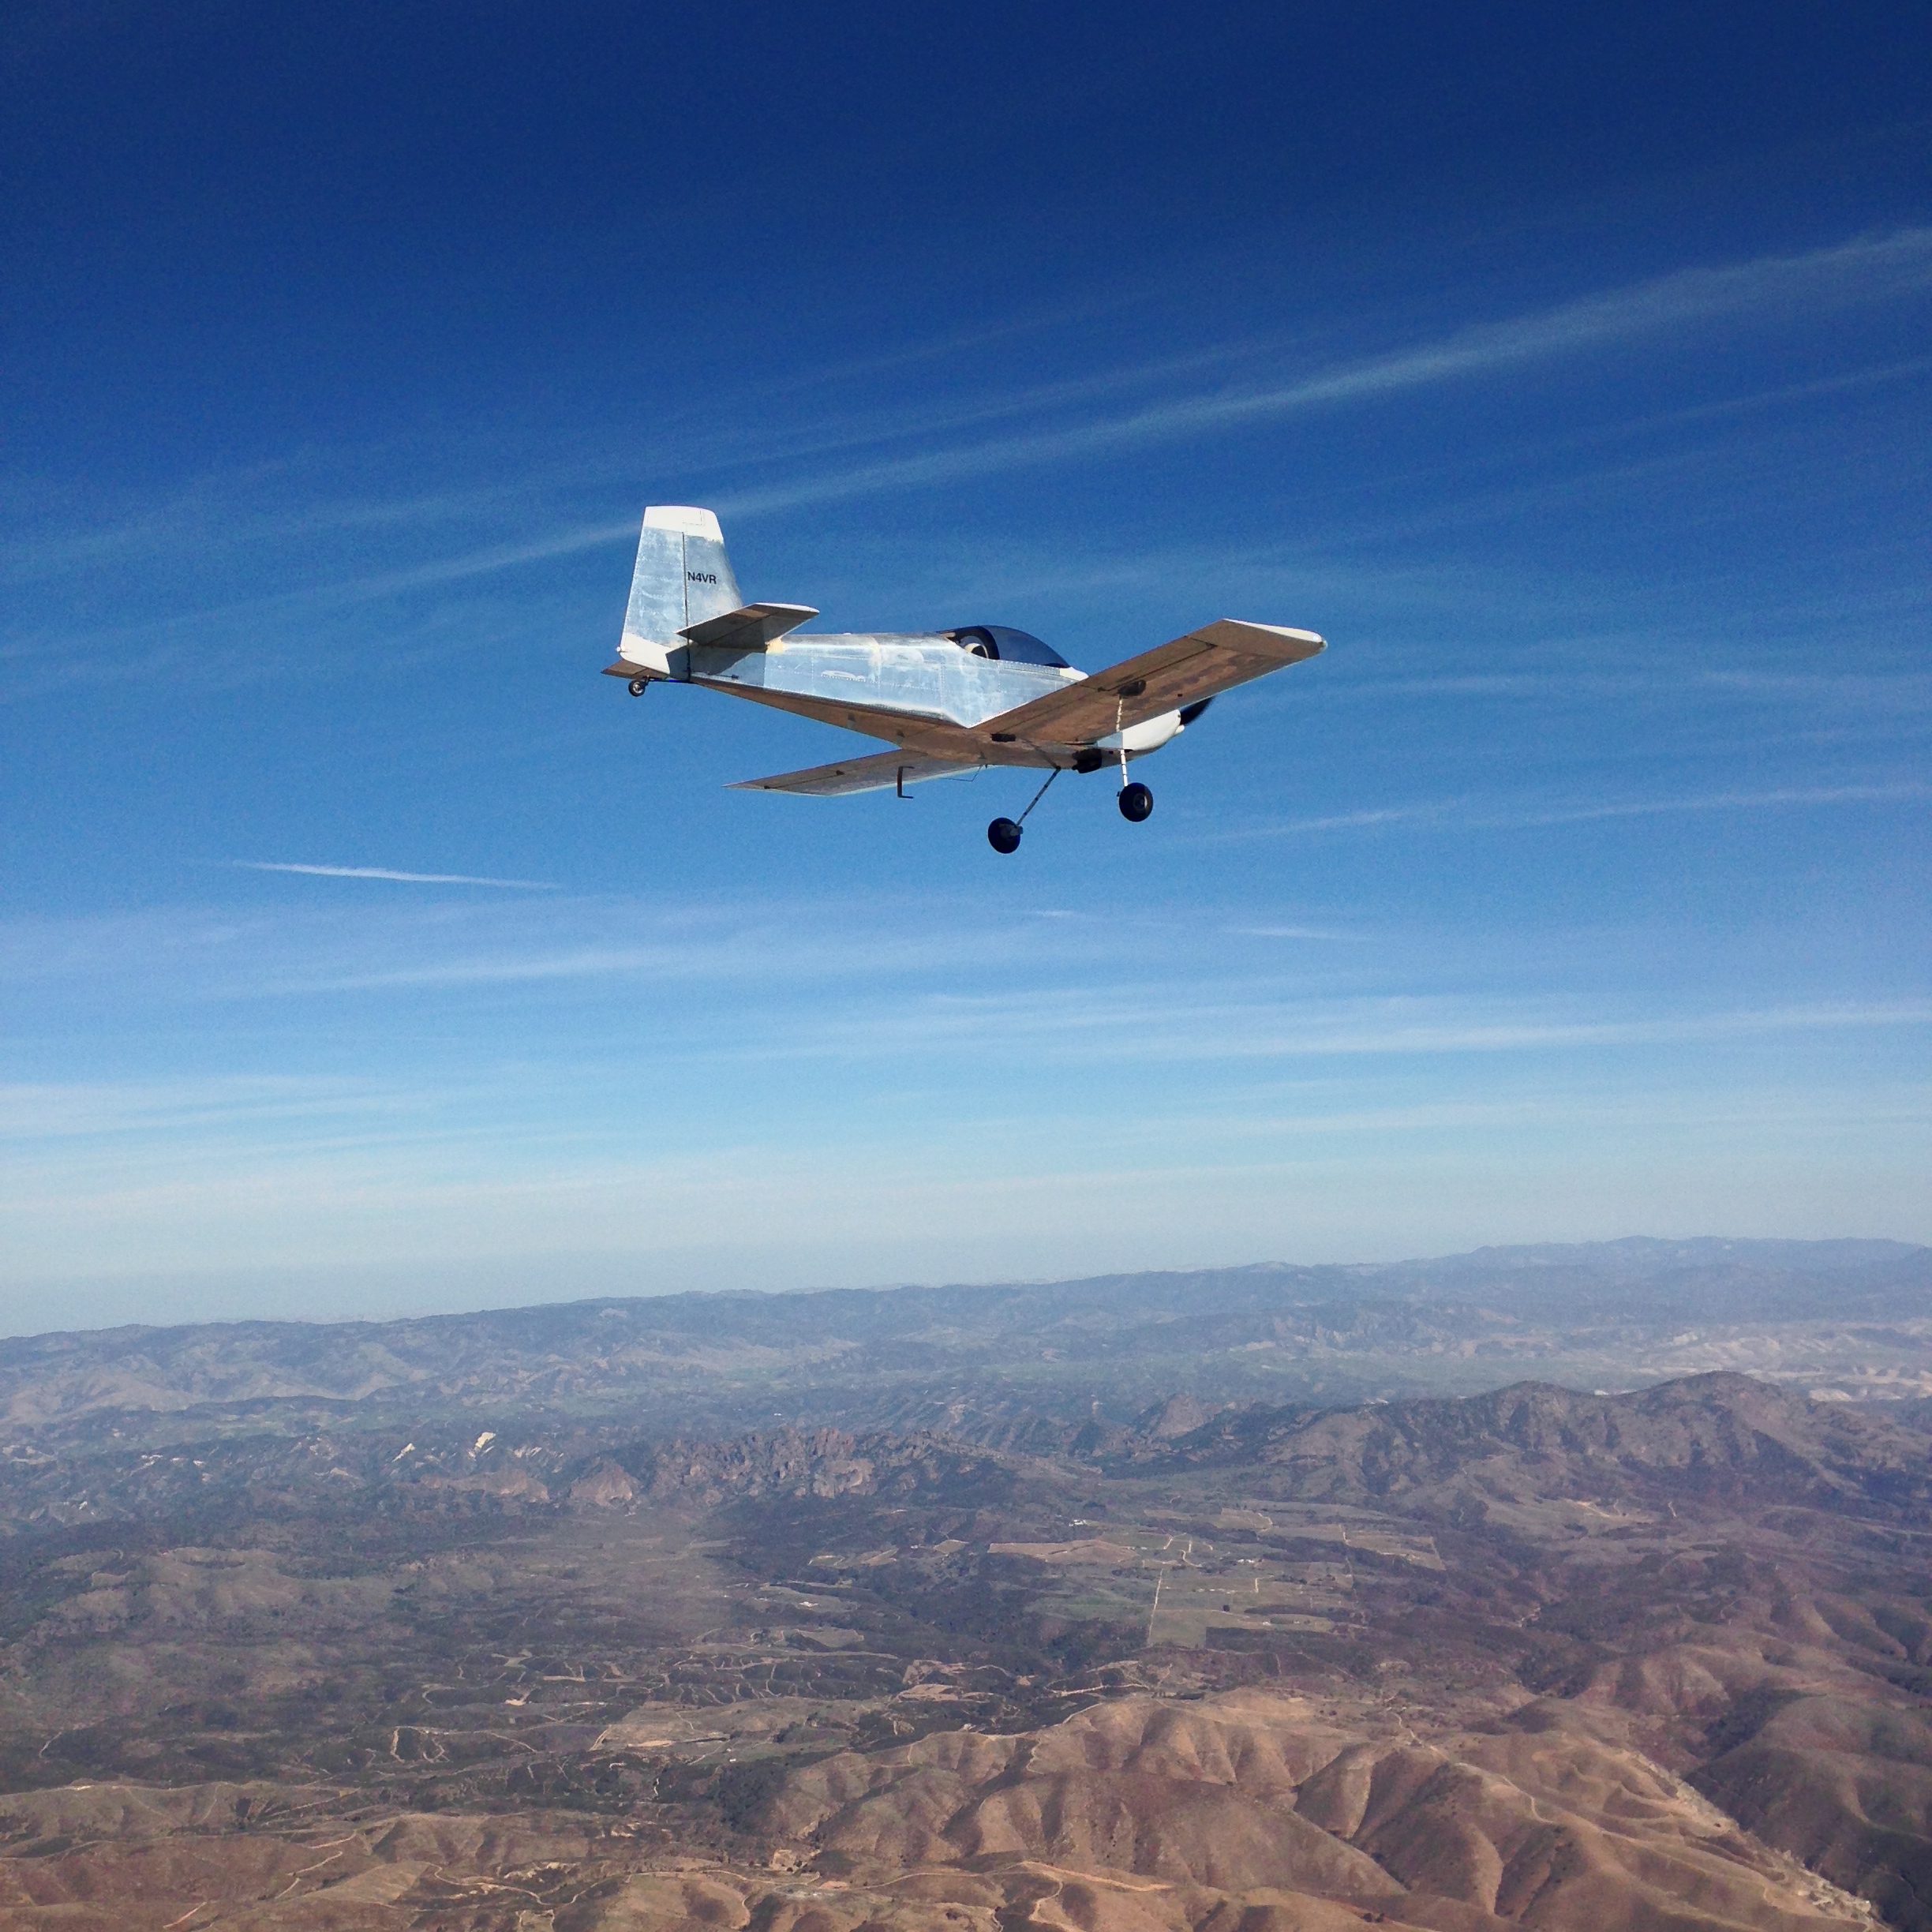
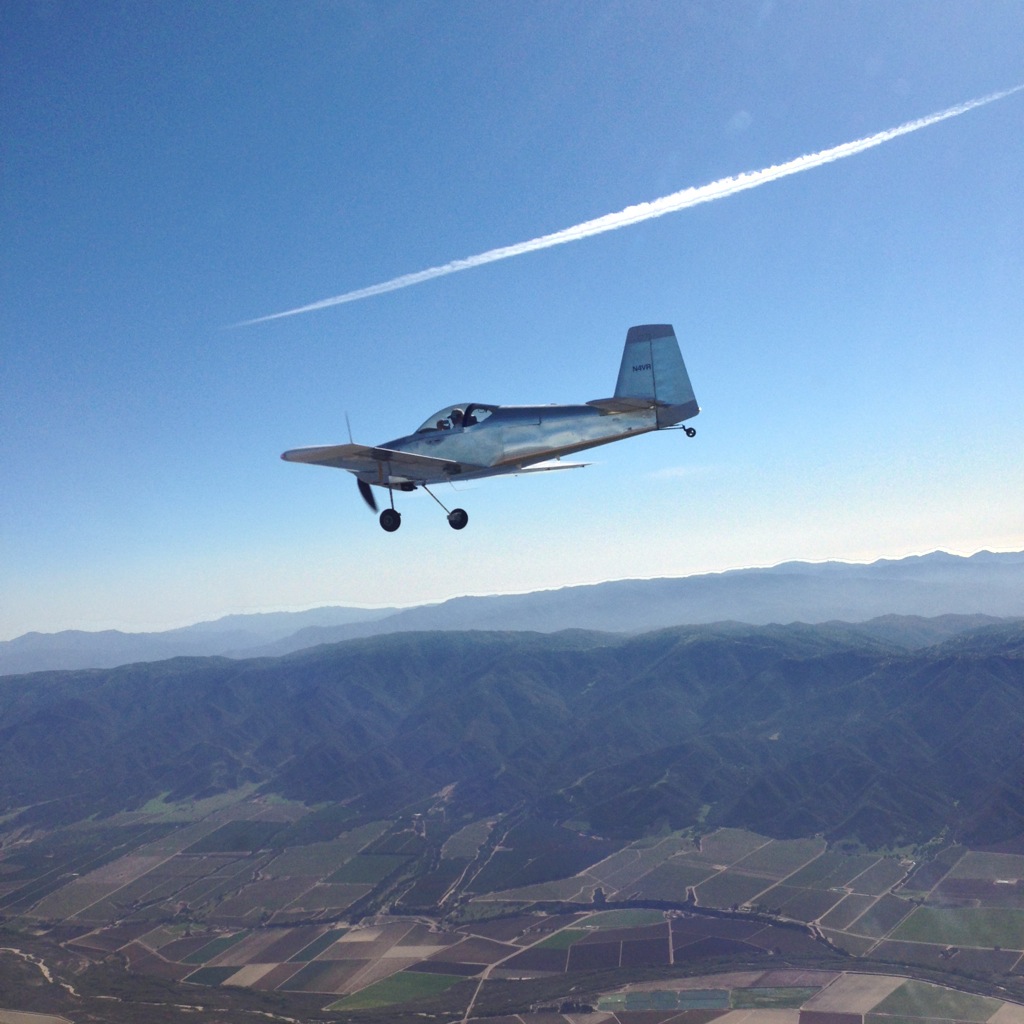
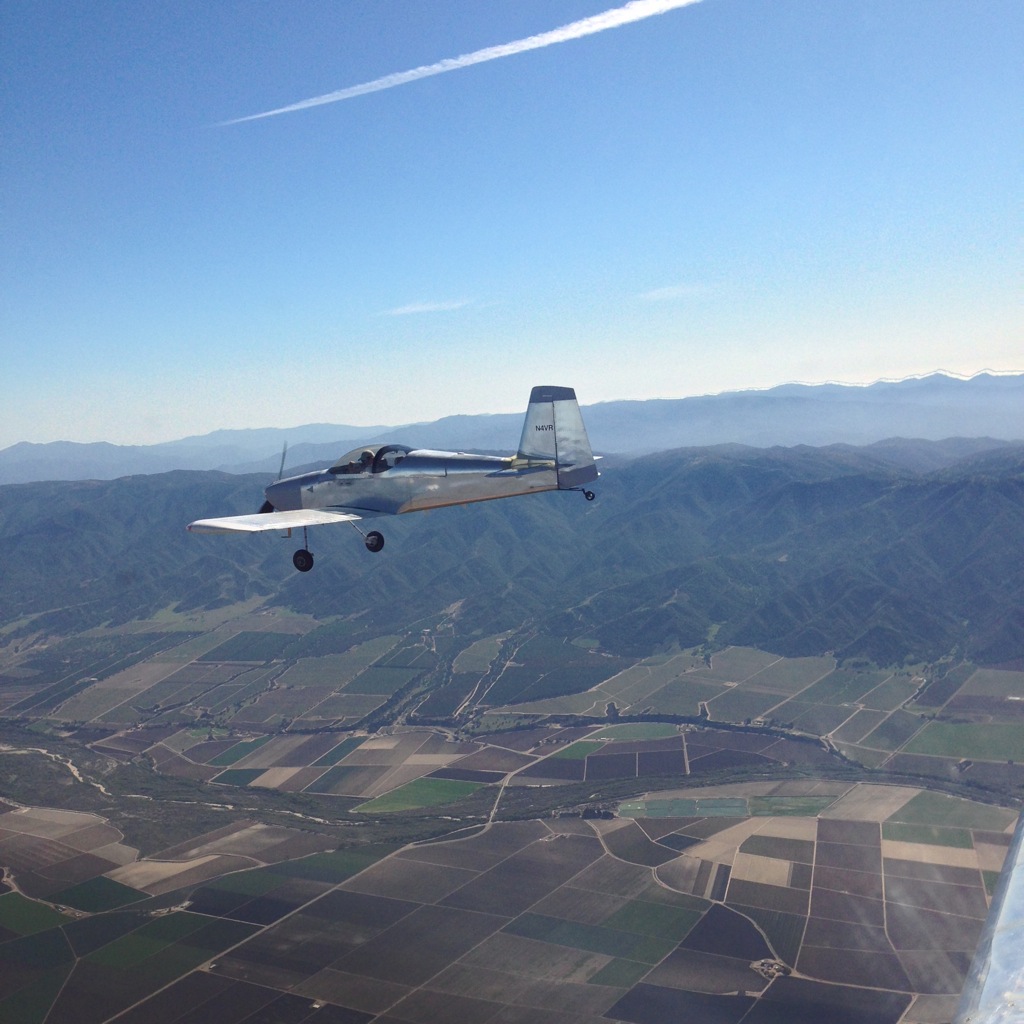
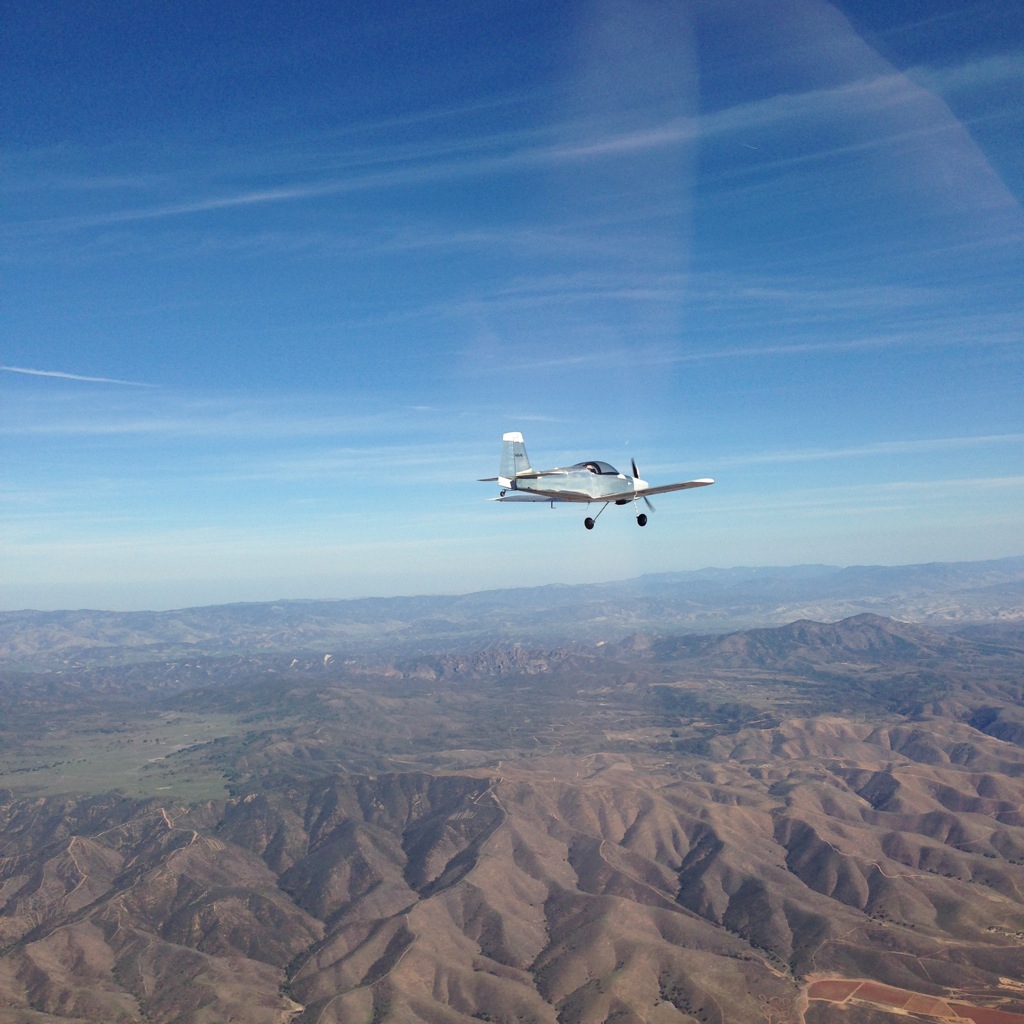
I spent the whole day yesterday helping my buddy Greg get ready for his first flight in his RV-8.  He had his airworthiness exam in the morning, then I gave the plane one last thorough inspection before everything was buttoned up for the first flight.  Since the flight went great and there were no squawks to fix, we decided to meet up for lunch in Watsonville with some other friends and then go do some loose formation work.  Greg got several very nice pictures of my plane in flight.


We traded places and I flew formation next to him for awhile.  I’m new to formation flight, and it’s definitely hard work flying in tight with another plane.  I was constantly adjusting the controls and varying the engine power.

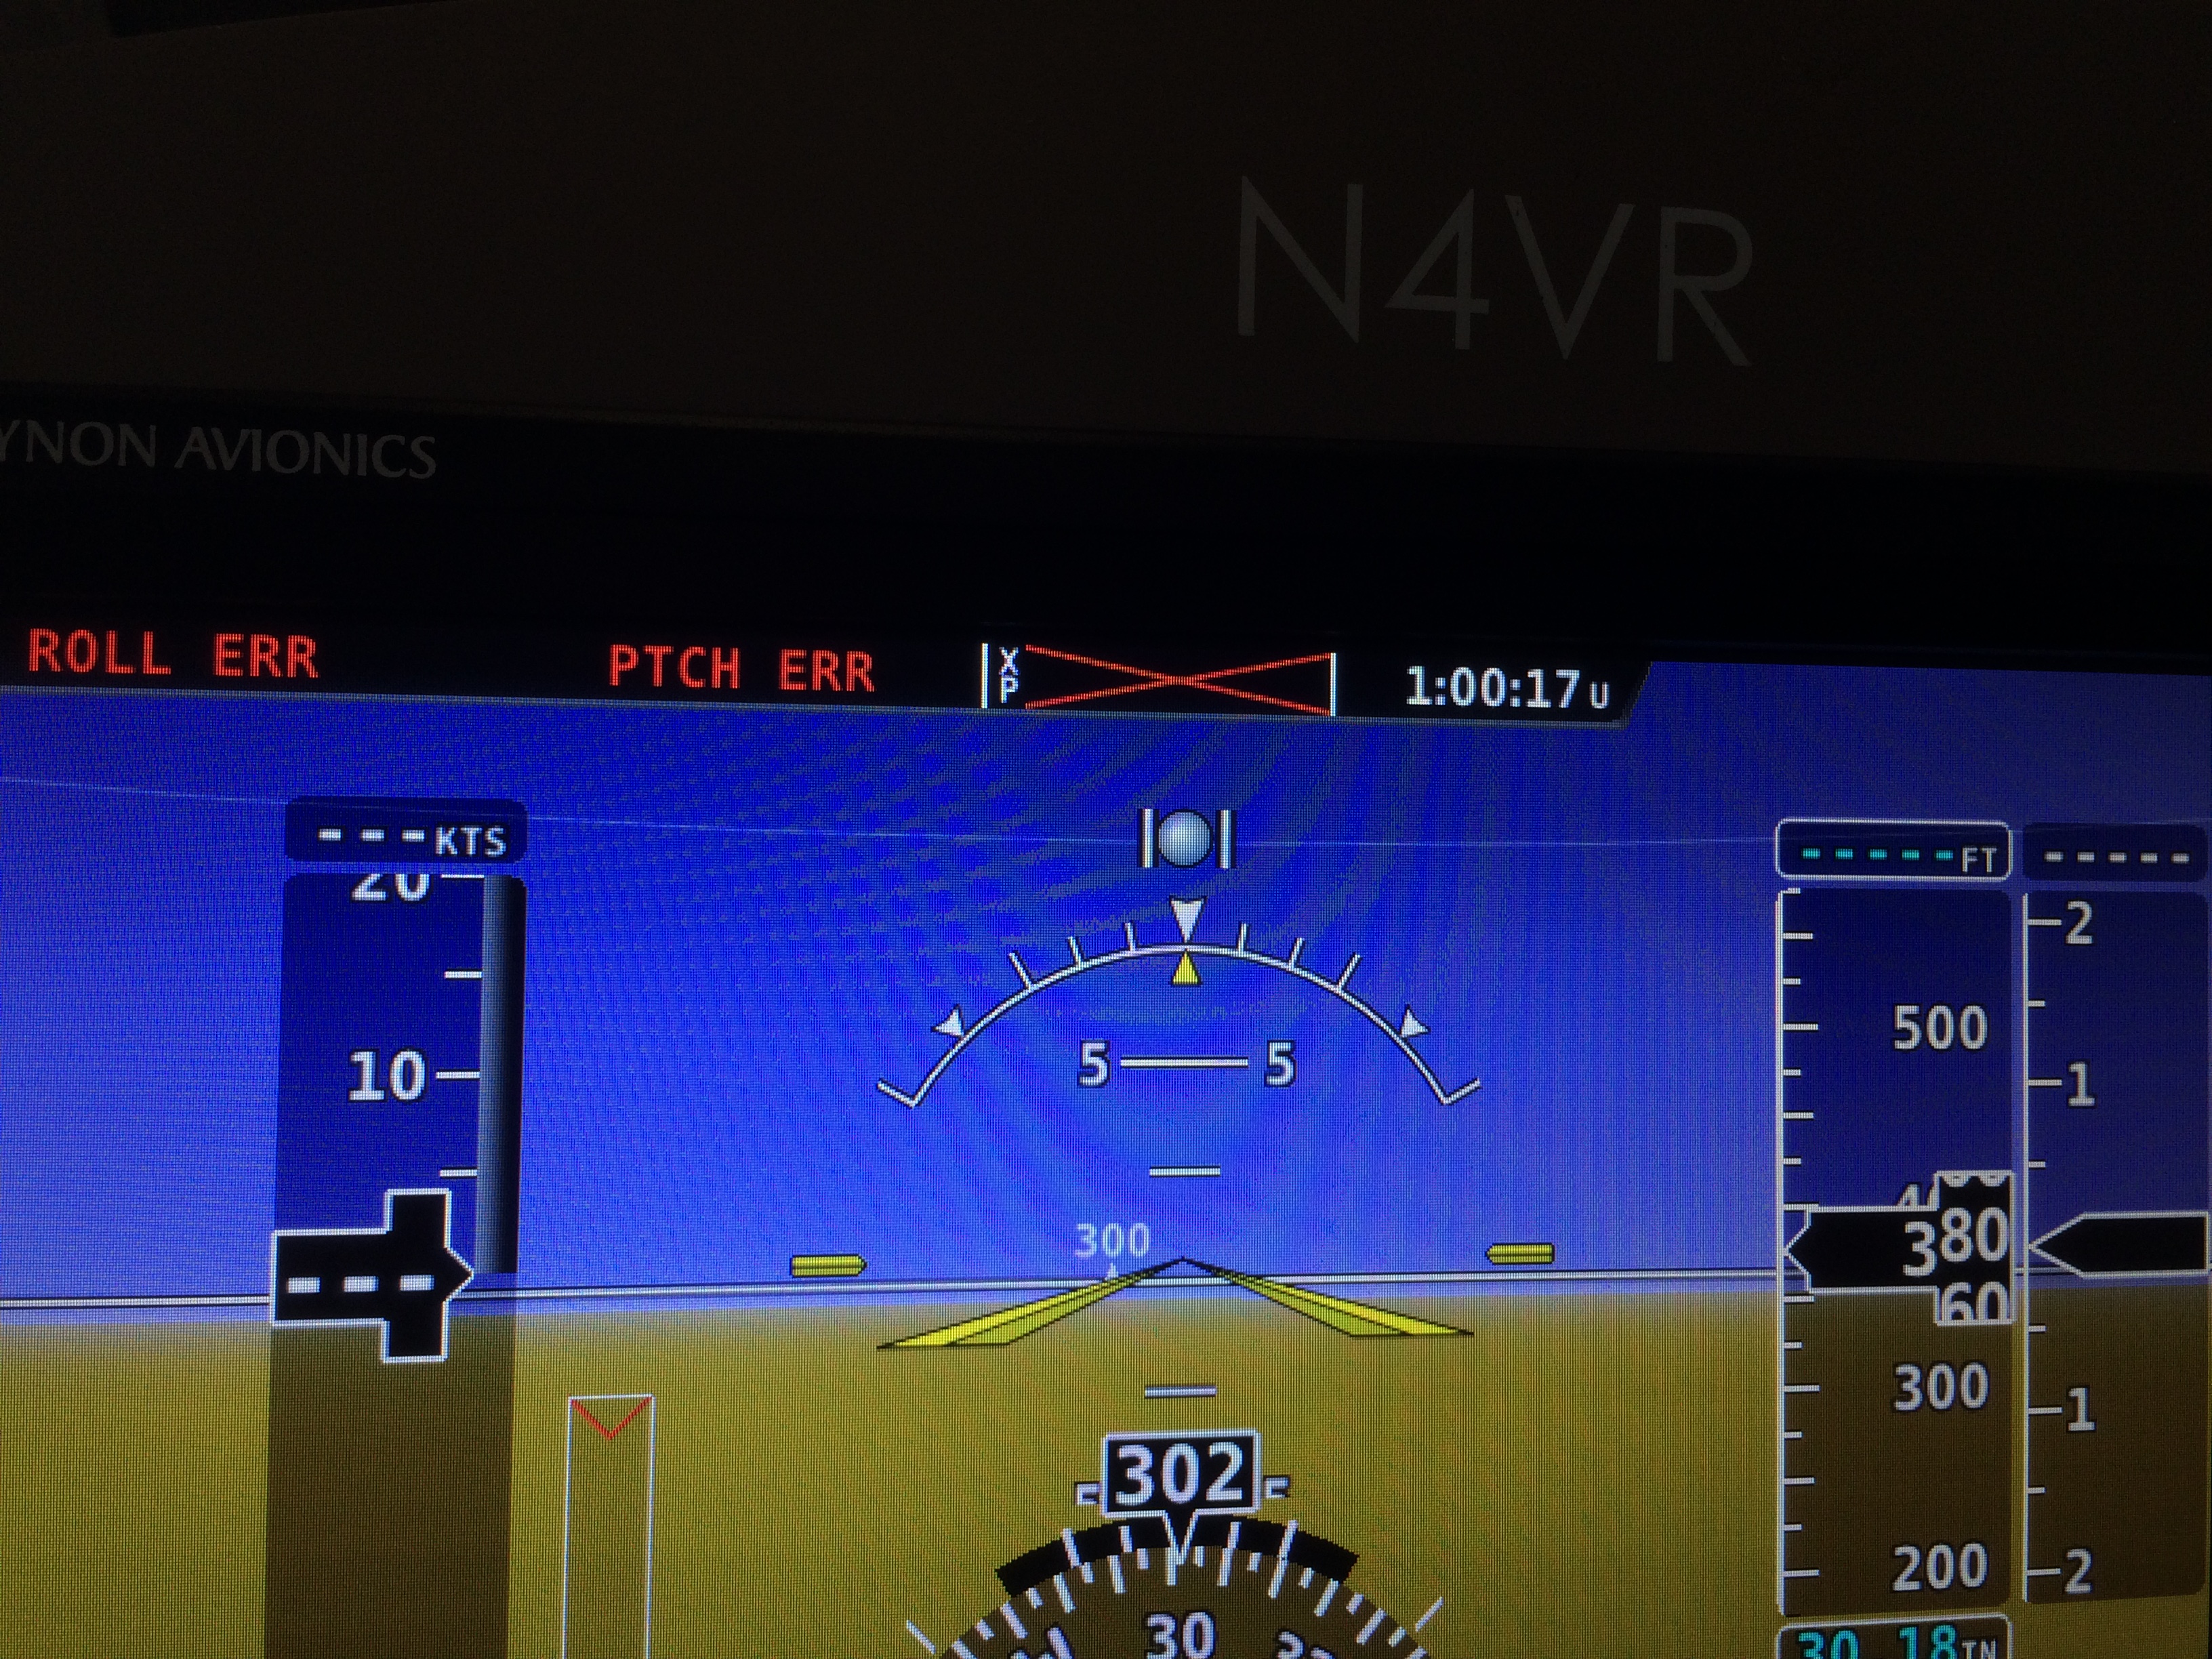
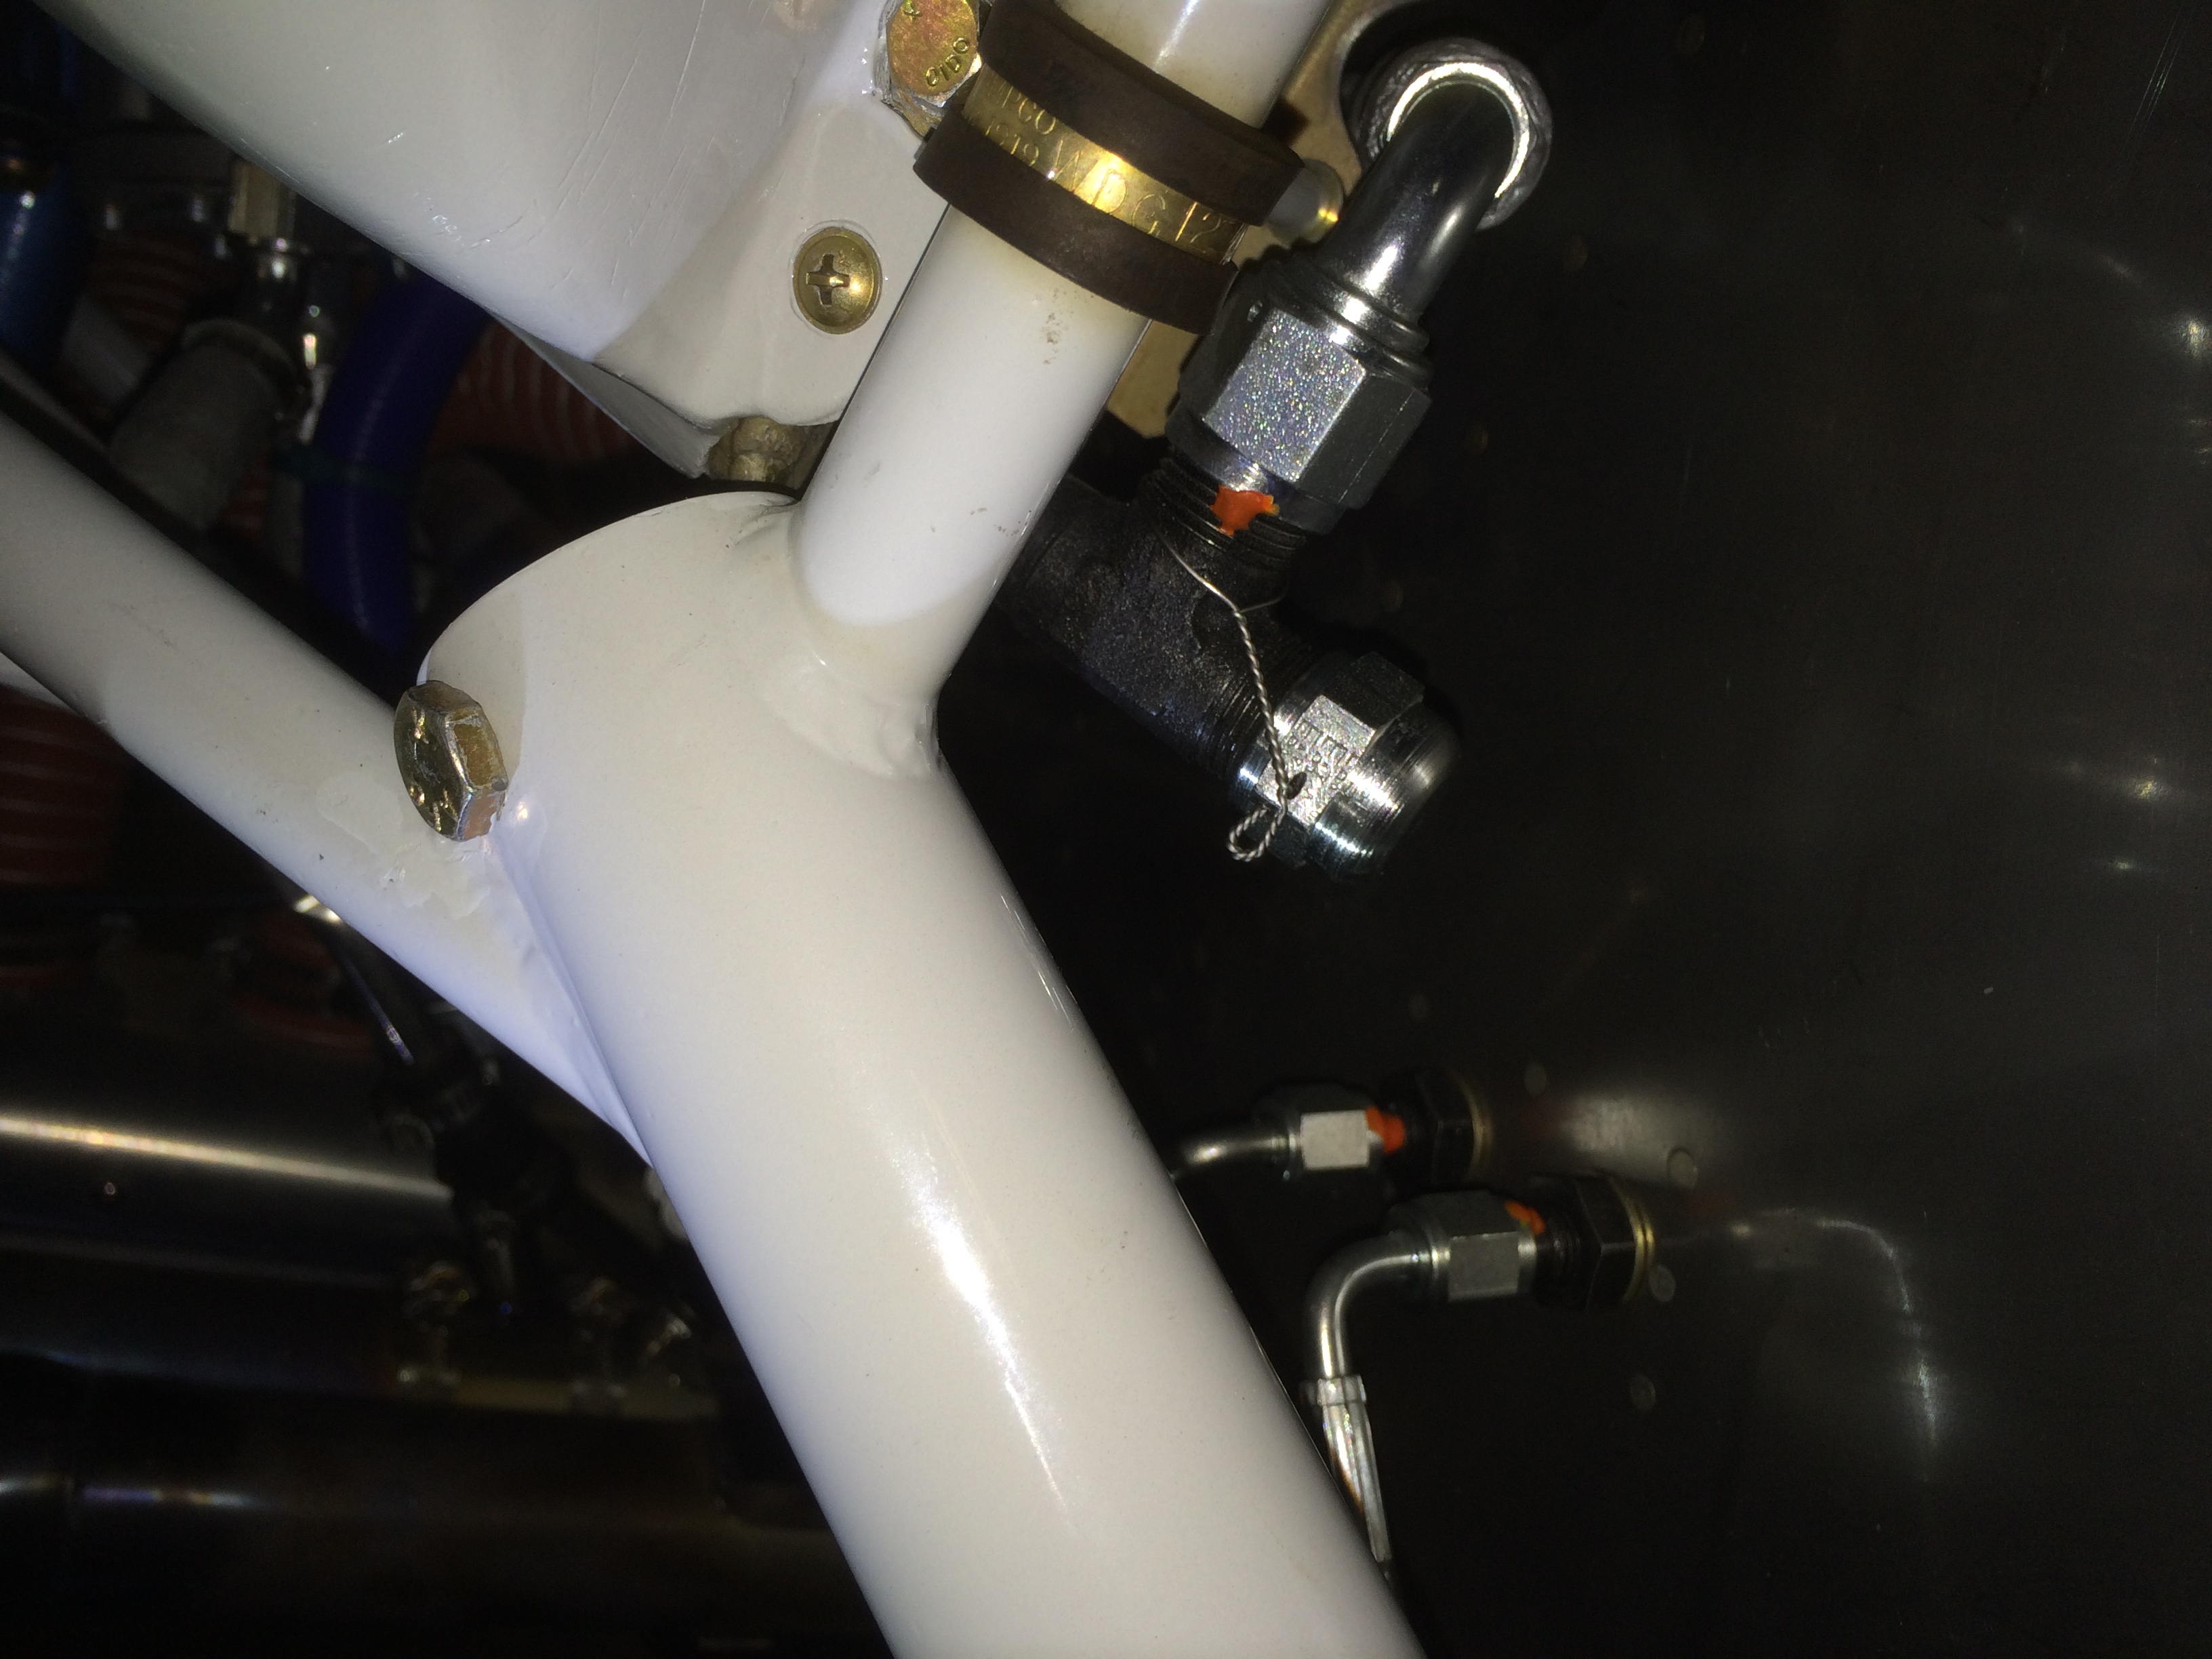
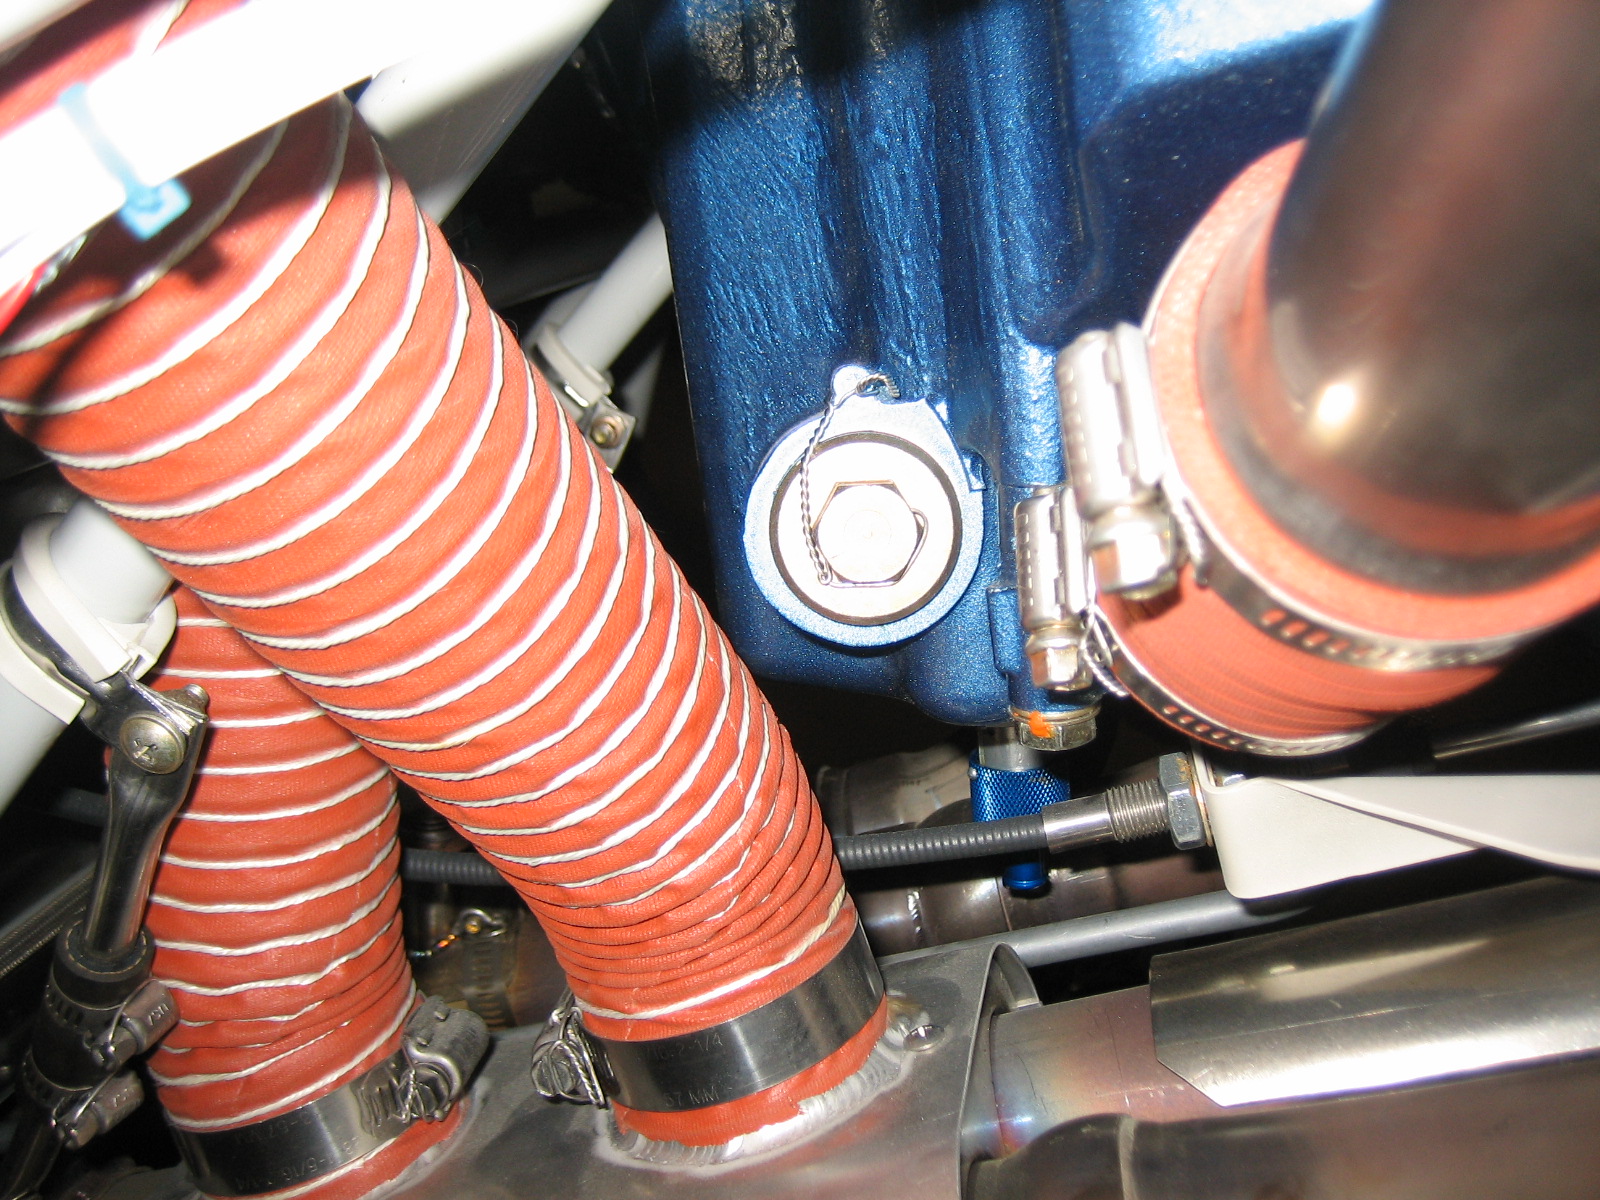
After 15 minutes or so, we broke formation and I headed out to the central valley and climbed to 10,000 ft for some higher altitude tests.  On one of my earlier flights, I had a brief episode where the fuel flow indication briefly dropped to zero.  The fuel flow itself didn’t drop since the engine was continuing to make power and my airspeed didn’t vary.  I had just run a tank dry for the fuel calibration, so I chalked it up to some air bubbles in the fuel line interfering with the turbine in the fuel flow sensor.  Today however, I started getting some fuel flow indication fluctuations in the climb to 10,000 ft, and the flow indication stayed very irregular while I was up there.  When I came back down to 6,000 ft, the fuel flow indications were rock solid.

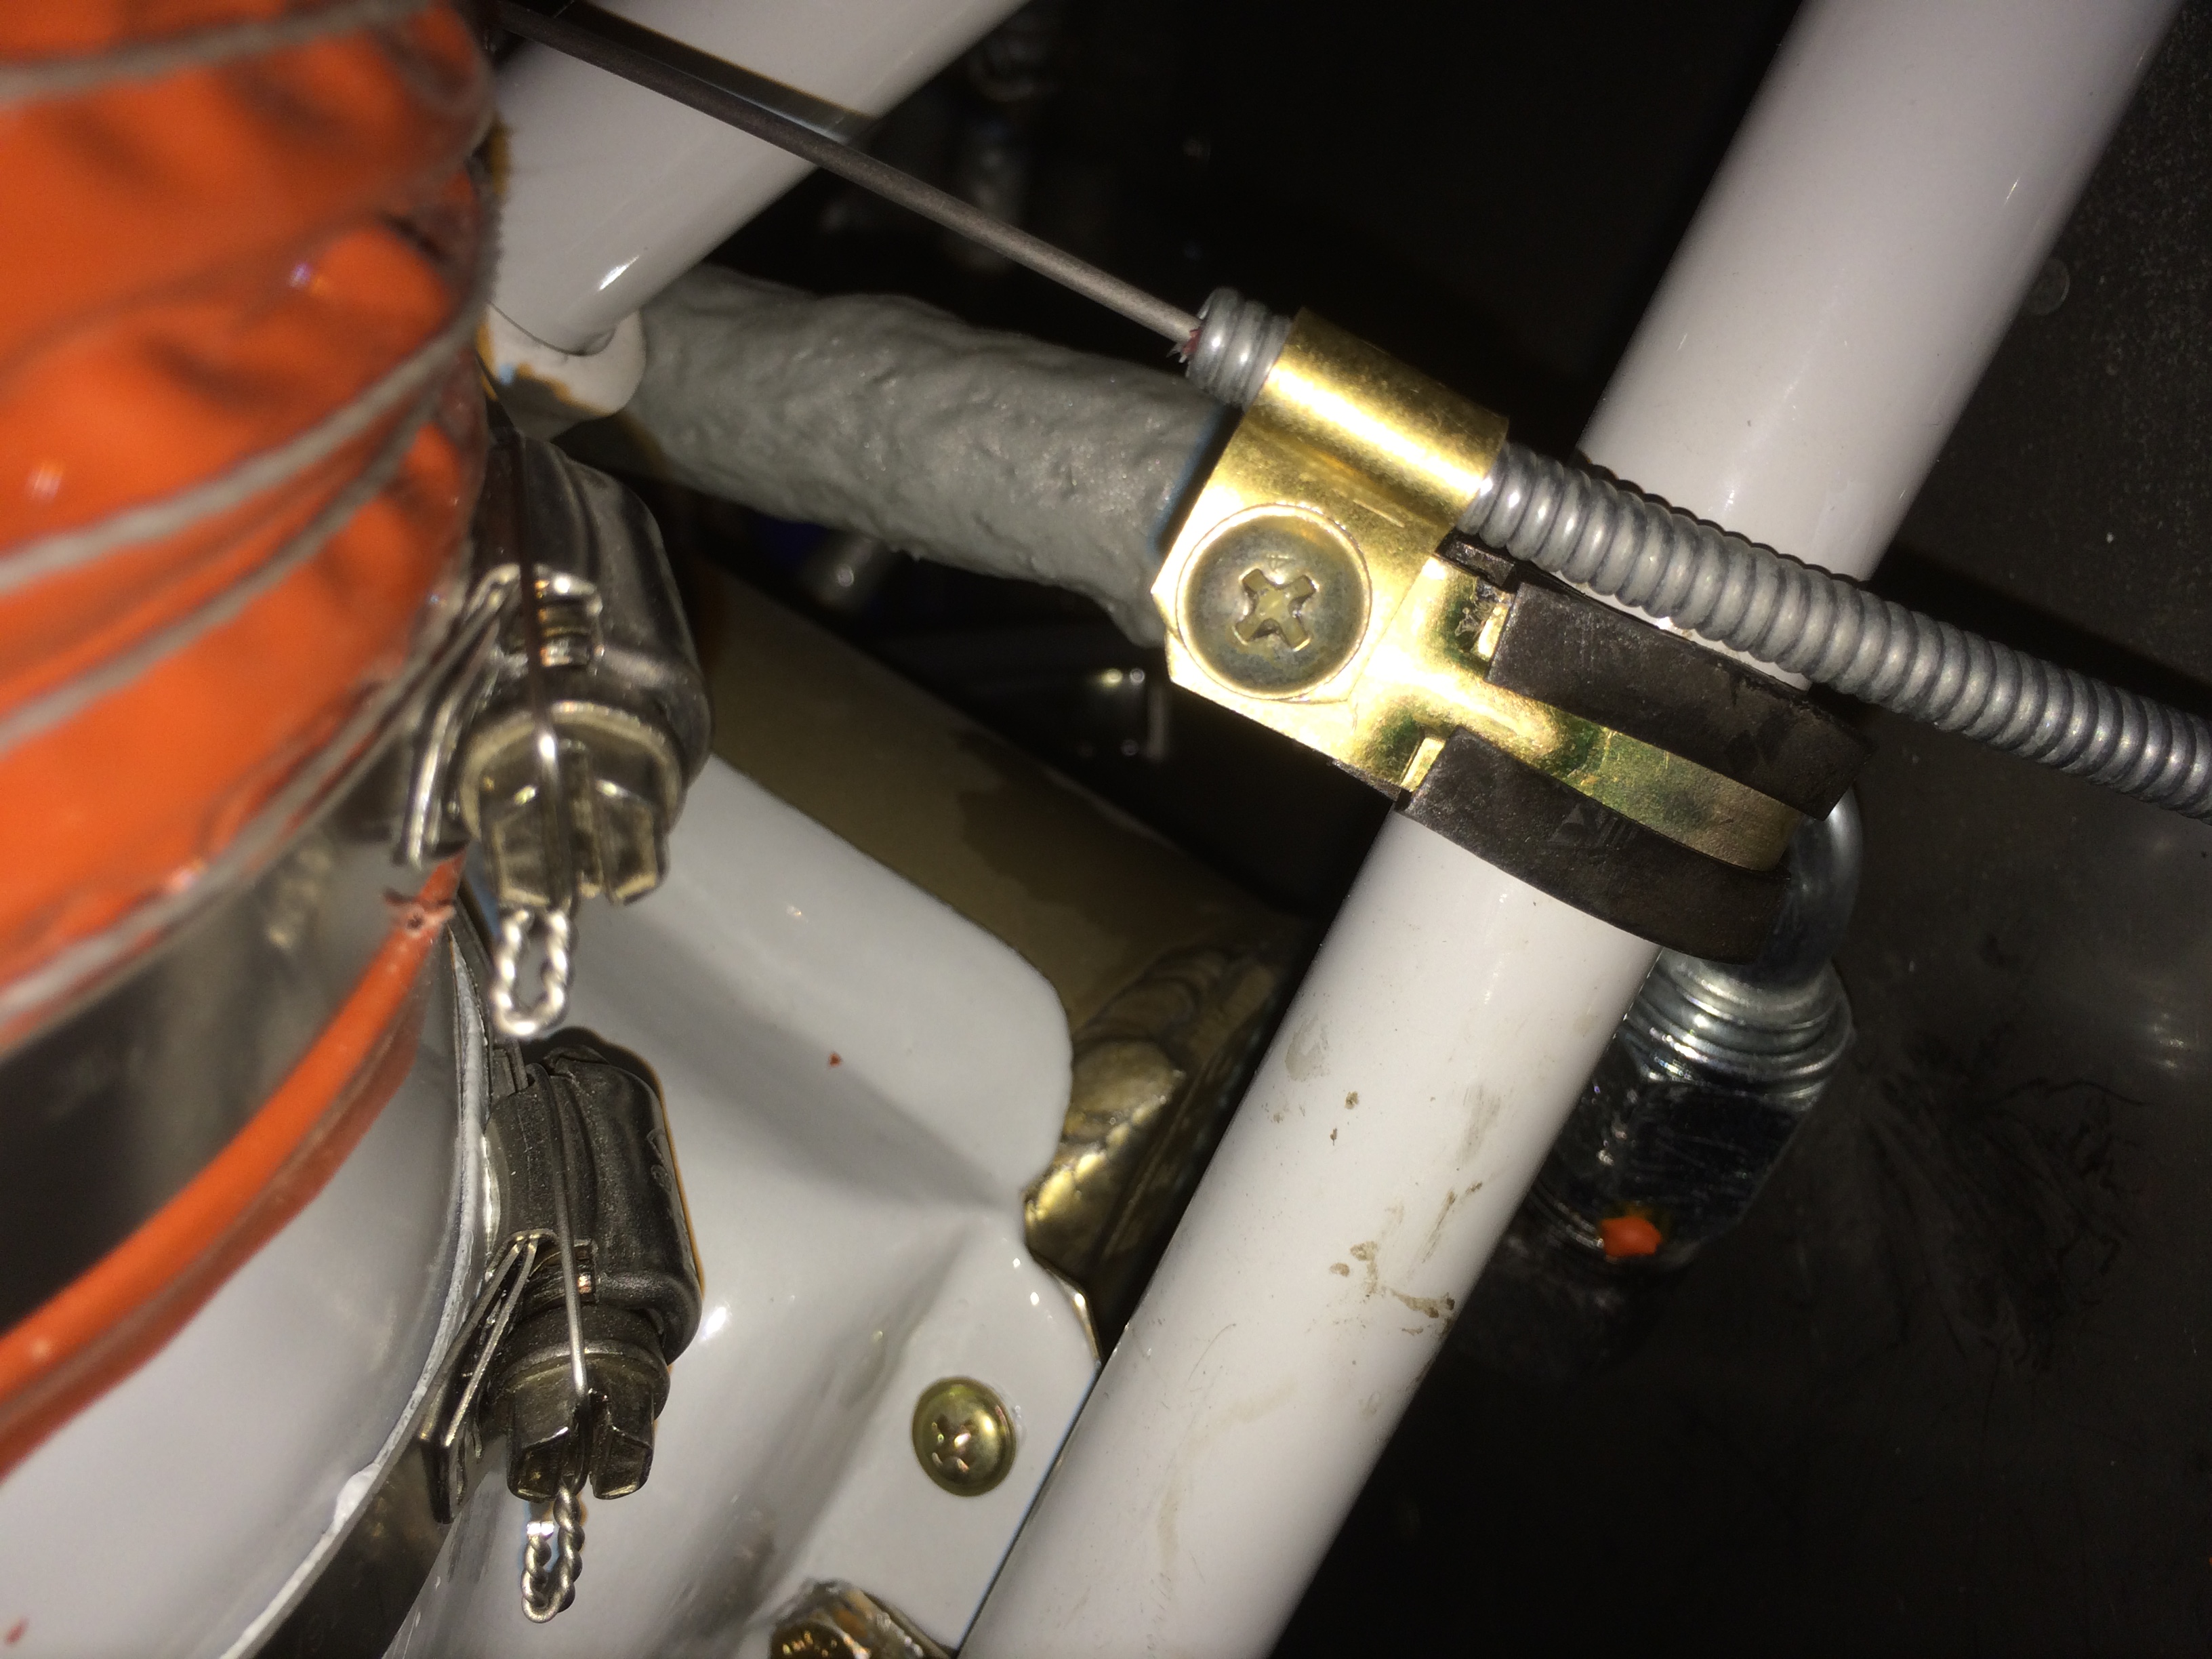
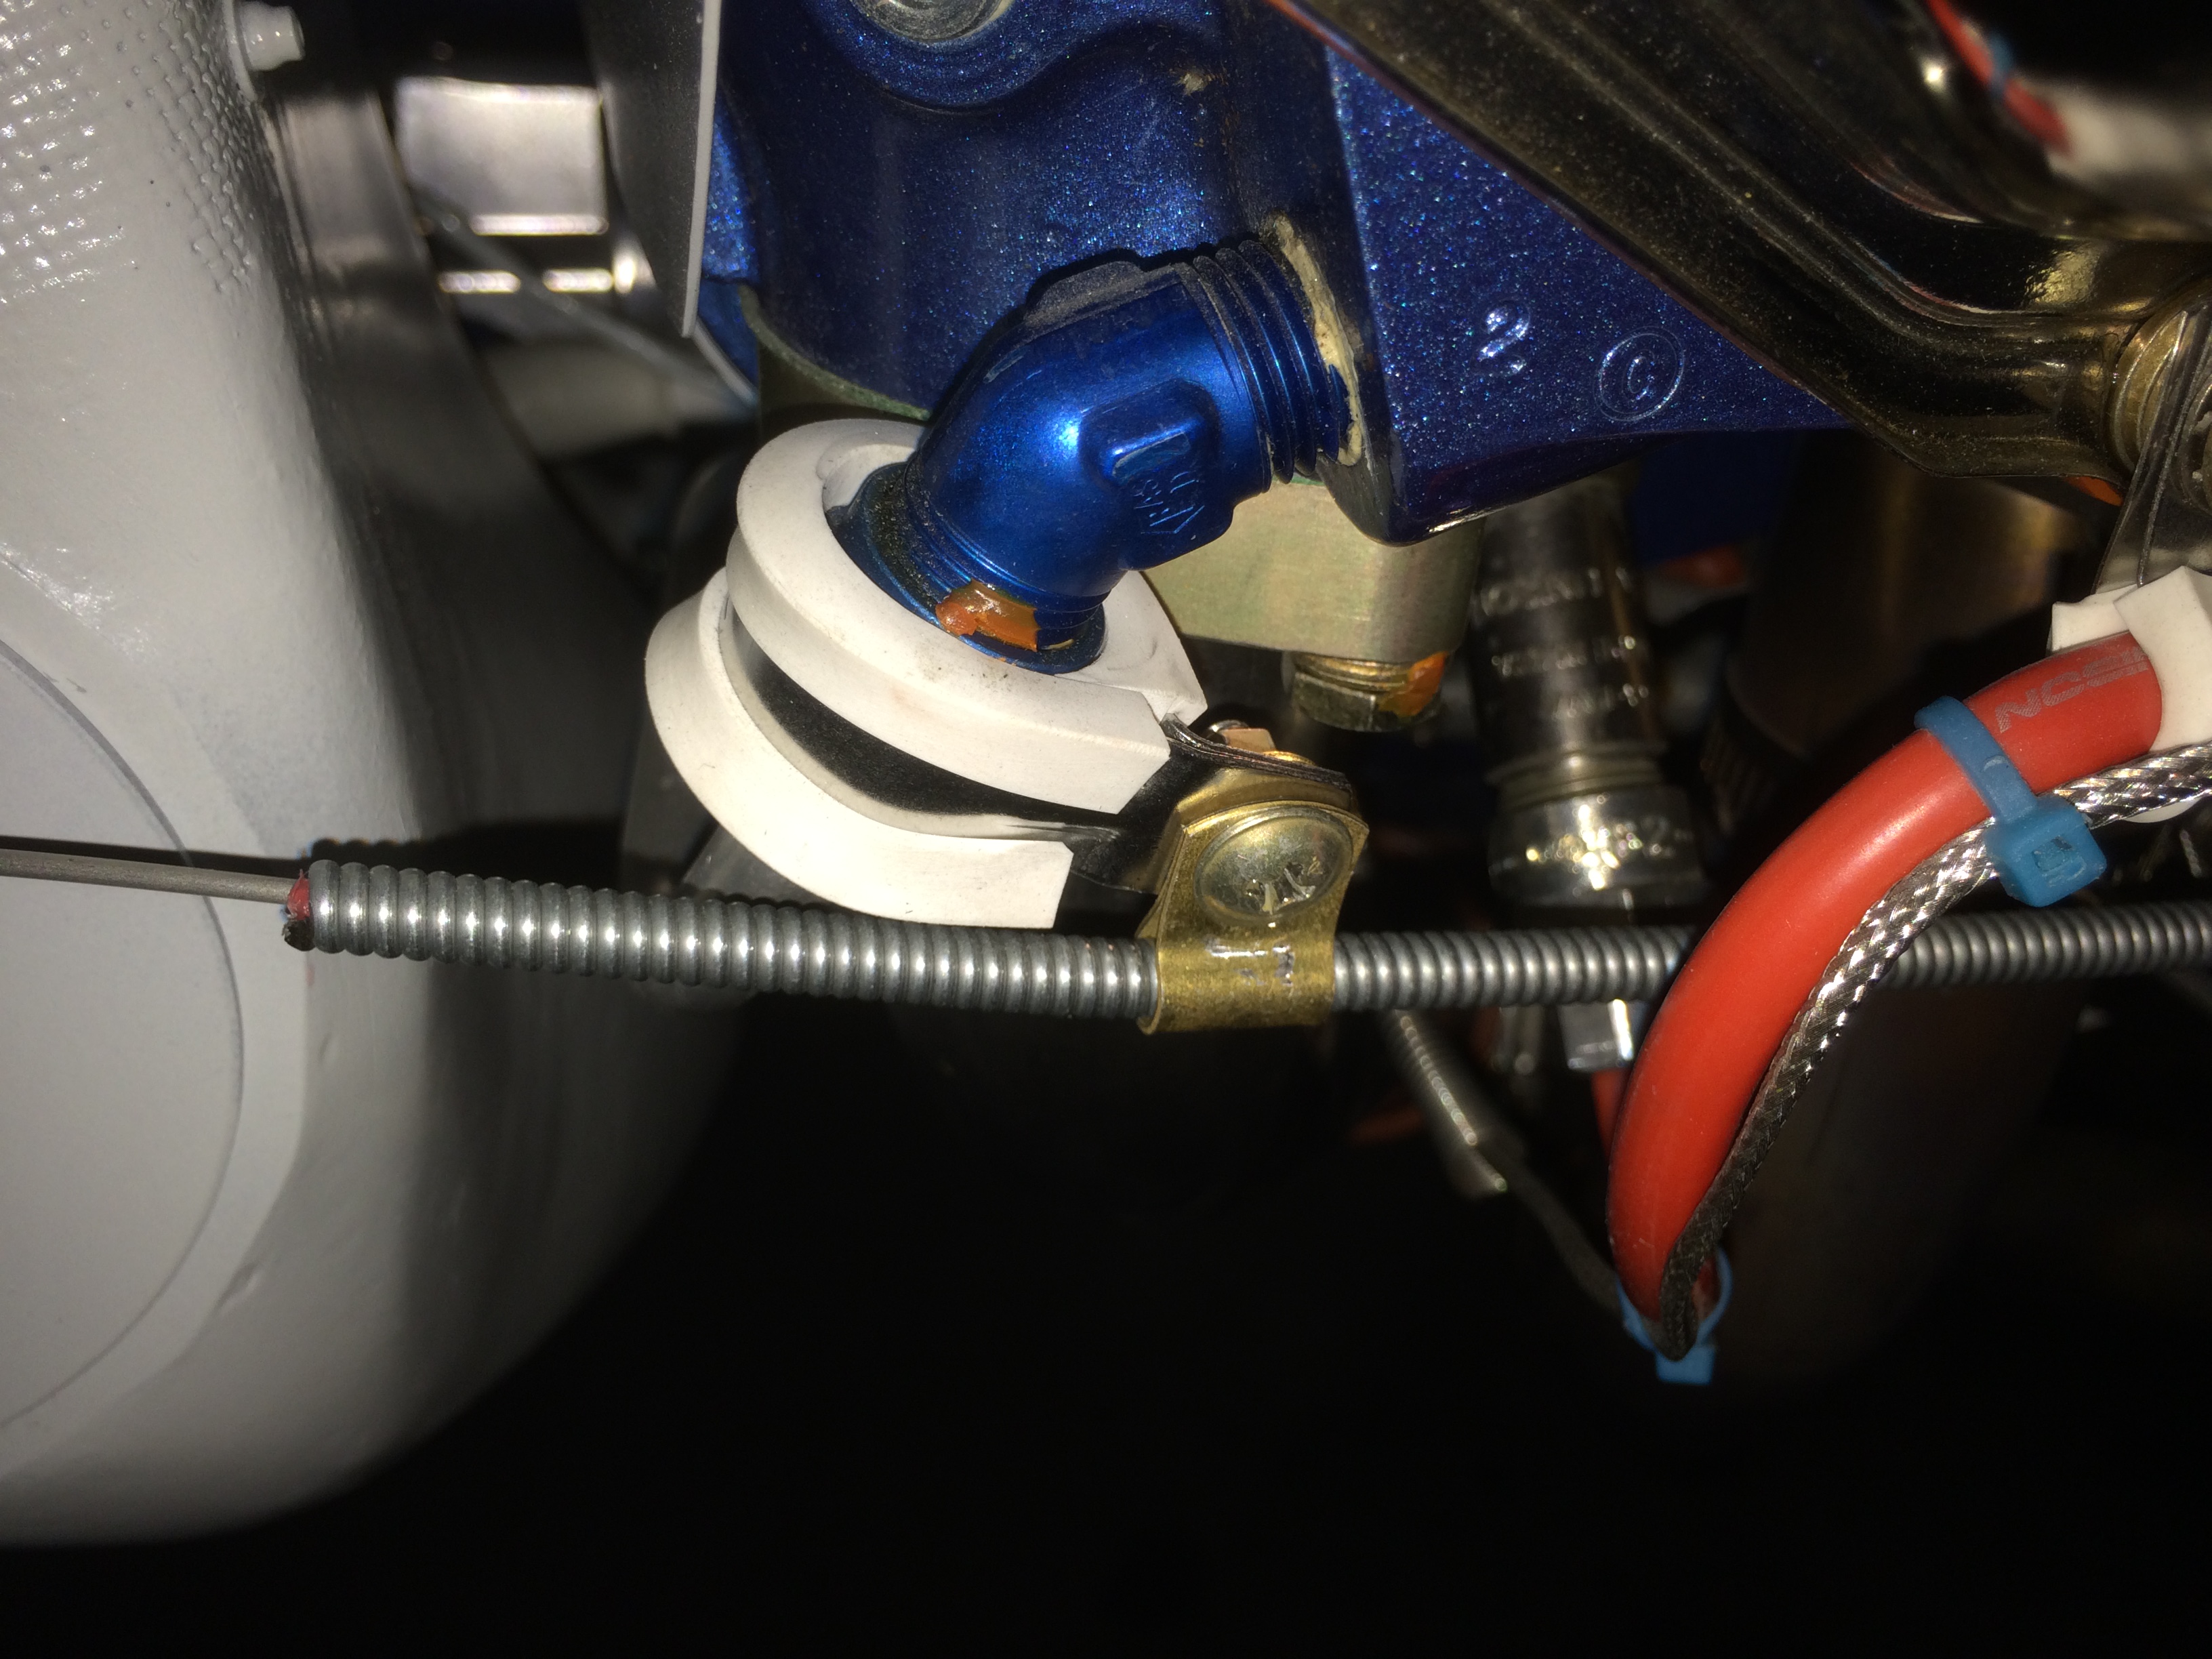
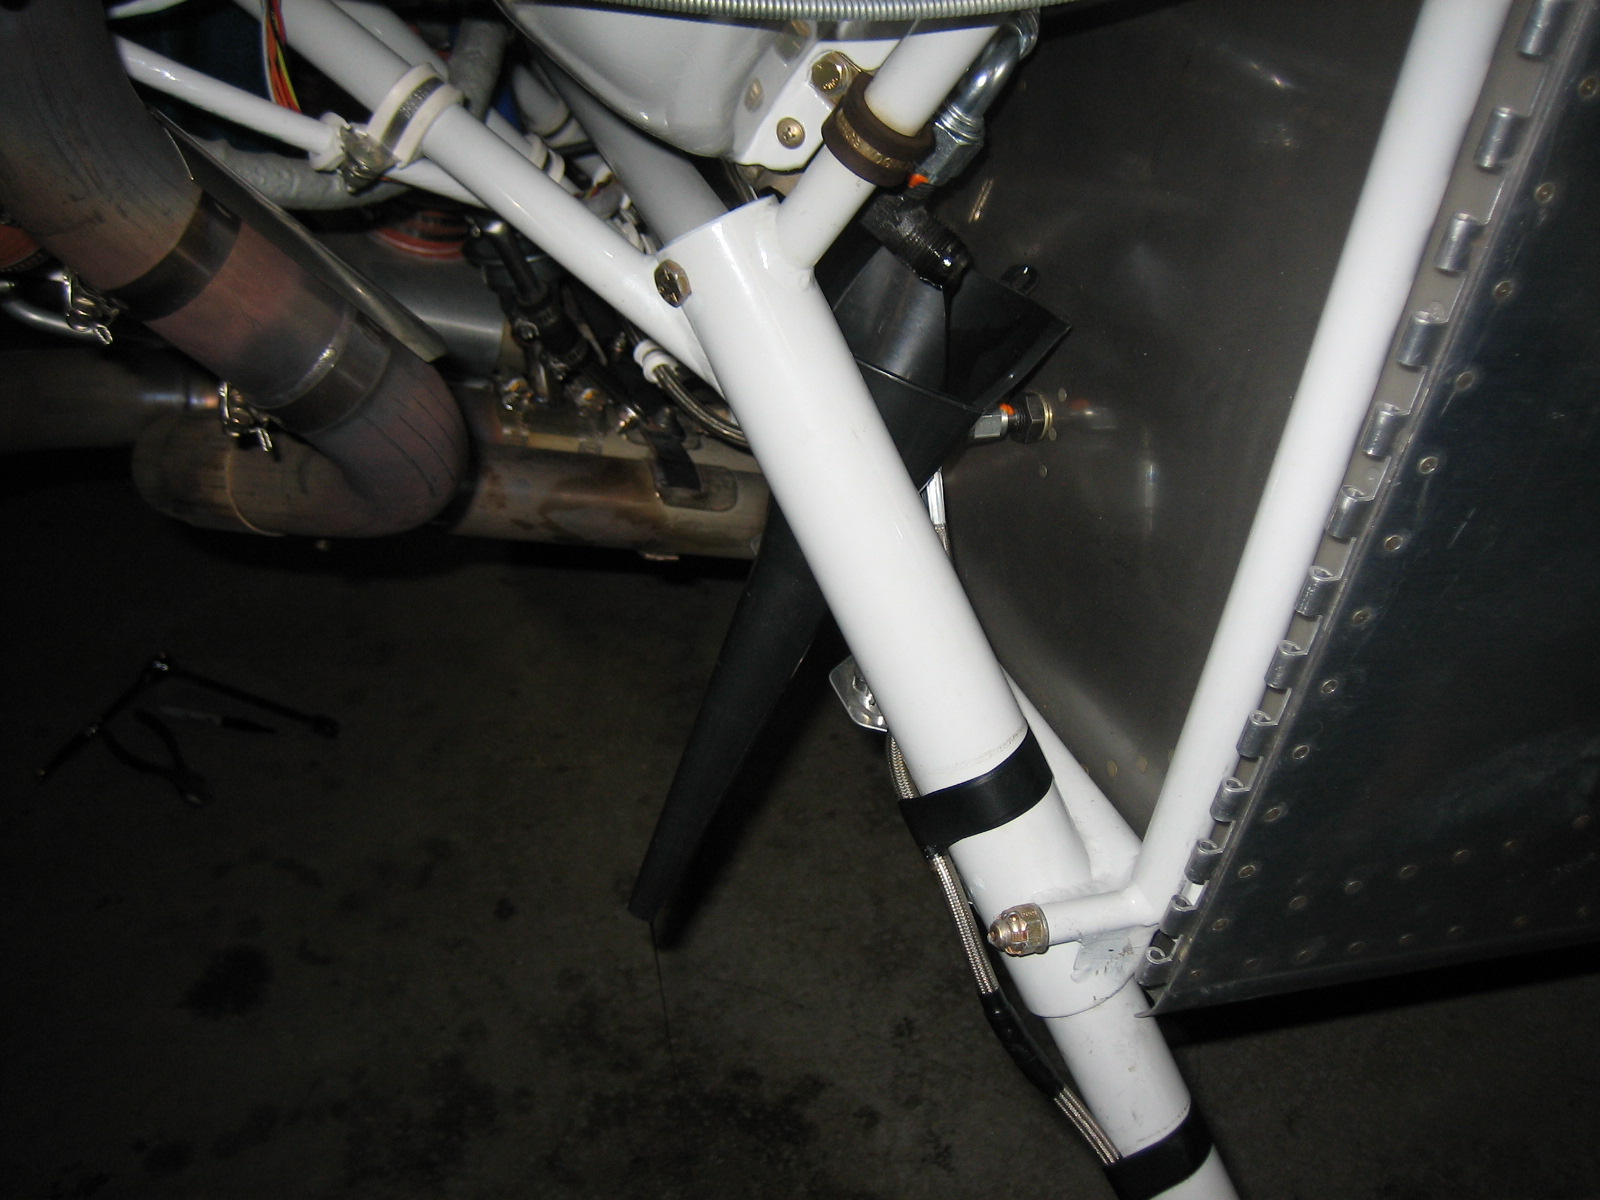
I’m starting to think the problem might be heating of the fuel flow sensor.  The sensor is after the fuel servo, and below the engine where it is exposed to the heated air that just flowed past the cylinders as well as radiant heat from the exhaust pipes.  The only way the sensor is cooled is by the fuel flowing through it.  Since there is less fuel flowing through at higher altitudes, it can pick up more ambient heat from its environment which can lead to bubbles in the sensor.  I’ve ordered some extra thick fire sleeve from McMaster Carr, and I’ll use that to wrap the sensor and adjacent fittings.  I may also wrap it in some reflective foil wrap to reflect radiant heat from the exhaust pipes.

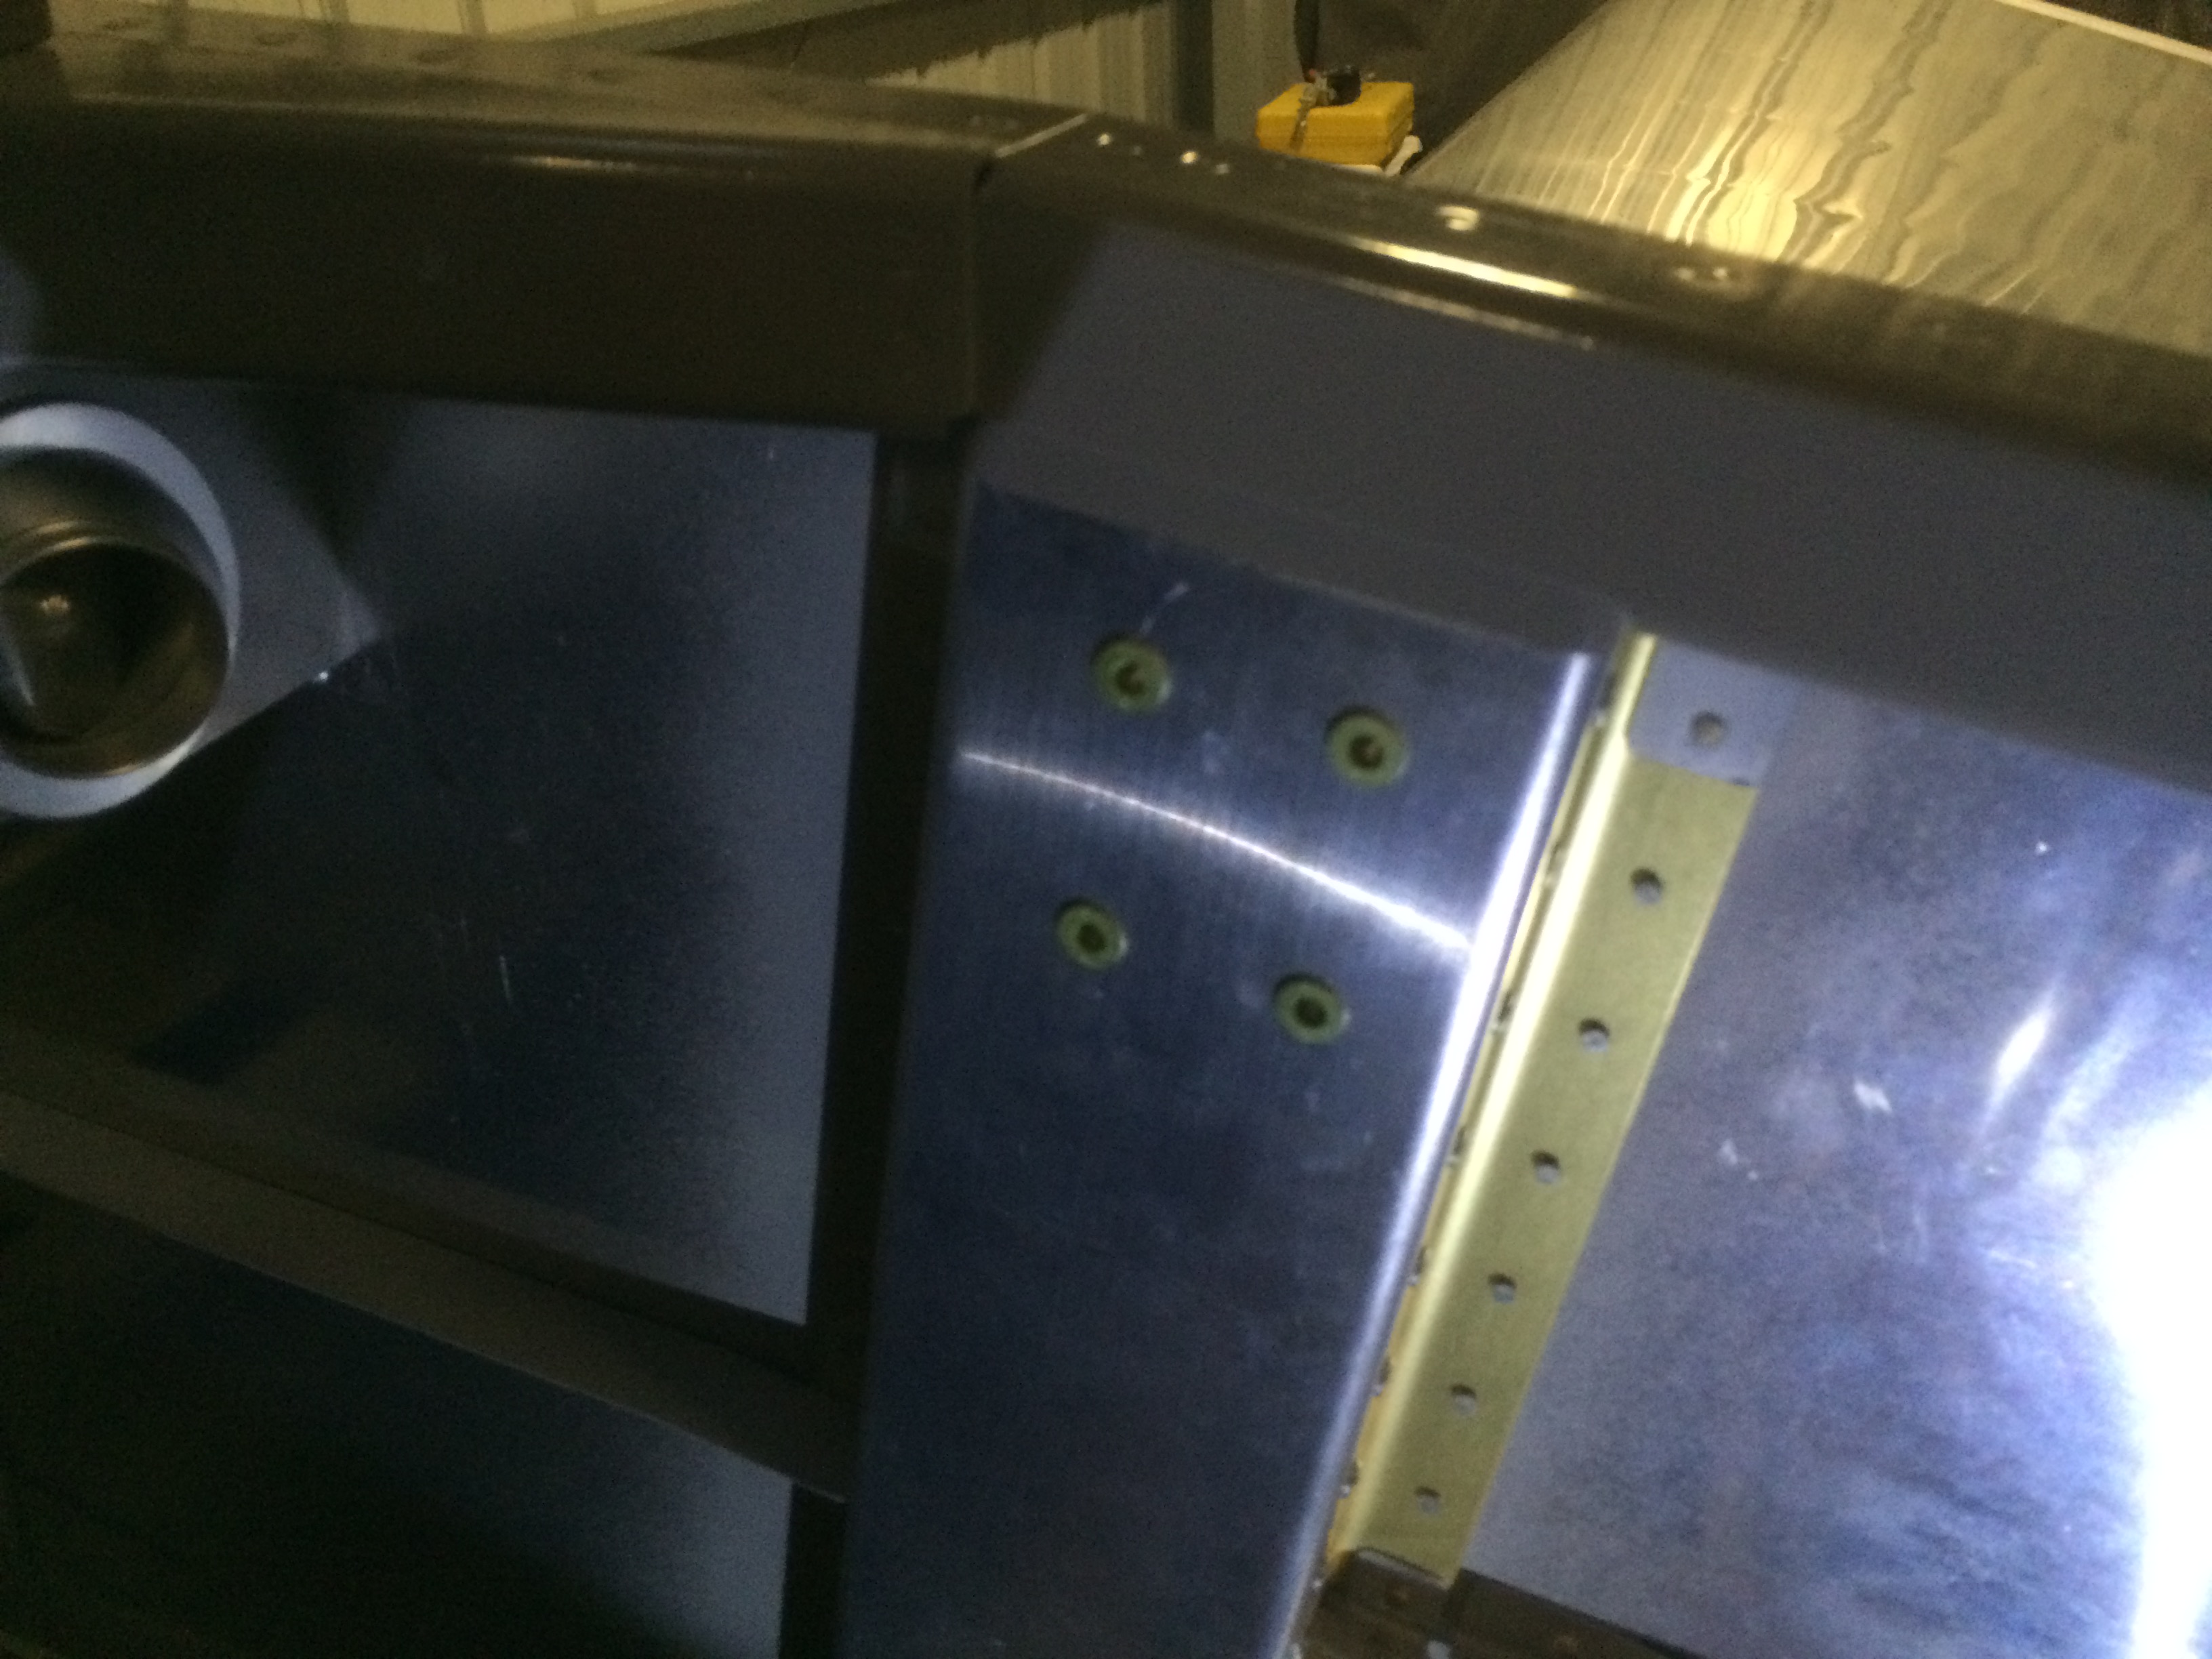
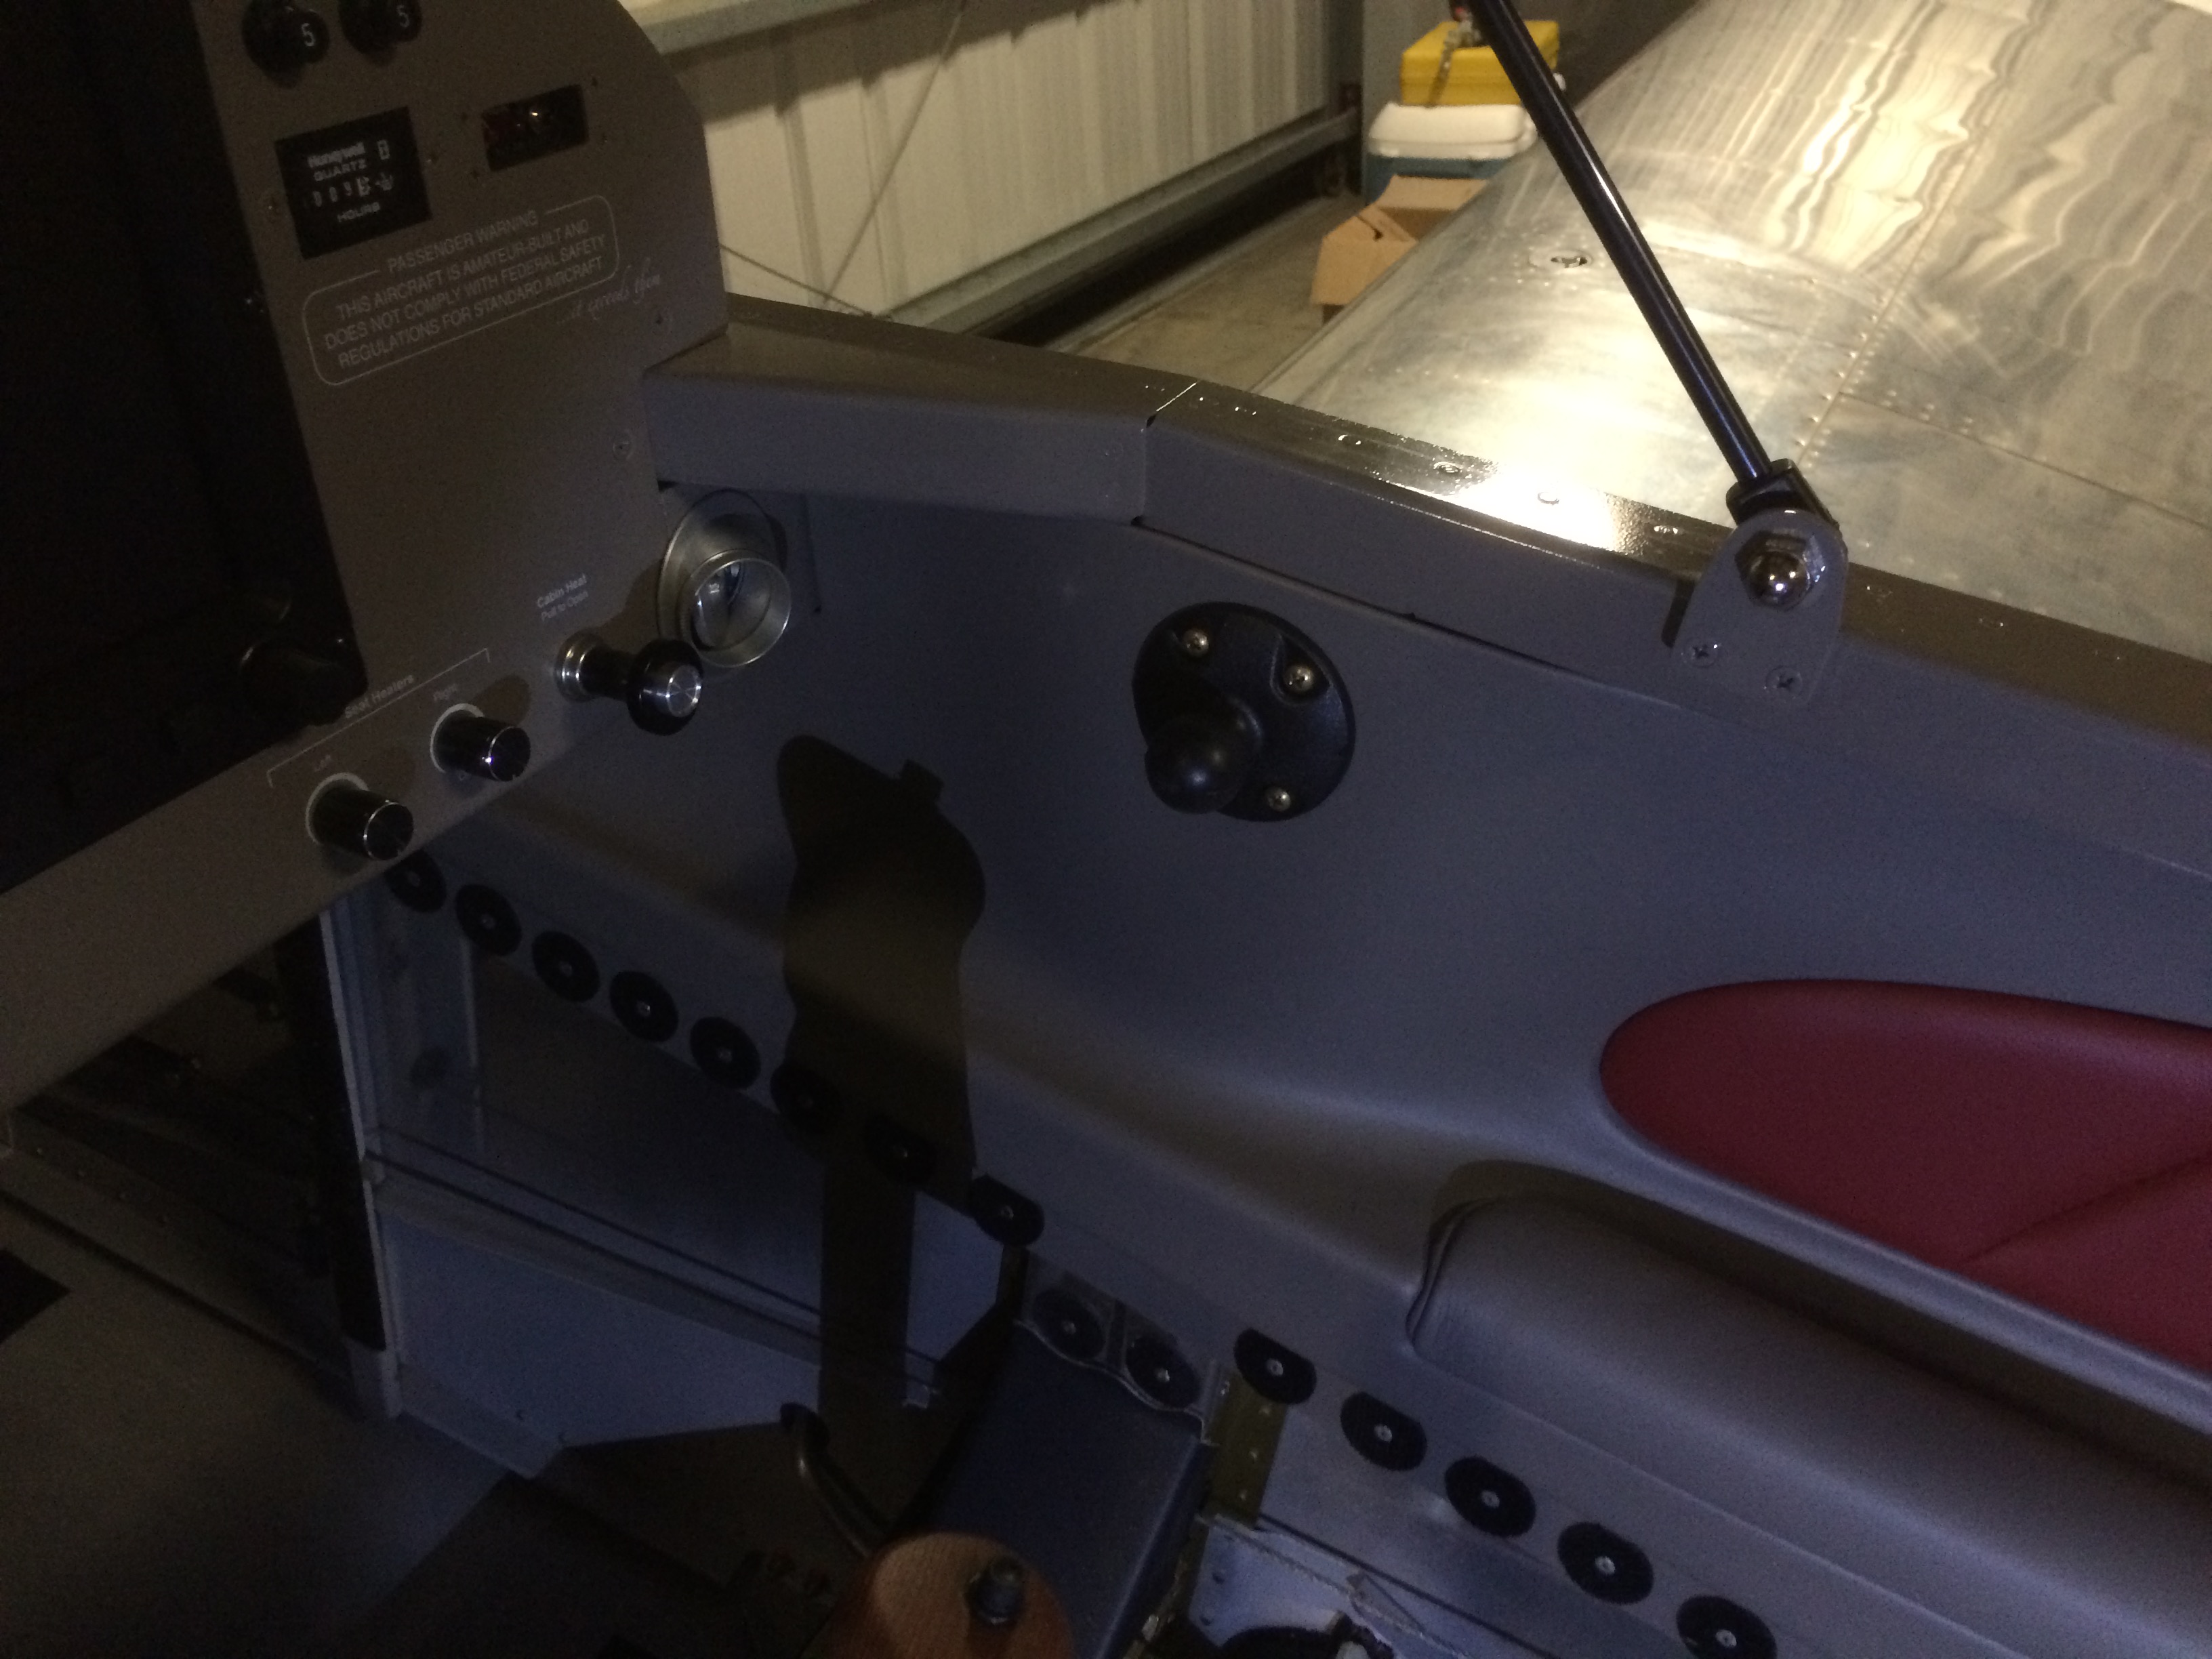
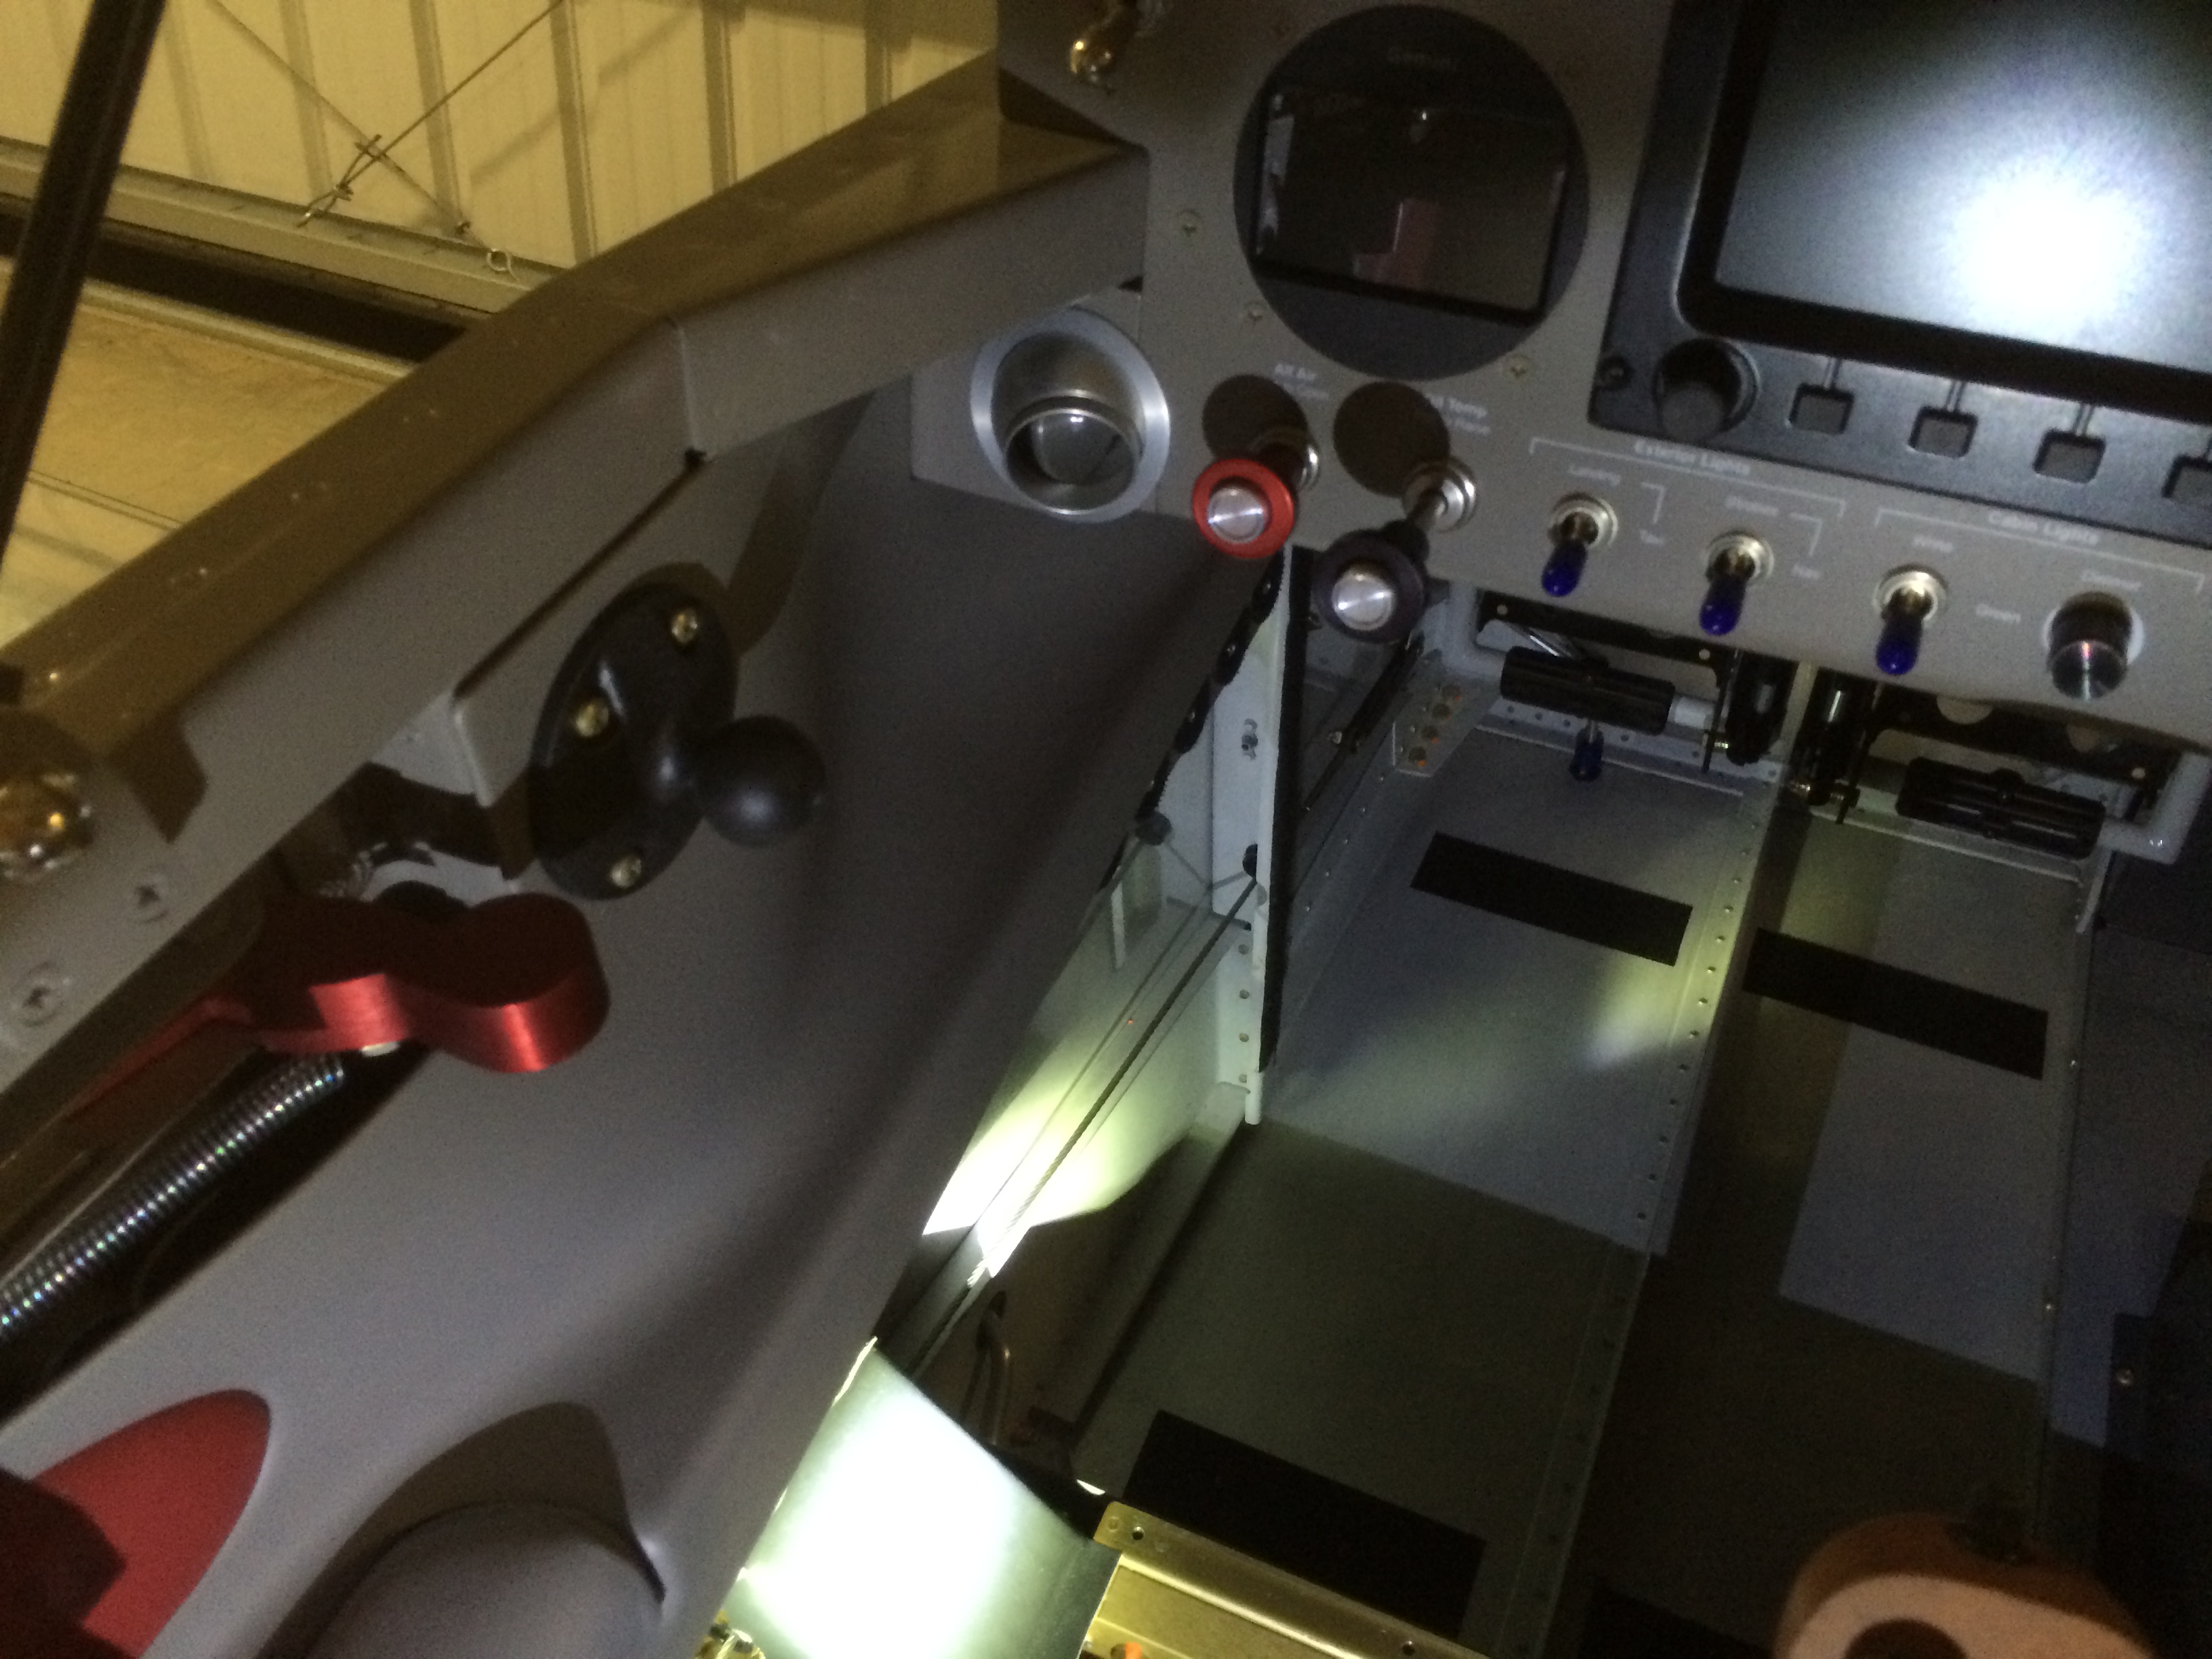
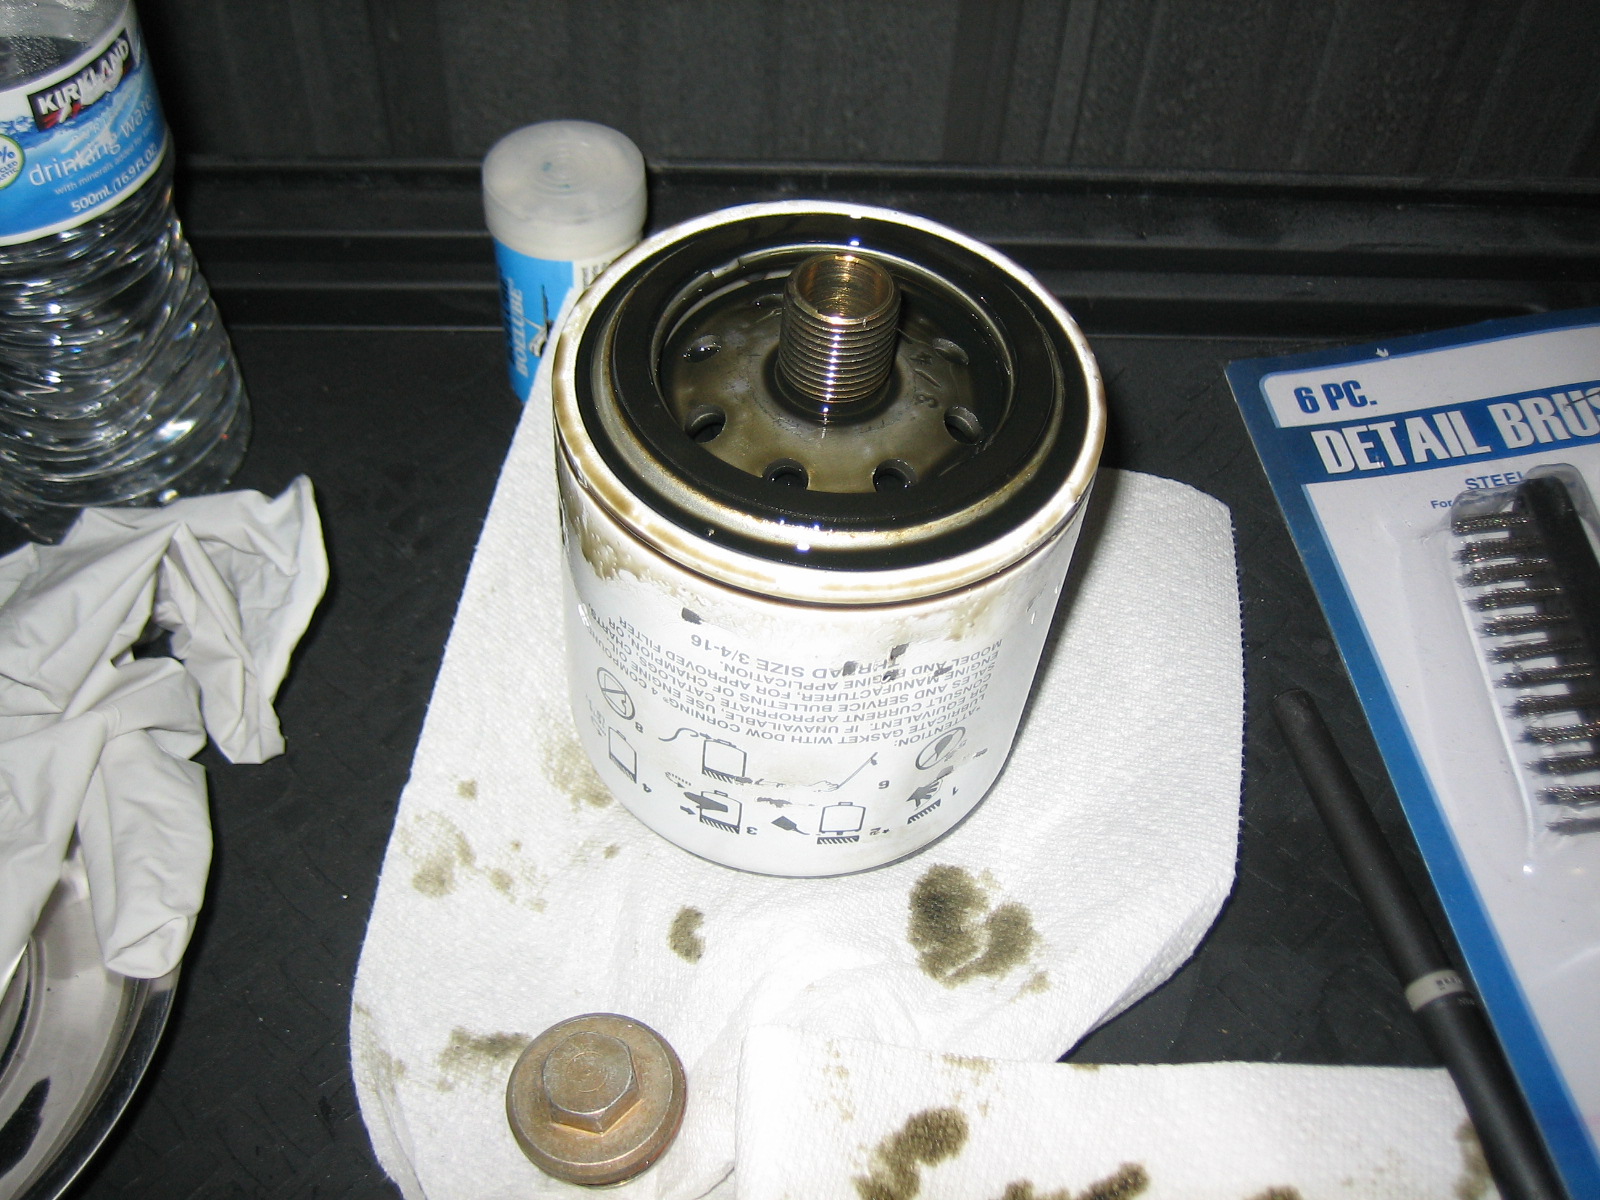
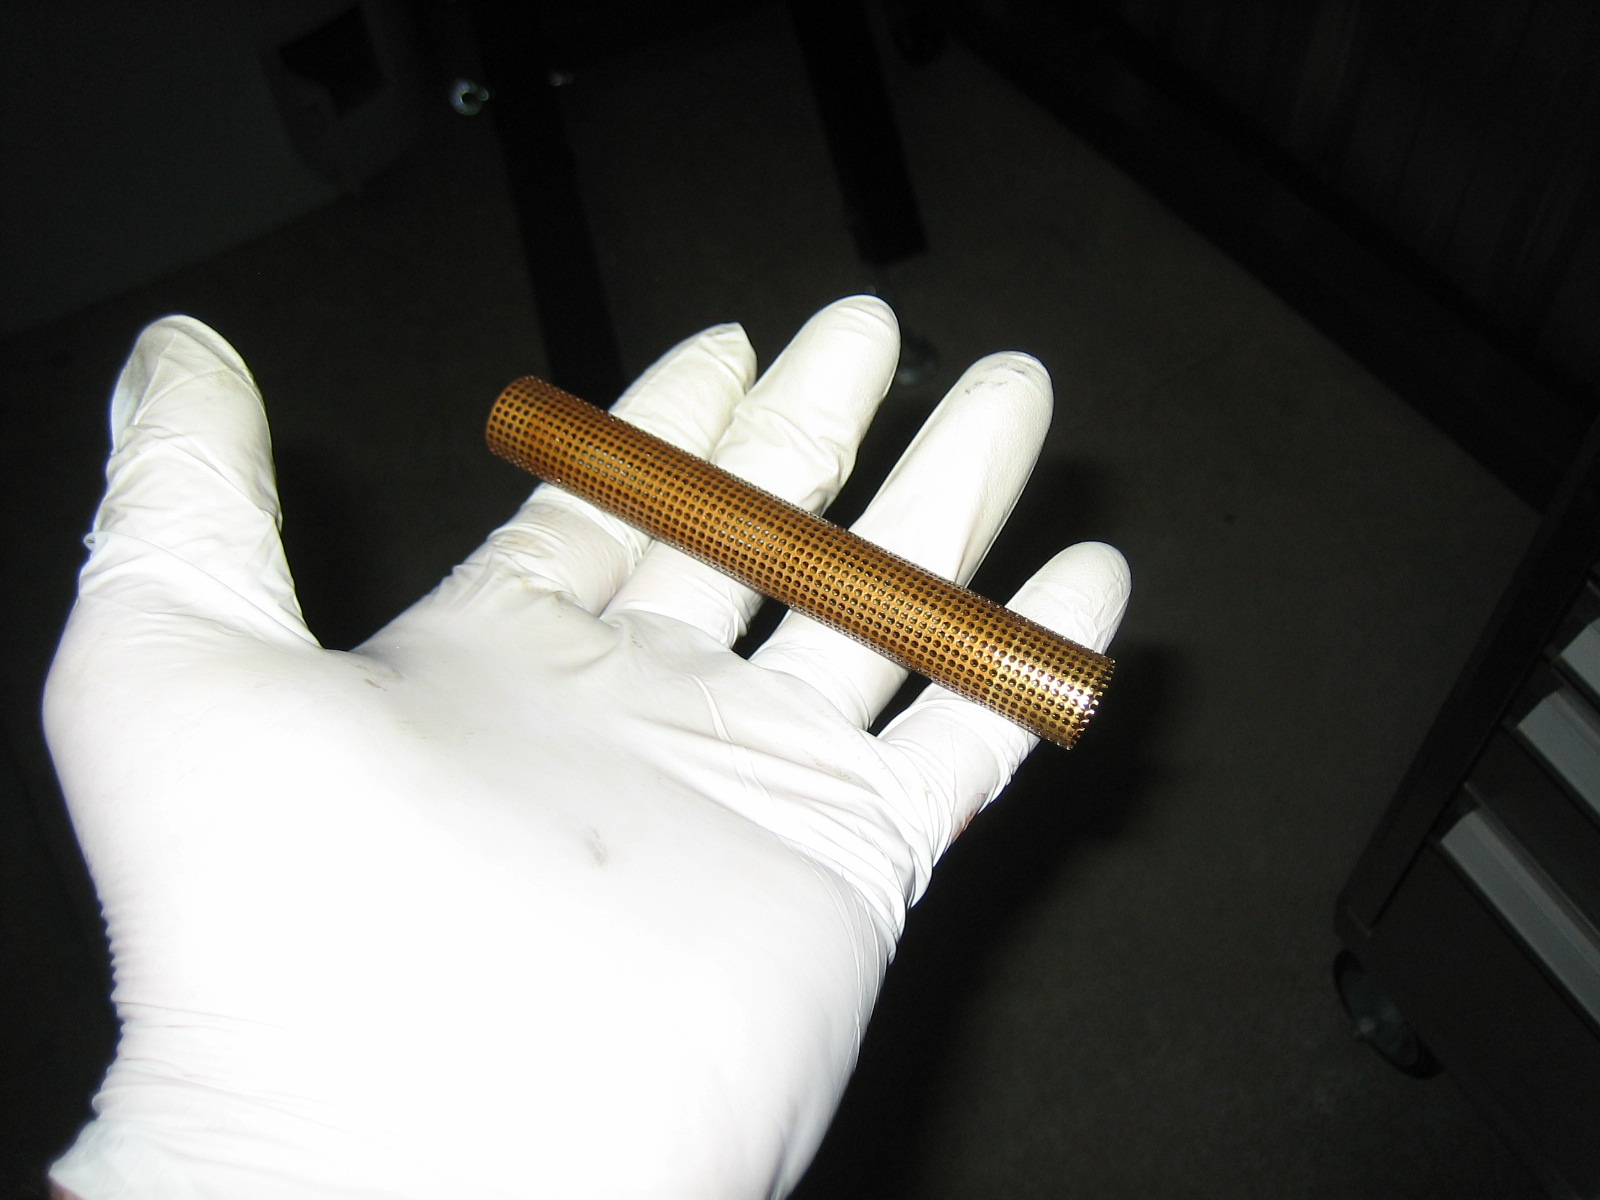
I landed back at South County with 9.9 hours on the hobbs, so I decided to take the plane down for an oil change and thorough inspection.  While waiting for the oil to drain, I pulled out the interior.