Empennage Fairings and Rear Window

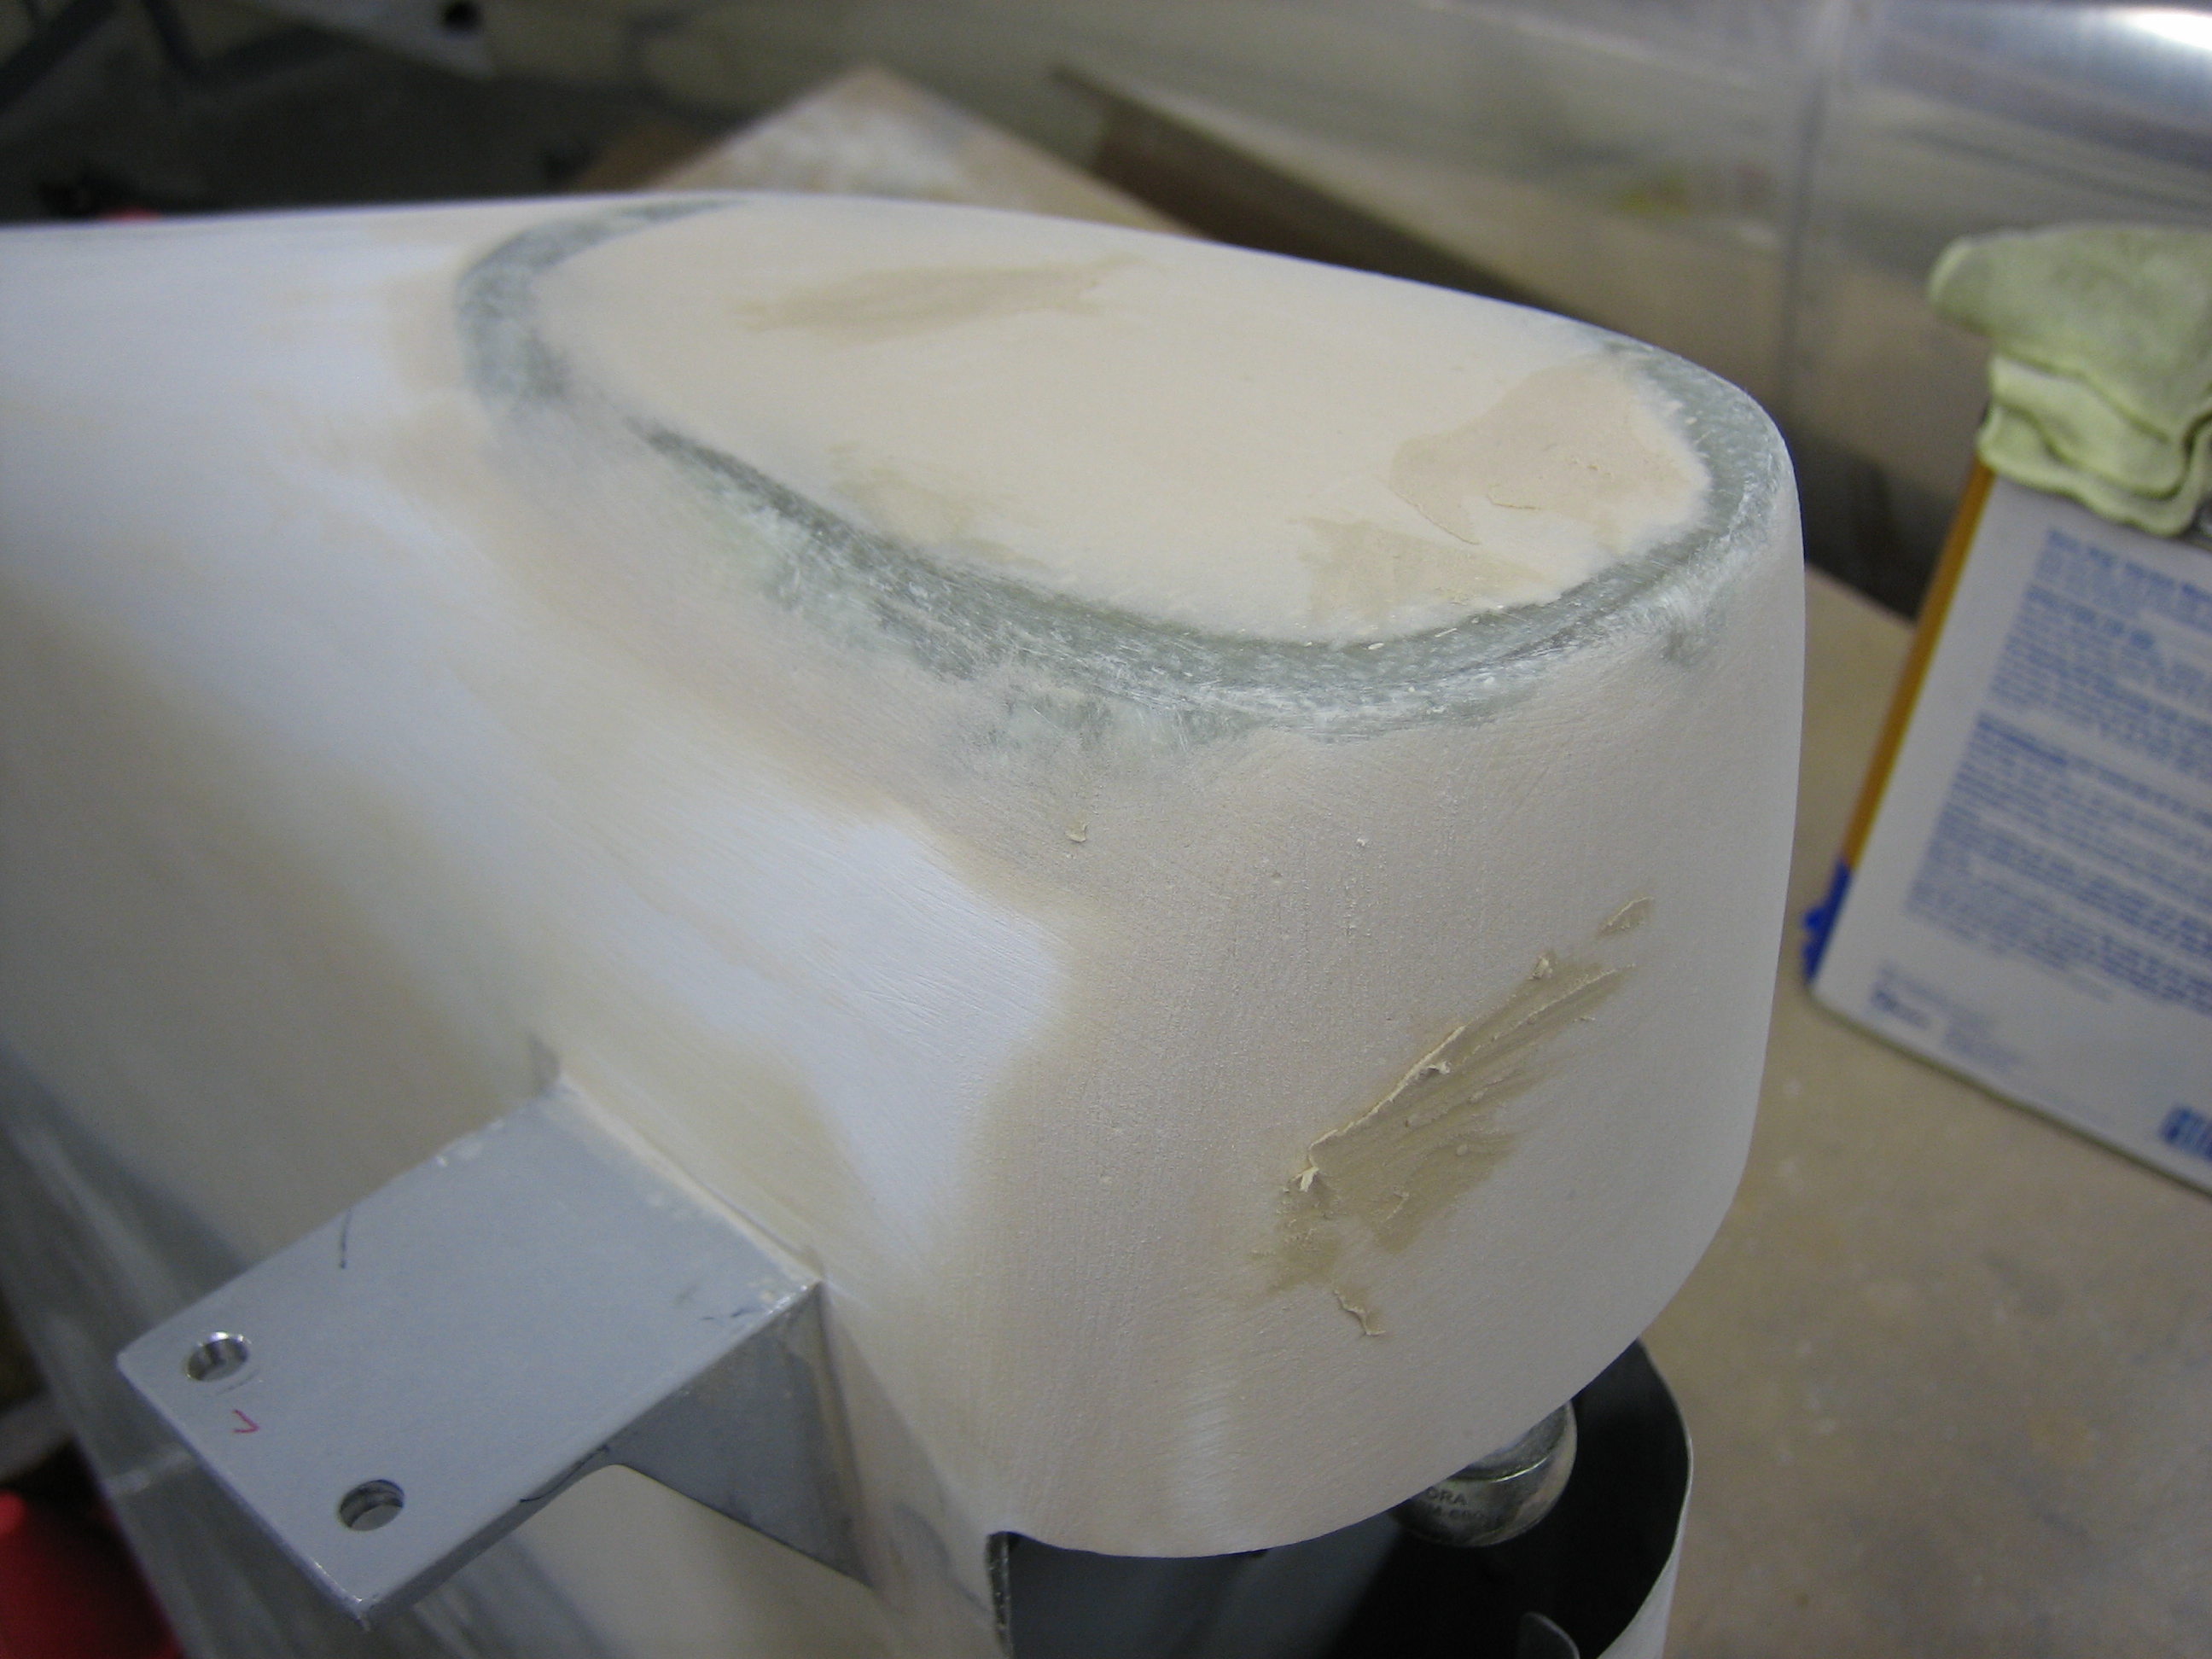
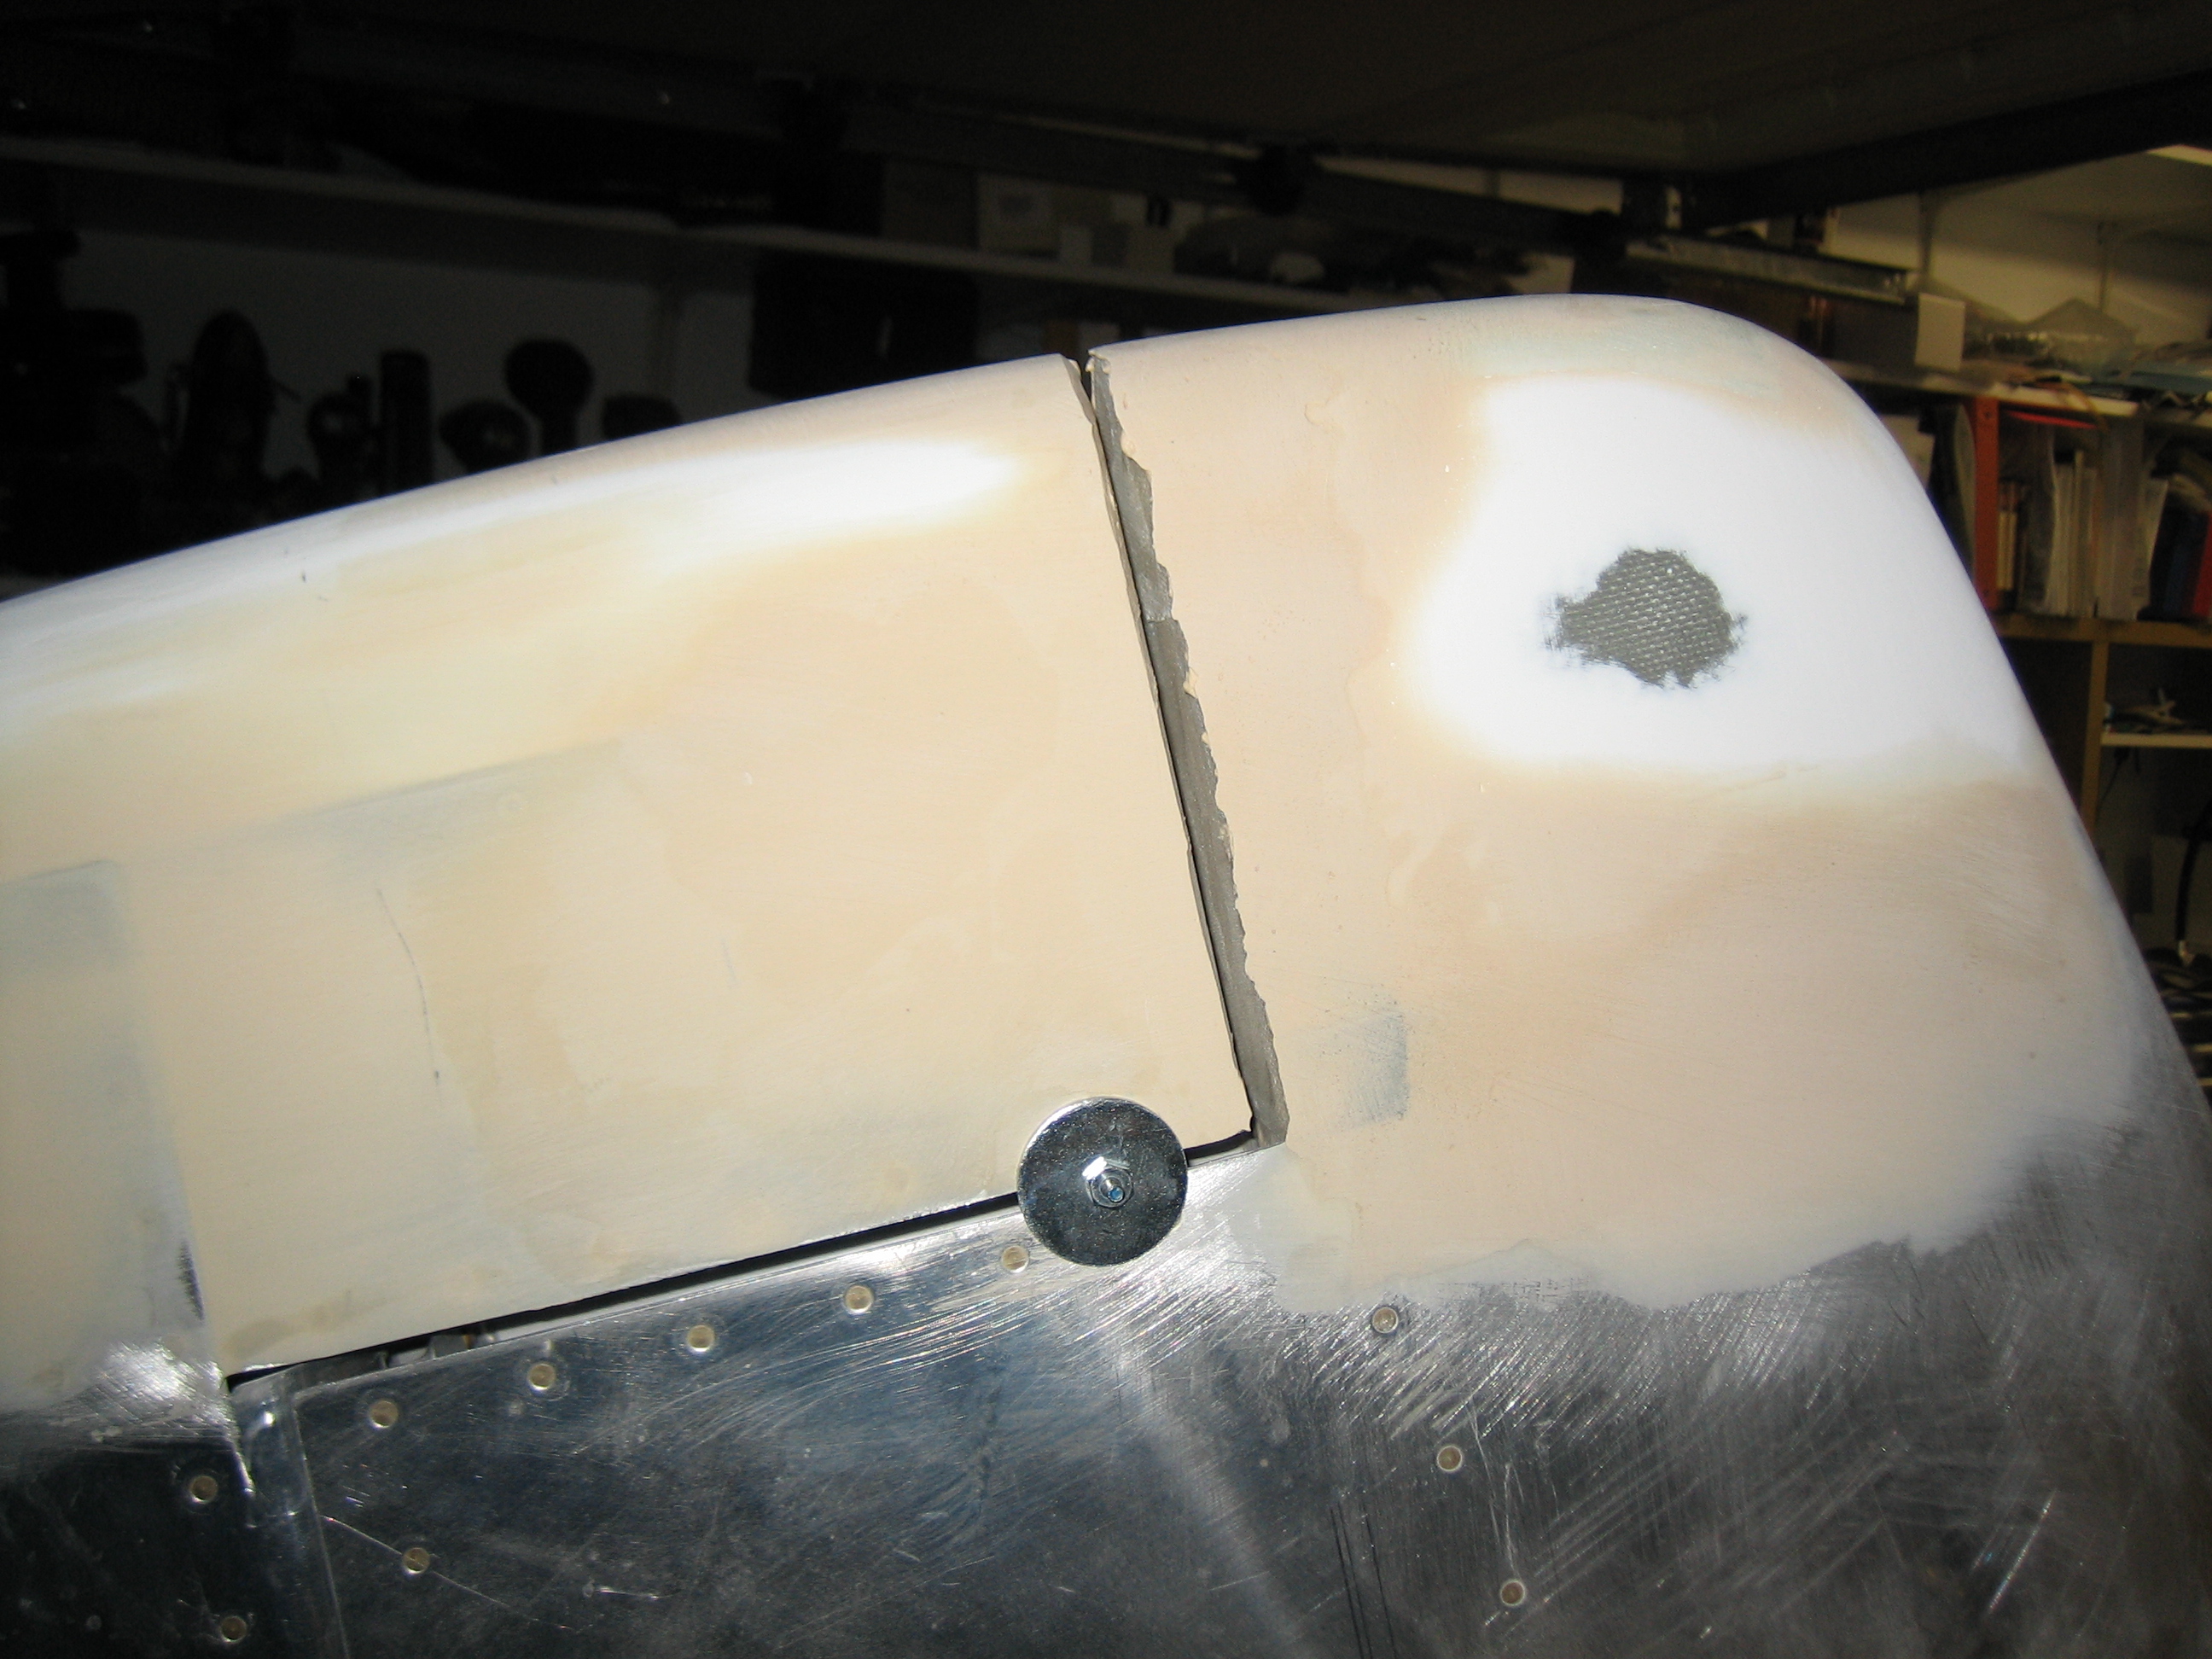
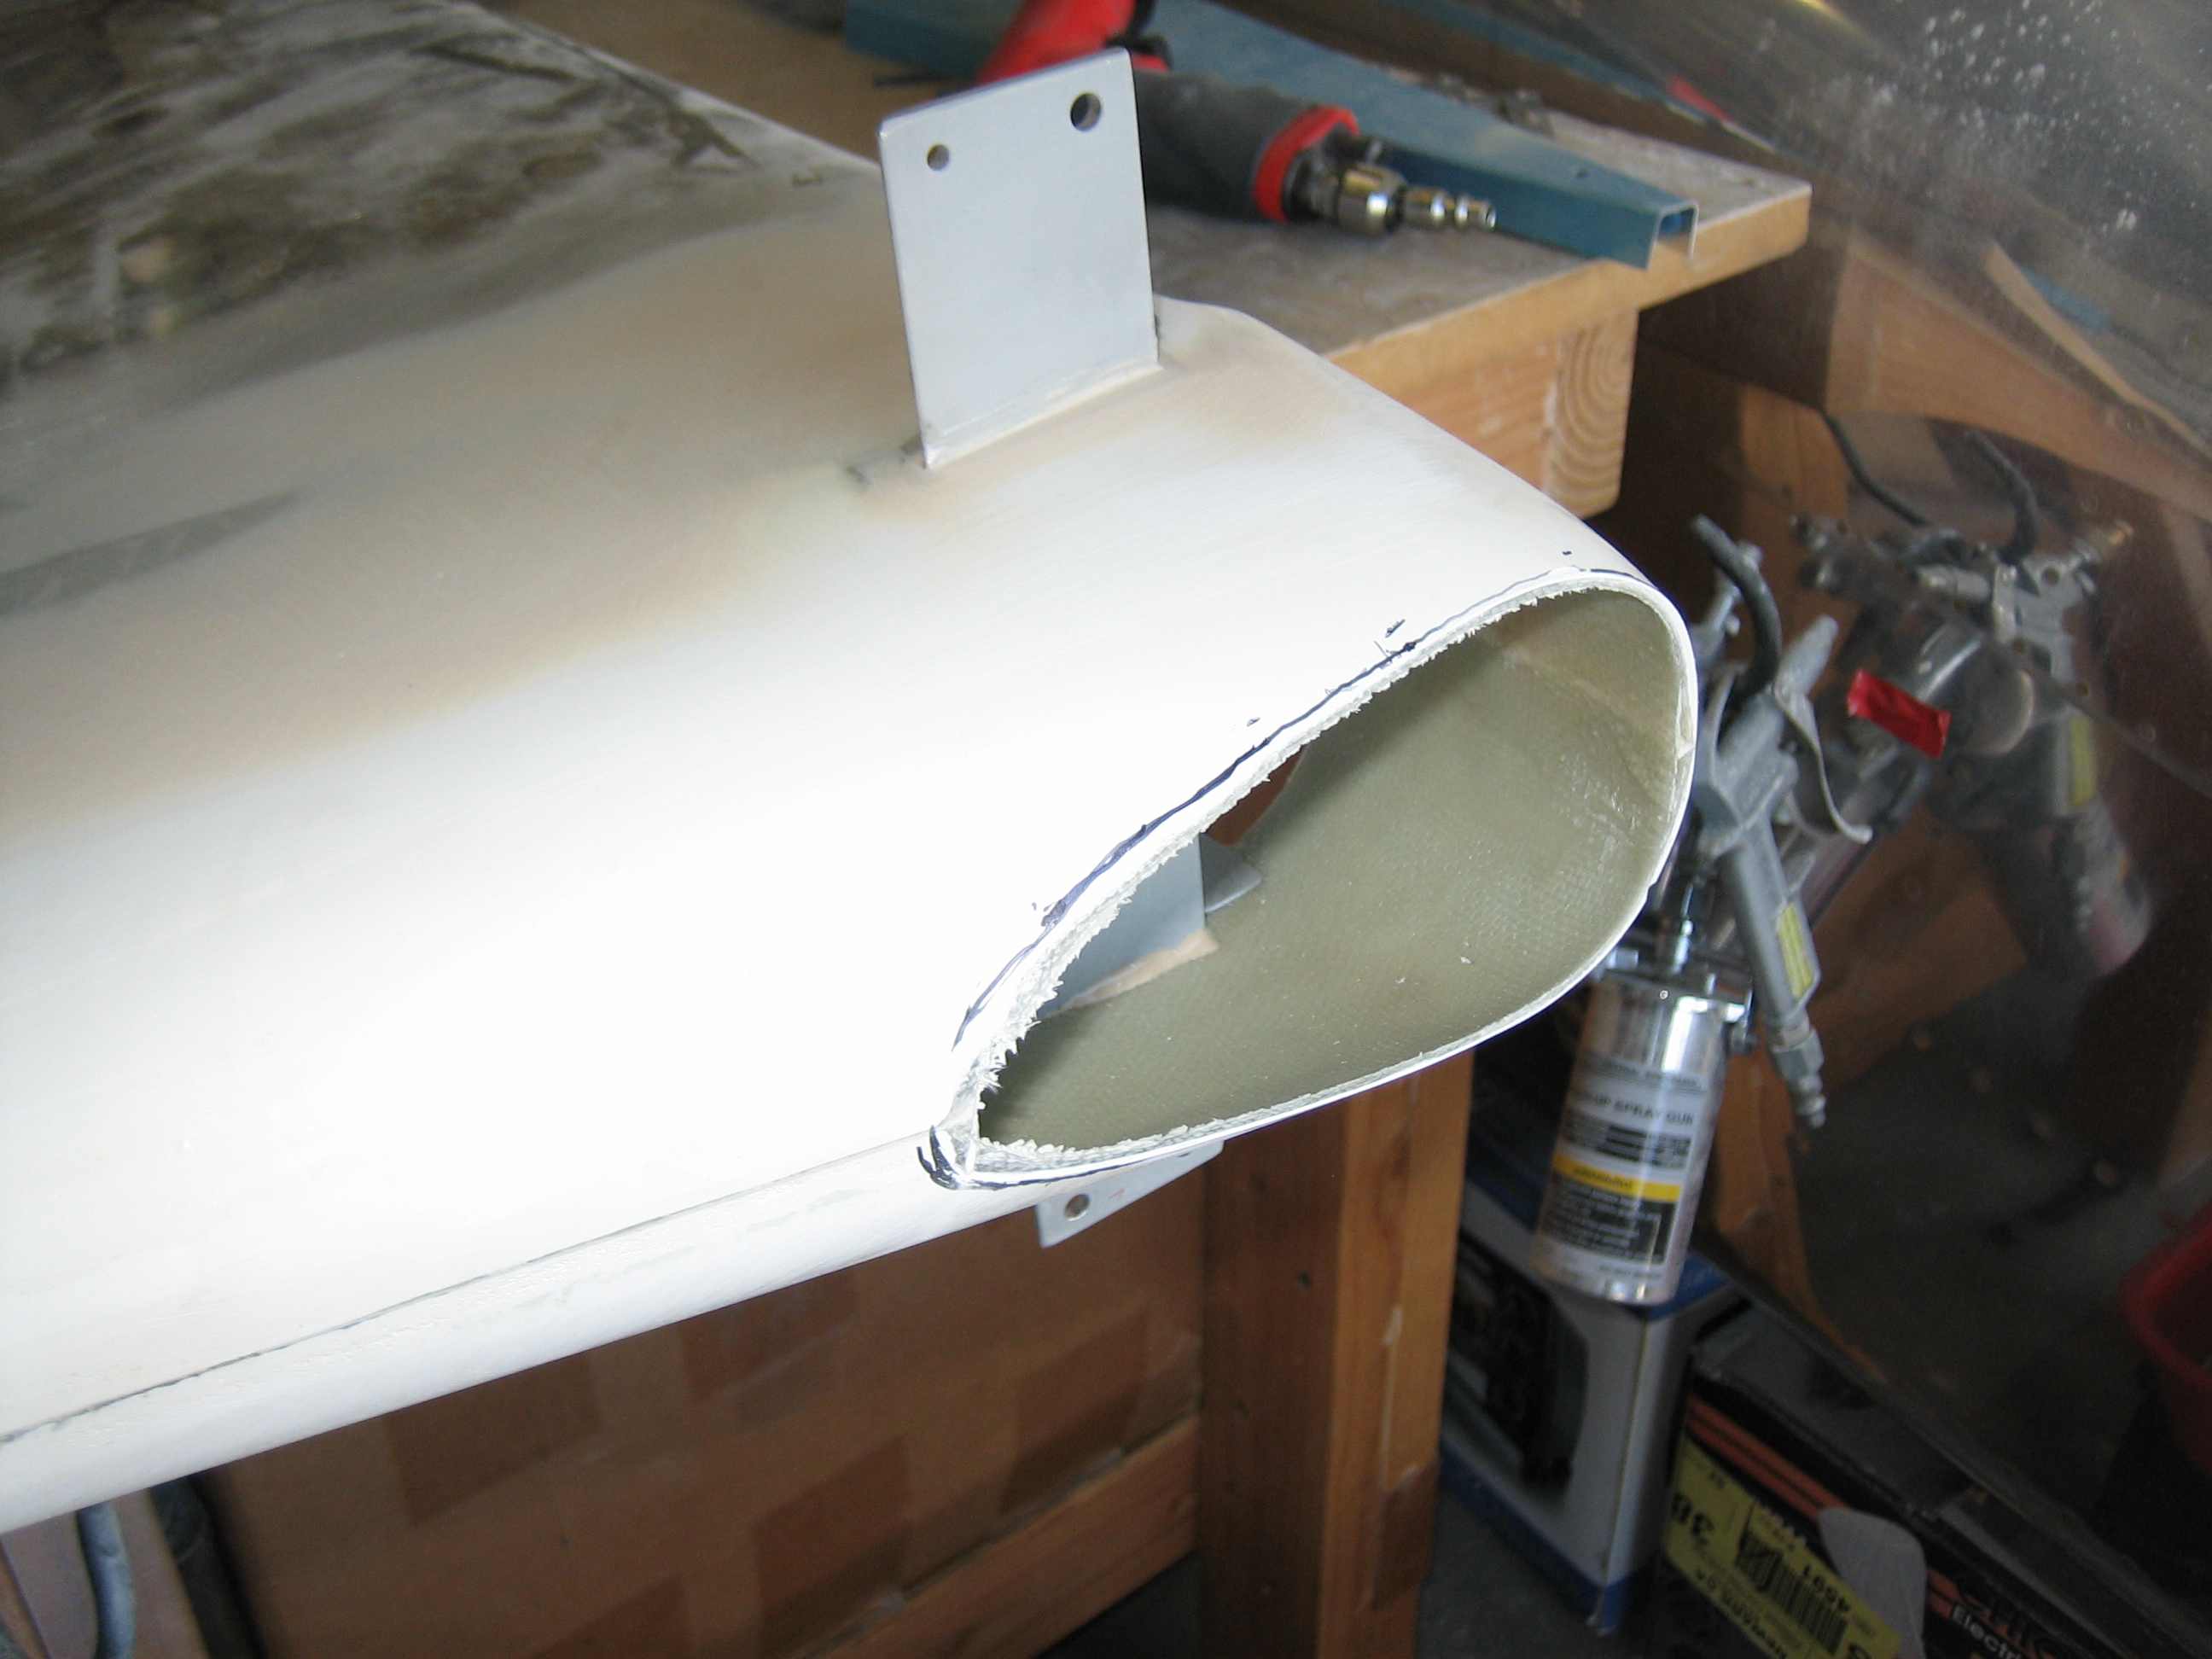
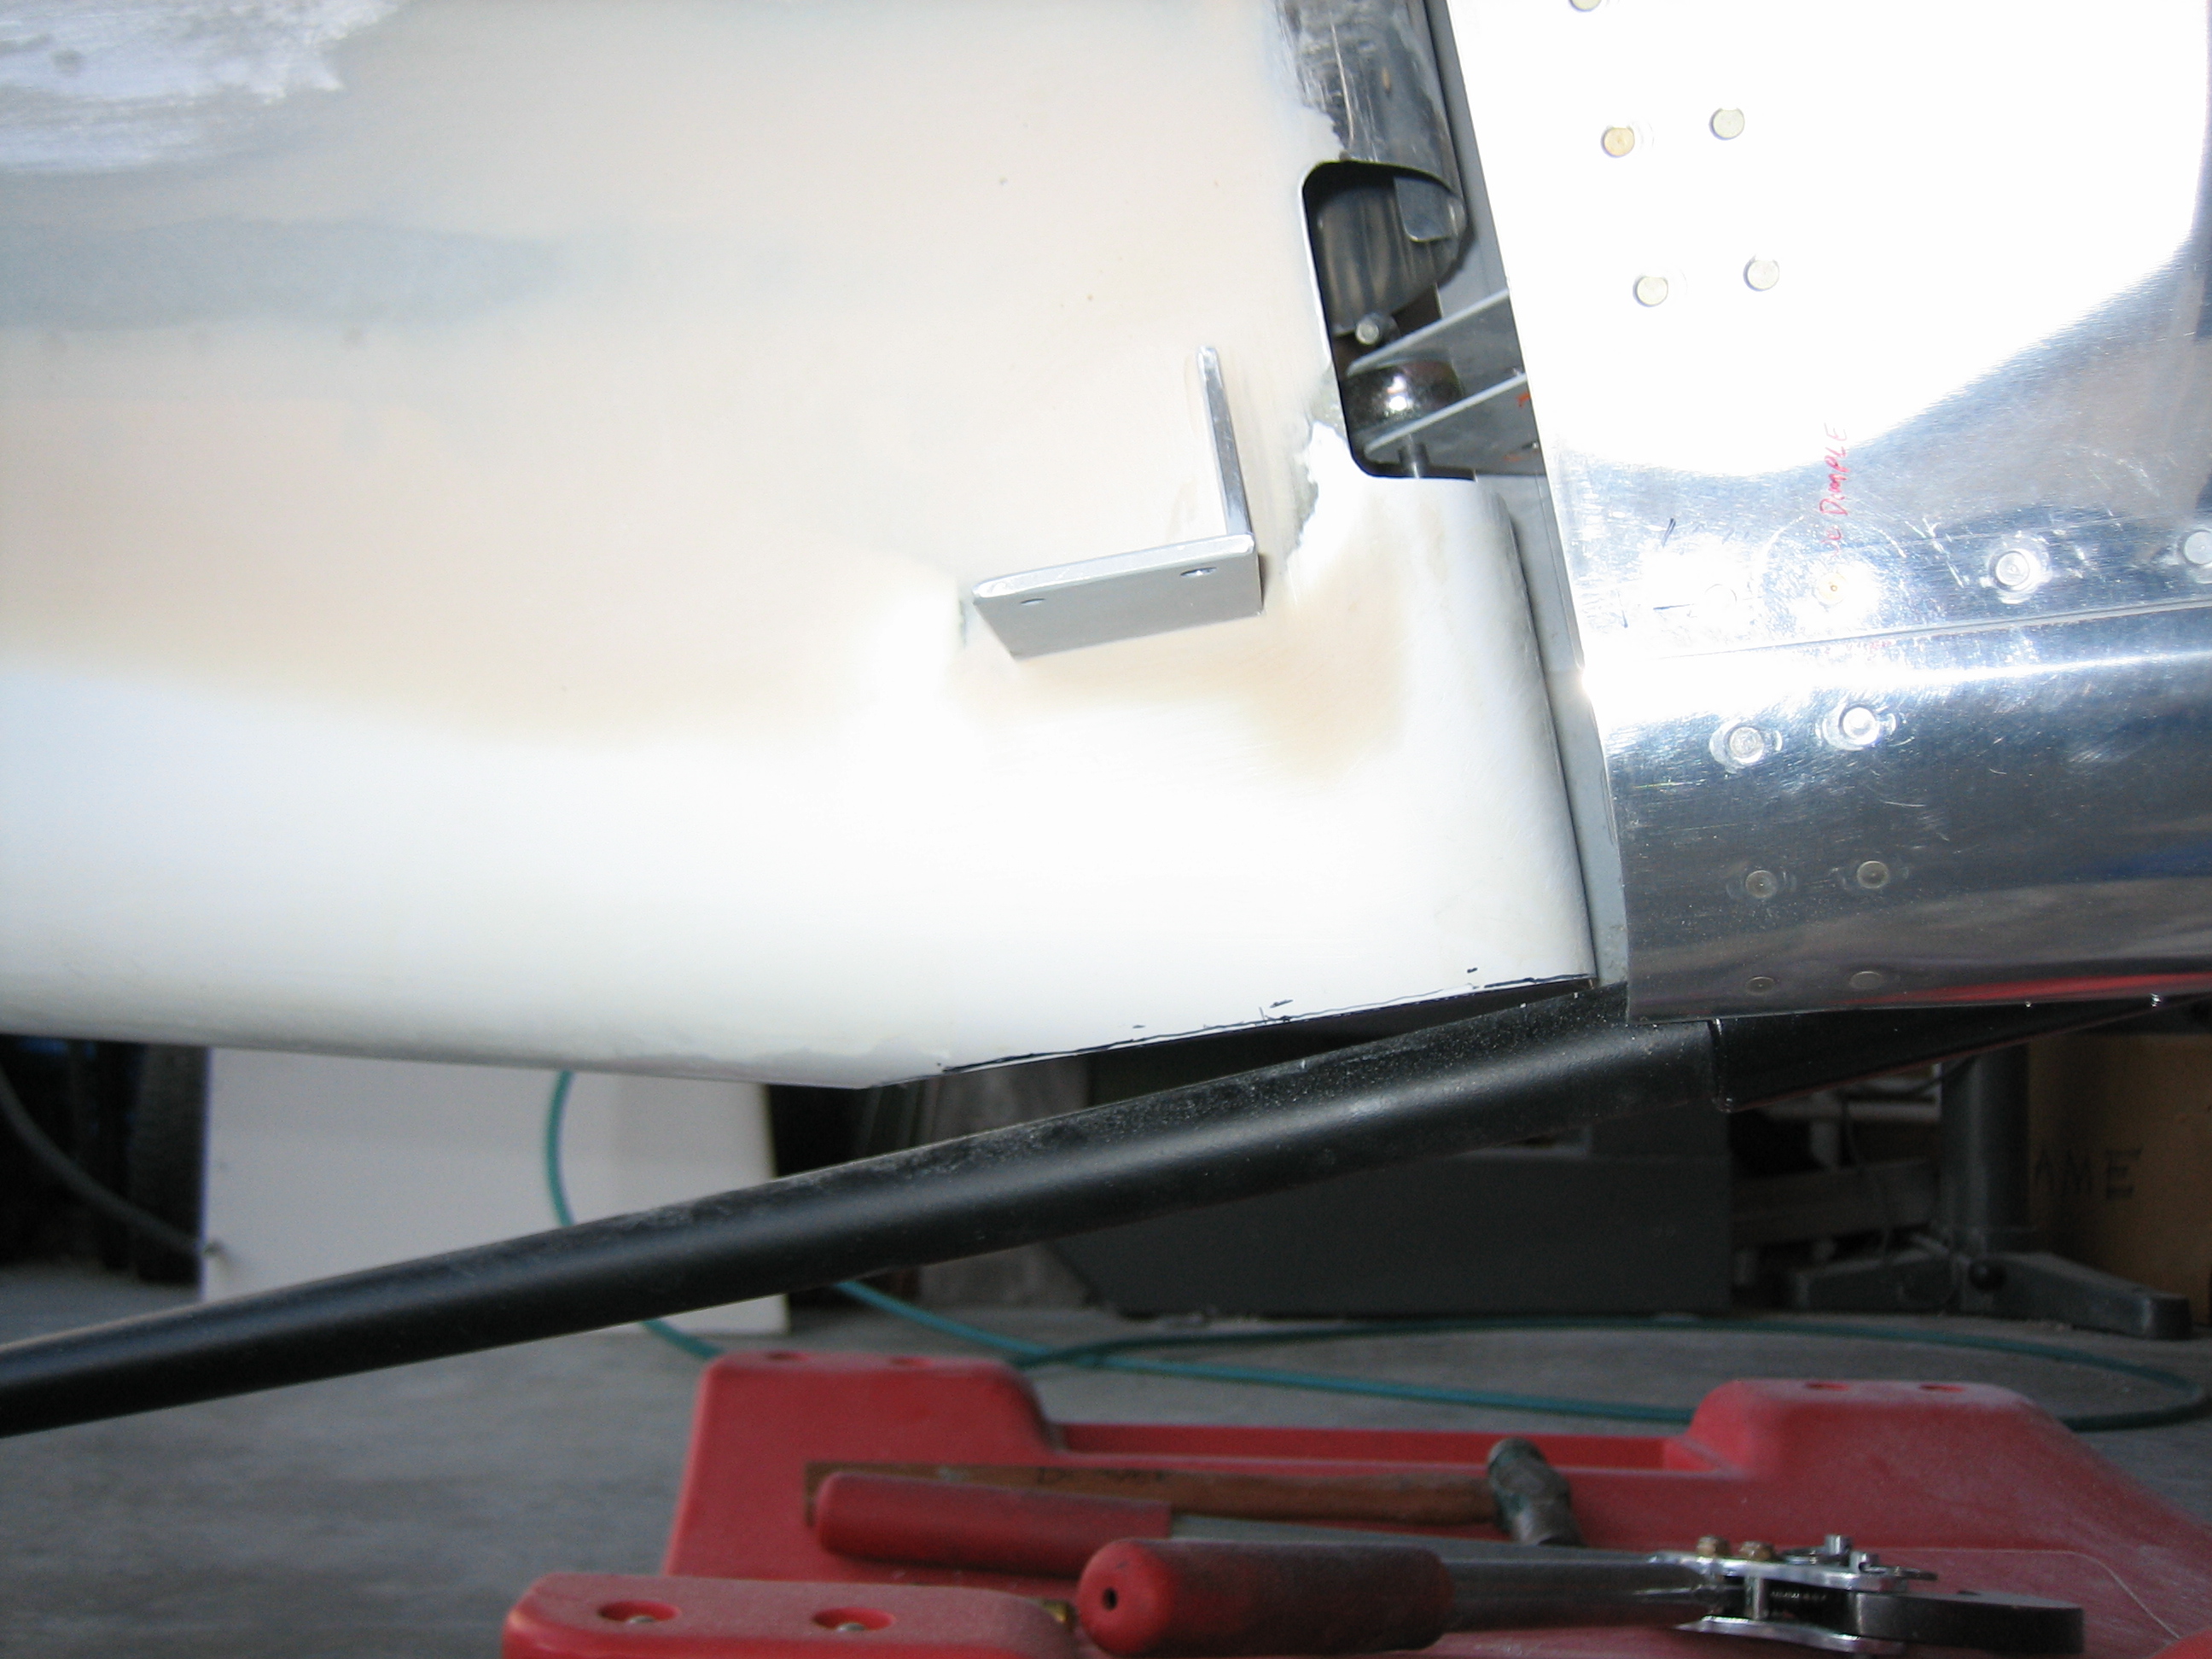
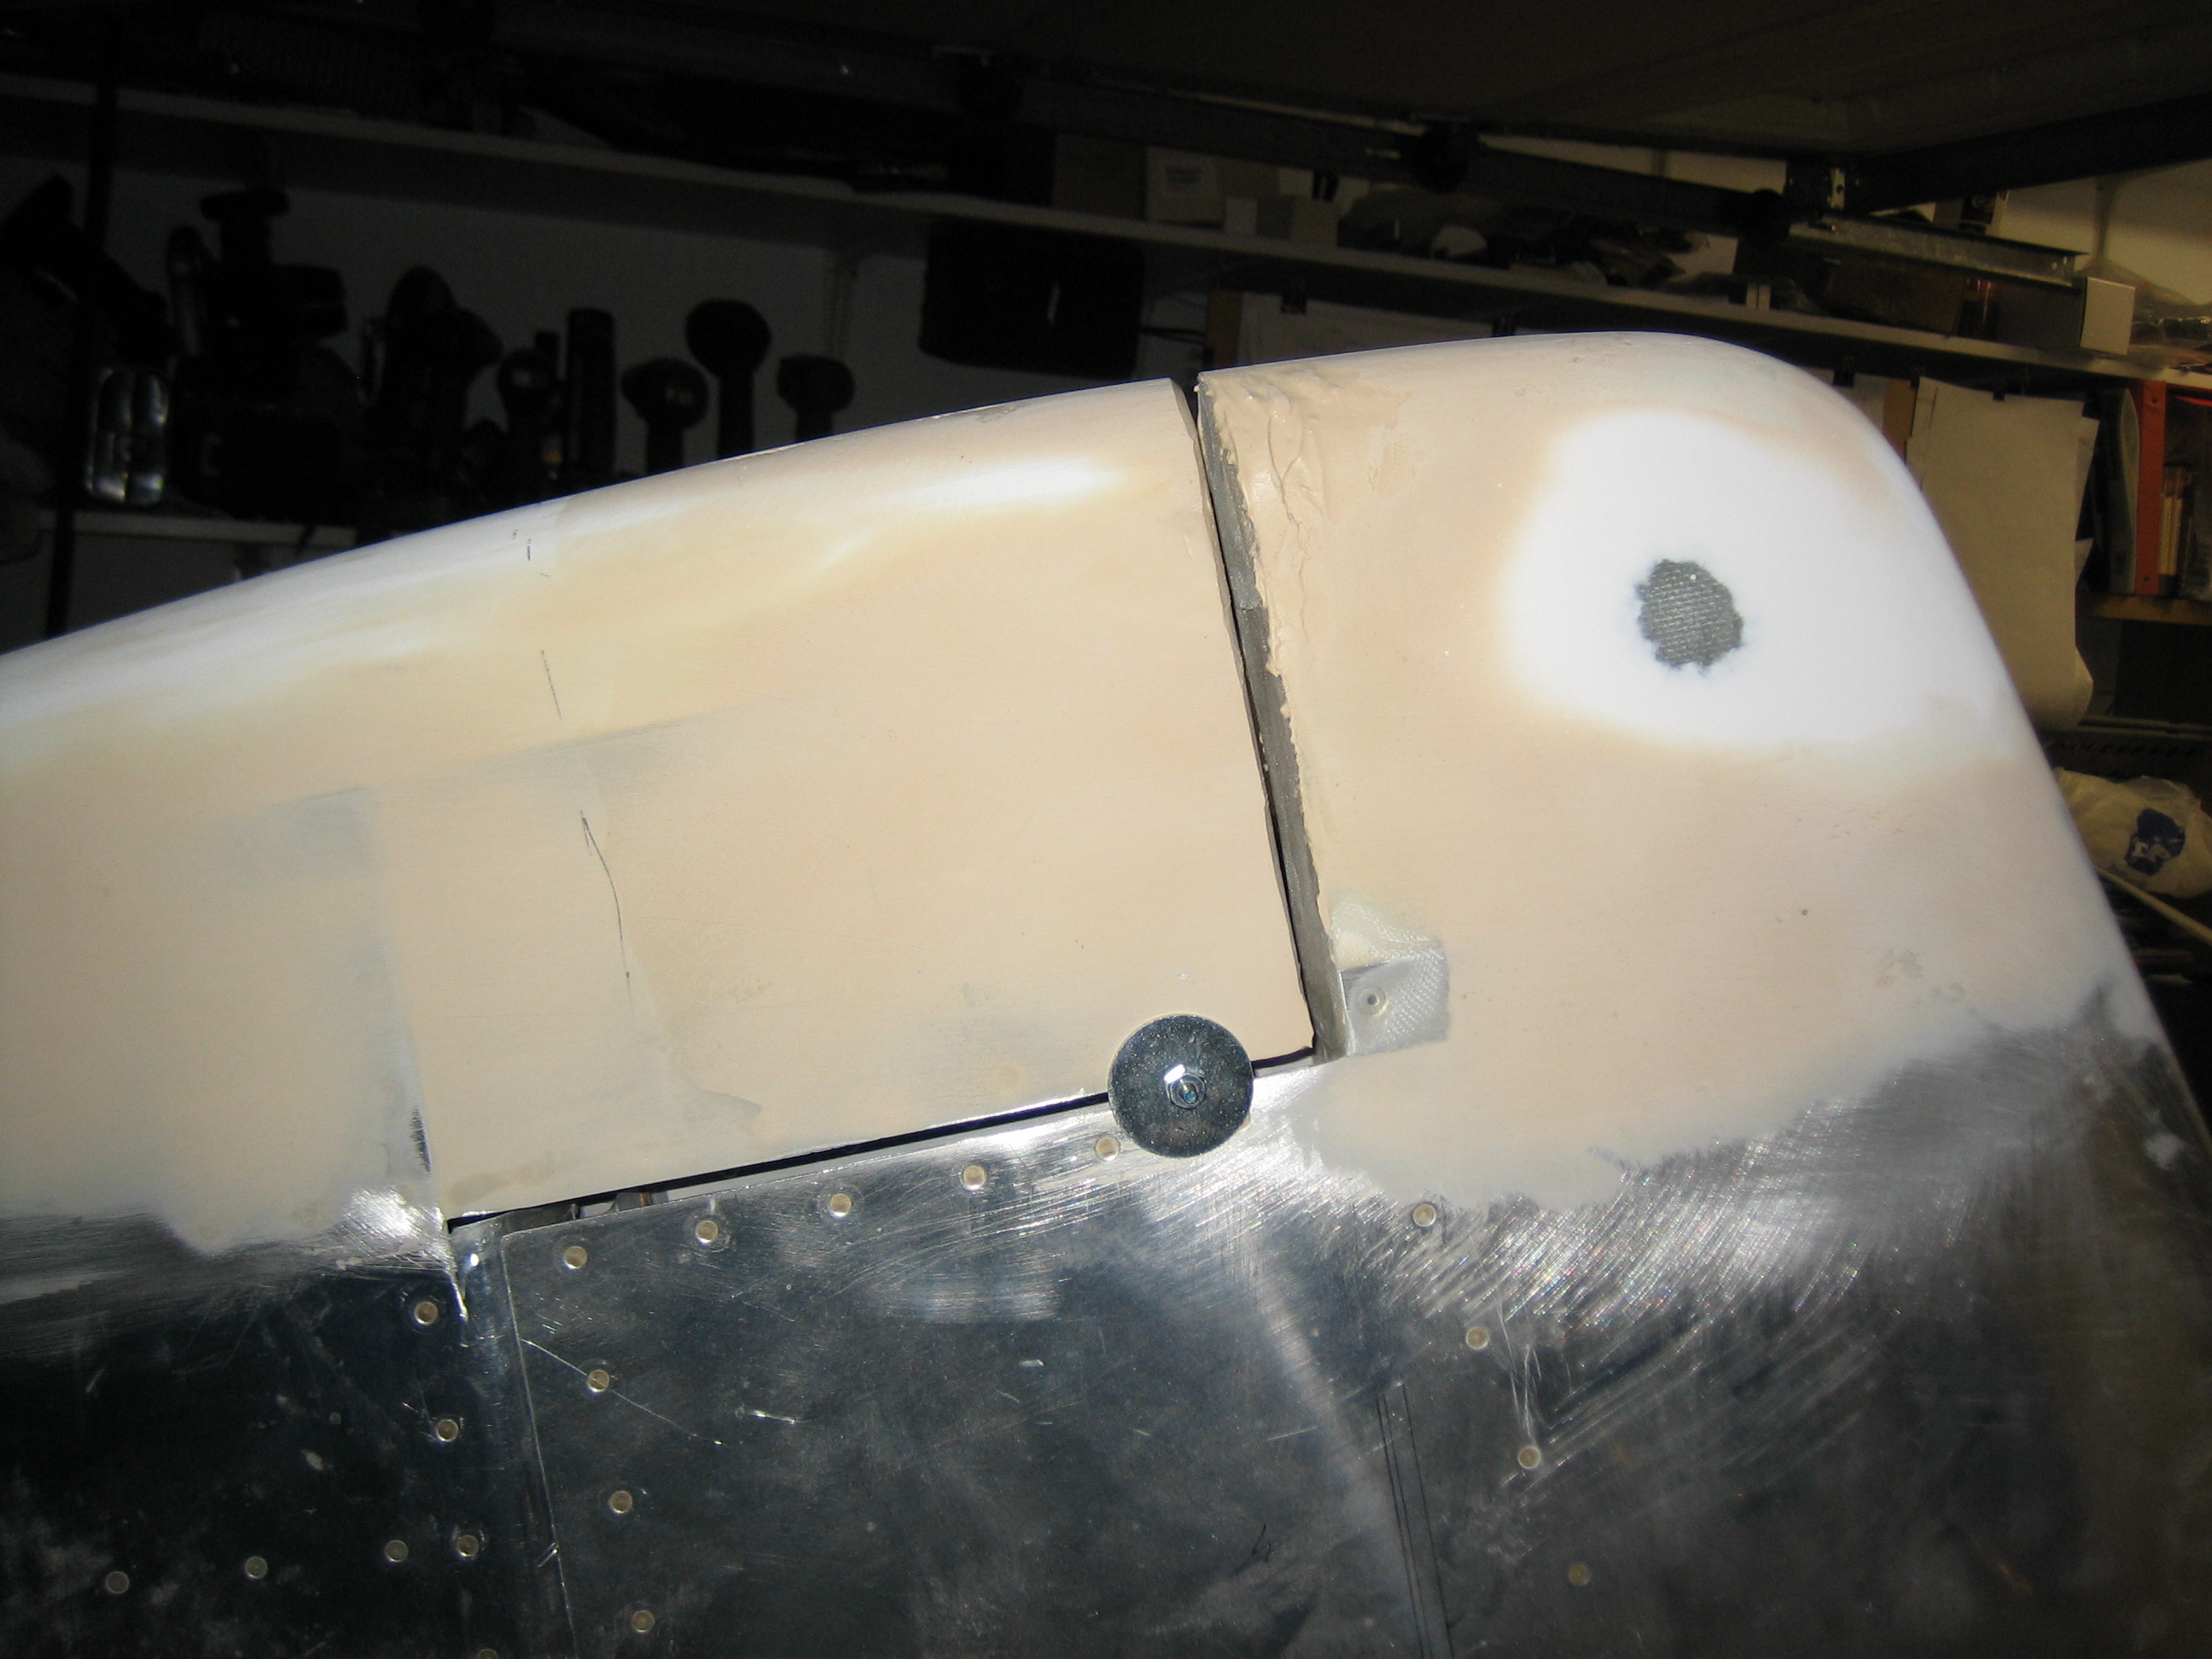
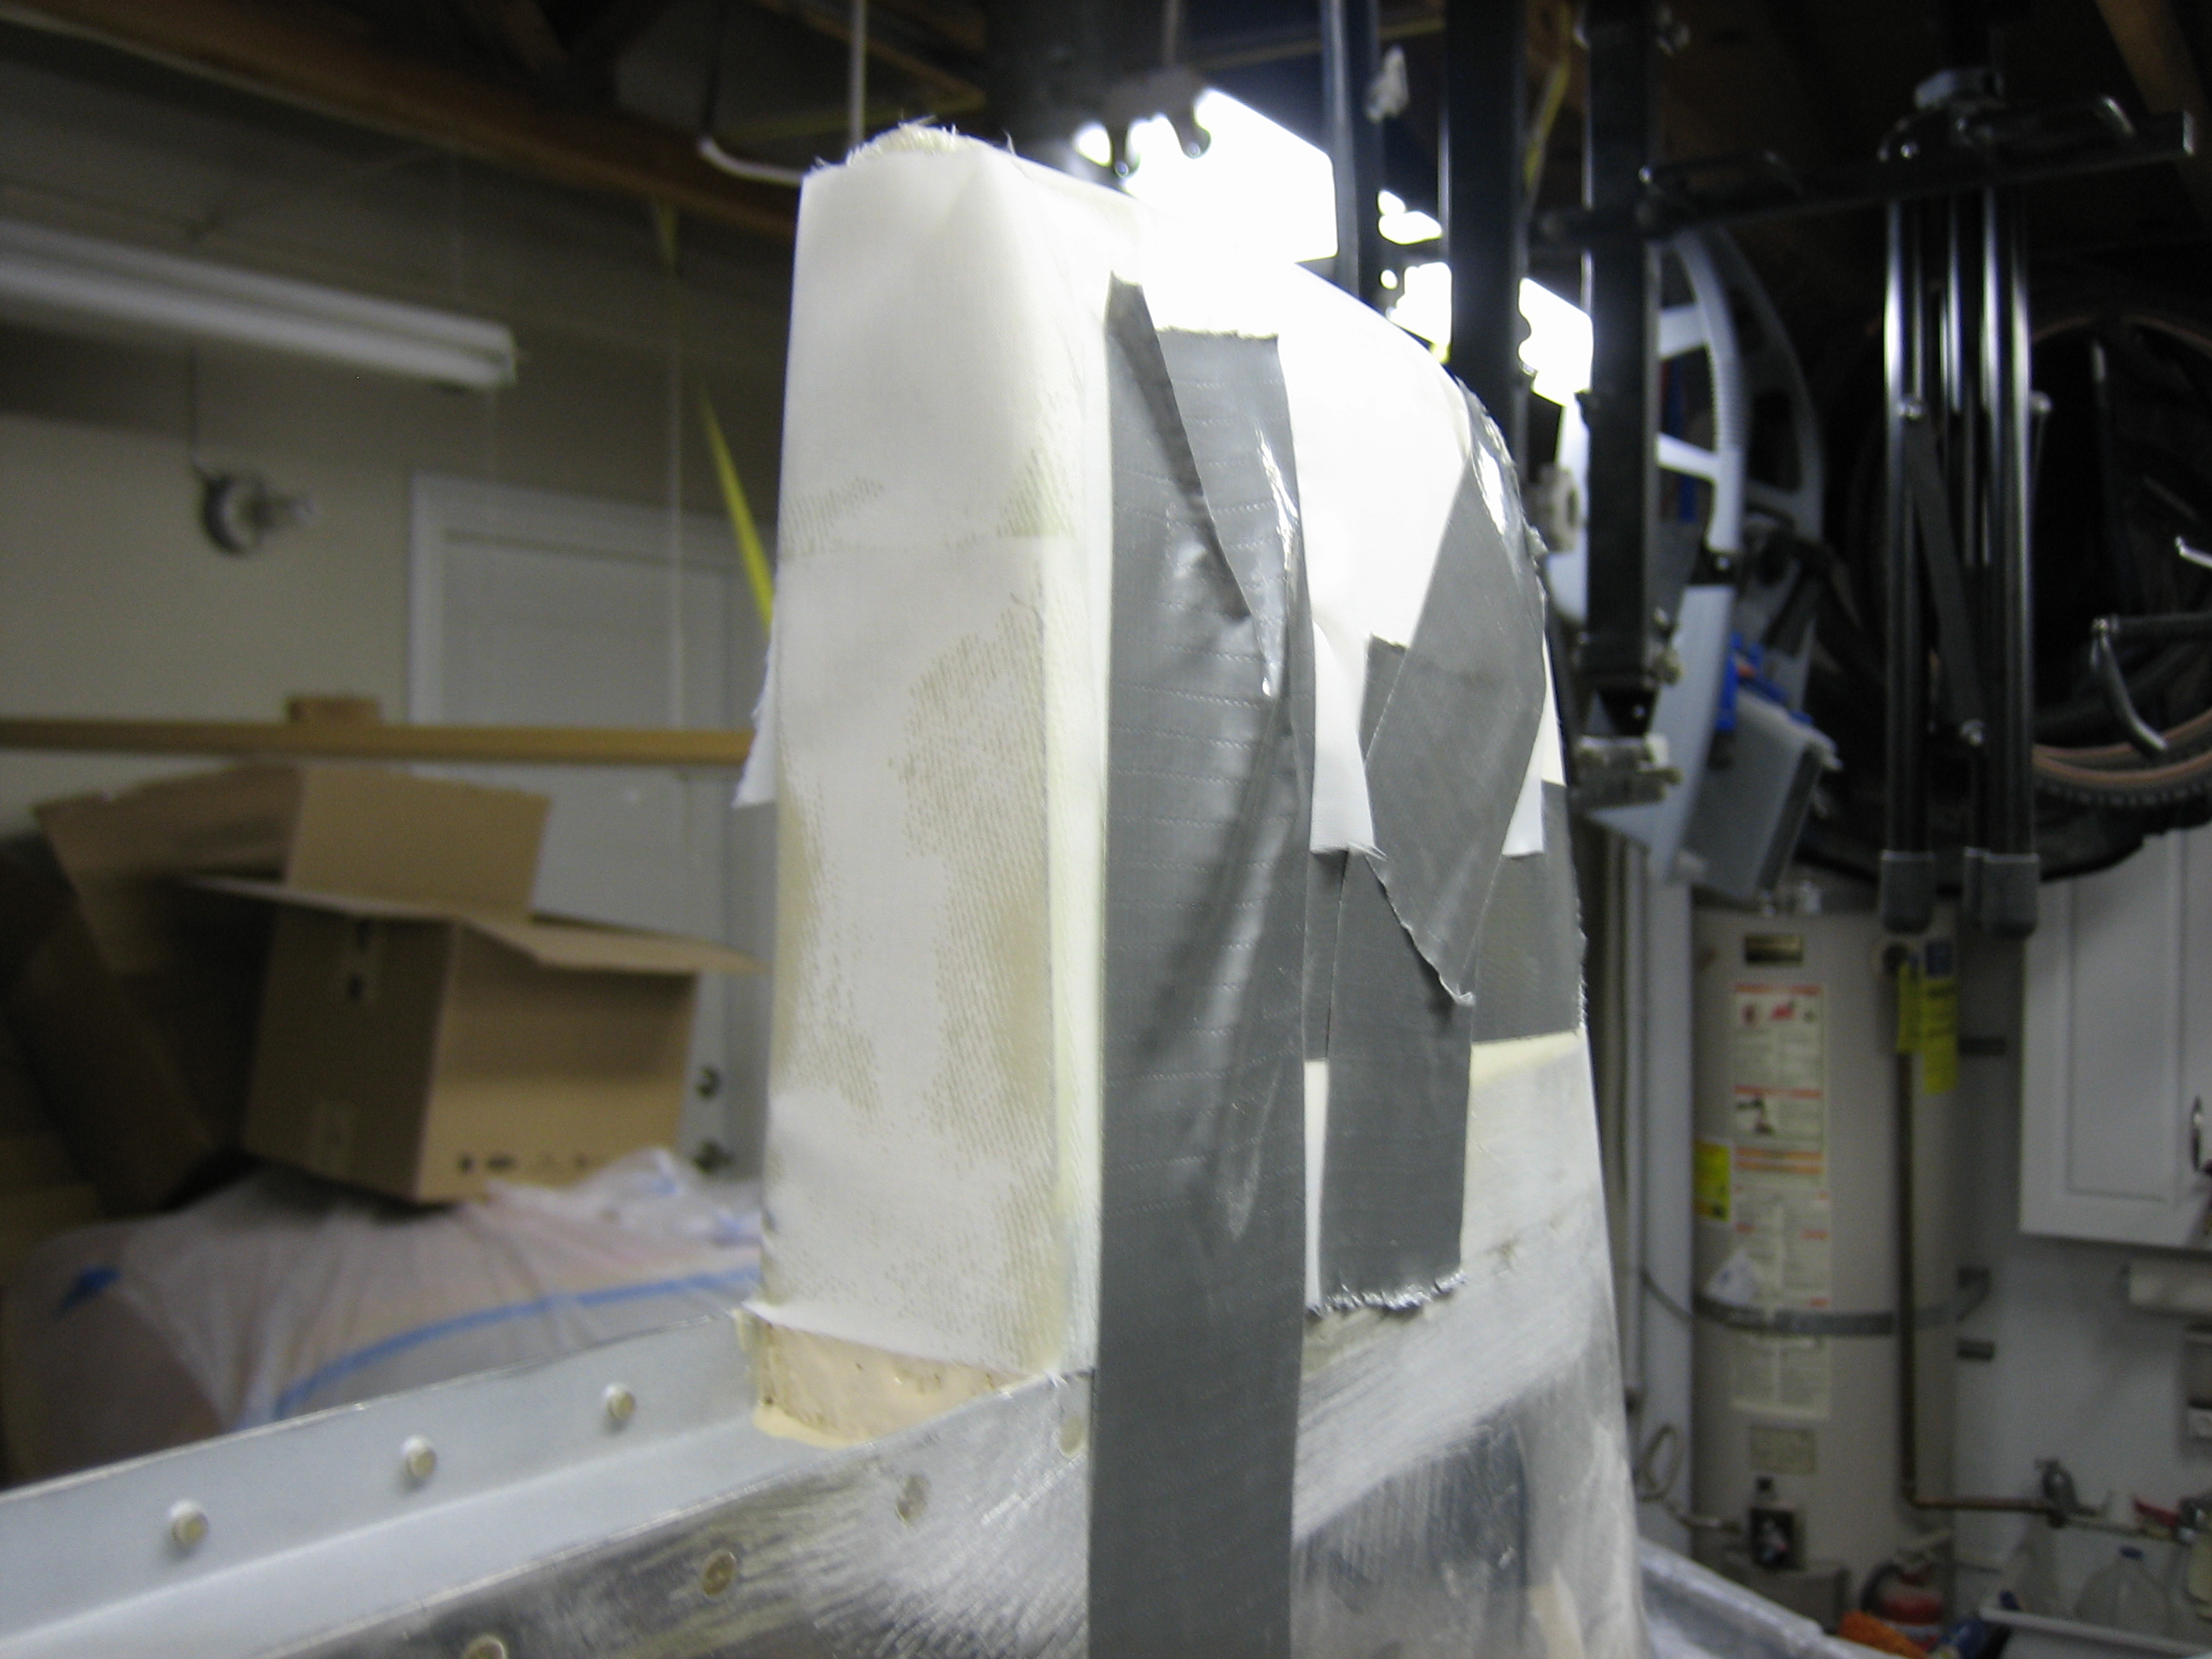
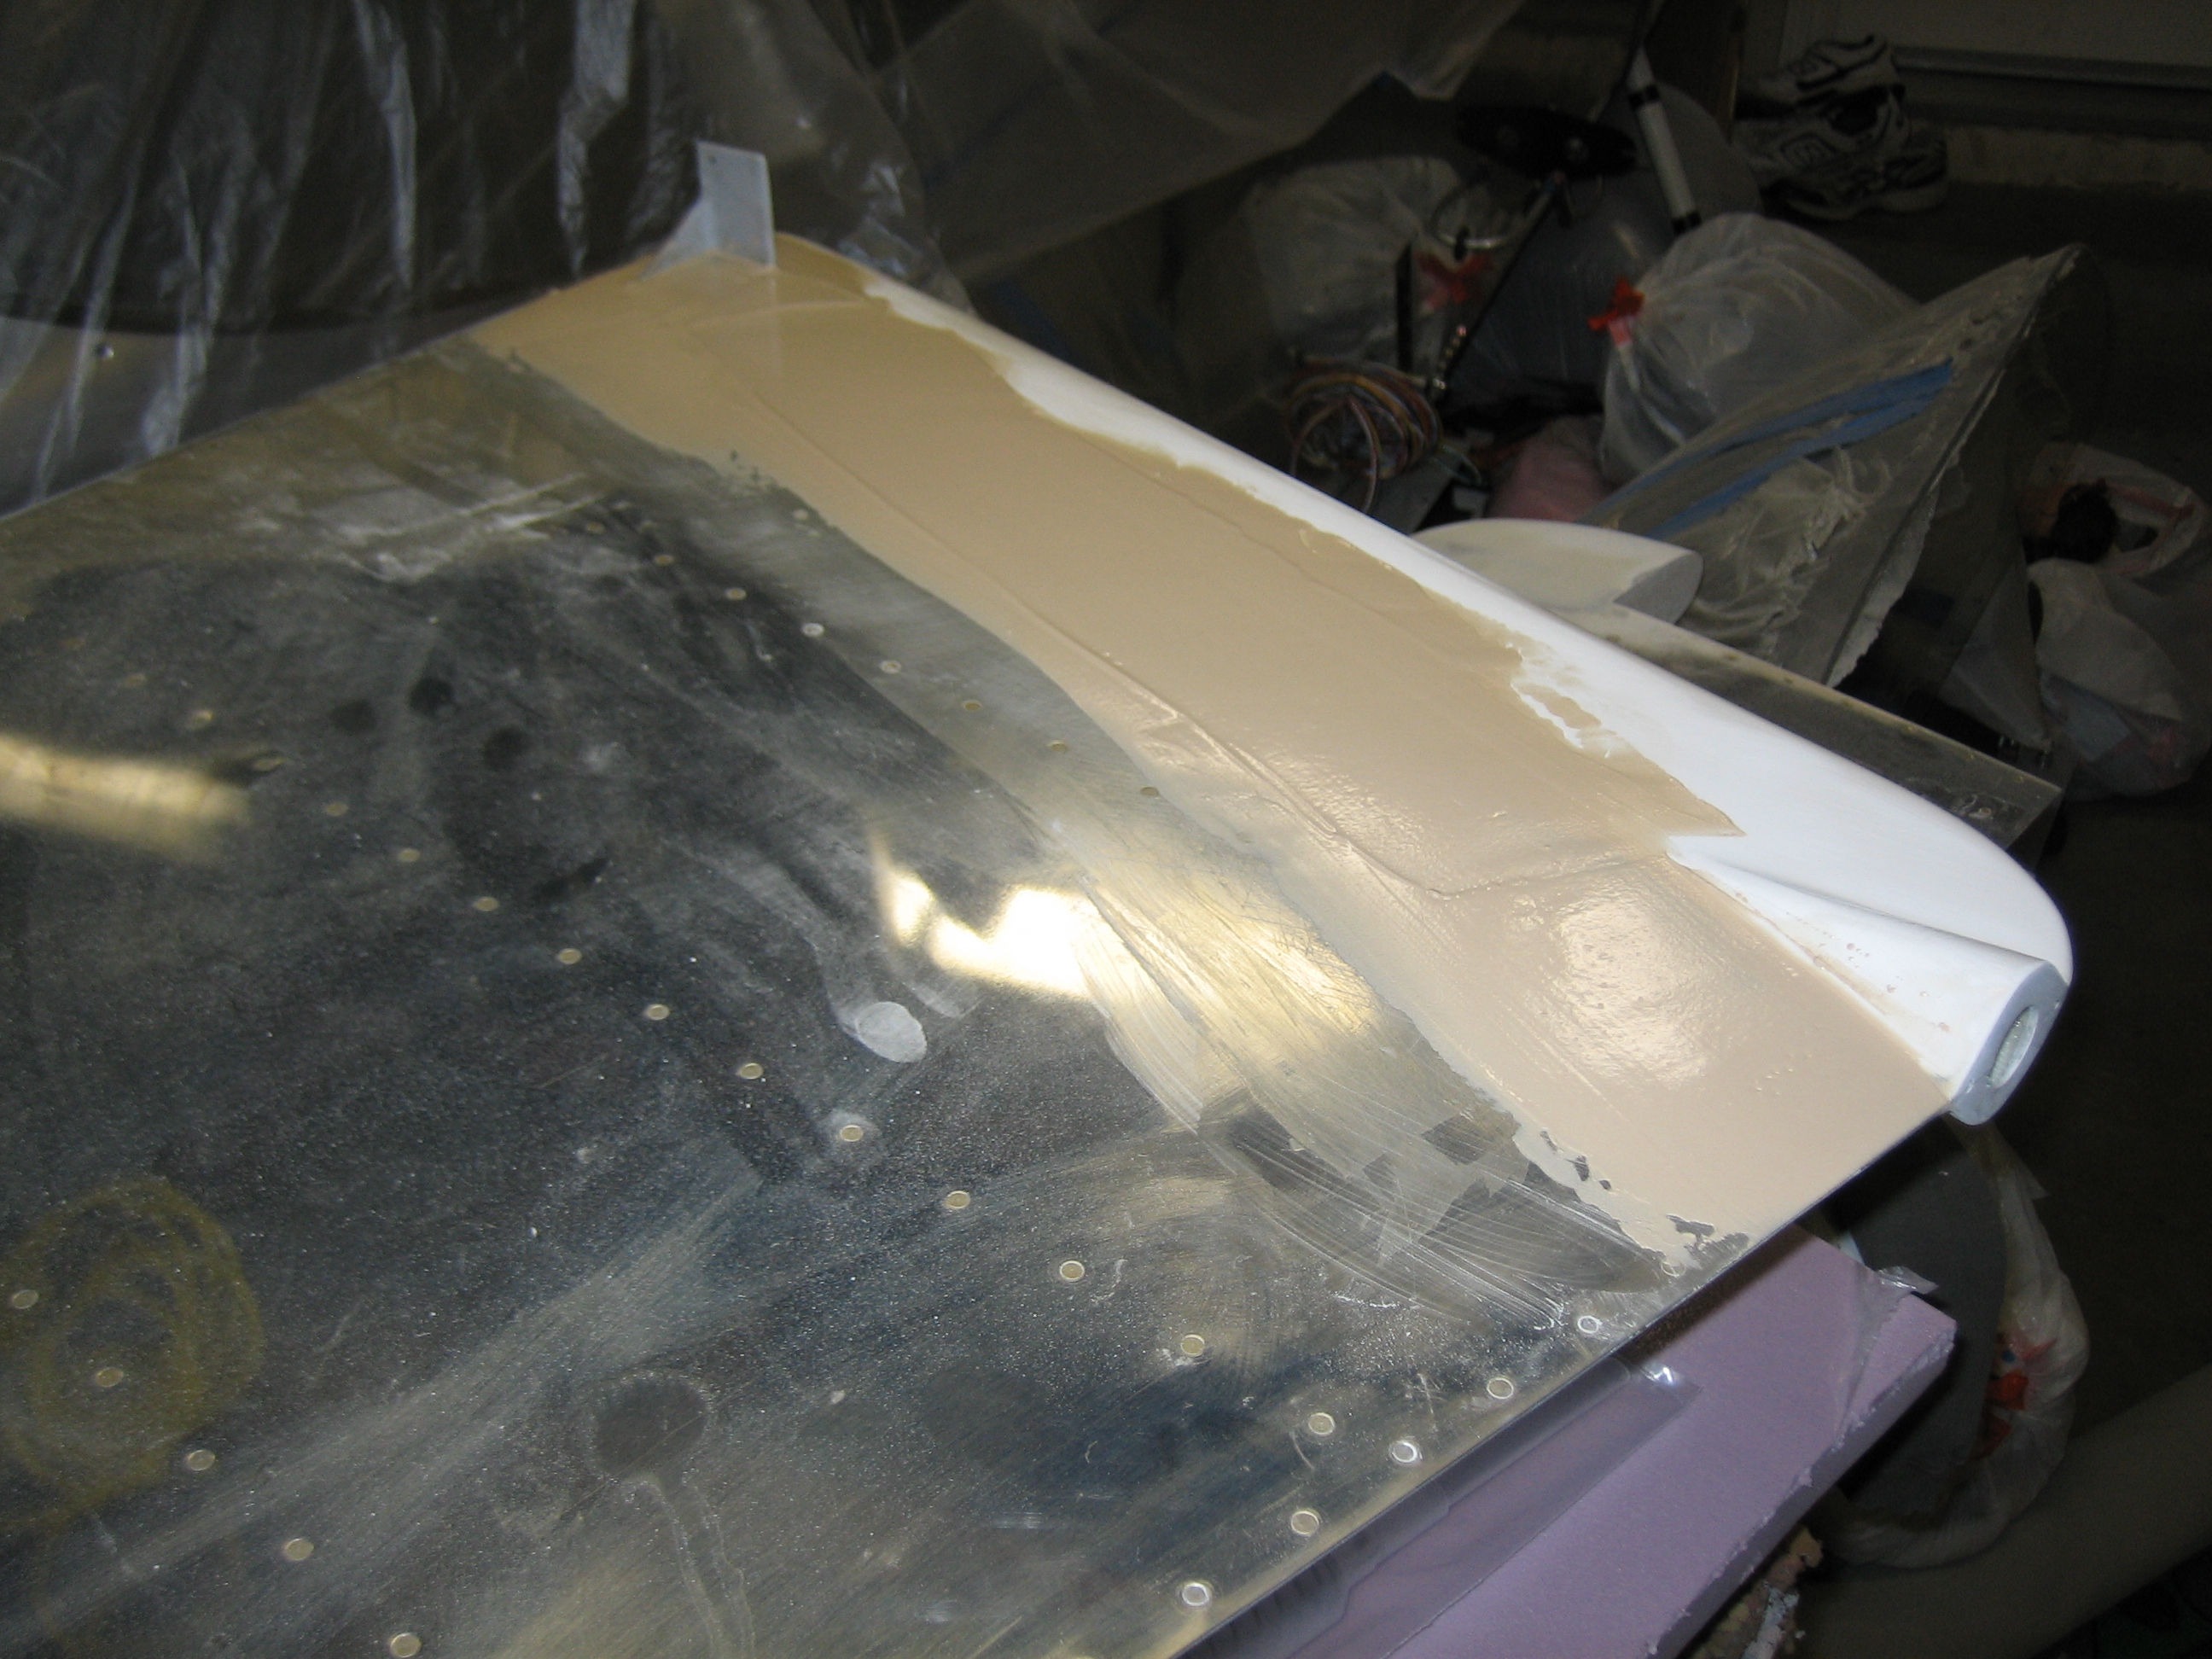
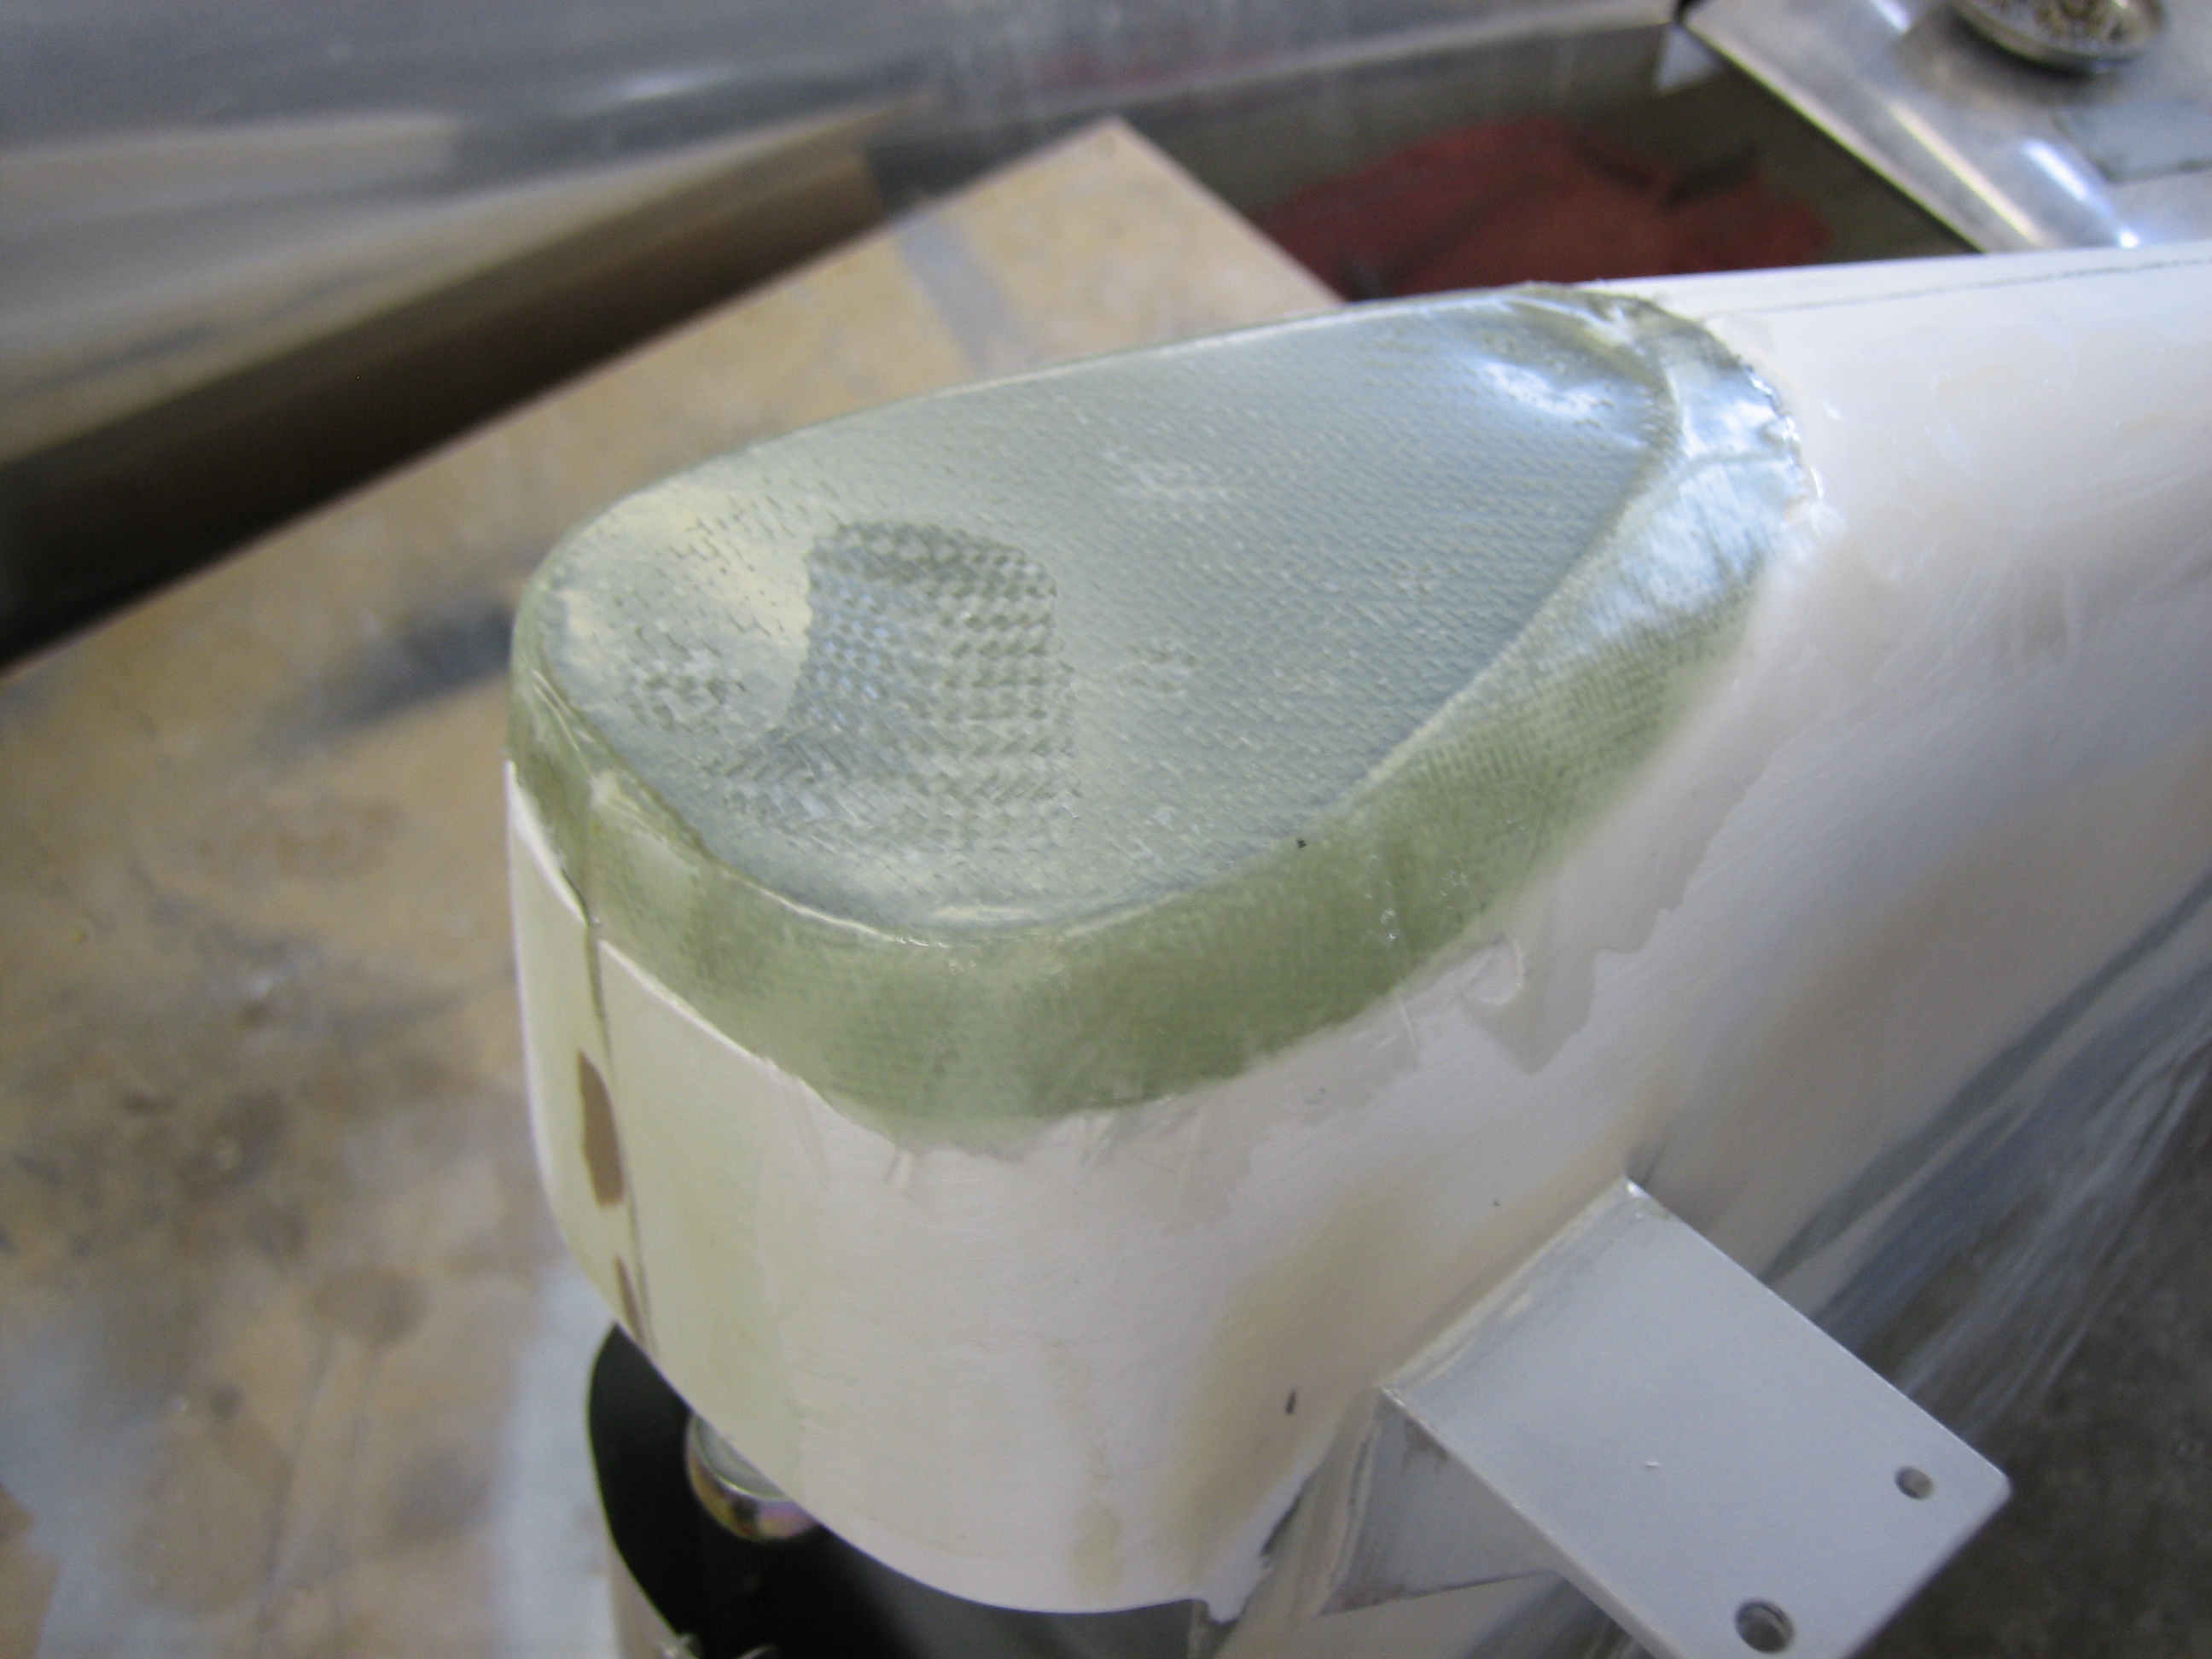
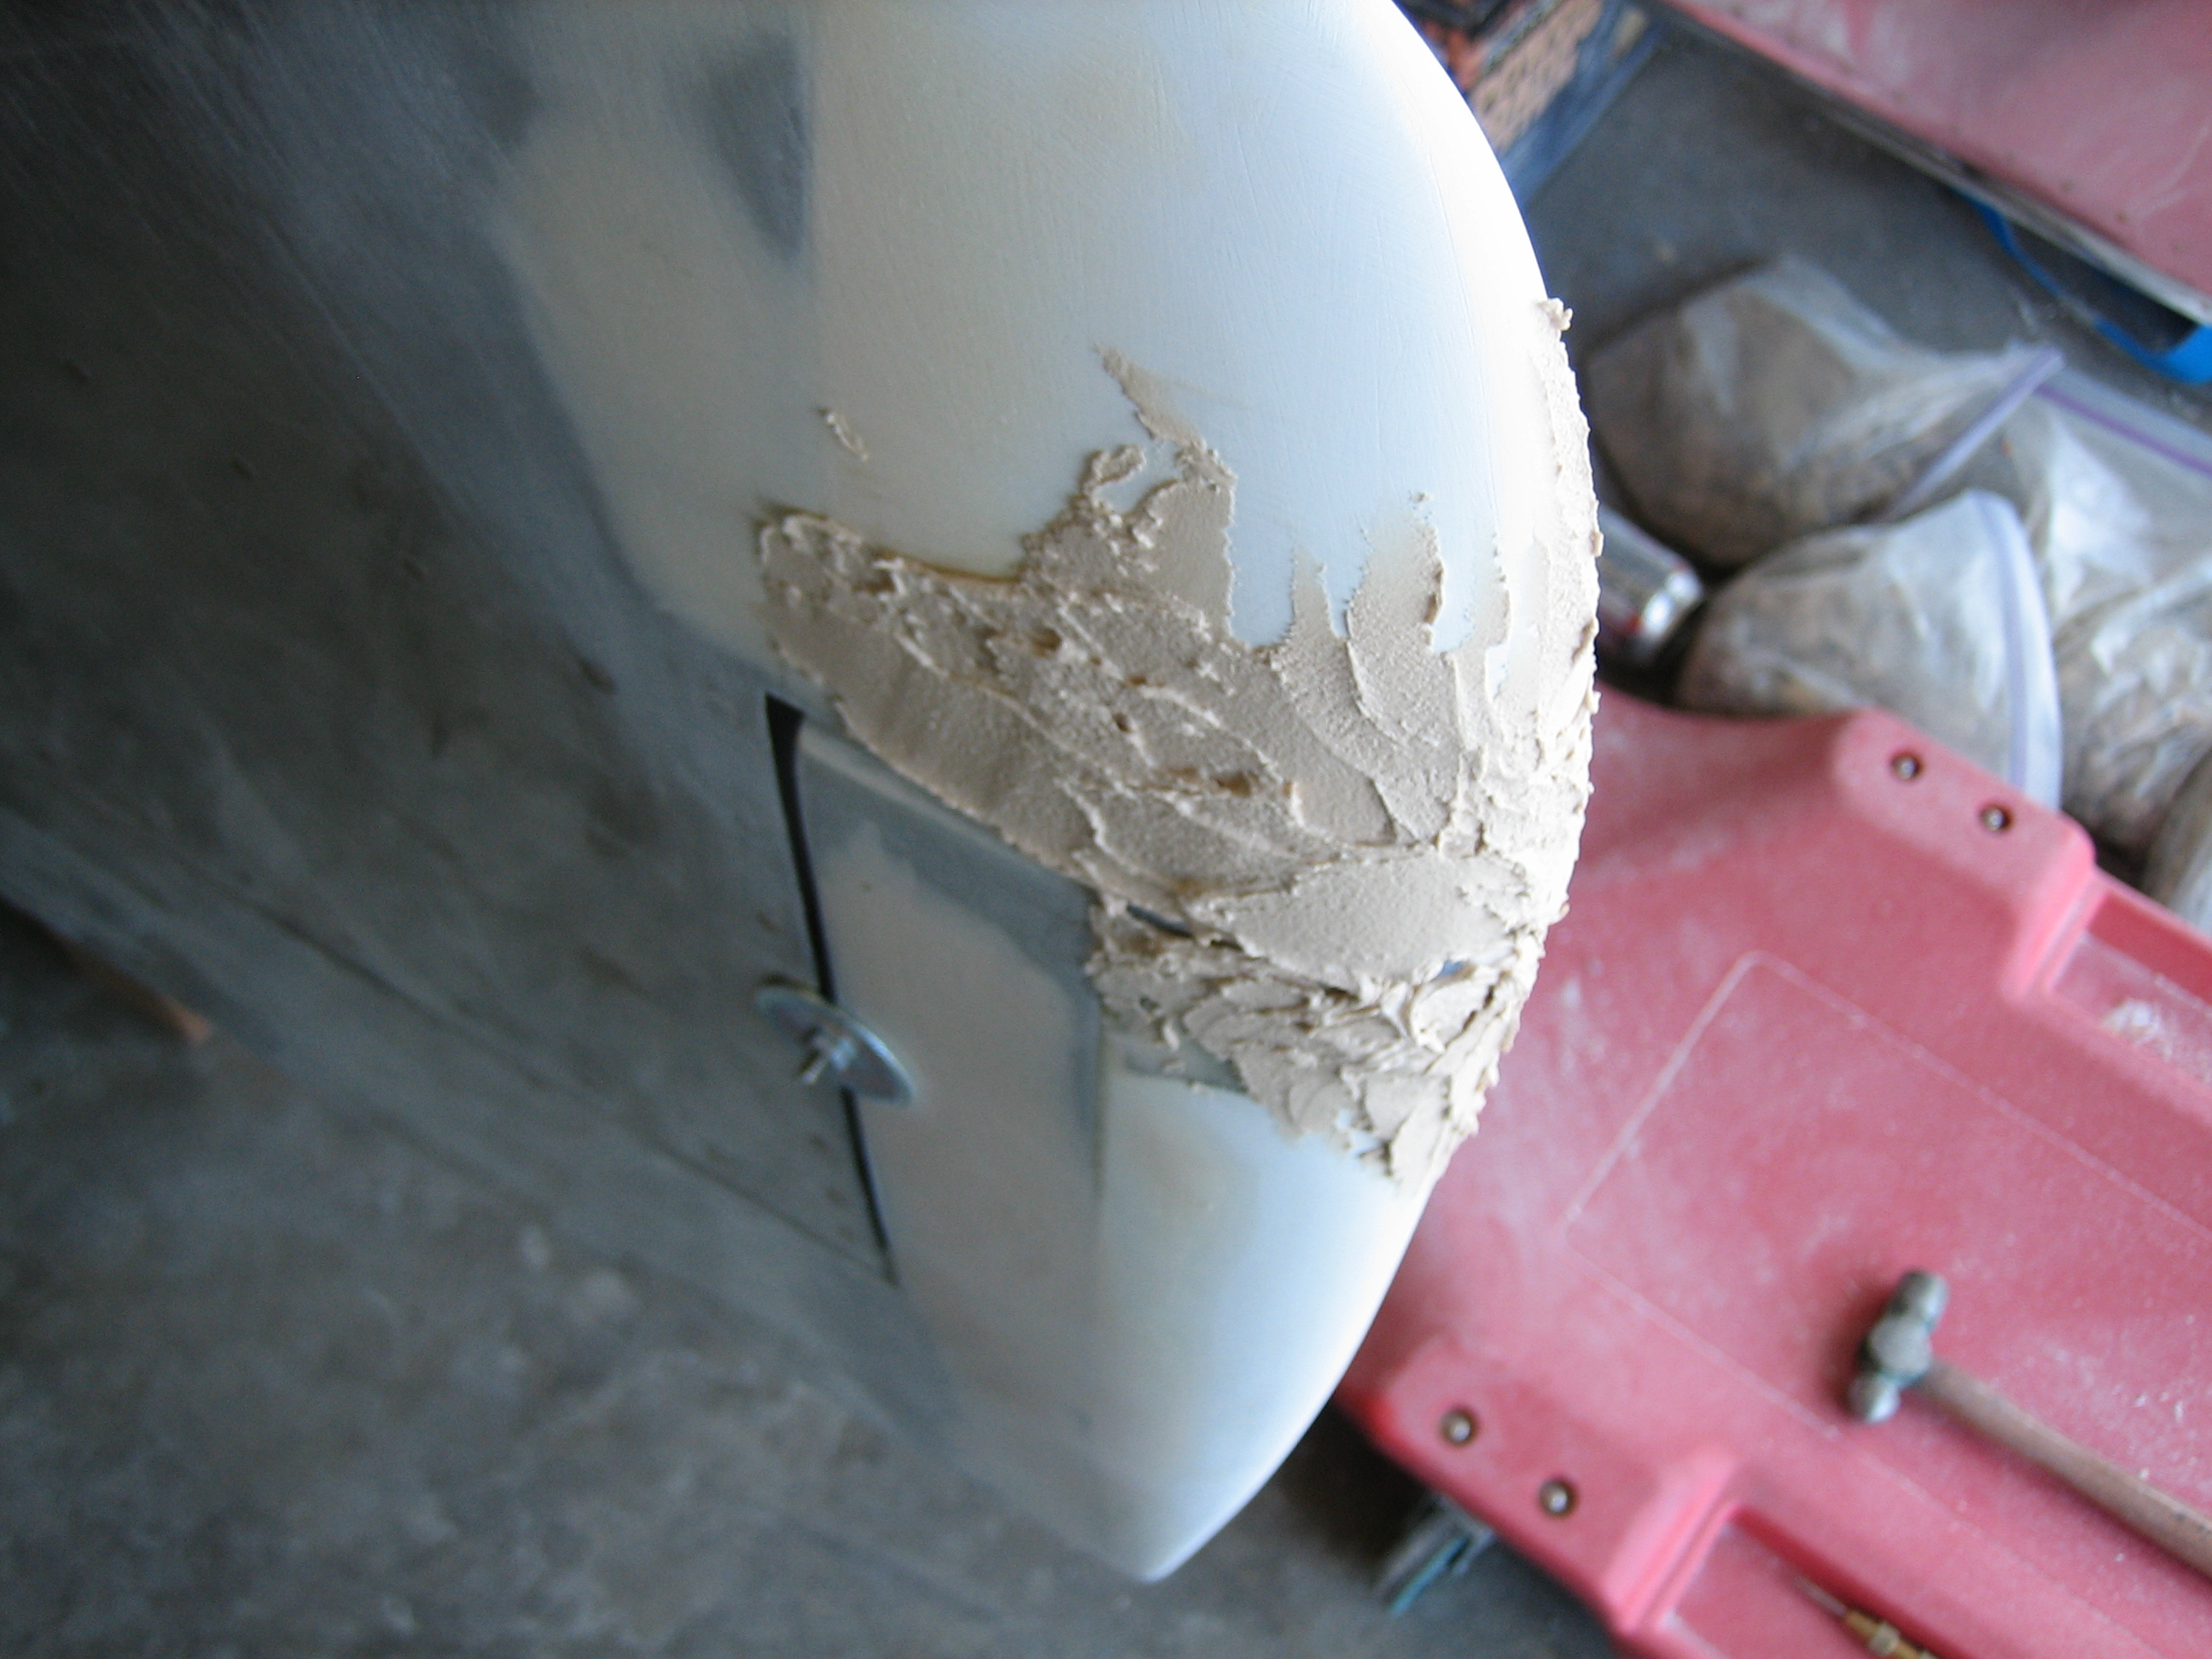
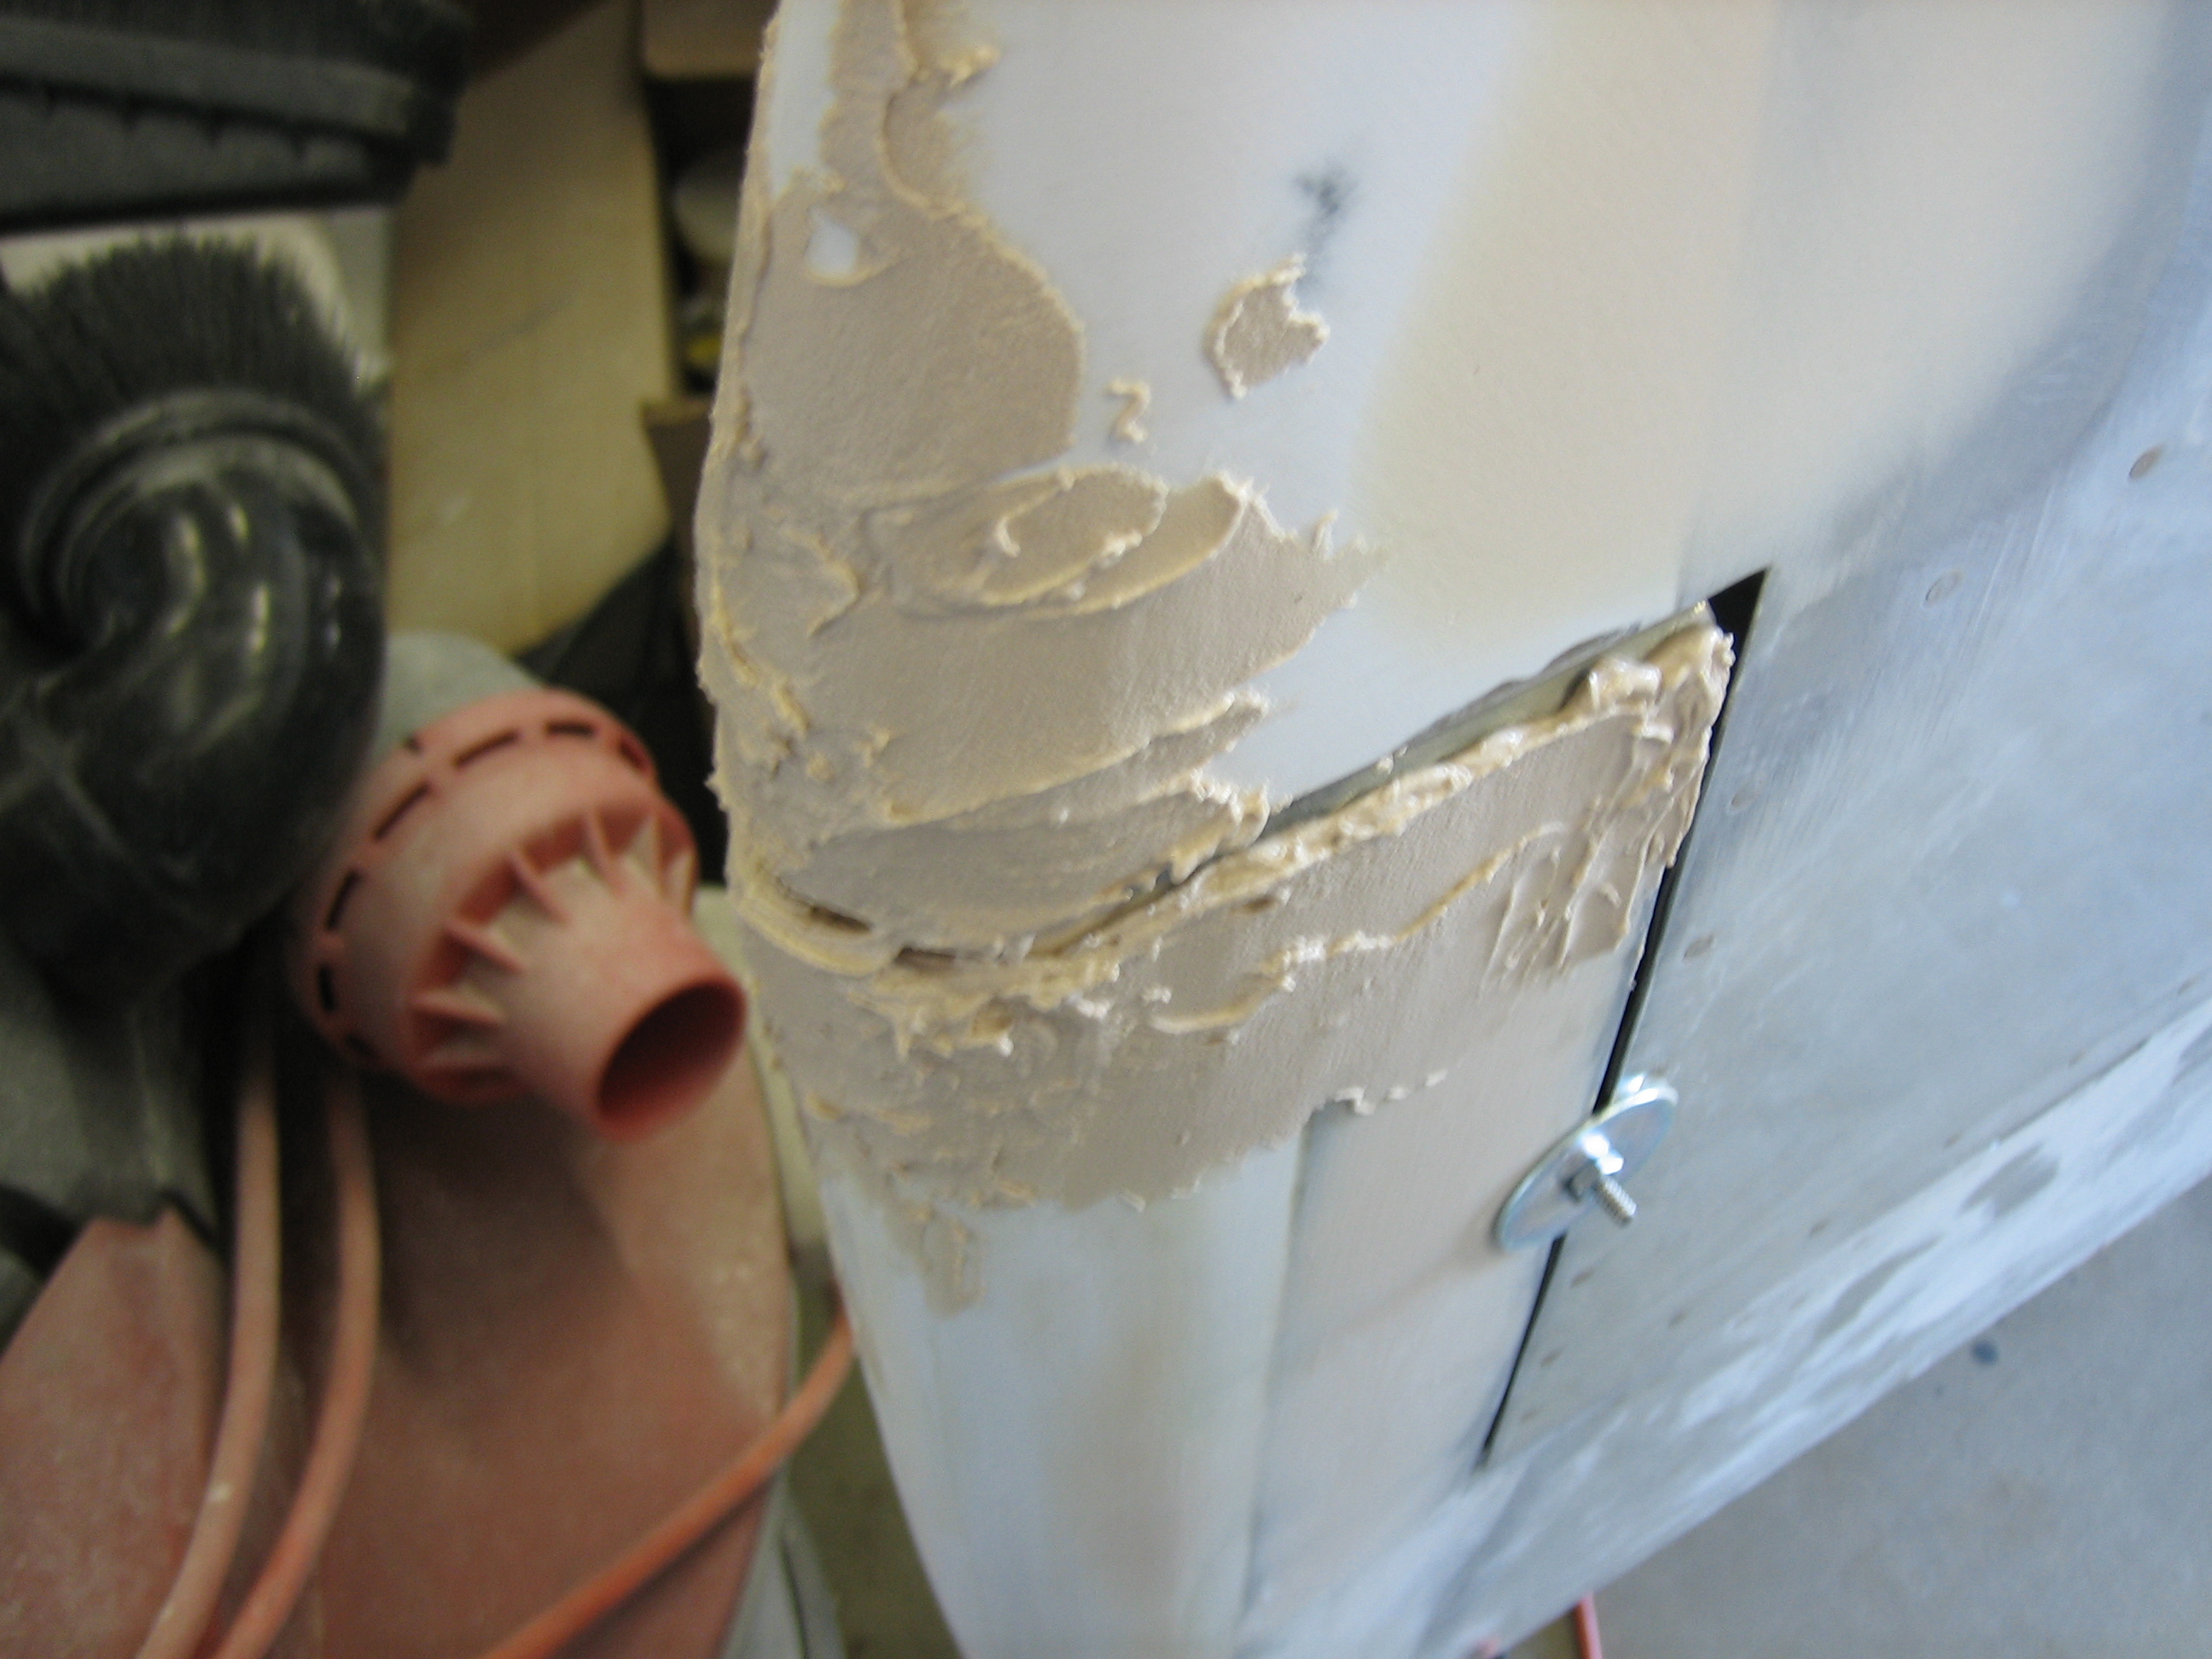
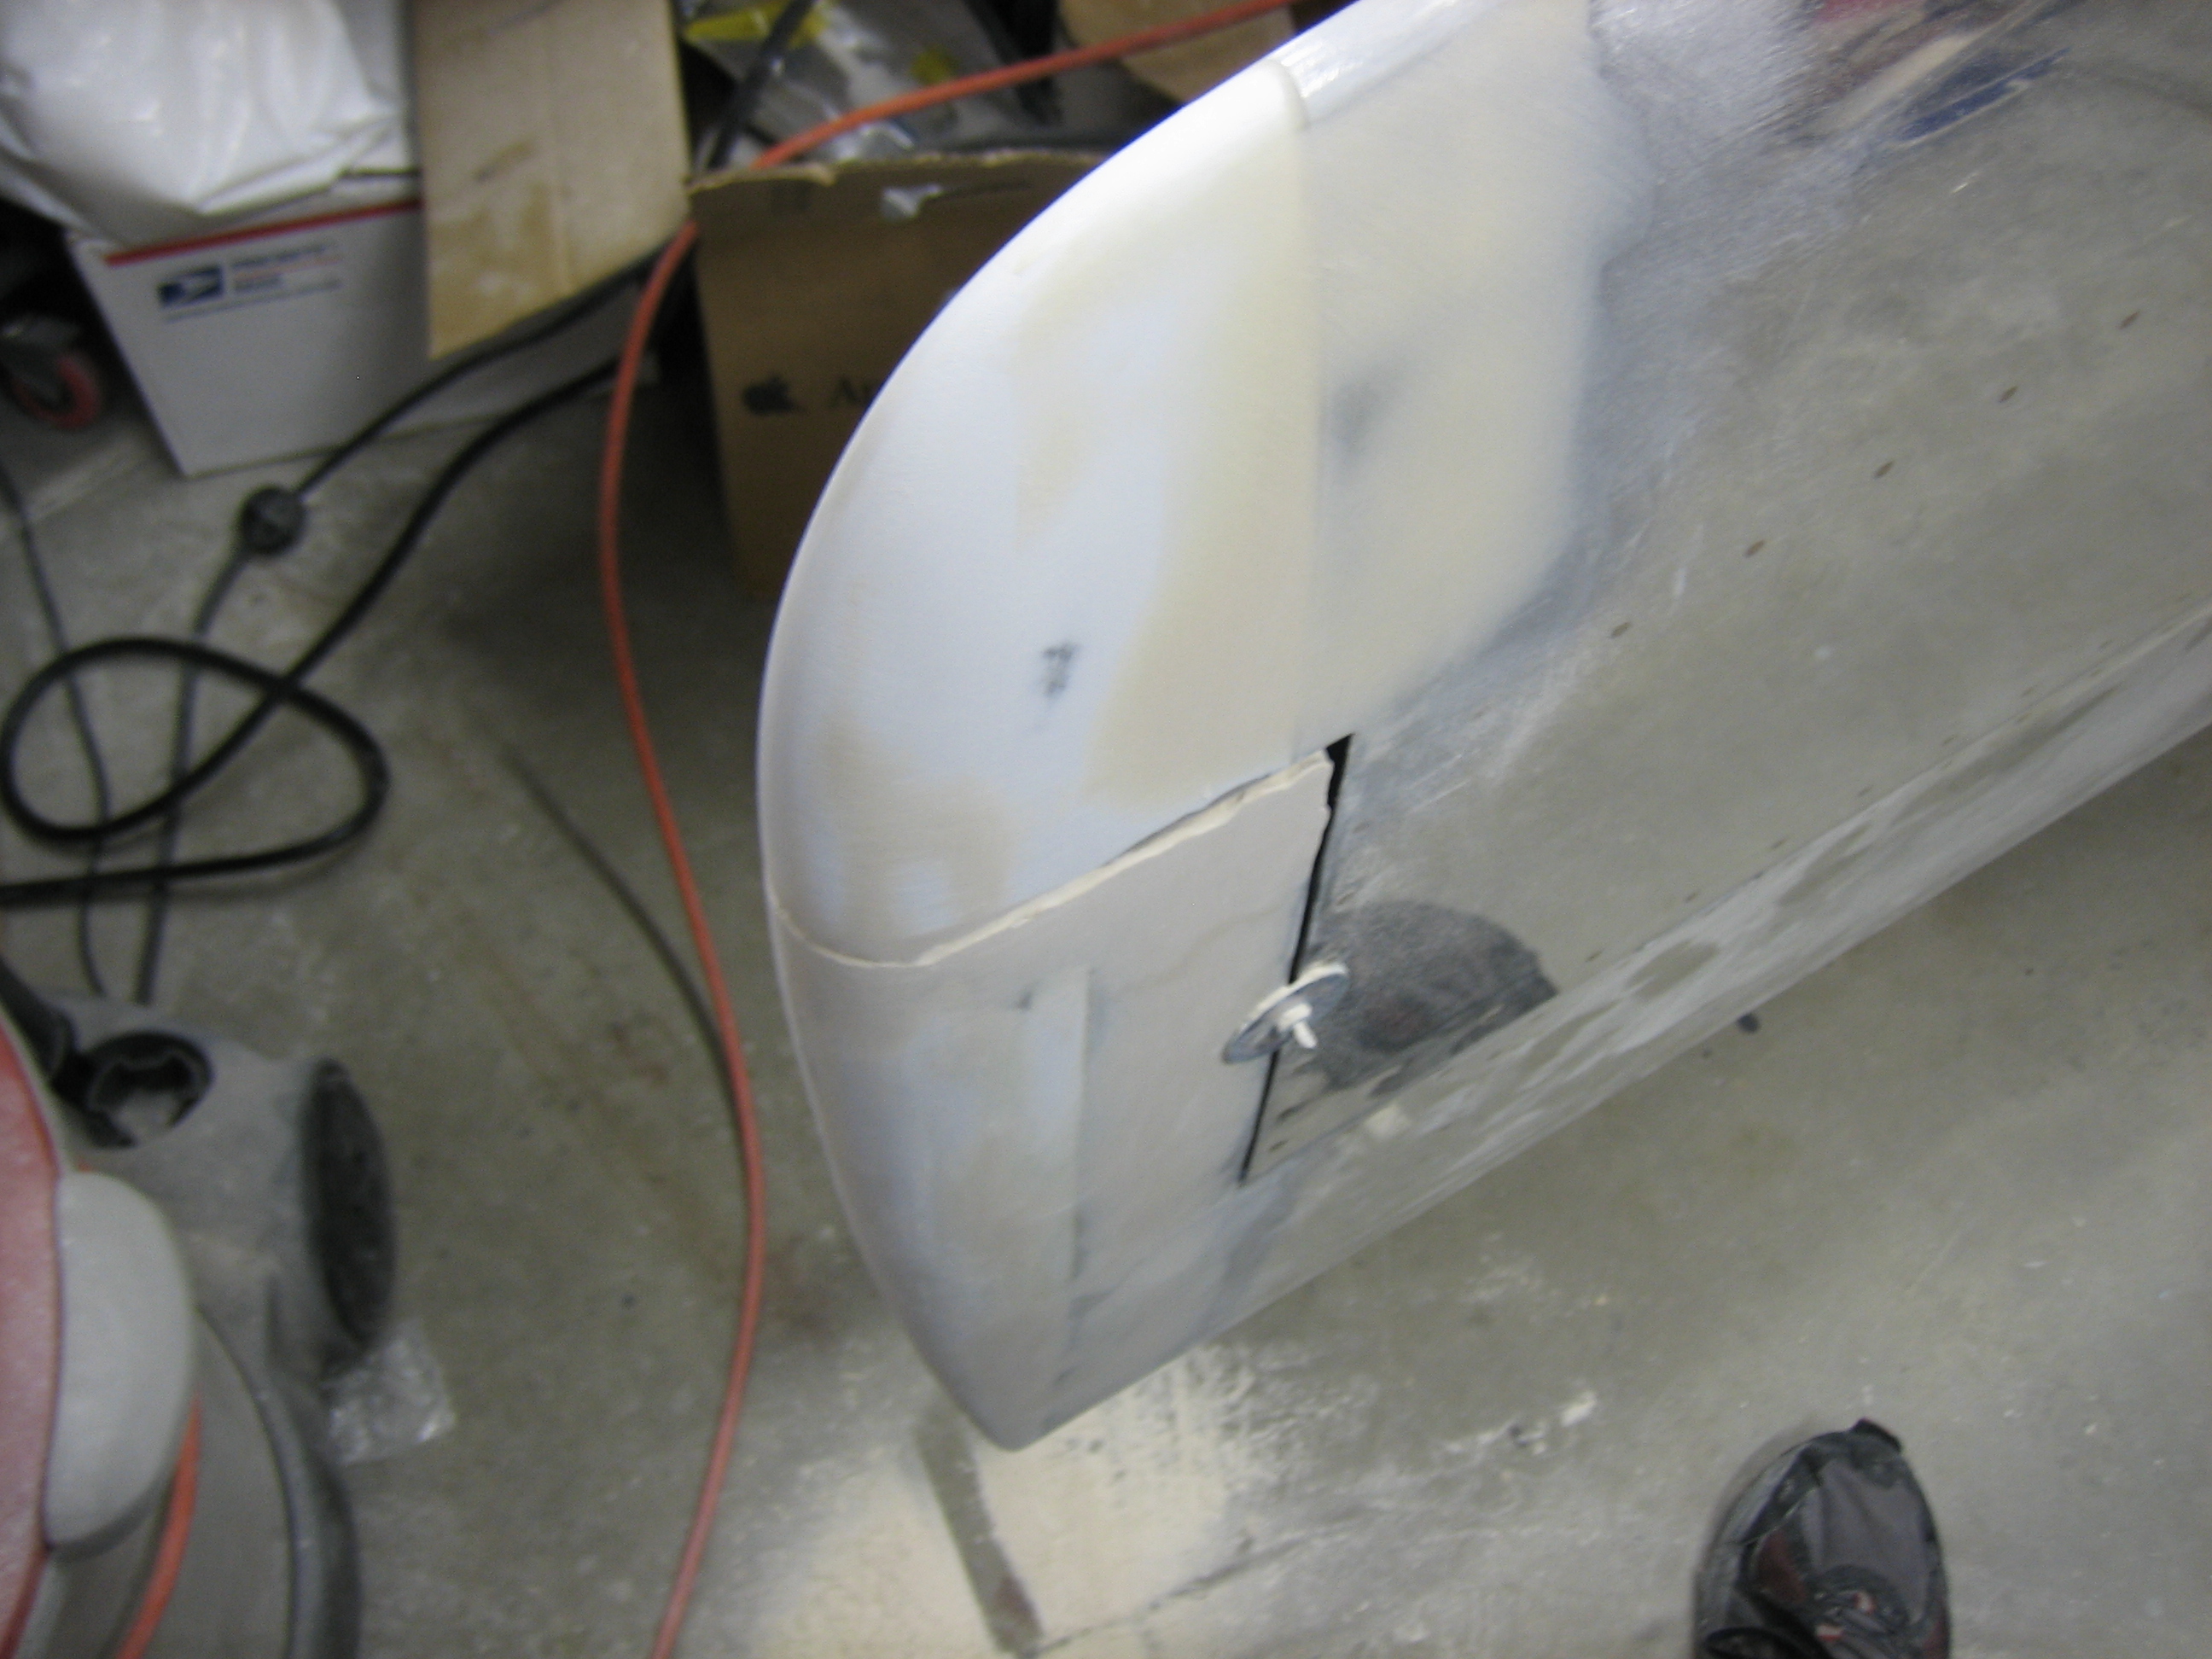
The rudder bottom fairing patch has cured.  After filing down the high spots and giving it a quick sanding, I applied some epoxy/microlight filler.  The leading edge of the fairing also needs to be built up a bit to match the rolled leading edge of the rudder.

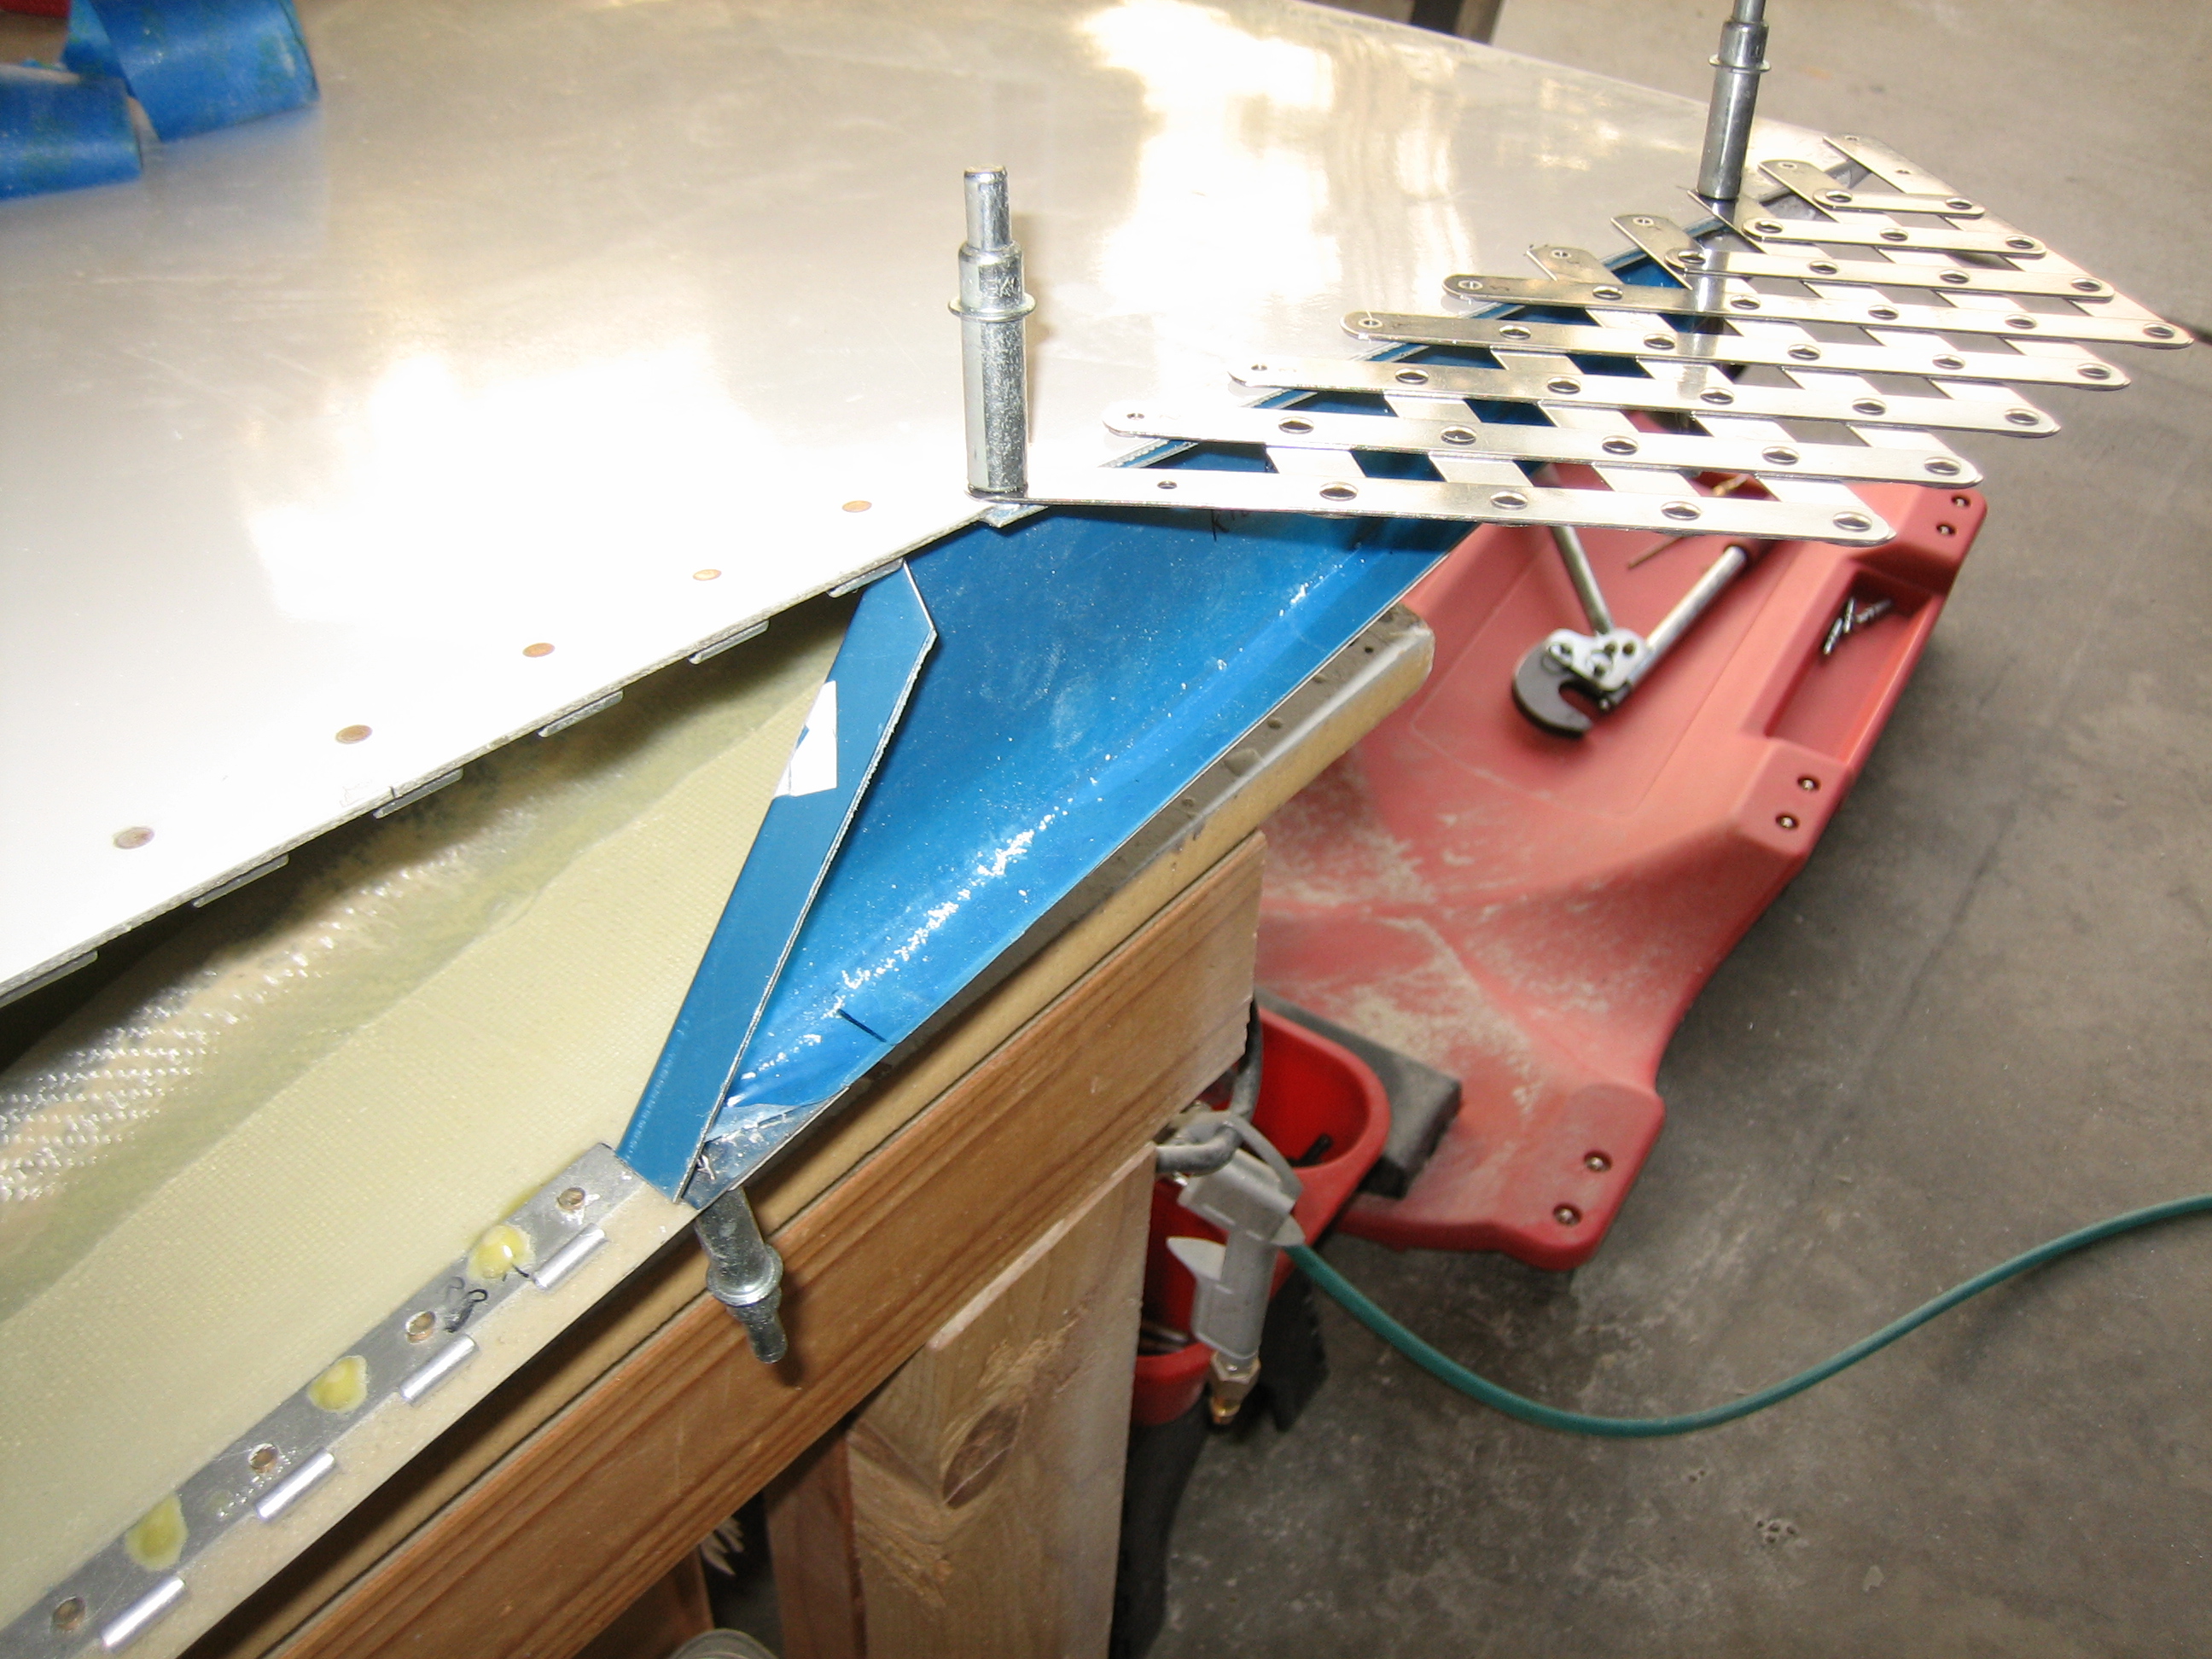
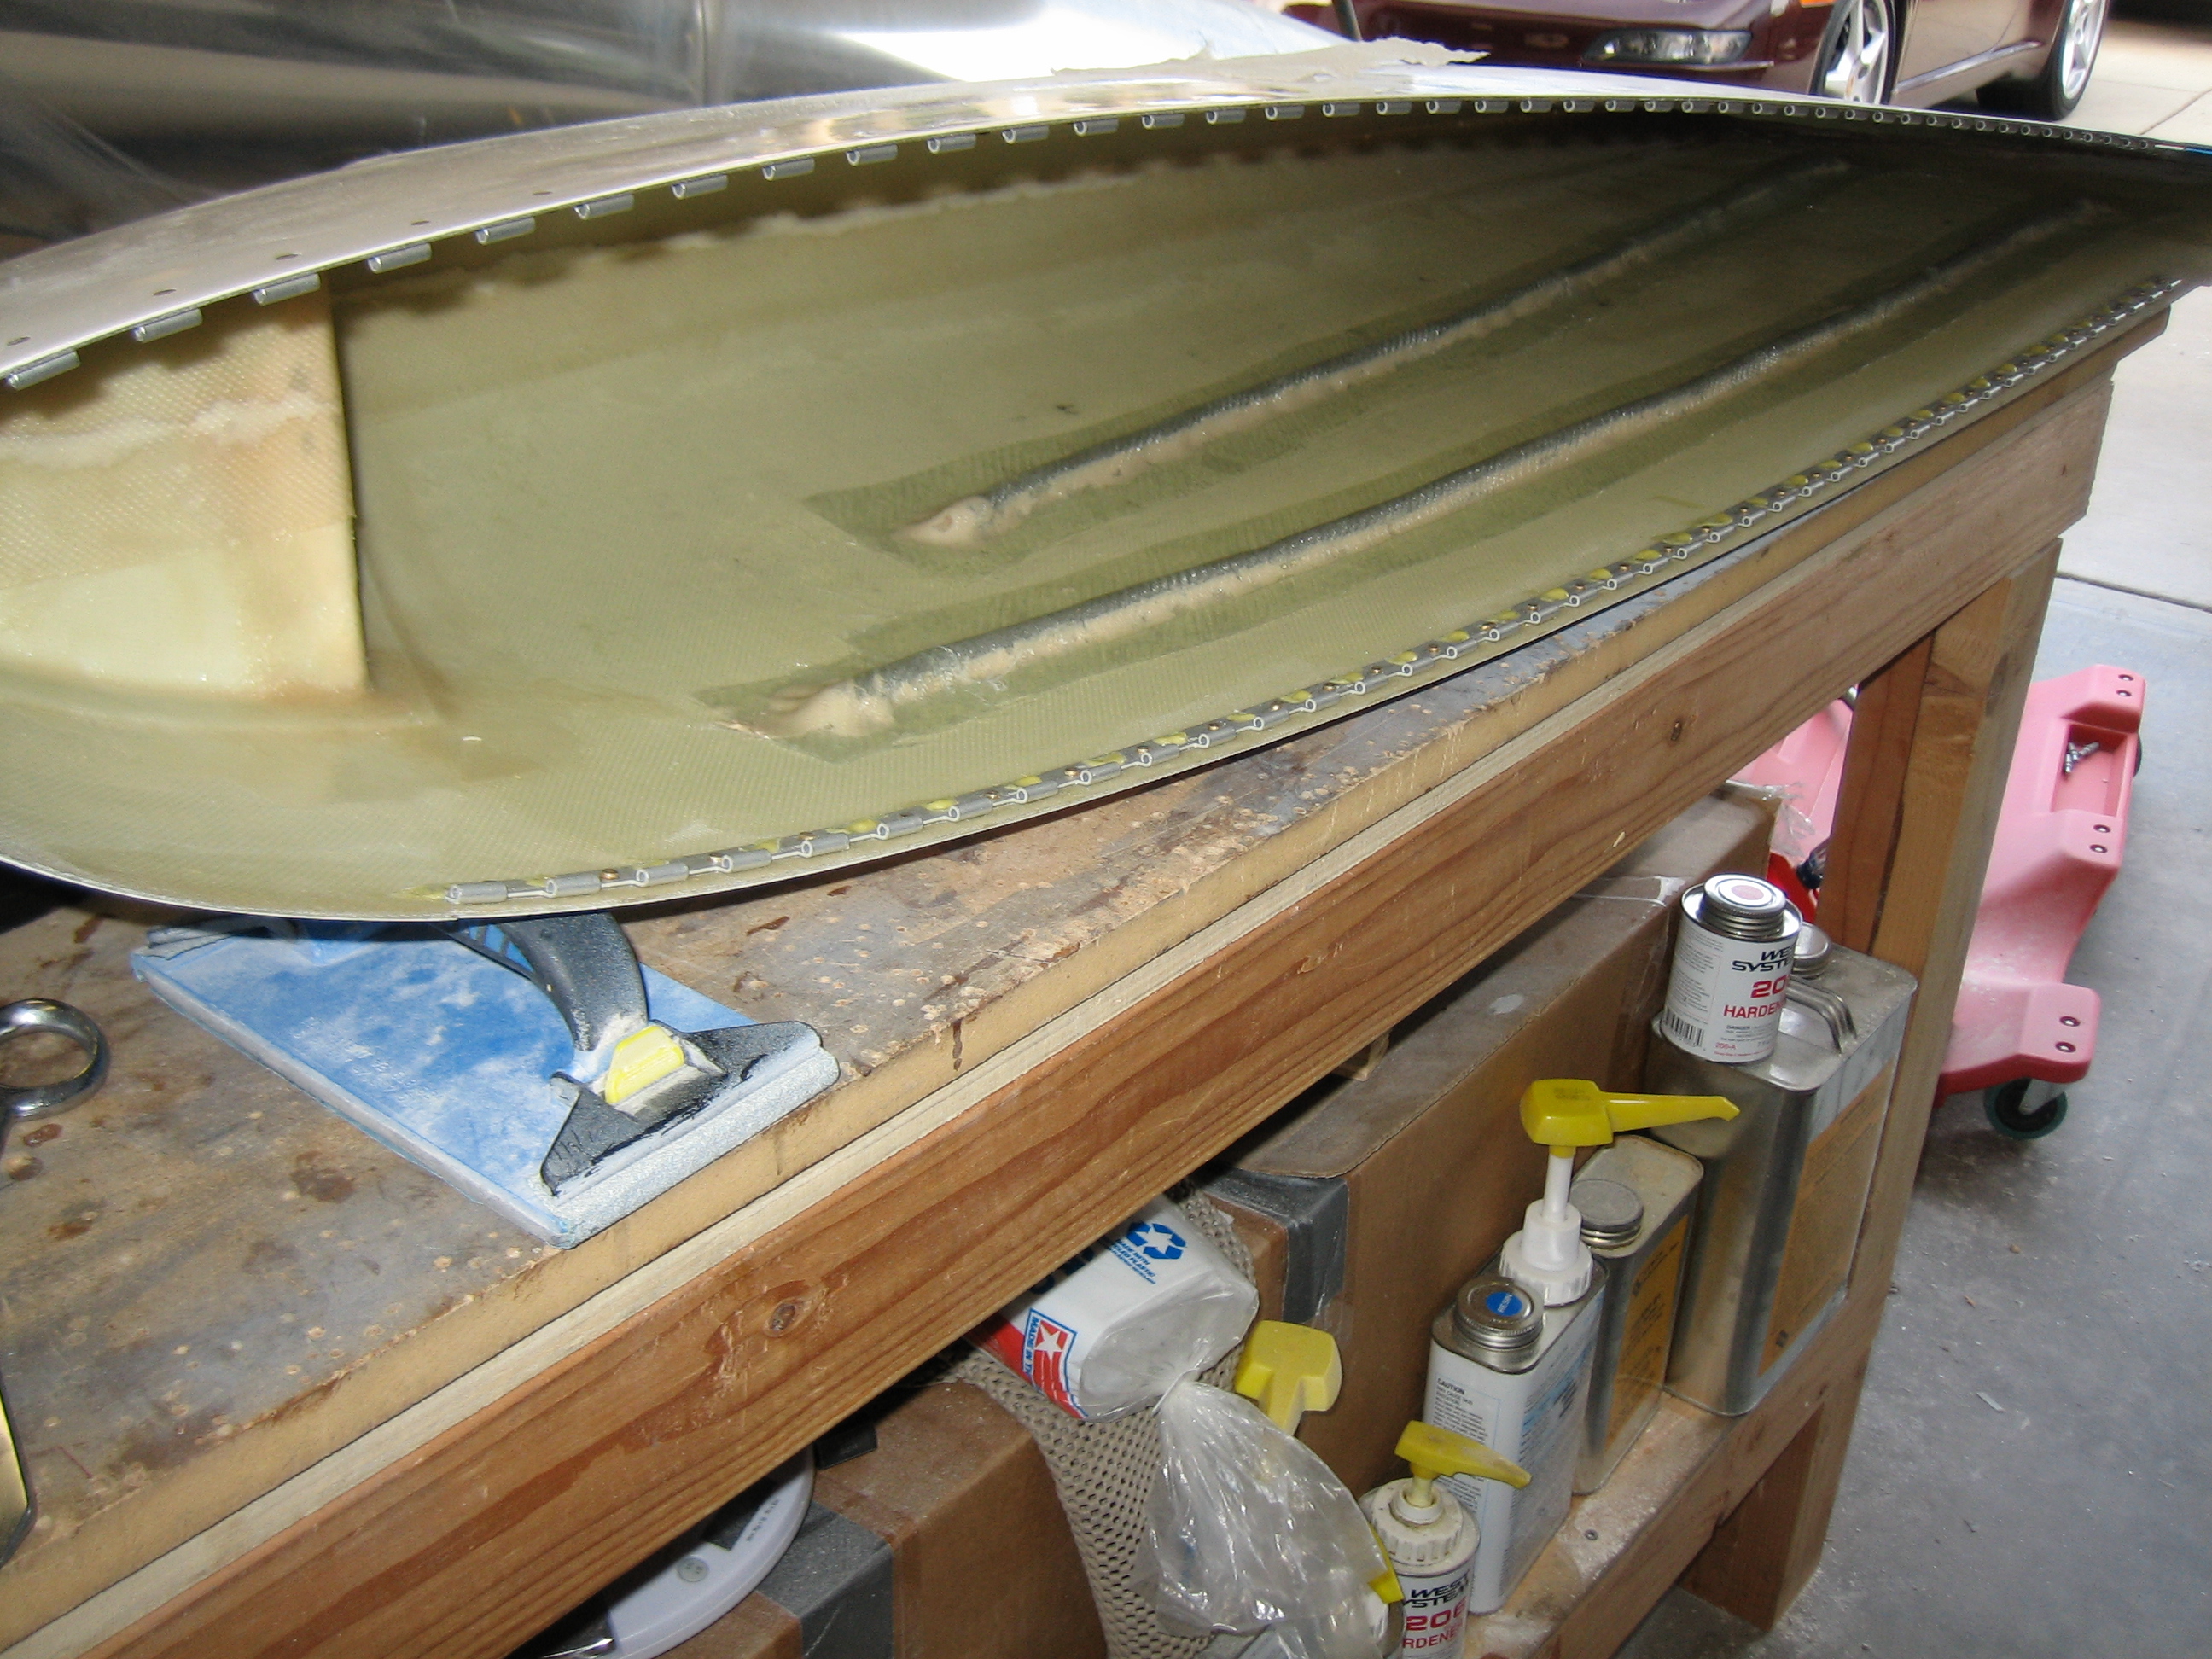
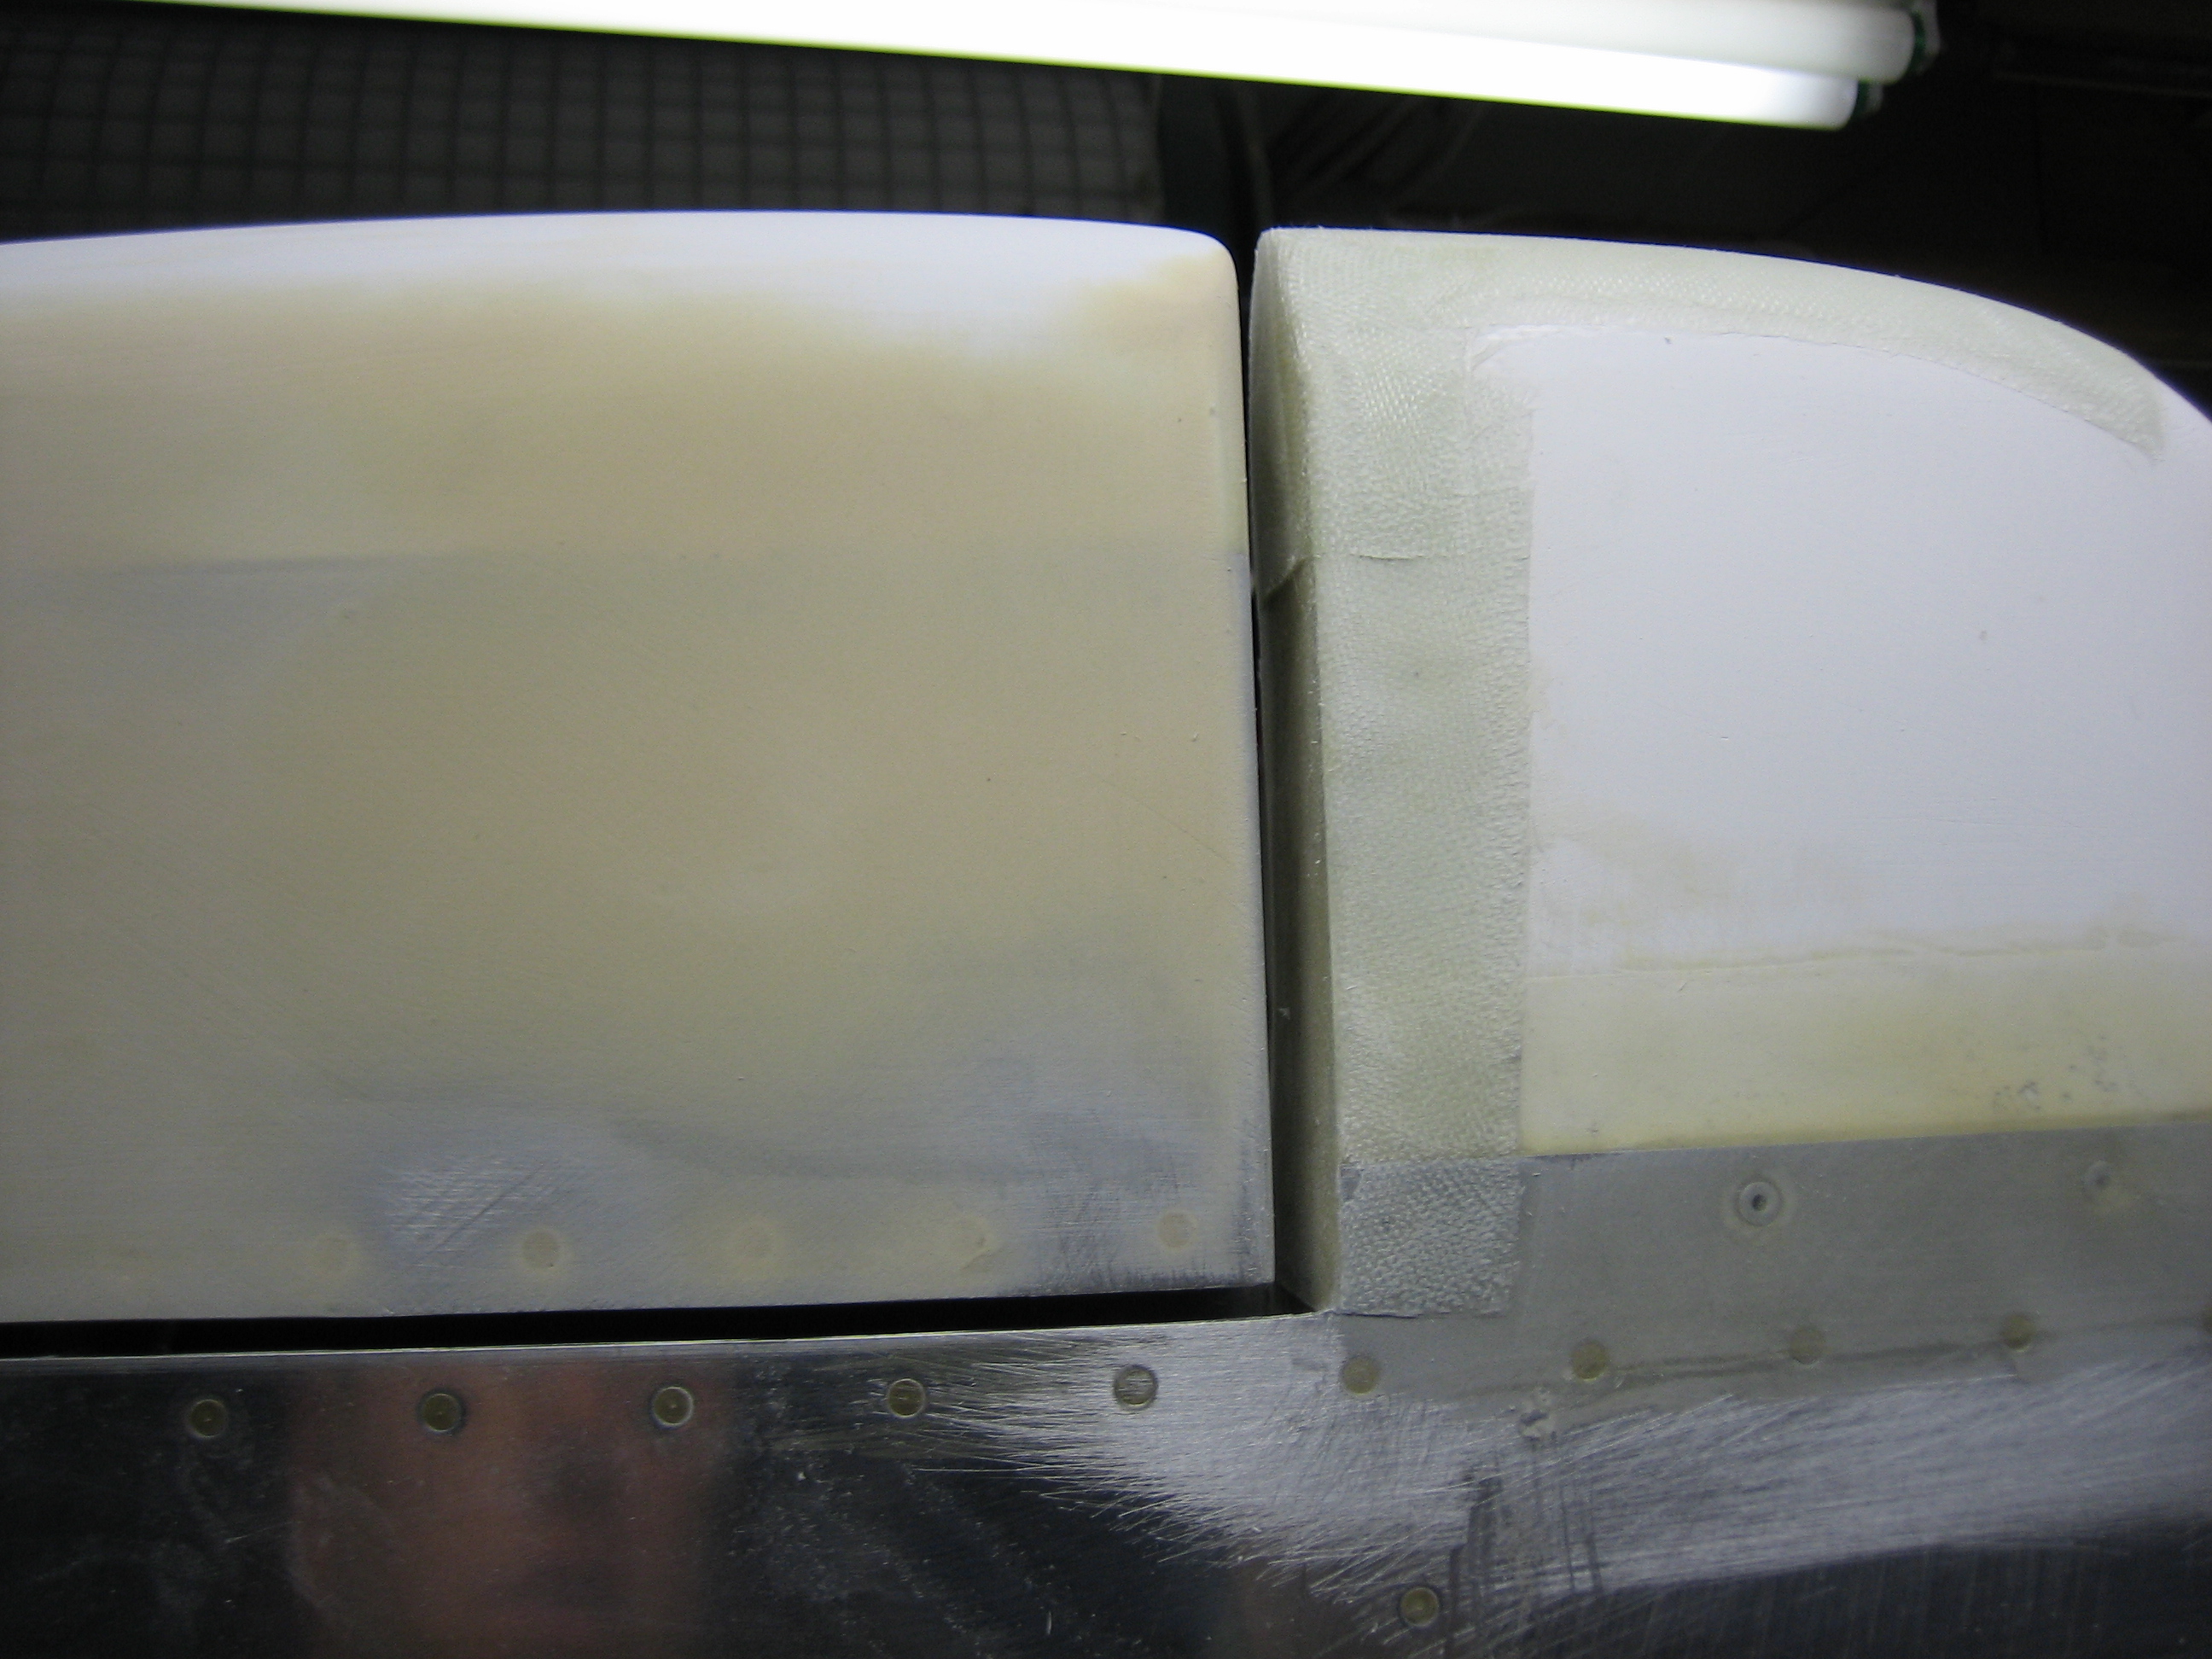
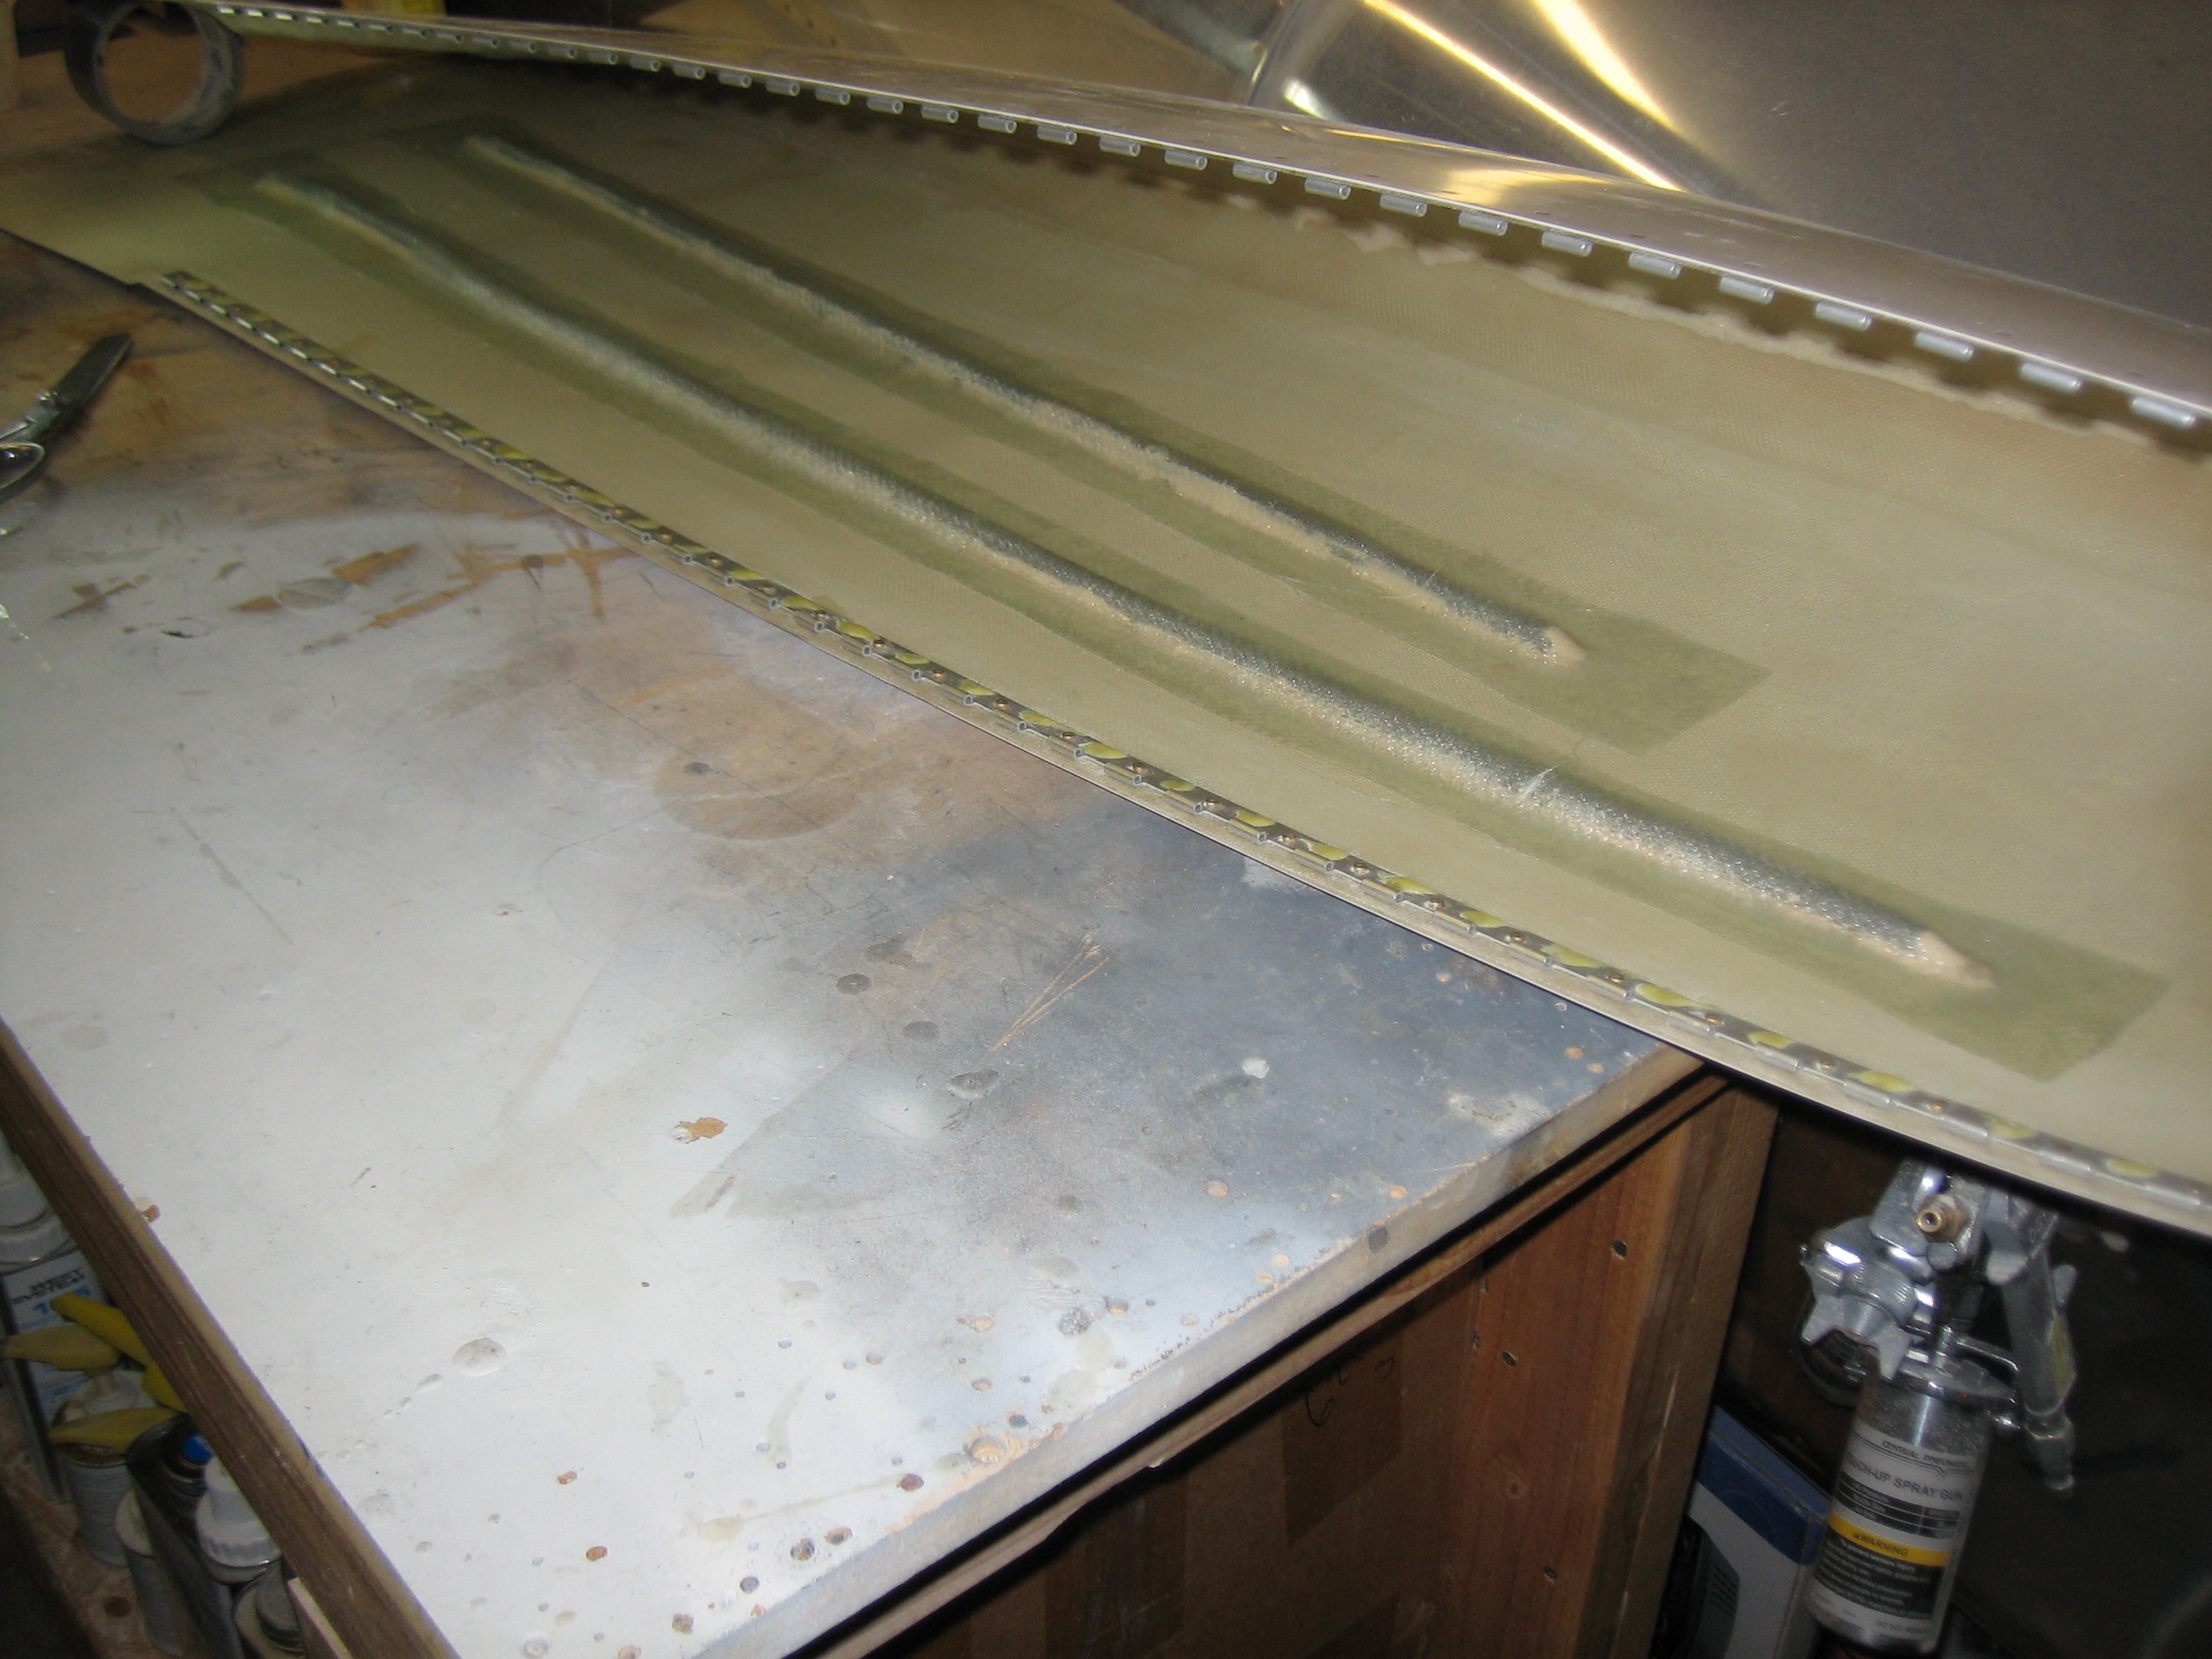
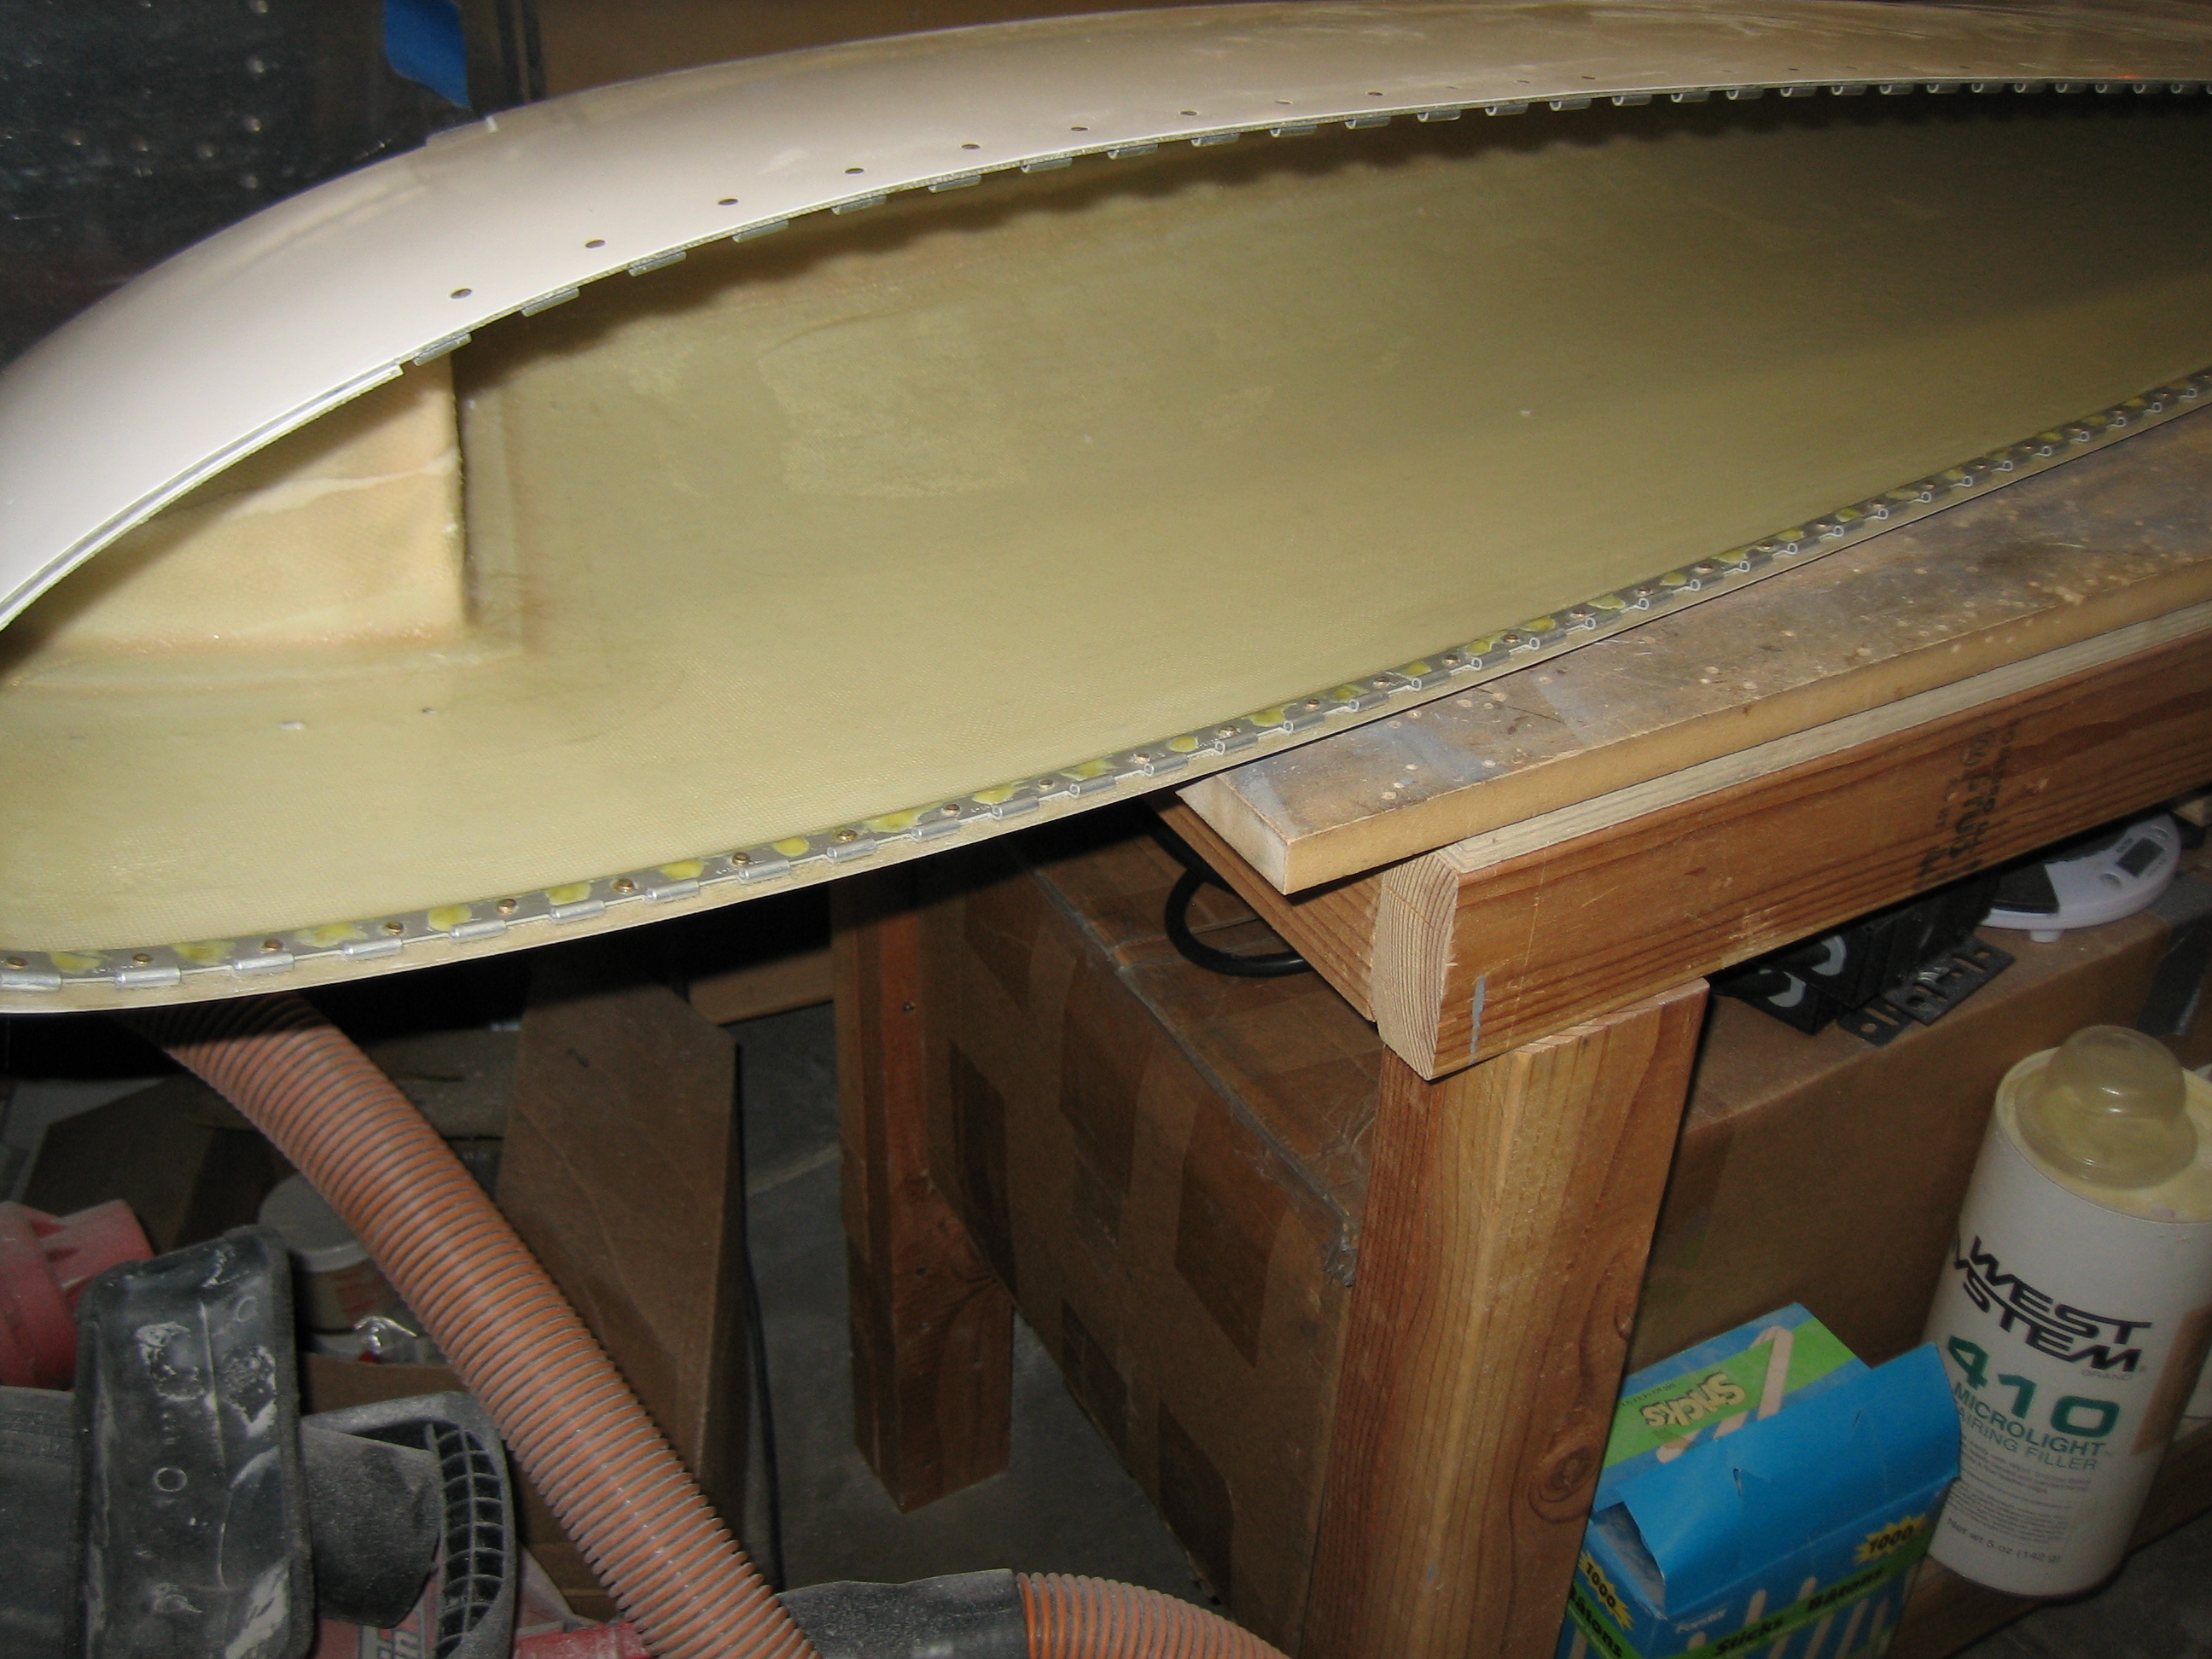
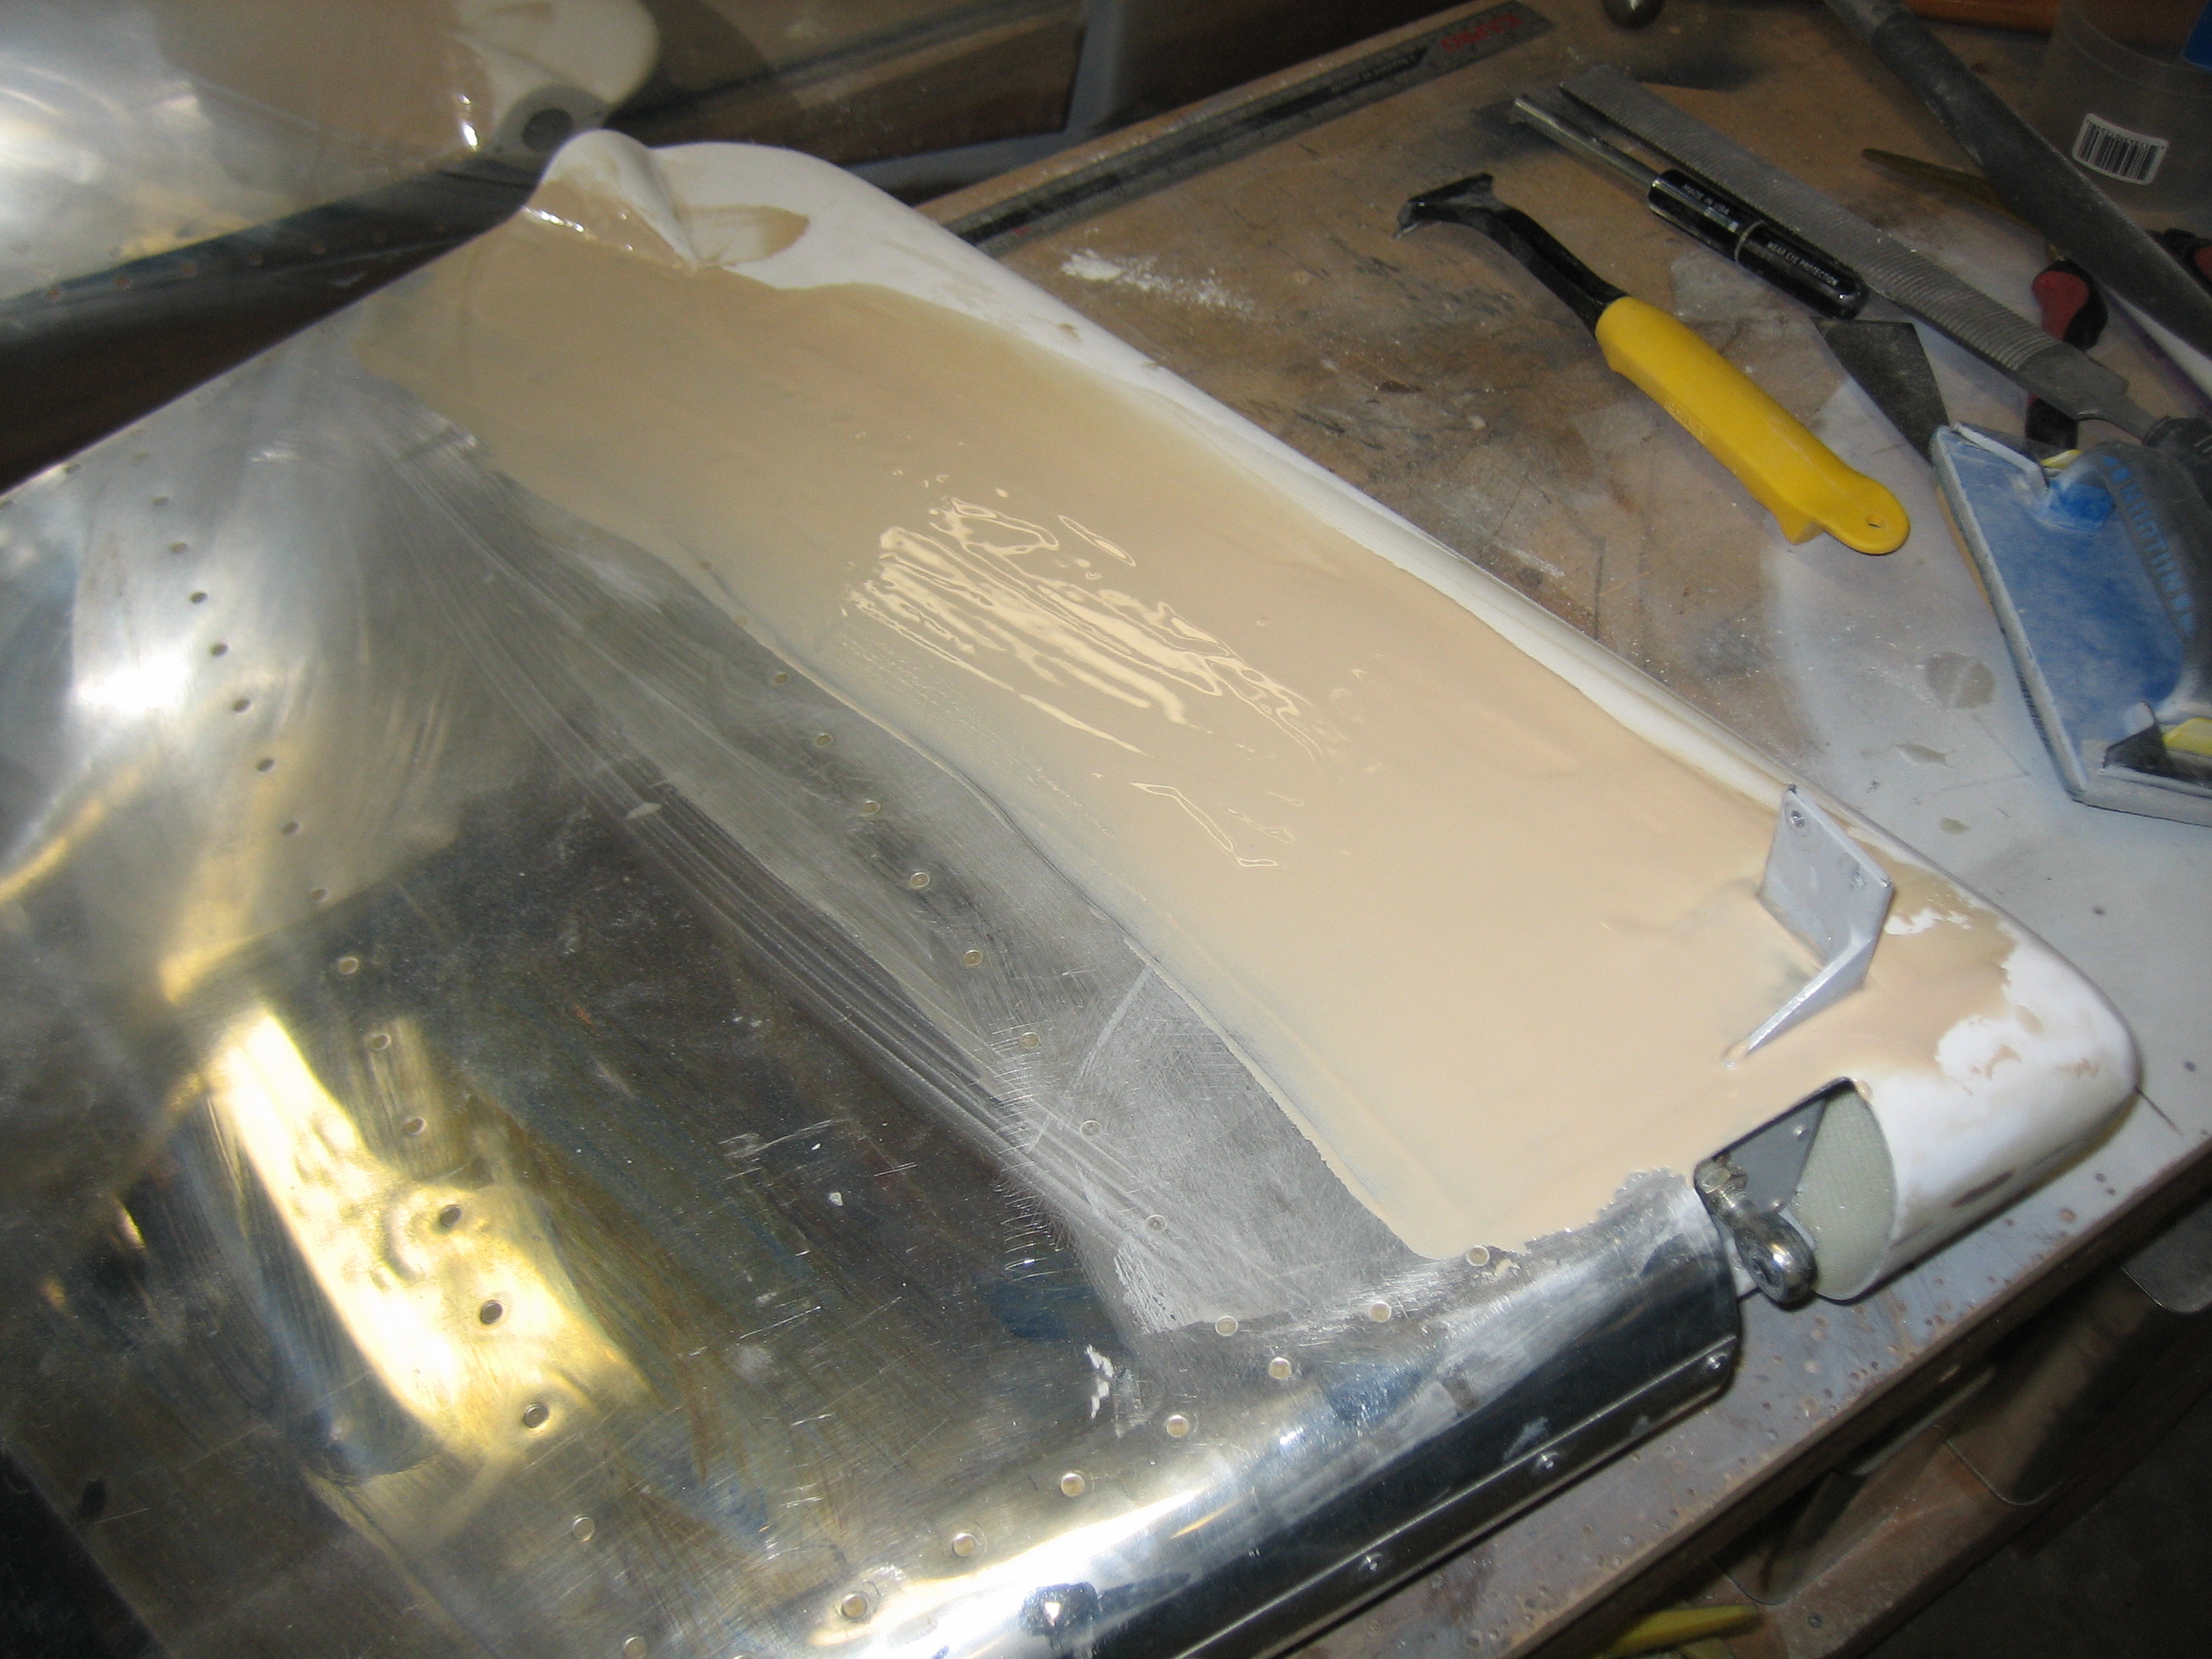
I also added some filler to fair in the horizontal stabilizer and elevators.  Here’s the right side.

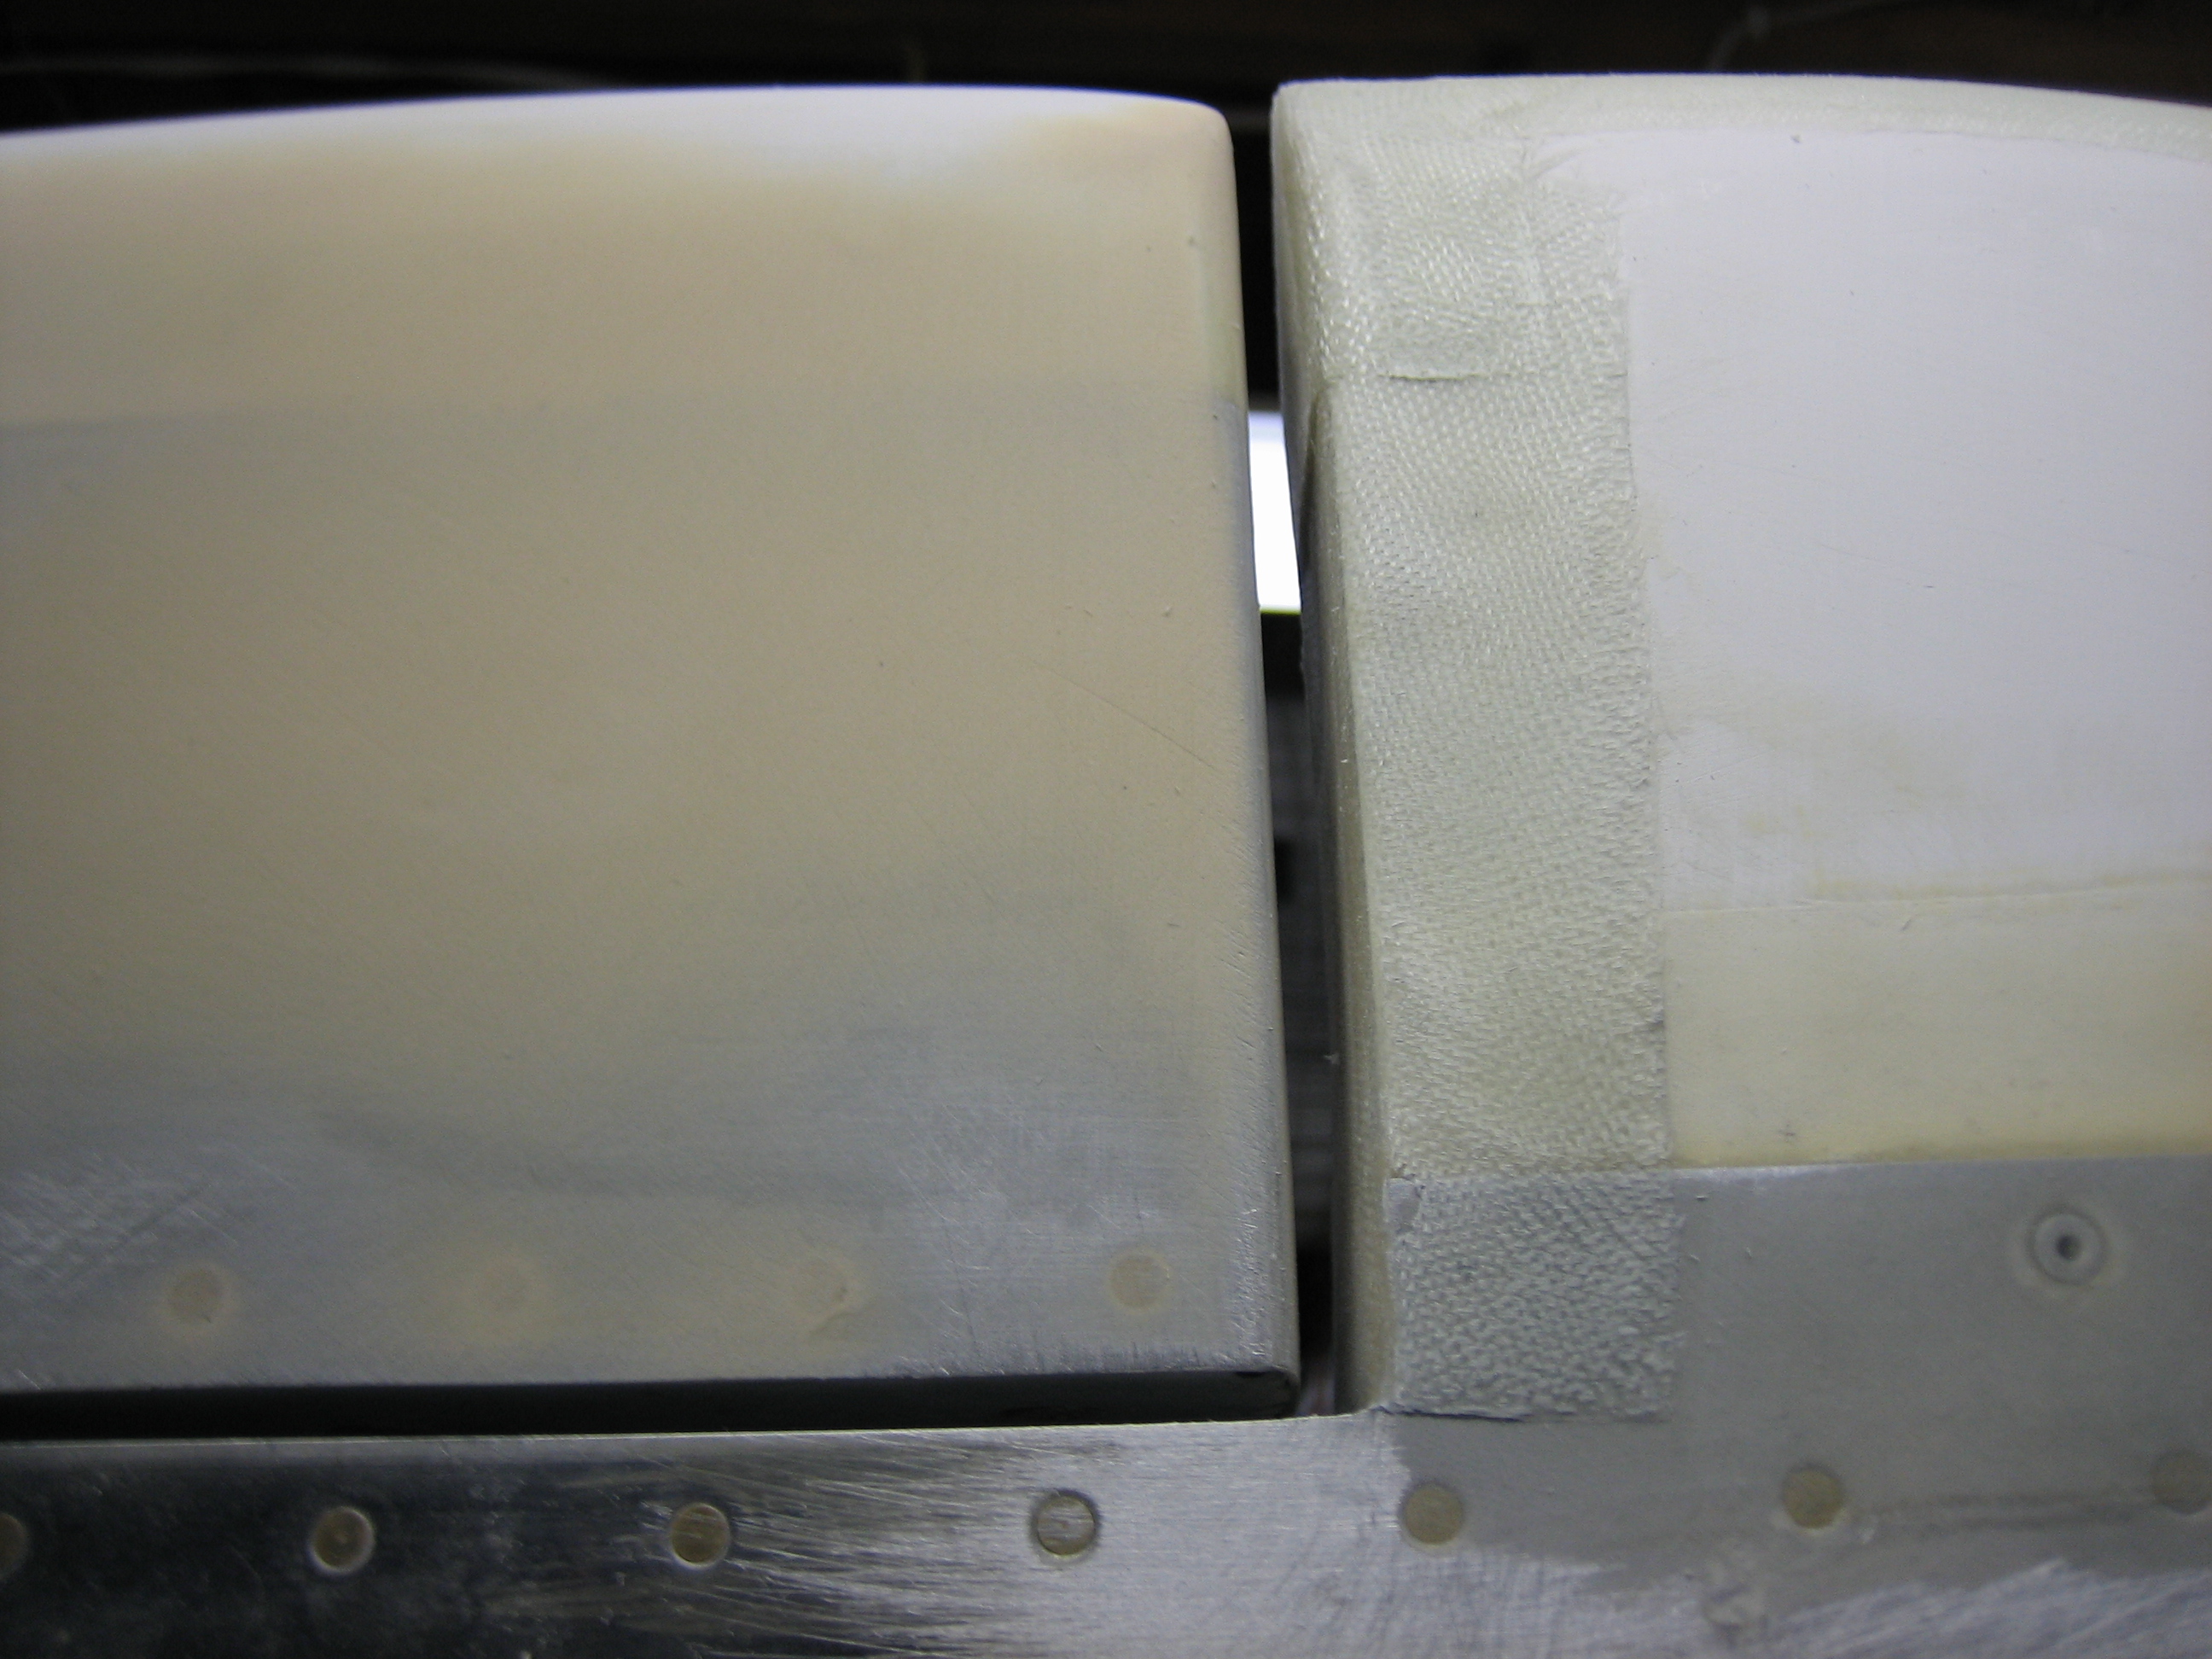
…and here’s the left.

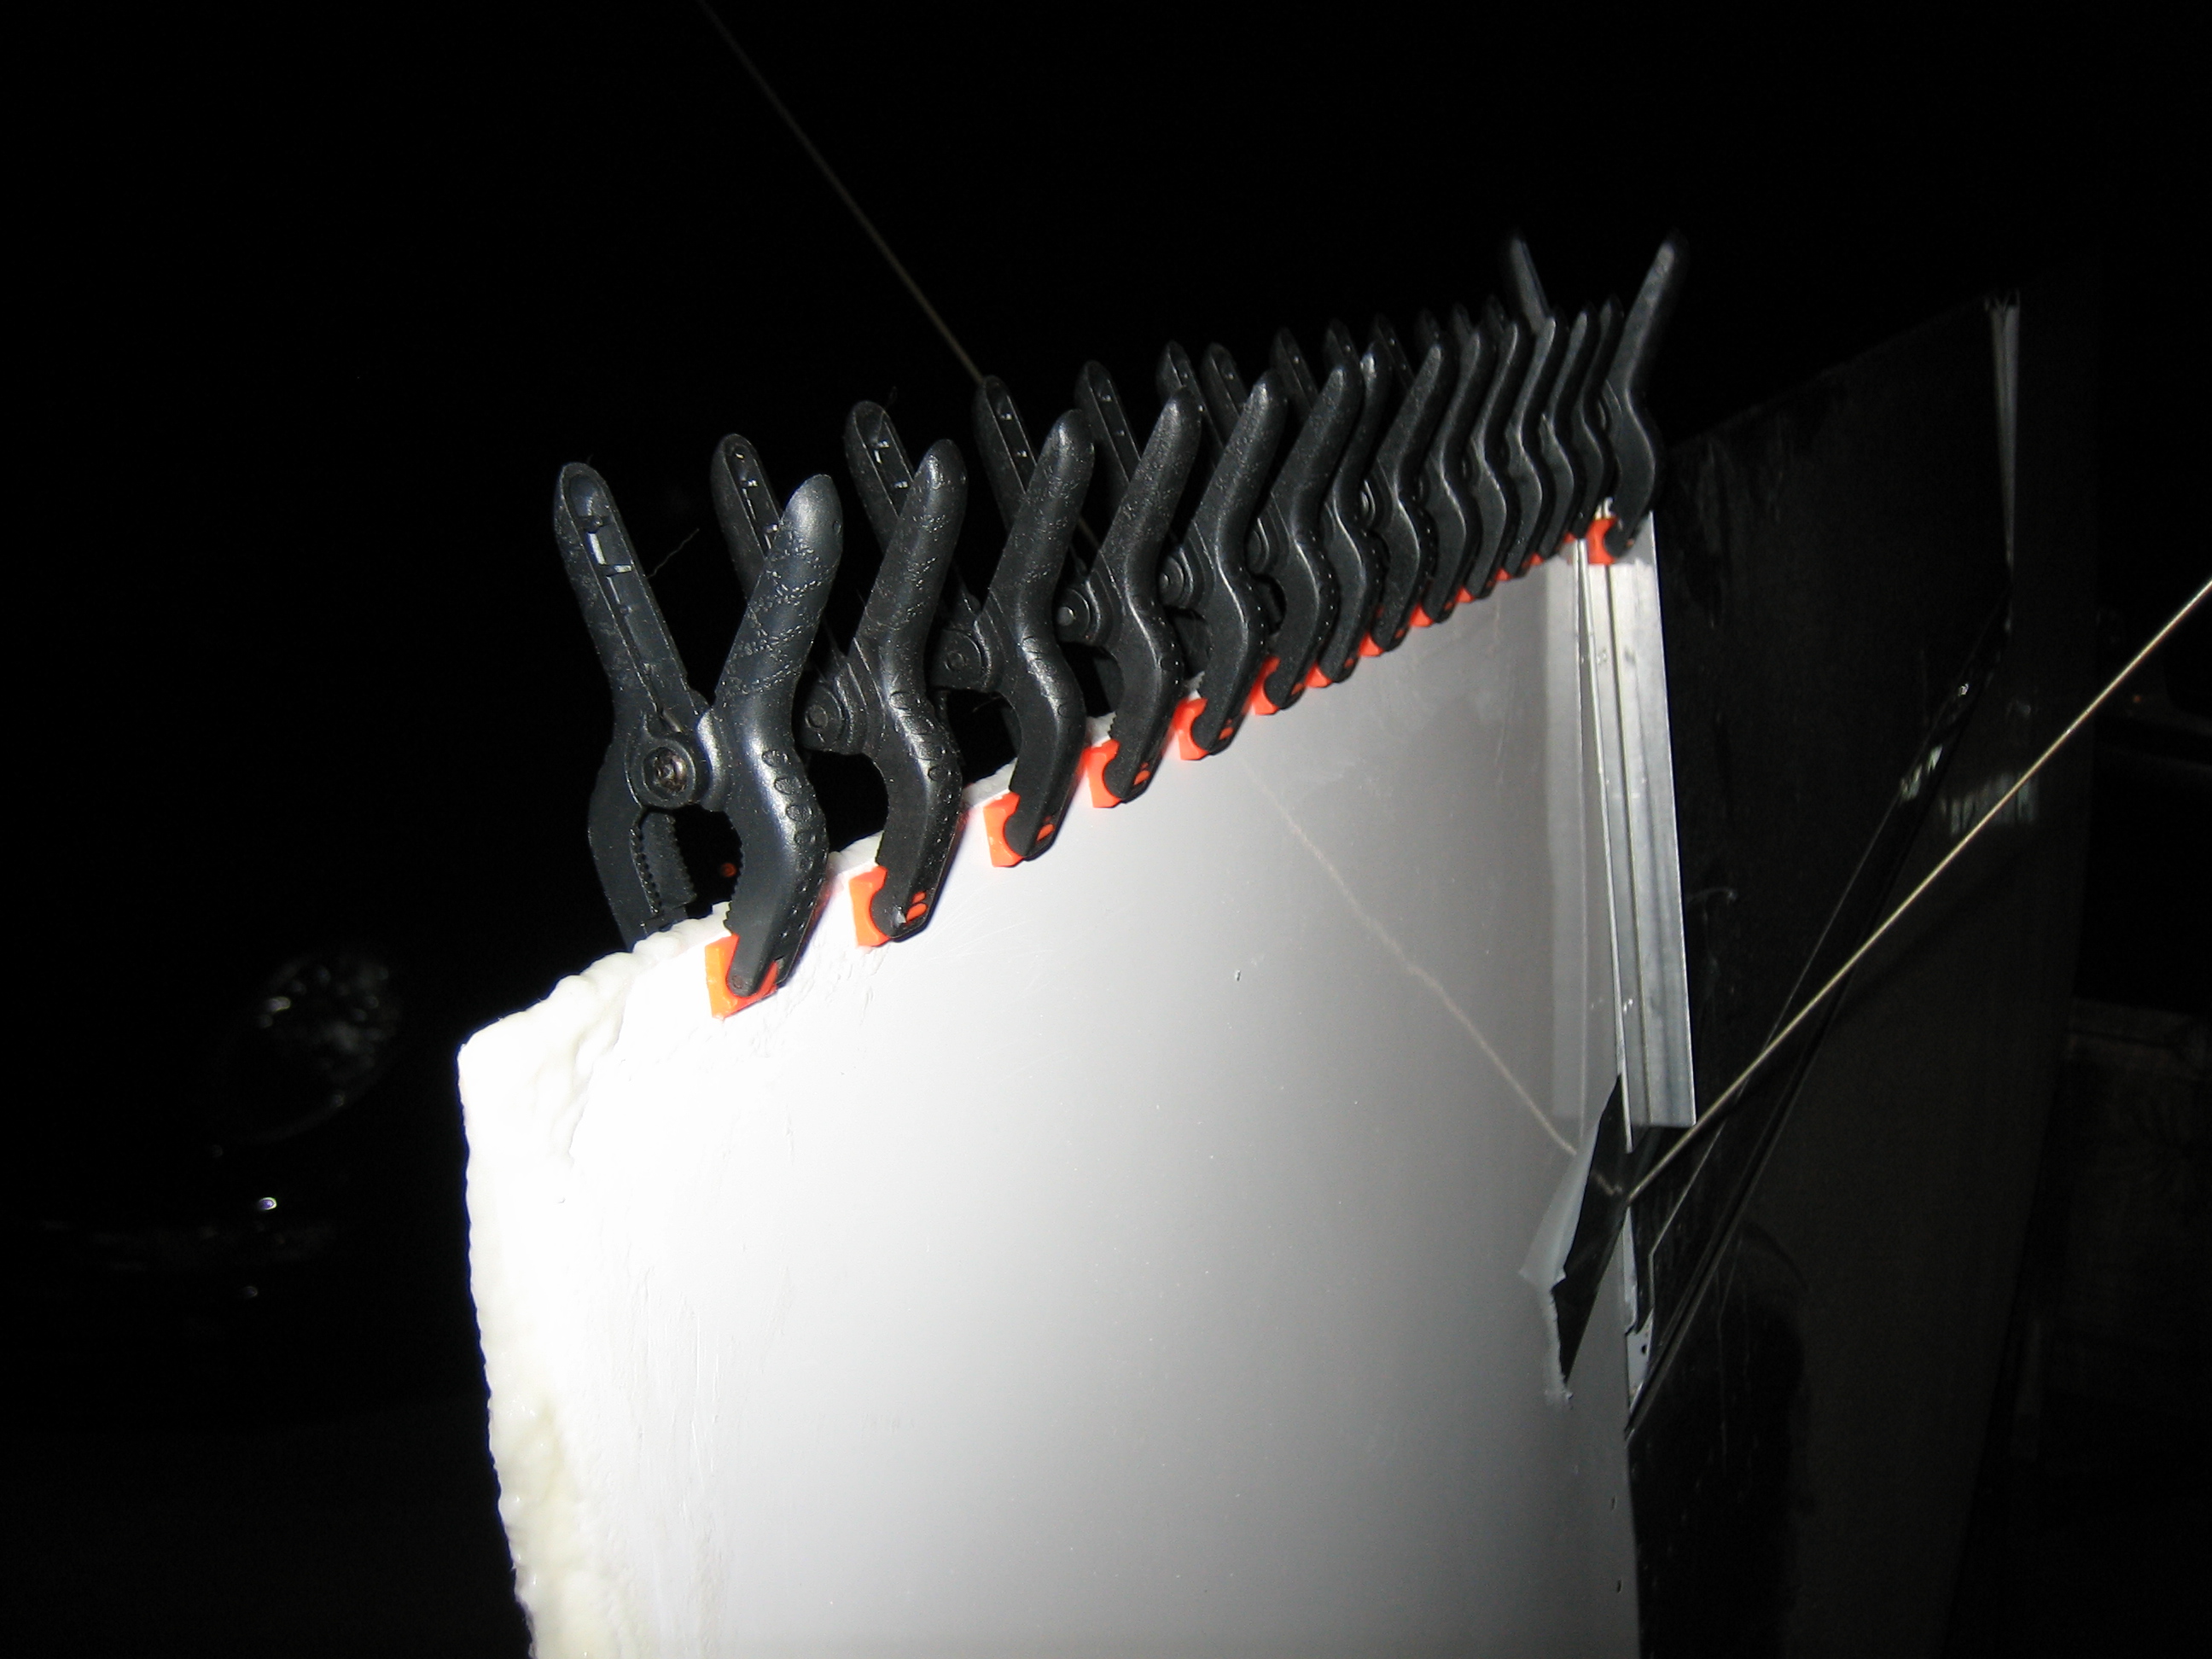
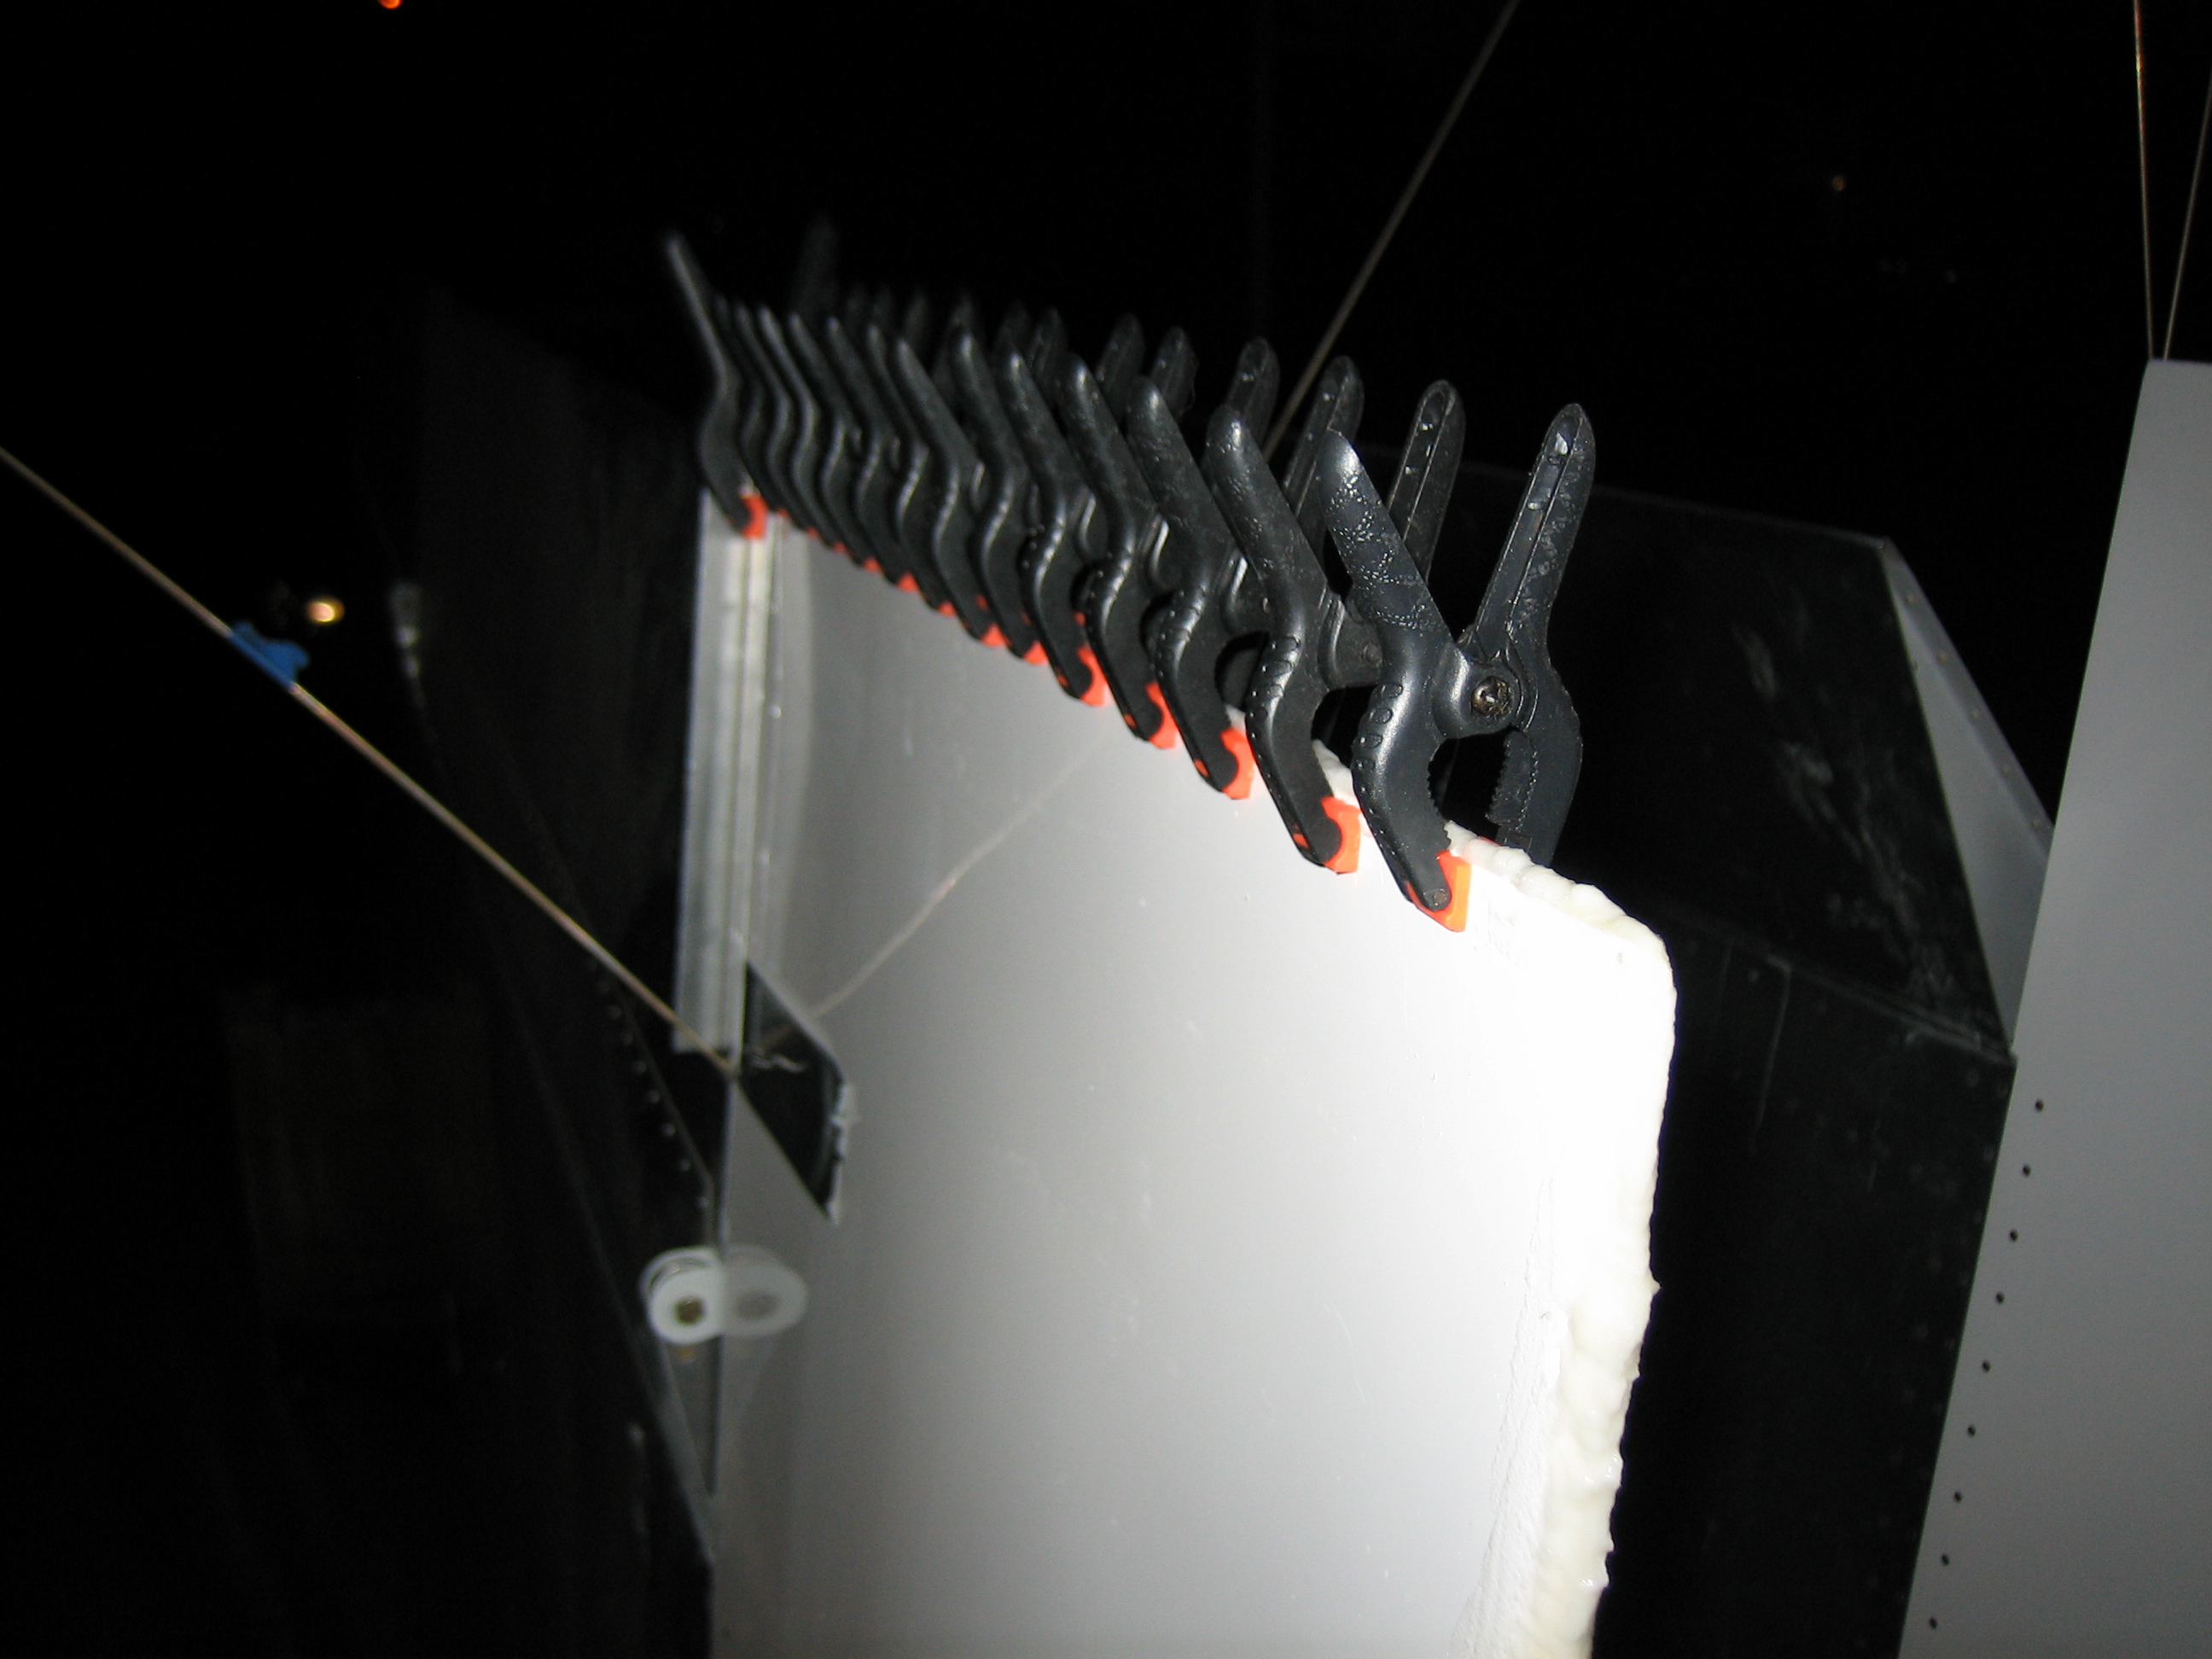
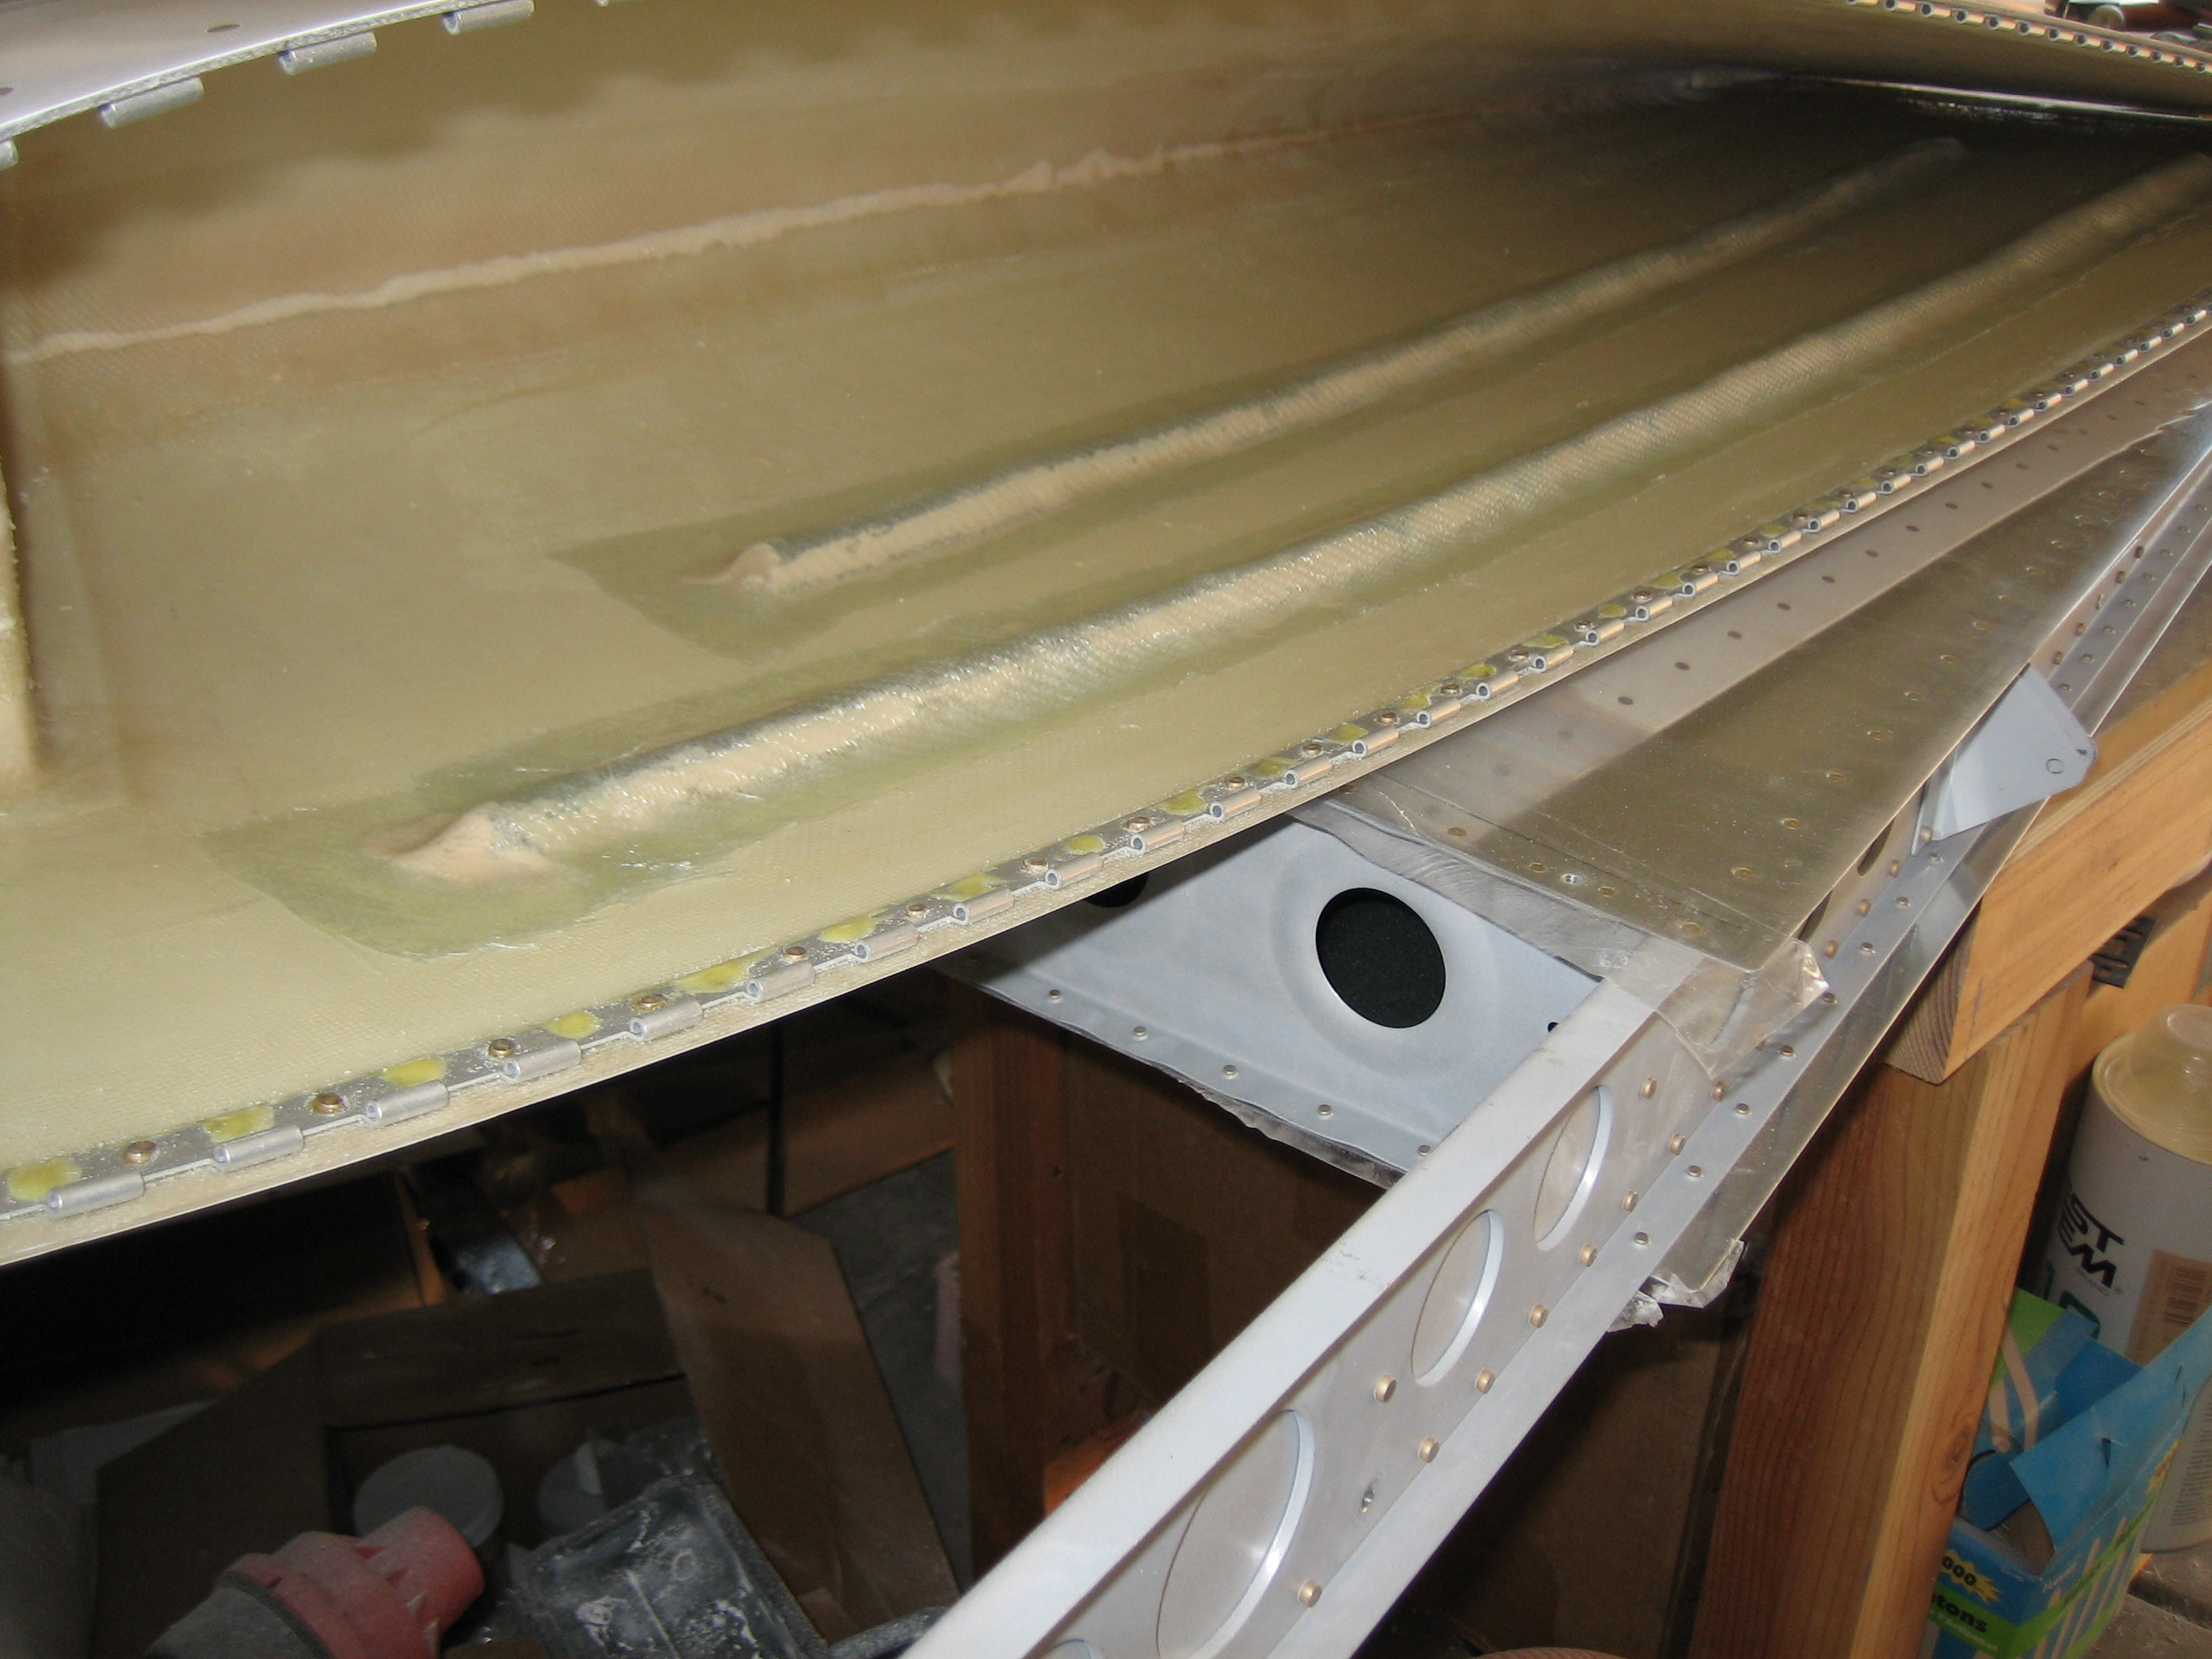
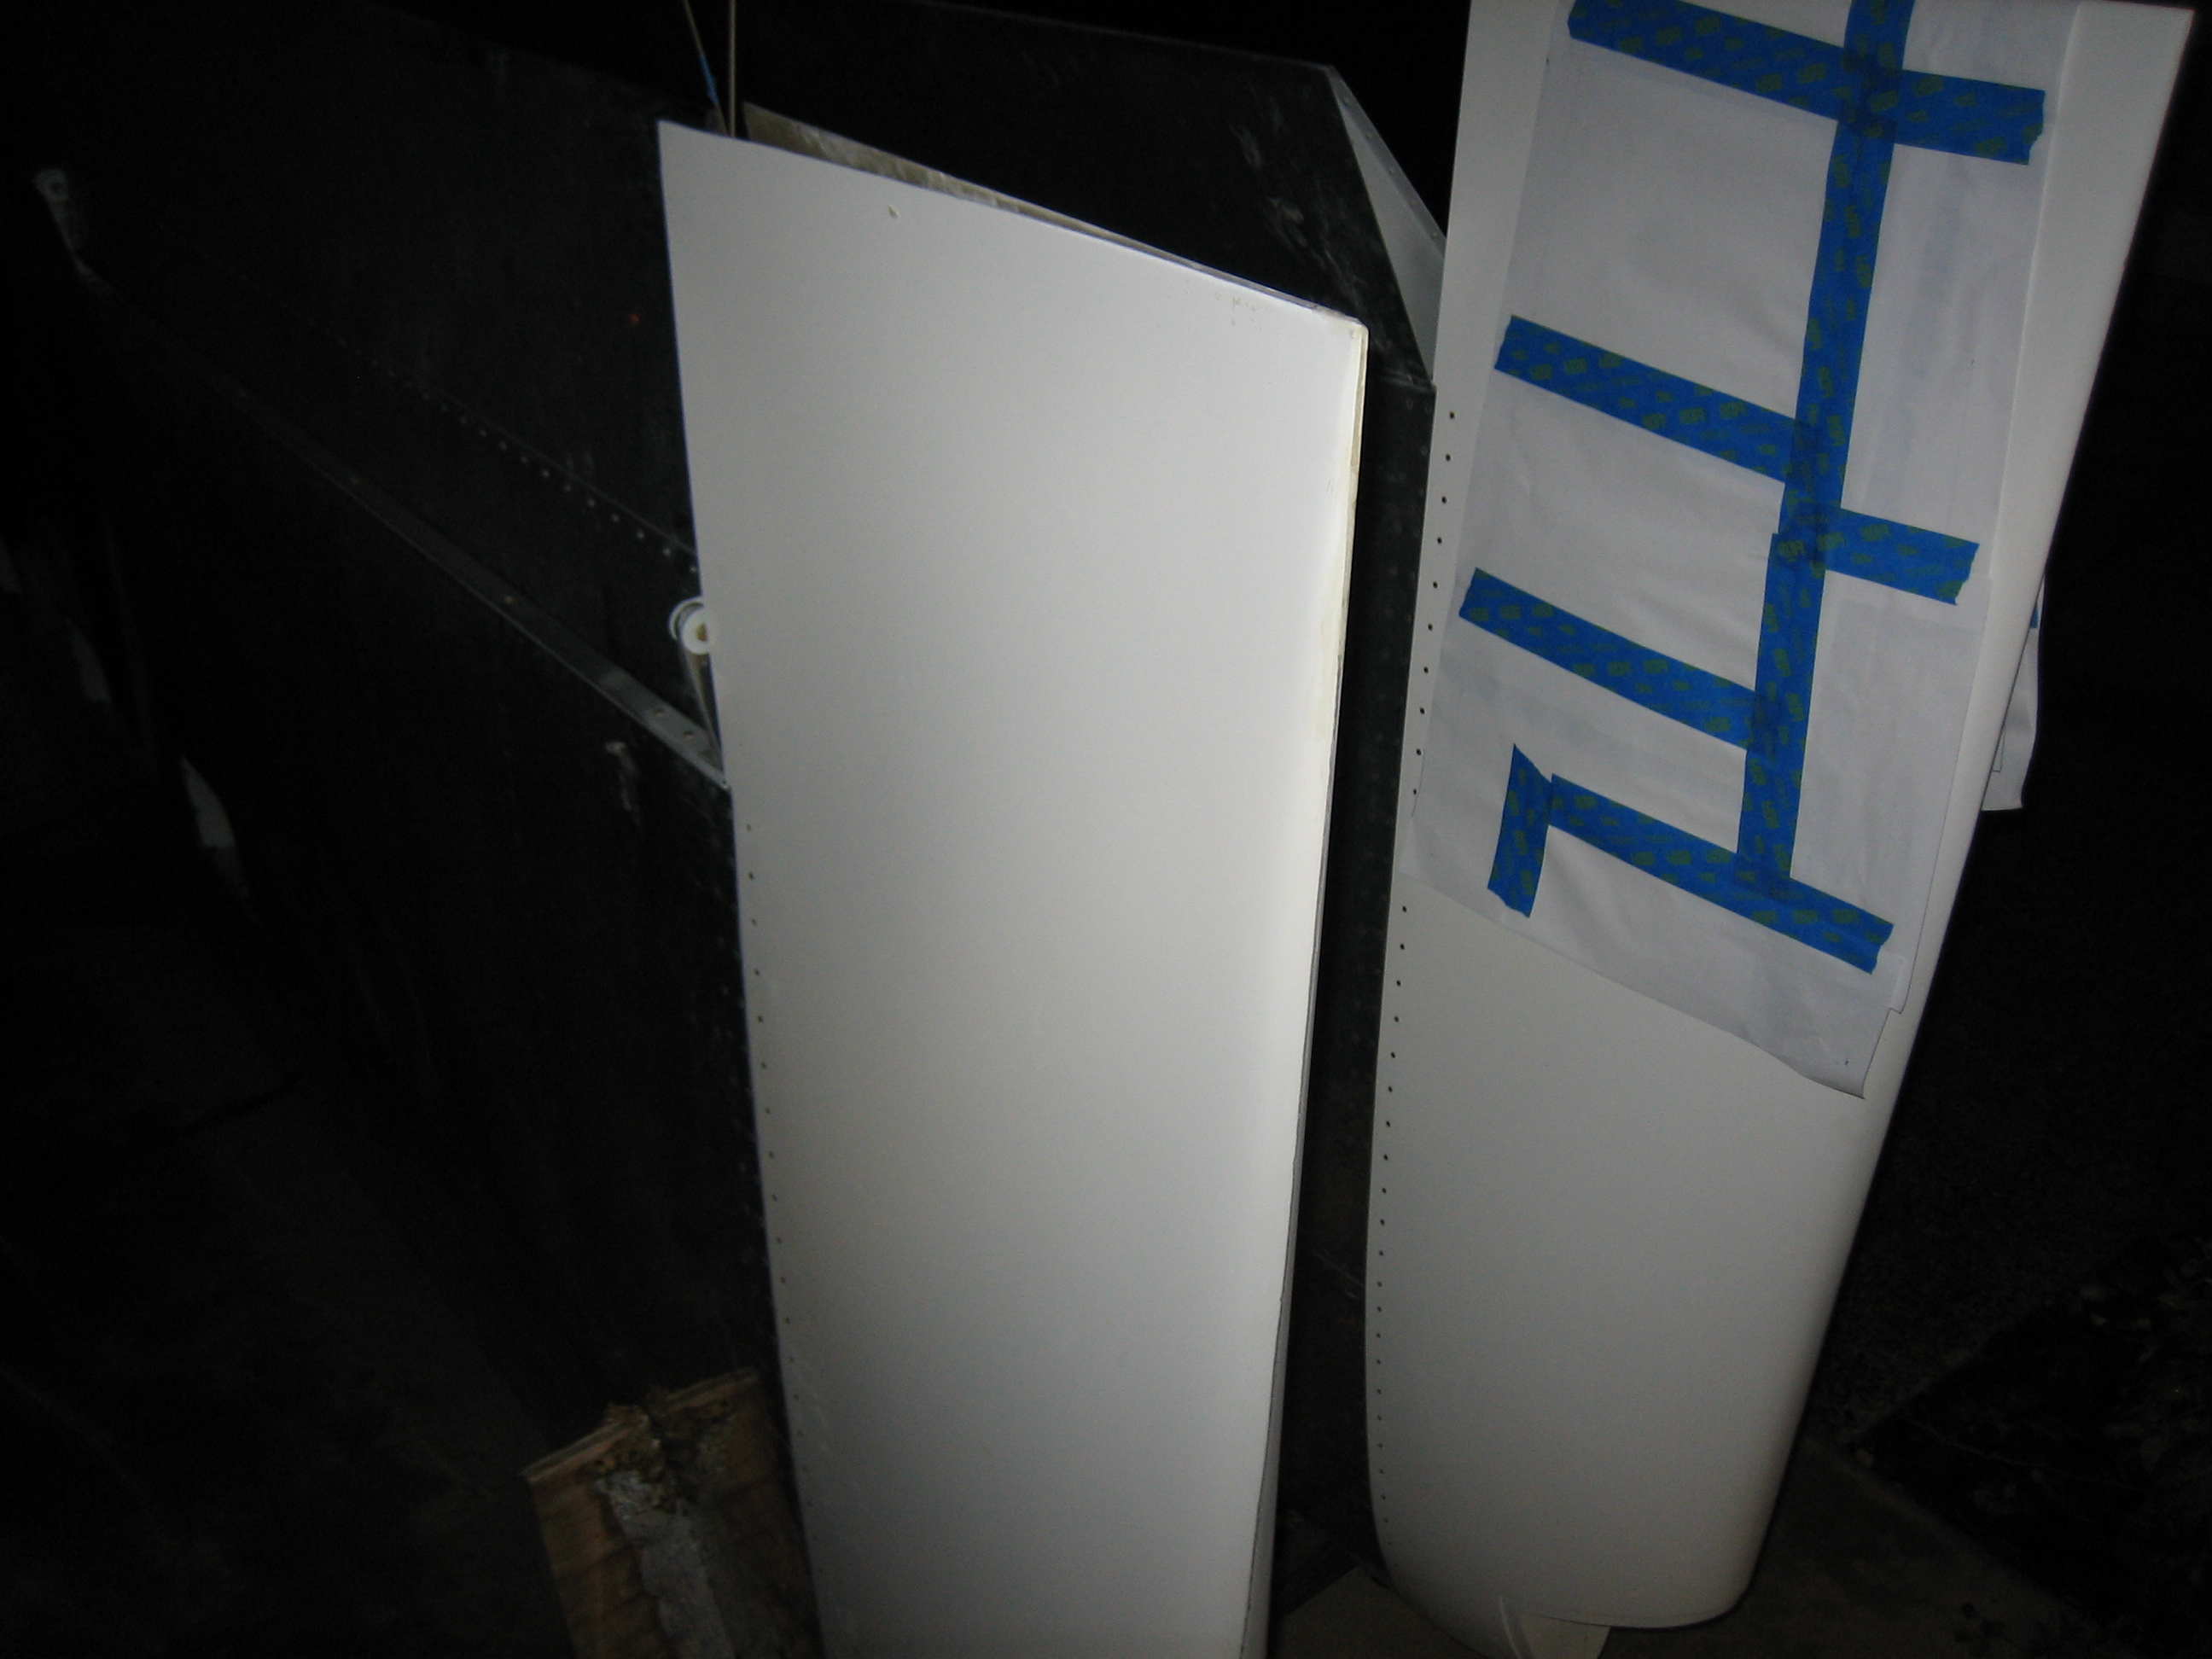
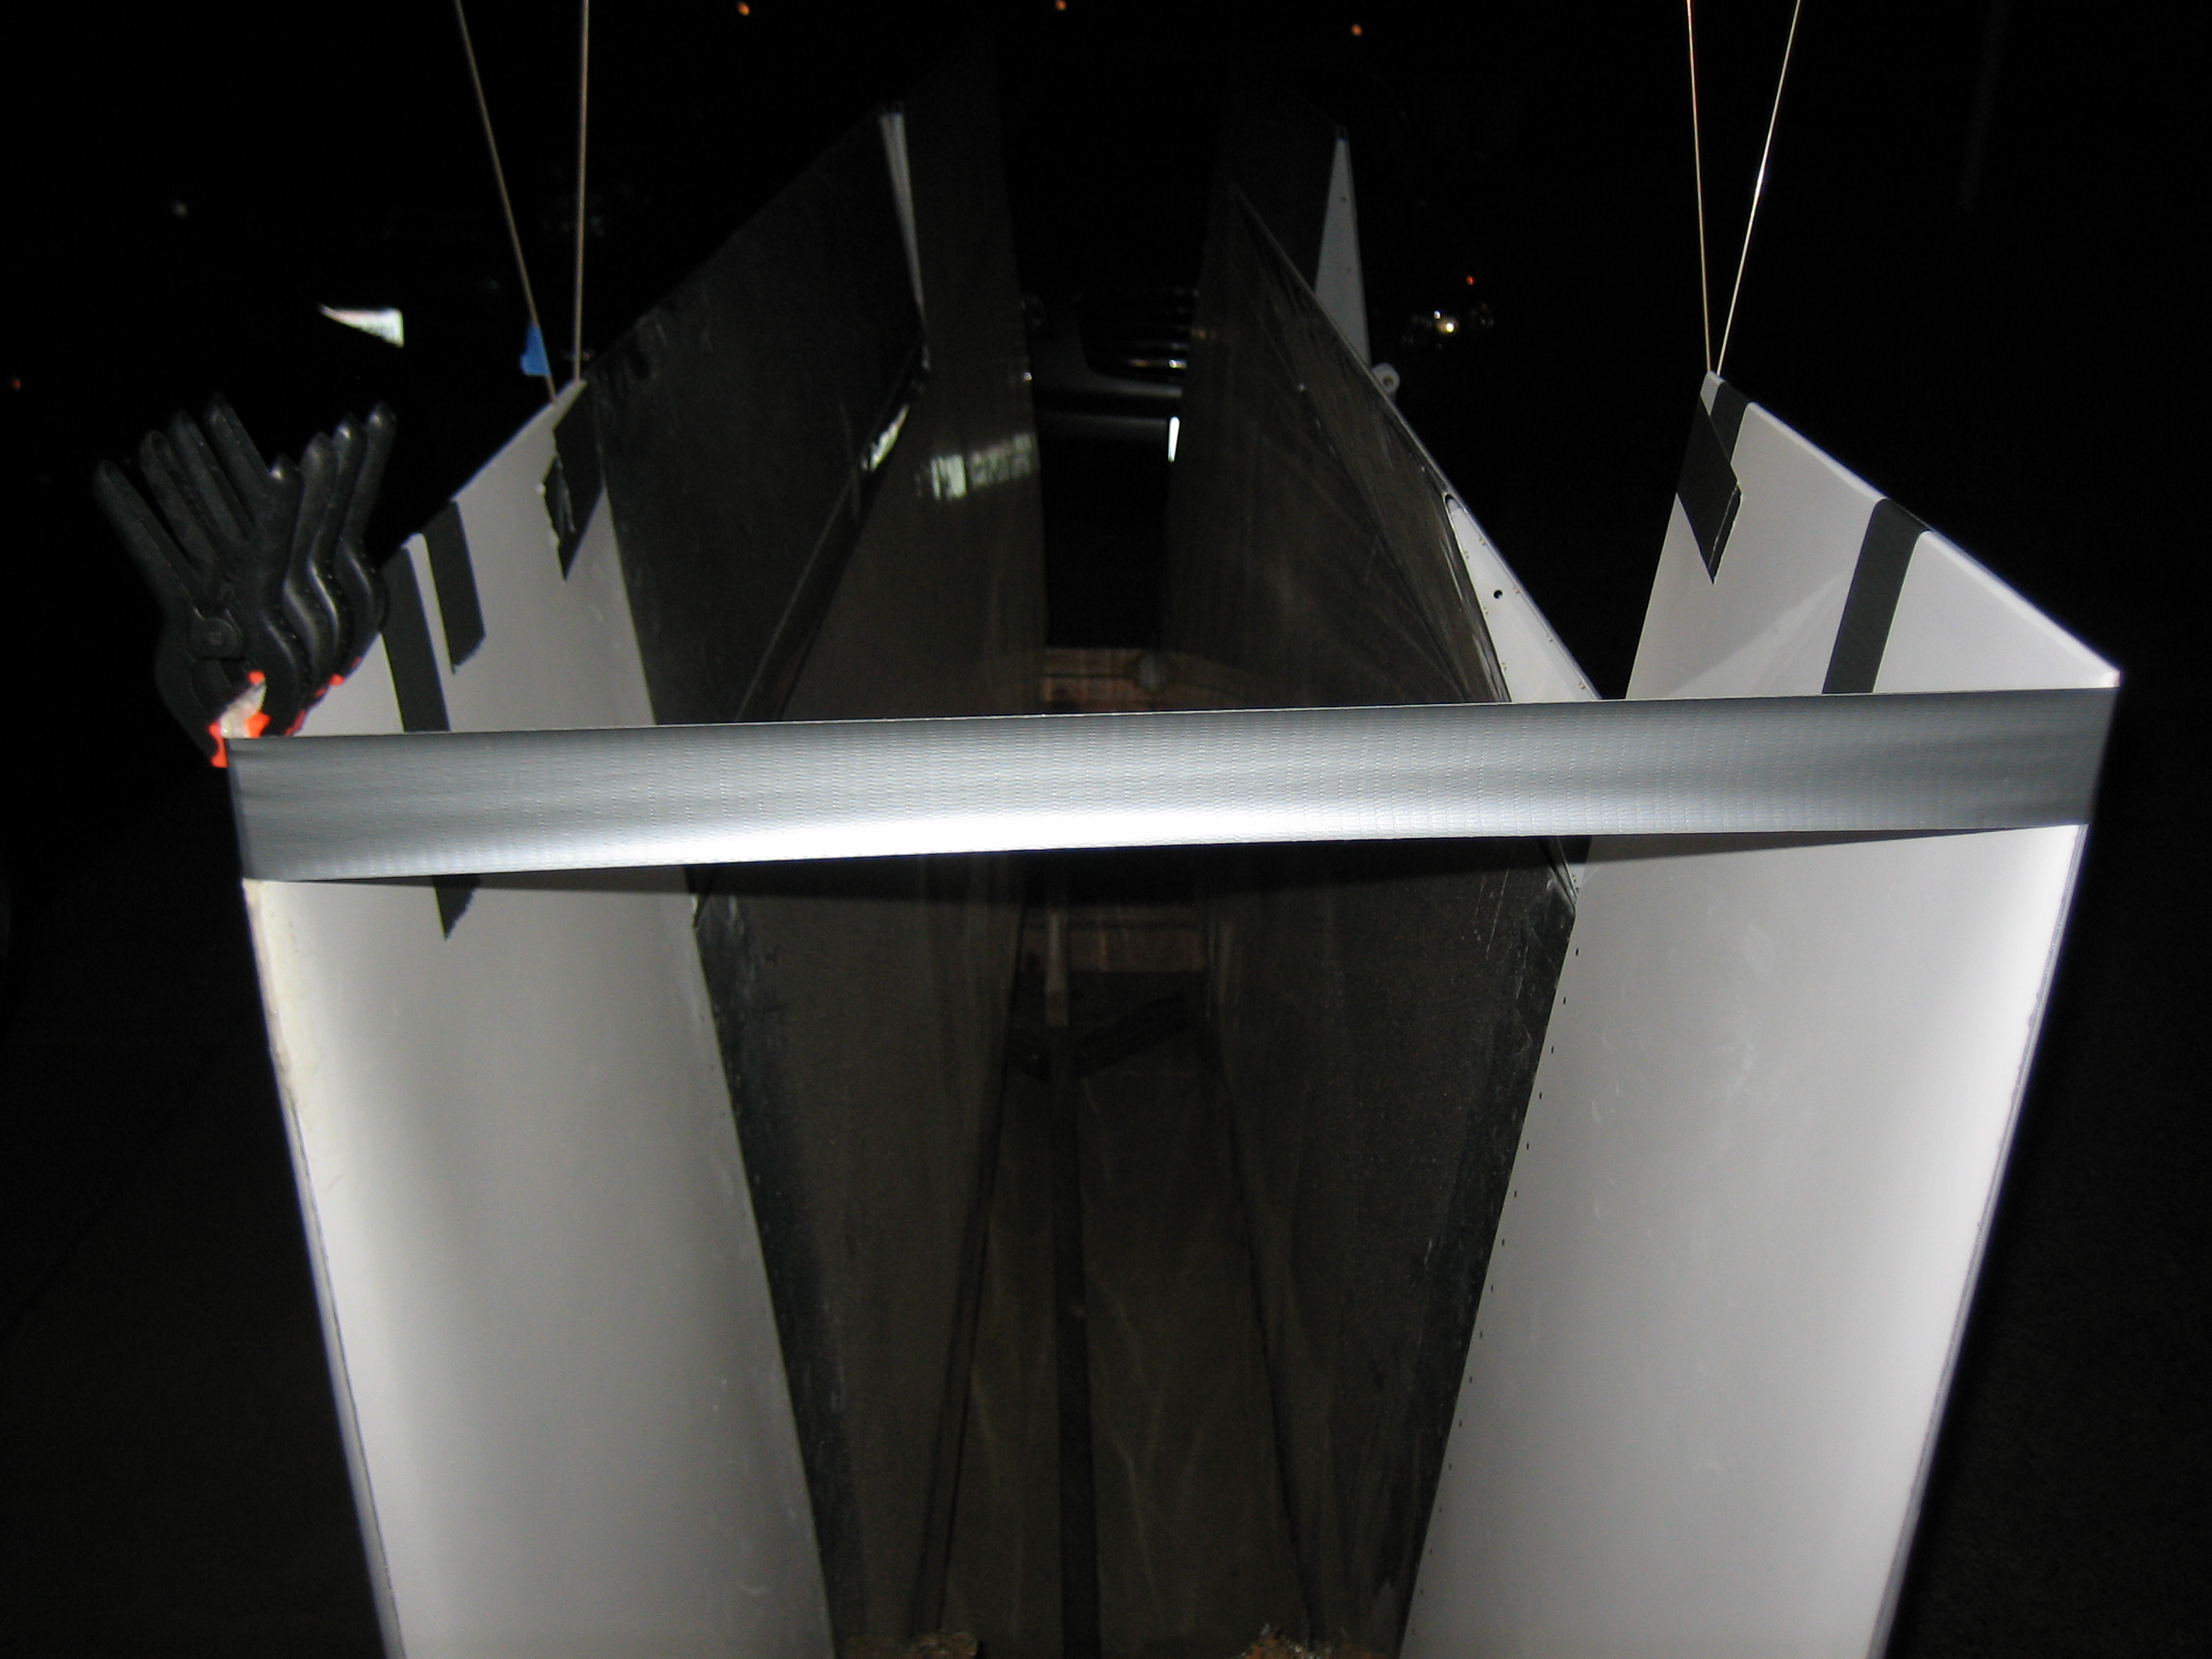
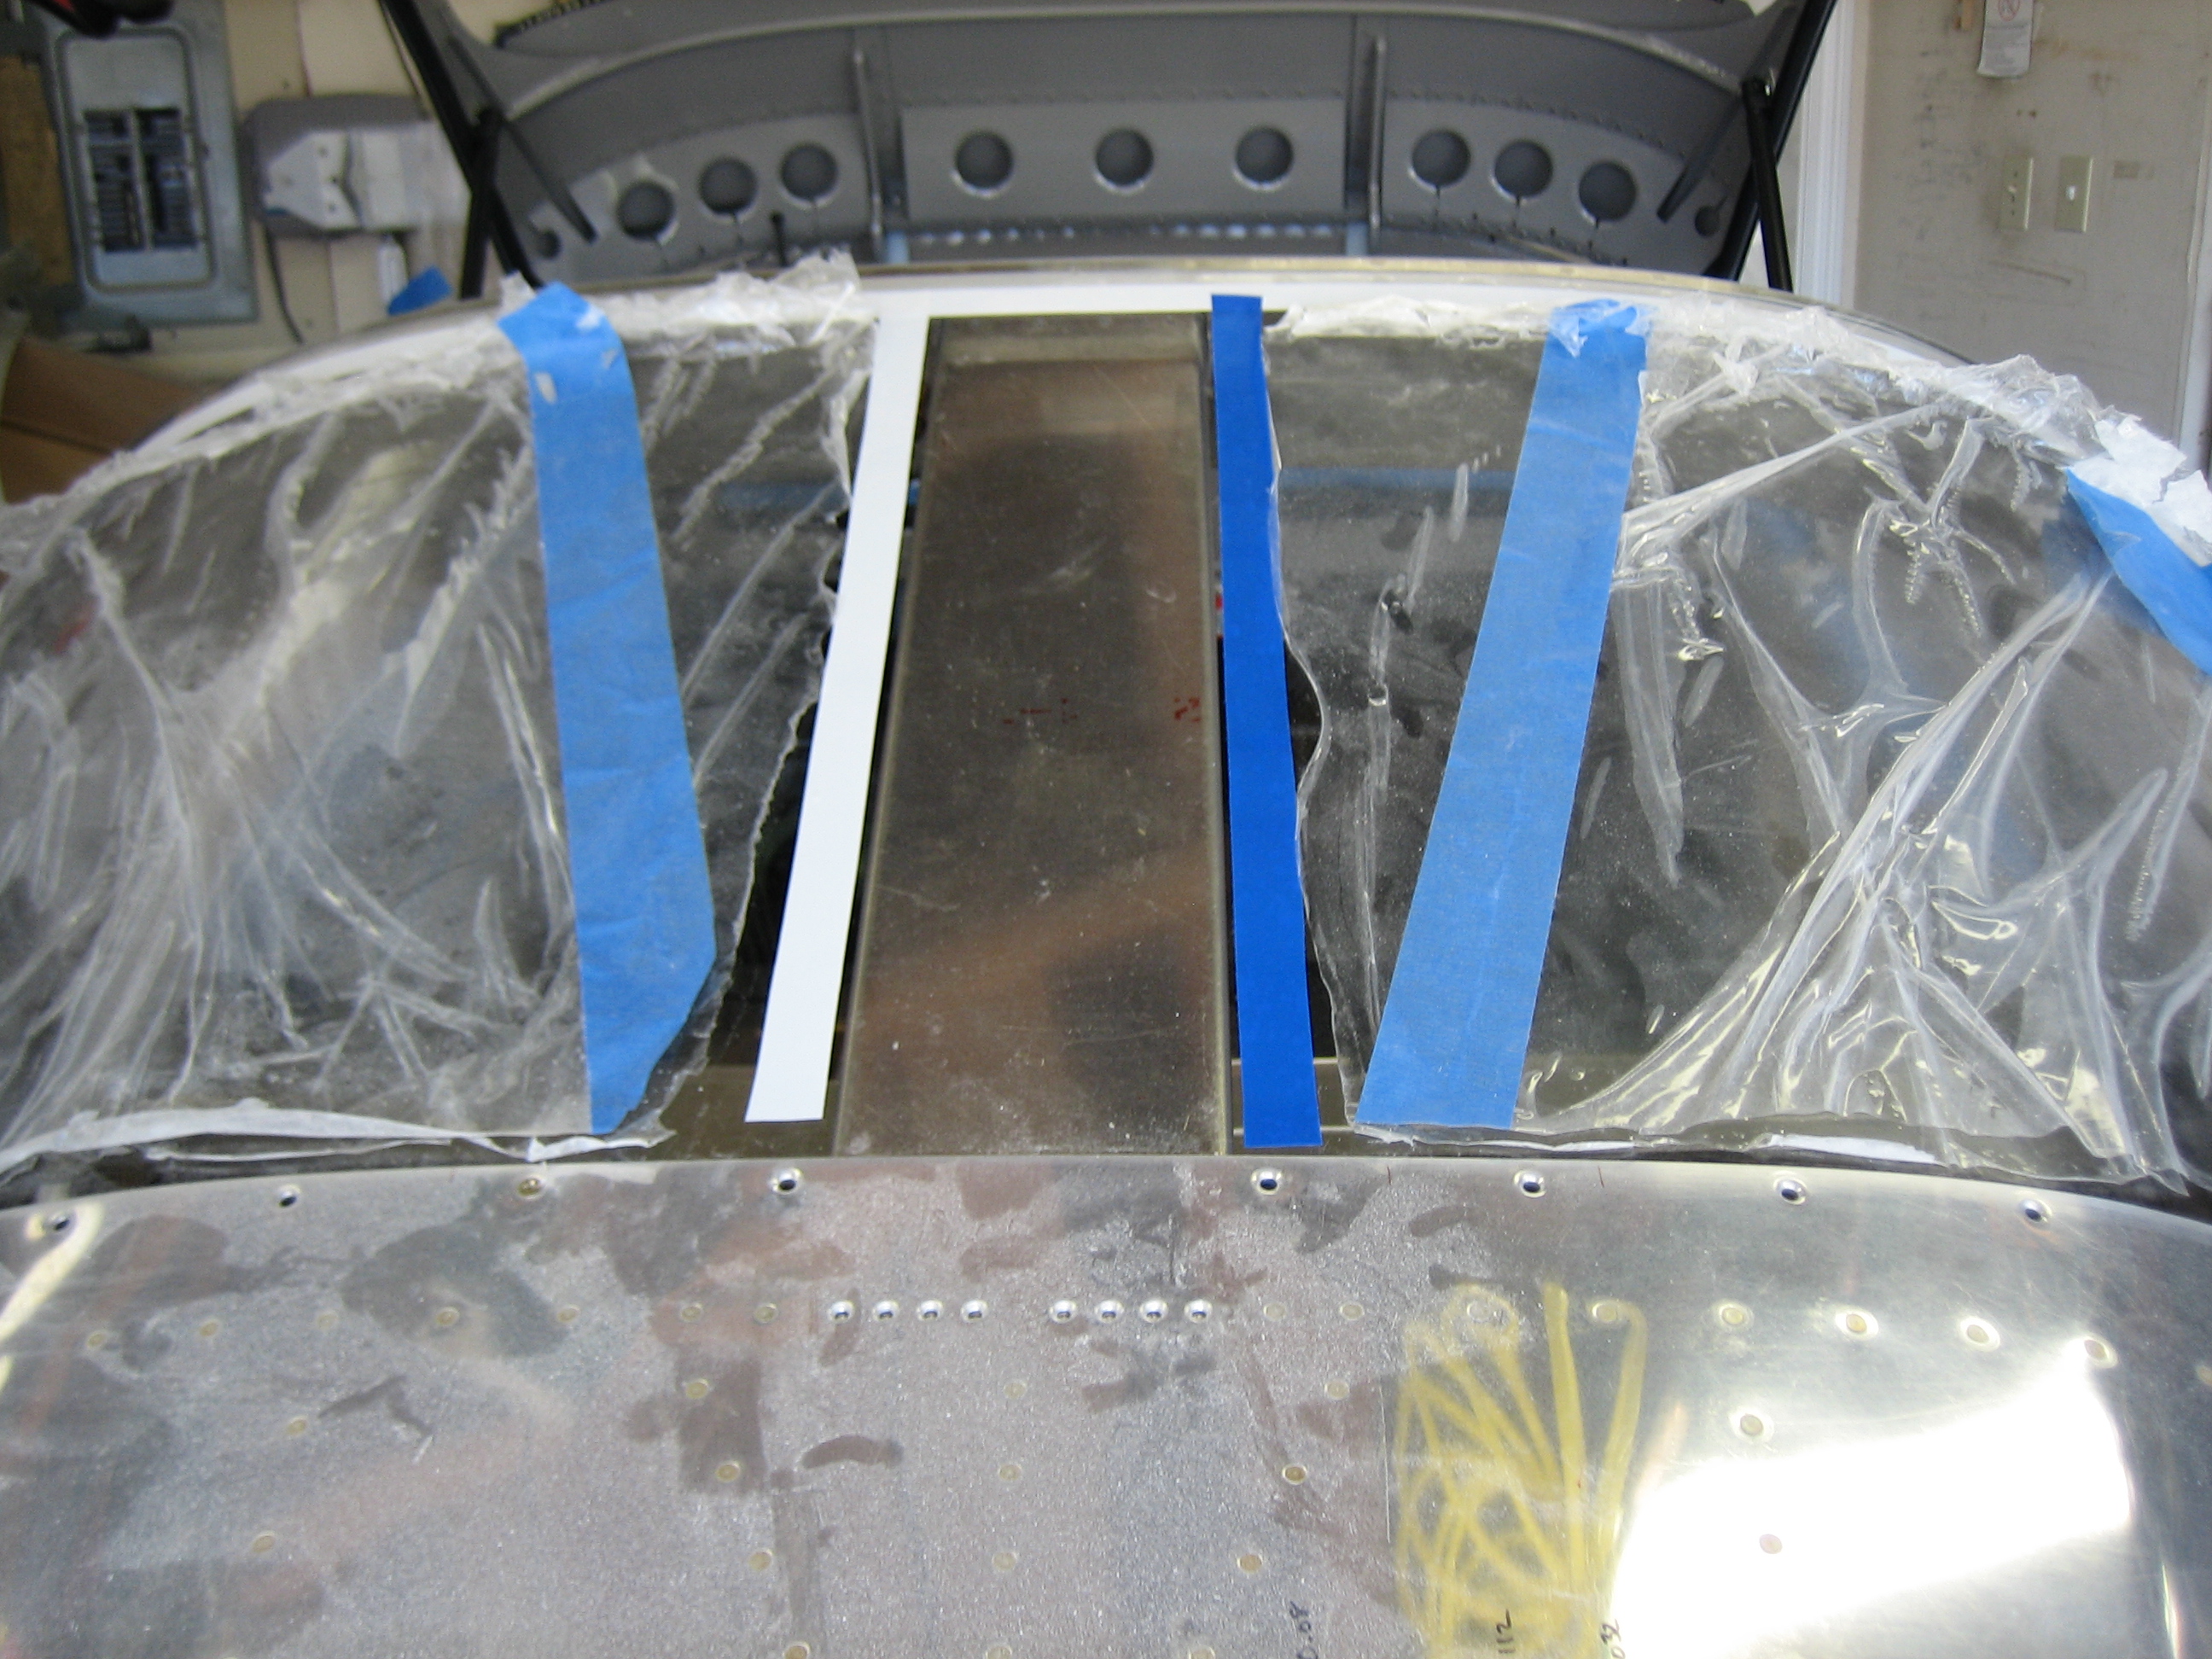
I removed the rear window because the masking tape I applied a few years ago was all dried out and stuck tight.  I used some mineral spirits to soften the adhesive and removed all of the tape.  This took much longer than expected, but I wanted to use a mild solvent to avoid damaging the plexiglass.  After reinstalling the window, I laid a line of tape to mark where the Sikaflex primer will go.

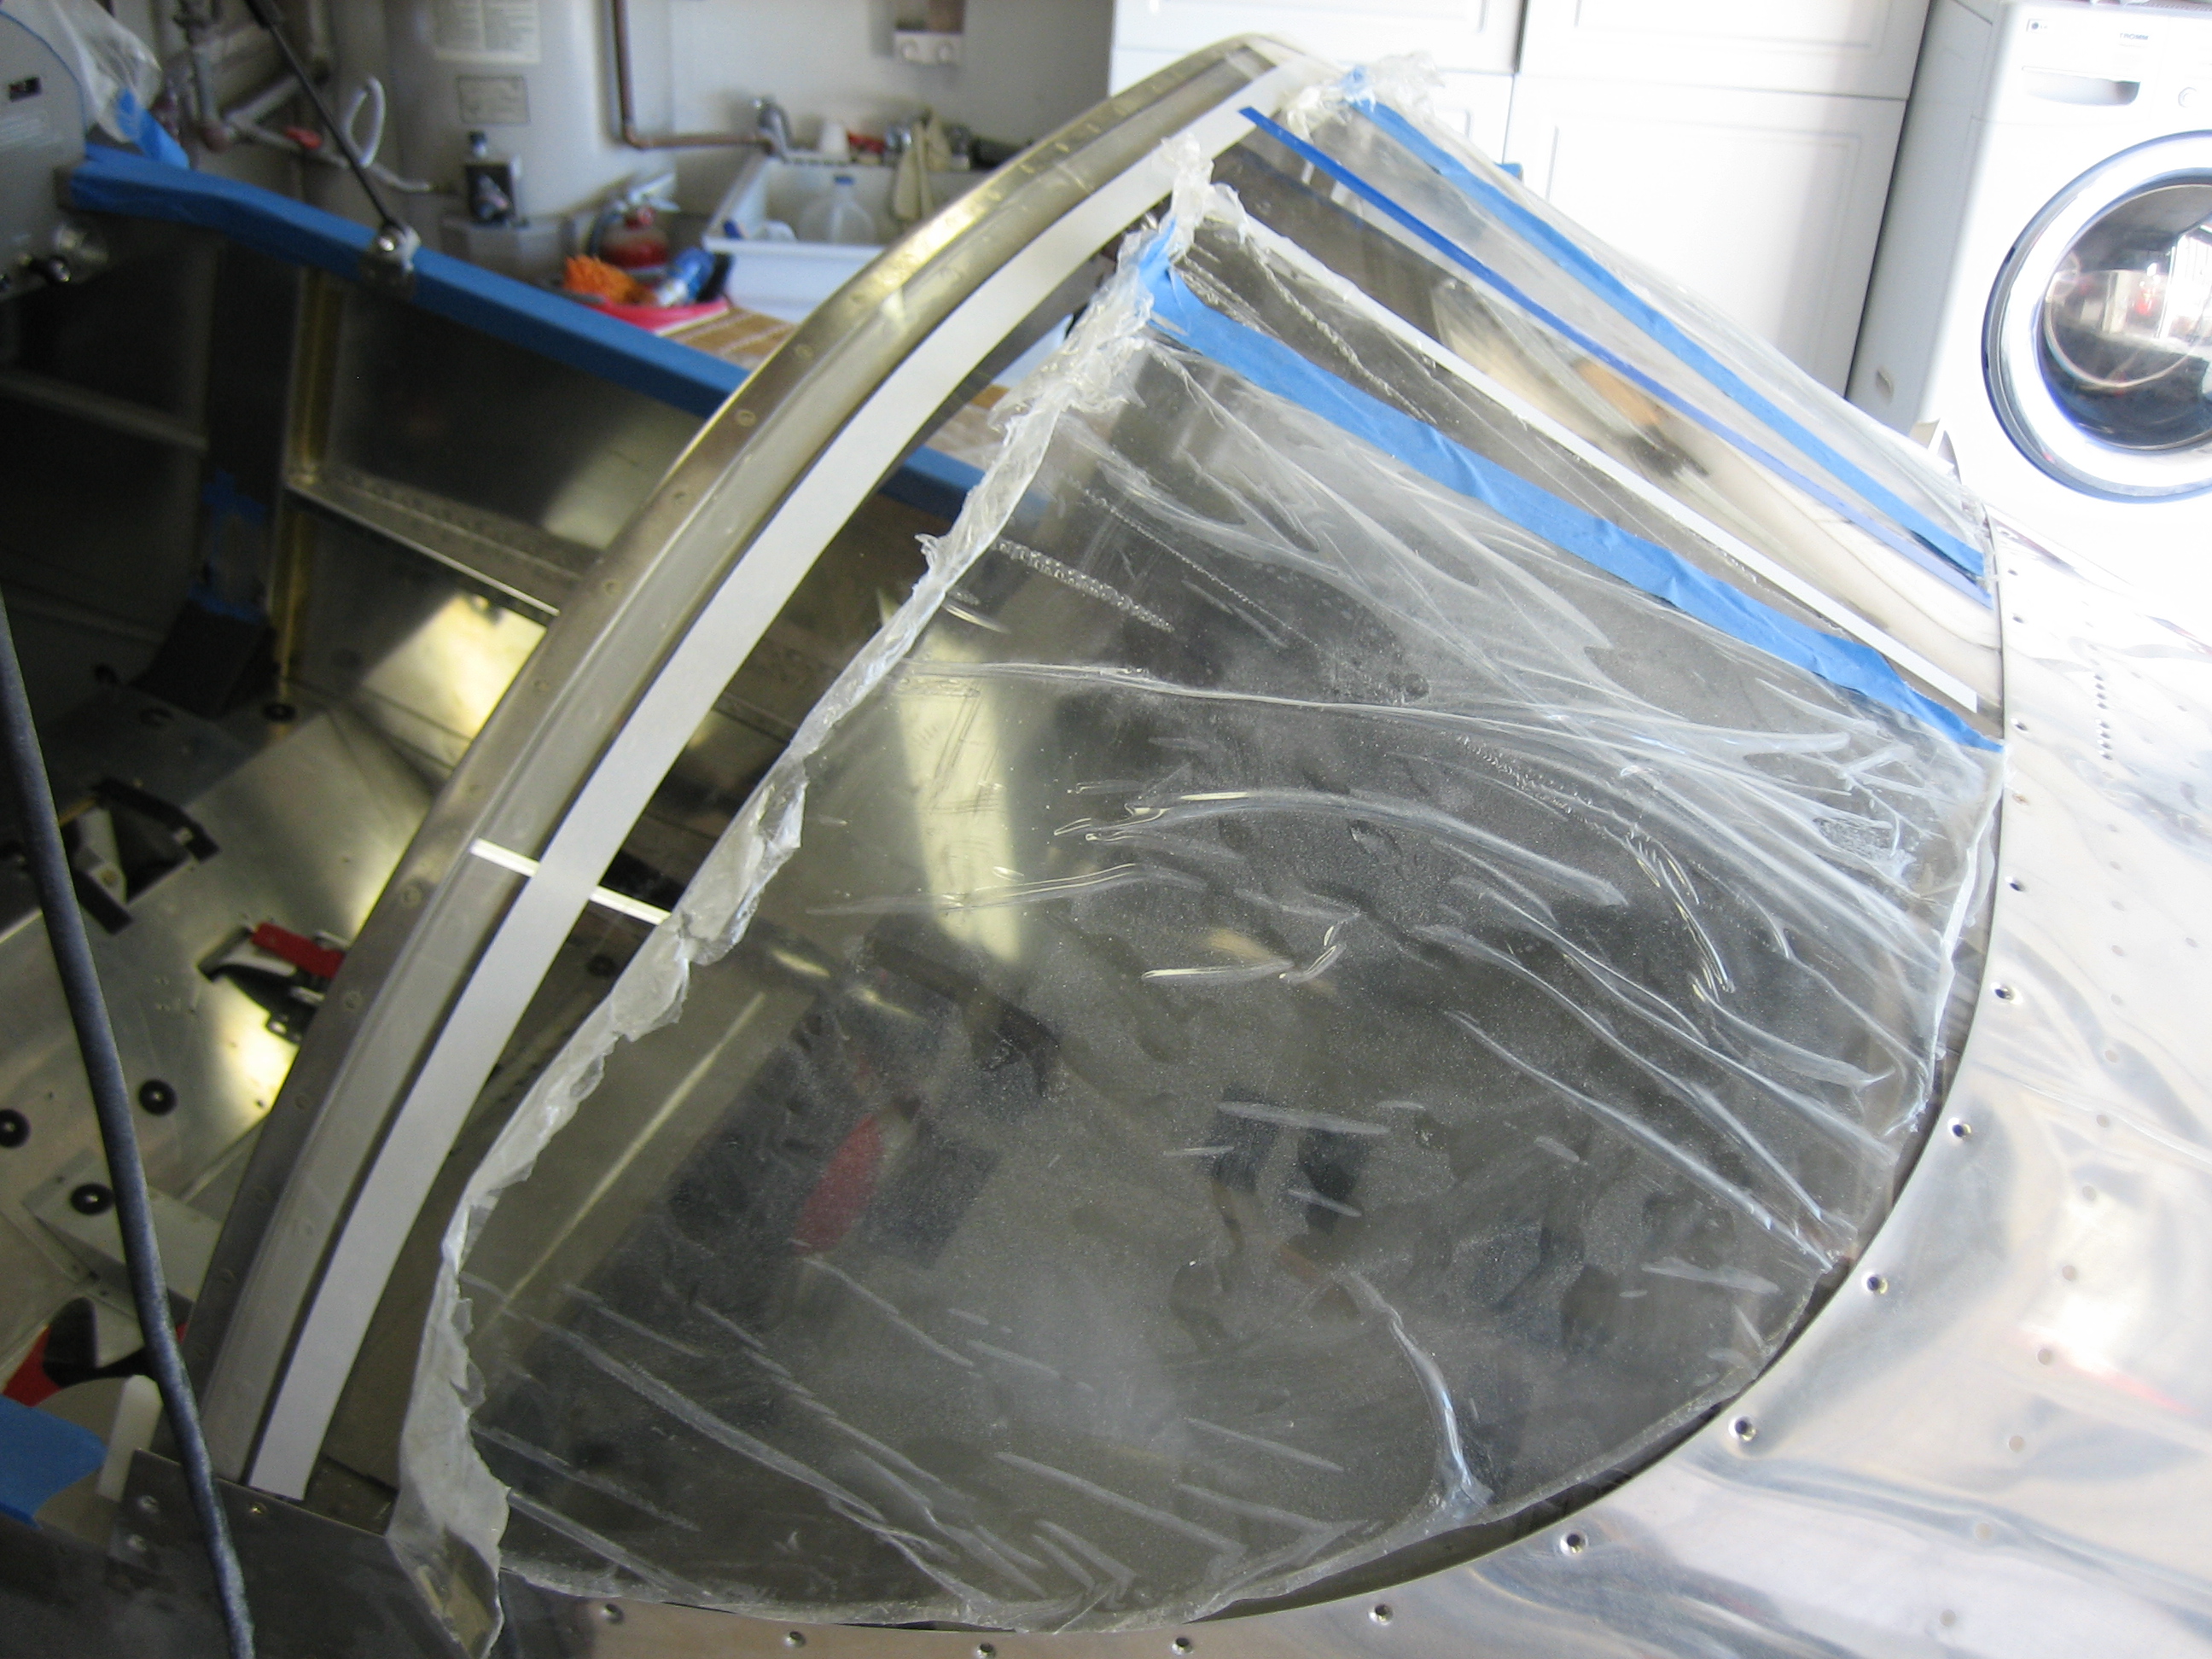
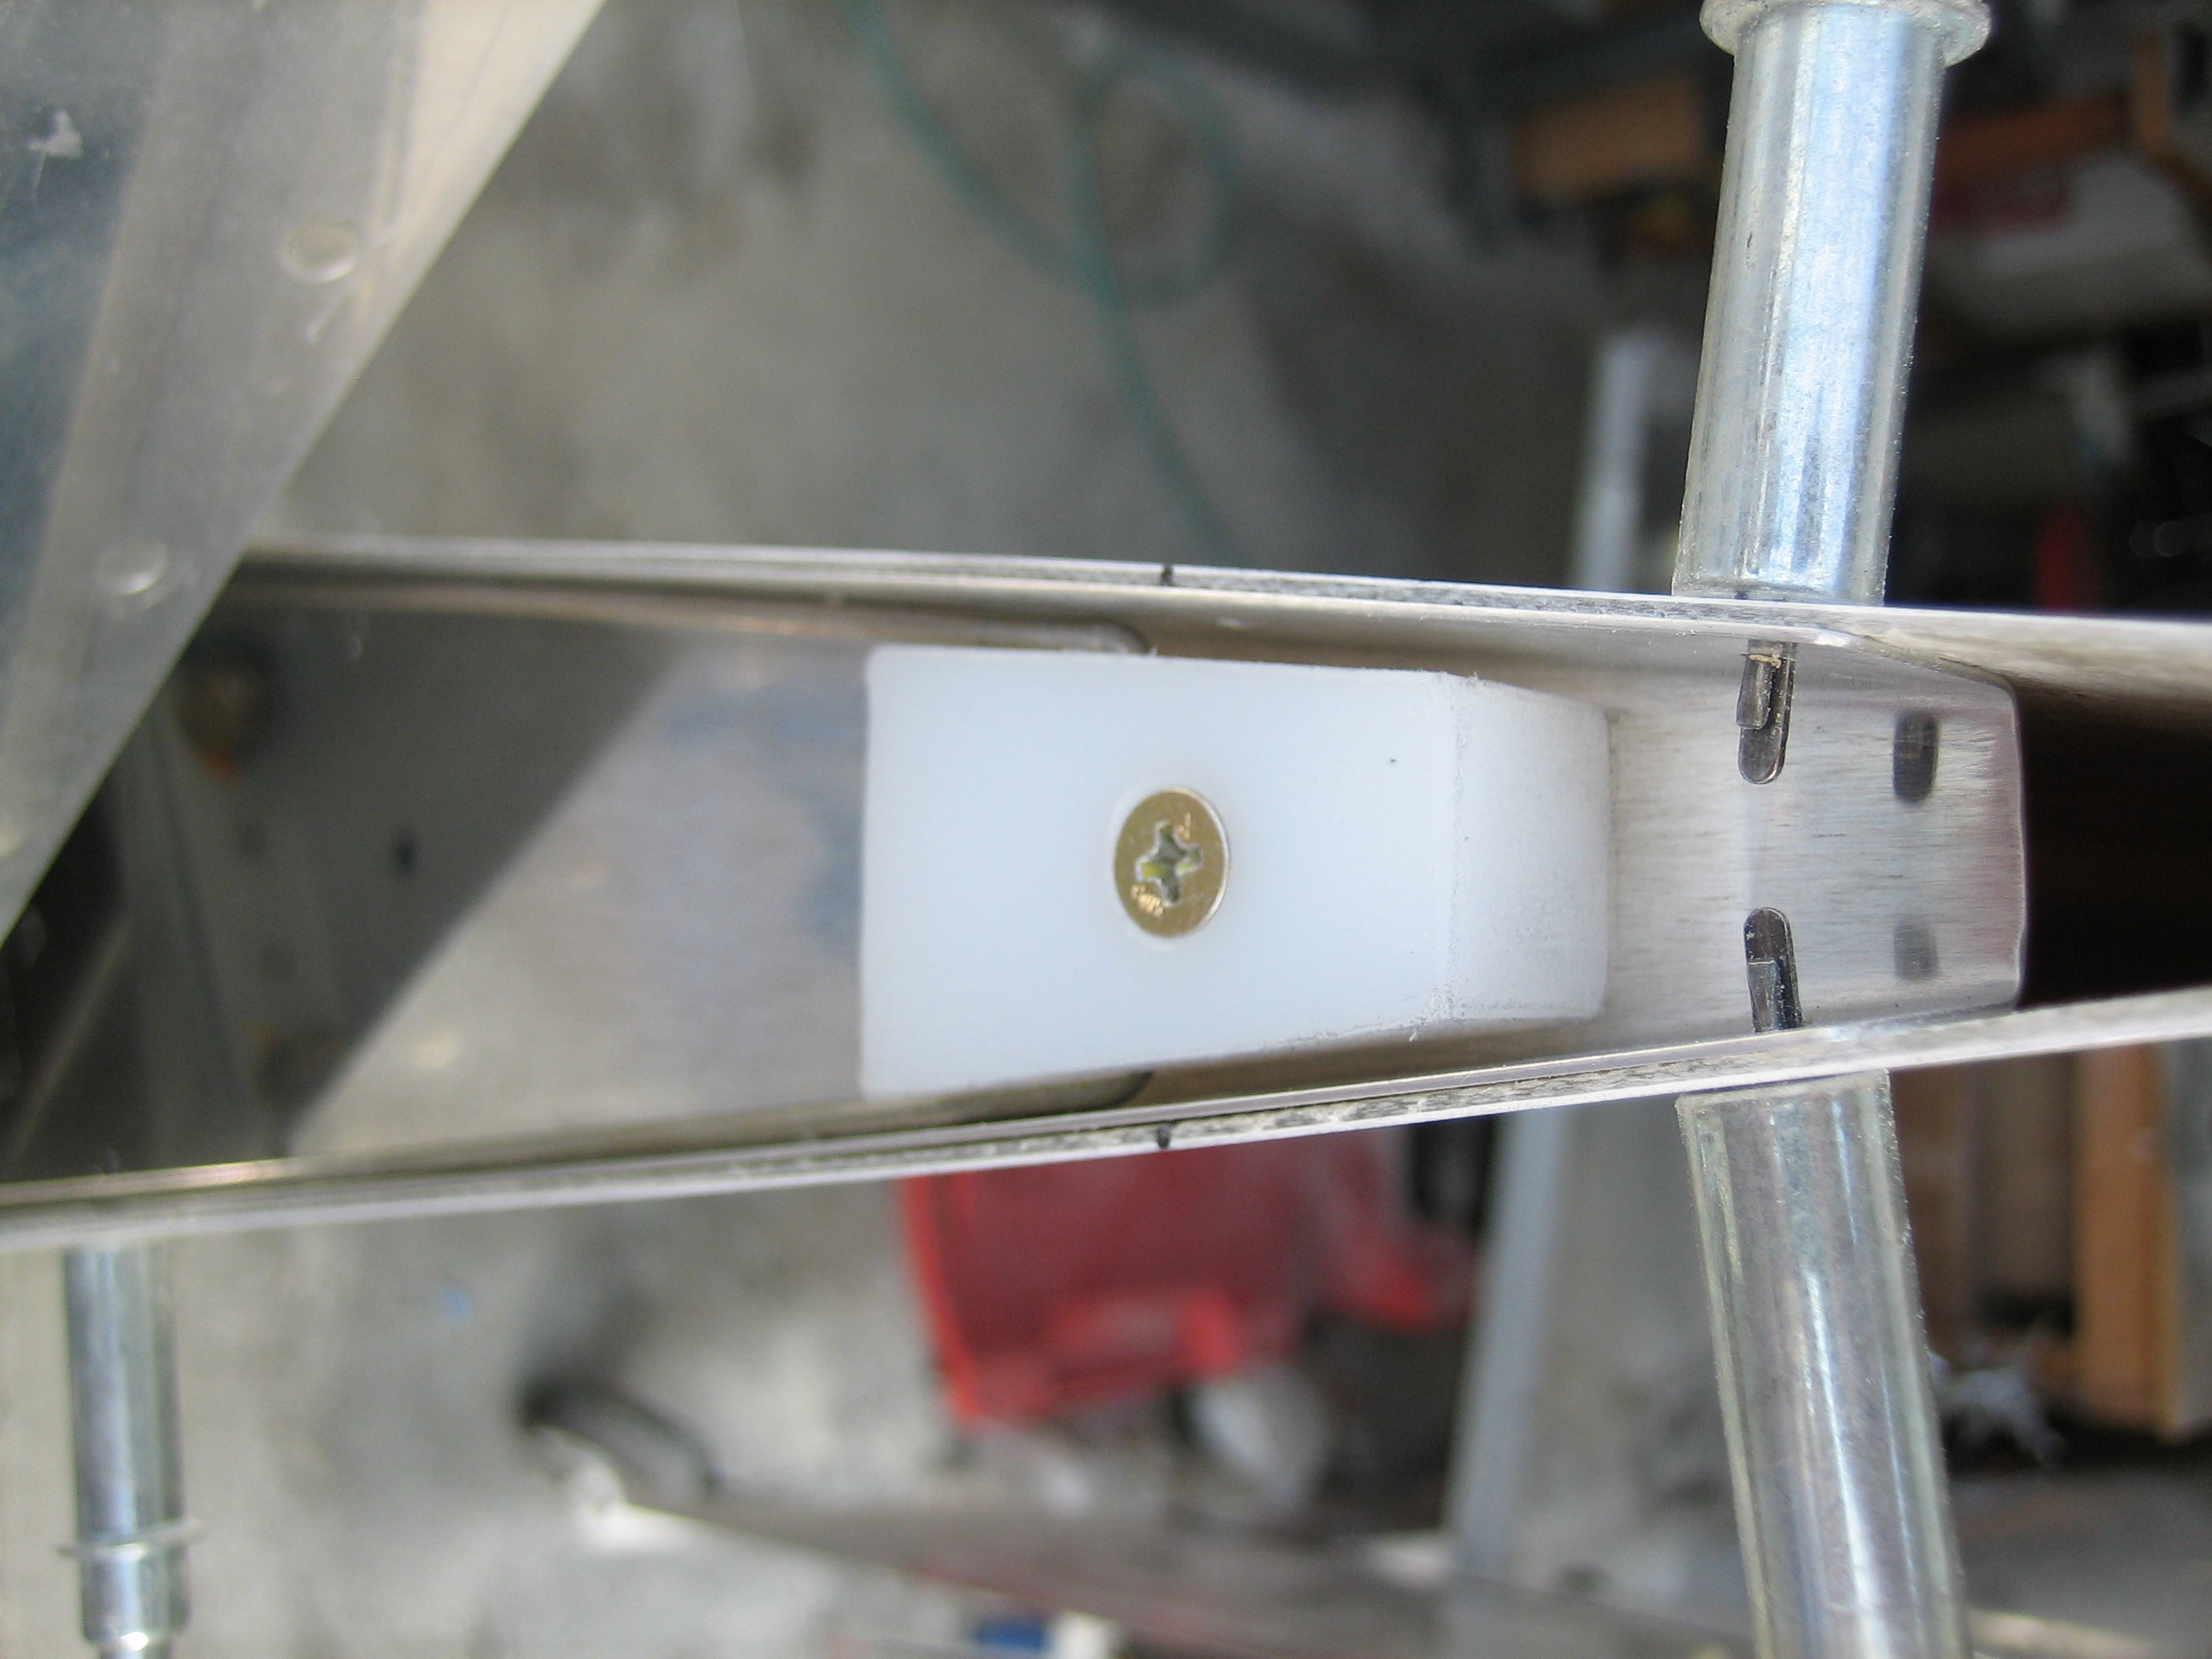
I’m going to paint the inside of the rear window where it passes over the roll bar support channel.  I’ve noticed on other planes that it’s often fairly dusty on top of the channel, and it’s pretty tight against the window, especially toward the back.

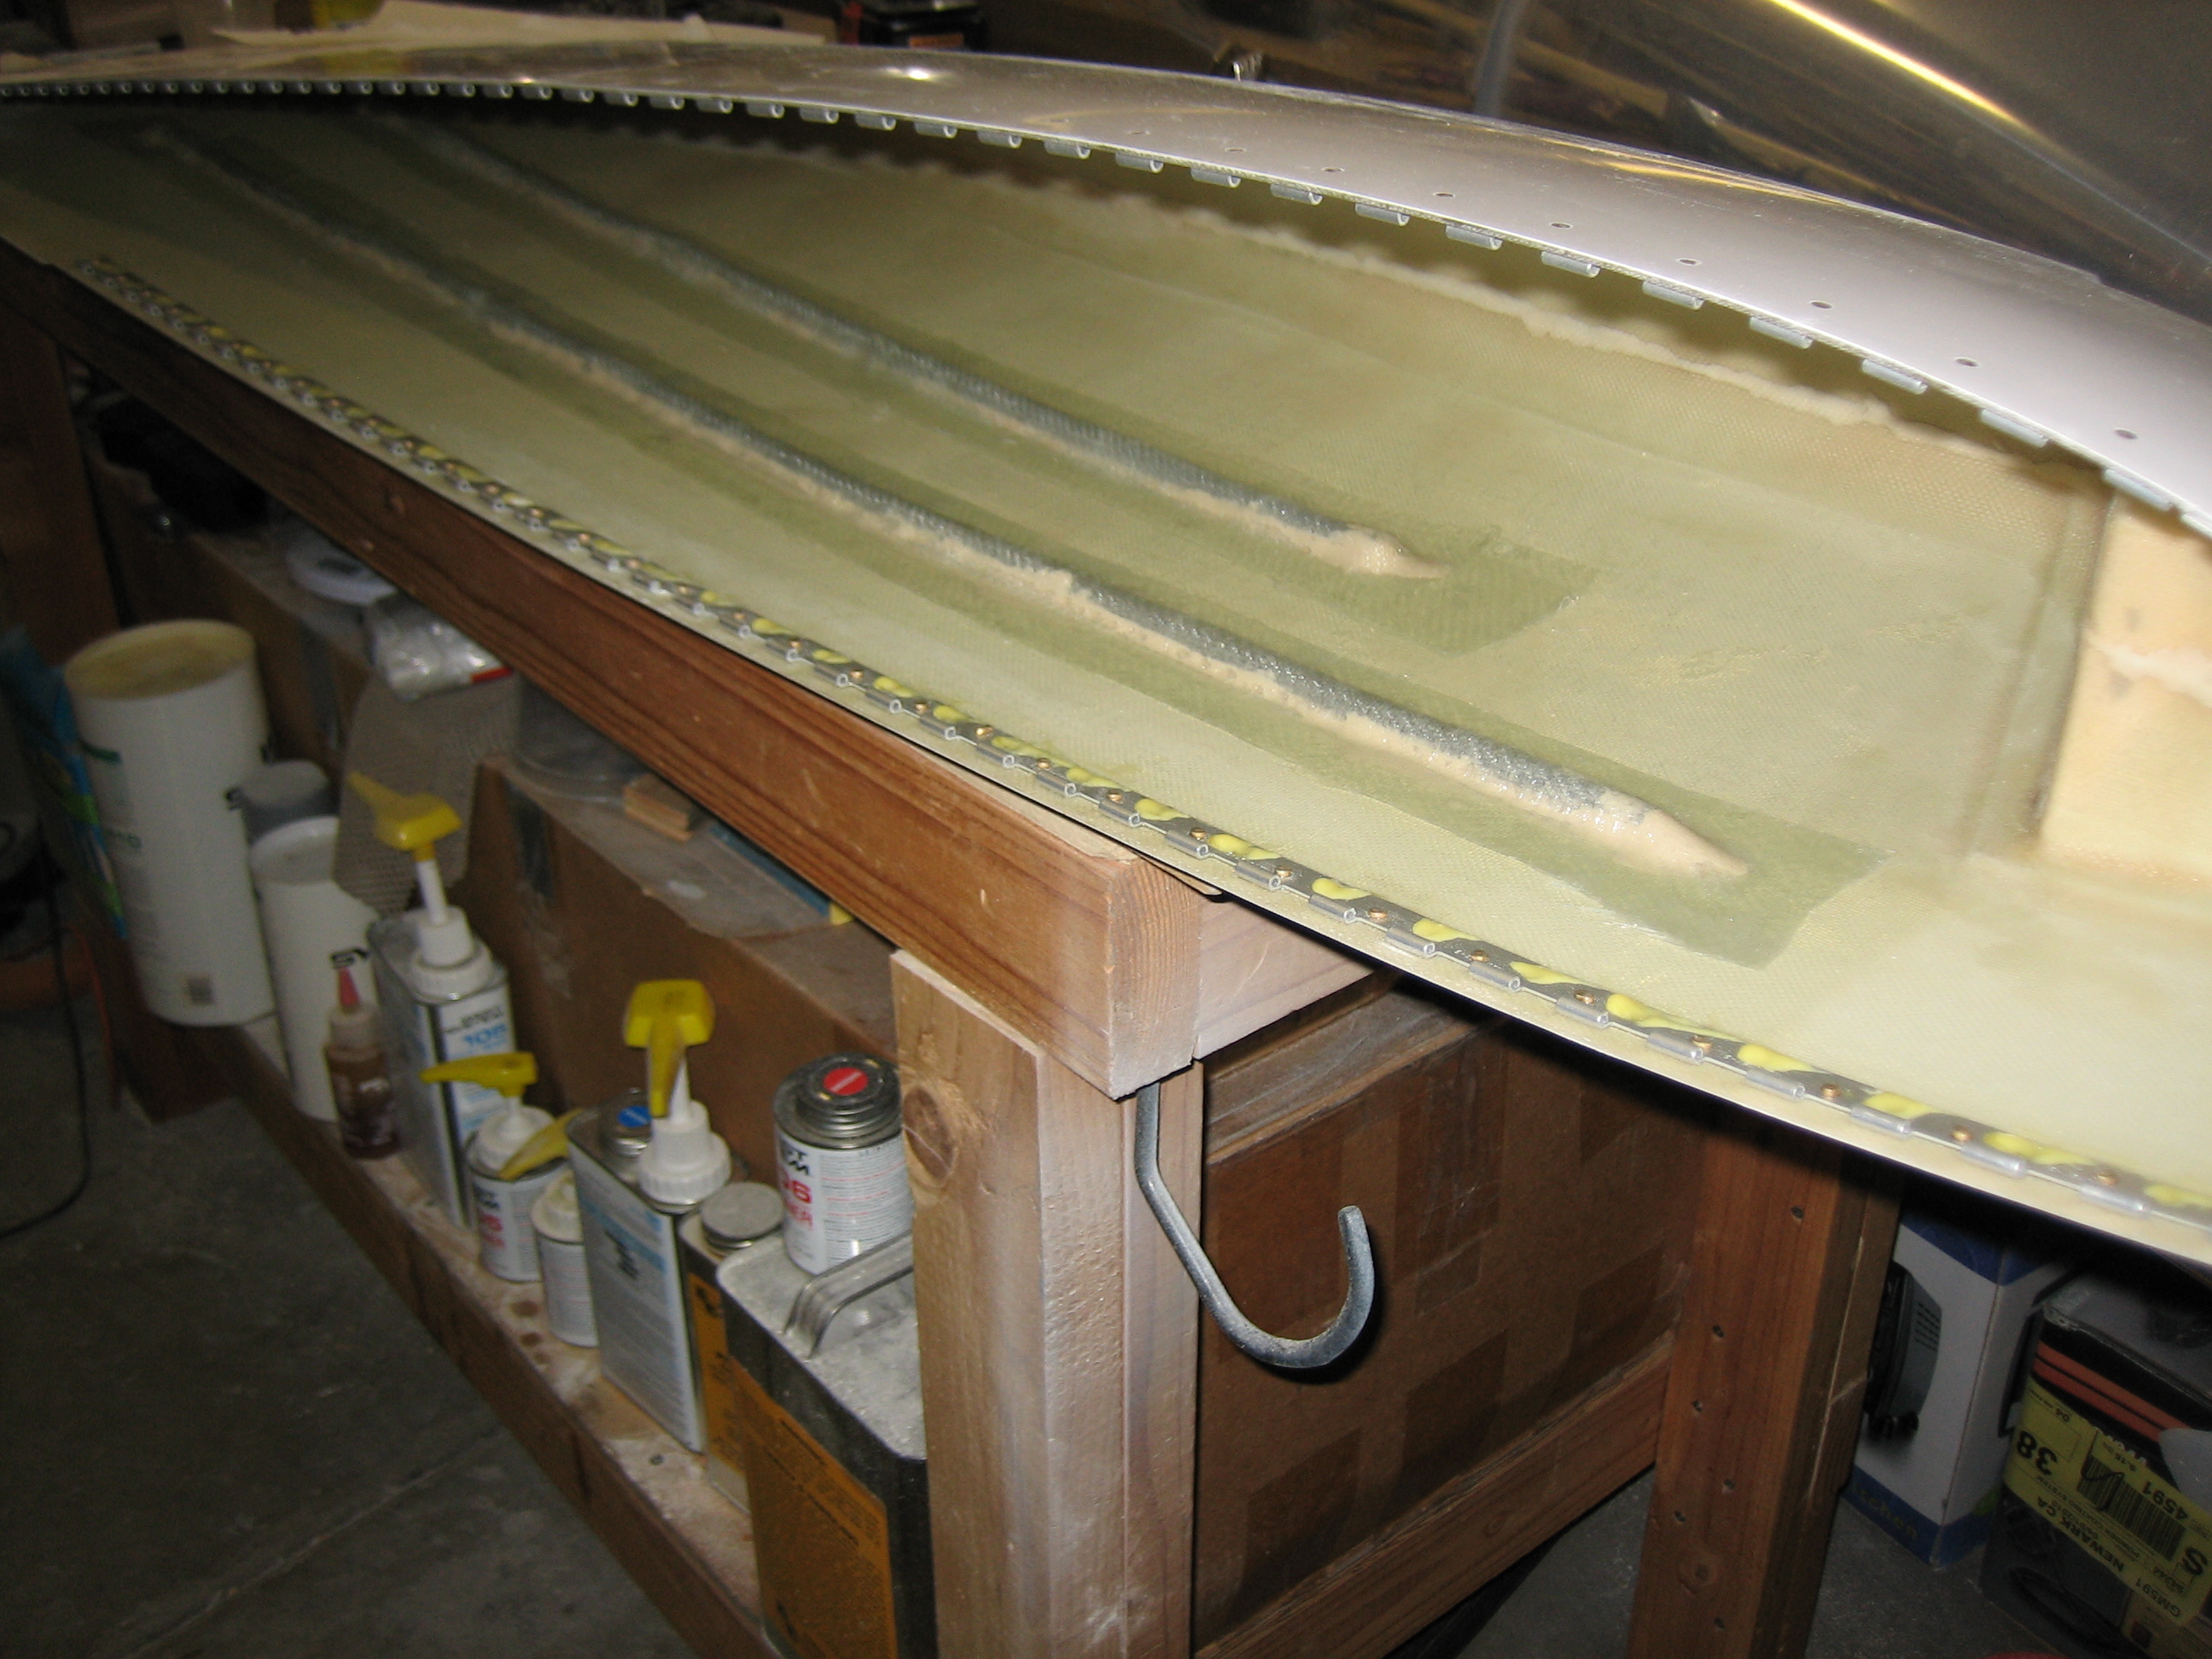
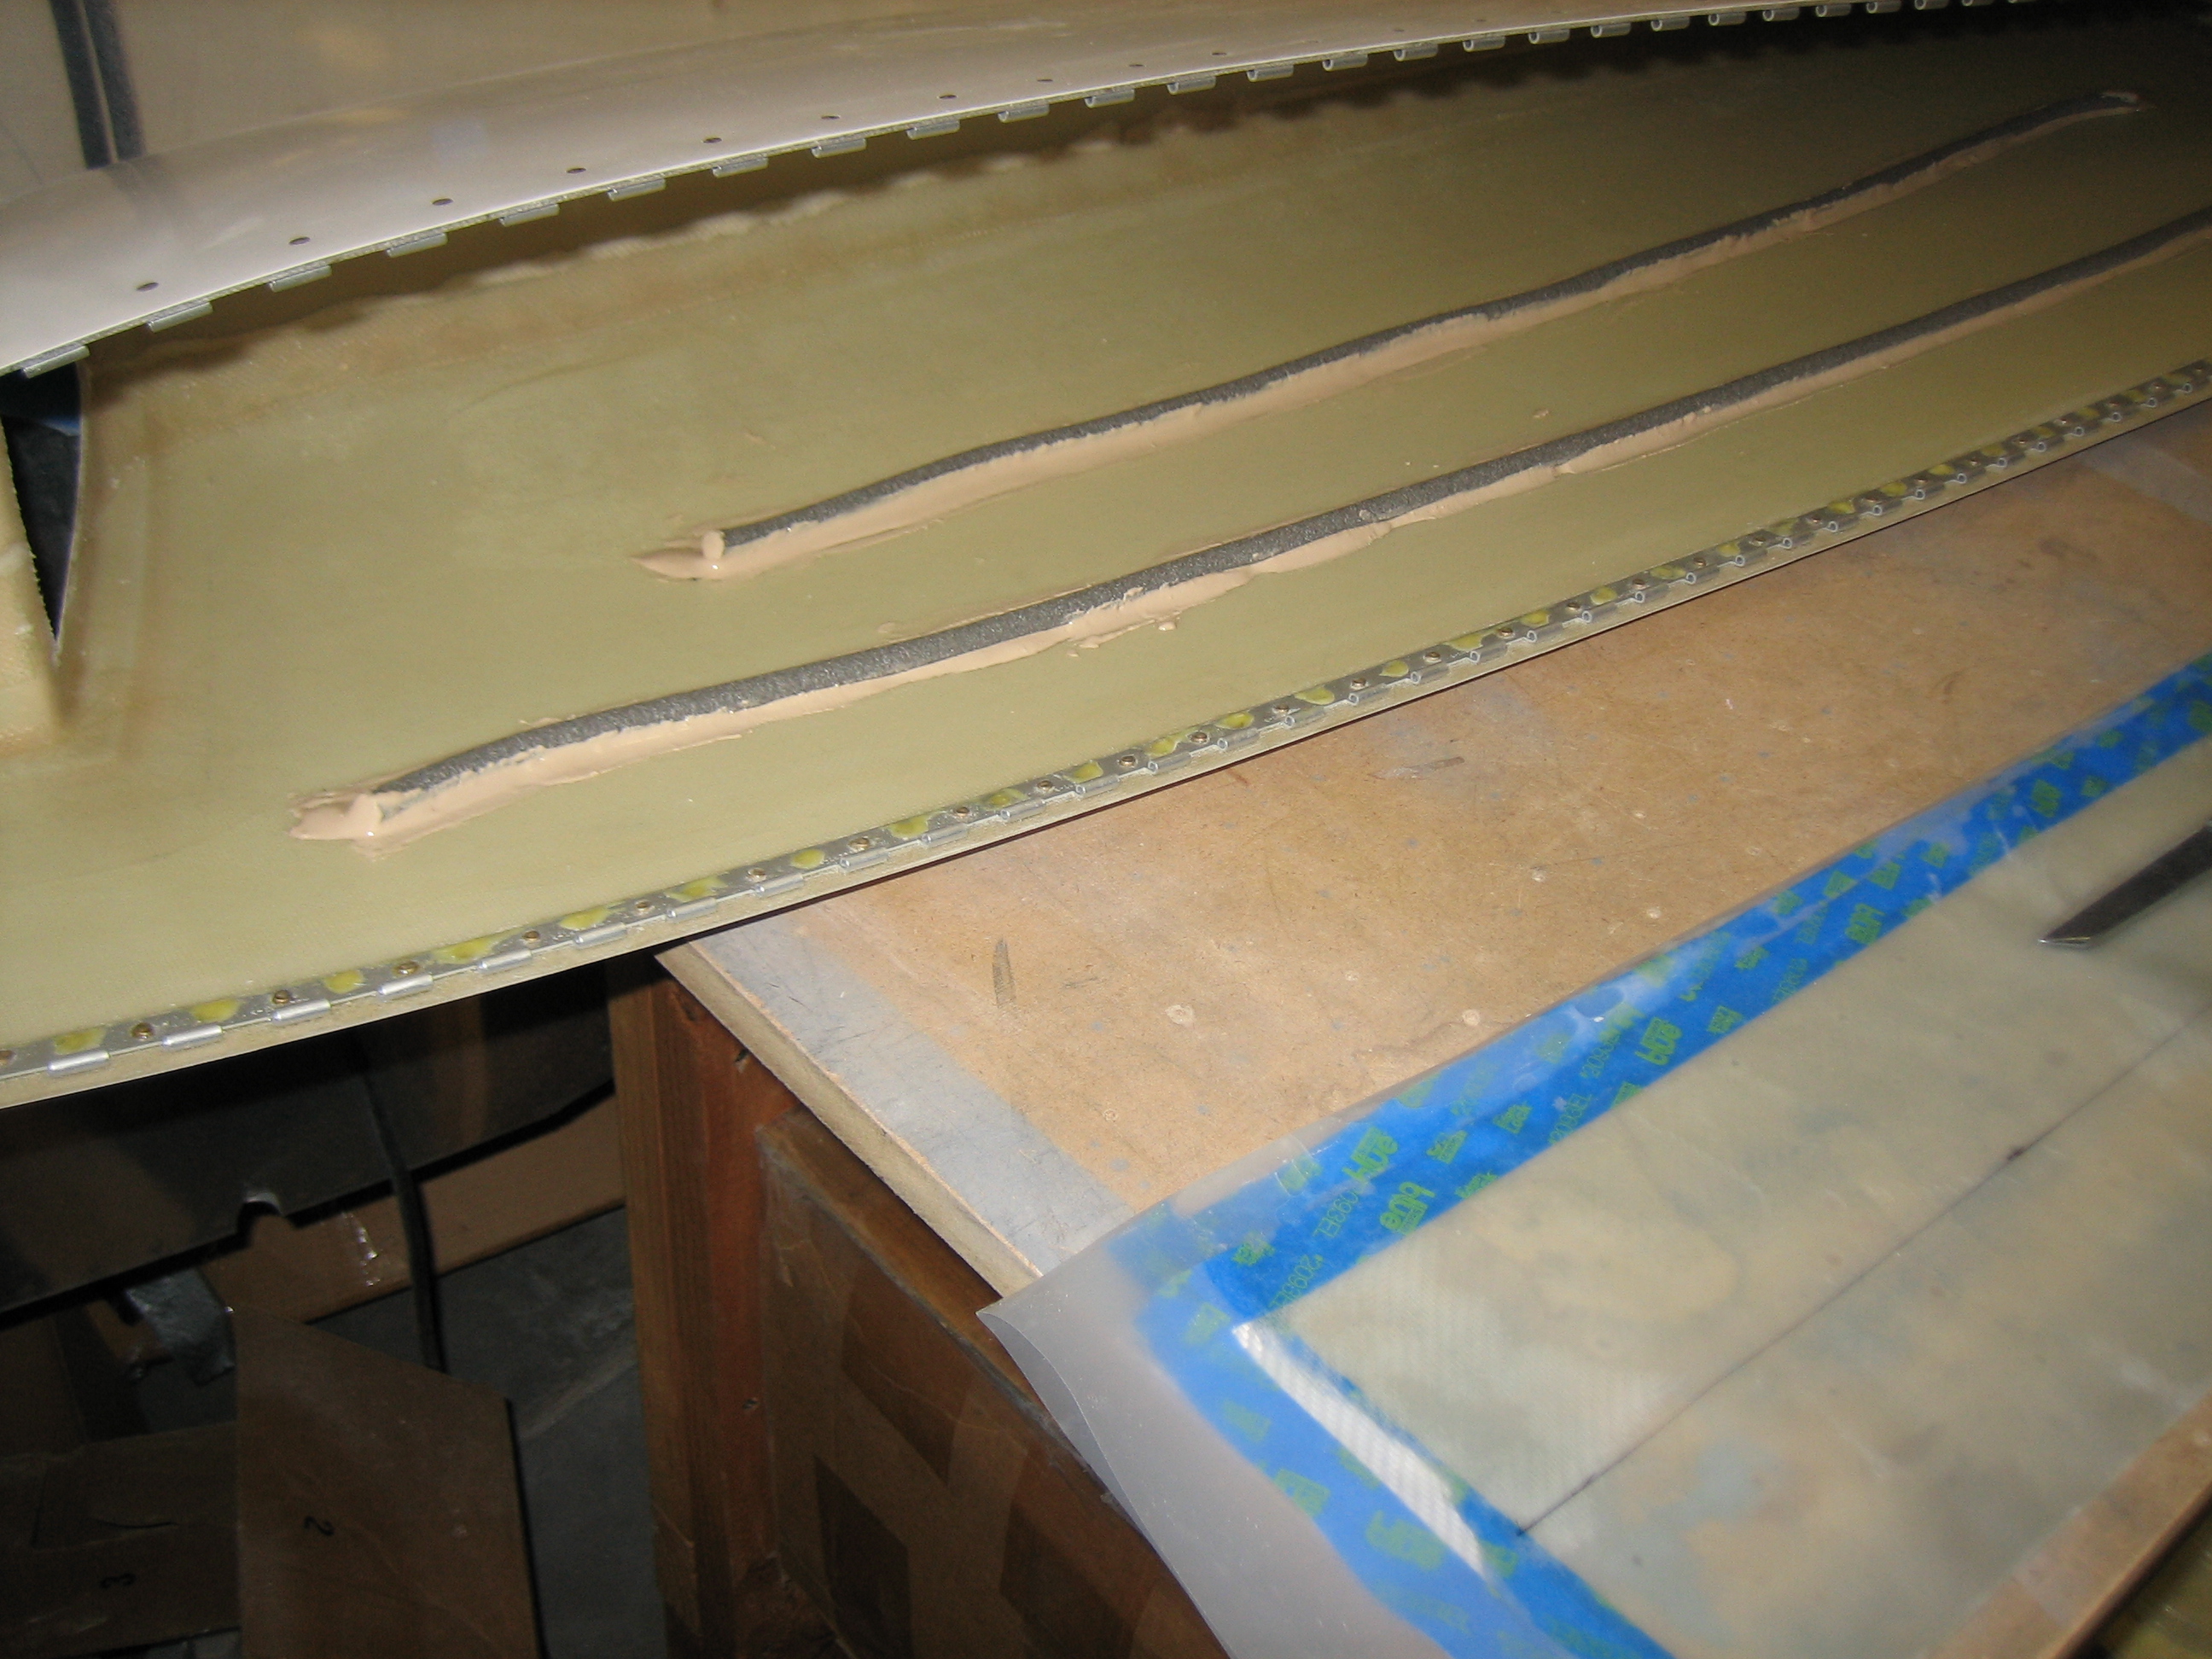
After the horizontal stabilizer and elevator filler cured, I filed and sanded it down so that they’re faired together nicely.

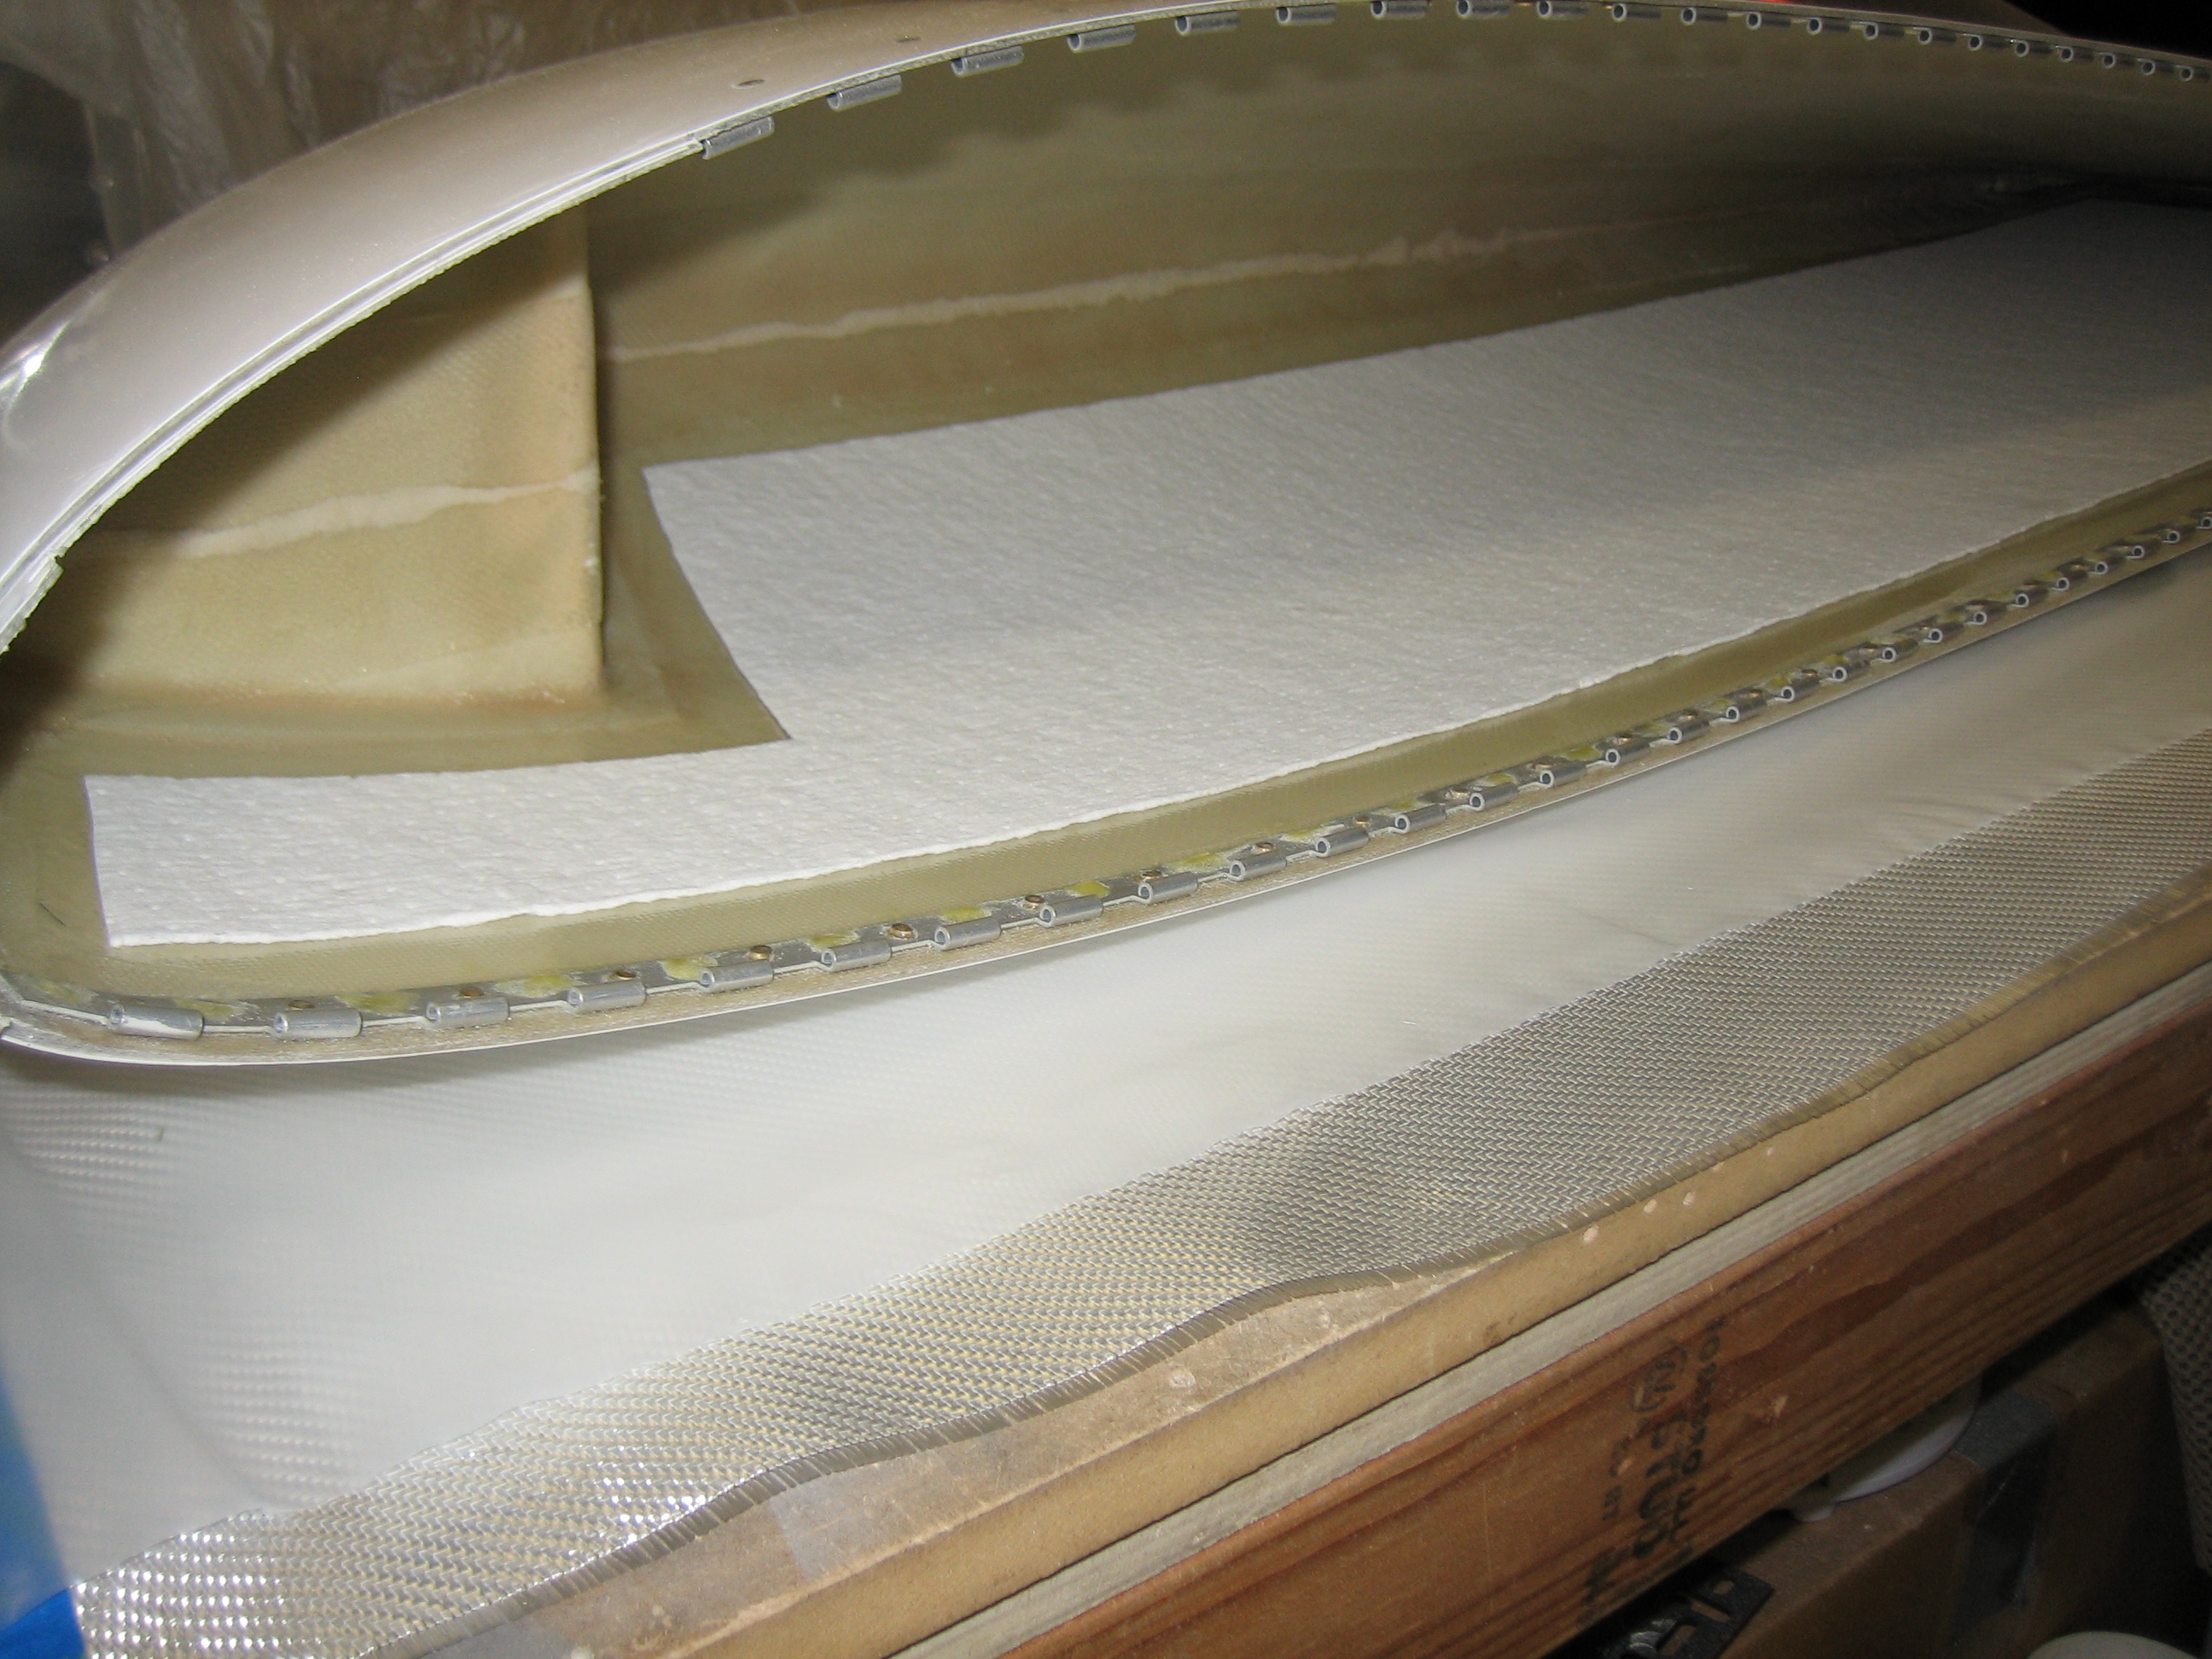
I needed just a little bit more along the leading edges of the elevators.

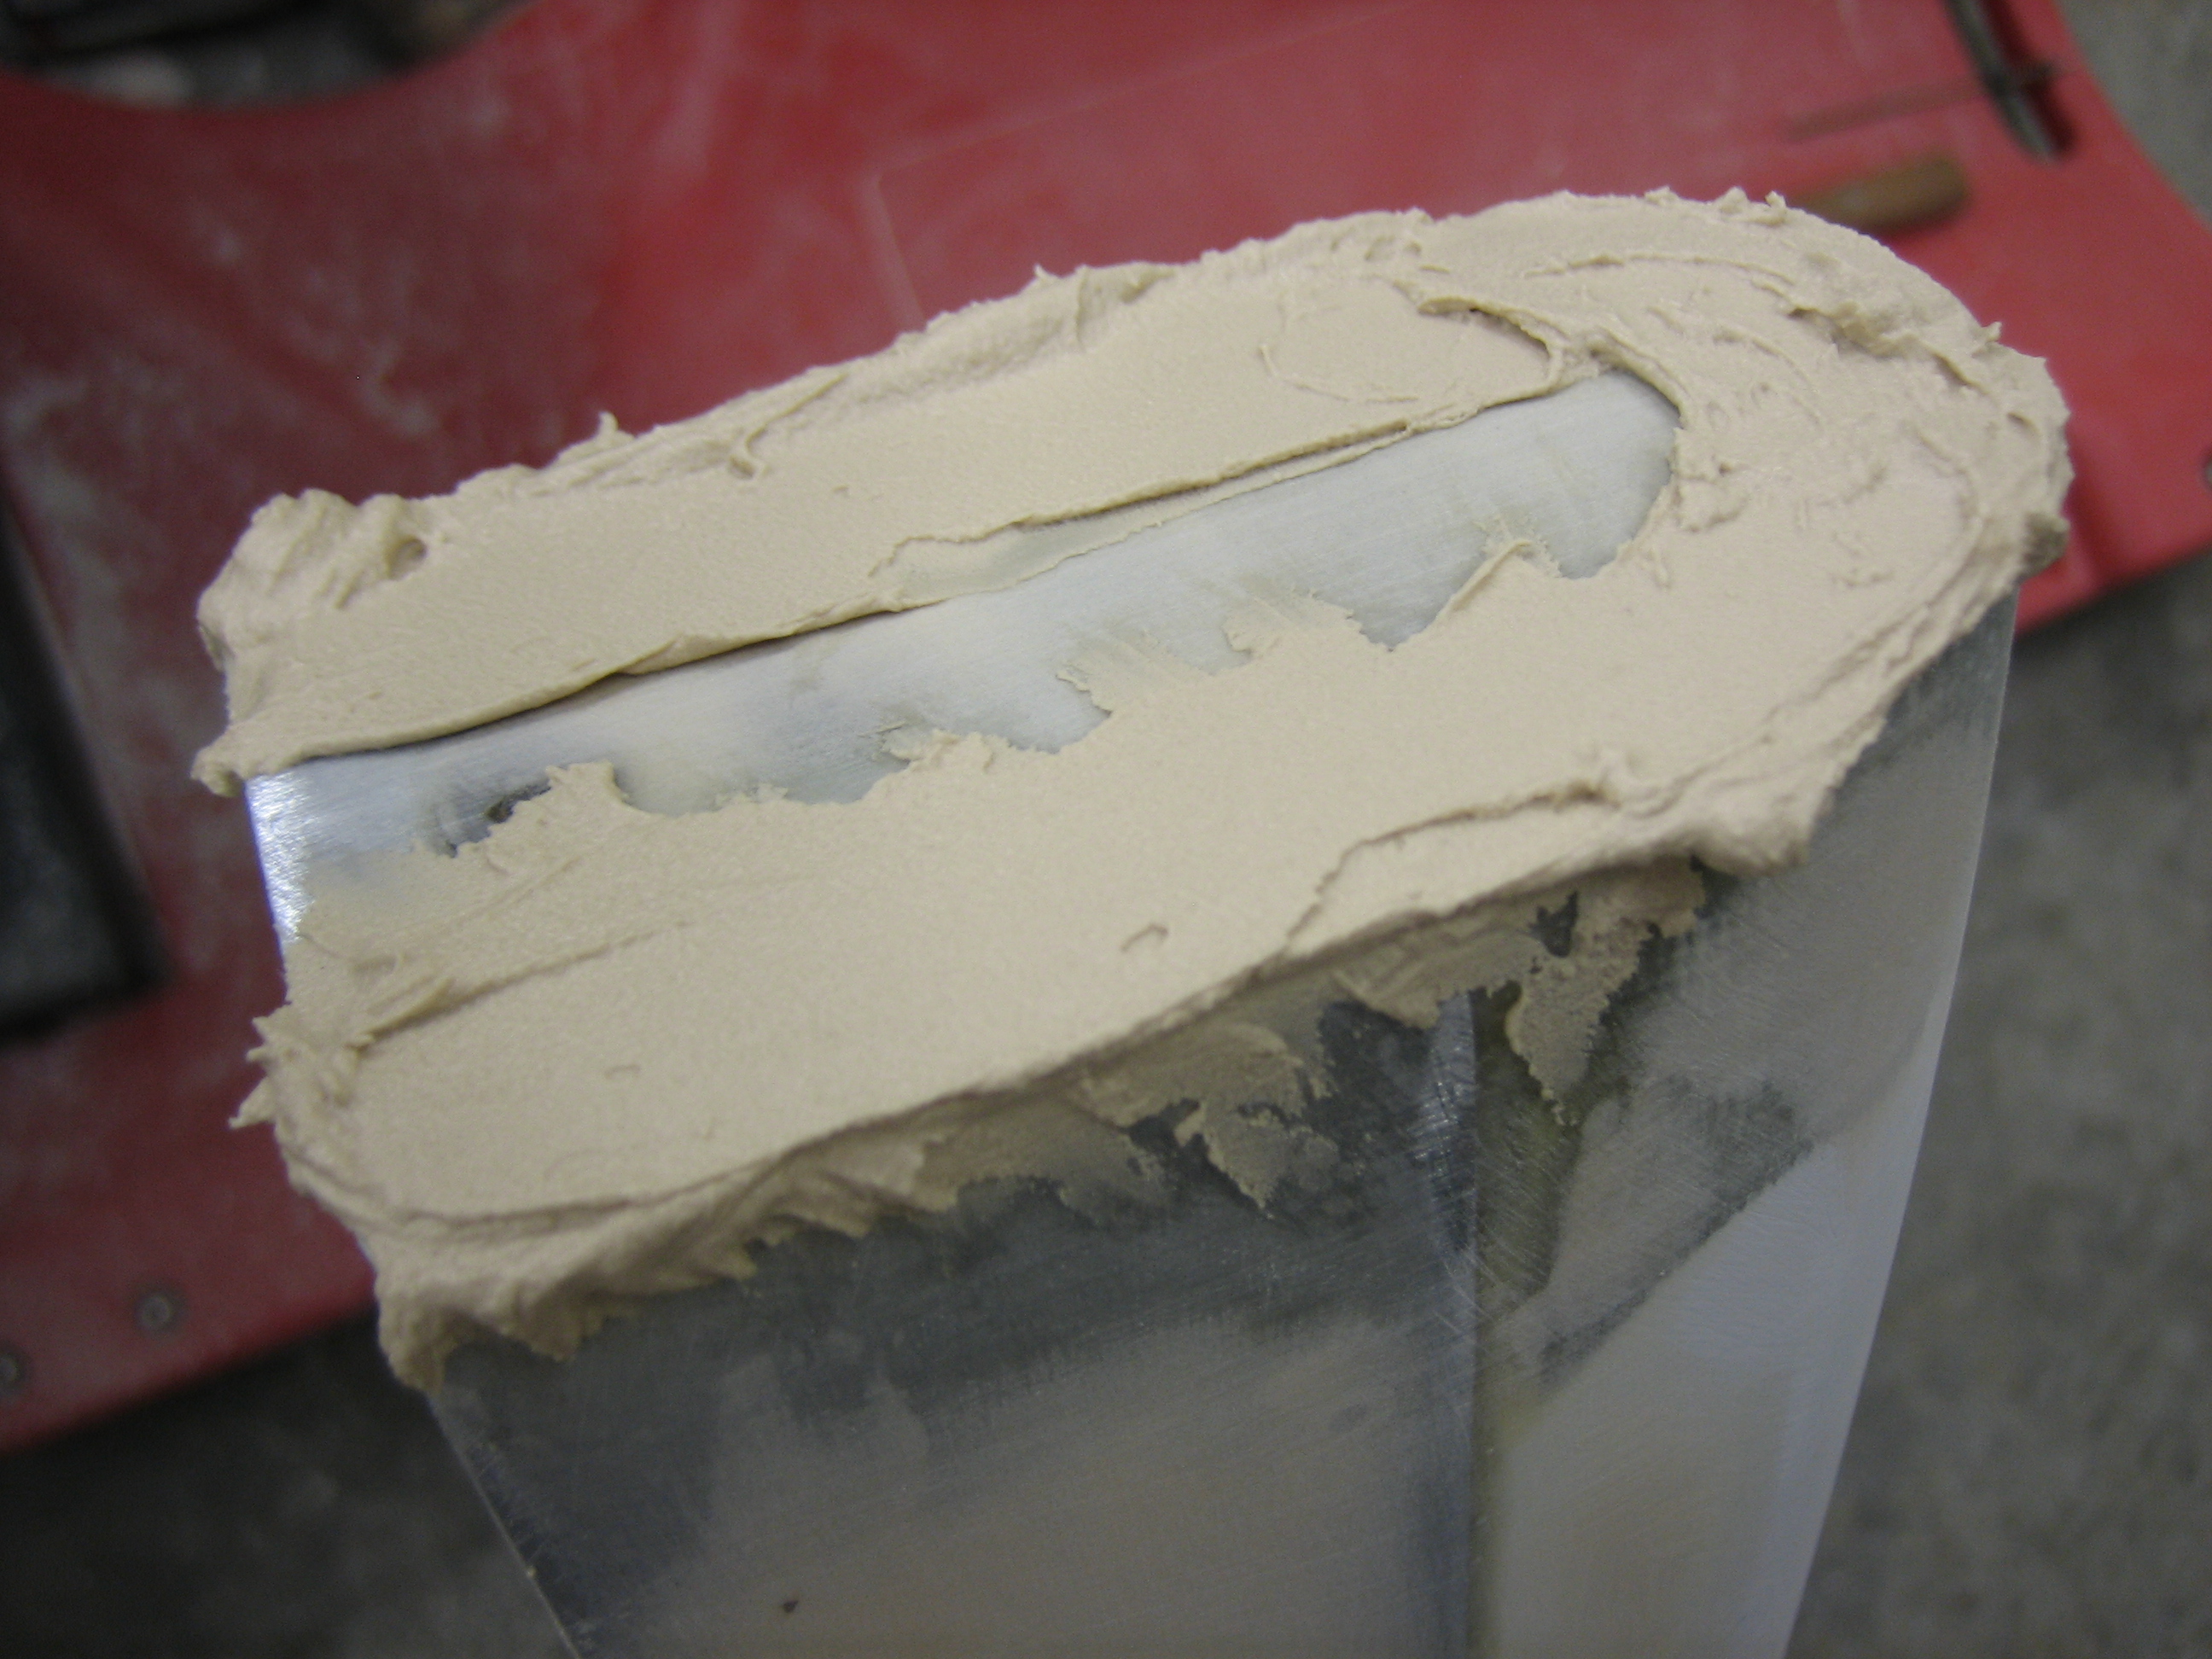
I also sanded down the filler I applied to the bottom of the rudder.  There were a couple of low spots, so I added a little bit more.

Fabricated Wingtip Hinge Pin Retainers, Installed Ribs and Sanded Fairing

Since the wingtip is held on with hinges, I needed a method to secure the hinge pins so that they can’t come out.  I fabricated these retaining blocks out of a chunk of Delrin that I machined down to fit inside the trailing edge of the wingtip rib.  It’s held on by an AN509-8 screw.

The screw screws into a nutplate mounted on the back of the rib and through the tooling hole that was already present in the rib.

In the sides of the blocks, I drilled a #43 hole and machined grooves aligned with the holes to capture the hinge pins.  I bent the aft ends of the hinge pins 90º so that they will go into the holes.

Here’s how they look when installed.  The hinge pins can’t back out of the block because they’re trapped by the flange of the rib.  The block also provides a convenient handle to extract the pins.

With those done, I primed the backside of the ribs and installed them with epoxy/flox and soft rivets.

I also sanded down the additional filler I applied yesterday.  I still need to apply some filler inside the gap, but the outside shape looks great.

Added Right Wingtip Rib and Reinforcement to Bottom of Left Wi\\ngwip

I laid out and drilled the holes for the right wingtip rib.  Getting this in the correct position was pretty easy by using the other wingtip rib with the flanges on the outside of the wingtip.  I then just slid this inside the wingtip until it was tight.  I confirmed on the wing before drilling to lock in the position.

I then added the reinforcement to the bottom side of the left wingtip.

Finished Wingtip Reinforcement and Started Fairing Vertical Stabilizer and Rudder

I finished up the last of the wingtip reinforcement.  I’m super happy with how this has turned out.  It’s very light and the tips are substantially stiffer.

I needed to start fairing the rudder and vertical stabilizer, but I wanted to do it on the plane since it will be at a more comfortable working height.  With the rudder bottom fairing in place though, the rudder couldn’t be mounted since the fairing hits the tailwheel spring.  I measured and chopped off a chunk of the fairing.

This fits a little too tight at the front, so I’ll cut off more later.  I can’t just parallel the tailwheel spring though since the spring can flex quite a bit.  I need more room at the back to account for this.

I started fairing in the rudder and vertical stabilizer.  You can see that there is now a continuous curve along the top and the sides match nicely.  I need to add a little more filler in a few low spots, but this is turning out very nice.

Applied Filler to Vertical Stabilizer and Rudder, Glued Trailing Edge of Right Wingtip

You can clearly see the profile of the vertical stabilizer tip and rudder tip together don’t form a single continuous curve.

You can also see that the gap between them isn’t uniform.  I’ll fill this later to create a uniform 3/16″ gap which is the same as the lower horizontal gap.

I mixed up some filler and applied it to both fairings.  You can see that I built up the rudder tip quite a bit.  I also widened the rudder horn about 1/16″.  I’ll sand all this down with the rudder clamped in trail so that they’re perfectly faired together.

With the internal stiffeners glassed in, I could glue the trailing edge back together.  I mixed up some epoxy/flox and put a bead down the back.  I used a bunch of small spring clamps to hold the trailing edge closed while the epoxy cures.  The clamp in the back is holding a couple of scrap pieces of aluminum angles and span the gap between the aileron and wingtip ensuring that the wingtip perfectly follows the edges of the aileron.

You can also see some epoxy/flox on the outer edge of the wingtip.  I needed to add a little bit so that the outer edge of the wingtip could be filed to a straight line.

Worked on Vertical Stabilizer Fairing and Right Wingtip

Here’s the cured fiberglass over the foam rod.  This worked great.  It’s incredibly light (just a couple of ounces per rod at the most), and added a surprising amount of stiffness to the wingtip.  The Coremat I was going to add would have made it stiffer for sure (probably close to the stiffness of the cowl), but that would have been overkill.  The wingtips simply do not need to be that strong and the weight penalty was excessive.

I’ve been meaning to reshape the vertical stabilizer fairing for some time.  I originally installed the foam rib based on the shape of the tip right out of the box, and not how it looked relative to the rudder horn.  Unfortunately, it turned out fatter and shorter than the rudder horn, so I needed to reshape it.  I removed the old foam rib and used a clamp to squeeze it (making it both narrower and taller).  I then used a heat gun to soften the epoxy so that it would take the new shape.  I wrapped the rib in some fiberglass which will stiffen everything up a lot.  I’ll still need to add a bunch of filler to both the fairing and rudder horn and sand them at the same time to fair them together.

While that’s curing, I added some foam rod and glass to the upper side of the right wingtip and then reinstalled it on the plane to set the curvature.

Reinforced Lower Side of Right Wingtip and Filled Right Side of Rudder

I decided to reinforce the wingtips by glassing in some foam rod.  I mixed up some epoxy/microlight/flox and bonded the rod to the inside of the wingtip and formed a fillet along both sides.  Afterward, I layed up a couple of layers of glass over each rod and then reinstalled the wingtip to put the right curvature in the skin.

I sanded down the filler on the left side of the rudder and then applied some filler to the right side.  I also removed the foam from the fiberglass tip at the top of the vertical stabilizer.  I need to reshape the tip a bit to fair it in with the rudder.

Removed Wingtip Reinforcement and Filled Left Side of Rudder

Well, my attempt at reinforcing the bottom of the wingtip was a failure.  The Coremat didn’t come with instructions, and apparently, it needs to be saturated with epoxy in order to work.  I managed to pop the glass off and the Coremat released pretty easily from the inside surface of the wingtip.  I tried saturating the Coremat and reinstalling it, but it took a shocking amount of epoxy.  It would have easily weighed a couple of pounds, and I would need to do the same thing on the top and both surfaces of the other wingtip.  This would be far too much weight to add to the plane just to stiffen up the wingtips.

Before calling it quits for the evening, I decided to apply some filler to the left side of the rudder.  I mixed up the epoxy/microlight a little bit thinner tonight, so it should self-level somewhat which will make it easier to sand.

Glassed Bottom of Right Wingtip

The trailing edge glue-up turned out perfectly.  The trailing edge is perfectly in line with the aileron.  I still need to glue up the trailing edge, but I wanted to reinforce the wingtips before doing so.

The wingtips need reinforcement since they can easily be depressed.  This is because the wingtips just have a thin layer of fiberglass and no core material like the cowl to stiffen it.  Many builders install foam ribs or dowels, but I wanted to try reinforcing the whole surface.  I picked up some Coremat from Tap Plastics and bonded it to the bottom of the right wingtip and then added a couple of layers of 8.9oz glass.

Afterward, I installed the wingtip so that the fiberglass will cure with the right curvature.  This took way longer than expected, and I still have the upper surface of the right wingtip and both sides of the left wingtip to do.  You can see the pattern I made for the fiberglass hanging over the other wingtip.

Reglued Corner of Right Wingtip

Unfortunately, the duct tape I was using yesterday came loose before the epoxy had a chance to cure, so I had to split the wingtip again and grind out all of the cured epoxy.  I reglued it and used quite a bit more duct tape and some clamps to ensure it won’t release before the epoxy has cured.