Final Fitting of Lower Cowl Bottom Pins

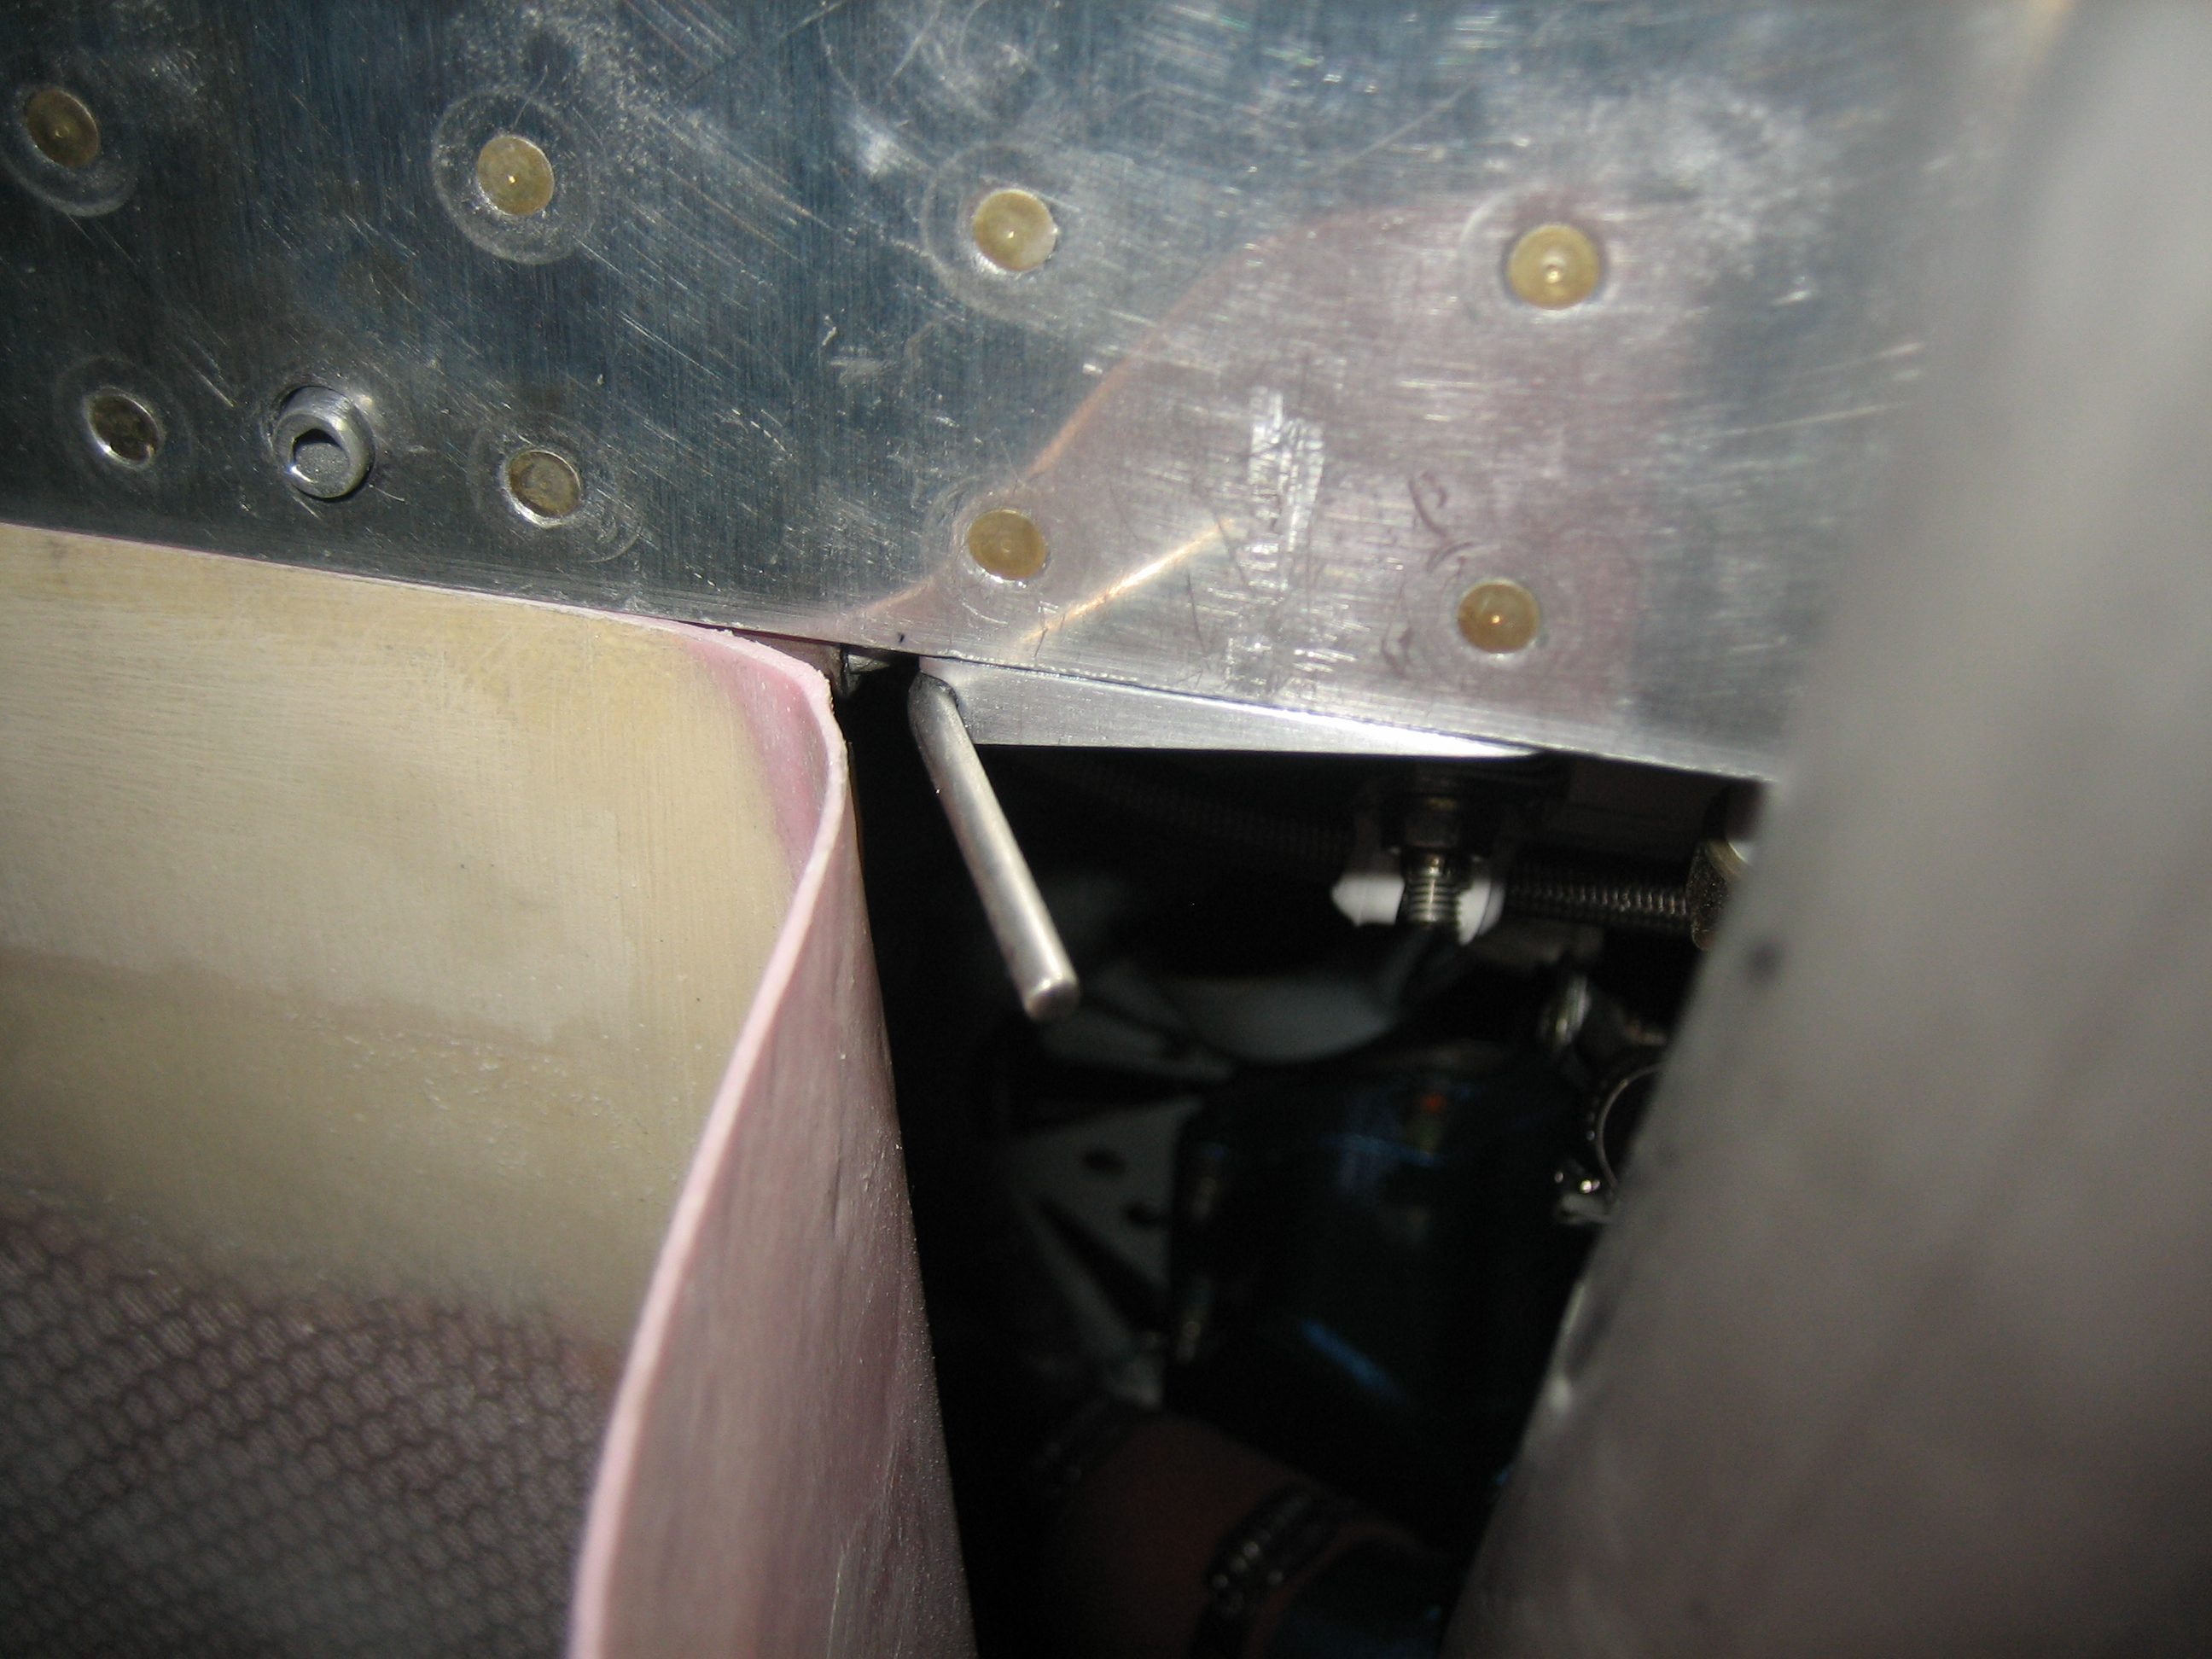
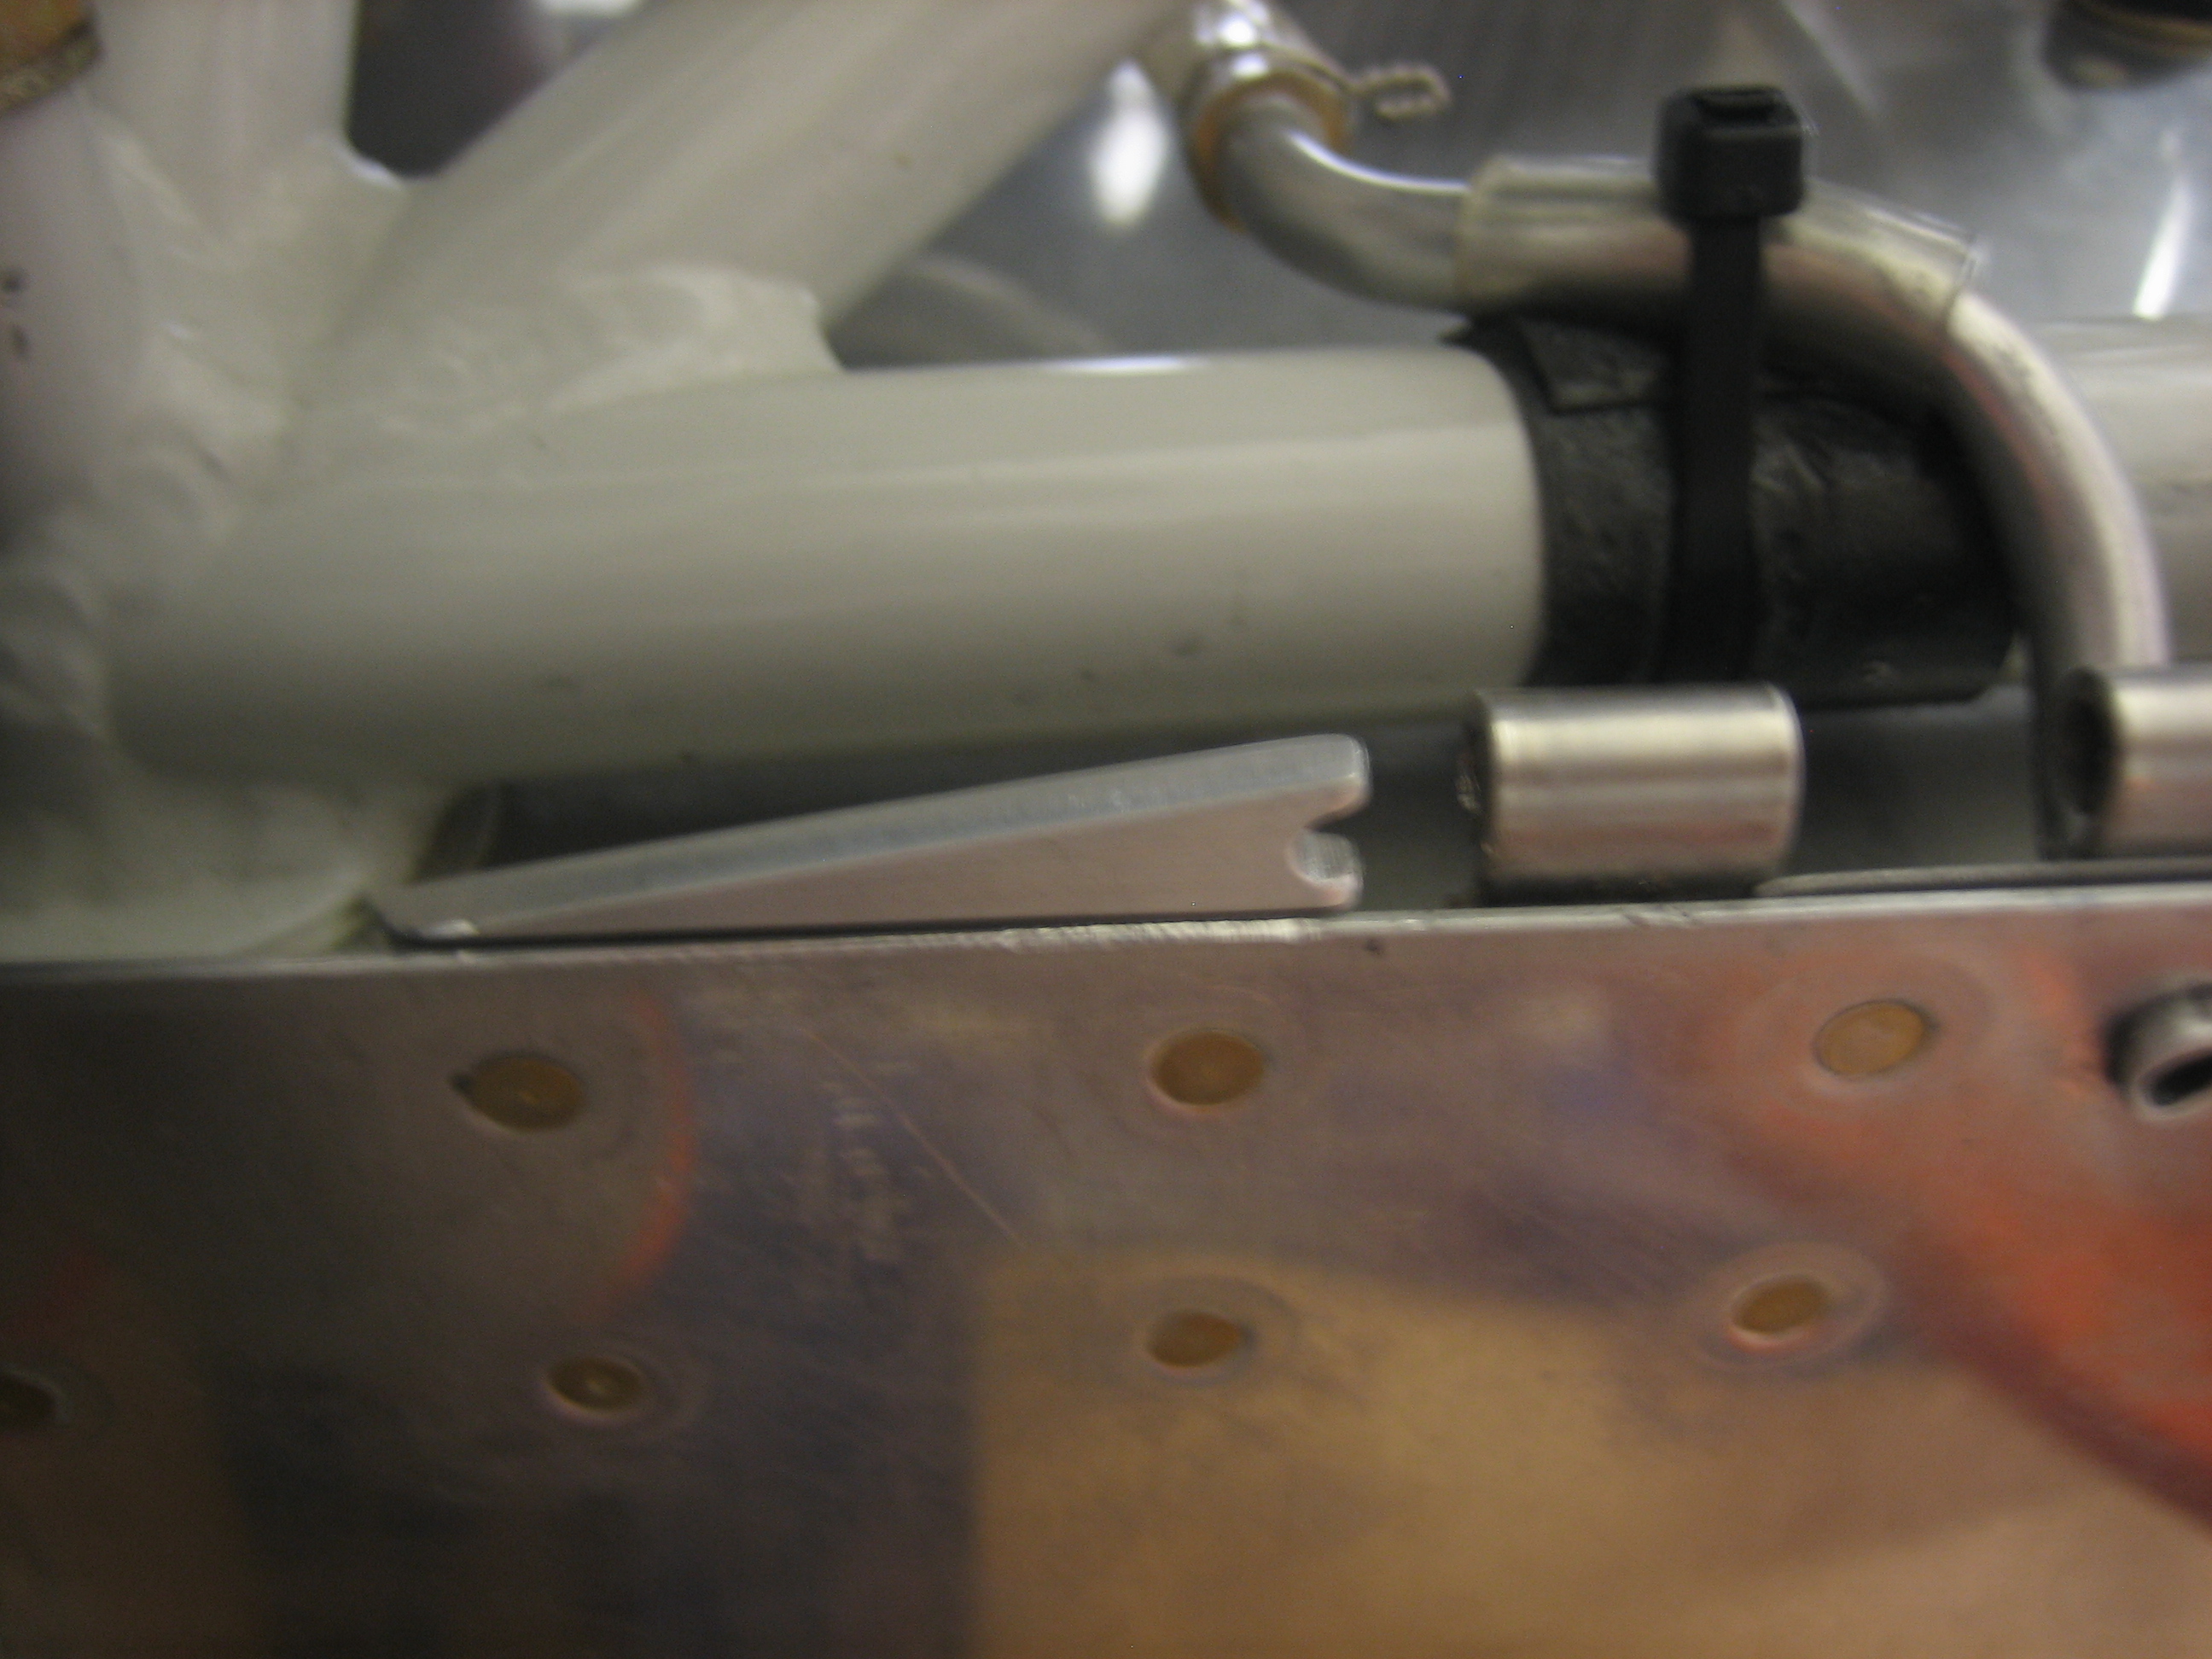
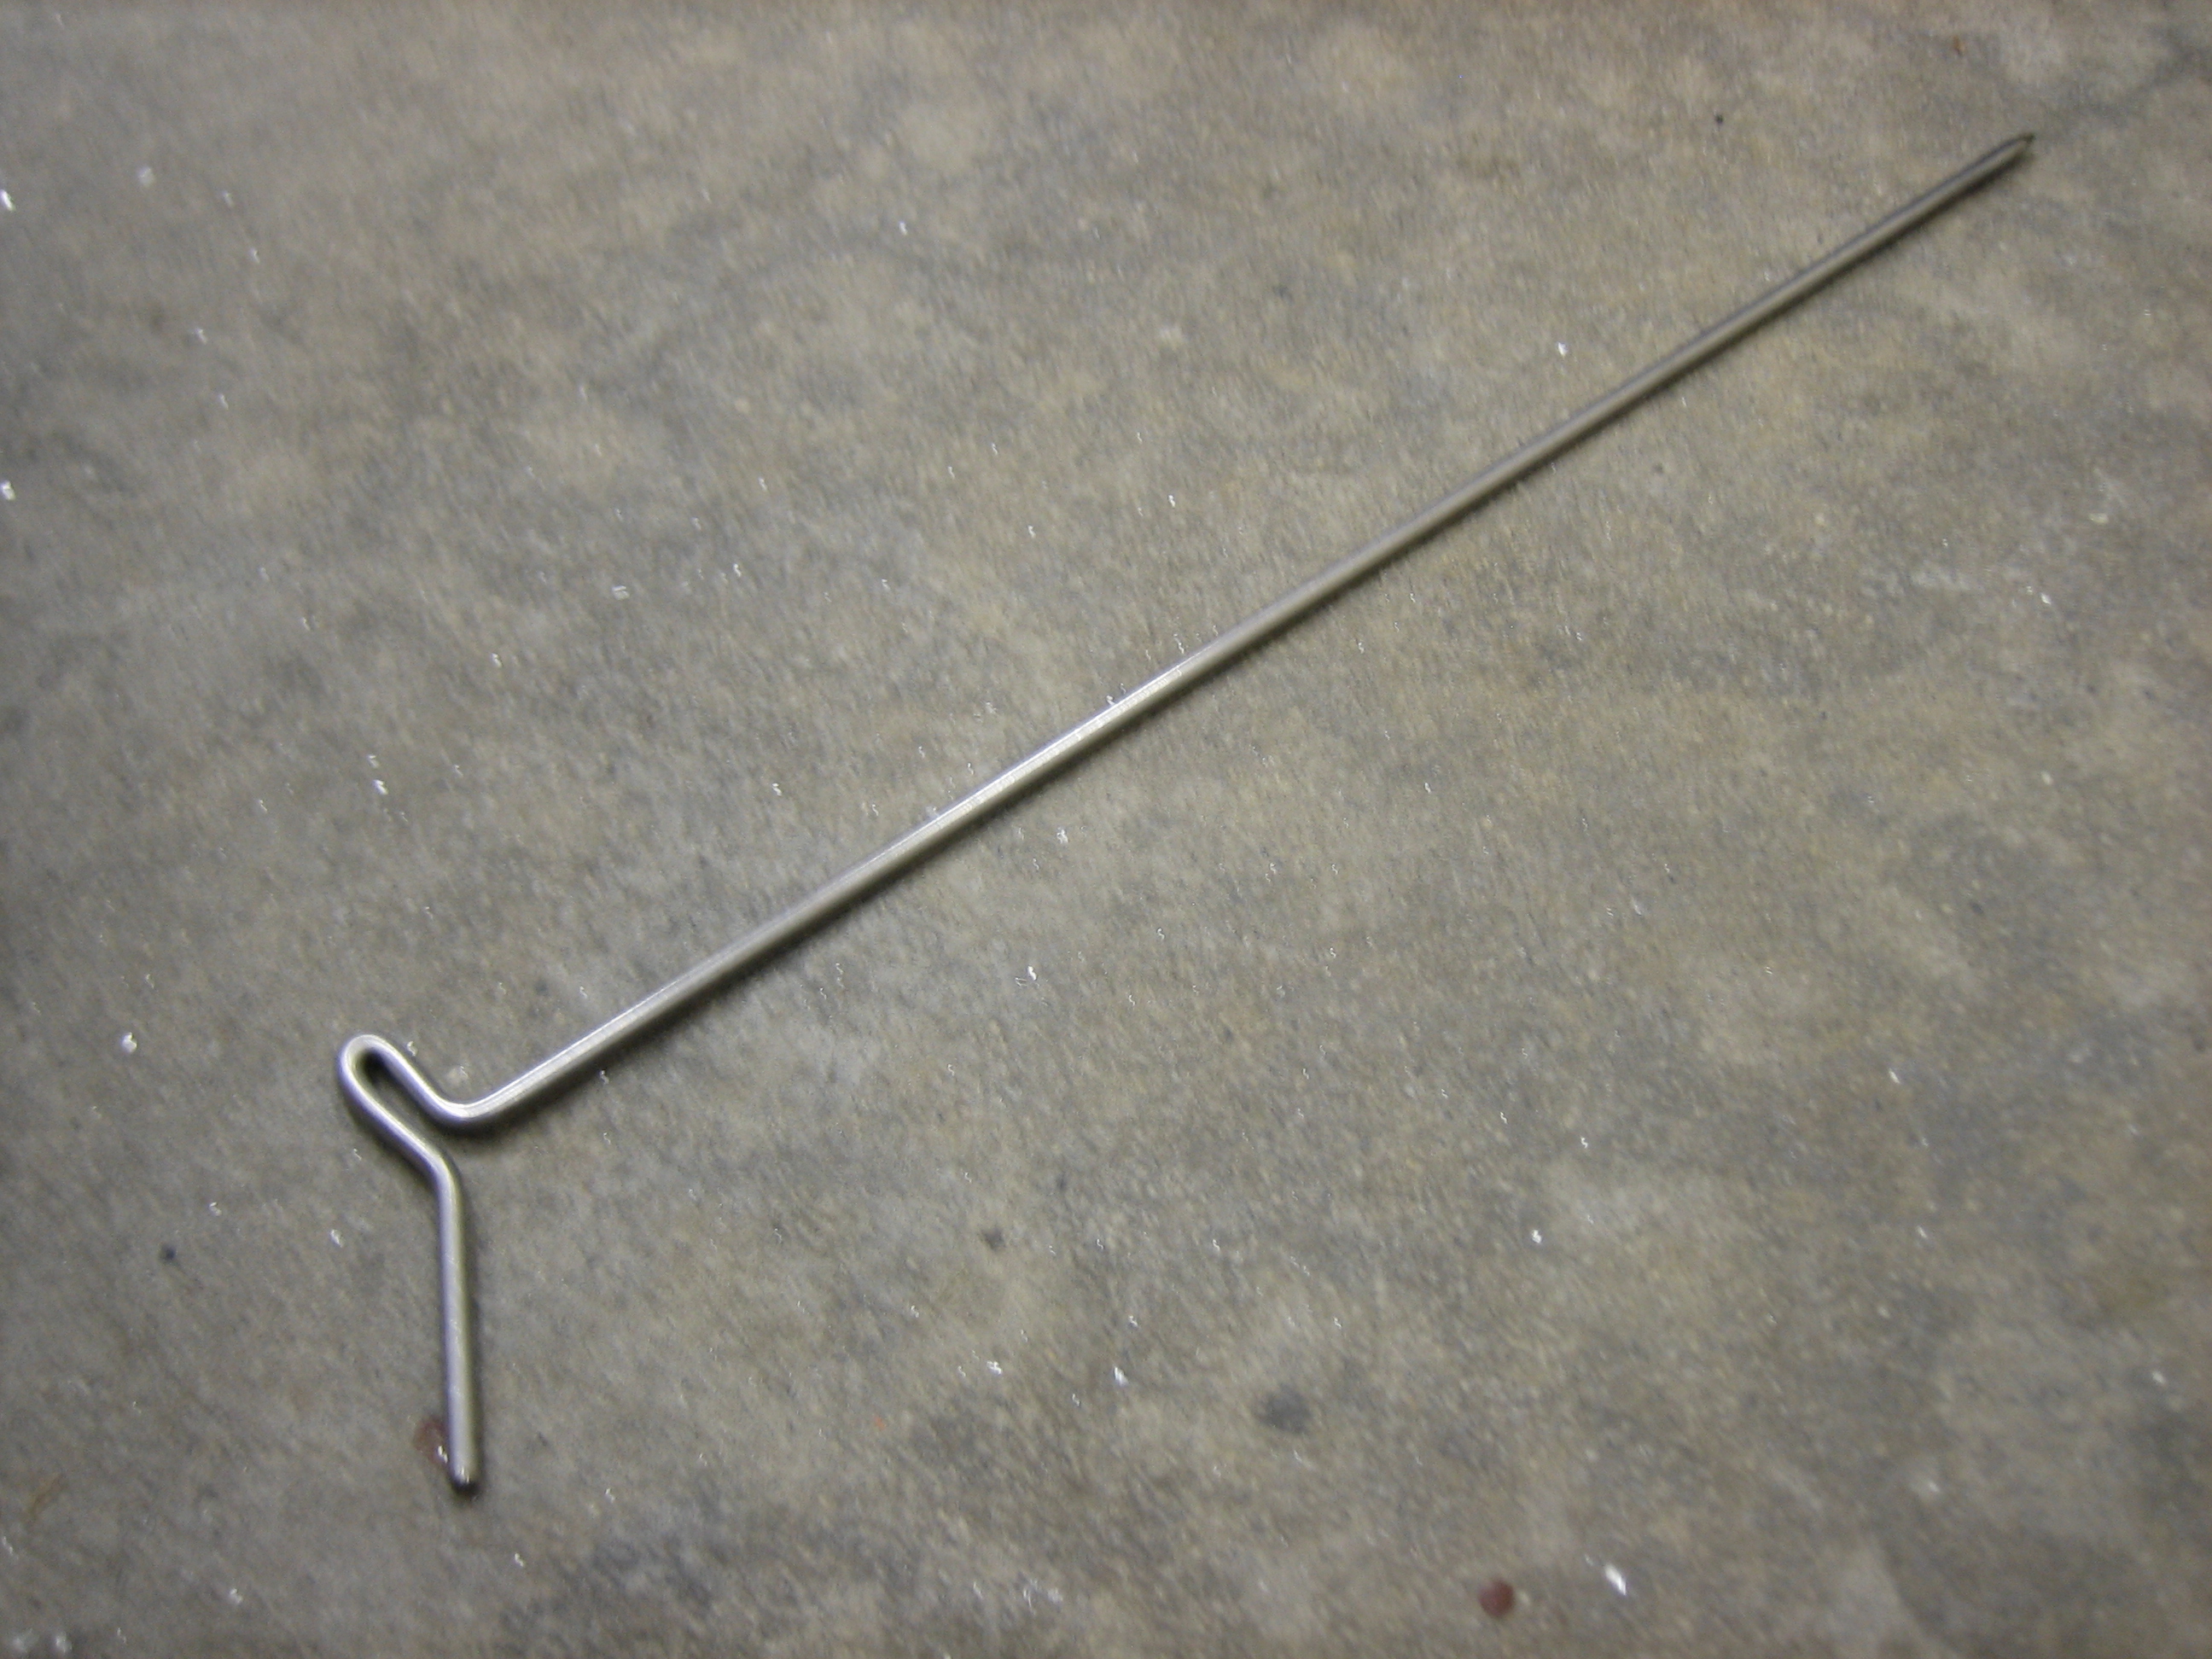
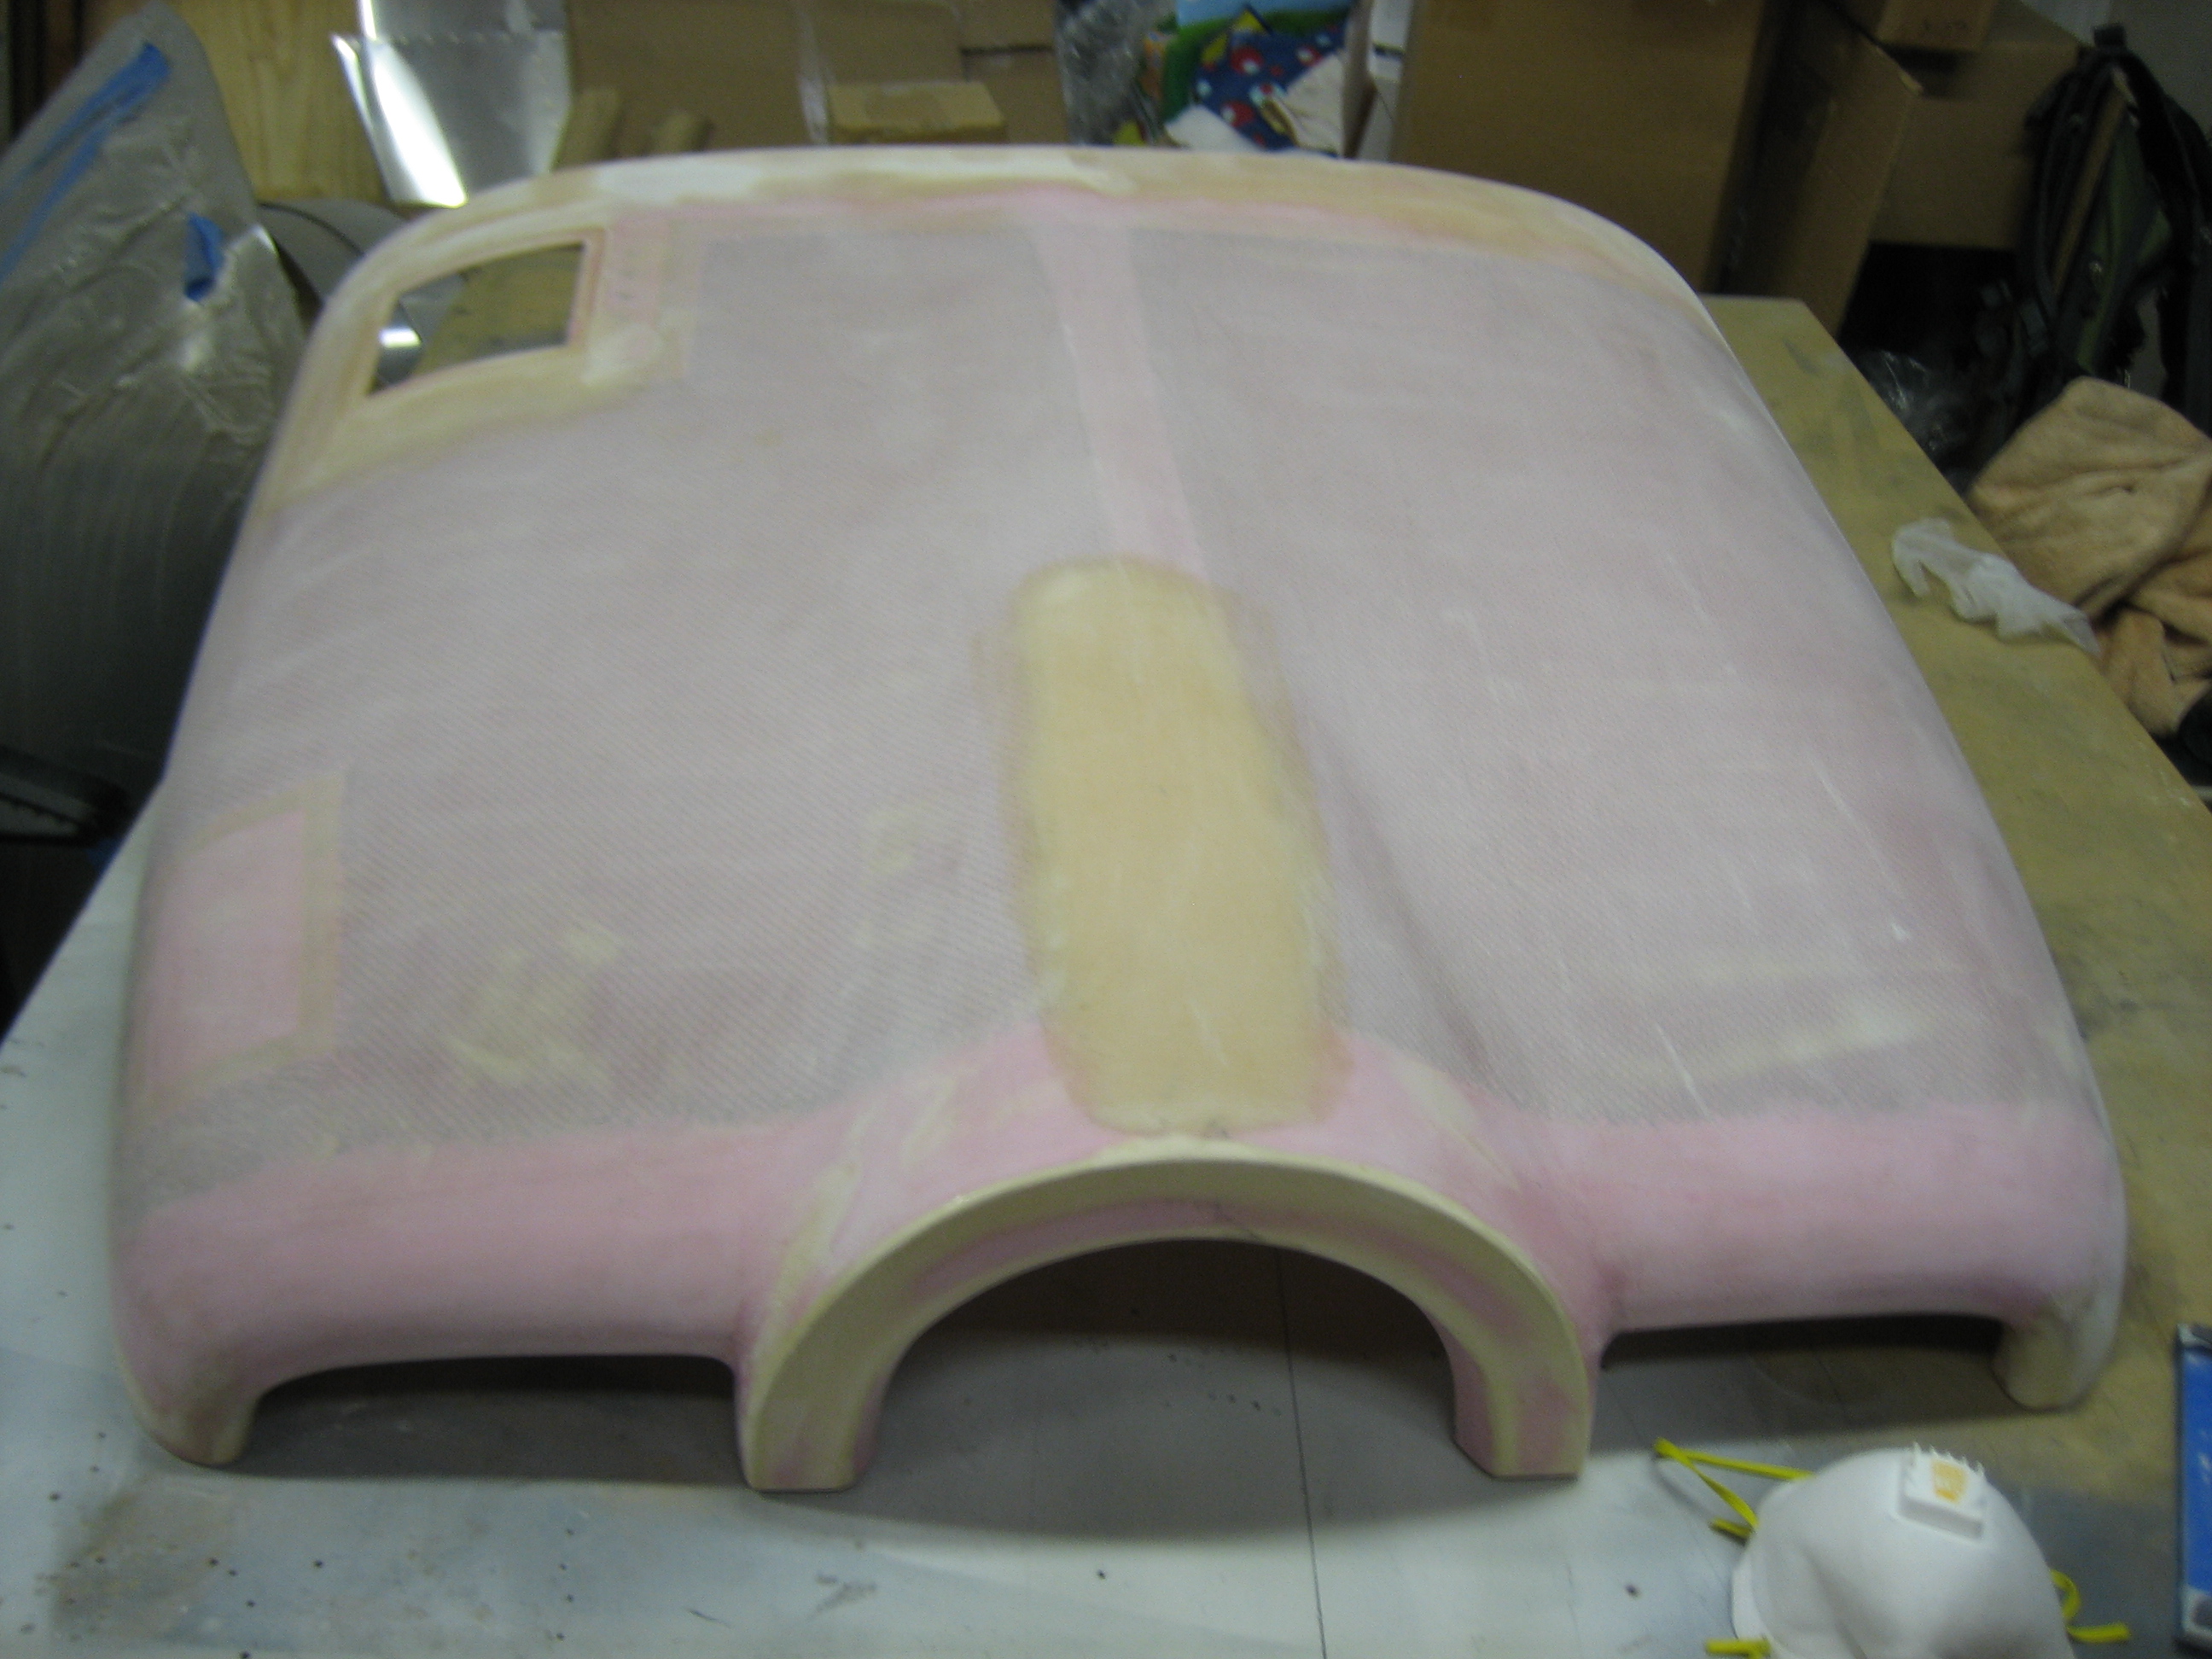
I did a little further trimming on the bottom cowling to make an even gap between it and the firewall along the bottom, then installed all of the retaining pins.  Here’s all you see when you look up into the cowl exit.  Overall, I’m fairly happy with these.  The only complaint I have is that it’s fairly challenging to get the pins started because they have to lay just on the other side of these retaining clips.  I think I’ll get quicker at it, but it took me several minutes just to get these started tonight.

Fabricated Lower Cowl Hinge Pin Retaining Clips

I’ve been mulling over how to retain the bottom hinge pins on the lower cowl.  I wanted something that didn’t require any tools to remove but also wasn’t visible externally.  I finally stumbled on a solution that I’m happy with.  I fabricated a couple of clips that are riveted to the bottom flange of the firewall.  They started as 1/8″ thick flat stock that I filed to about half thickness where it rivets to the firewall flange.  It’s full thickness where the pin latches for added strength and bearing surface.

I then bent a couple of pins into this shape.

Here’s how the pin clips into place.  The lower part of the pin is hidden just inside the cowl exit, but it can easily be reached and released.  Since the notch is below the line of the hinge eyelets, you just have to flex the lower end outward and pivot it forward to release.

Sanded Upper Cowl

I took a short break from work tonight and sanded down the upper cowl.  This is to flatten out the layer of pure epoxy I squeegeed on.  I’ve only sanded this to 80 grit, but once I’ve done the same thing to the lower cowl, I’ll put both halves on the plane and block sand the whole thing down to 240 grit before starting with the filler primer.