Finished Painting Instrument Panel

I finally finished painting the instrument panel.  I kept having problems with orange peel in the paint as well as dust and debris since I don’t have a paint booth.  I mostly fixed the orange peel problem by switching from my cheap Harbor Freight spray gun to my nice Fuji HVLP spray gun.  It’s not perfect, but it looks great.  After it cures, I can label it and spray a clear coat over it to protect the labels.  The scrap piece in the upper left is so that I can try different label colors to see which is easiest to read.

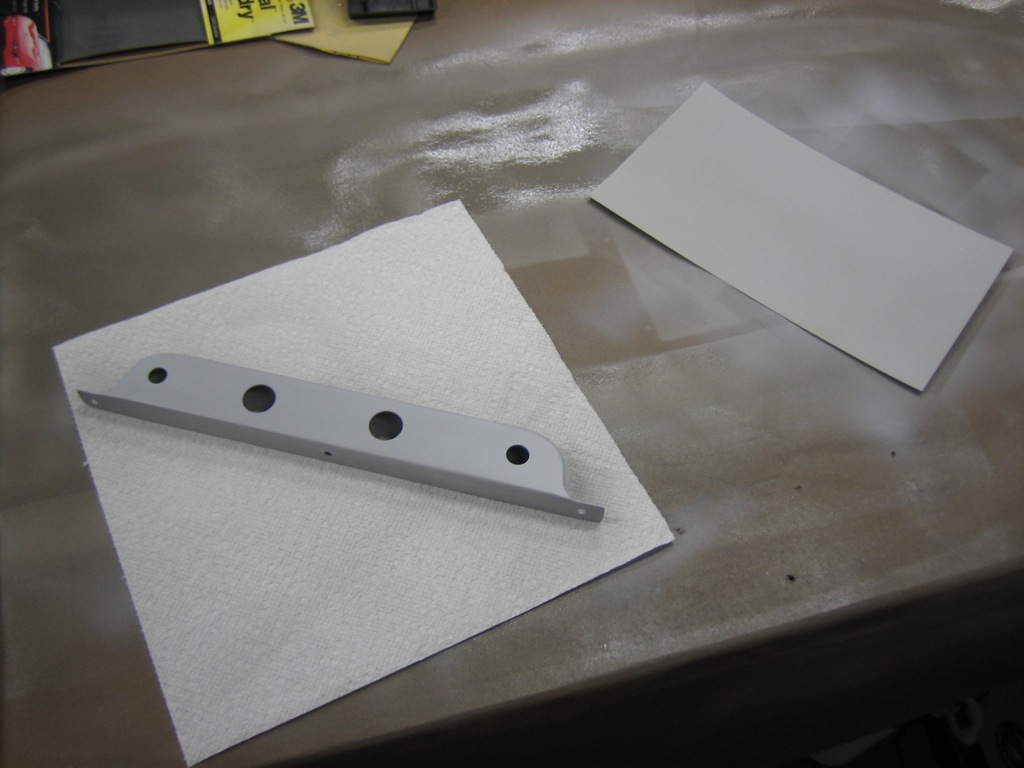
Primed Engine Control Bracket

Our developer conference is over.  It was an exhausting week with sessions and labs all week and eating and drinking until the wee hours each night.  I’m exhausted, but I’d like to try and get the panel installed this weekend.  In order to finish up the paint tomorrow, I needed to get the engine control bracket primed tonight.  I also primed a piece of scrap aluminum flashing that I’m going to paint and use as a test for installing some labels.

Since the headset jack brackets have now been painted, I installed the headset jacks for good.

Attached Engine Control Bracket

I got back the engine control bracket from the welder.  I’m using the bracket from Experimental Air, but I took about 1/2″ off the top to give myself a little more knee room.  This required having a welder attach a new top plate so that it could be screwed to the bottom of the panel.

I used three screws to attach the bracket.  The one in the middle required a hole in the bottom flange to allow me to use a straight screwdriver to access this screw.

I installed nutplates on the bottom flange of the instrument panel.  I was a little concerned that the one on the left would interfere with the switches, but there’s over 1/4″ of clearance.

Painted Instrument Panel

After sanding the instrument panel with 400 grit sandpaper to smooth out a few rough spots, I shot it with the same paint that matches my leather.  I *think* I’m going to have to sand this a bit and shoot another top coat, but we’ll see tomorrow.  You can see in the lower right of the picture that I also painted all of the screws that will be visible on the panel.

Primed Instrument Panel

Sorry for the blurry picture, but I primed the instrument panel tonight.  I applied a little filler last night and first had to sand it smooth.

I filled all of the rivets that attach the reinforcement angle.

I also filled the filler rivets I pull in.  Here are the ones on the sides that would normally be used to attach the air vents.

This is one of the two rivets that fill the holes below the SkyView screens.  These are normally used to attach the panel to the forward ribs.

After cleaning the panel, I primed the back and front.  I put the primer on fairly heavy on the front so that I can sand it a bit before shooting the top coat.  I’d like to make that as smooth as possible.

Prepped Instrument Panel for Paint

I’m working seven days a week now, but I took a break in the evening to work on the plane a bit.

My pneumatic squeezer’s adjustable set holder snapped at the base of the threaded section.  I’m going to call Isham and see if I can get this replaced as this shouldn’t have happened.

I drilled and countersunk the holes for the TruTrak Gemini PFD.  I’m still waiting on this from TruTrak, but I’m hoping it will ship soon.

I also countersunk all of the reinforcement angle rivet holes.  You can also see at the bottom of the picture that I countersunk the panel attach holes.

I also countersunk the holes that will attach the hobbs meter and ELT remote.  I’m trying to use all flush head screws across the panel.  I’m still looking for the right screws to attach the USB jacks though.

There were a couple of extra holes in the panel that were intended to attach the crappy Van’s plastic air vents.  I filled them with AN426AD5-4 rivets.

Finally, I prepped and riveted the reinforcement angle to the top of the panel.

The reinforcement angle needed a few relief cuts to clear some of the components that are near the edges.  This relief cut is to clear the alternate static port switch.

These relief cuts are to clear the ears on the annunciator lights bracket.

Finally, this notch is to clear the ELT remote.