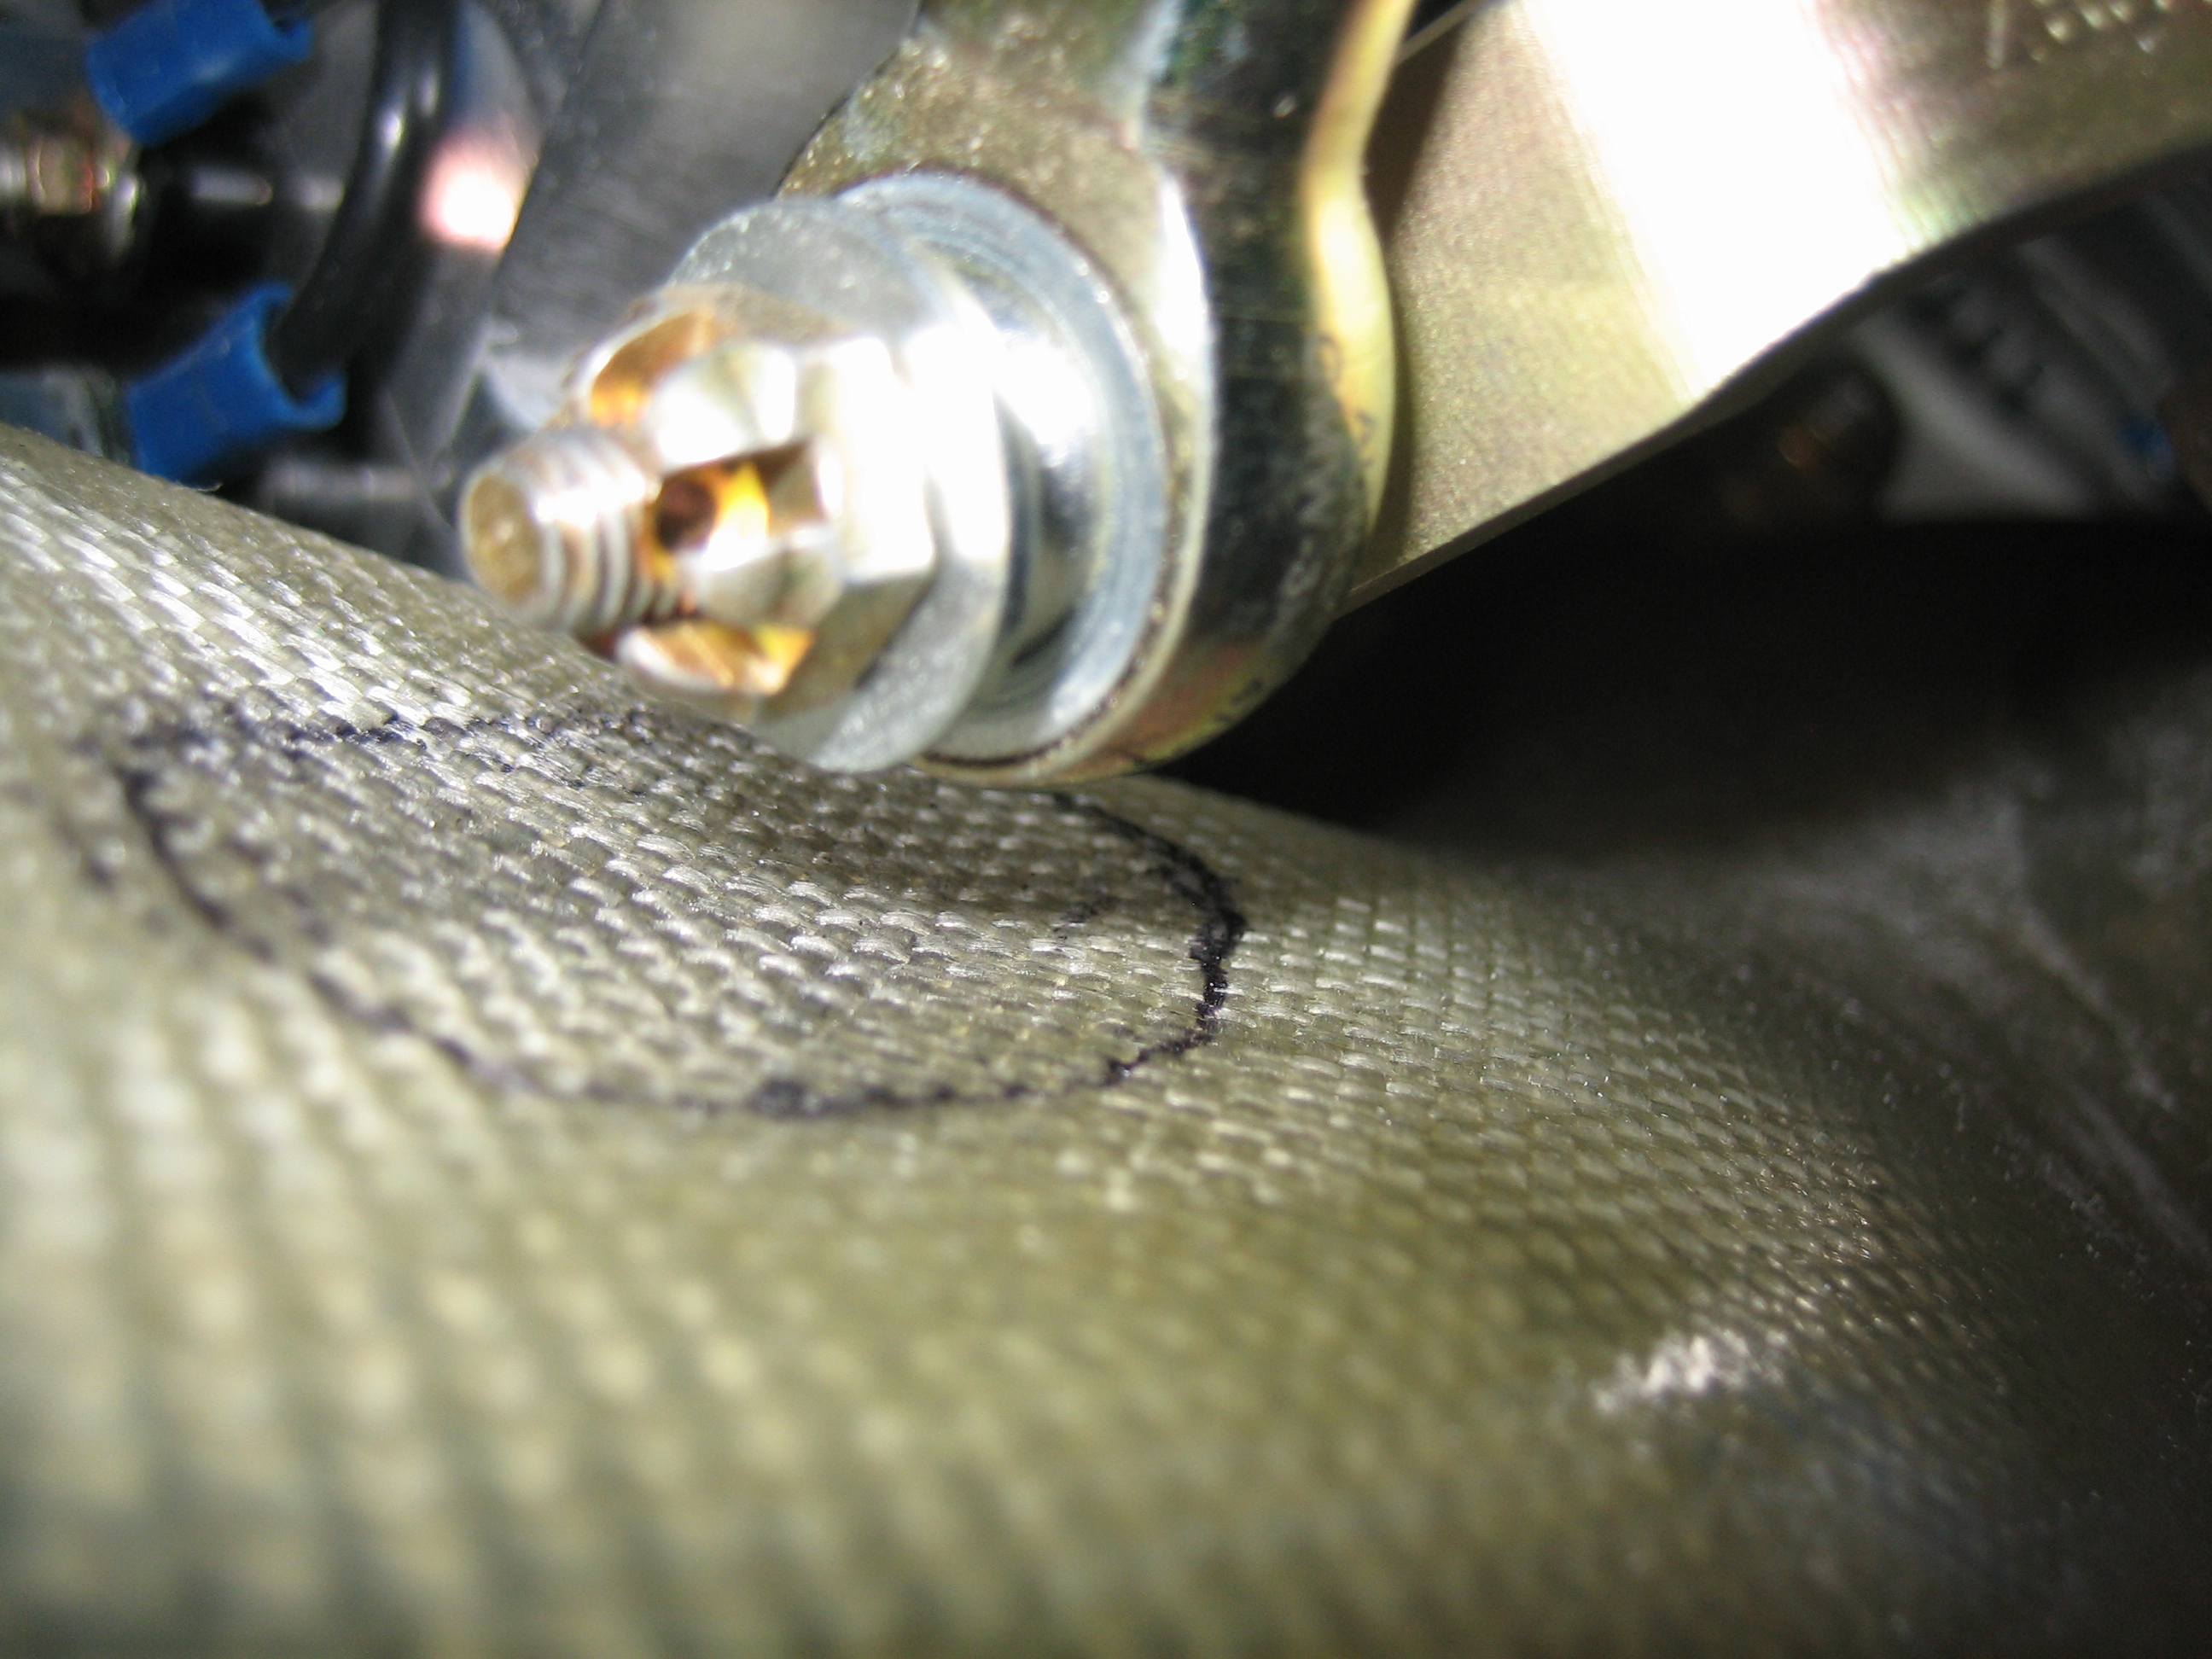
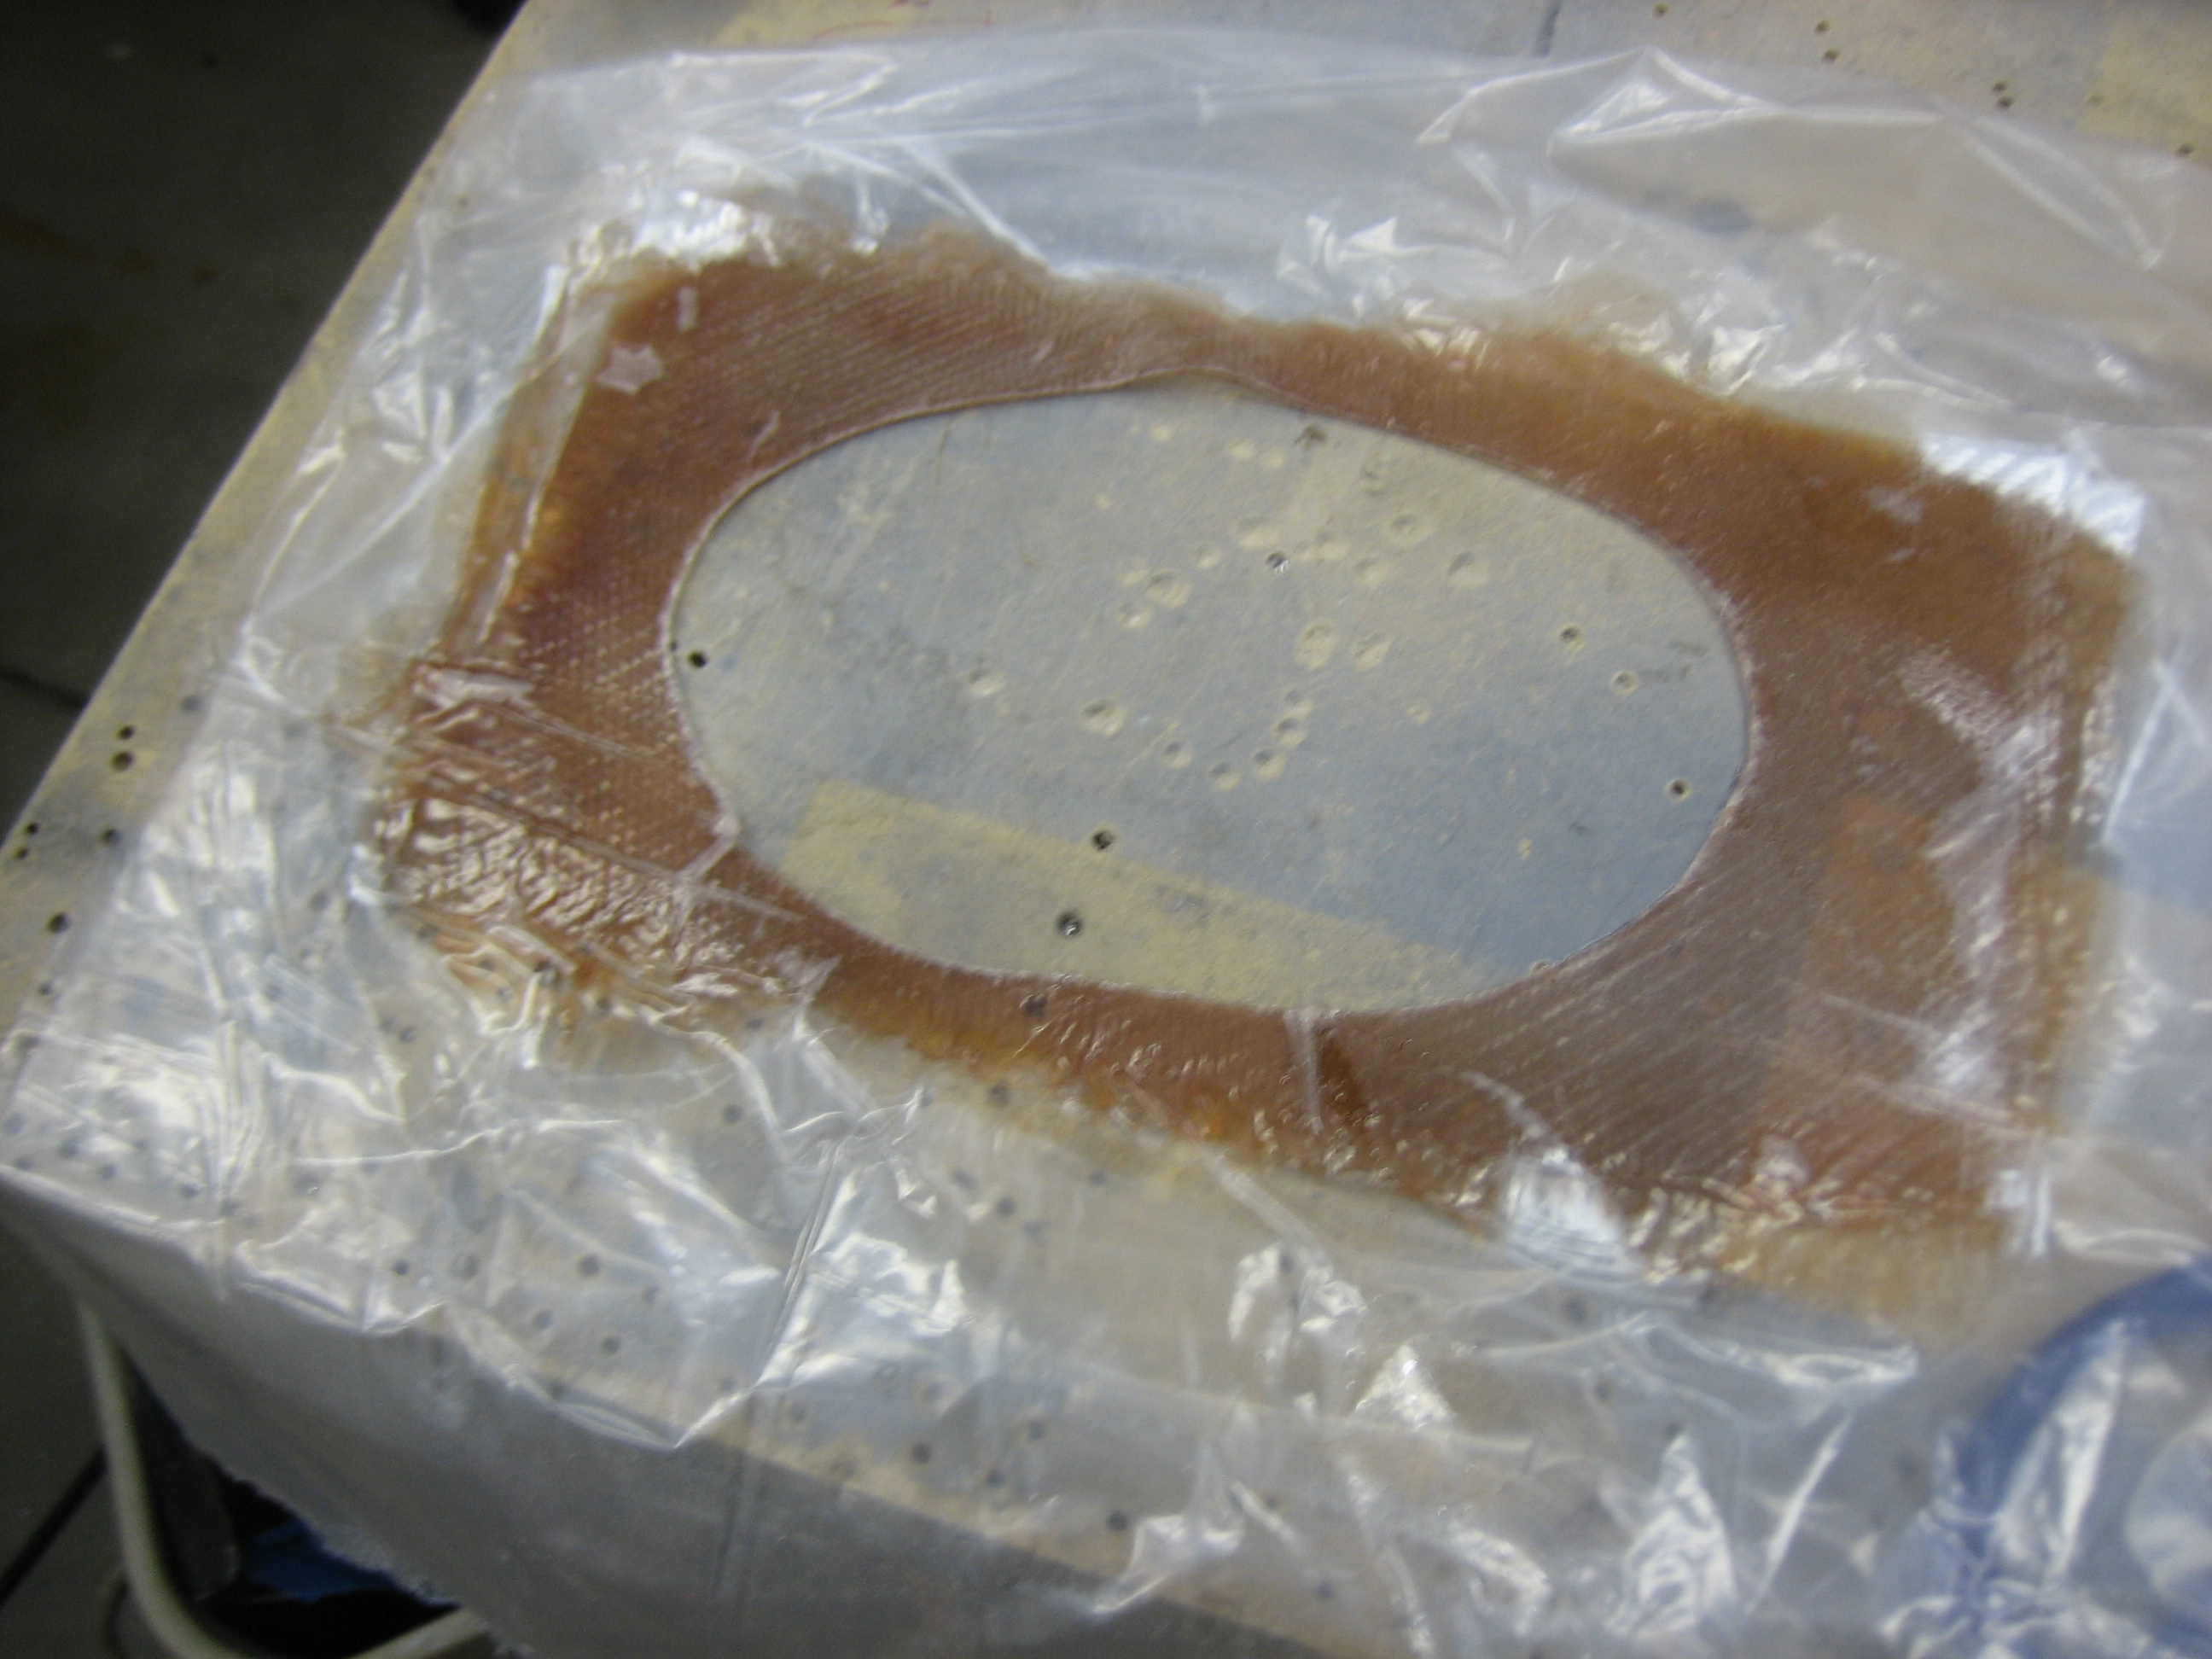
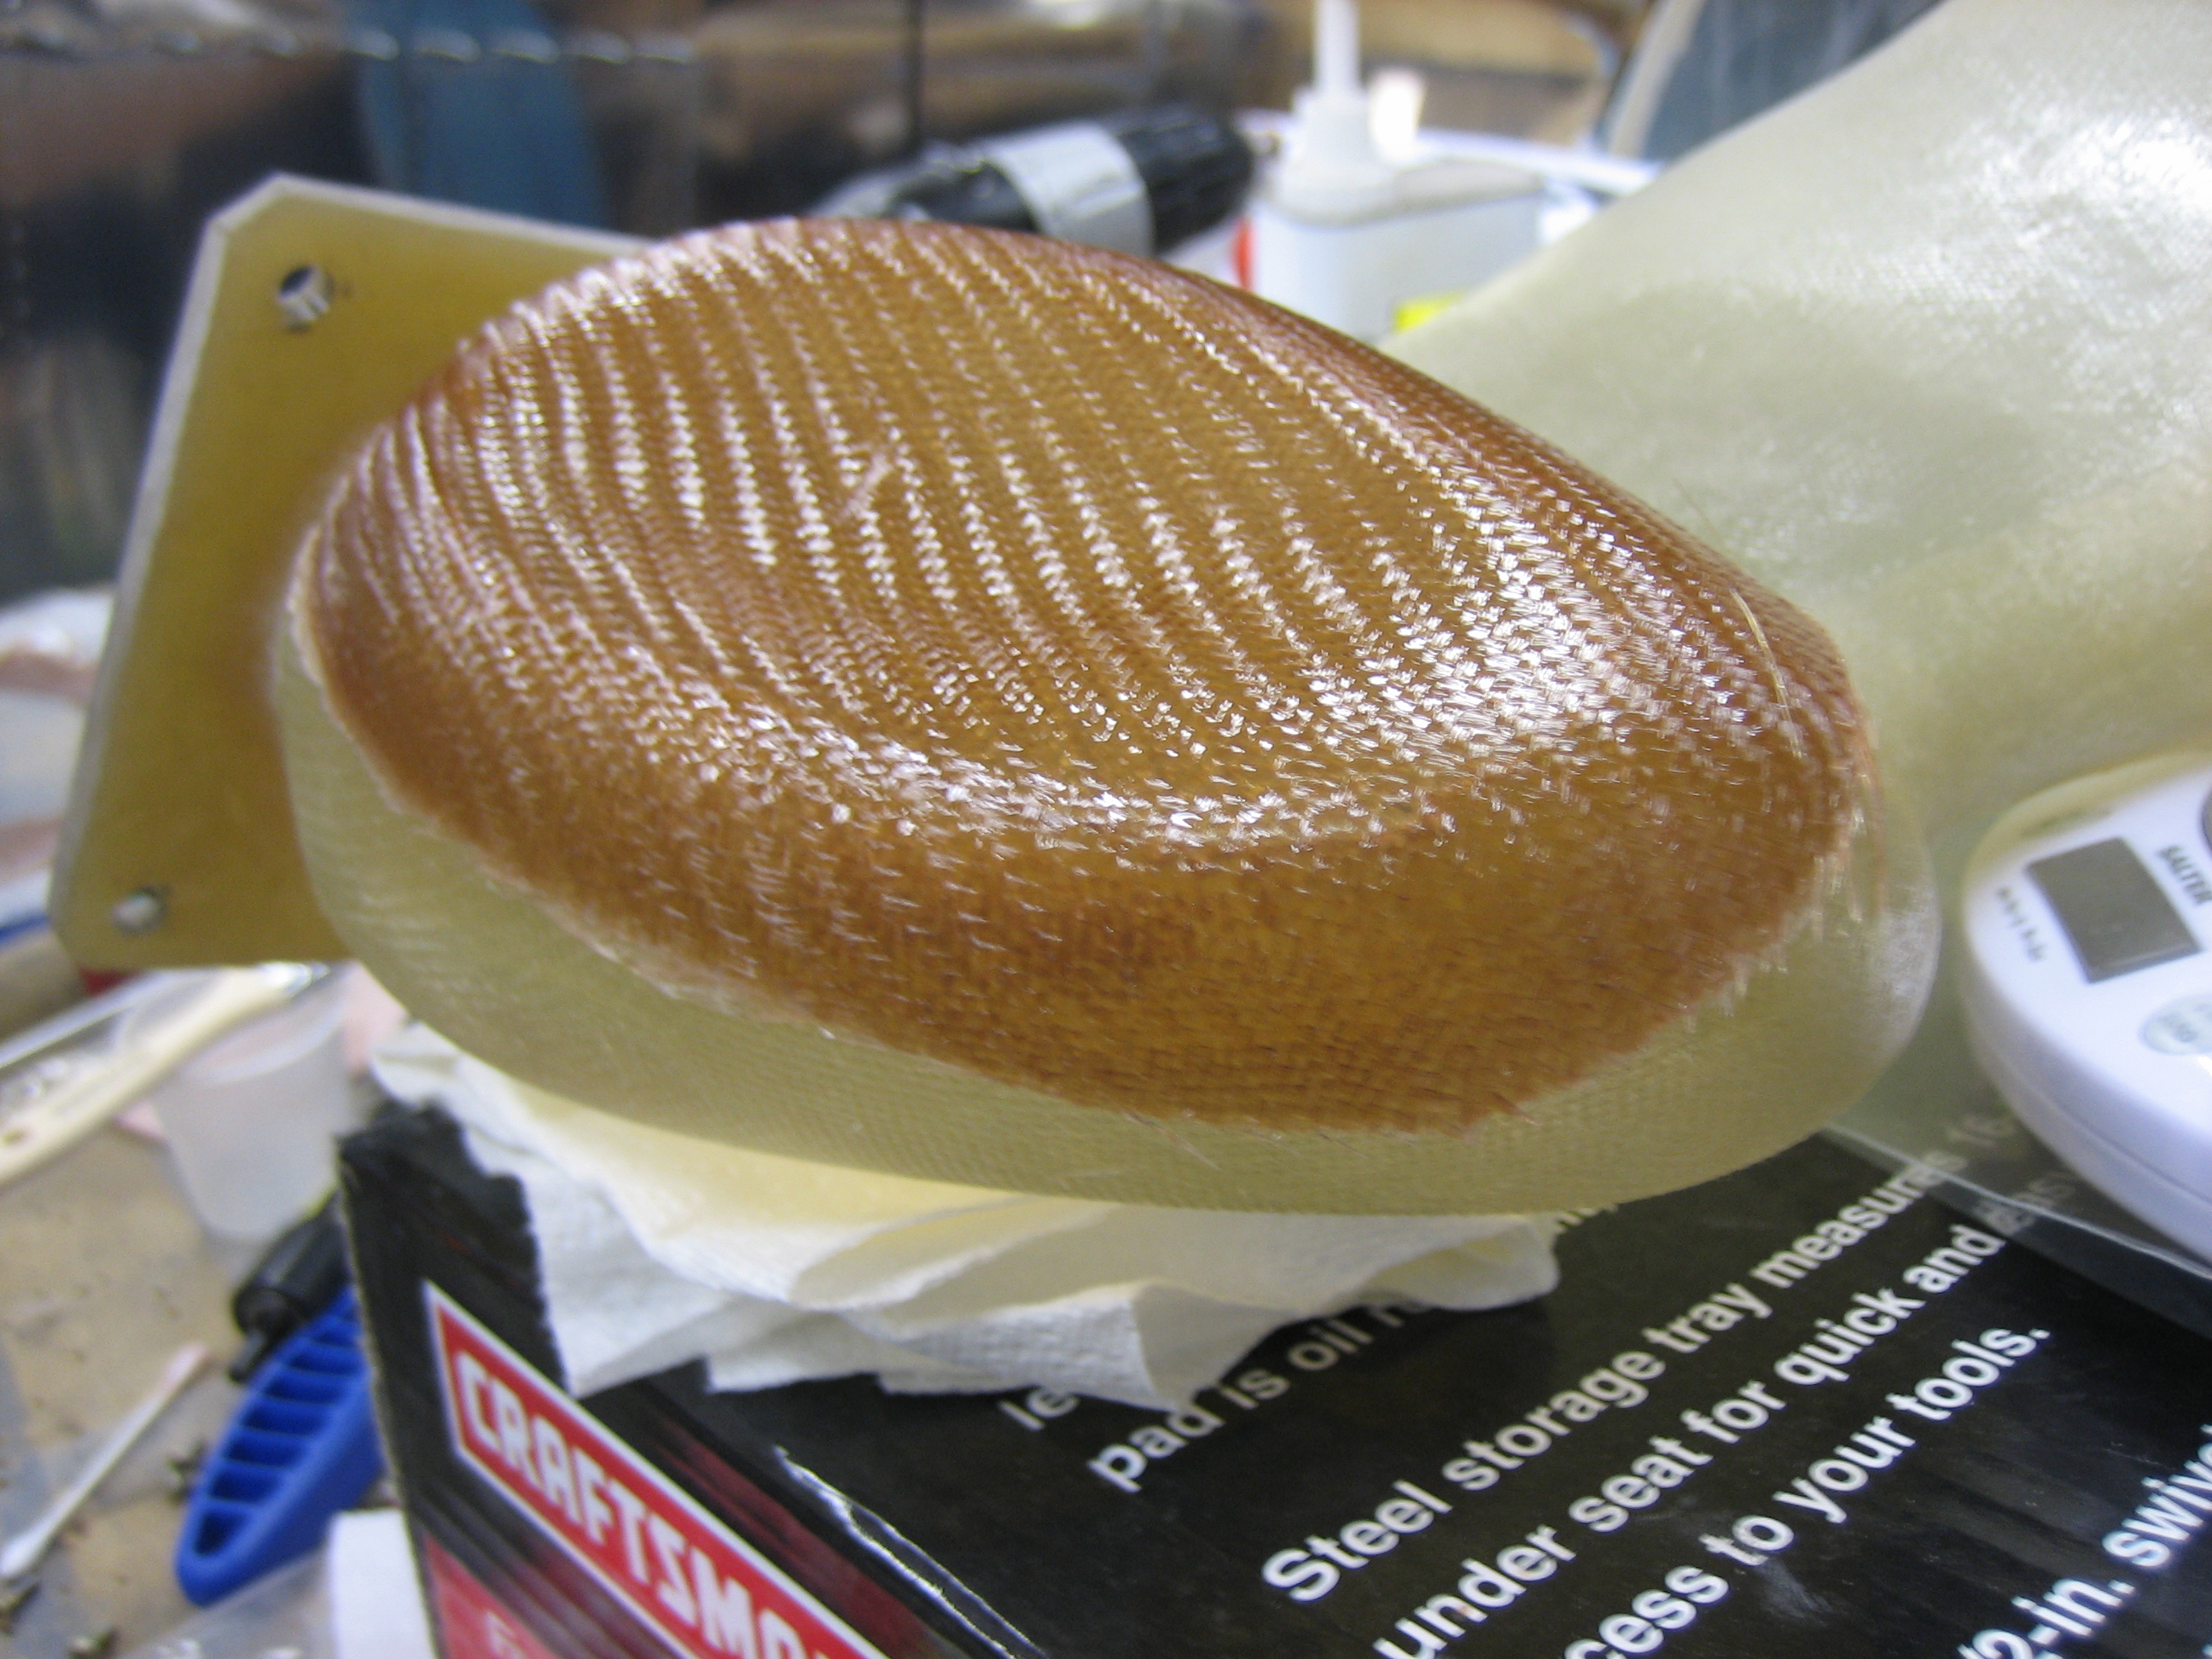
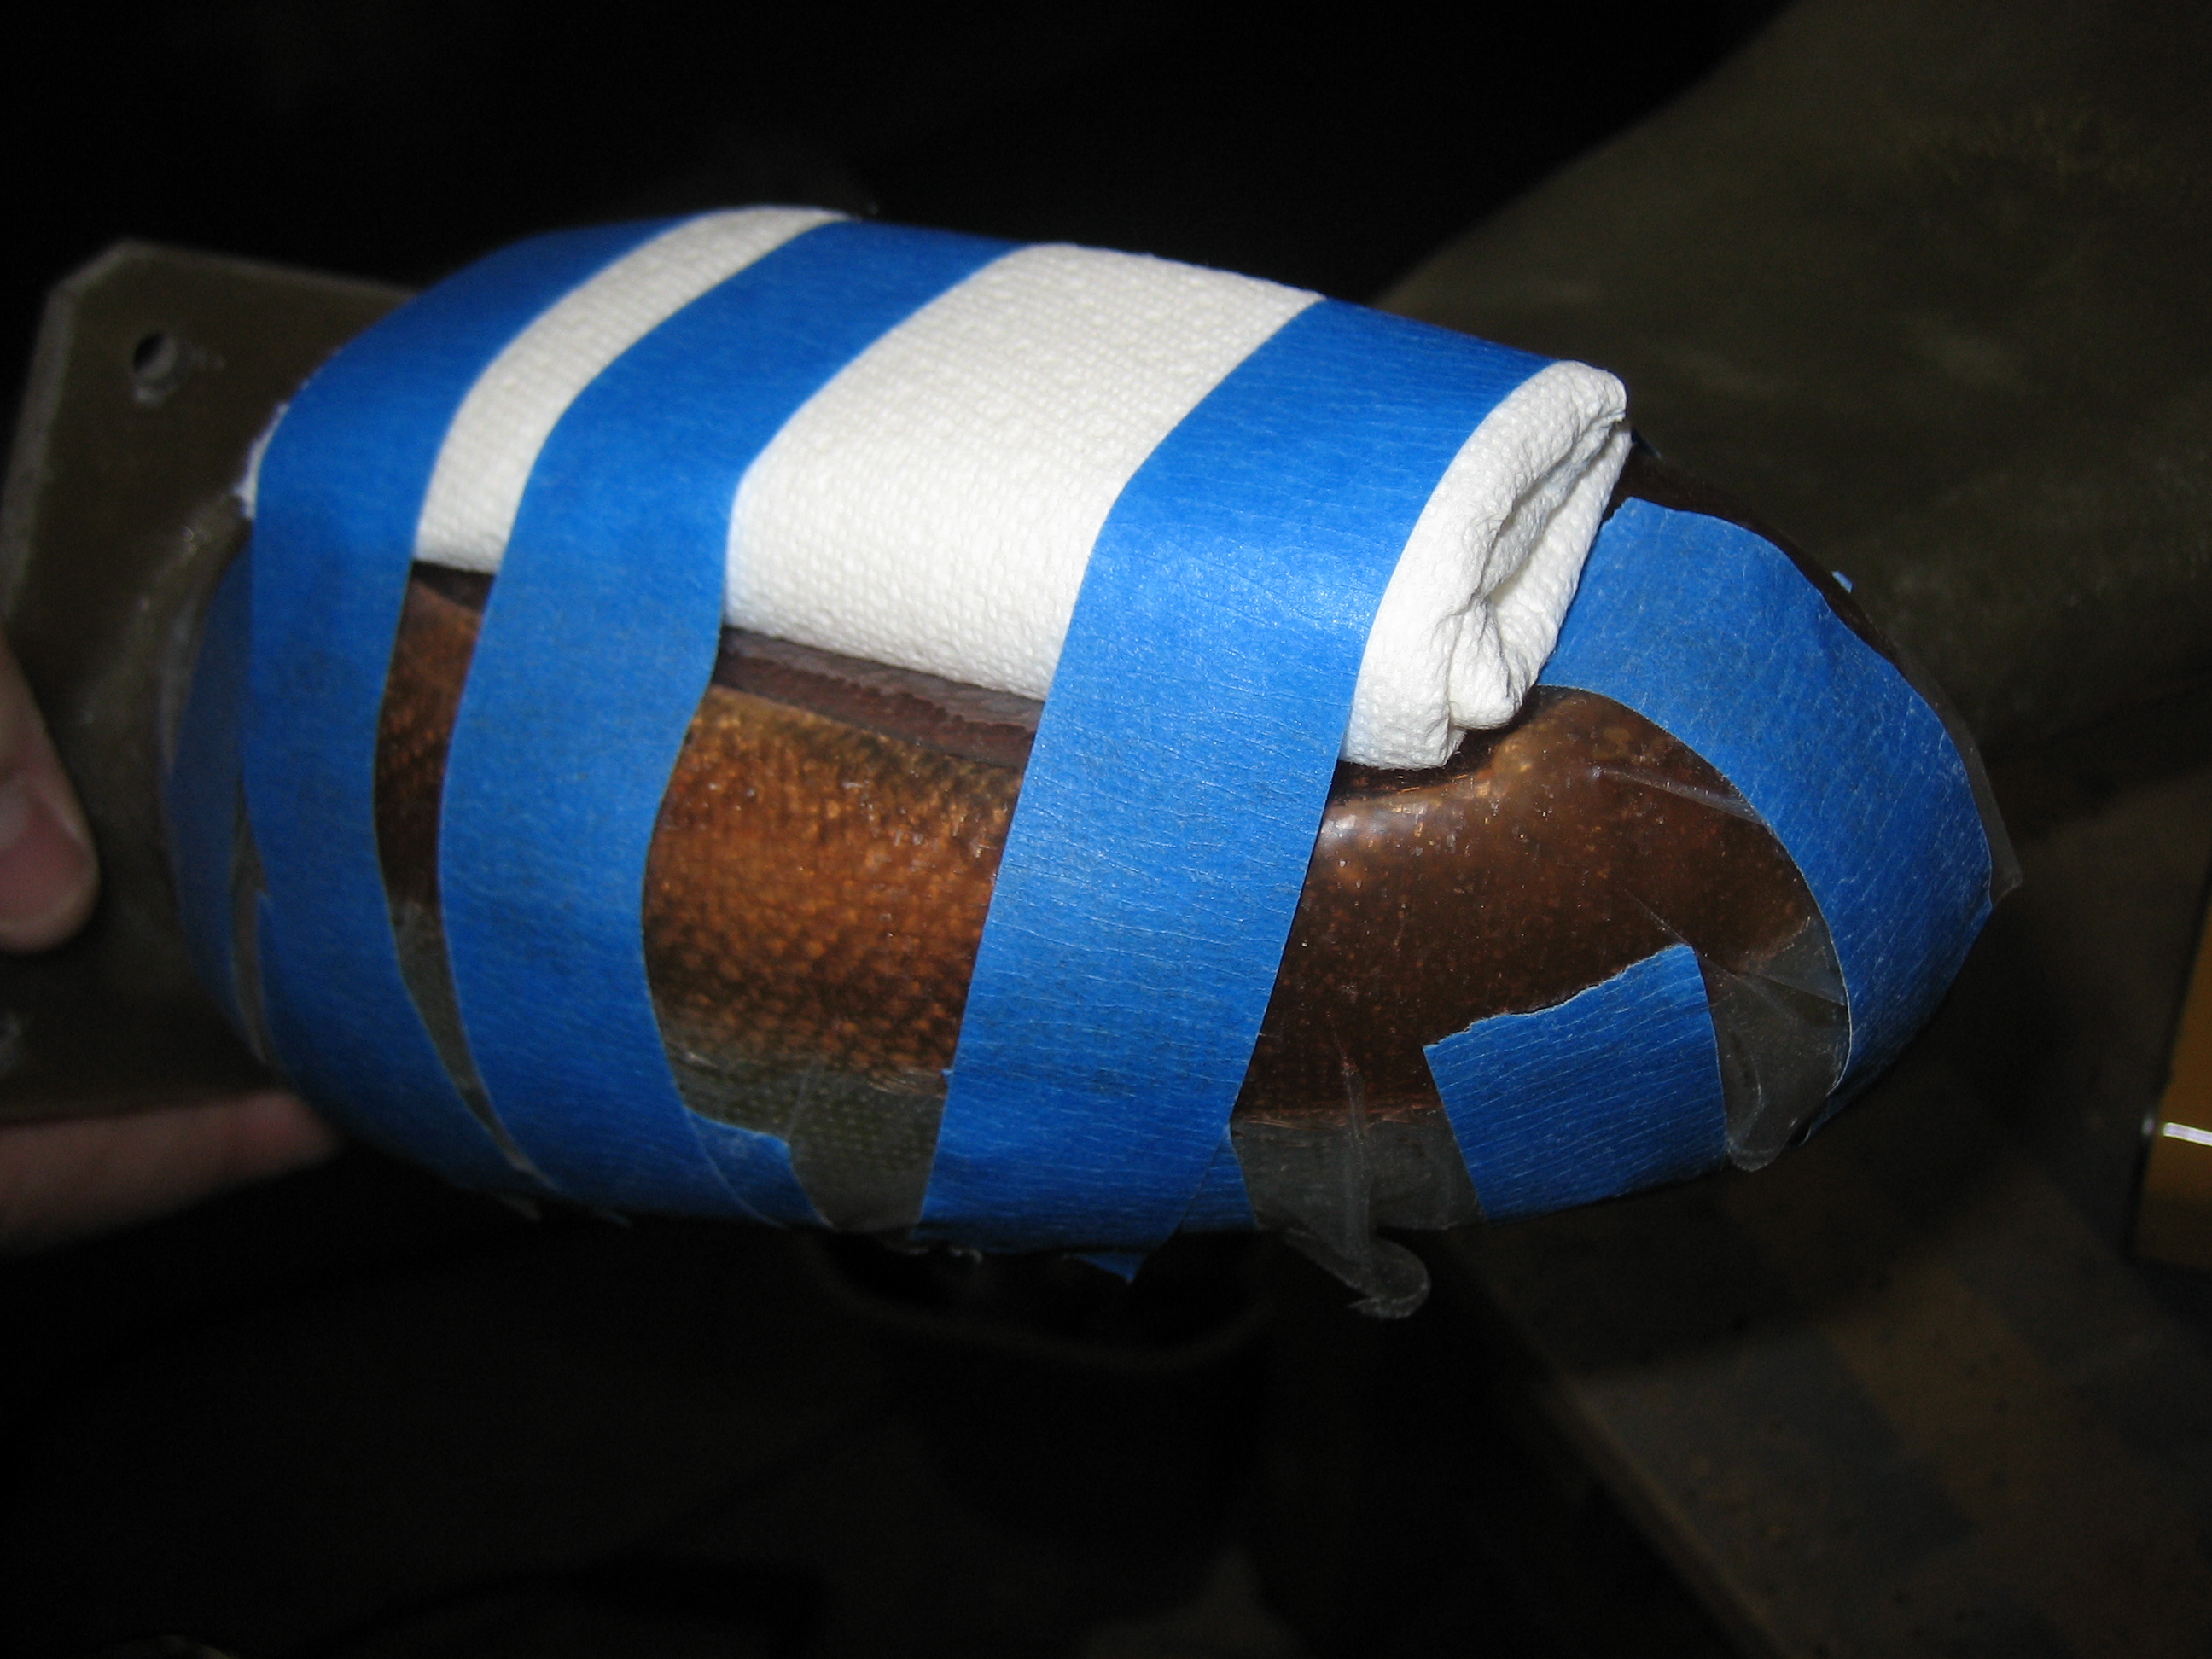
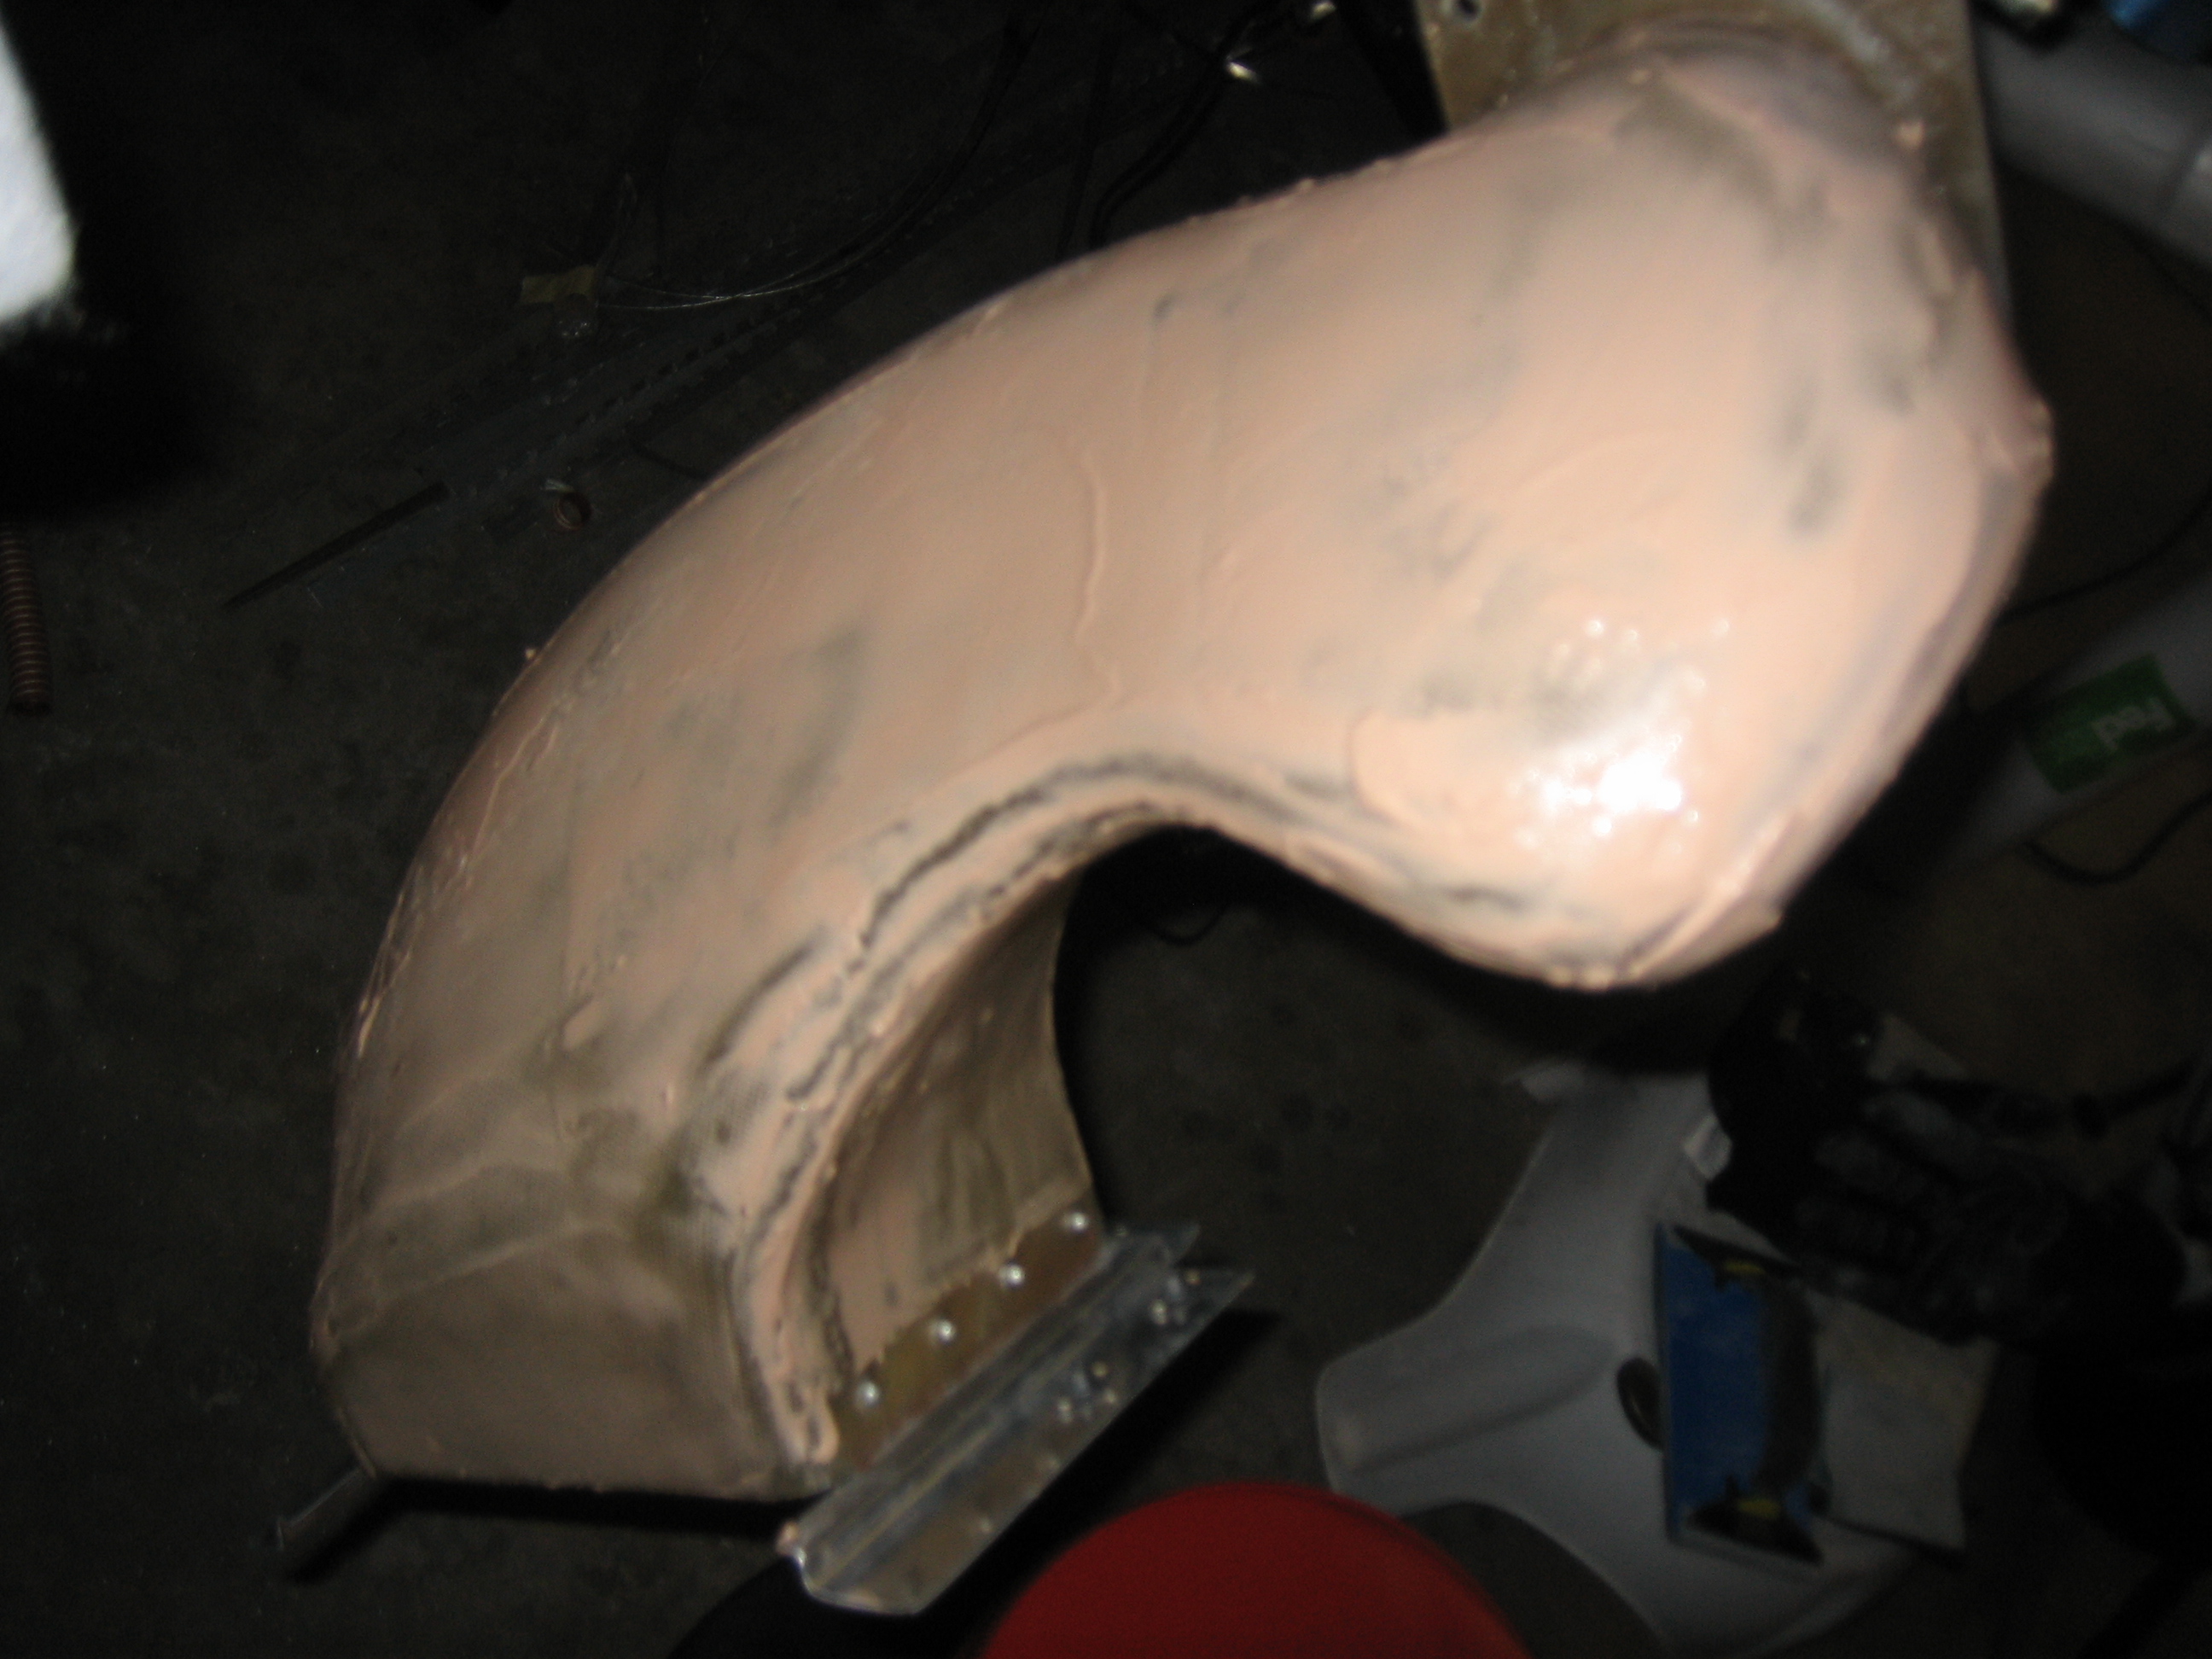
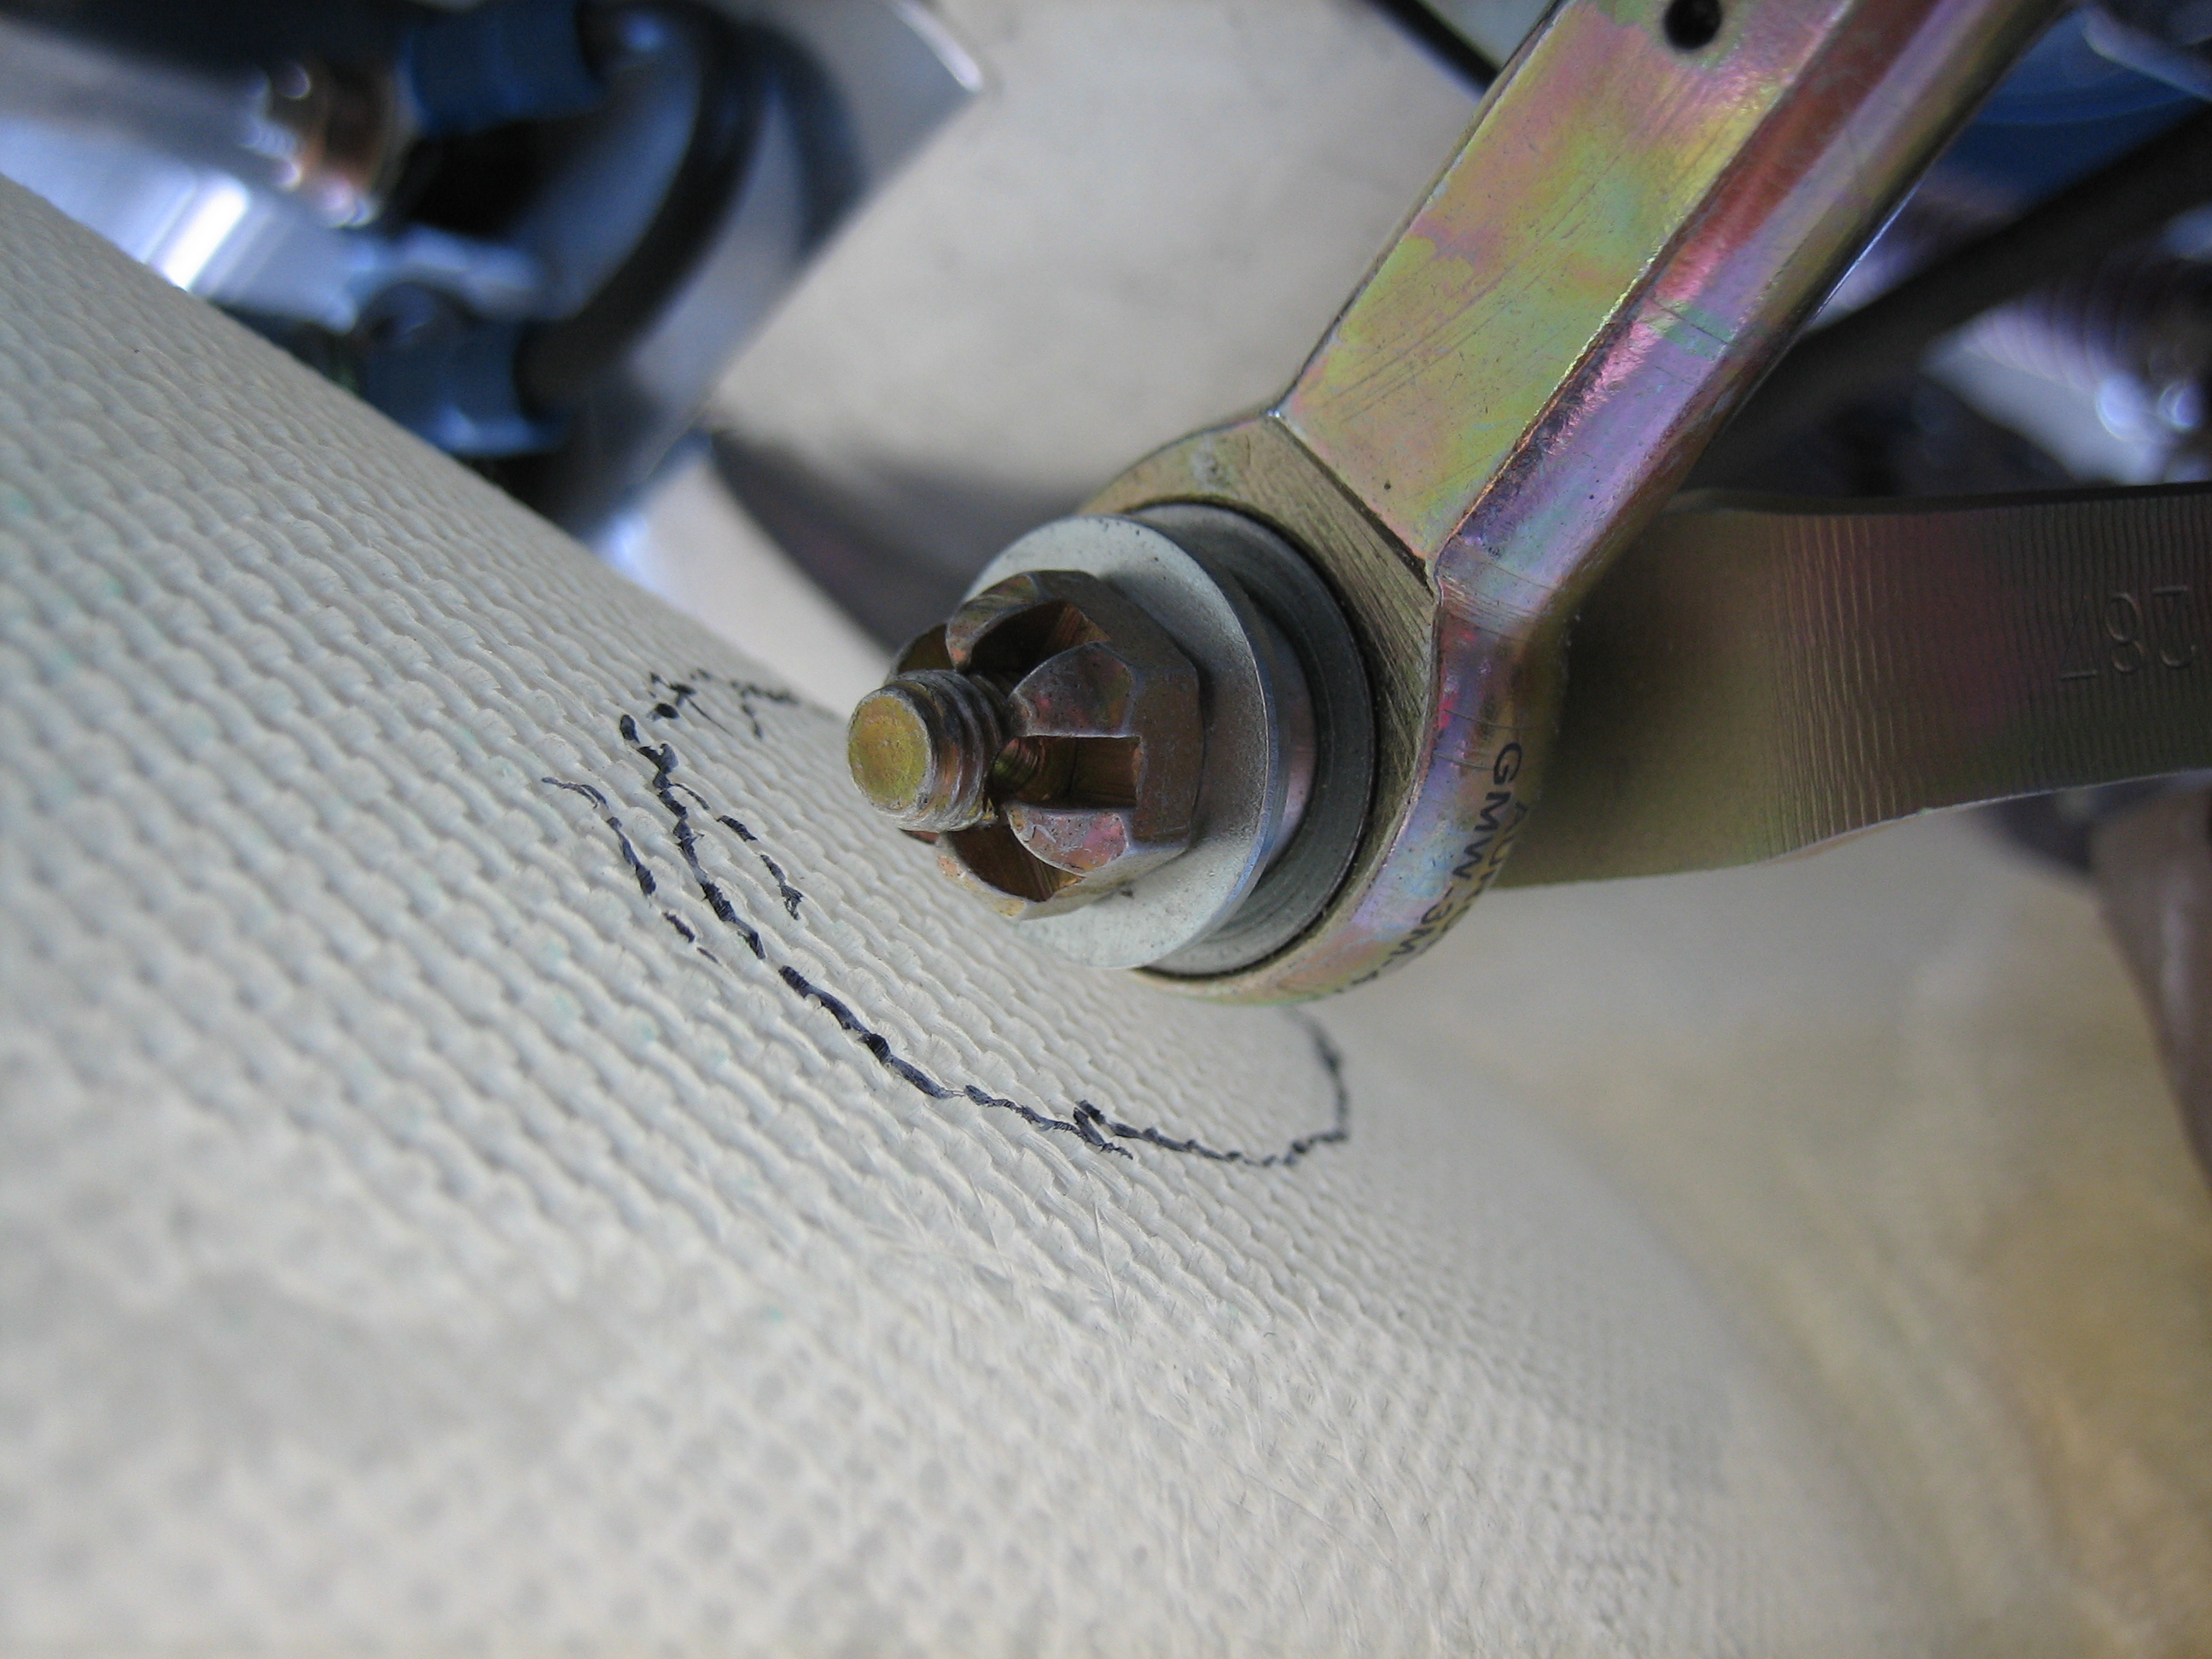
I’ve been traveling for work recently, so I haven’t had much time to work on the plane. I did manage to put a couple of hours in on the project today though, First up, the mixture control cable interferes with the snorkel in the full lean position. I marked the snorkel and will have to glass in a blister.
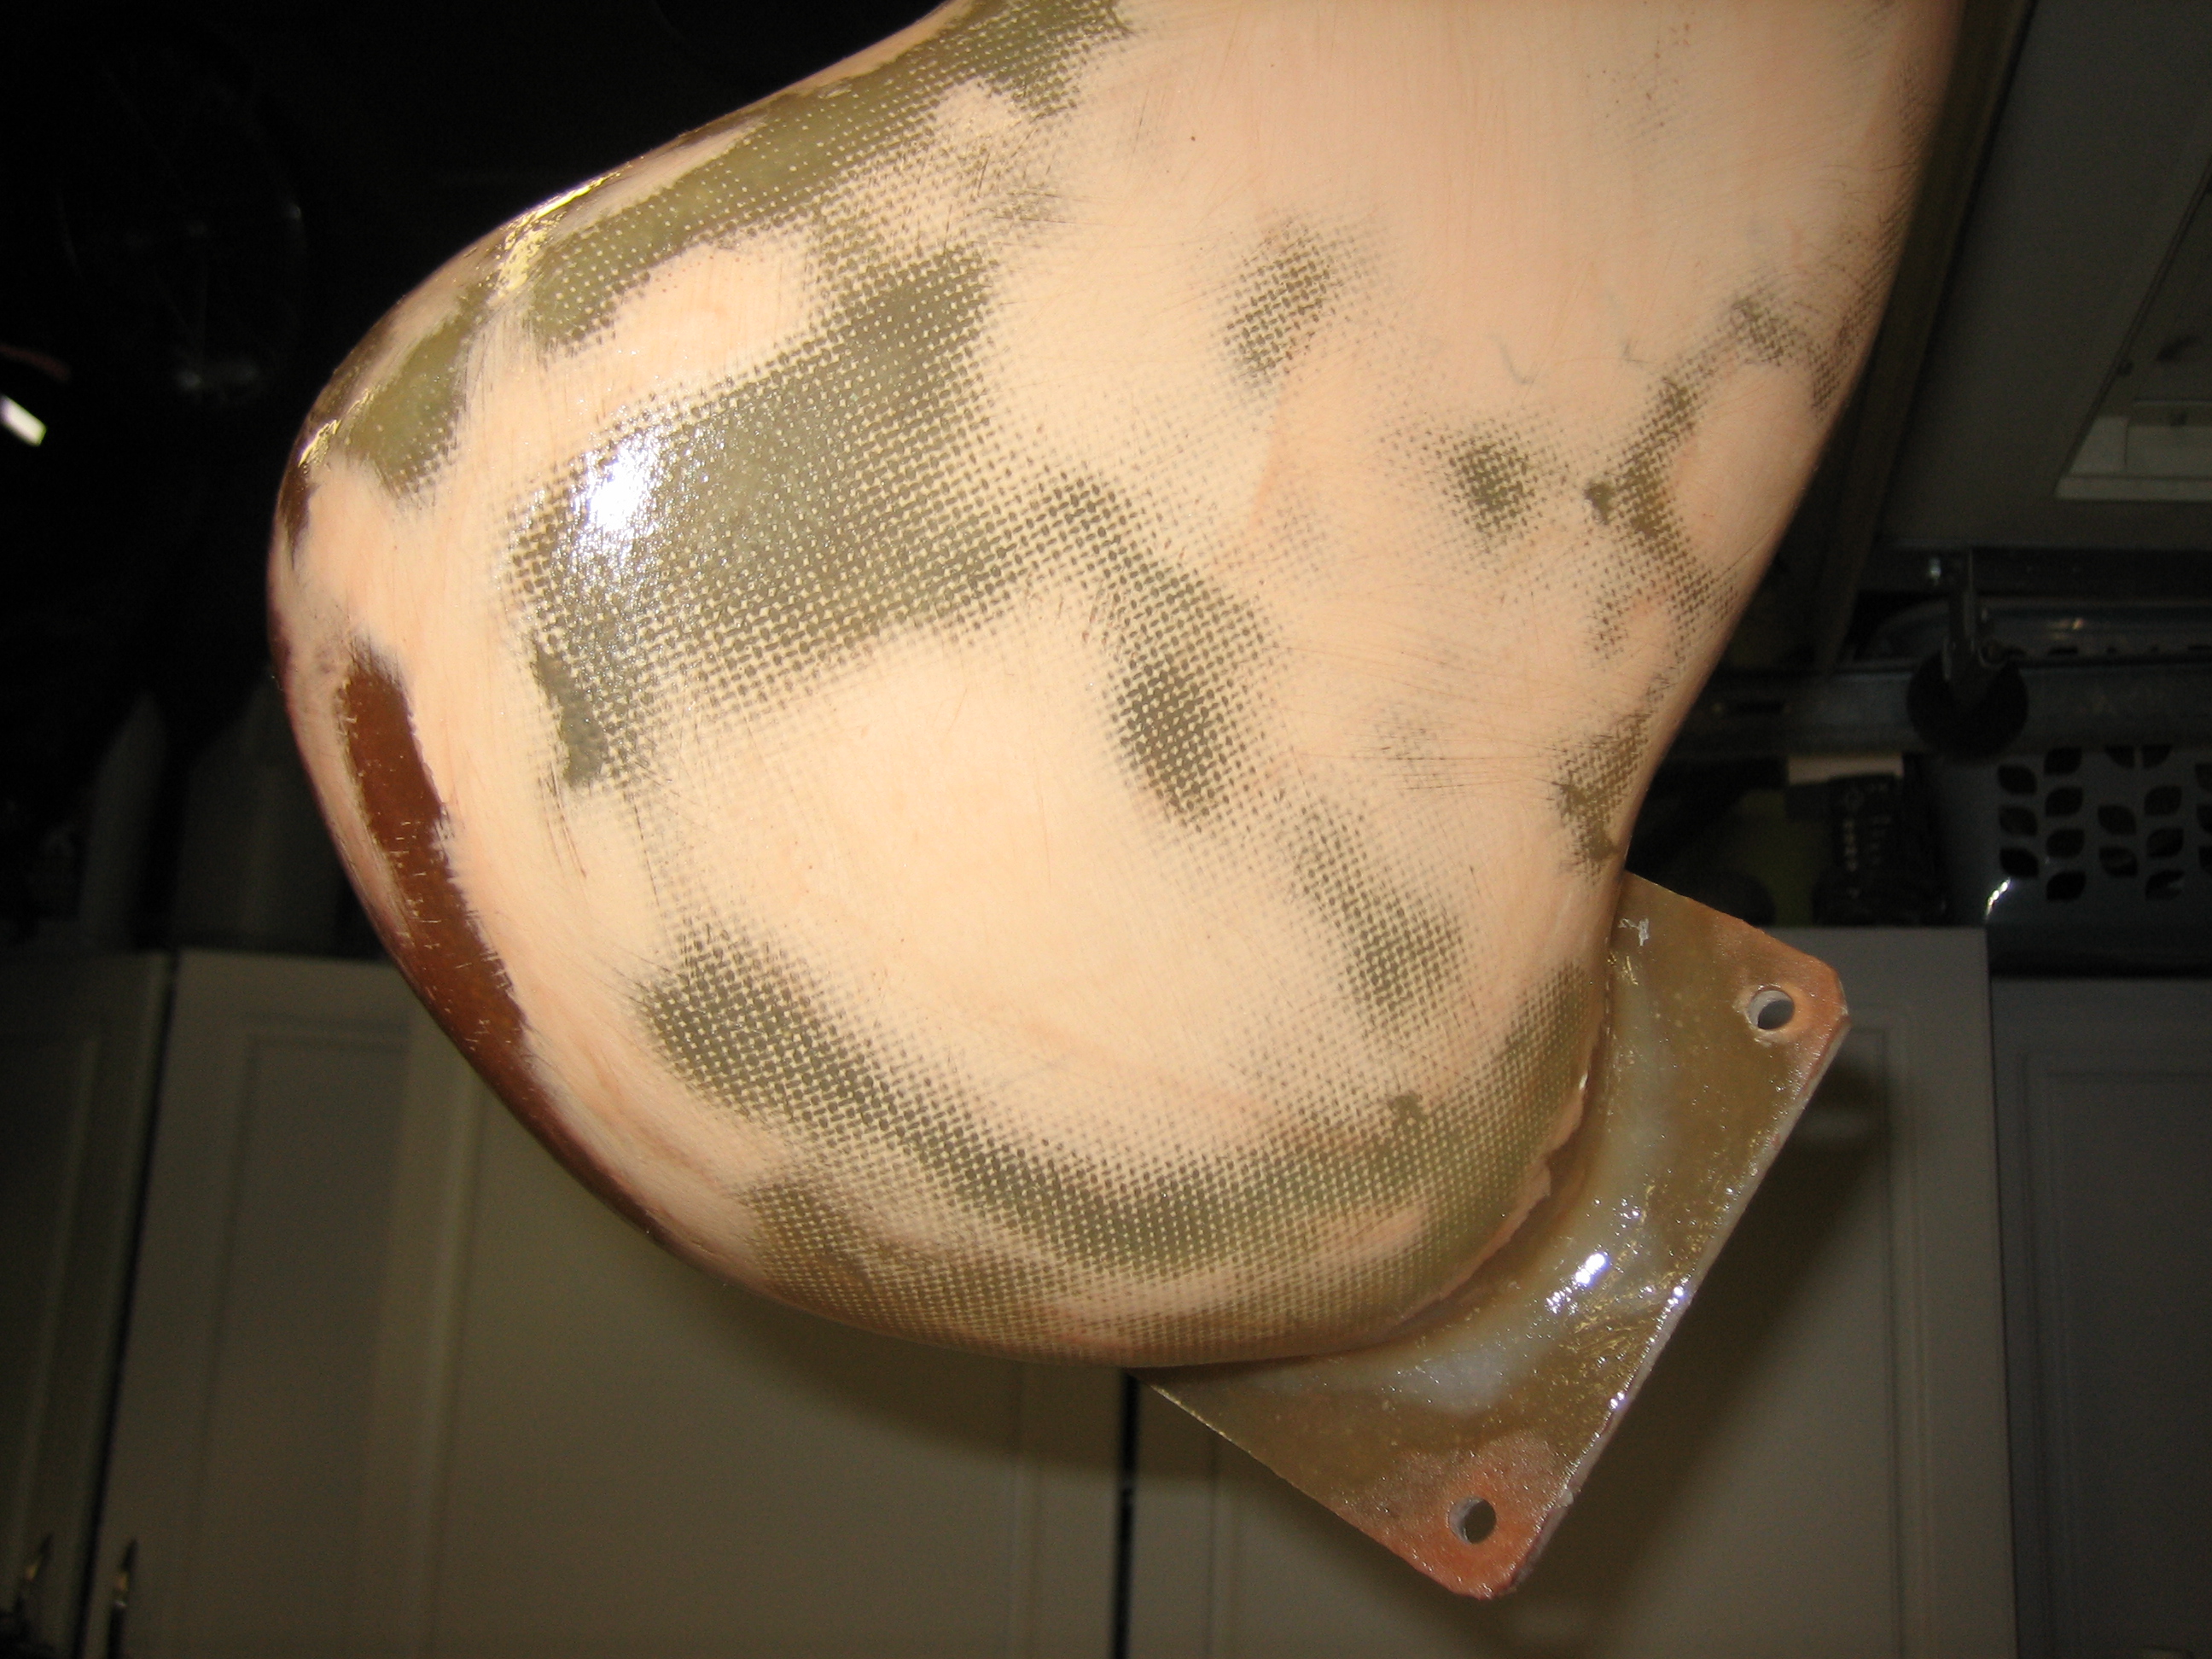
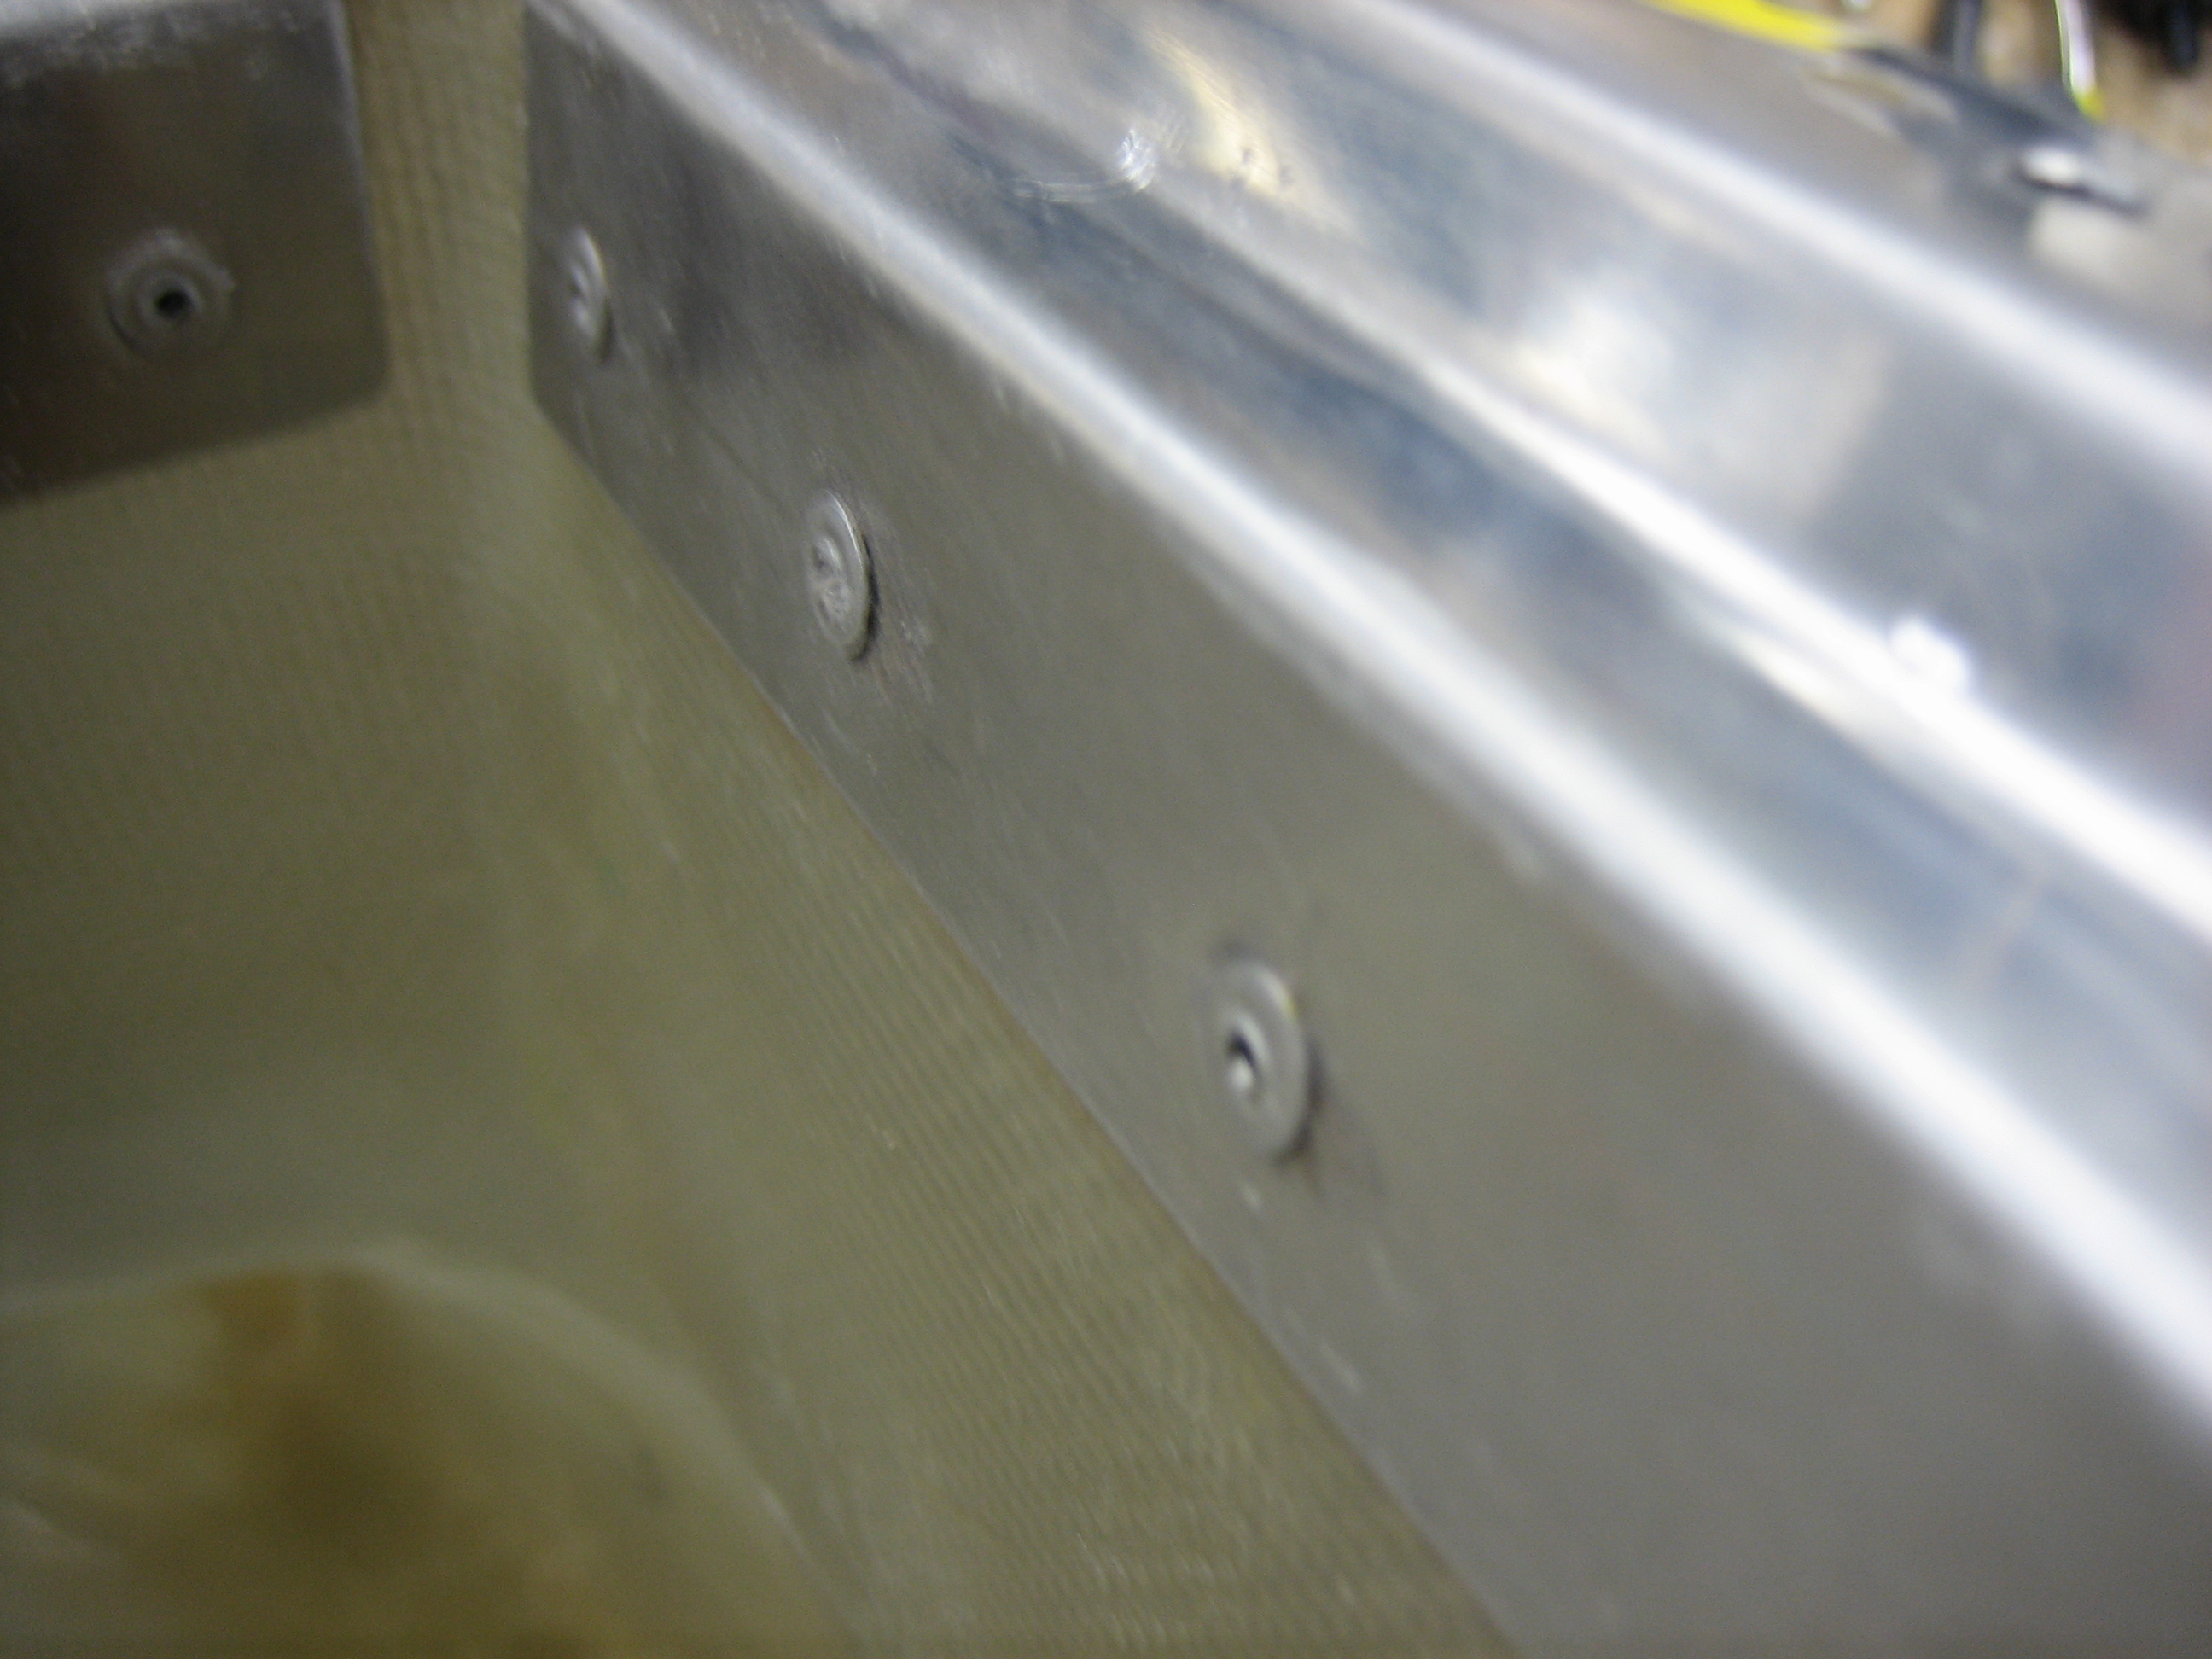
Next up, I mixed up some epoxy with flox and riveted the upper flanges on to the snorkel.
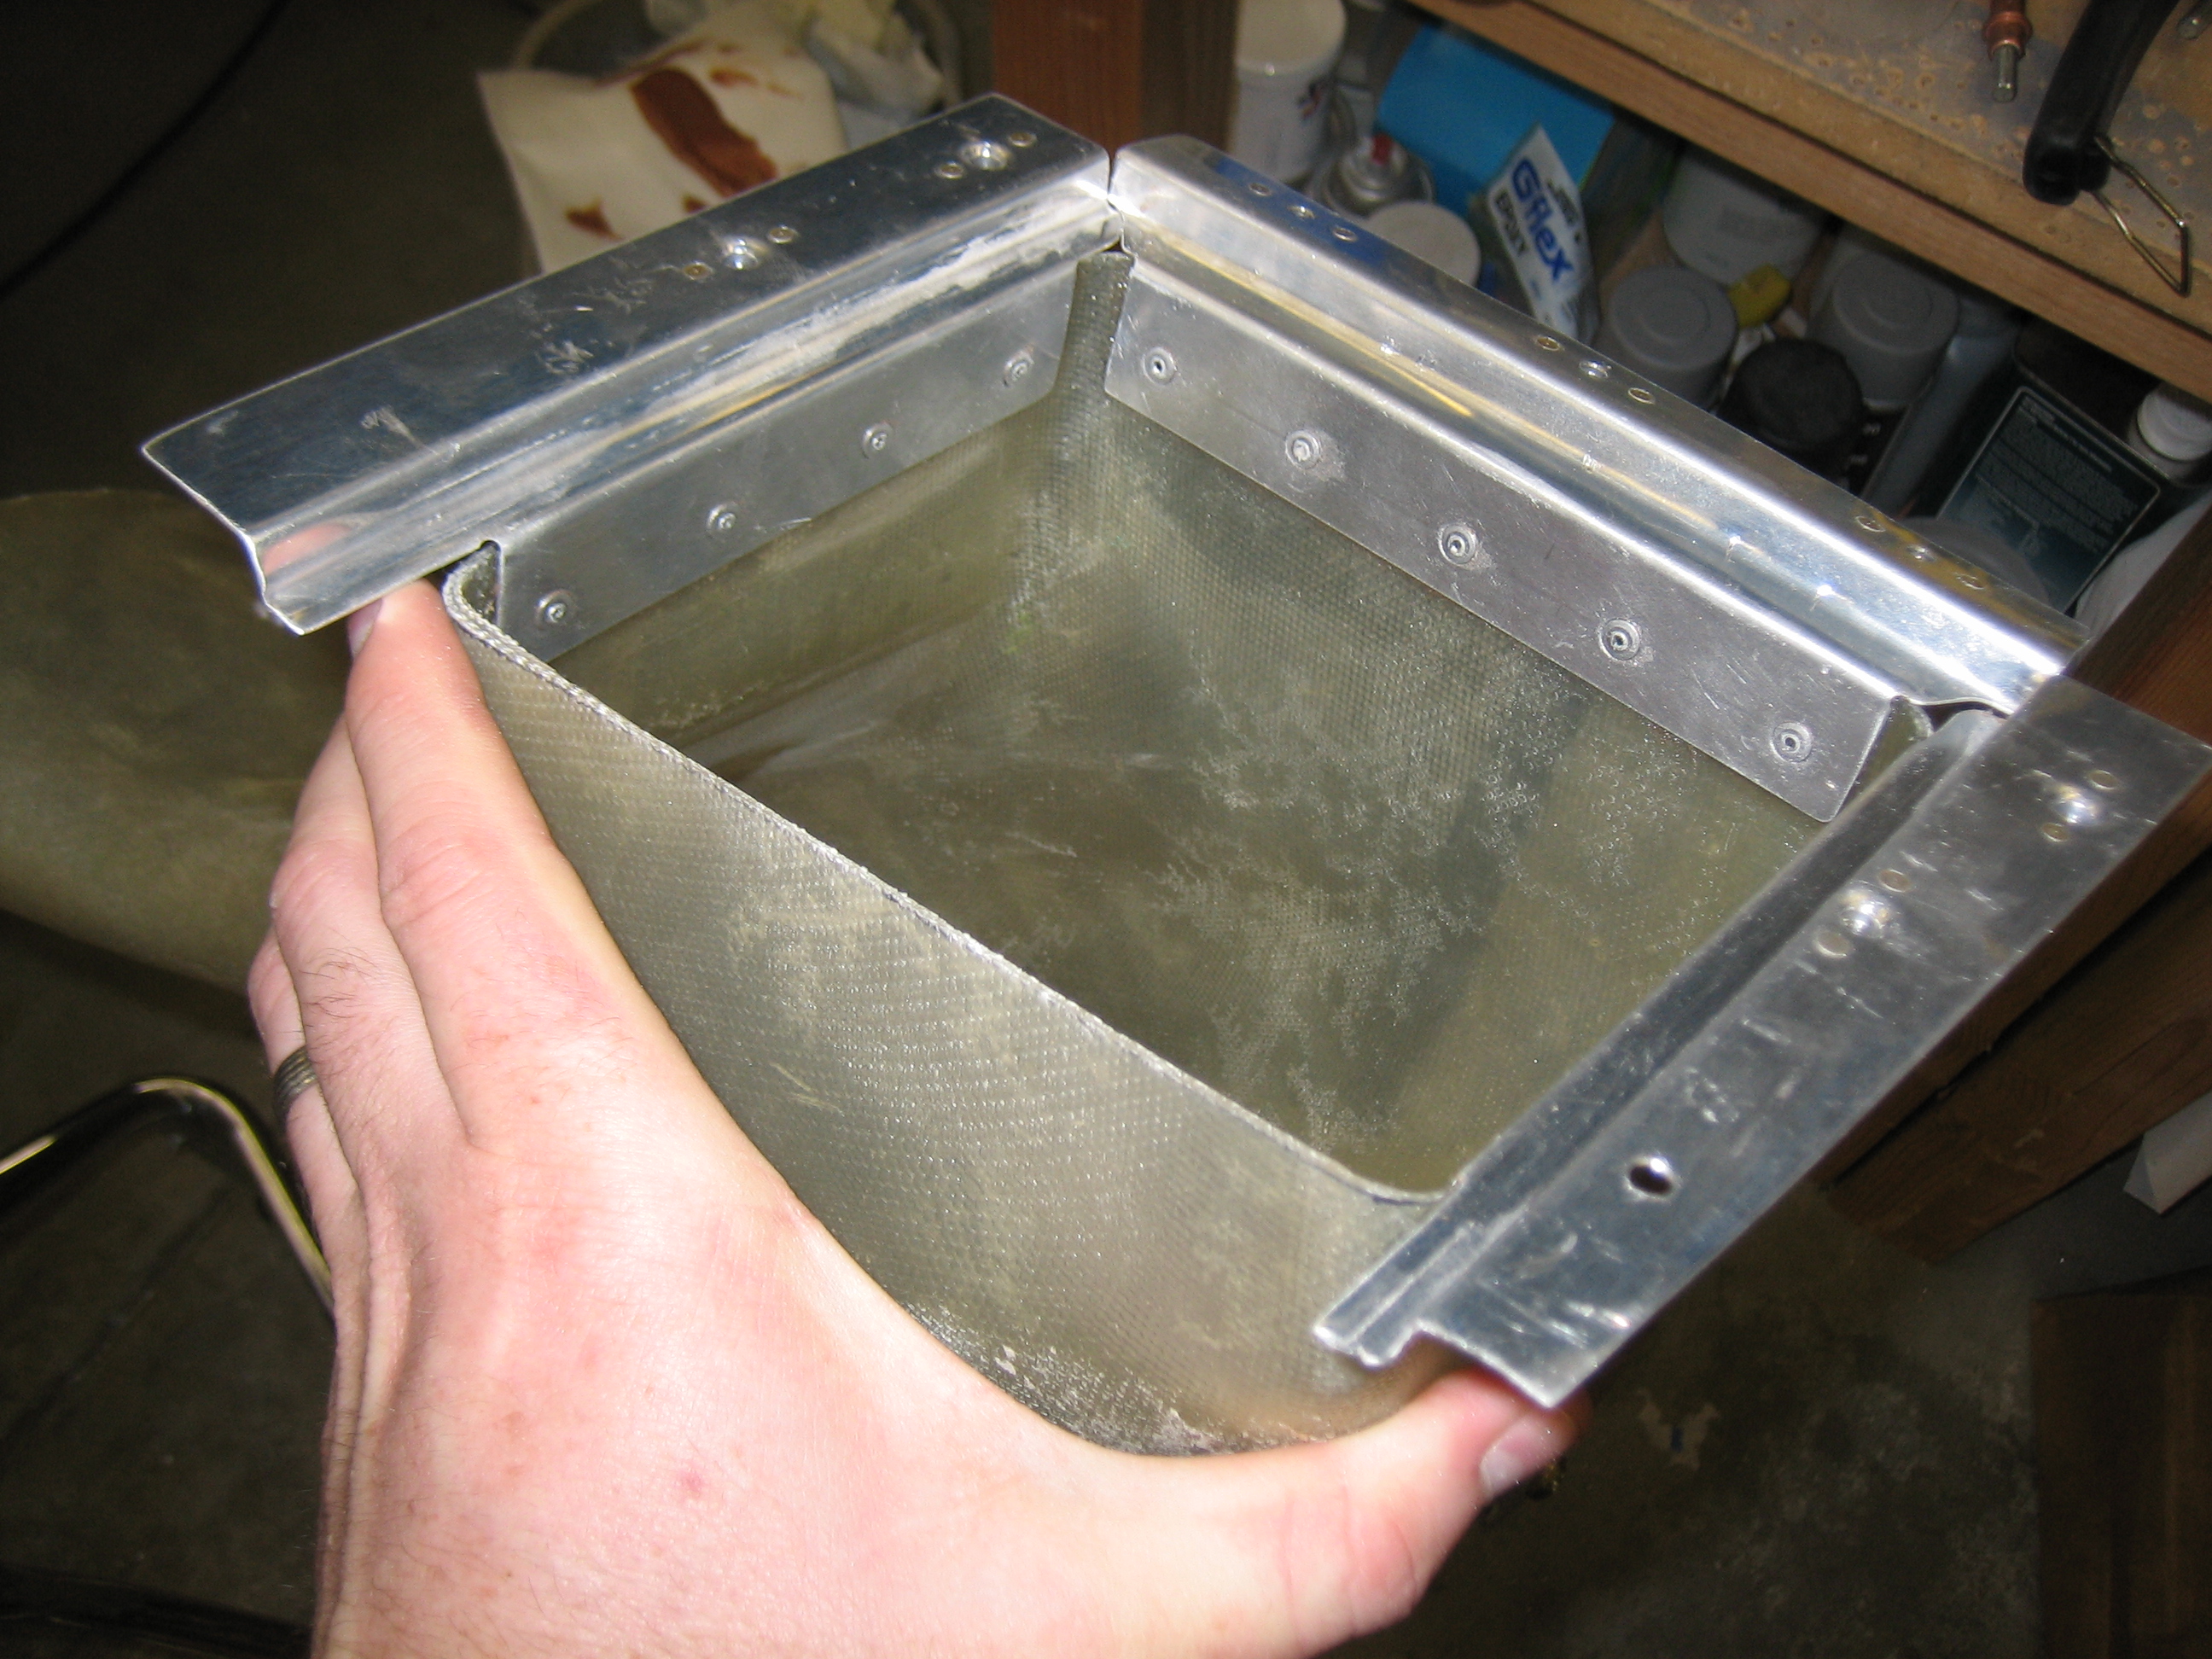
The rivets are flush on the inside (mostly) so that they don’t interfere with the air filter.
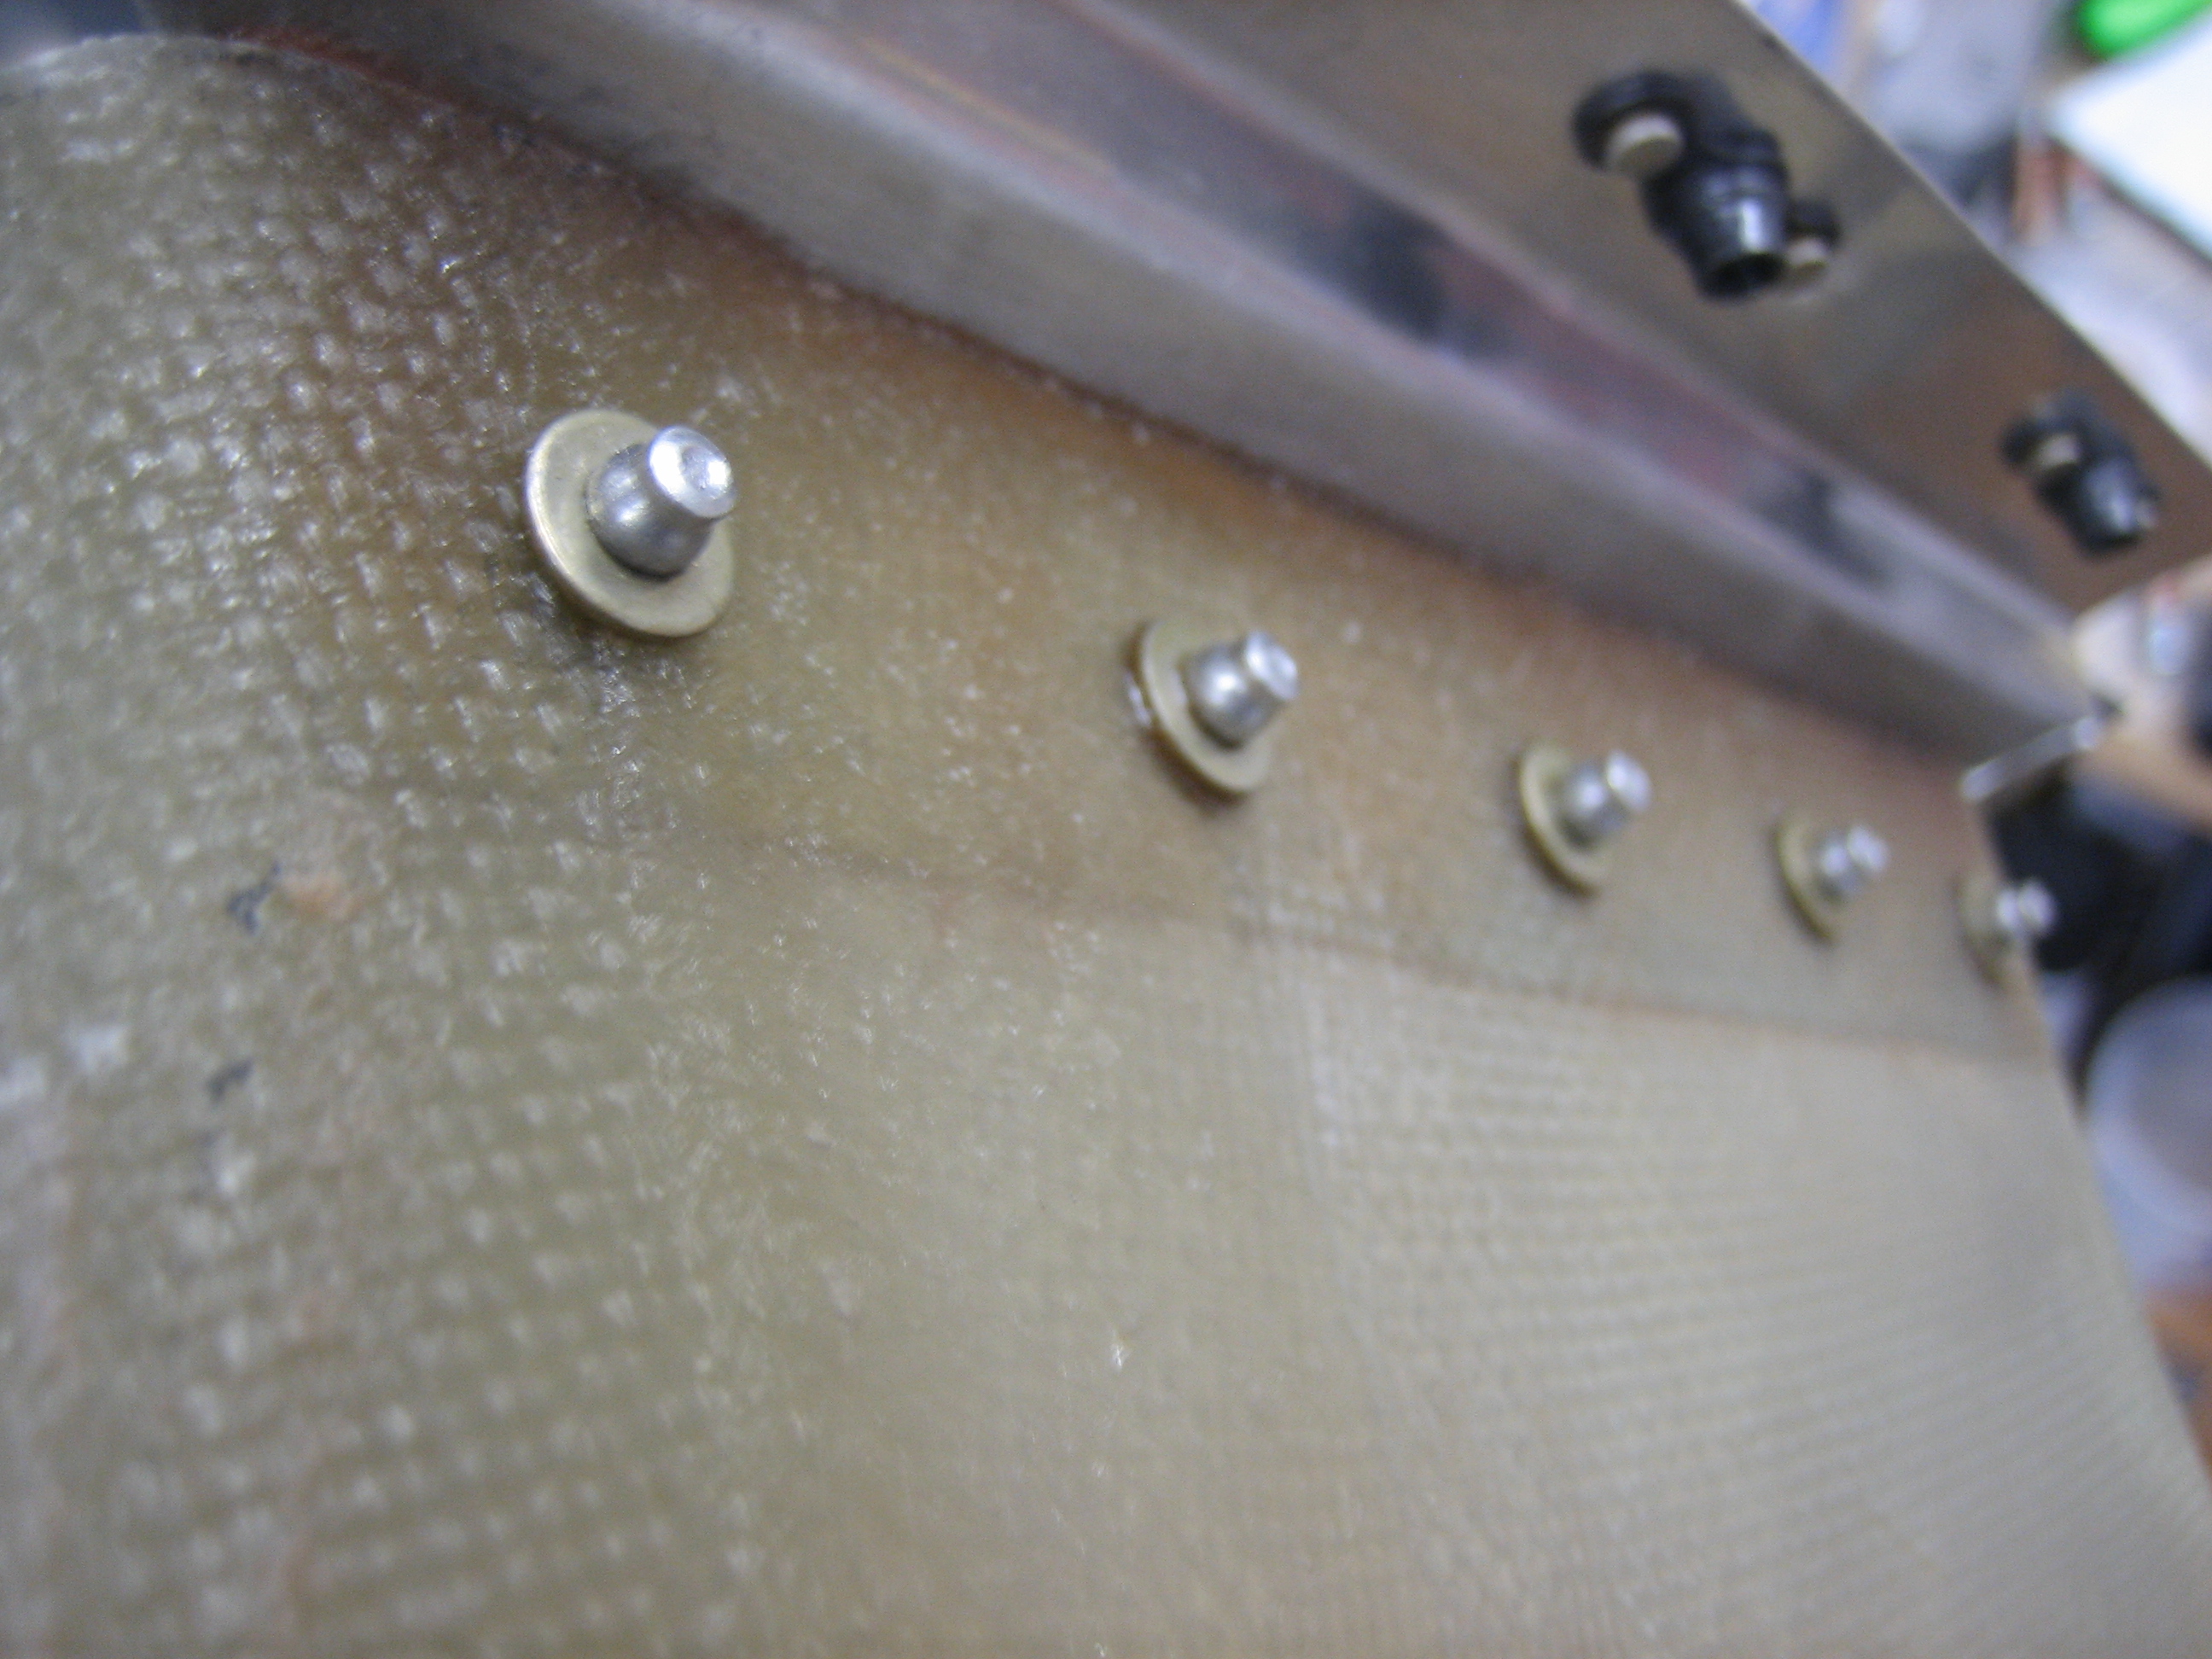
On the outside, small washers were slipped over the rivet shanks before pulling to spread the load out on the glass.
Finally, I mixed up some proseal and sealed the corners between the flanges to prevent air leaks around the filter.