Drilled Rear Window and Riveted Aft Top Skin

I centered and clamped the rear window in place using the 1/8″ spacers along the top of the cabin frame.  I’m using these because I’m gluing the rear window to the cabin frame with sikaflex.

Starting at the center, I alternately drilled down both sides with the 1/8″ plexi bits.

Now that the rear window is in its final location, I put some tape along the marked line.  I’ll trim this back to this point and will then probably sand both the forward and aft windows to open the gap up to the recommended amount.

My buddy Andre stopped by and we knocked out the riveting of the final aft top skin.  I left the forward ears unriveted since I need to disassemble and paint a bunch of the interior components before everything is put together for good.

Prepped Rear Window for Drilling

I used a piece of masking tape to mark all of the holes that attach the rear window to the top skin.  I laid out the masking tape 5/16″ from the edge of the skin (half of the 5/8″ overlap between the window and the skin).  I marked the start and end points on the tape, then laid the tape out straight to lay out the holes.  I then put the tape back on to transfer the holes to the skin.

Here’s a closeup of the transferred holes.  Afterward, I punched the skins and drilled these out with a #50 drill.  I drilled these small so they would act as a pilot for the plexi bit.

I also trimmed off a bit off the base at the forward end of the rear window to clear the cabin frame attach angles.  Without this, the window can not be pulled fully down against the cabin frame.

Finally, I reinstalled the window in preparation for drilling.

Worked on Canopy, Rear Window, and Final Tail Skin

Using a belt sander followed by some hand sanding, I trimmed the aft edge of the canopy to the line I marked earlier.  There will be some slight additional sanding to open up the gap between the forward and aft windows once everything is locked in position.

Andre stopped by and we knocked out the deburring and dimpling of the final tail skin.  I was hoping we’d get this riveted on today, but we ran out of time.

Later in the evening, I came out and roughly positioned the rear window.

I marked the edge of the window and wrote “Do Not Cut” all along the line to ensure I wouldn’t accidentally cut along this line.  The window has to overlap the skin about 5/8″ to provide room for the screws that attach the window to the skin.

As the plans specify, I initially trimmed the window to 1 1/4″ beyond the window edge.  This allows the window to slip under the skin.

Did a Little Firewall Forward Work

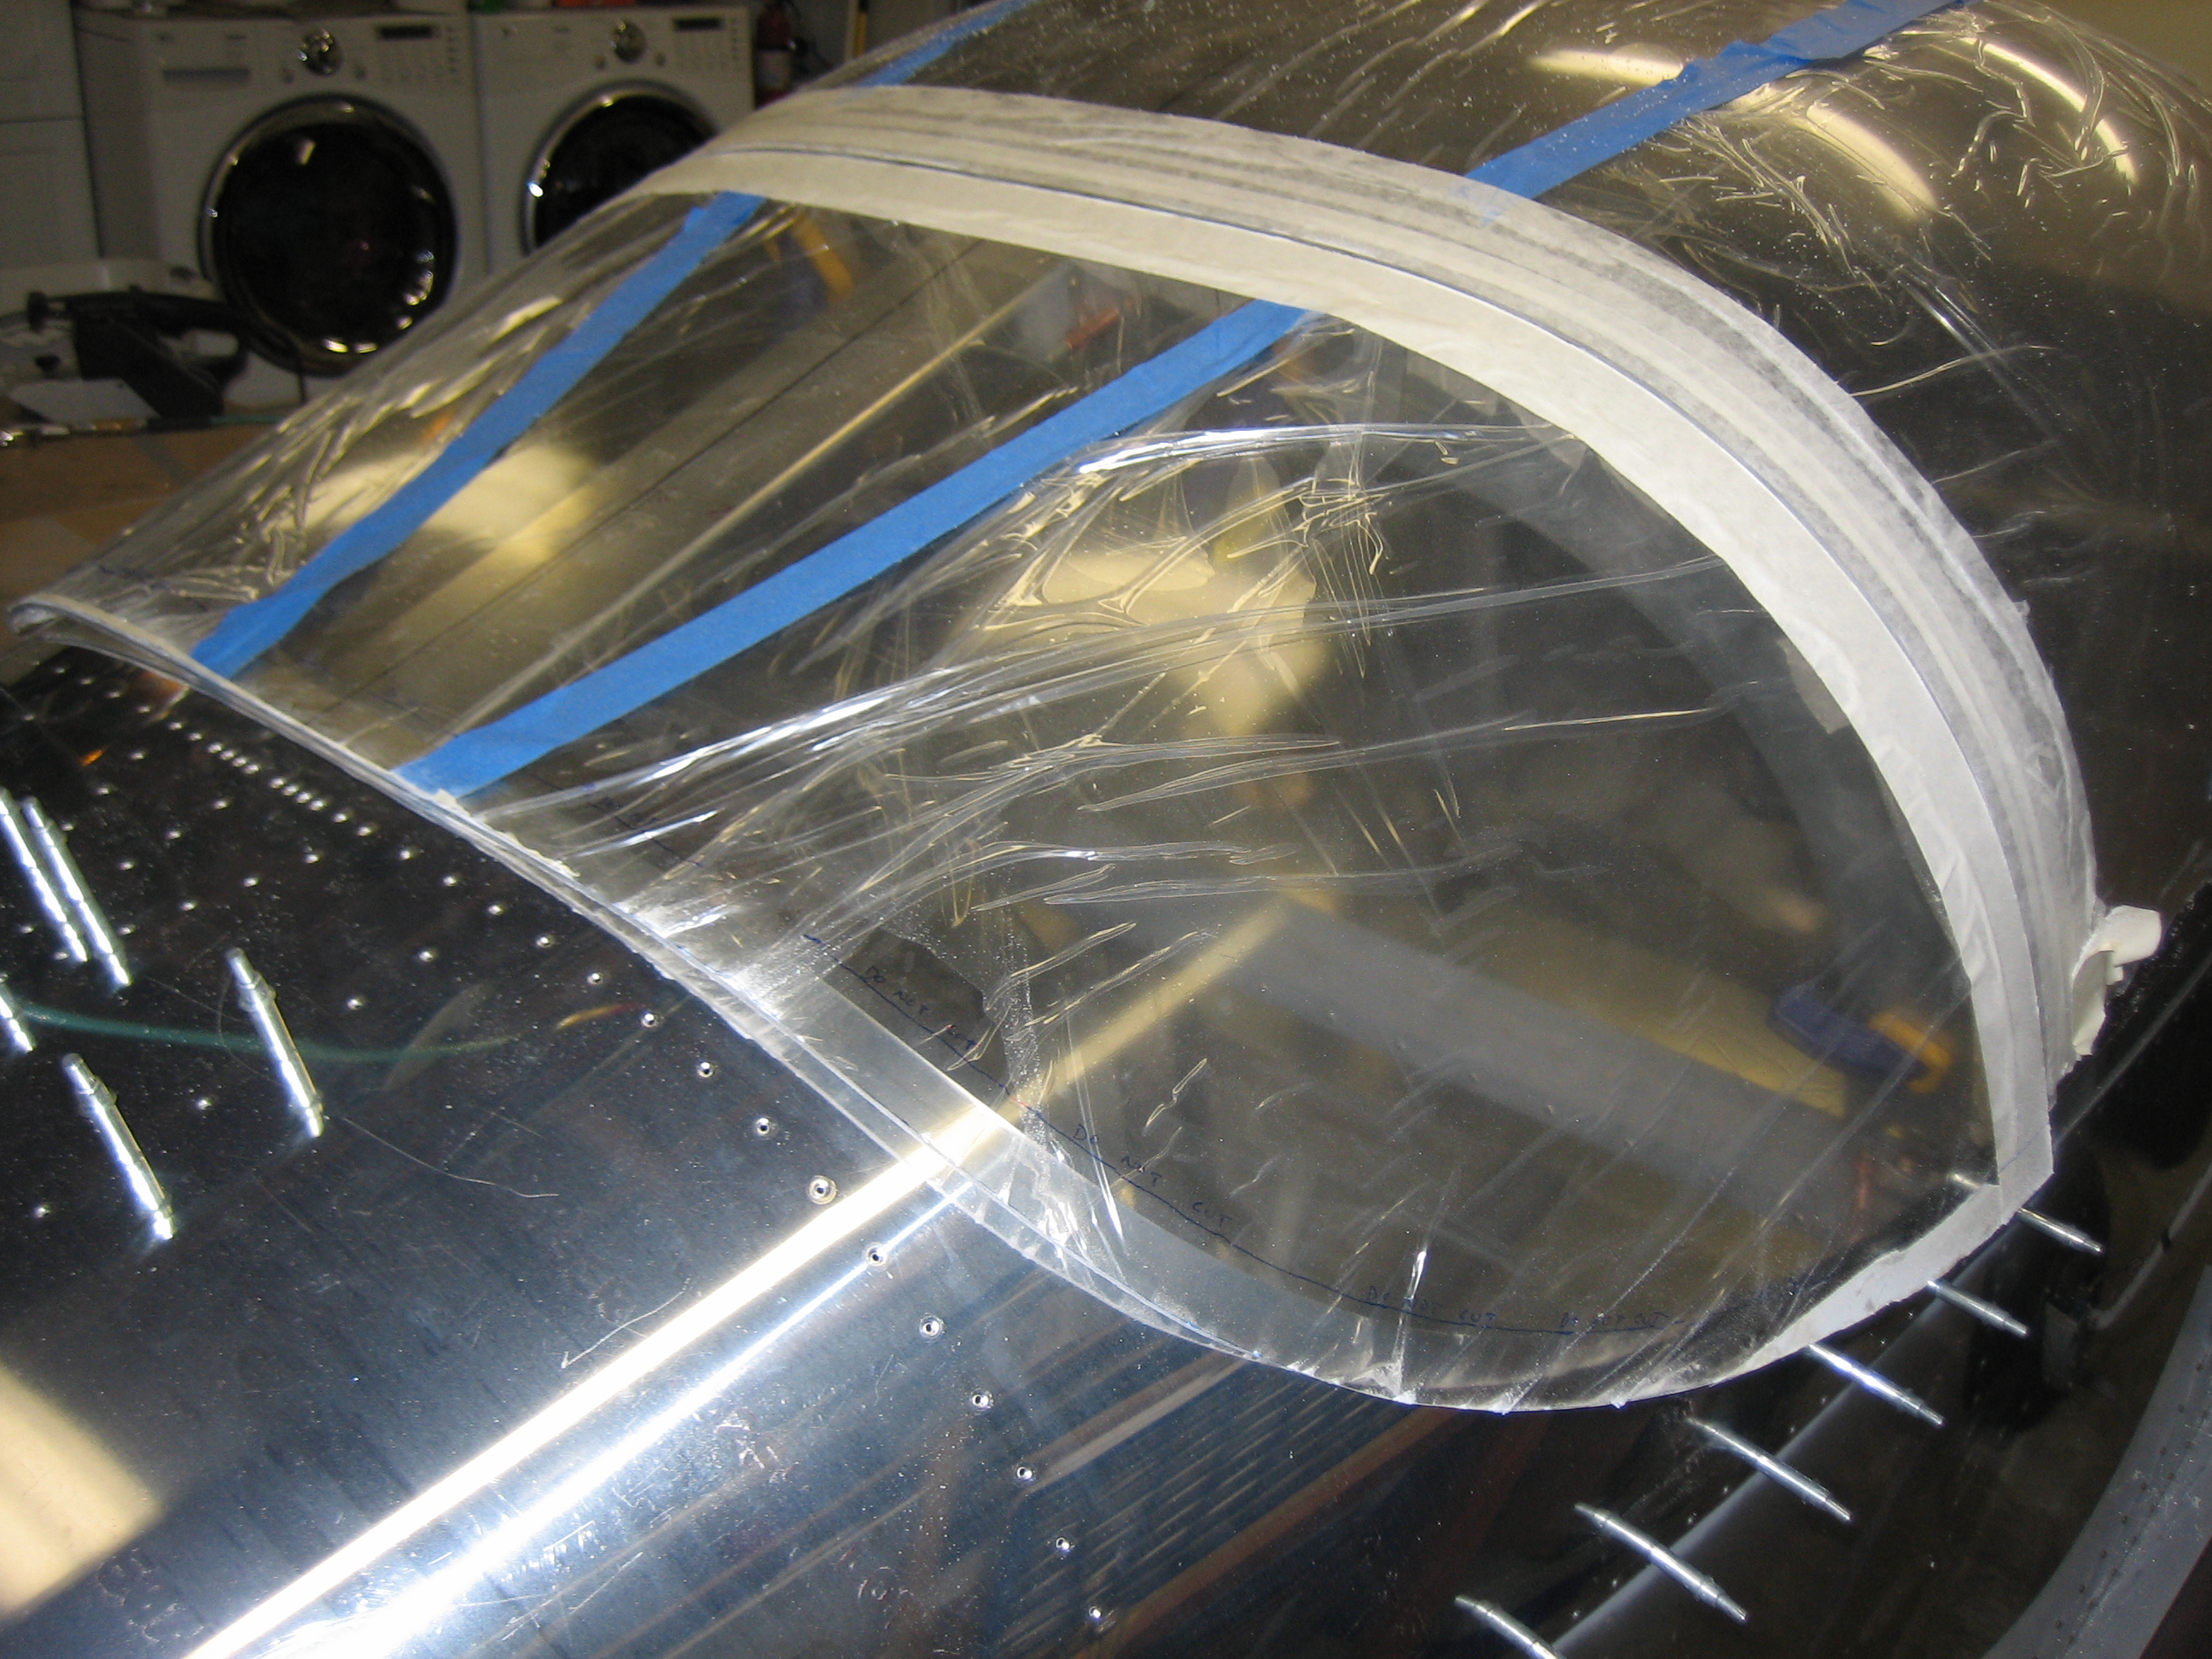
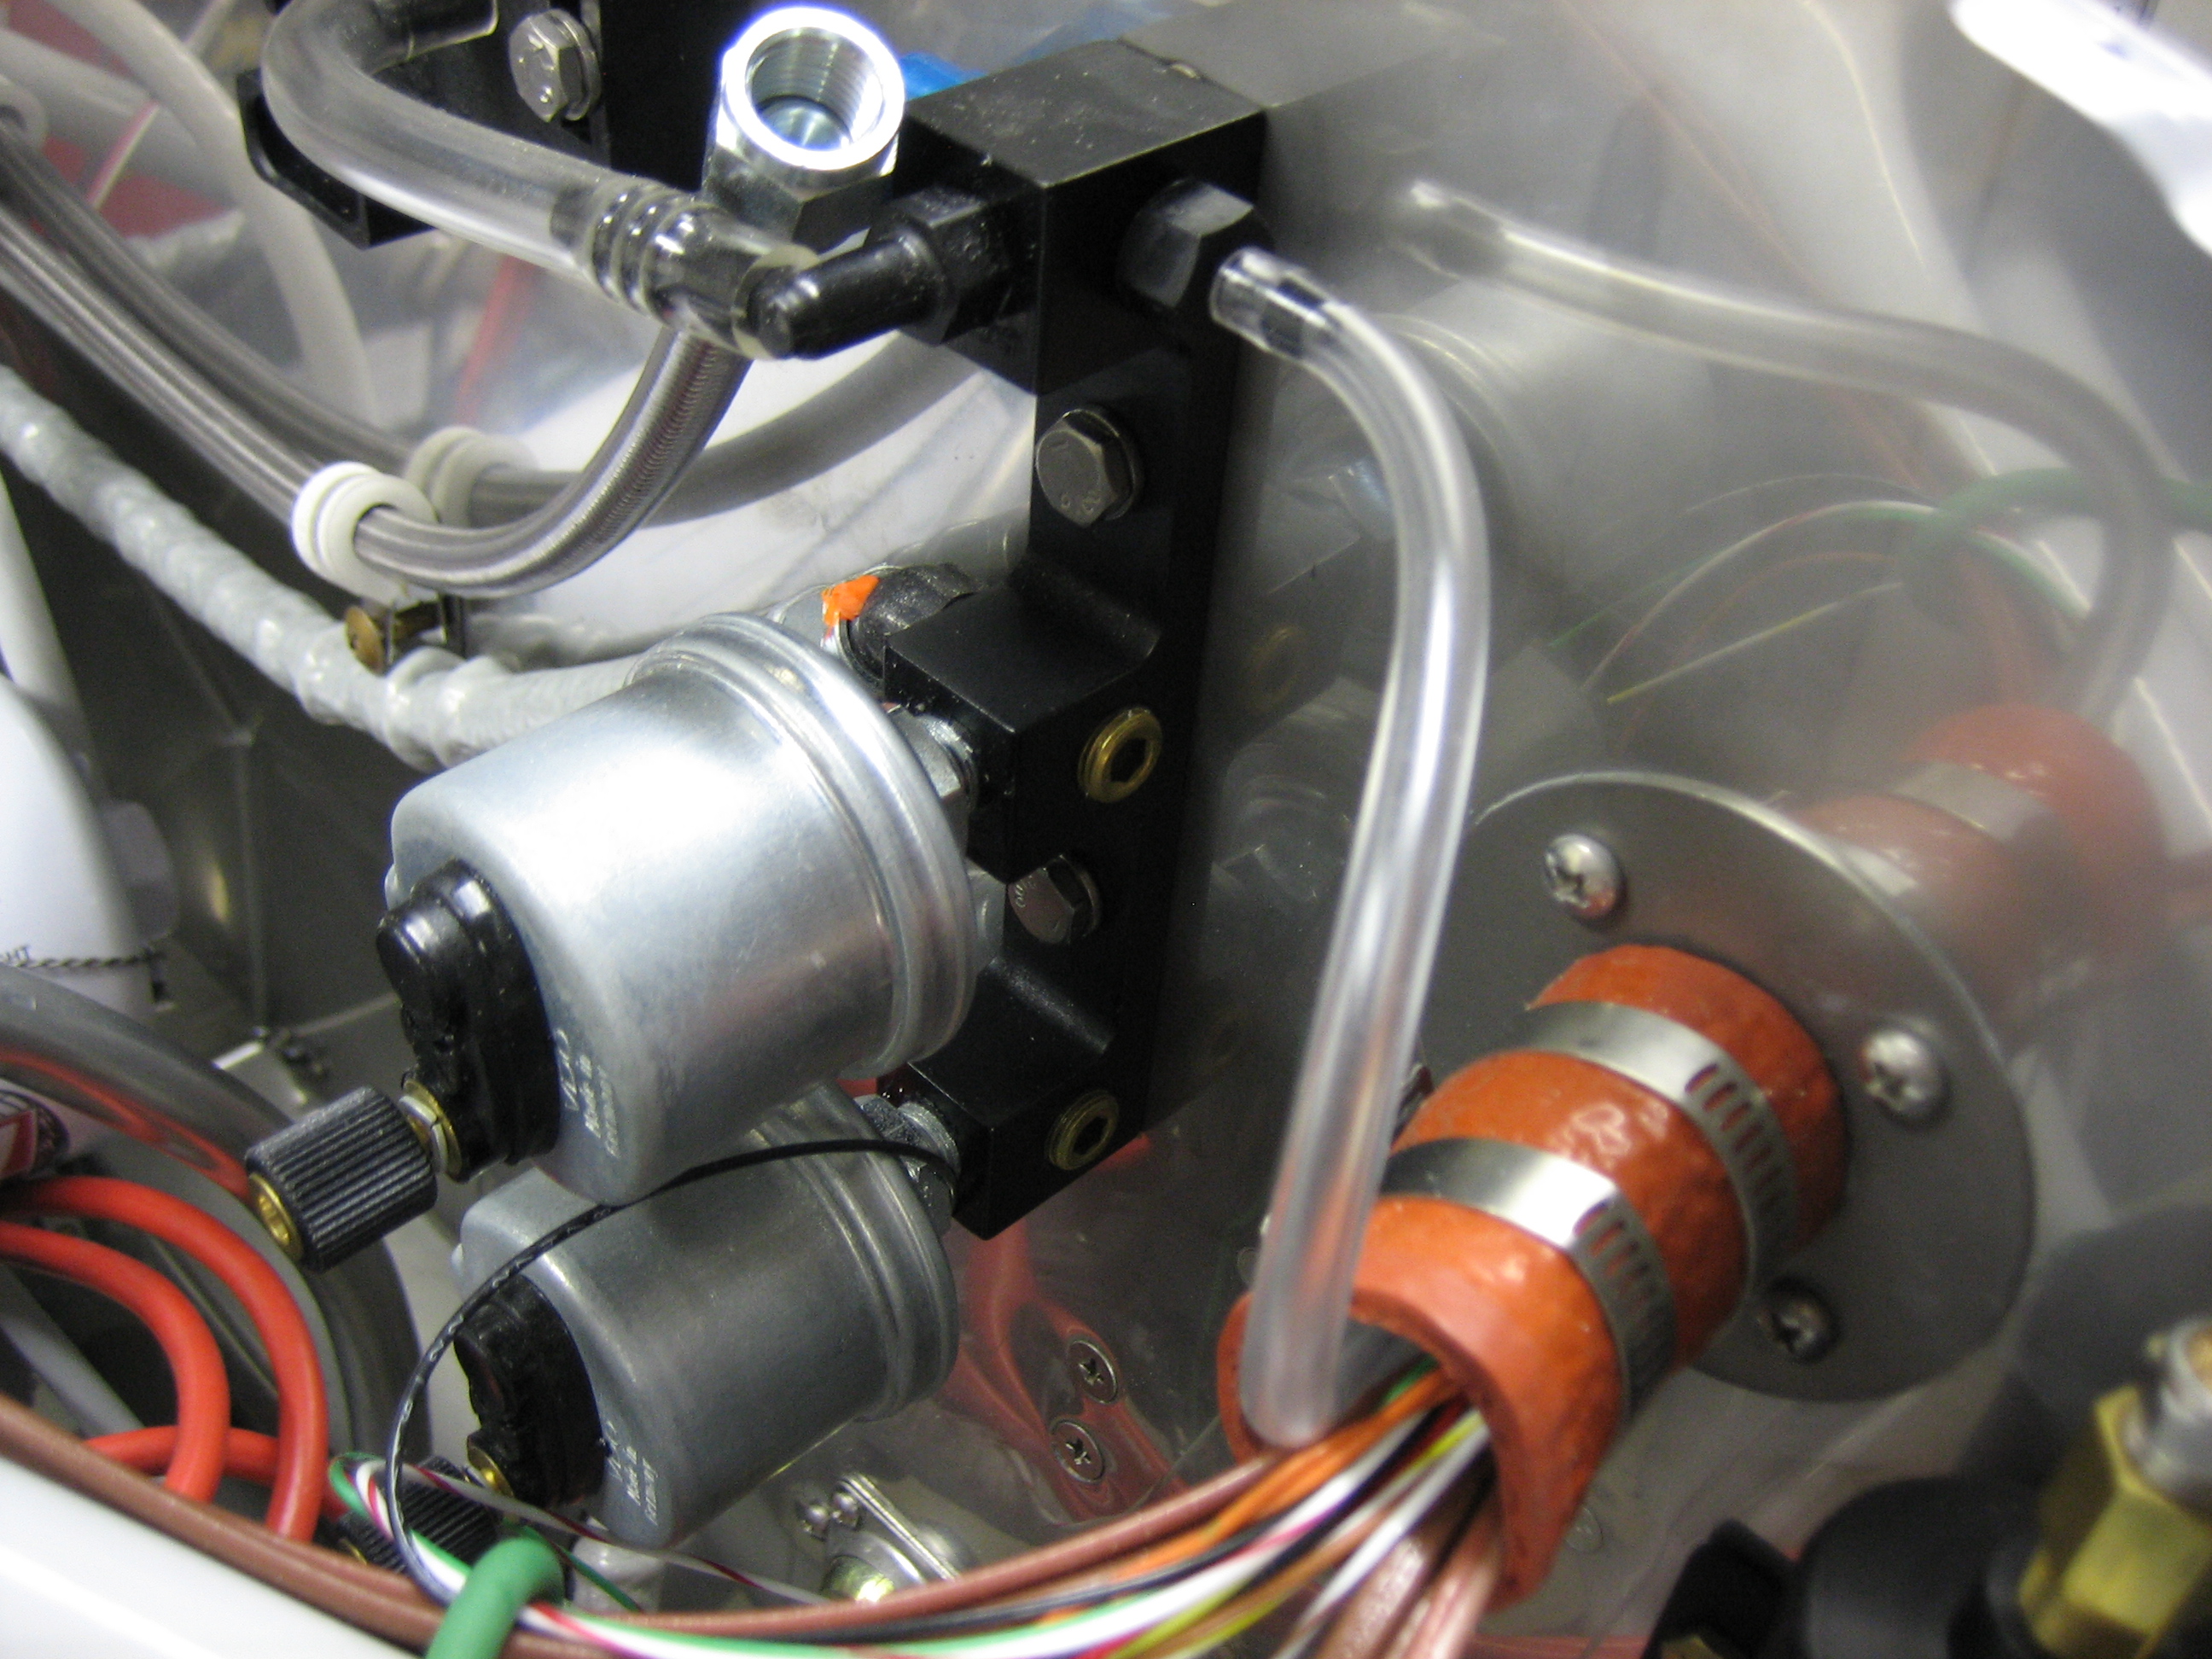
Geez, I haven’t worked on the project much lately.  I’ve been busy with other projects, and that’s likely to continue for a couple more months.  Anyway, I managed to squeeze an hour in on the project tonight.  First up, I got an order from McMaster Carr with some smaller Tygon tubing and nylon fittings.  This will allow me to run a continuous 1/8″ piece of tubing from the transducer manifold all the way to the Lightspeed ignition box.

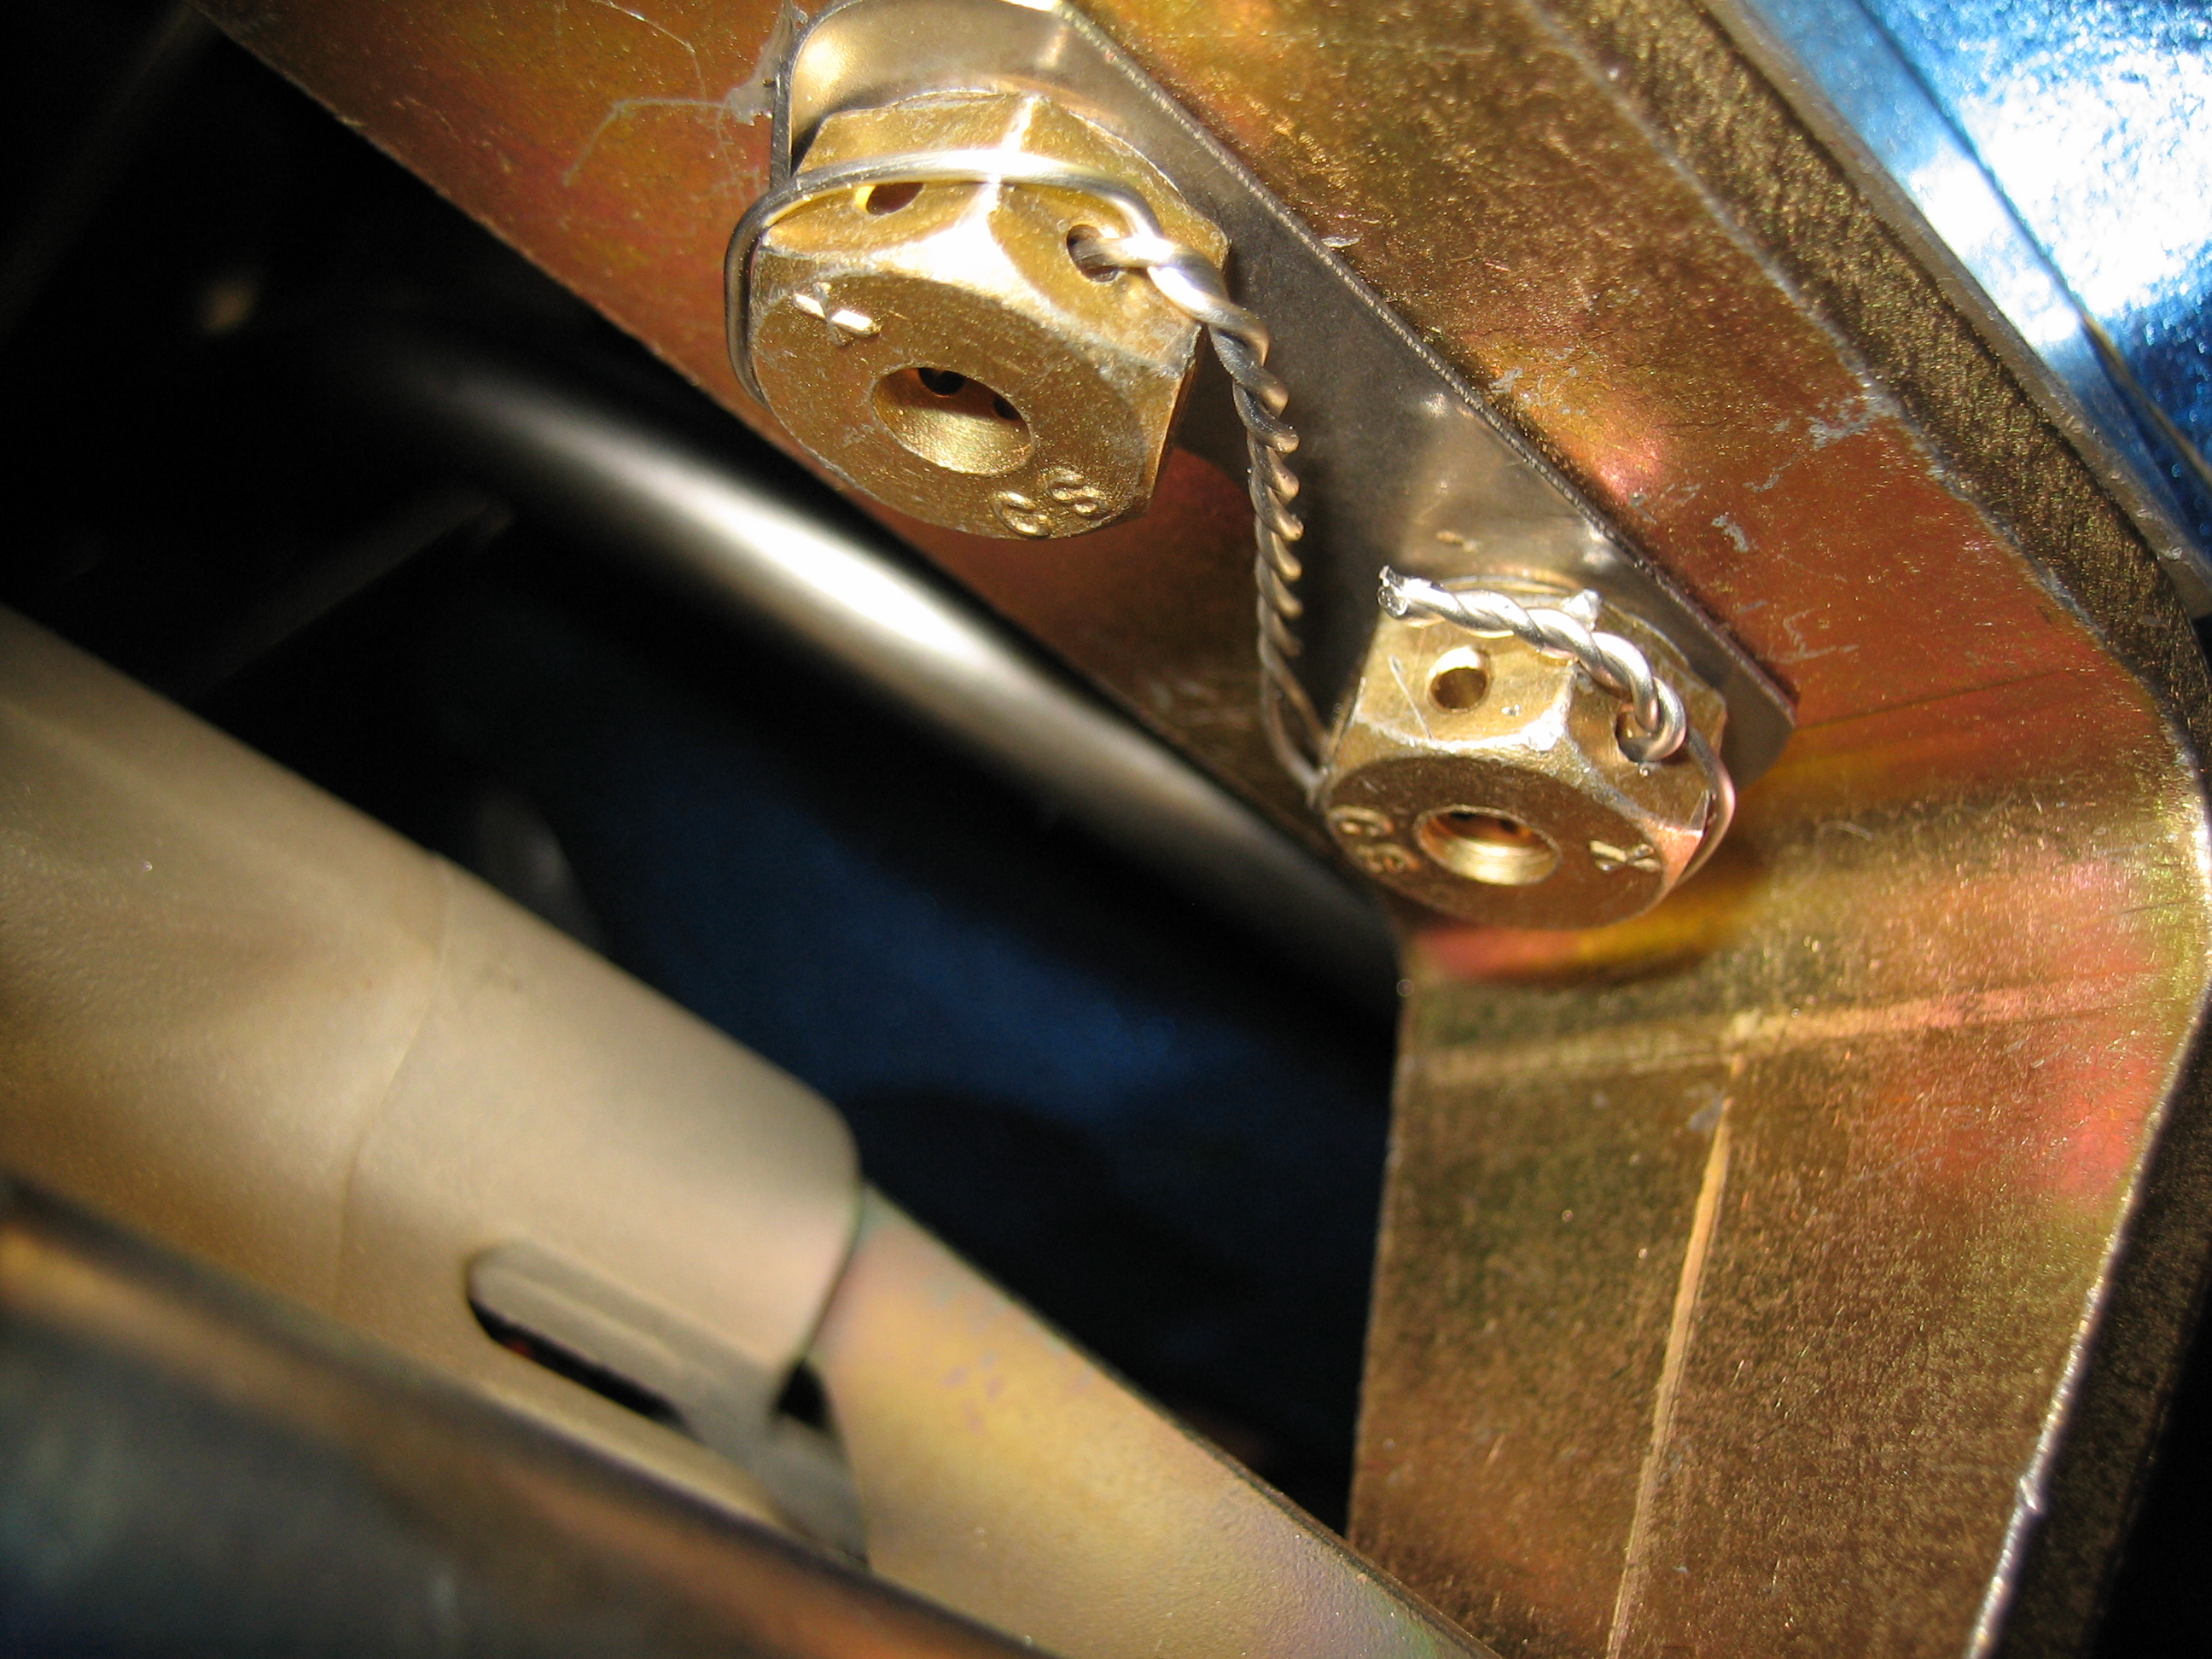
I also final torqued the fuel line fittings at the mechanical fuel pump.

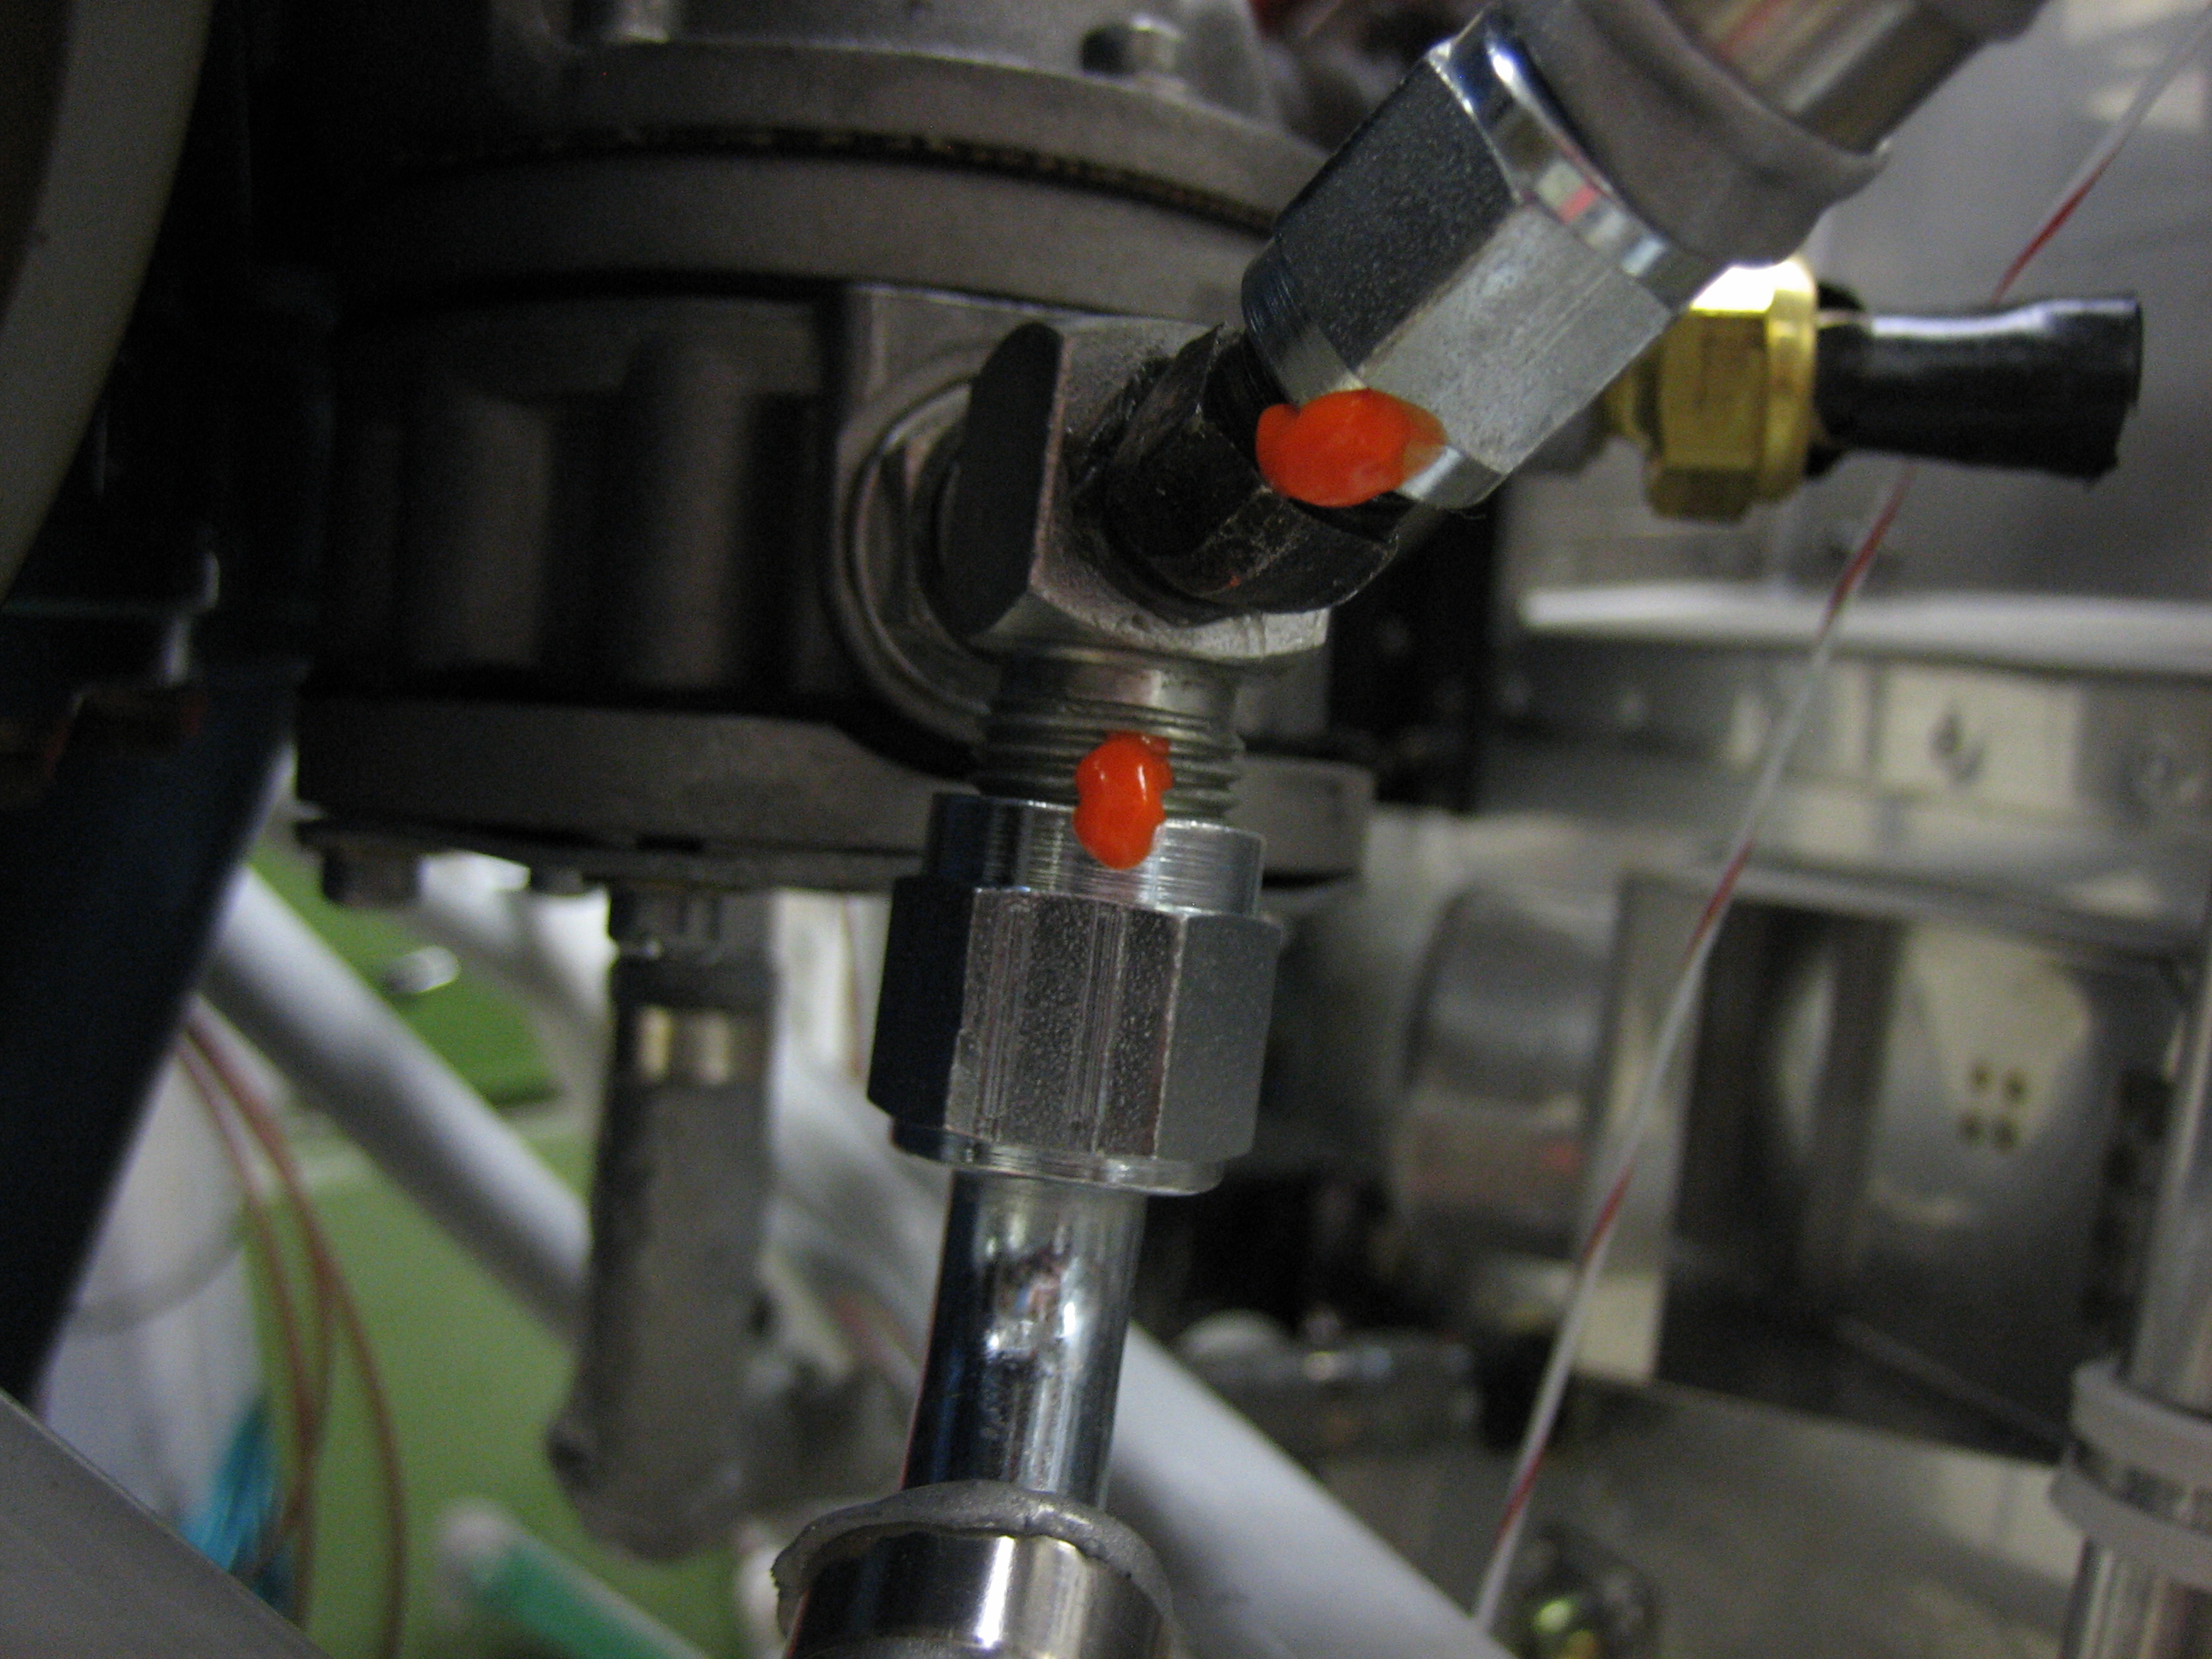
…as well as at the fuel servo.

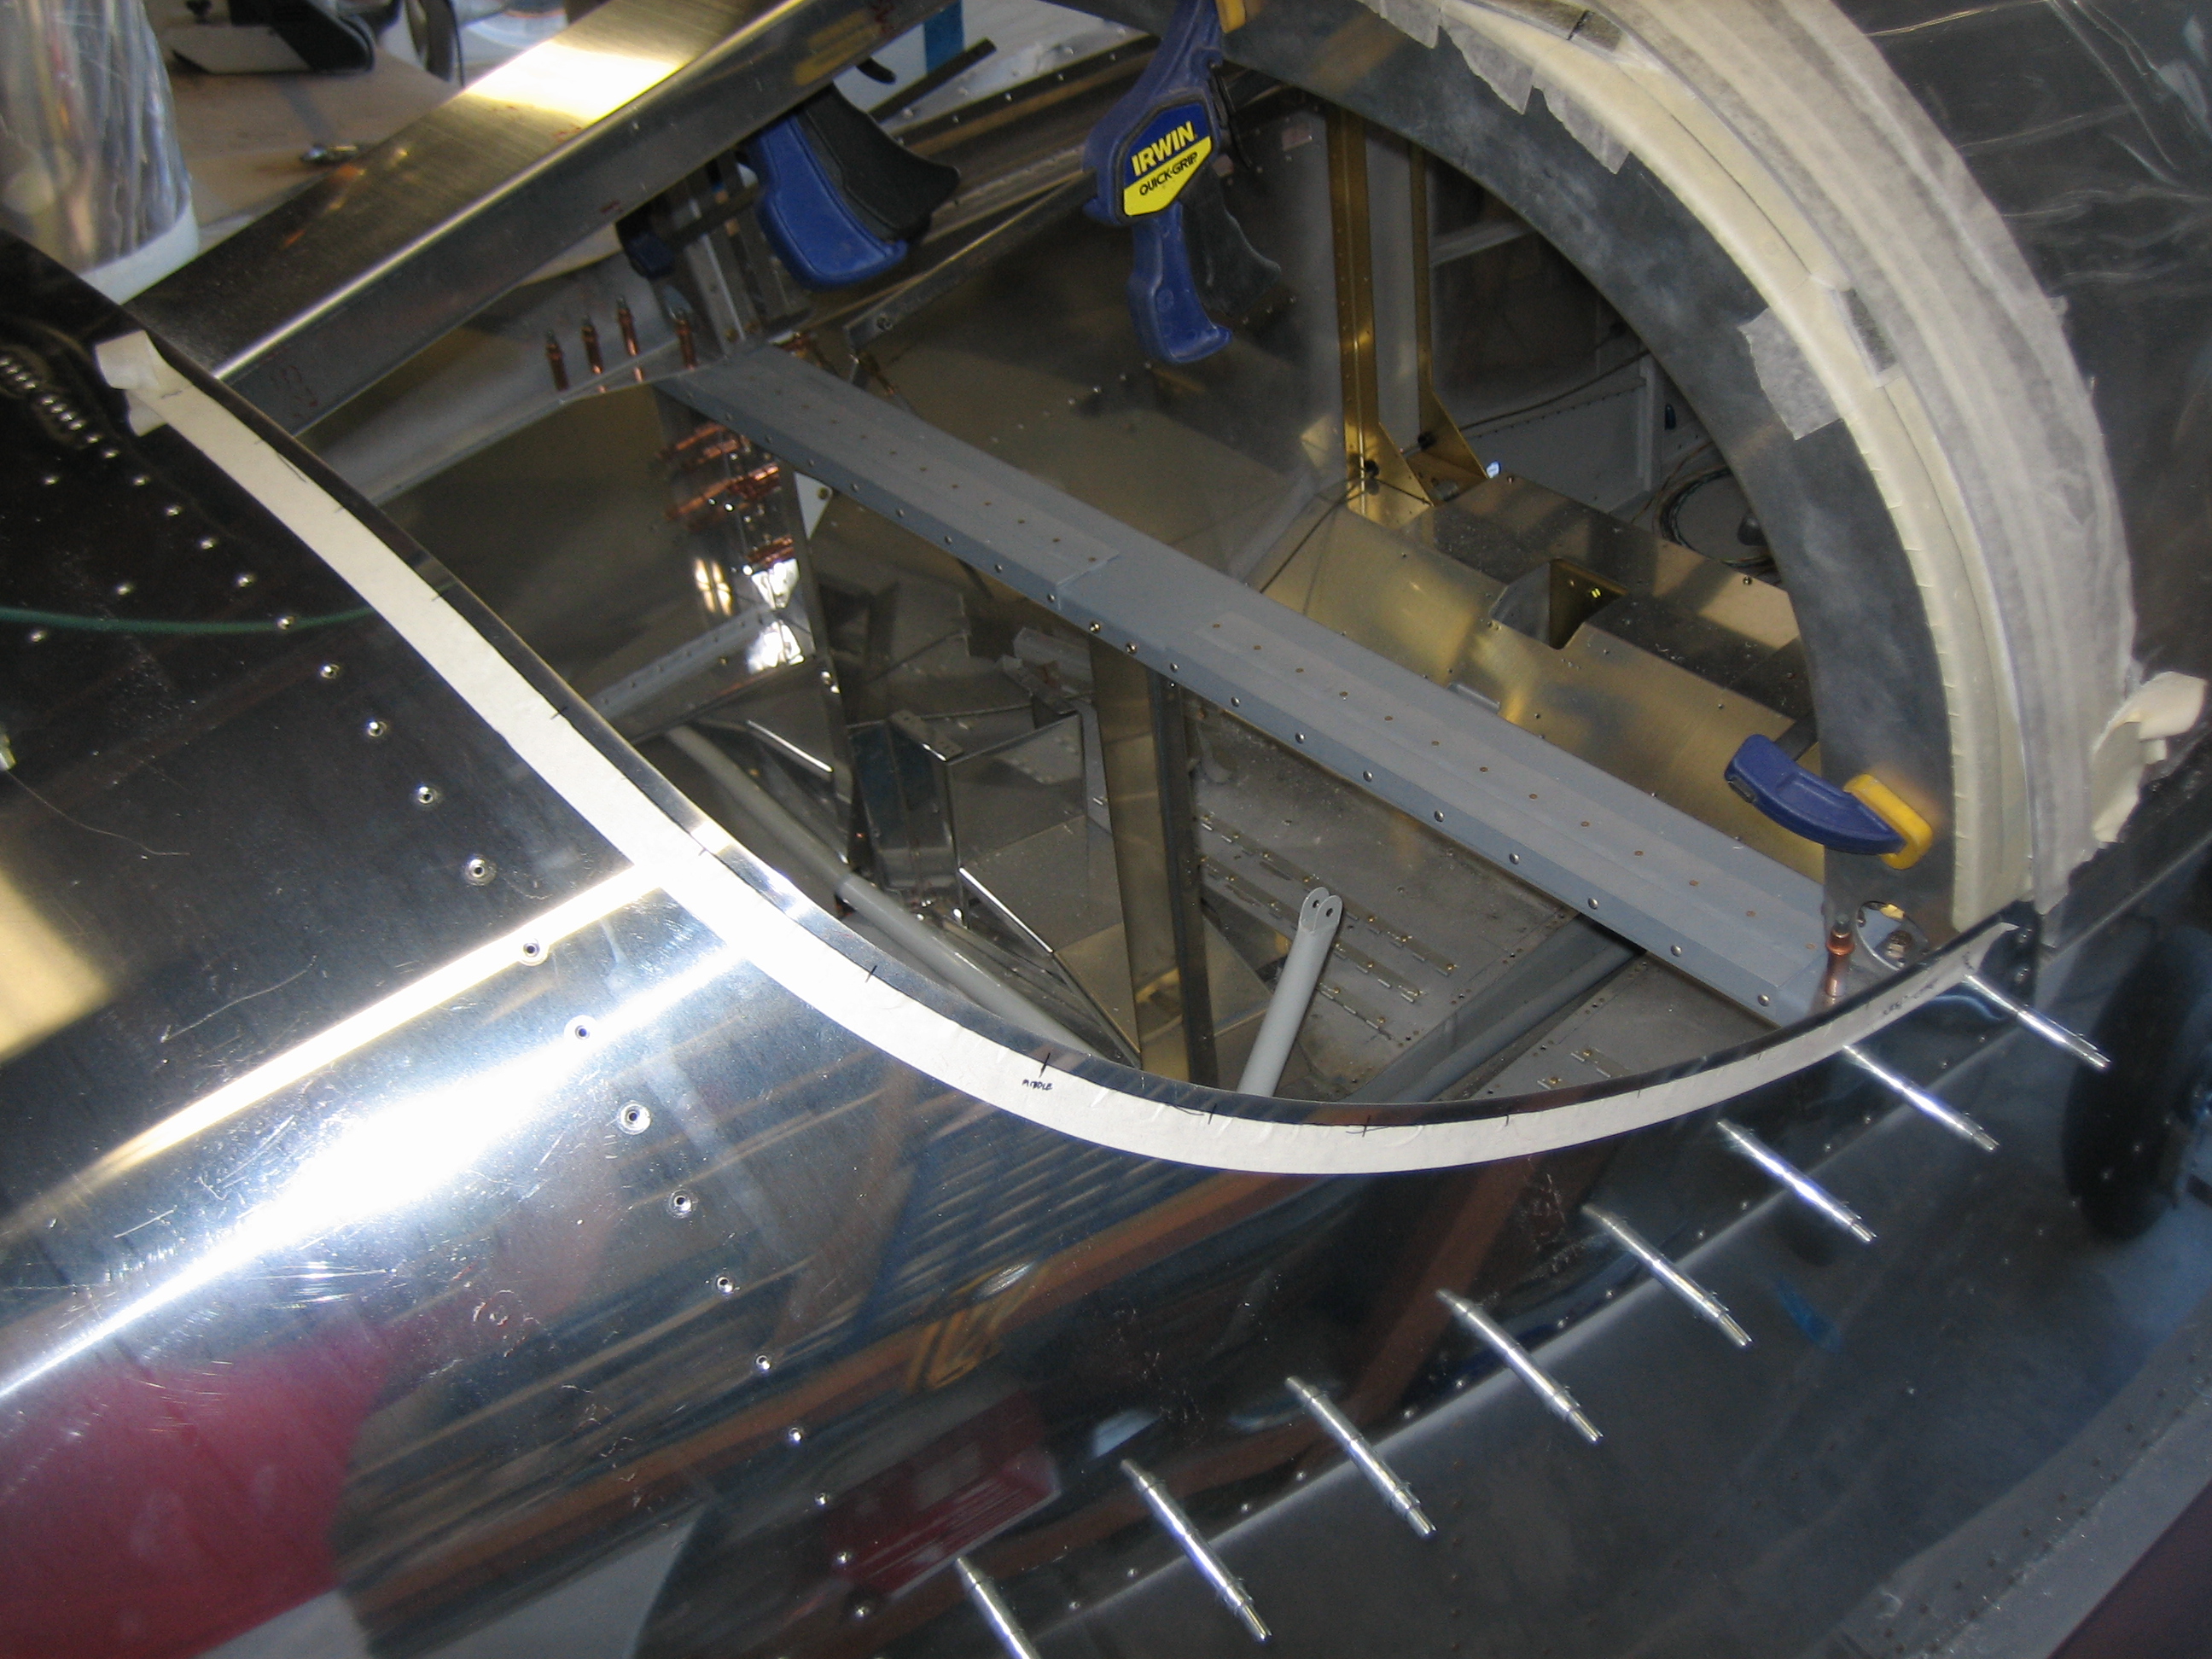
I also got a large adel clamp so that I can anchor the fuel line to one of the intake tubes on the run from the mechanical fuel pump to the servo.