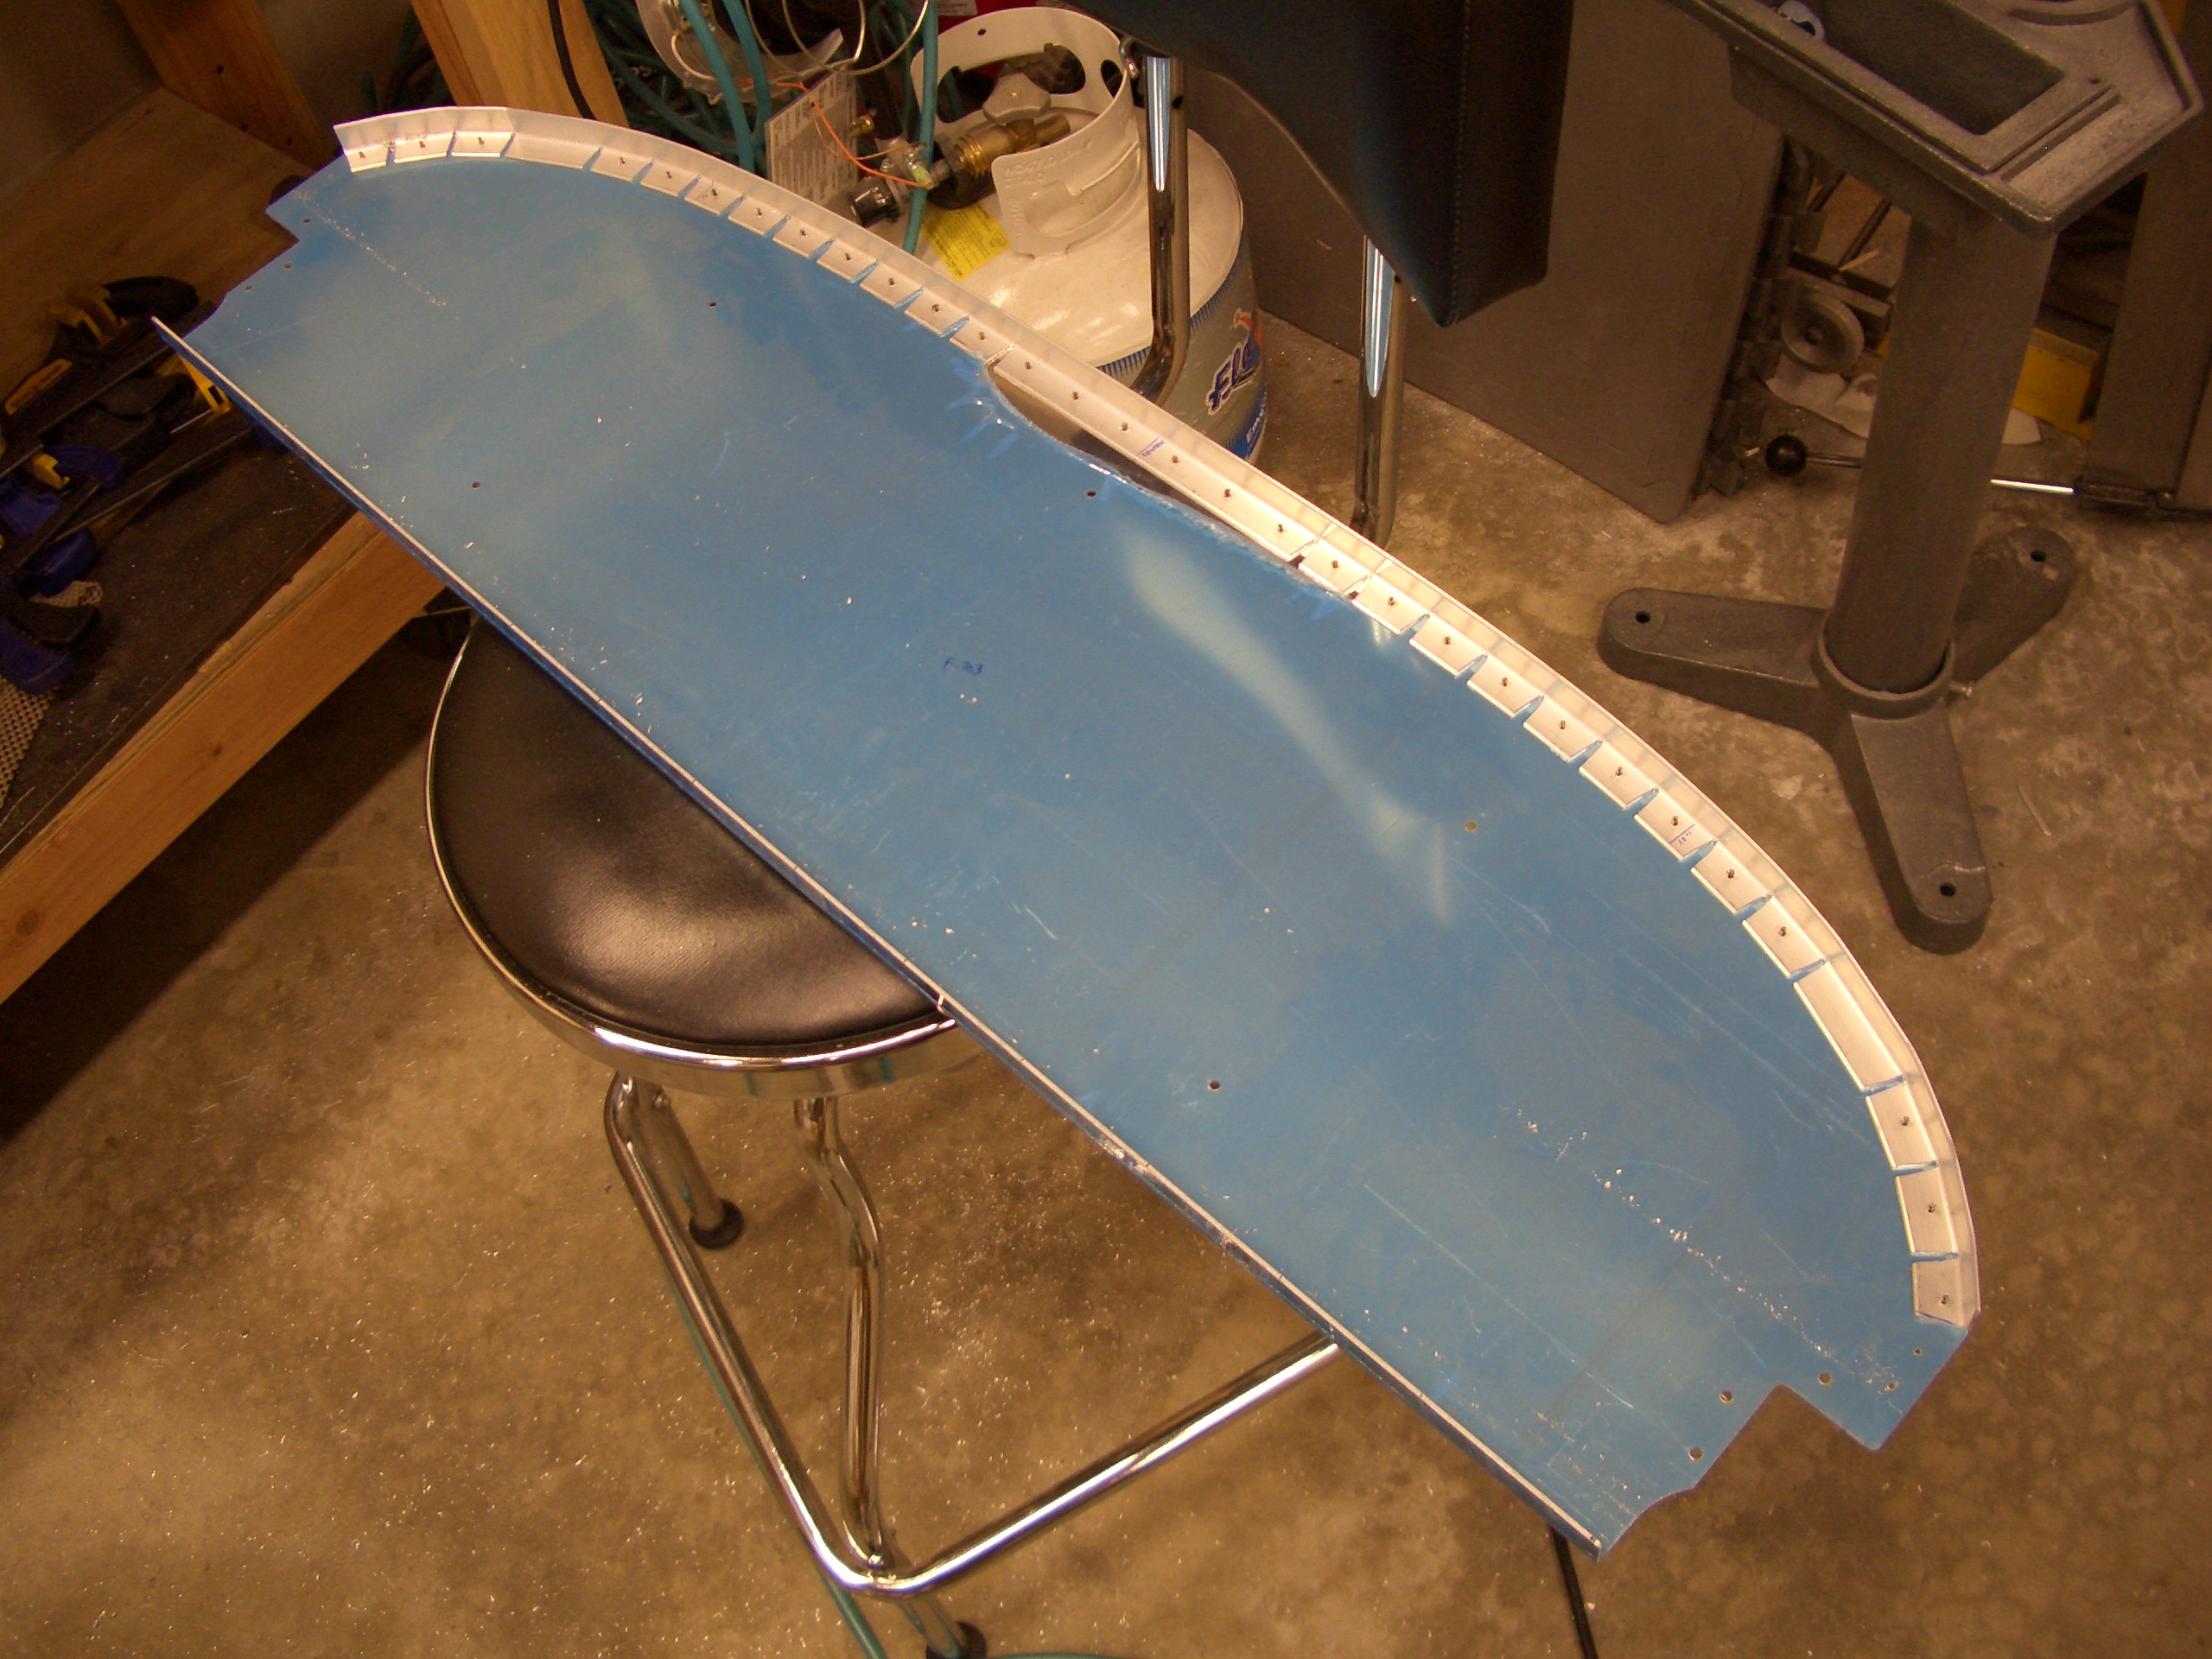
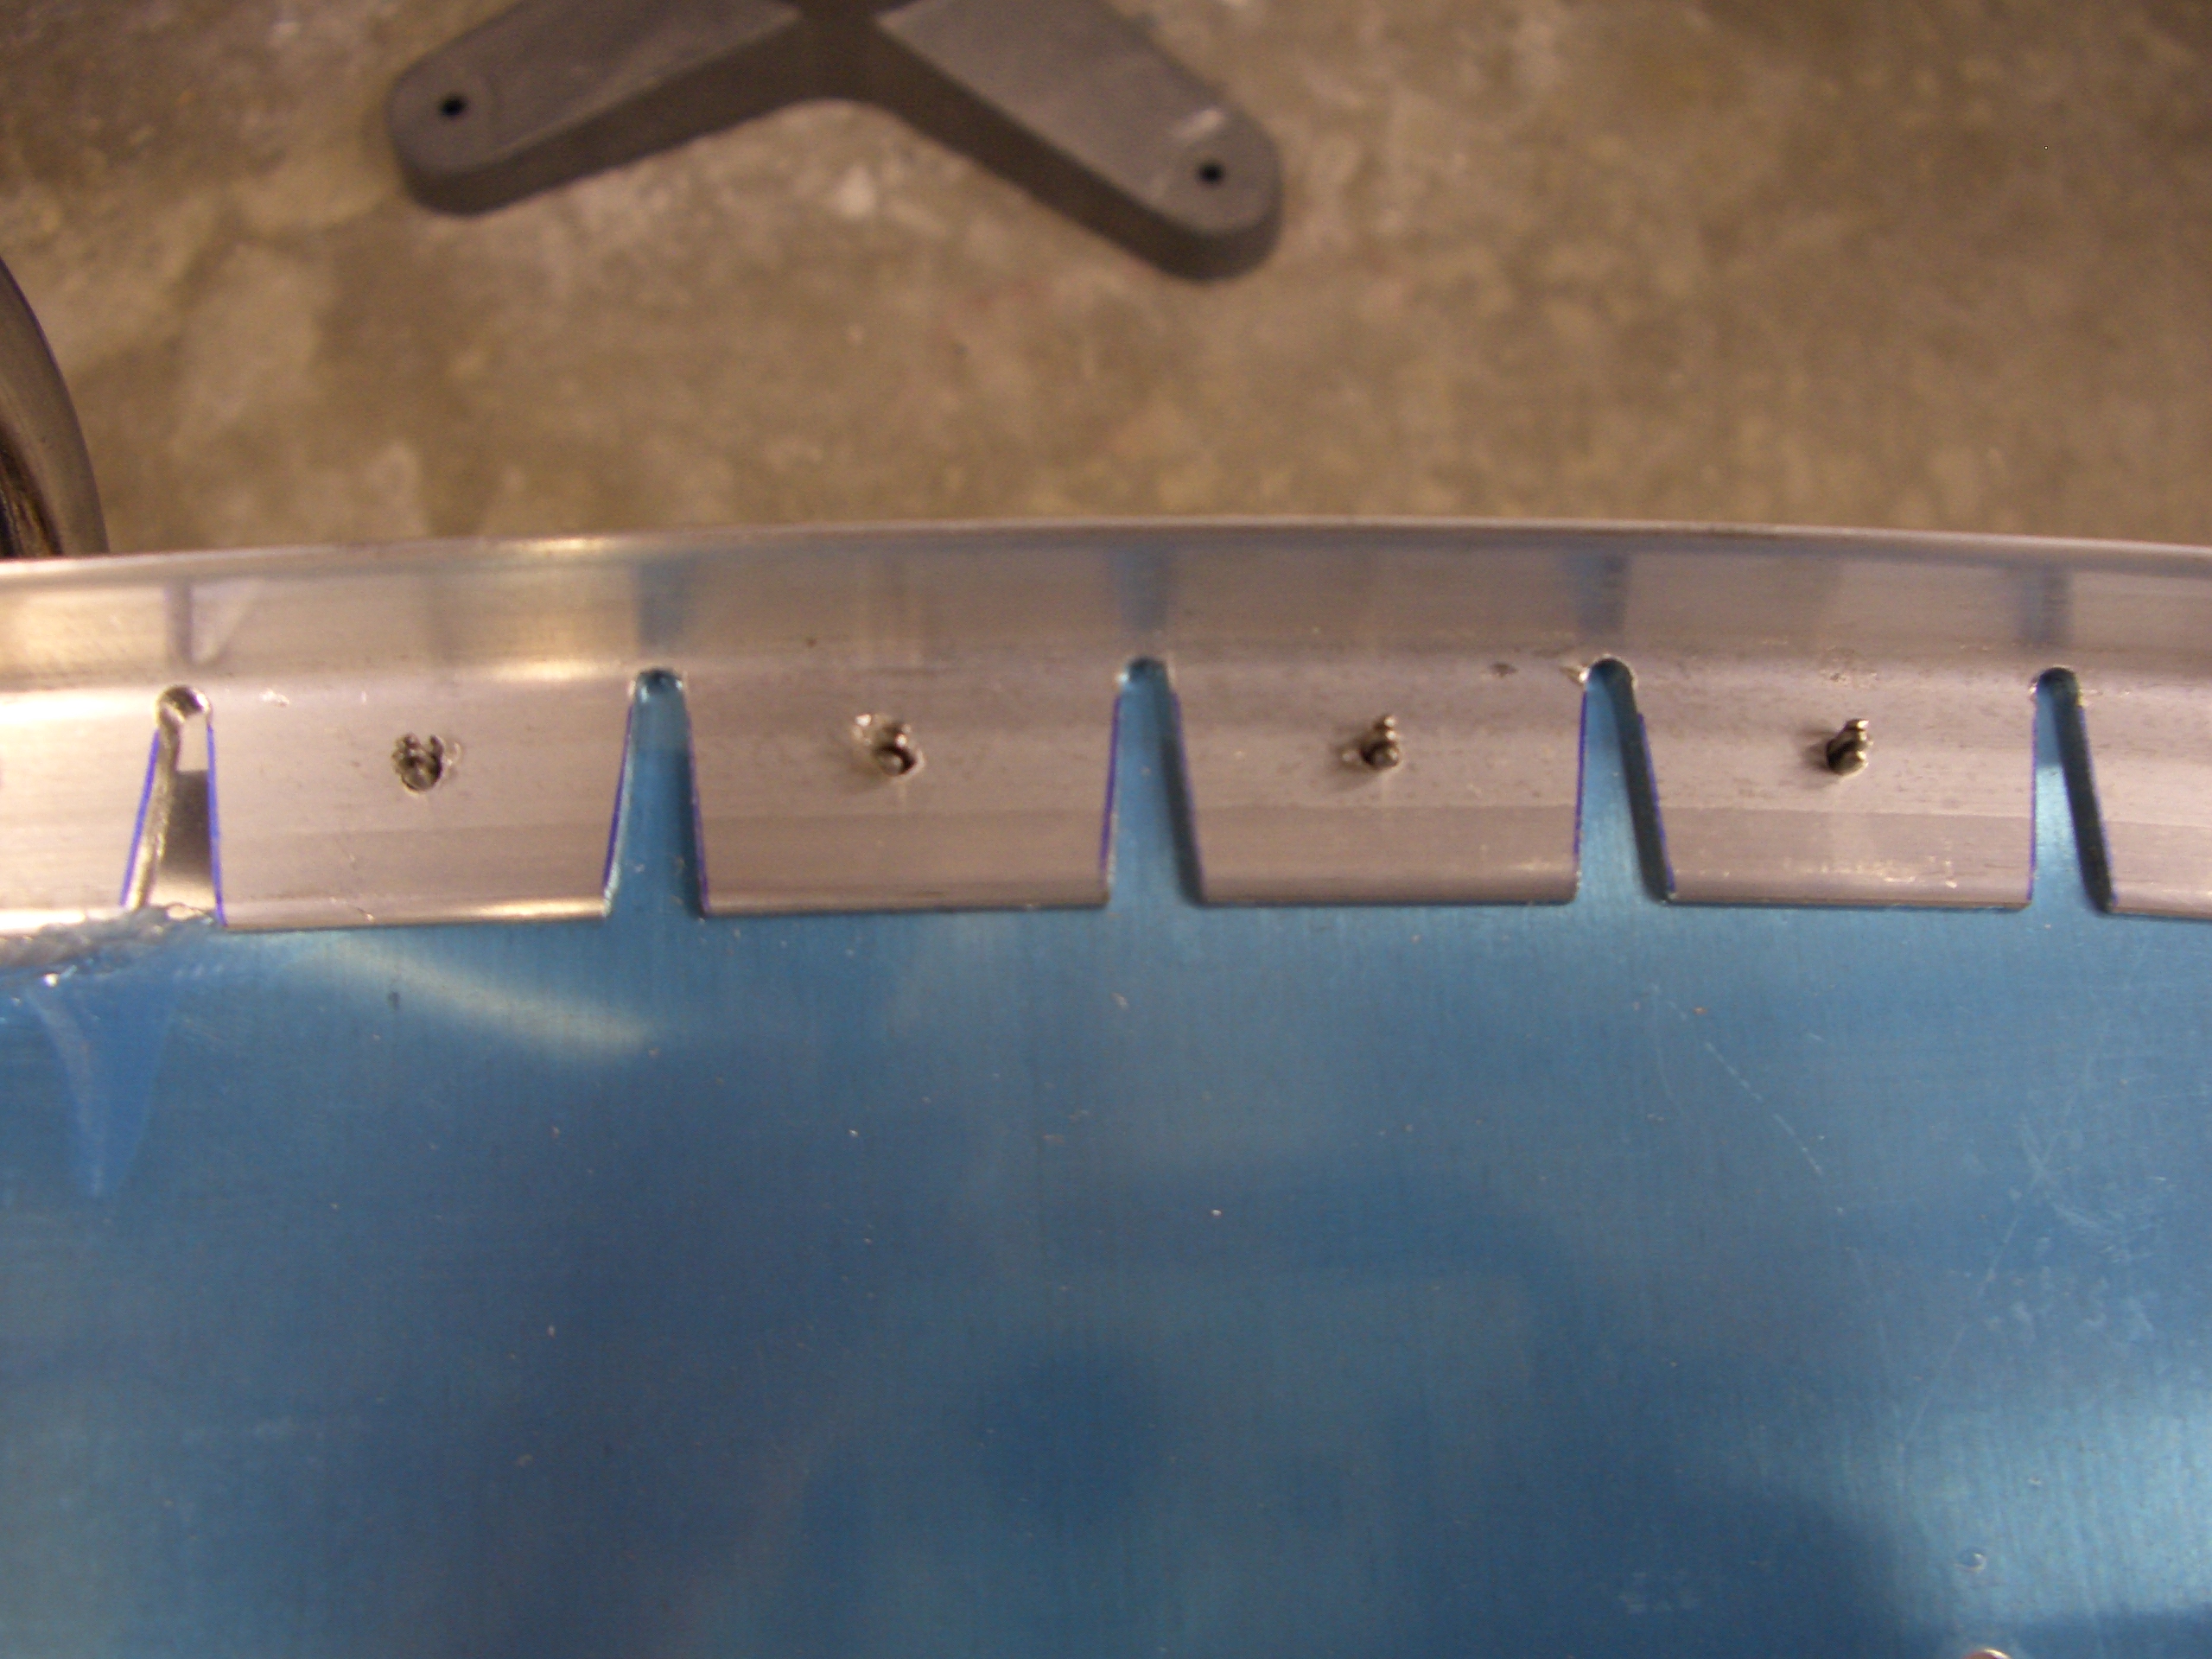
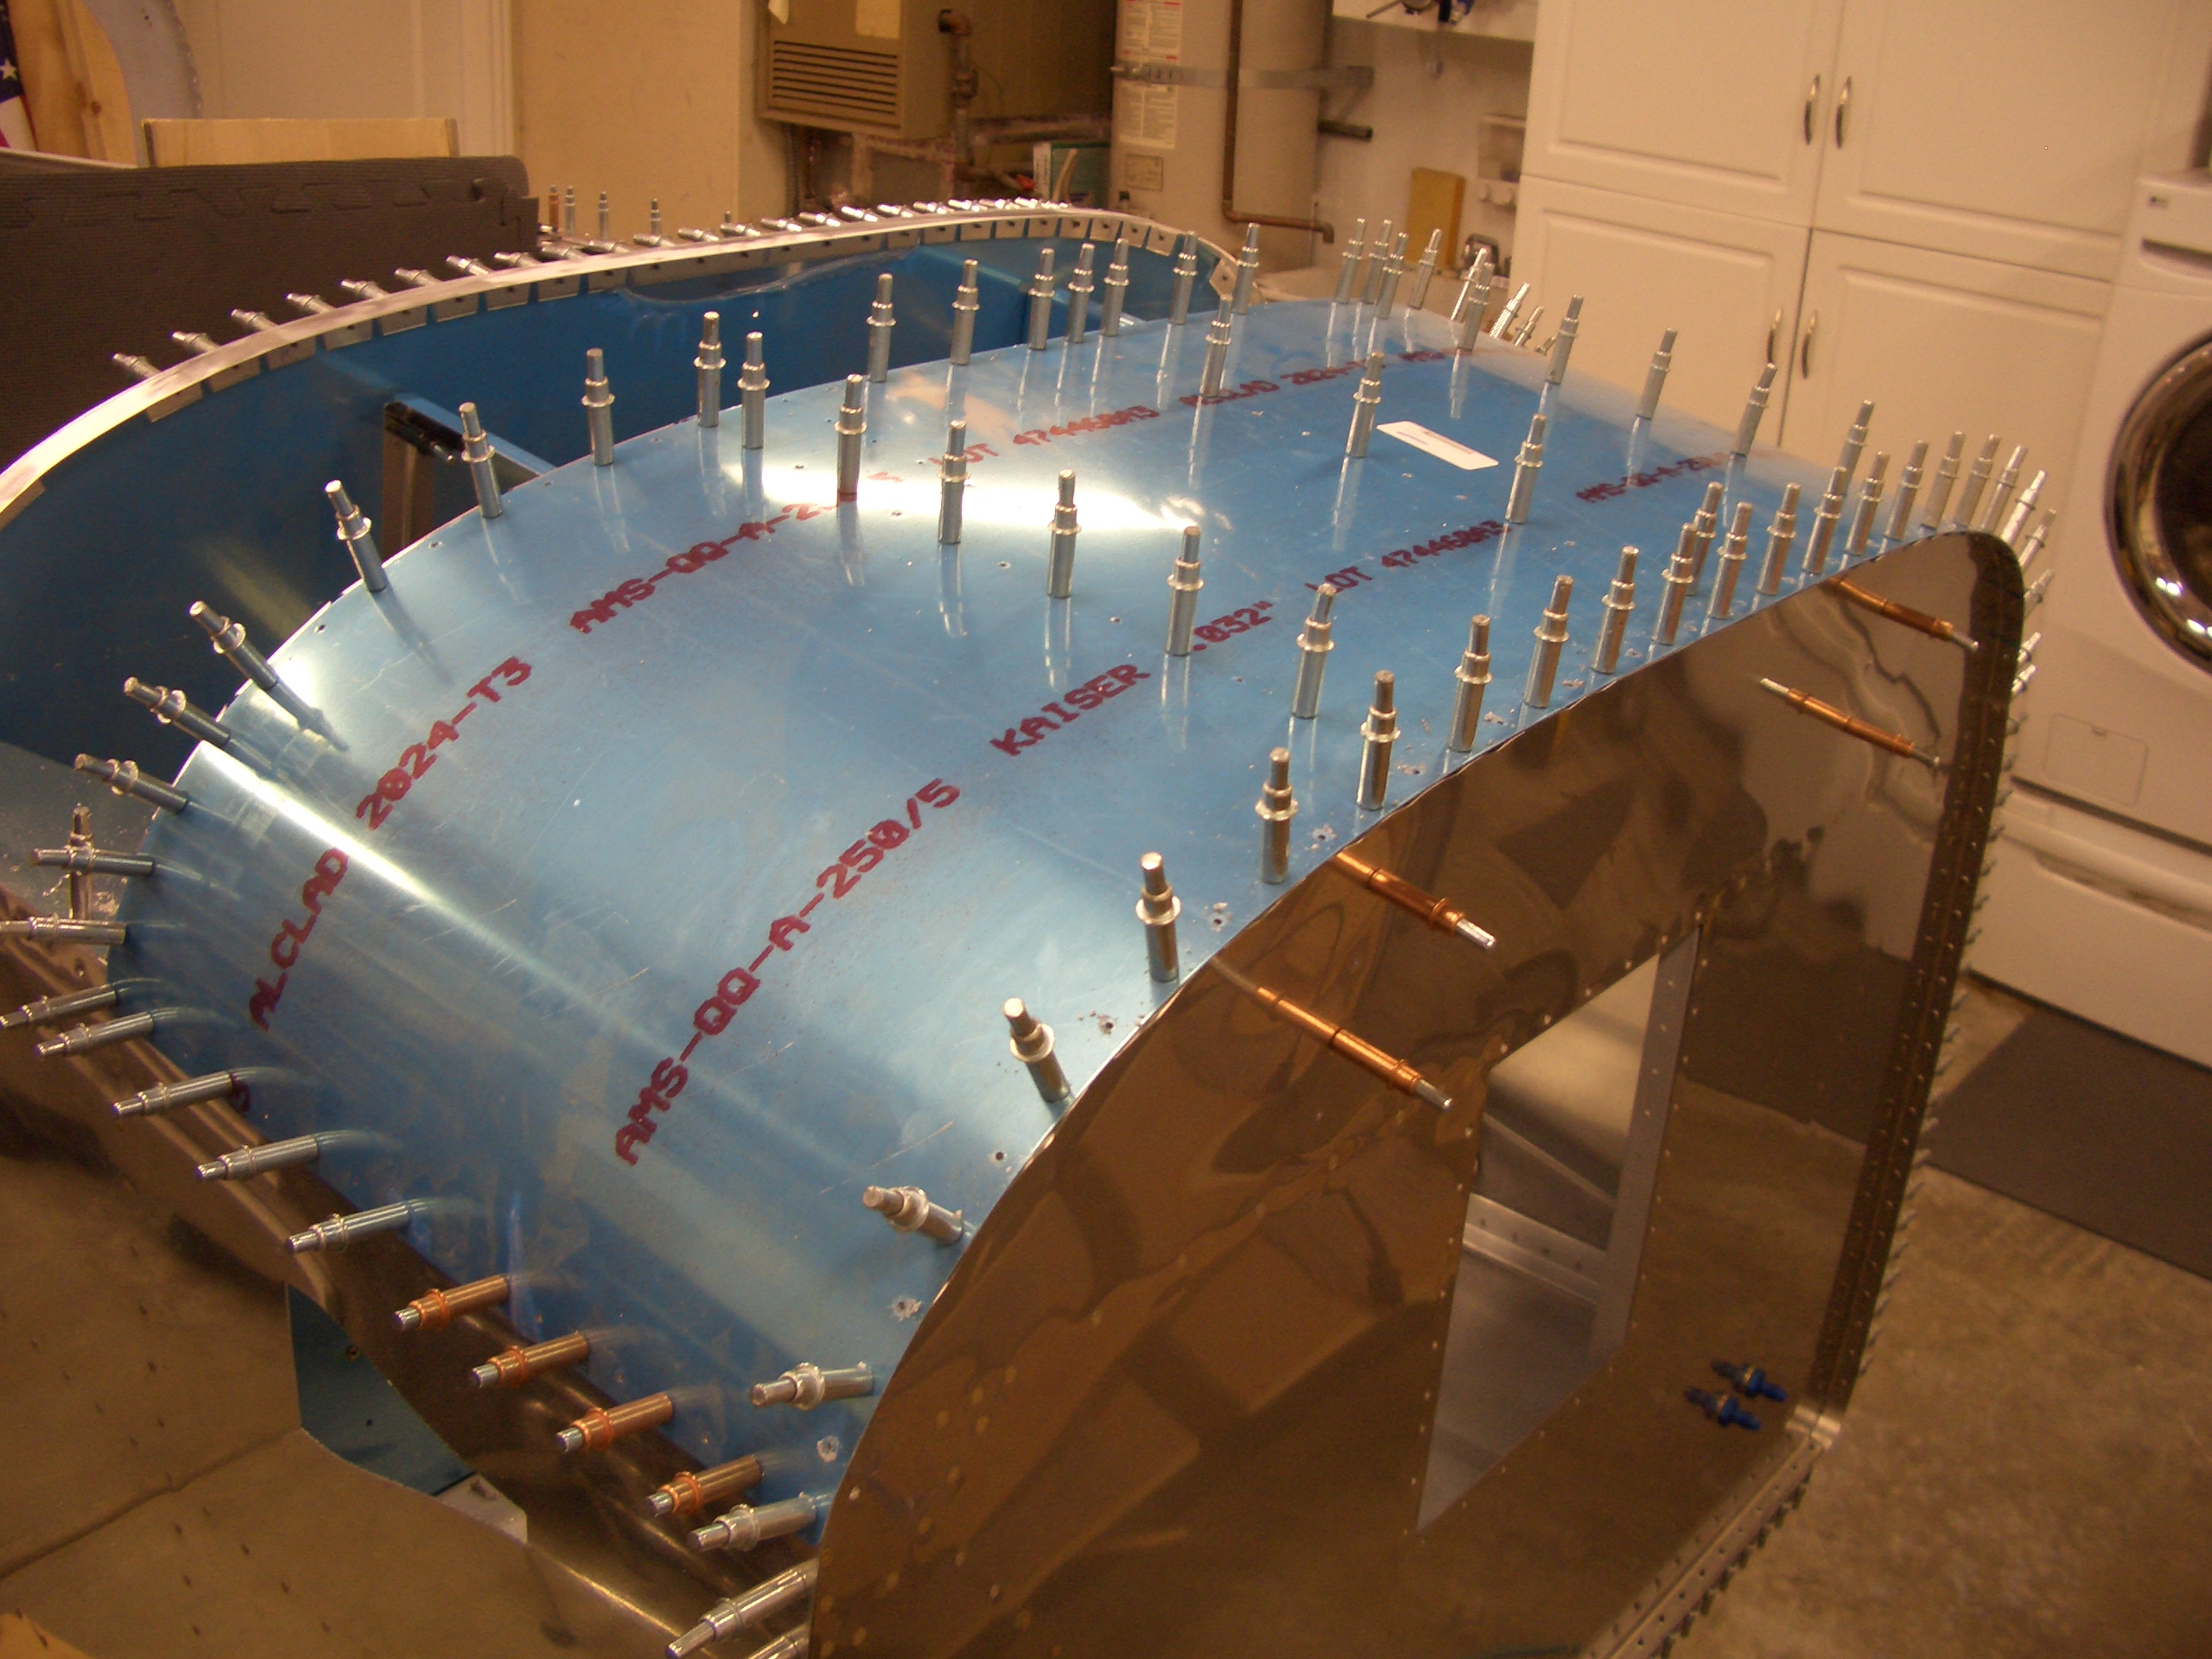
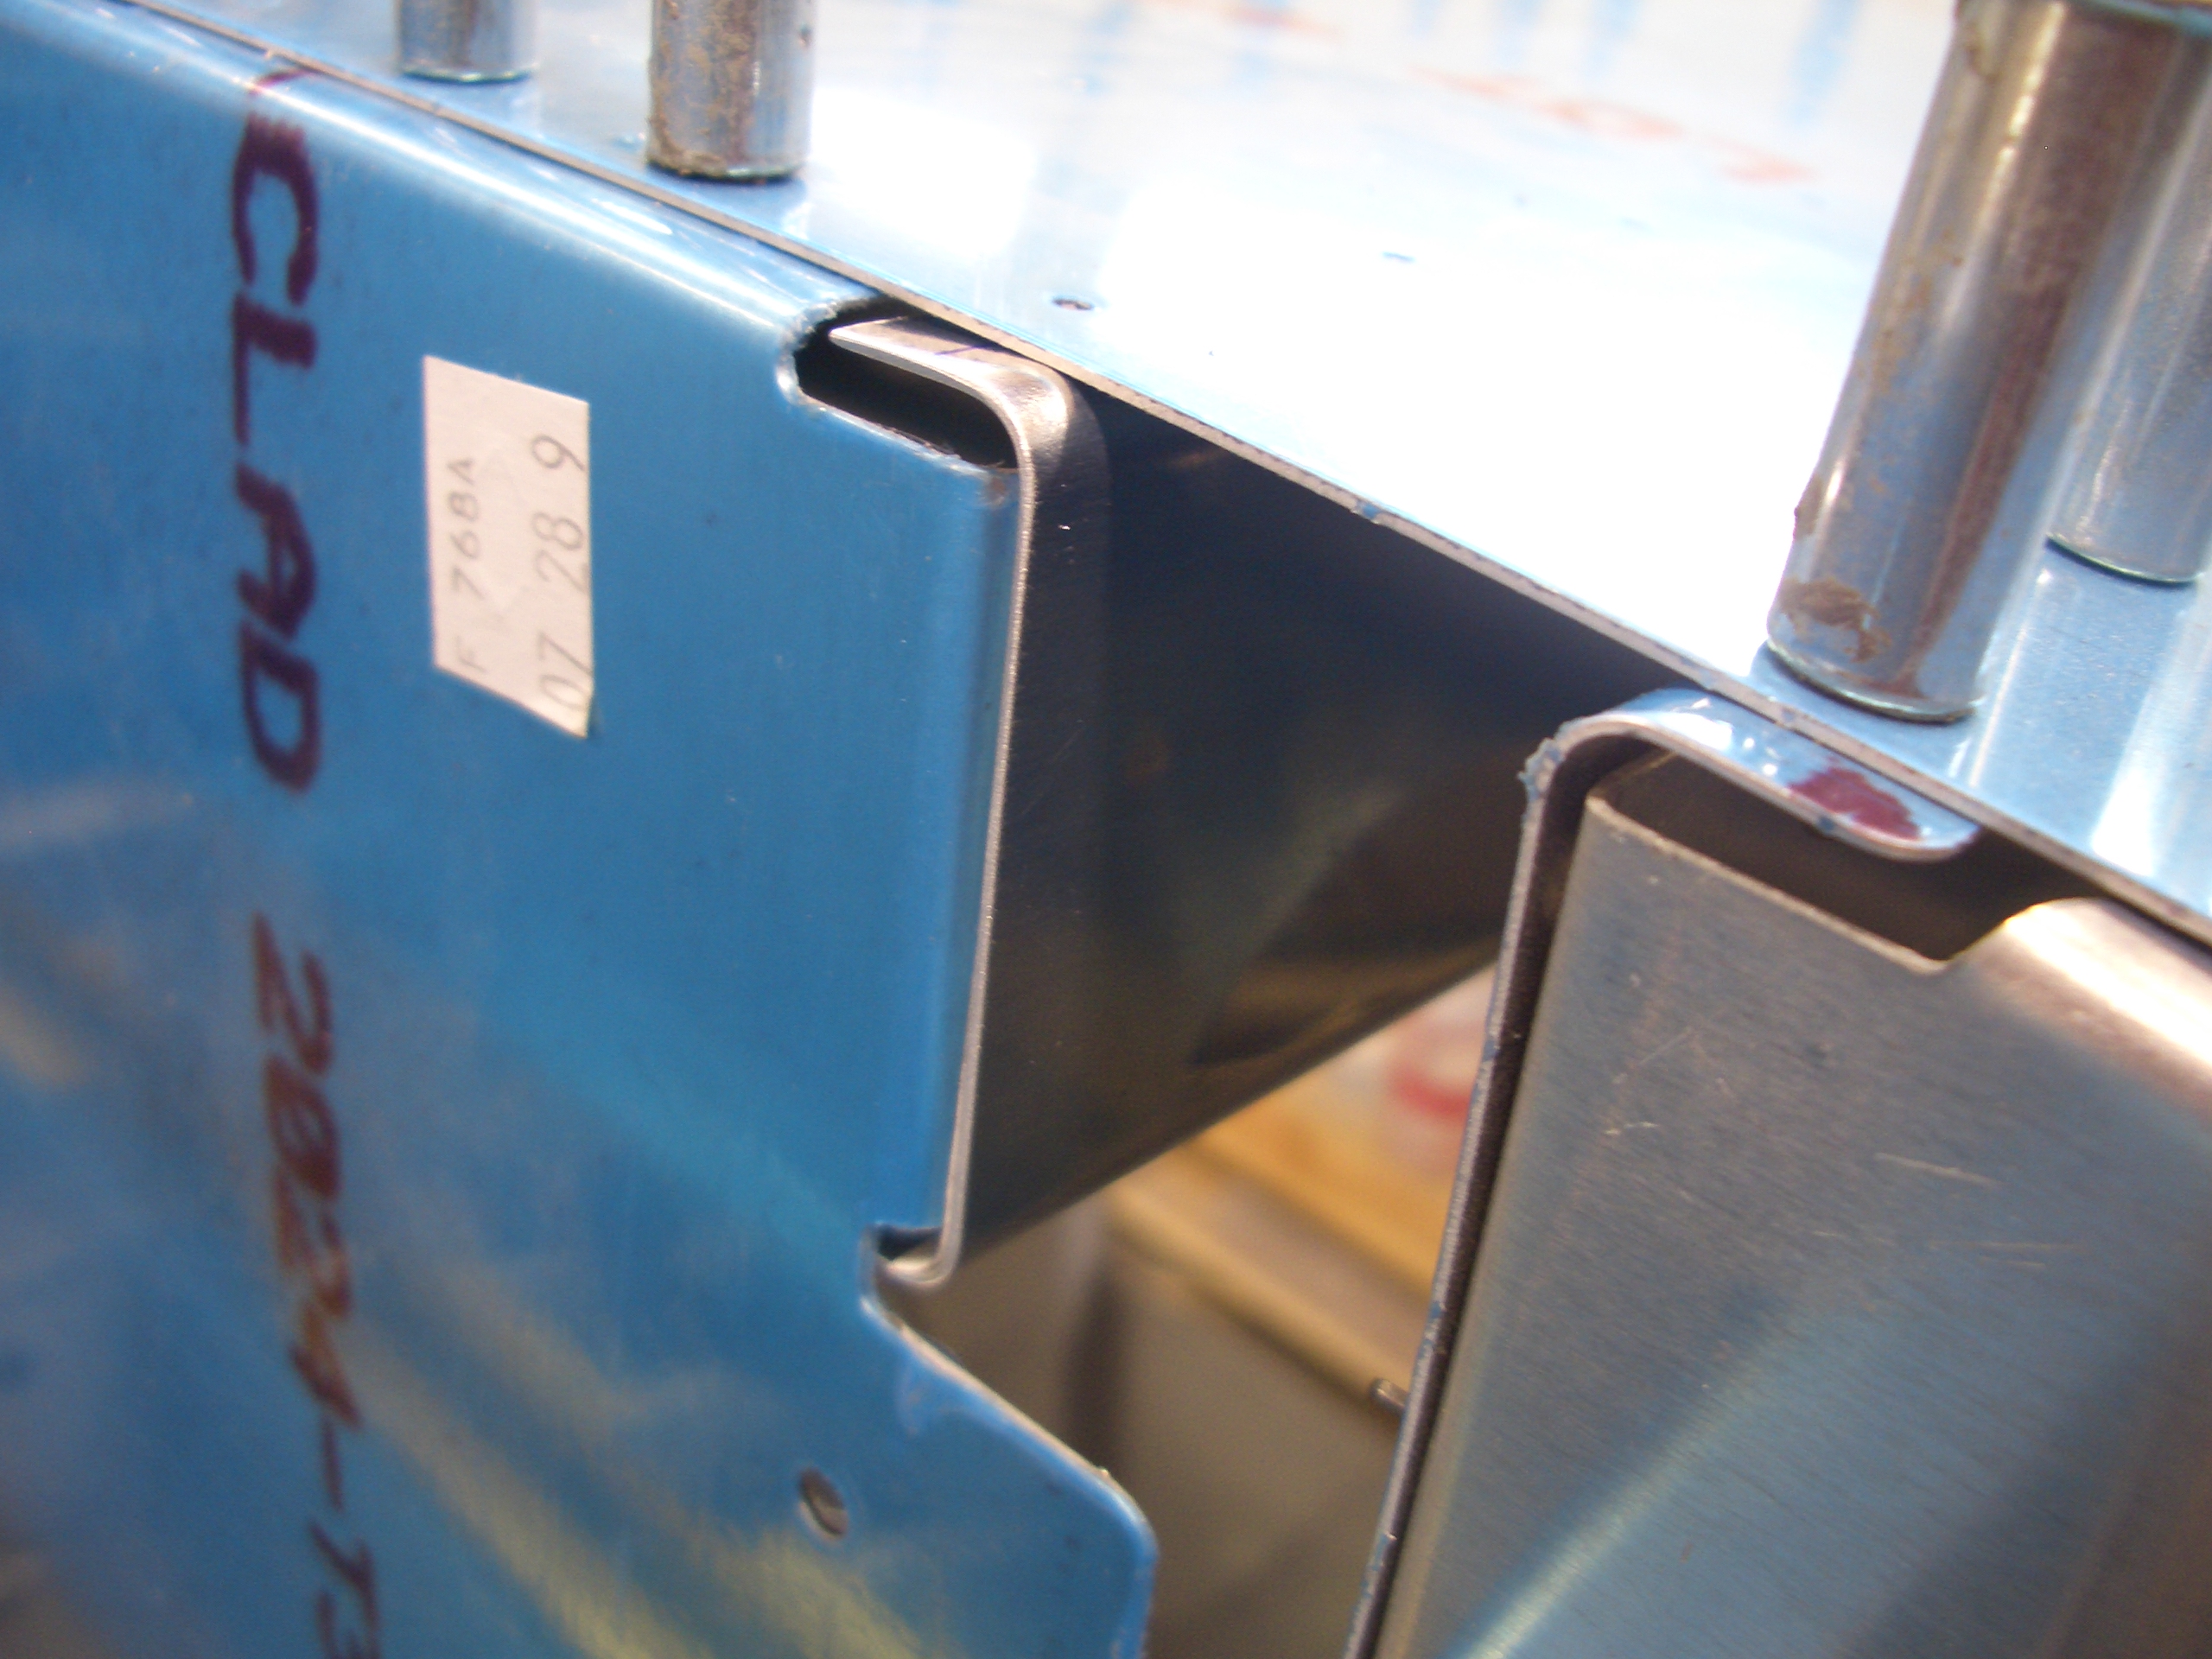
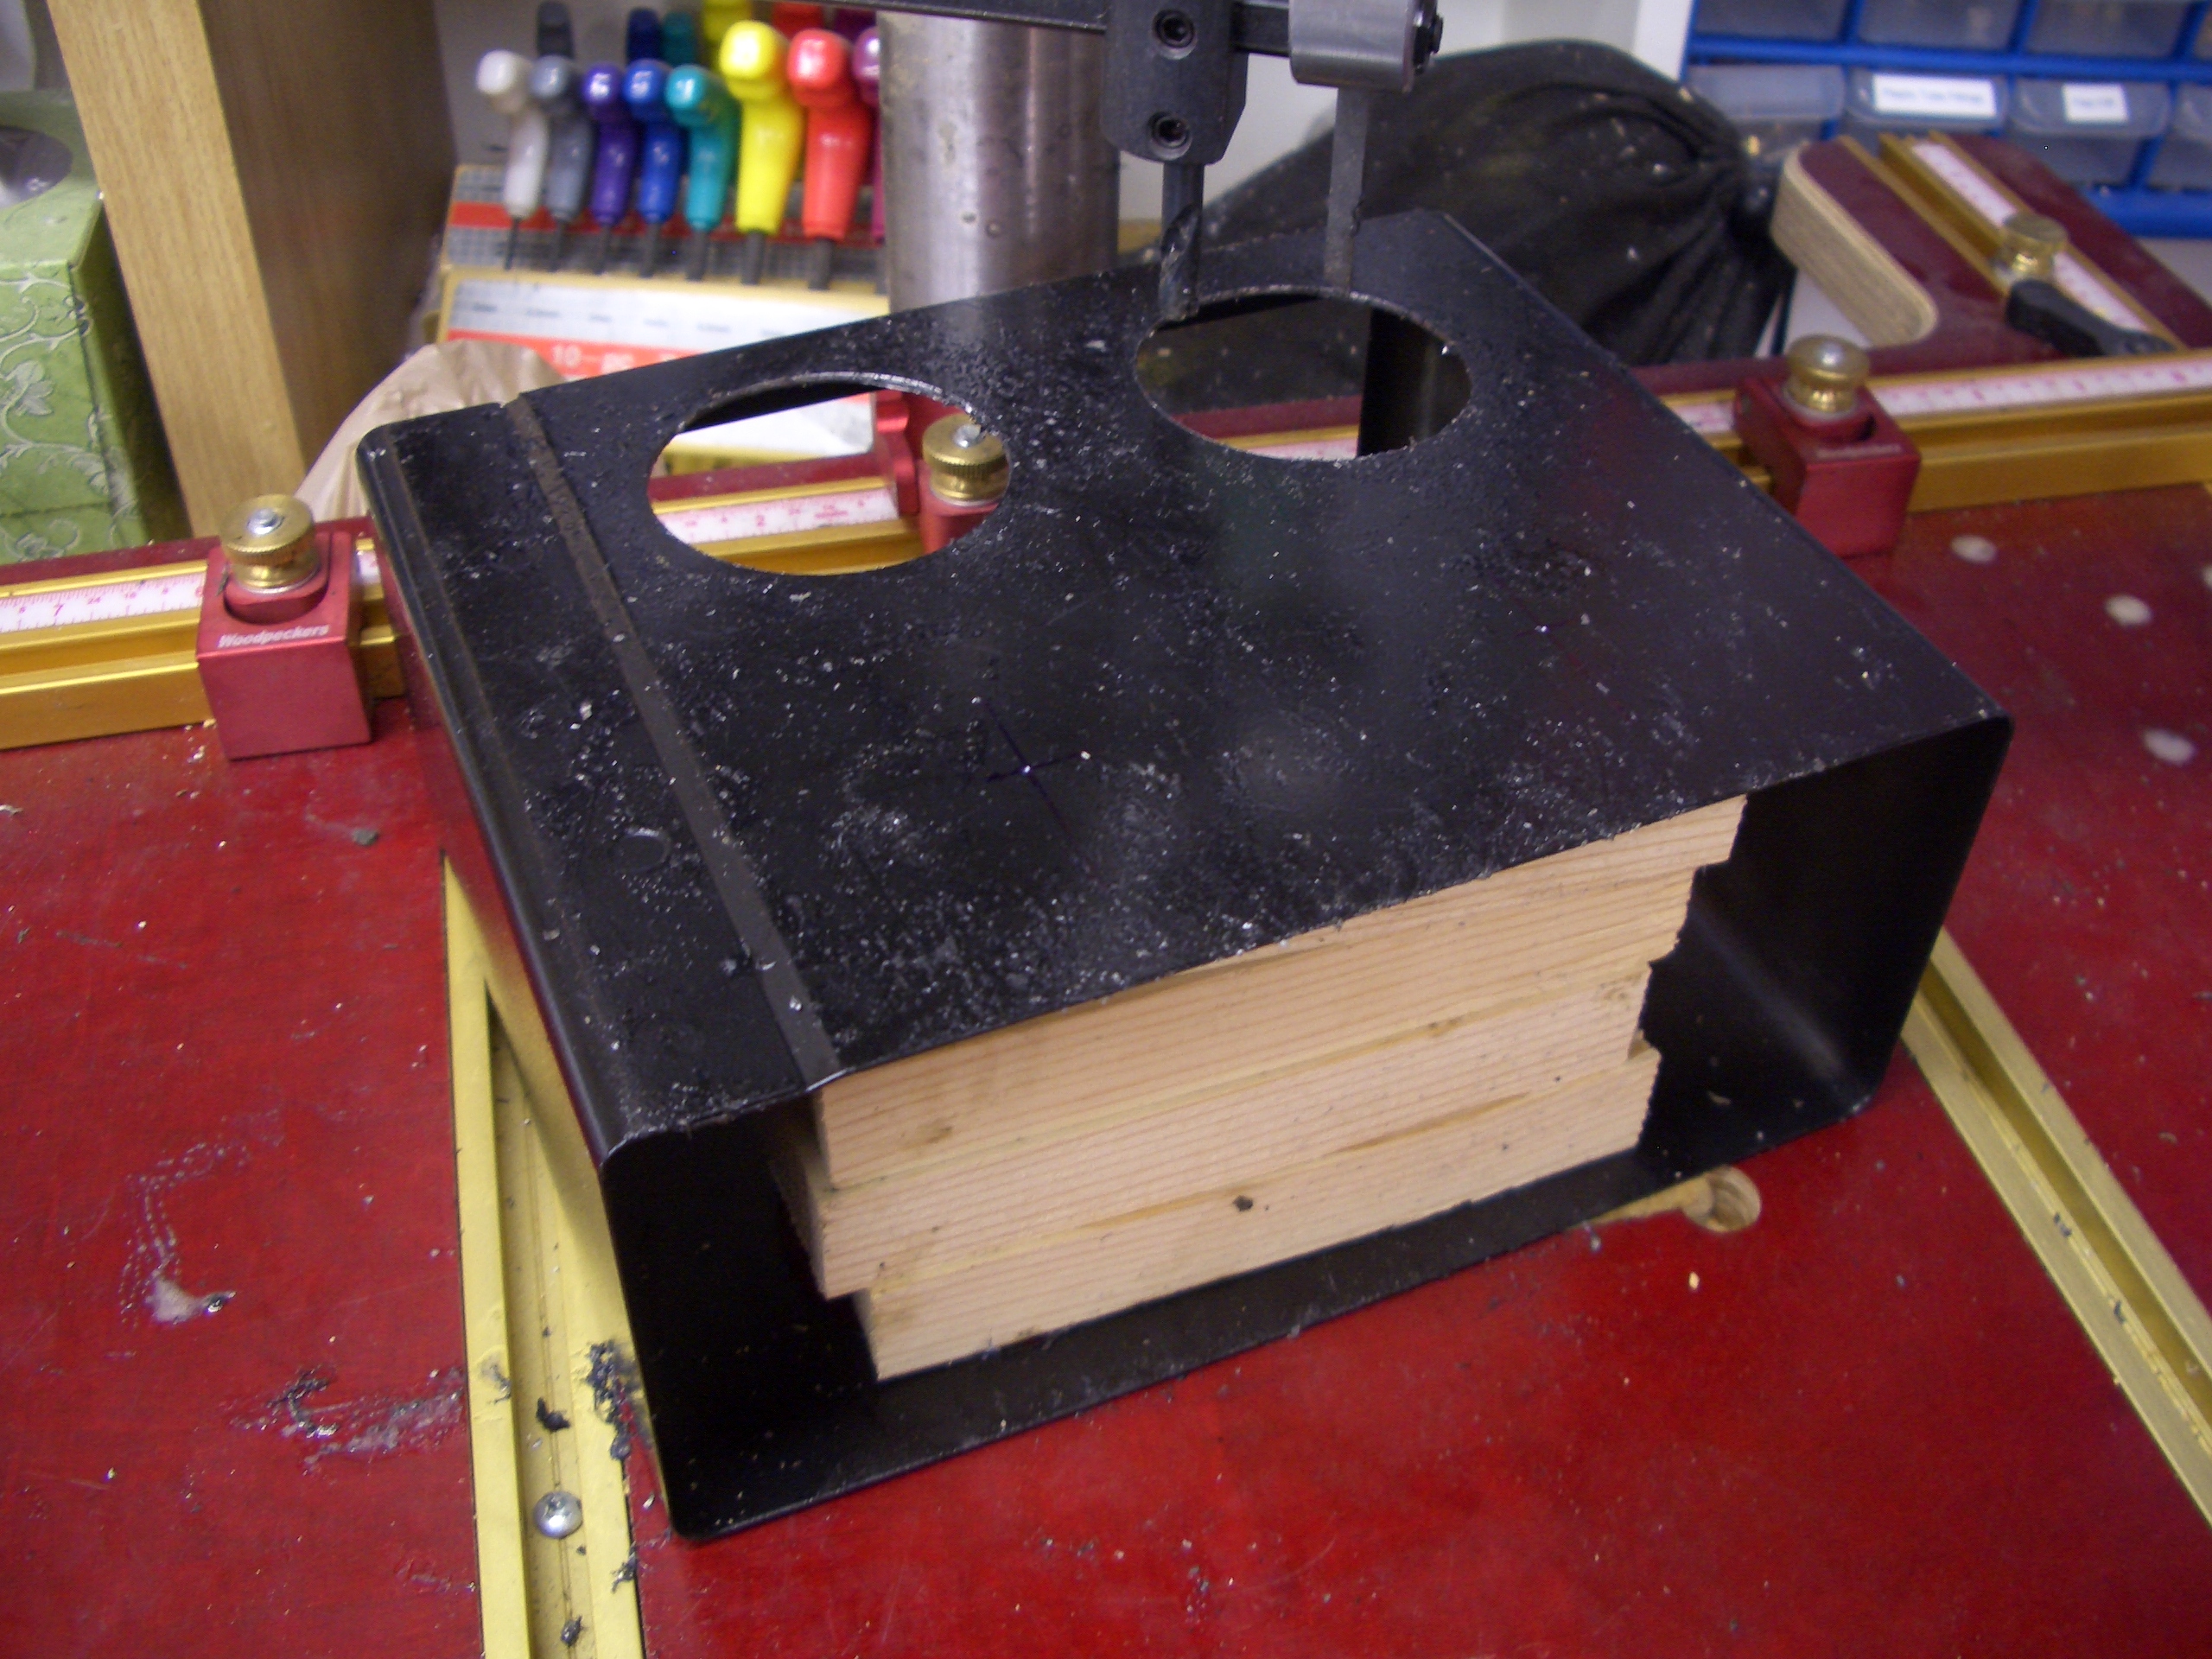
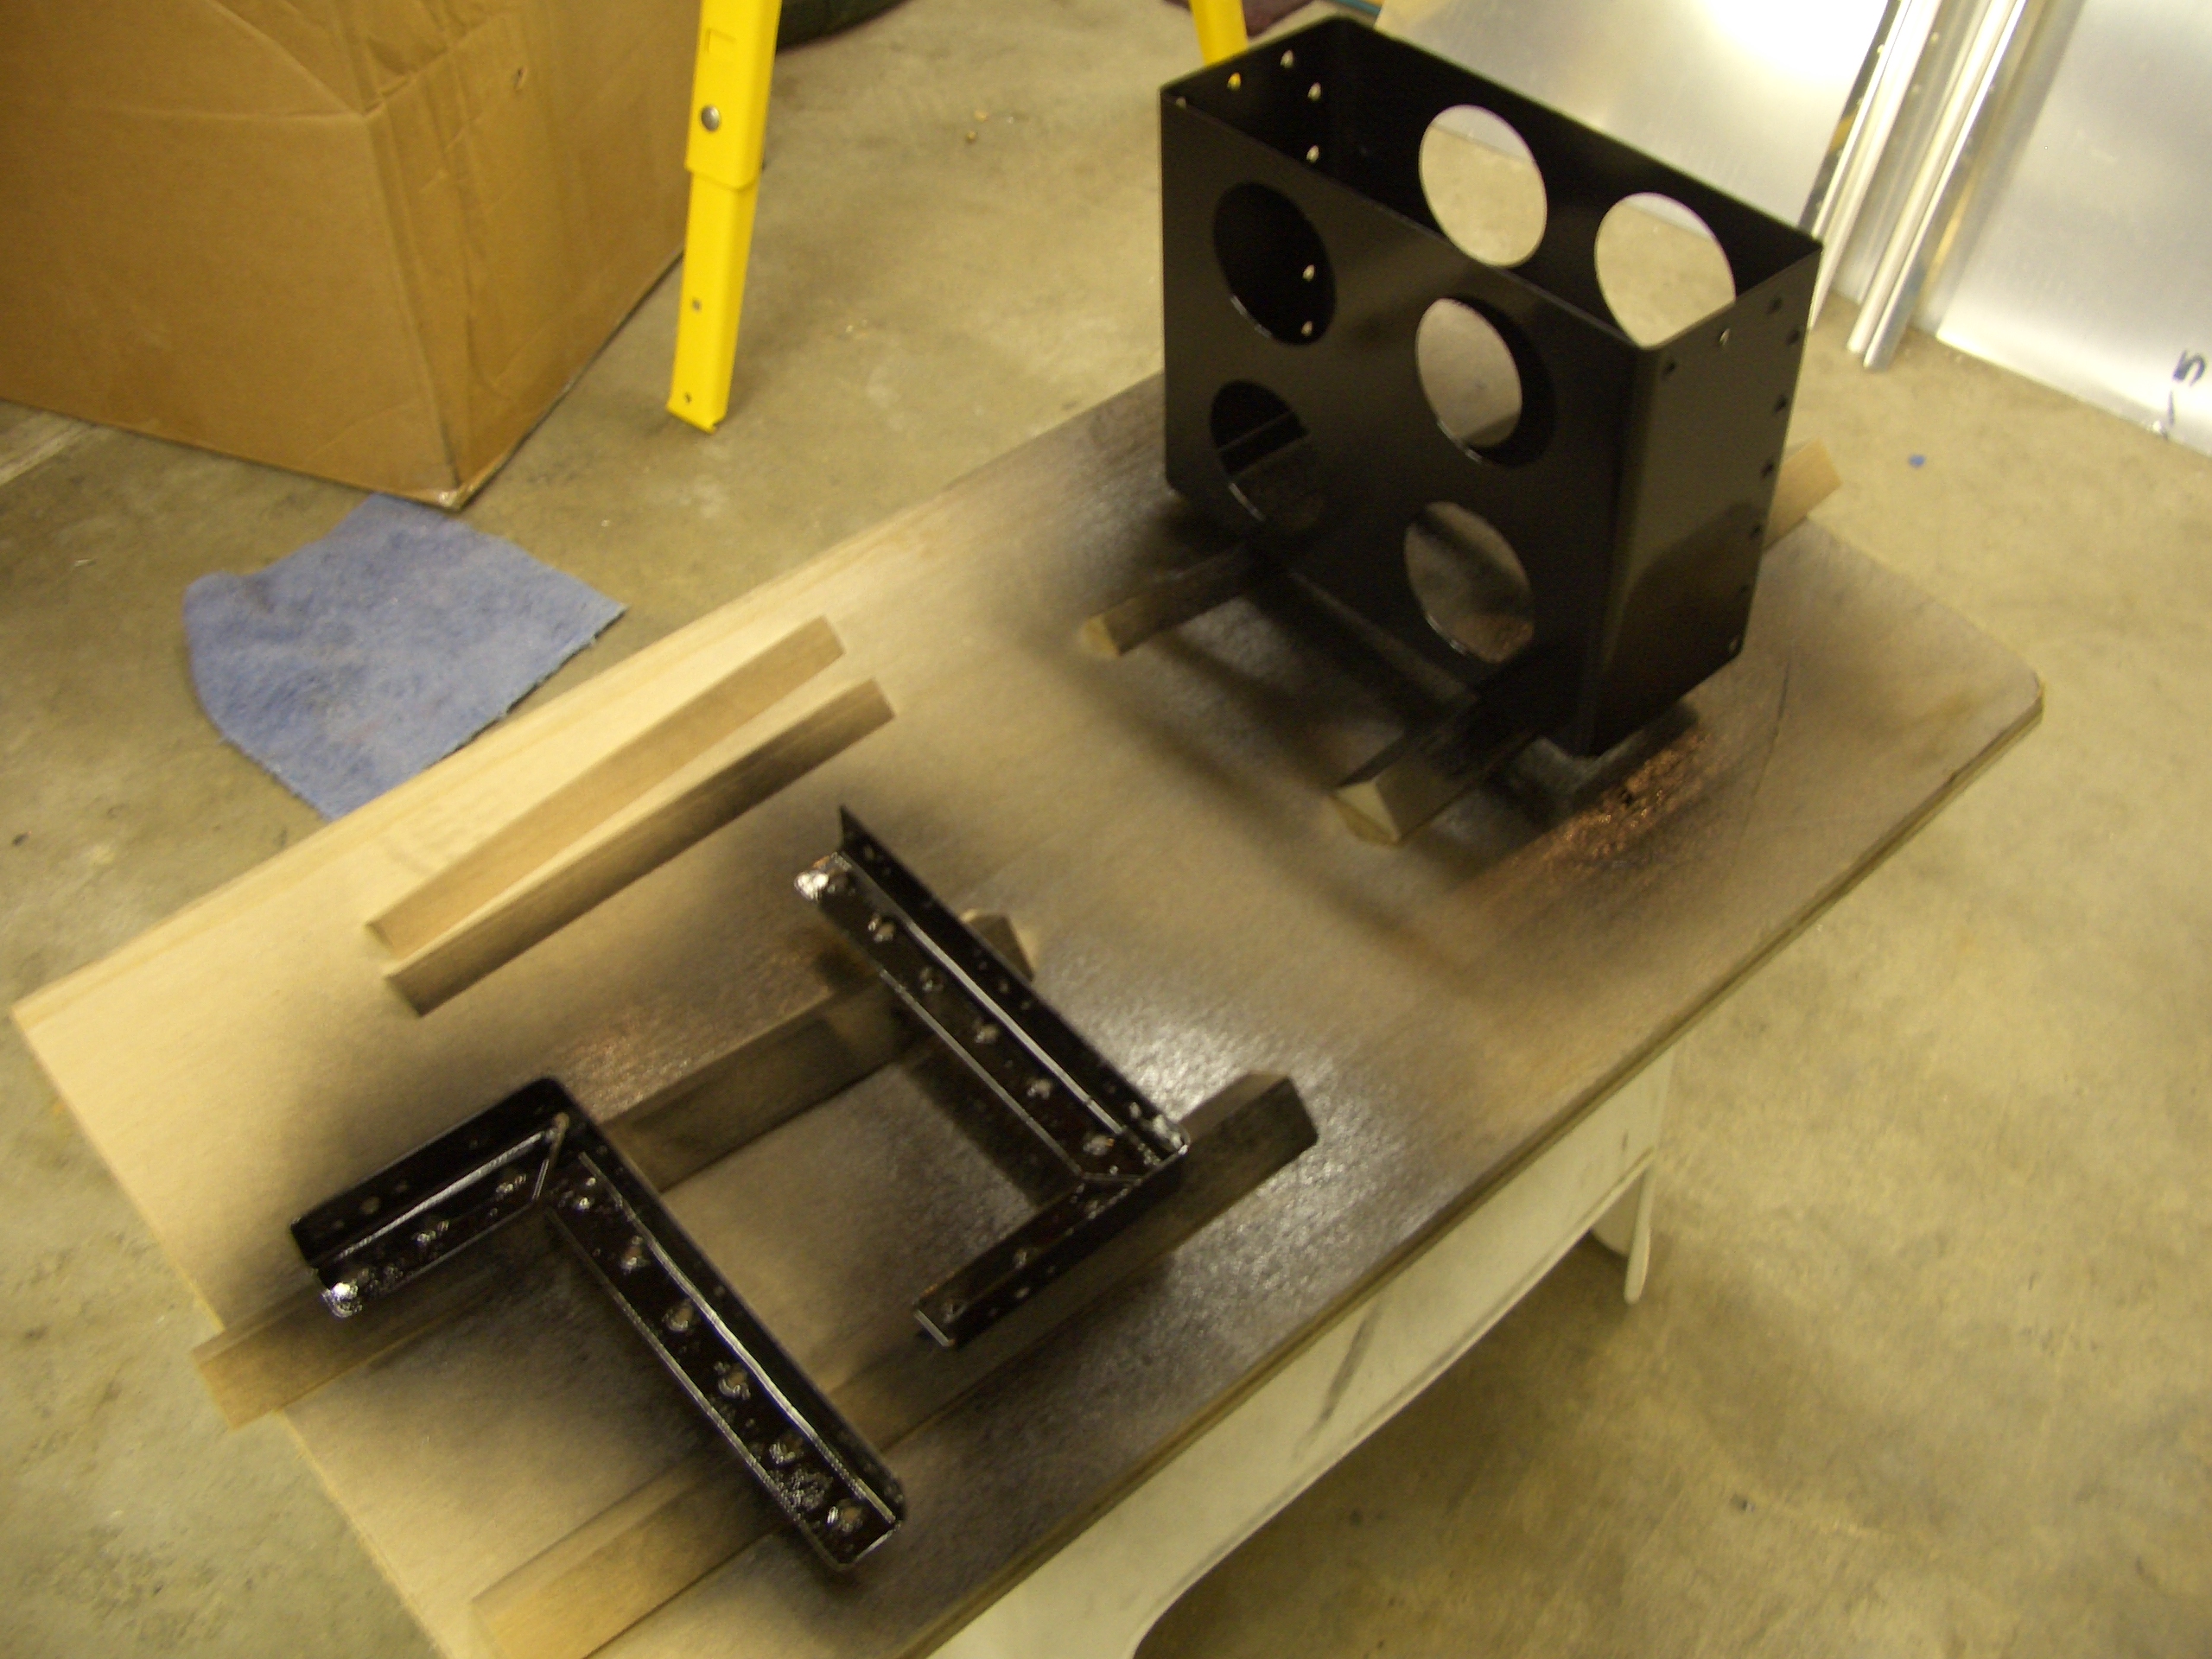
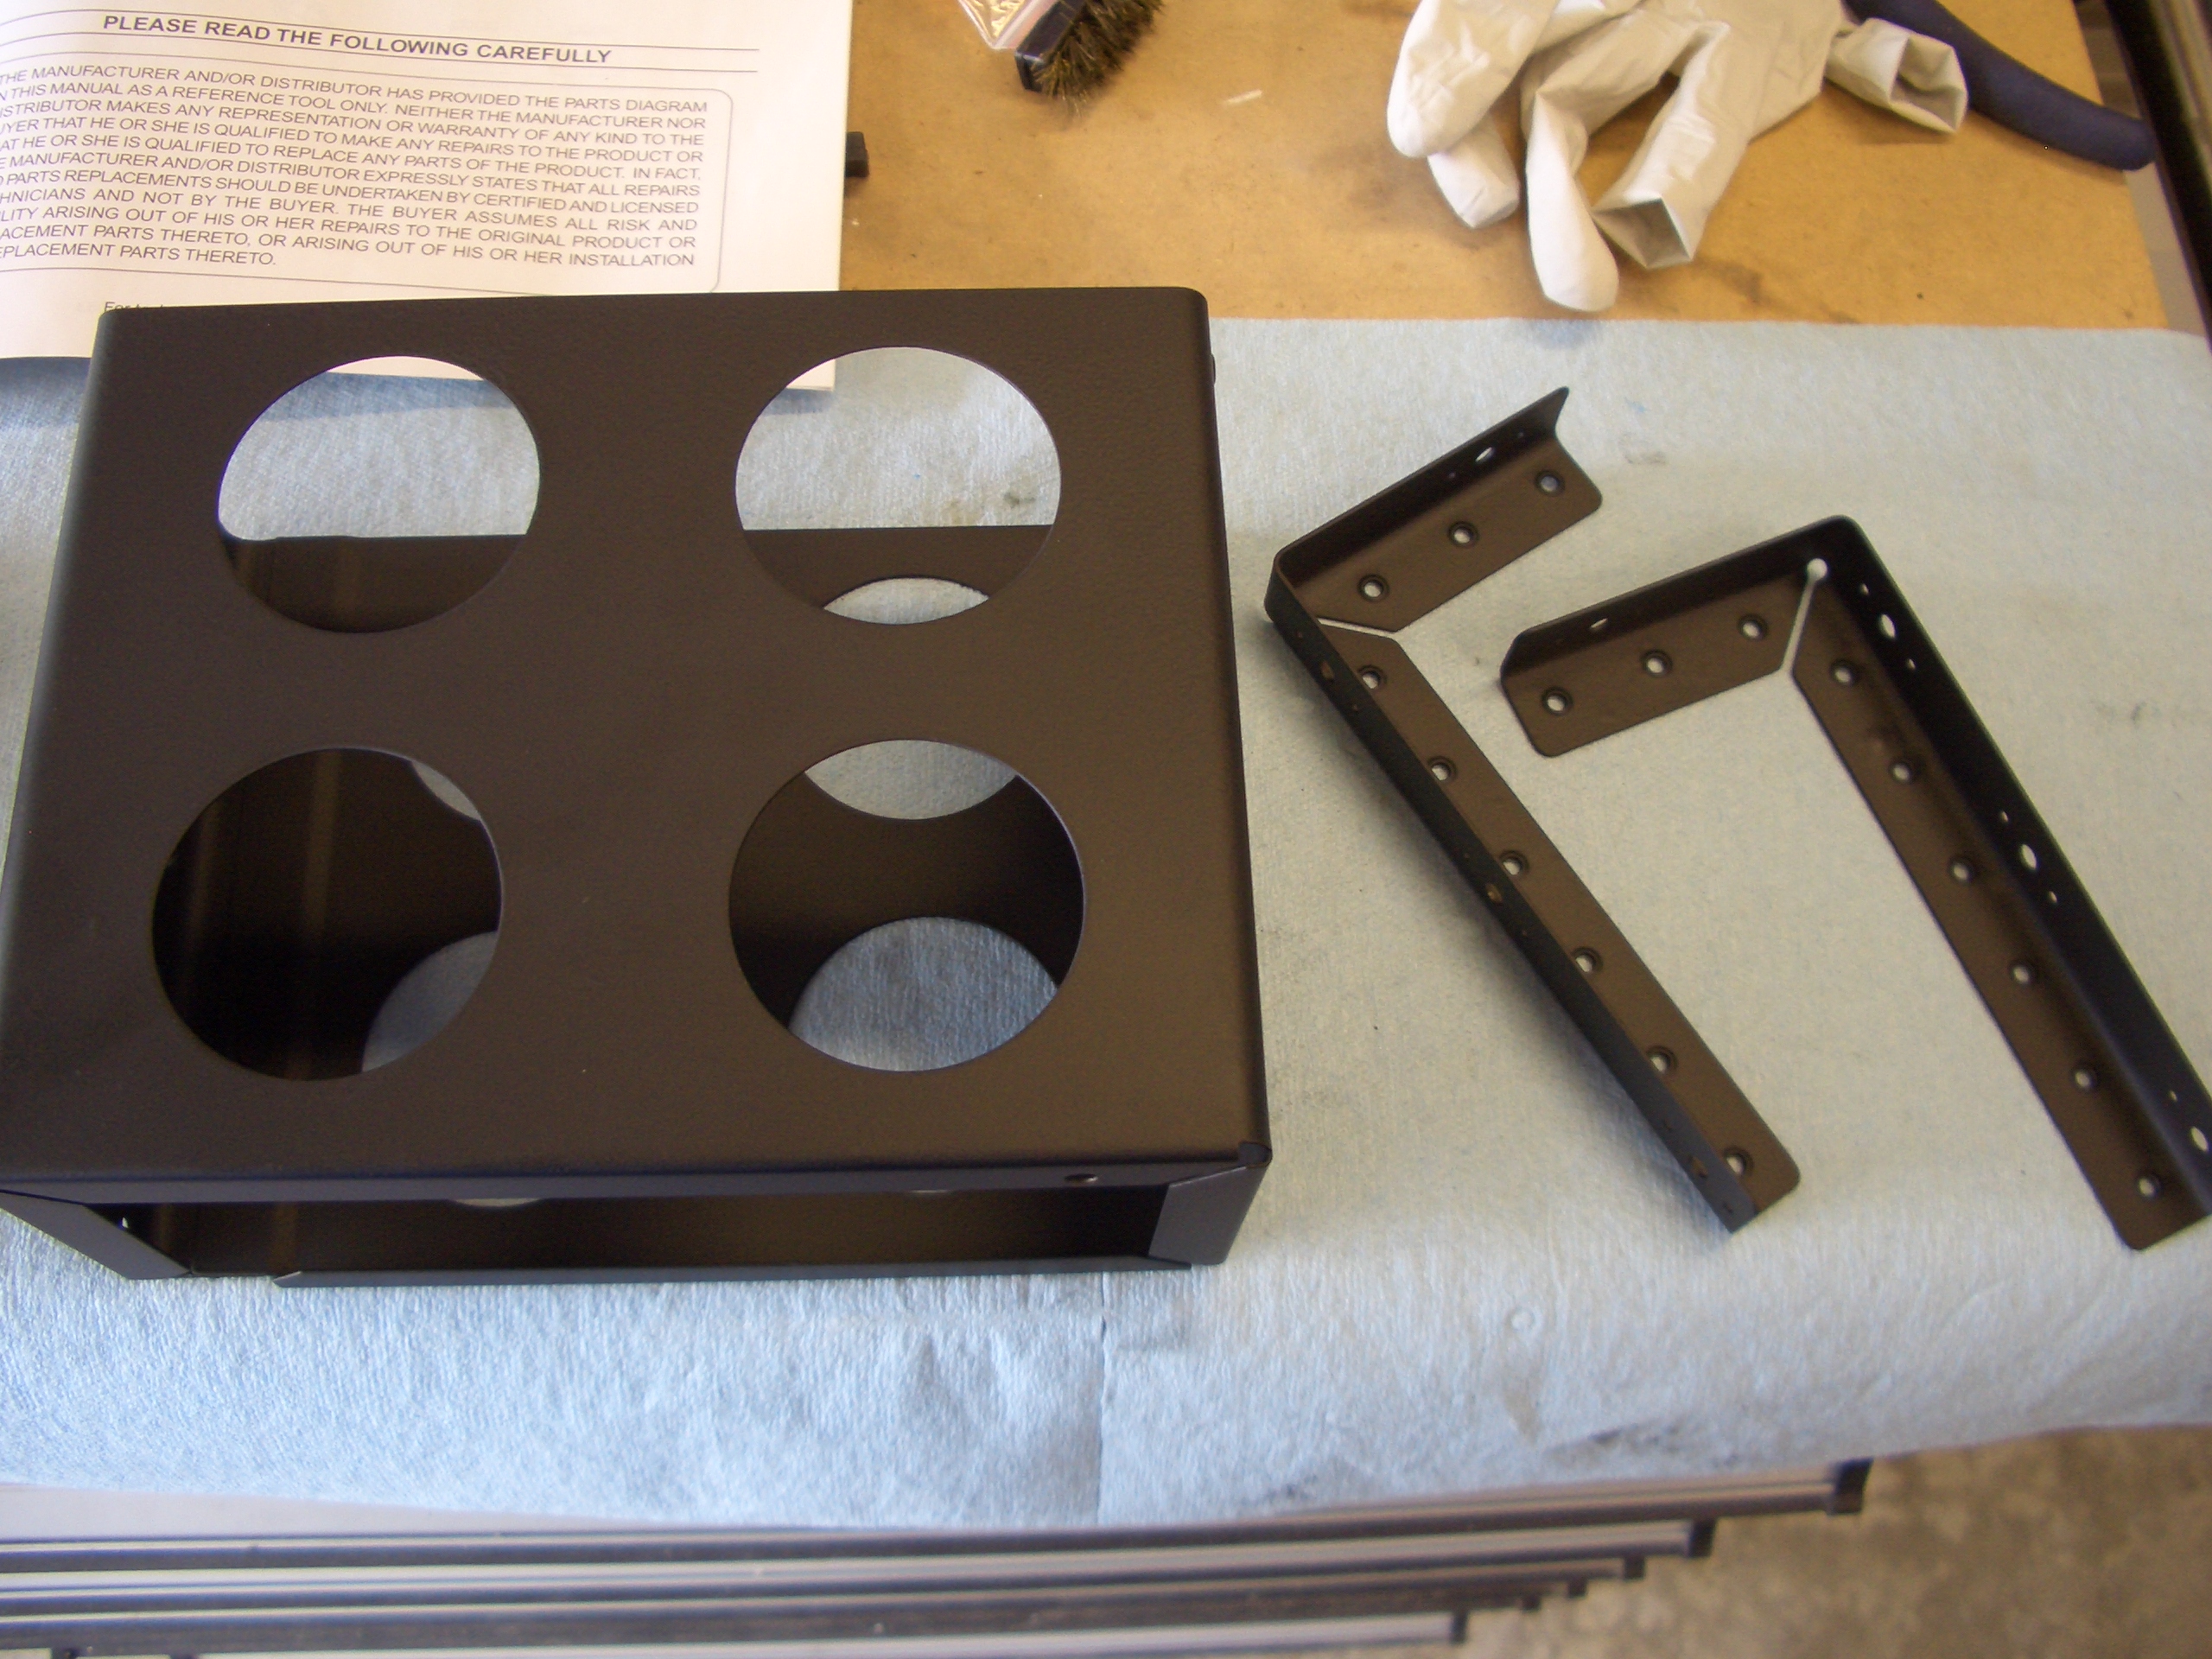
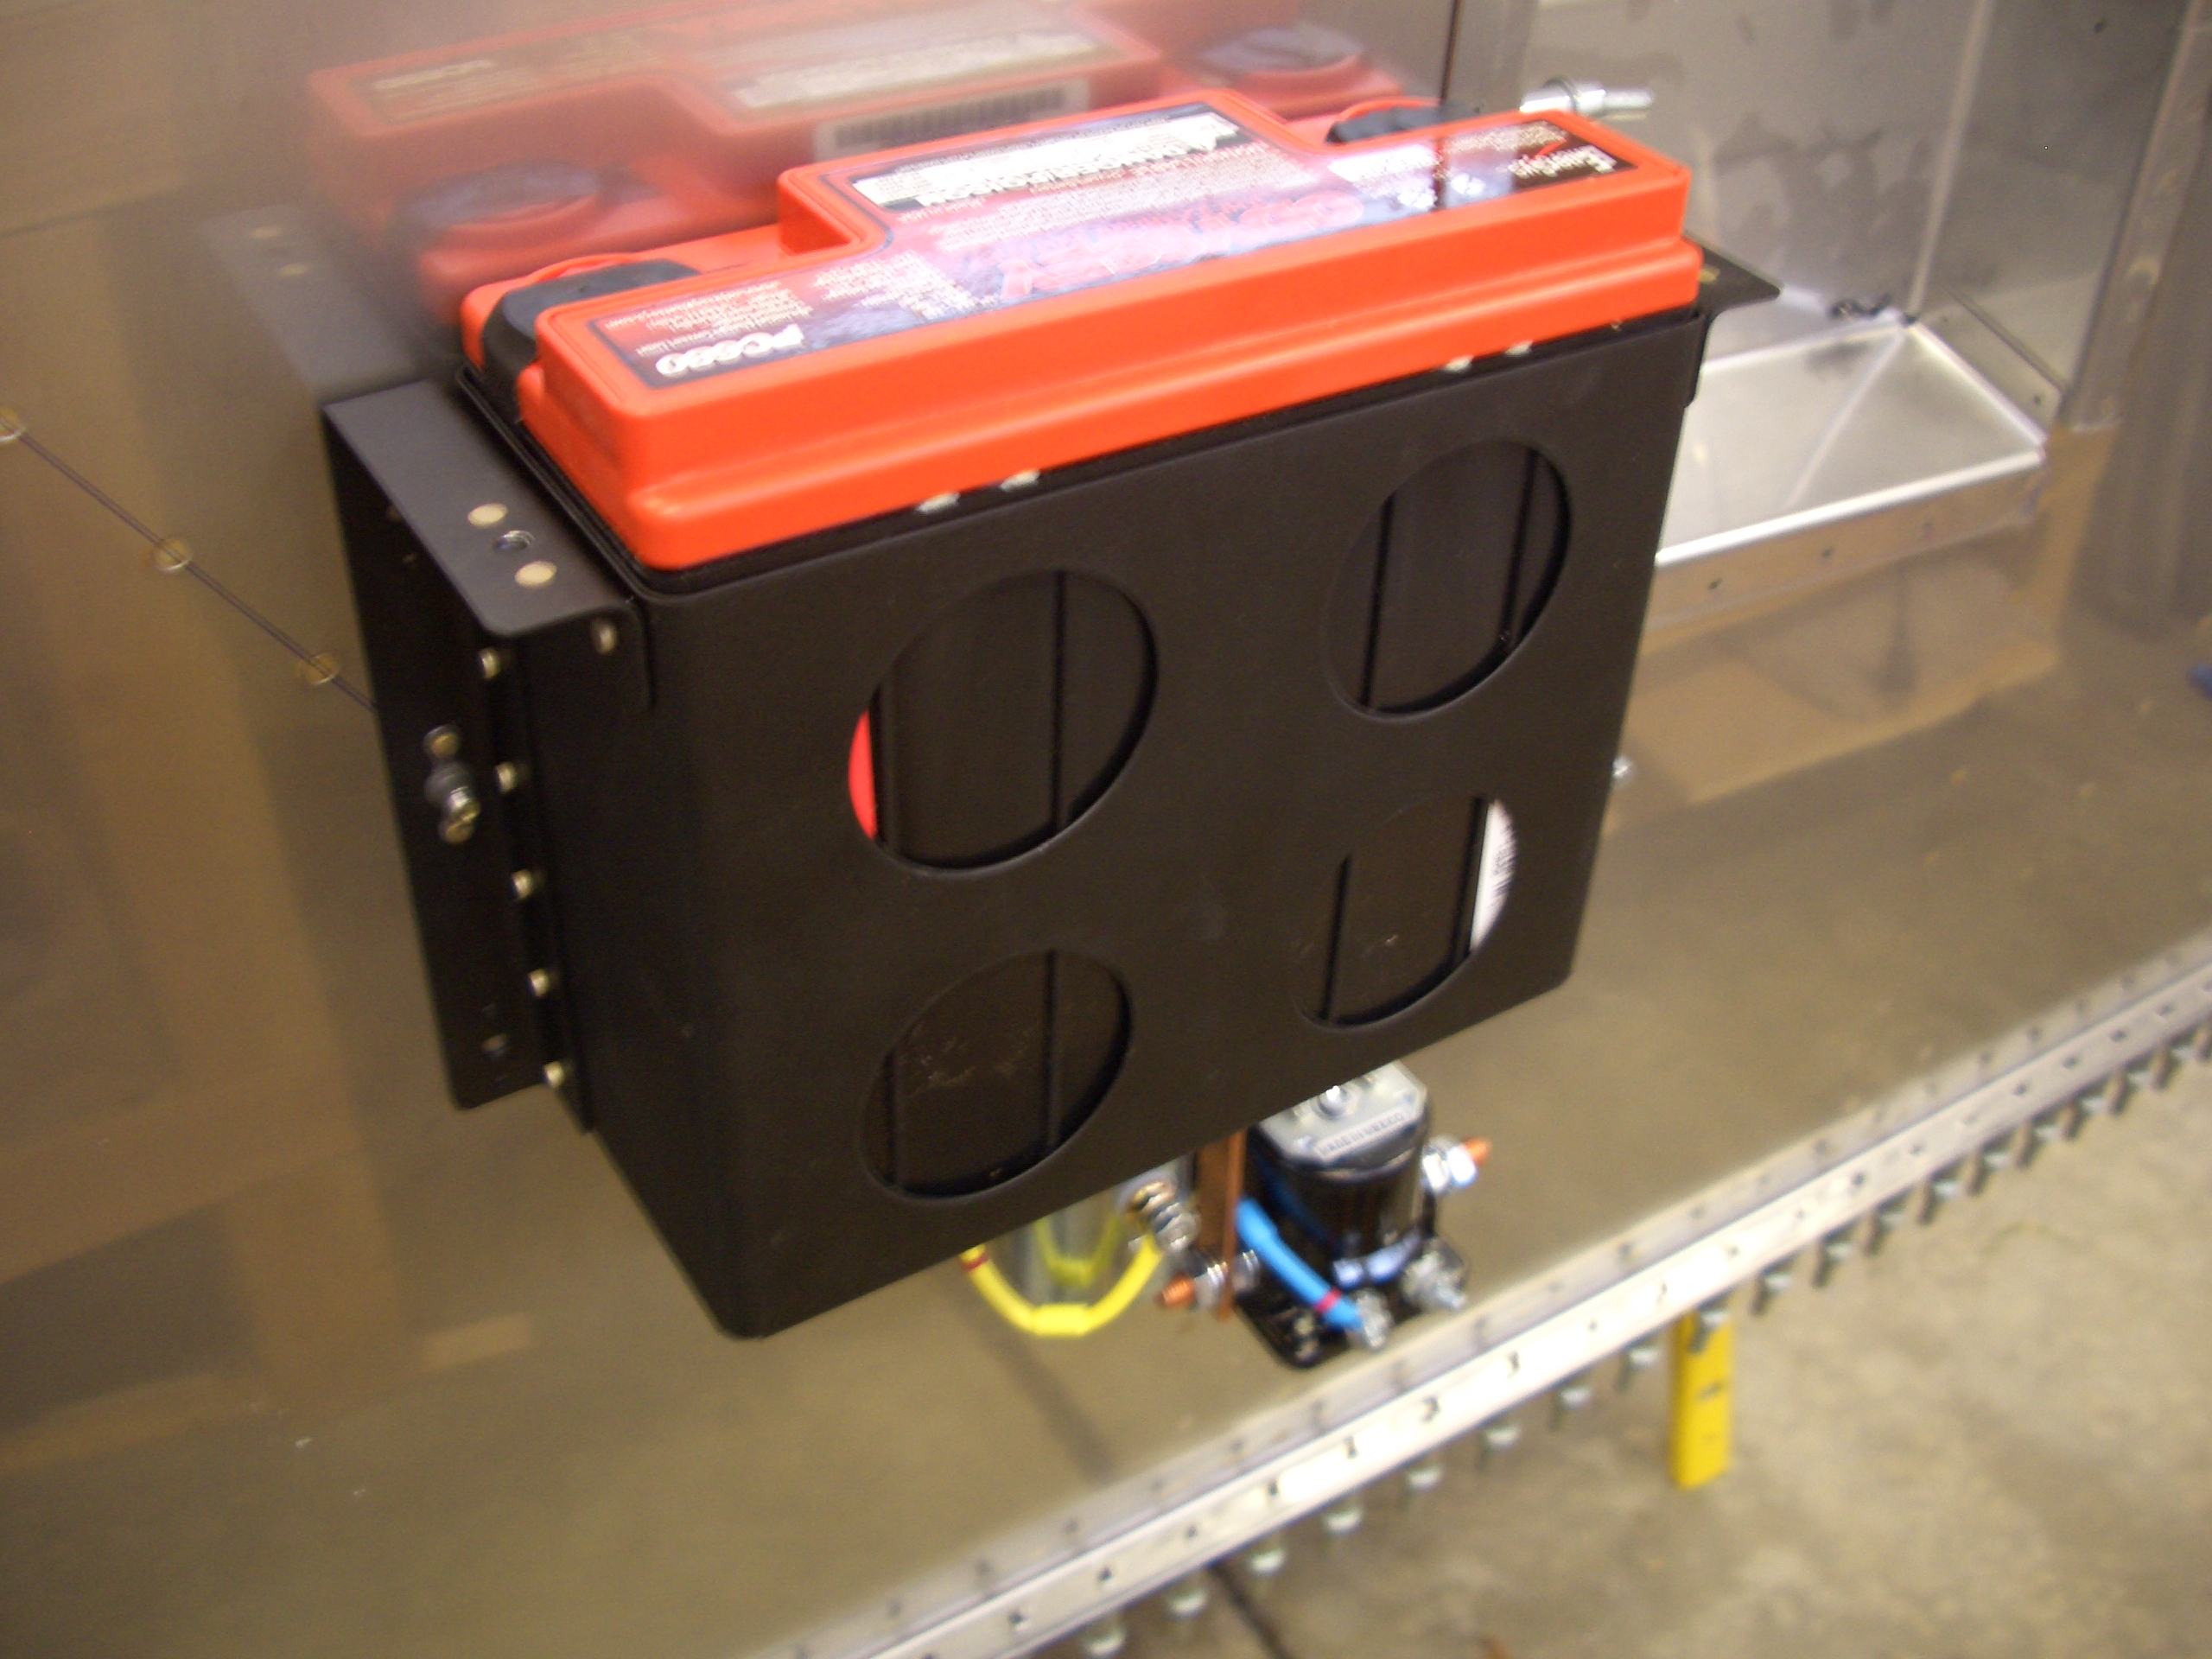
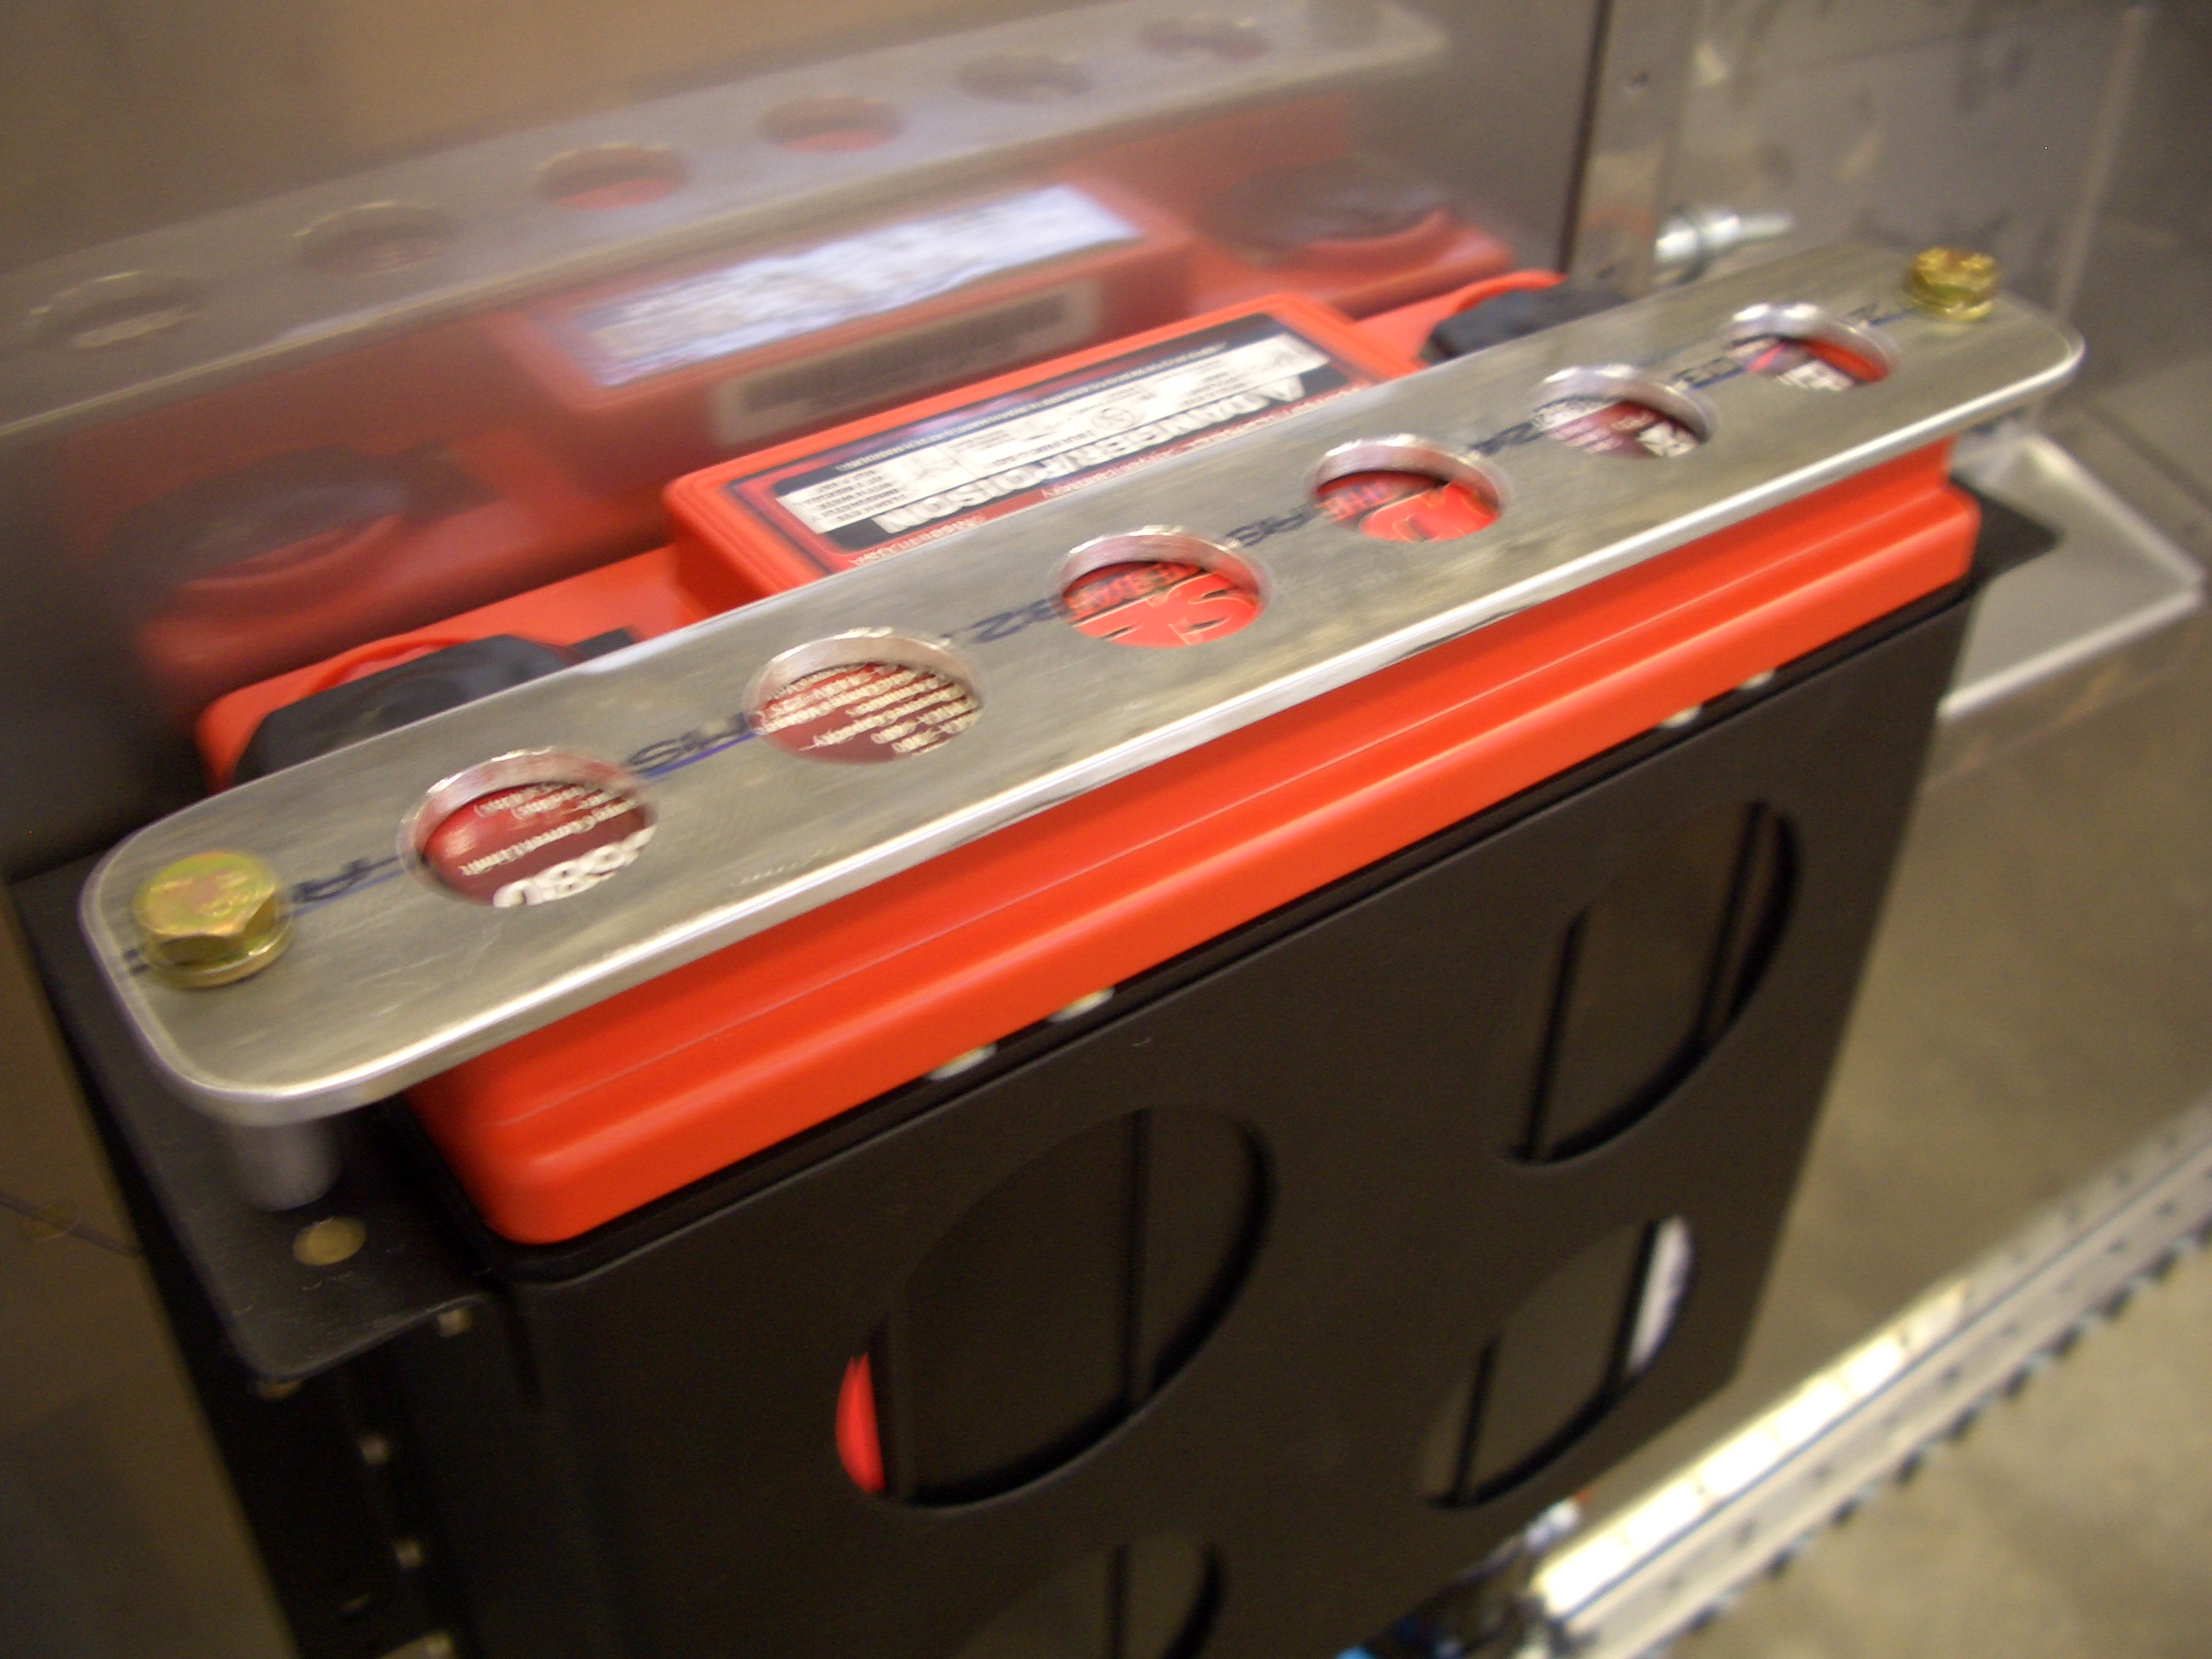
I received my battery and install kit from Van’s today, so I wanted to take a break from the forward fuselage and install it. Van’s specifies optional lighting holes in the steel mounting box. I want to take advantage of any opportunity to remove weight from the plane since I’m going with a full interior. I used my fly cutter in the drill press and knocked these out in 15 minutes or so. It turns out that four pieces of 3/4″ wood fit exactly inside the box, so I used them to back up the top surface when drilling the holes.

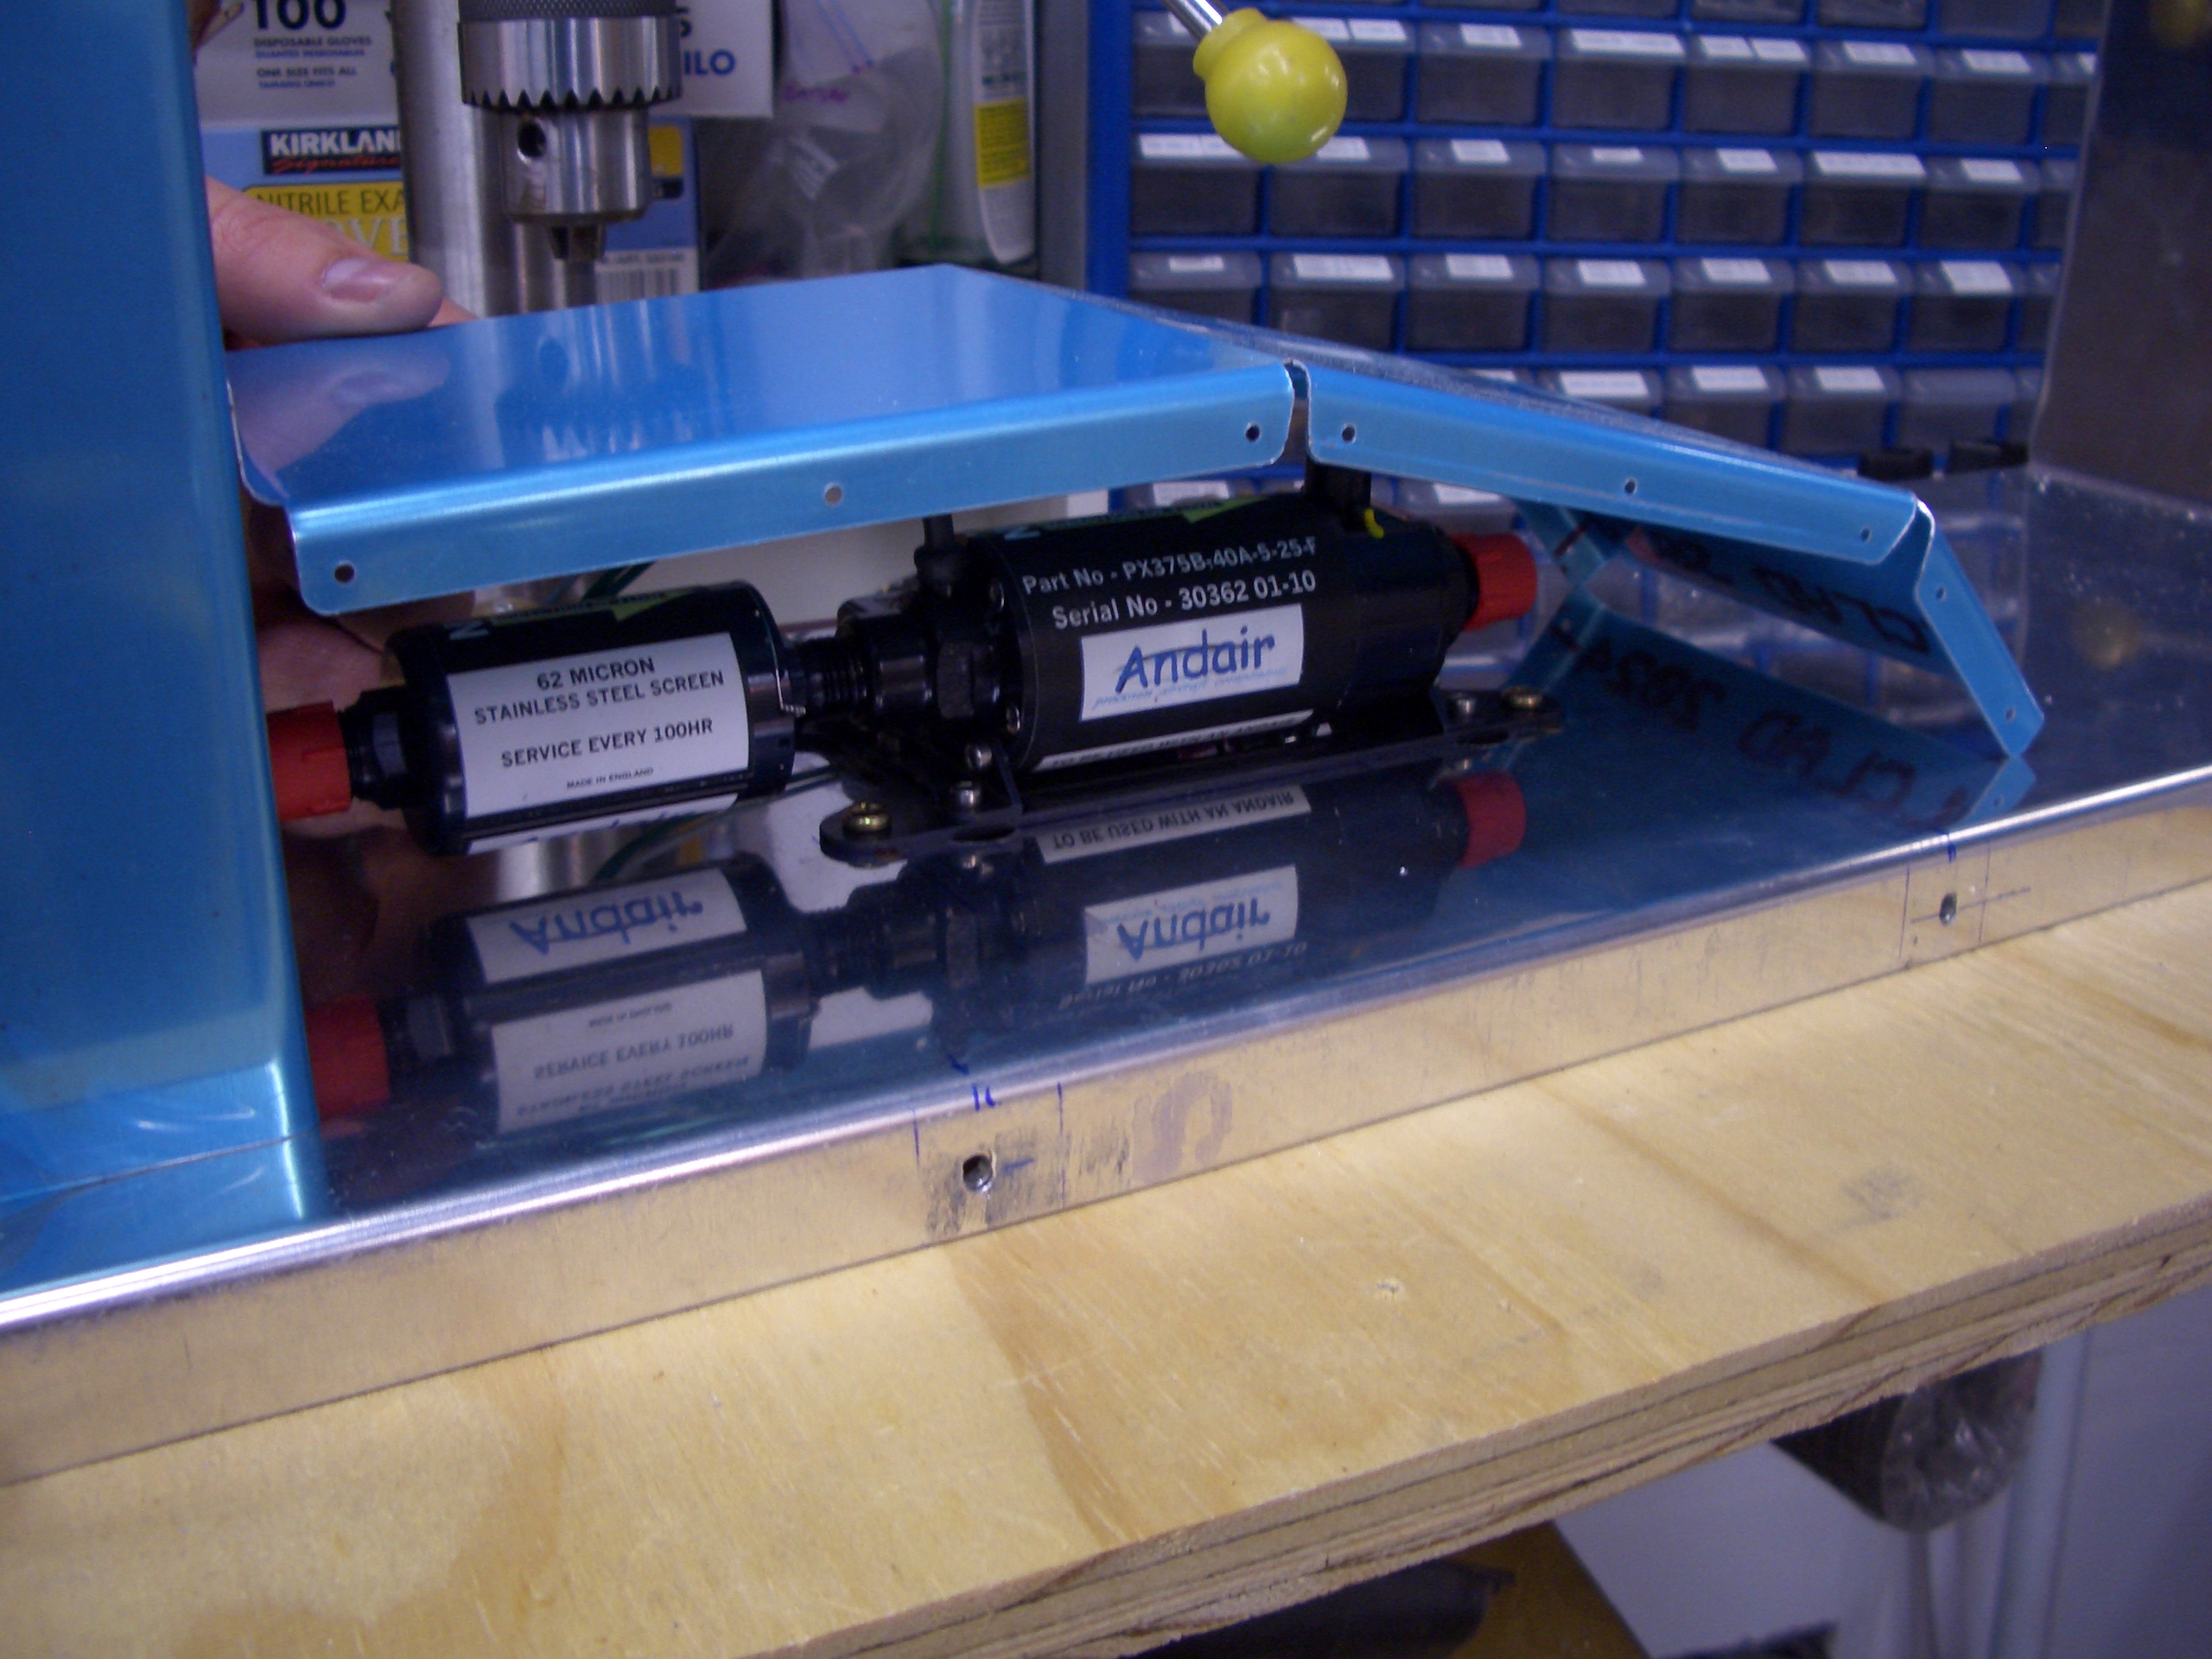
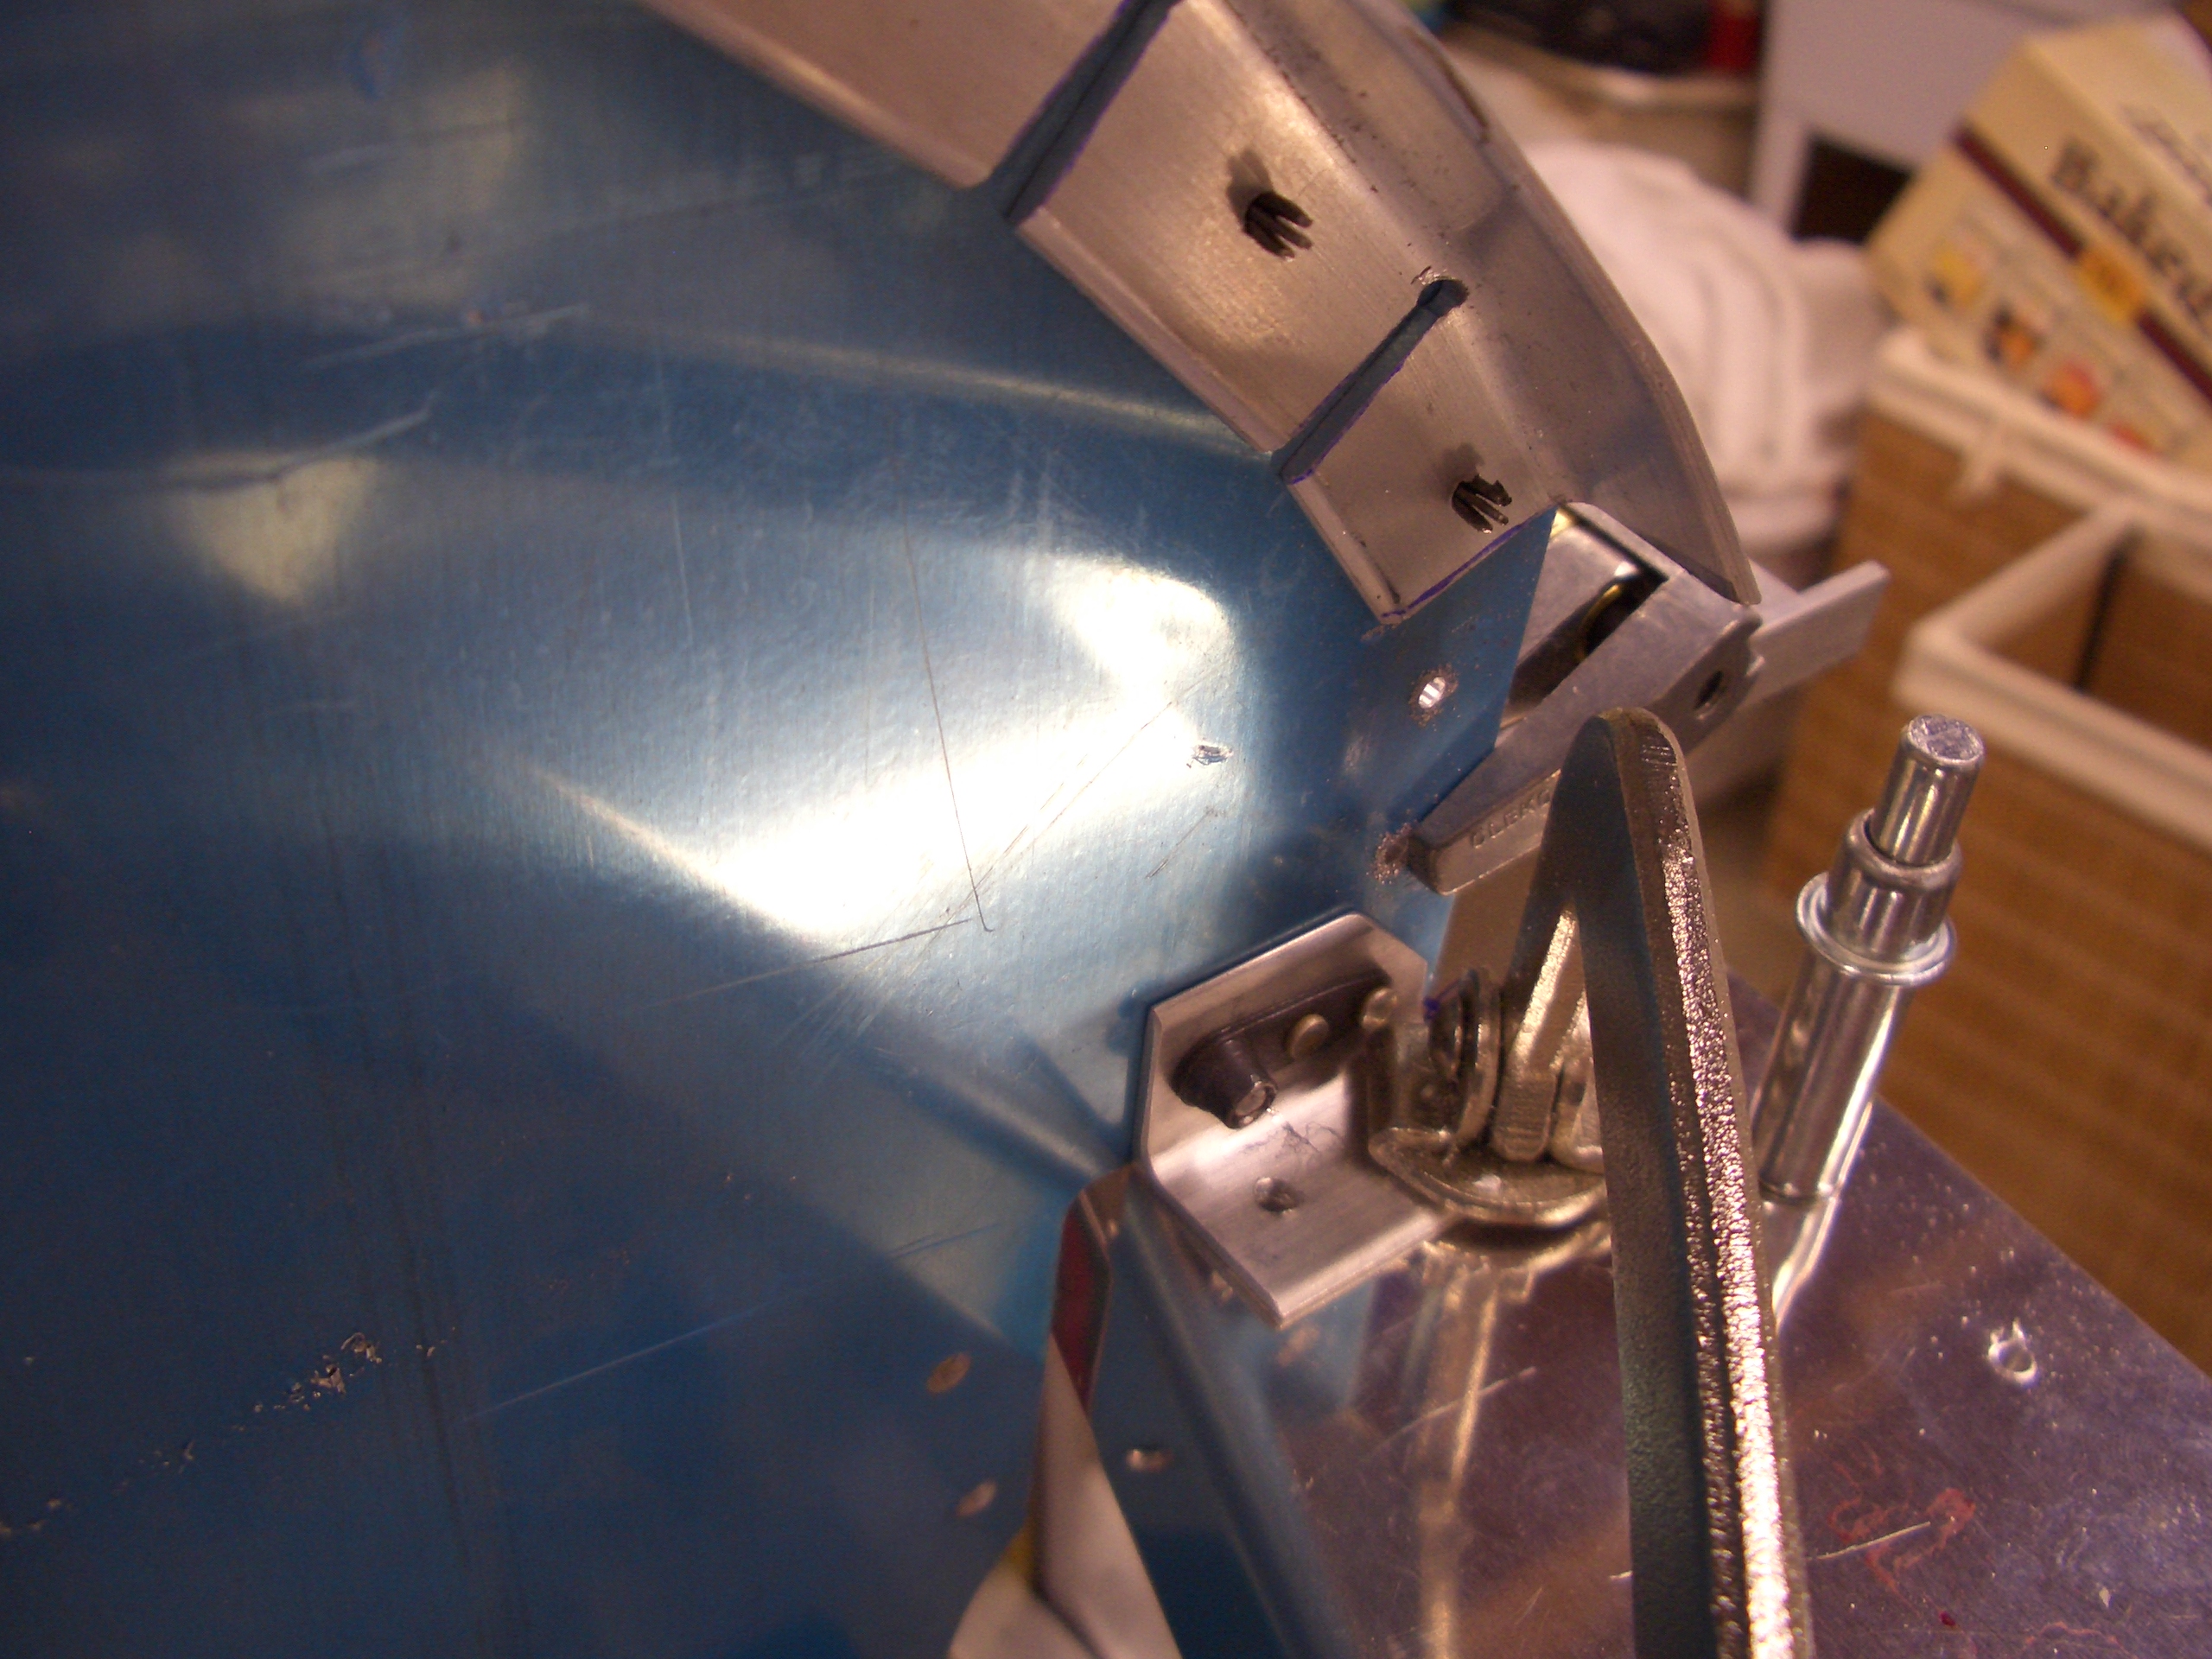
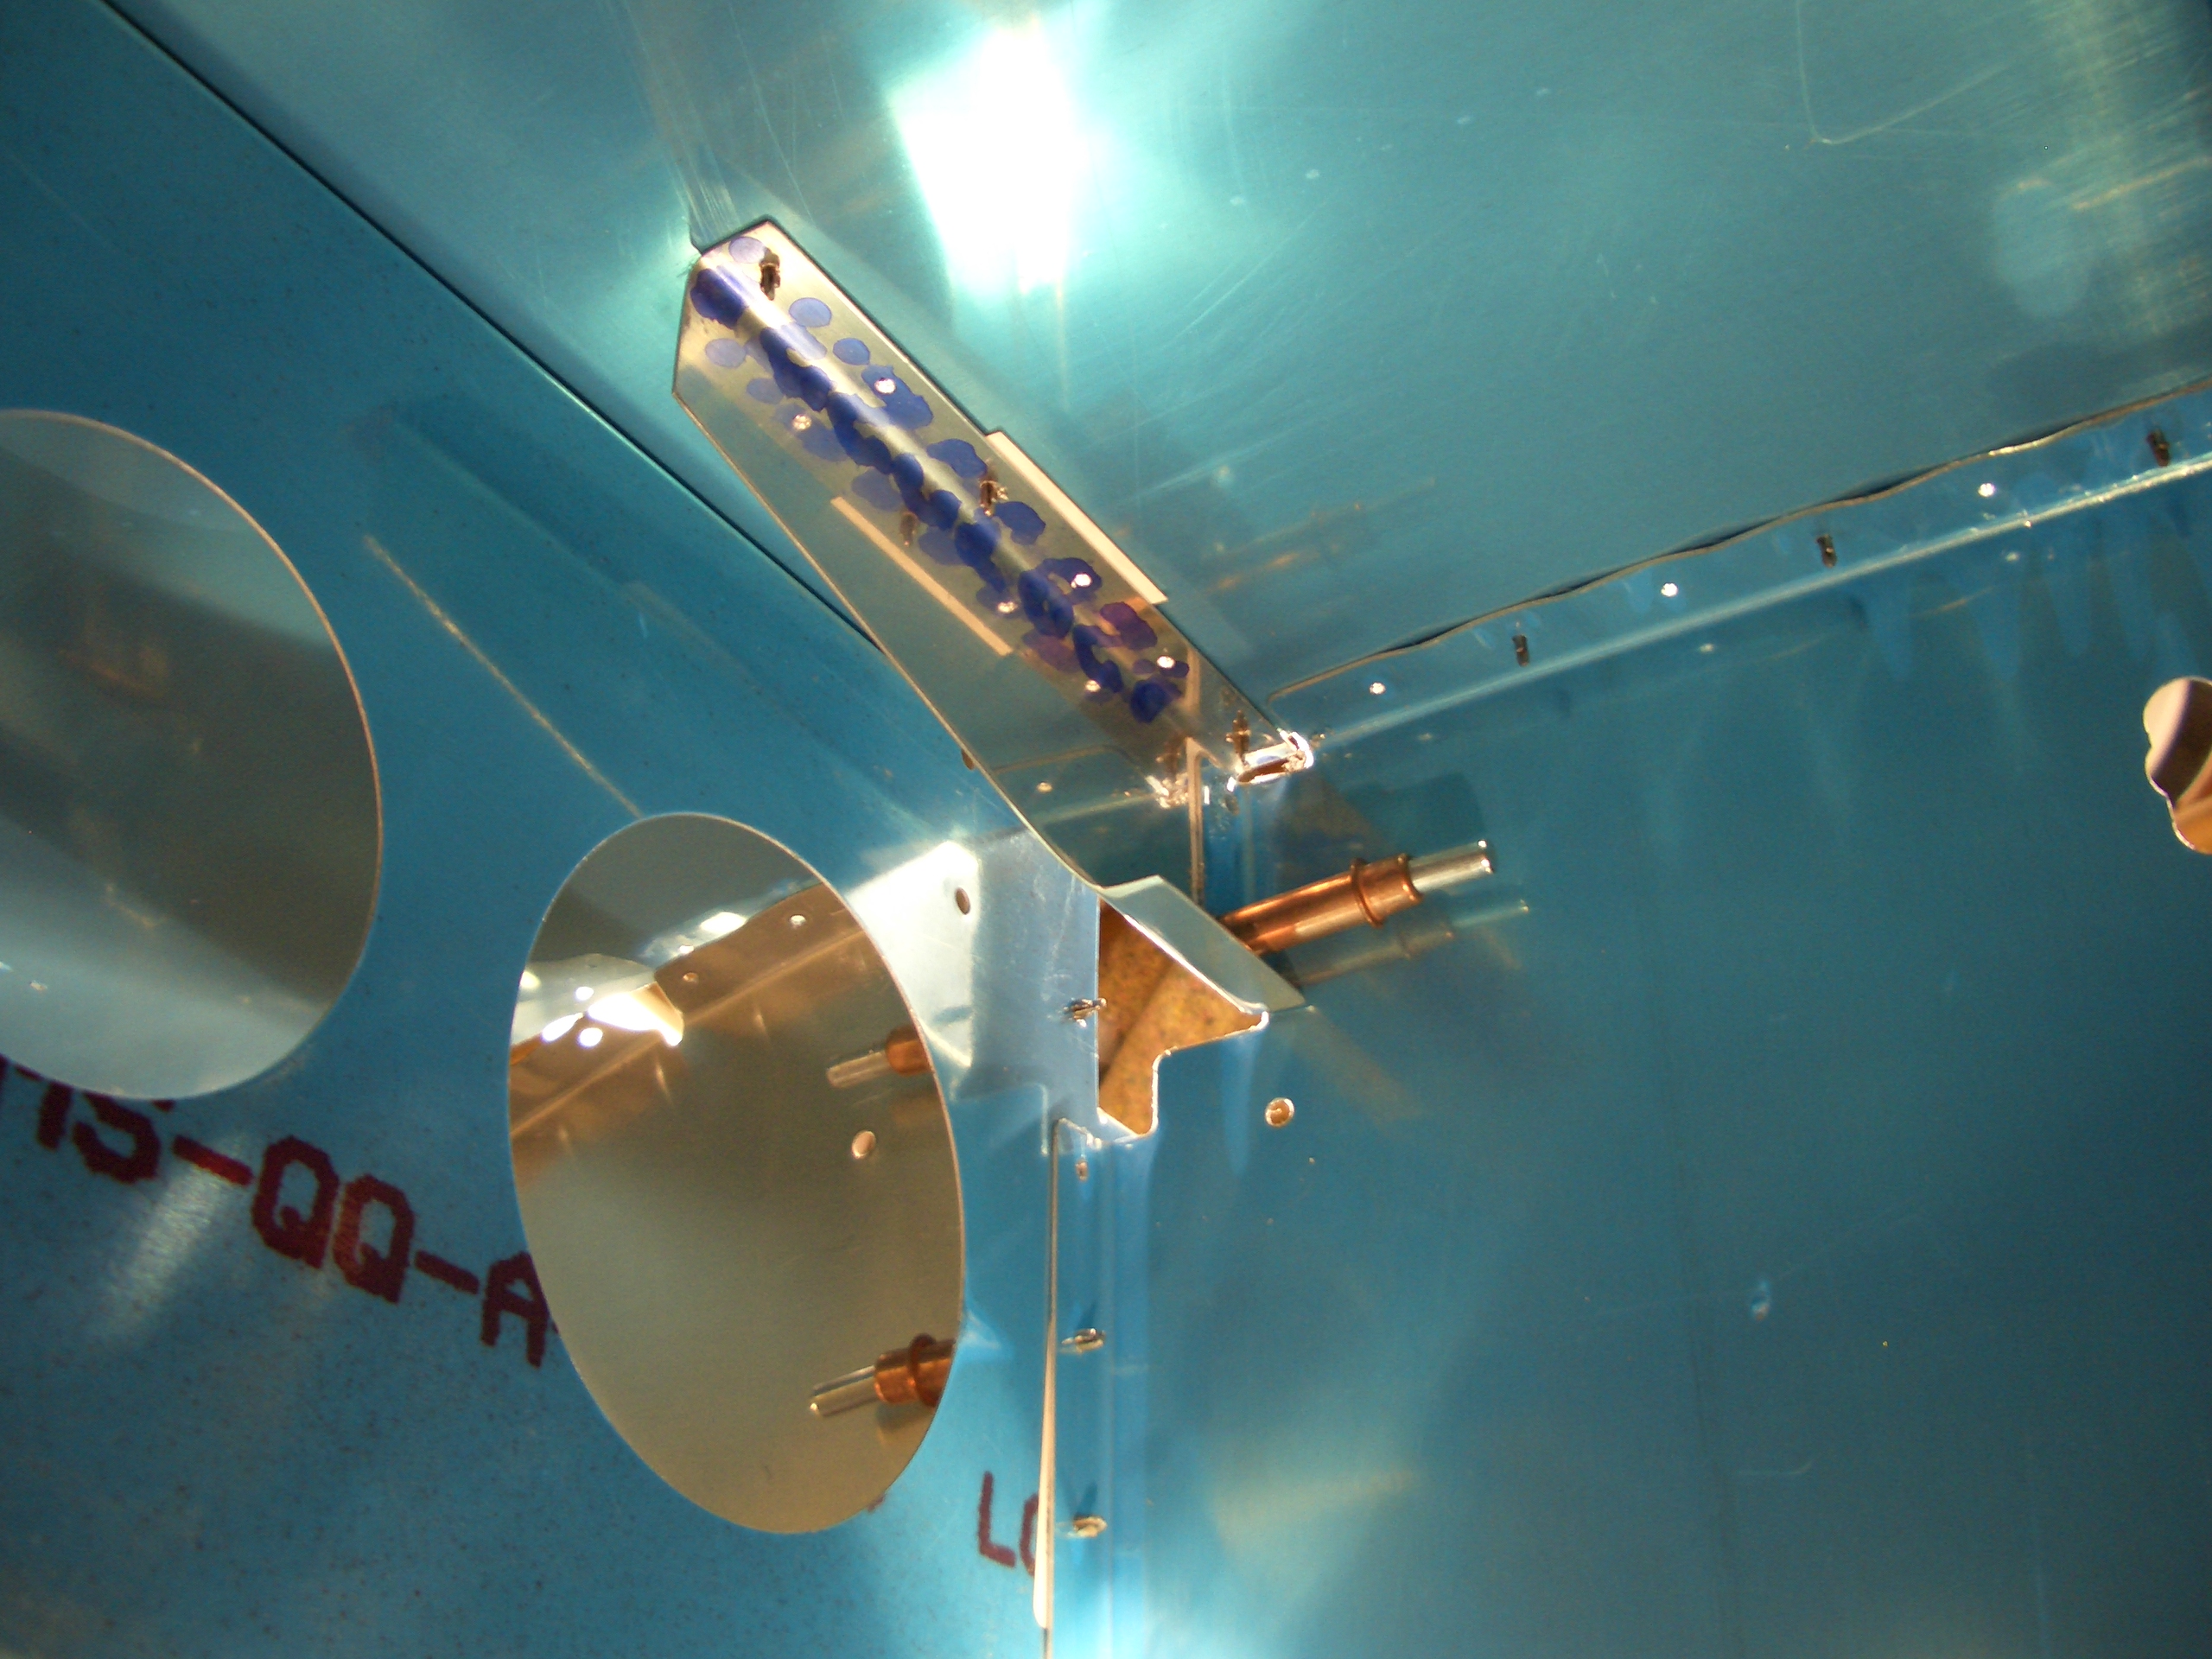
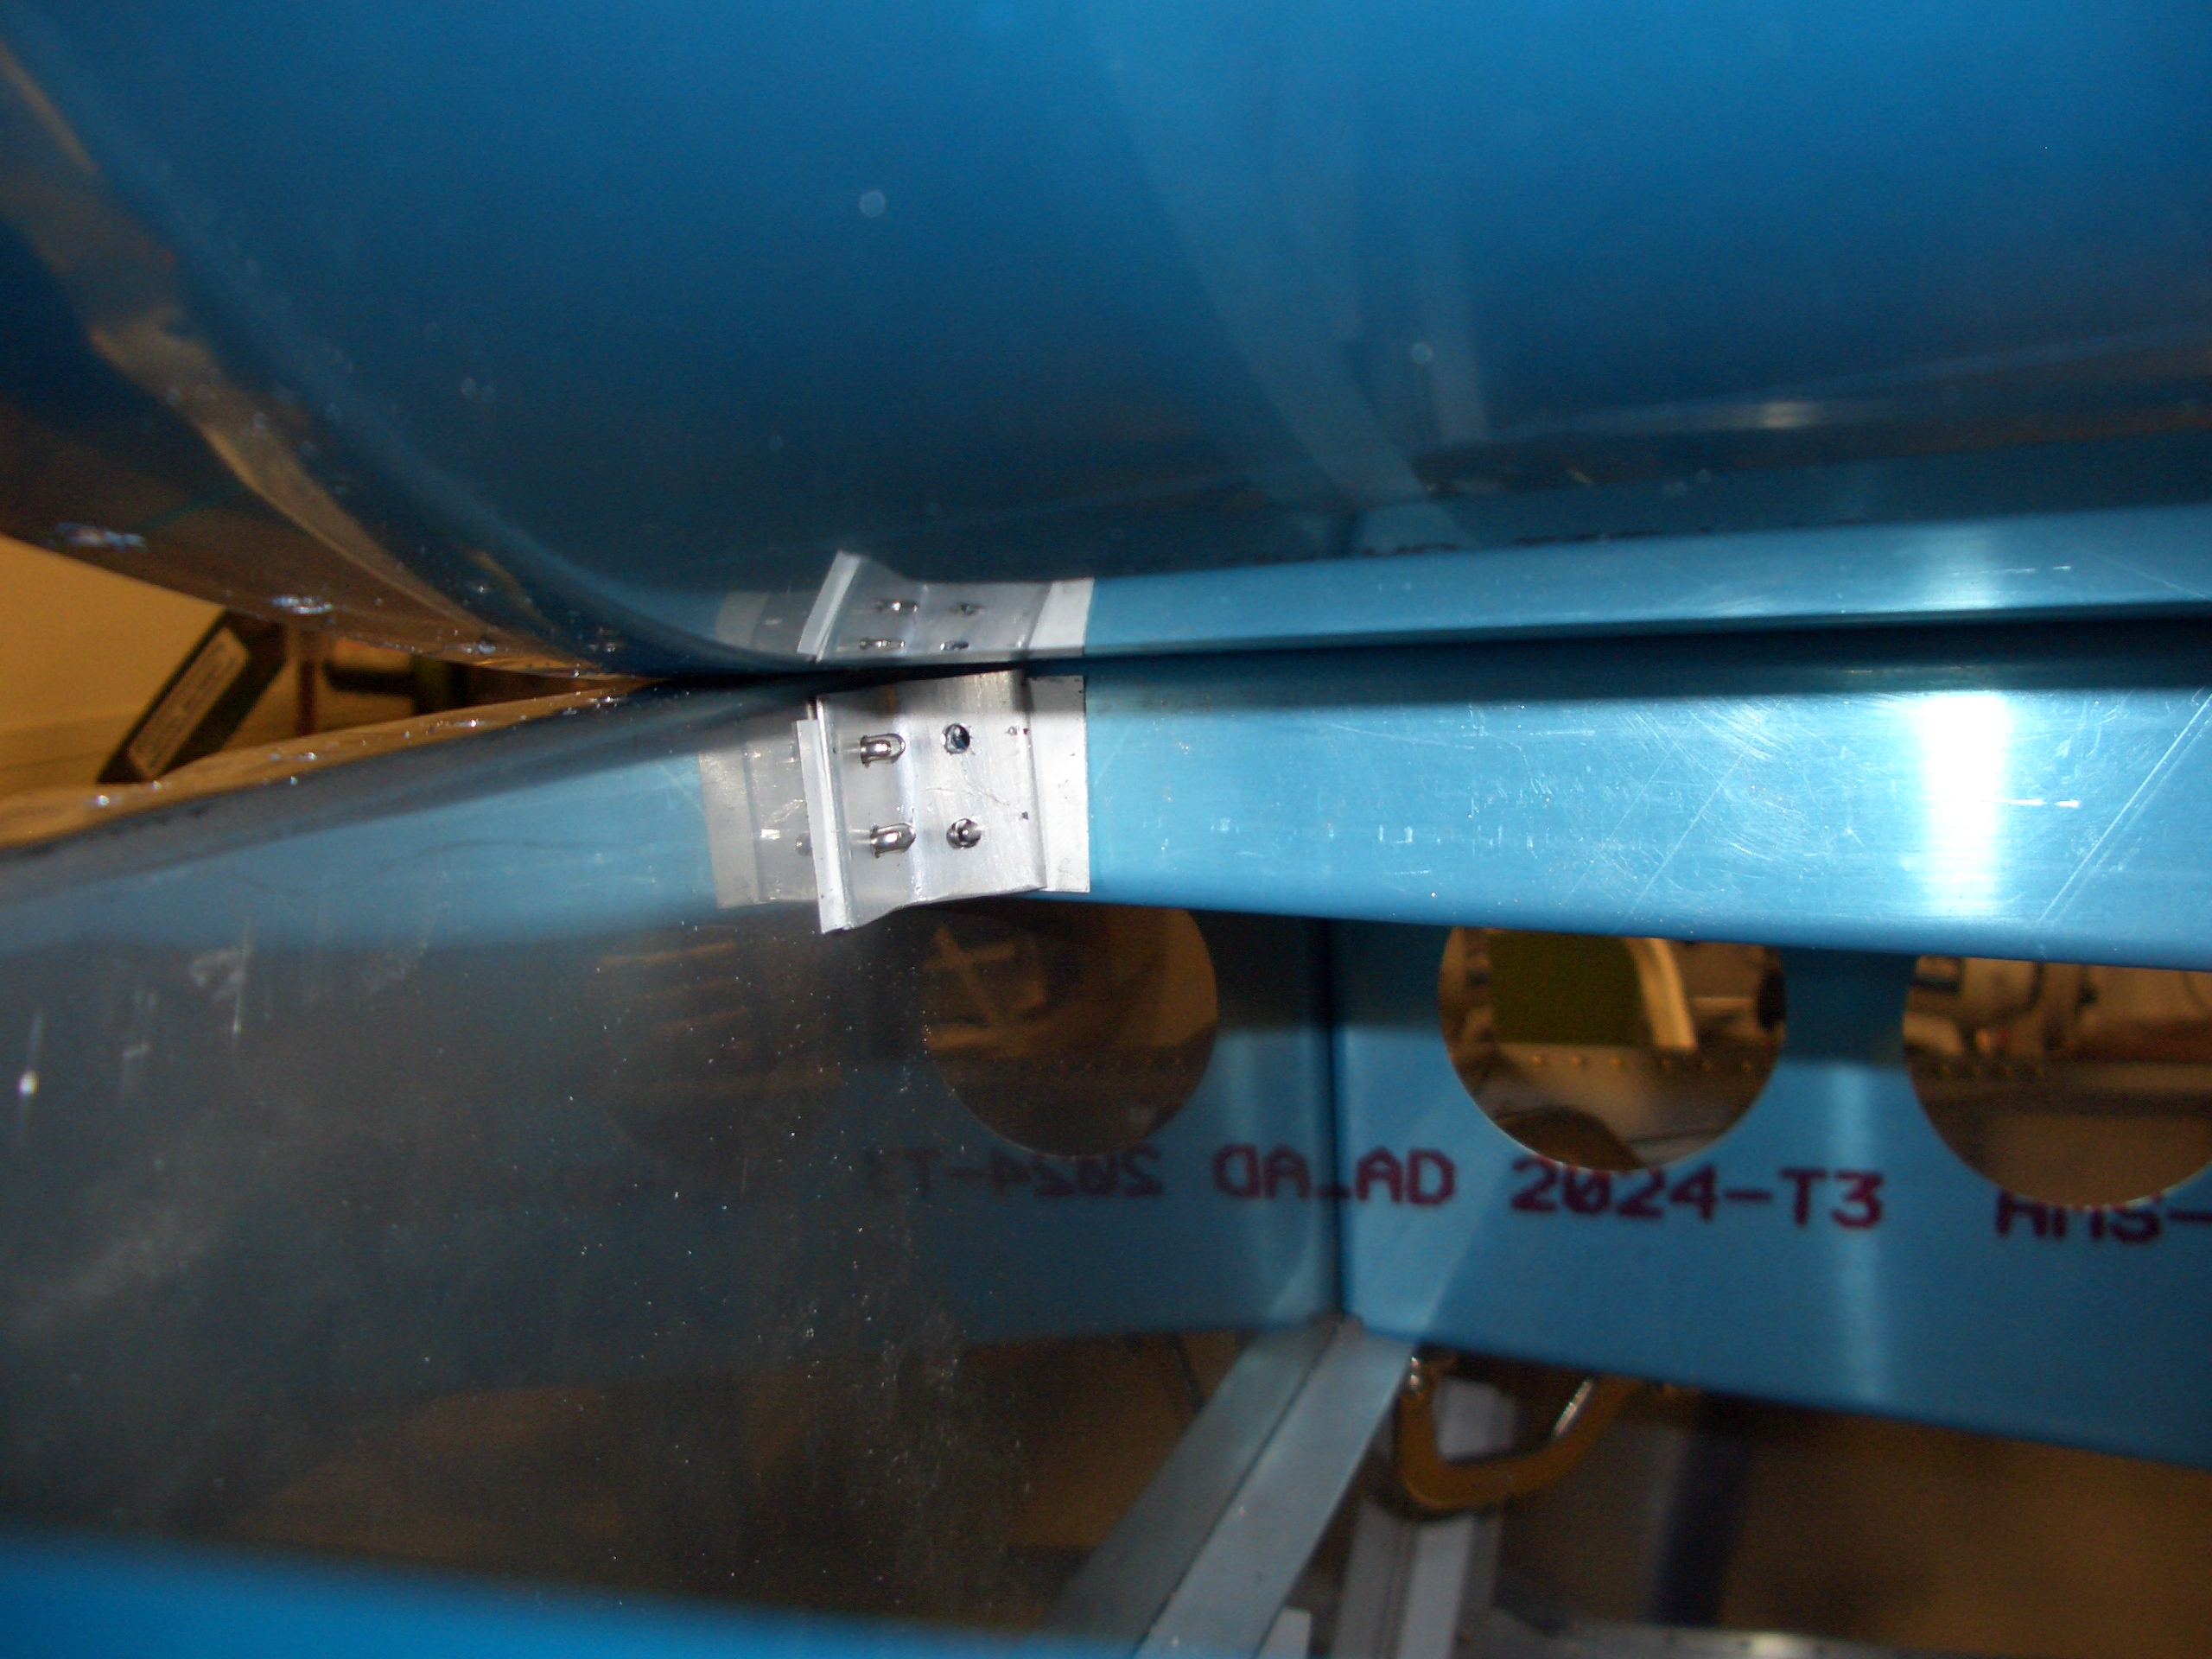
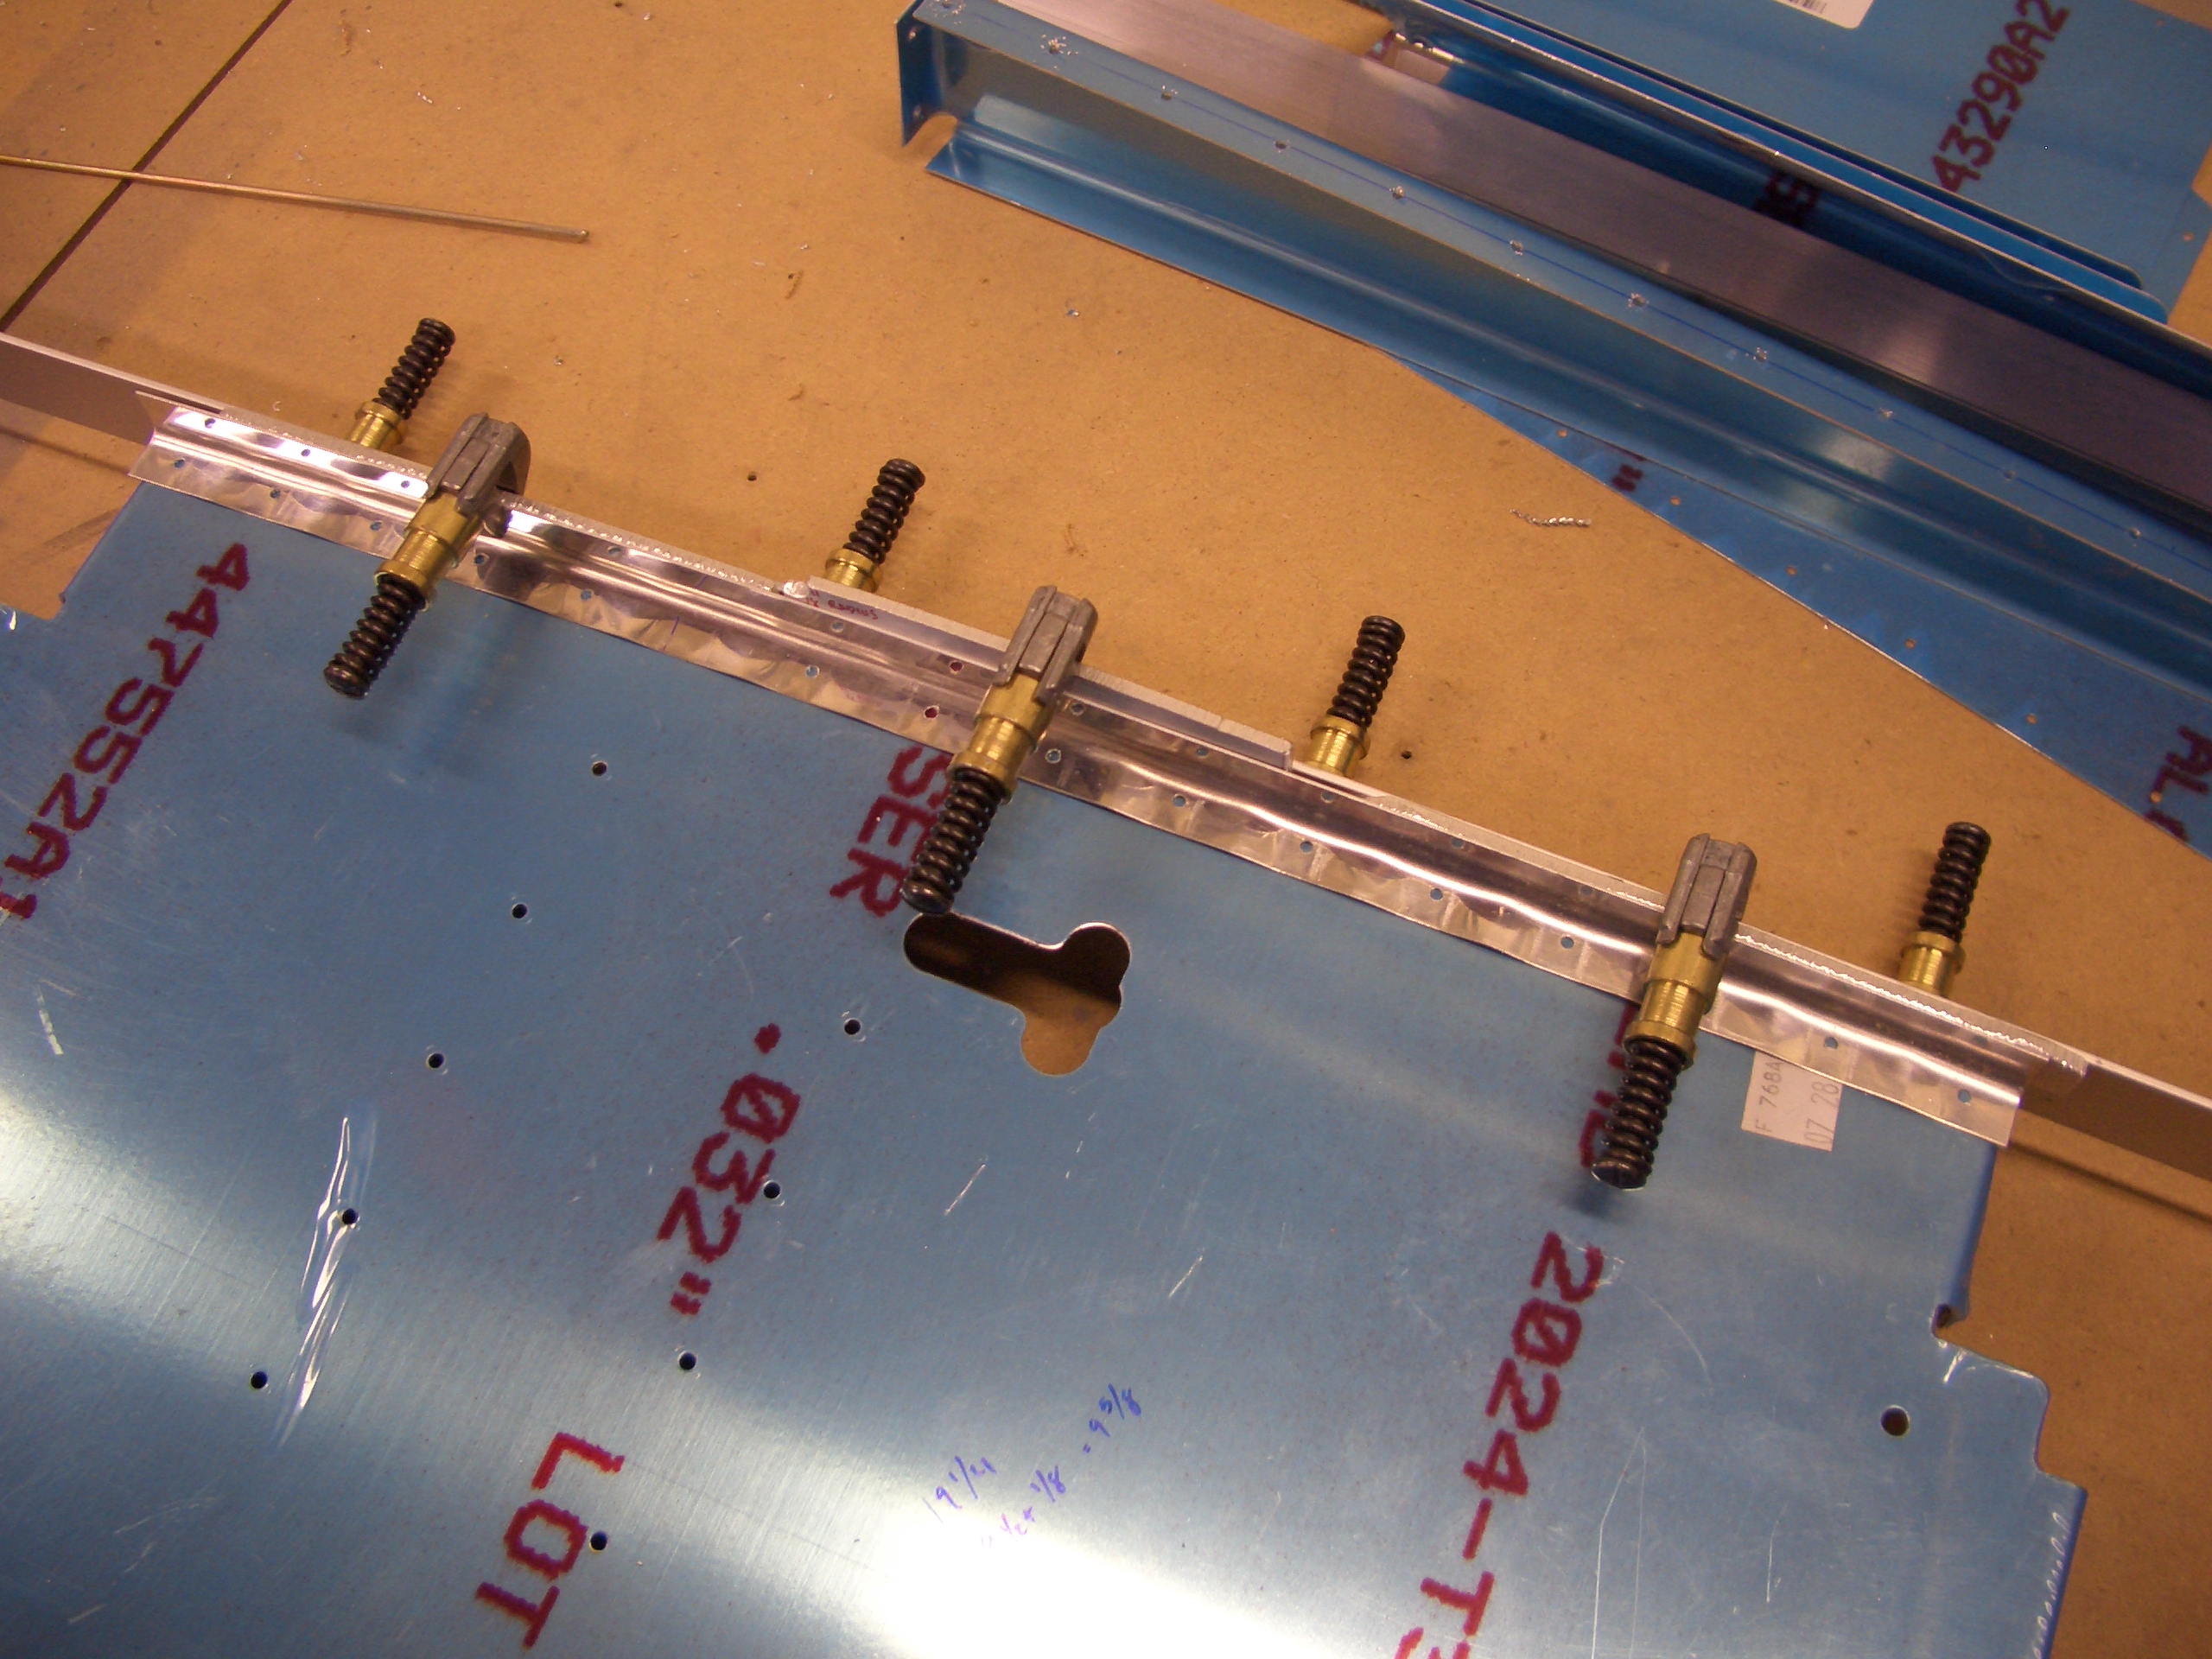
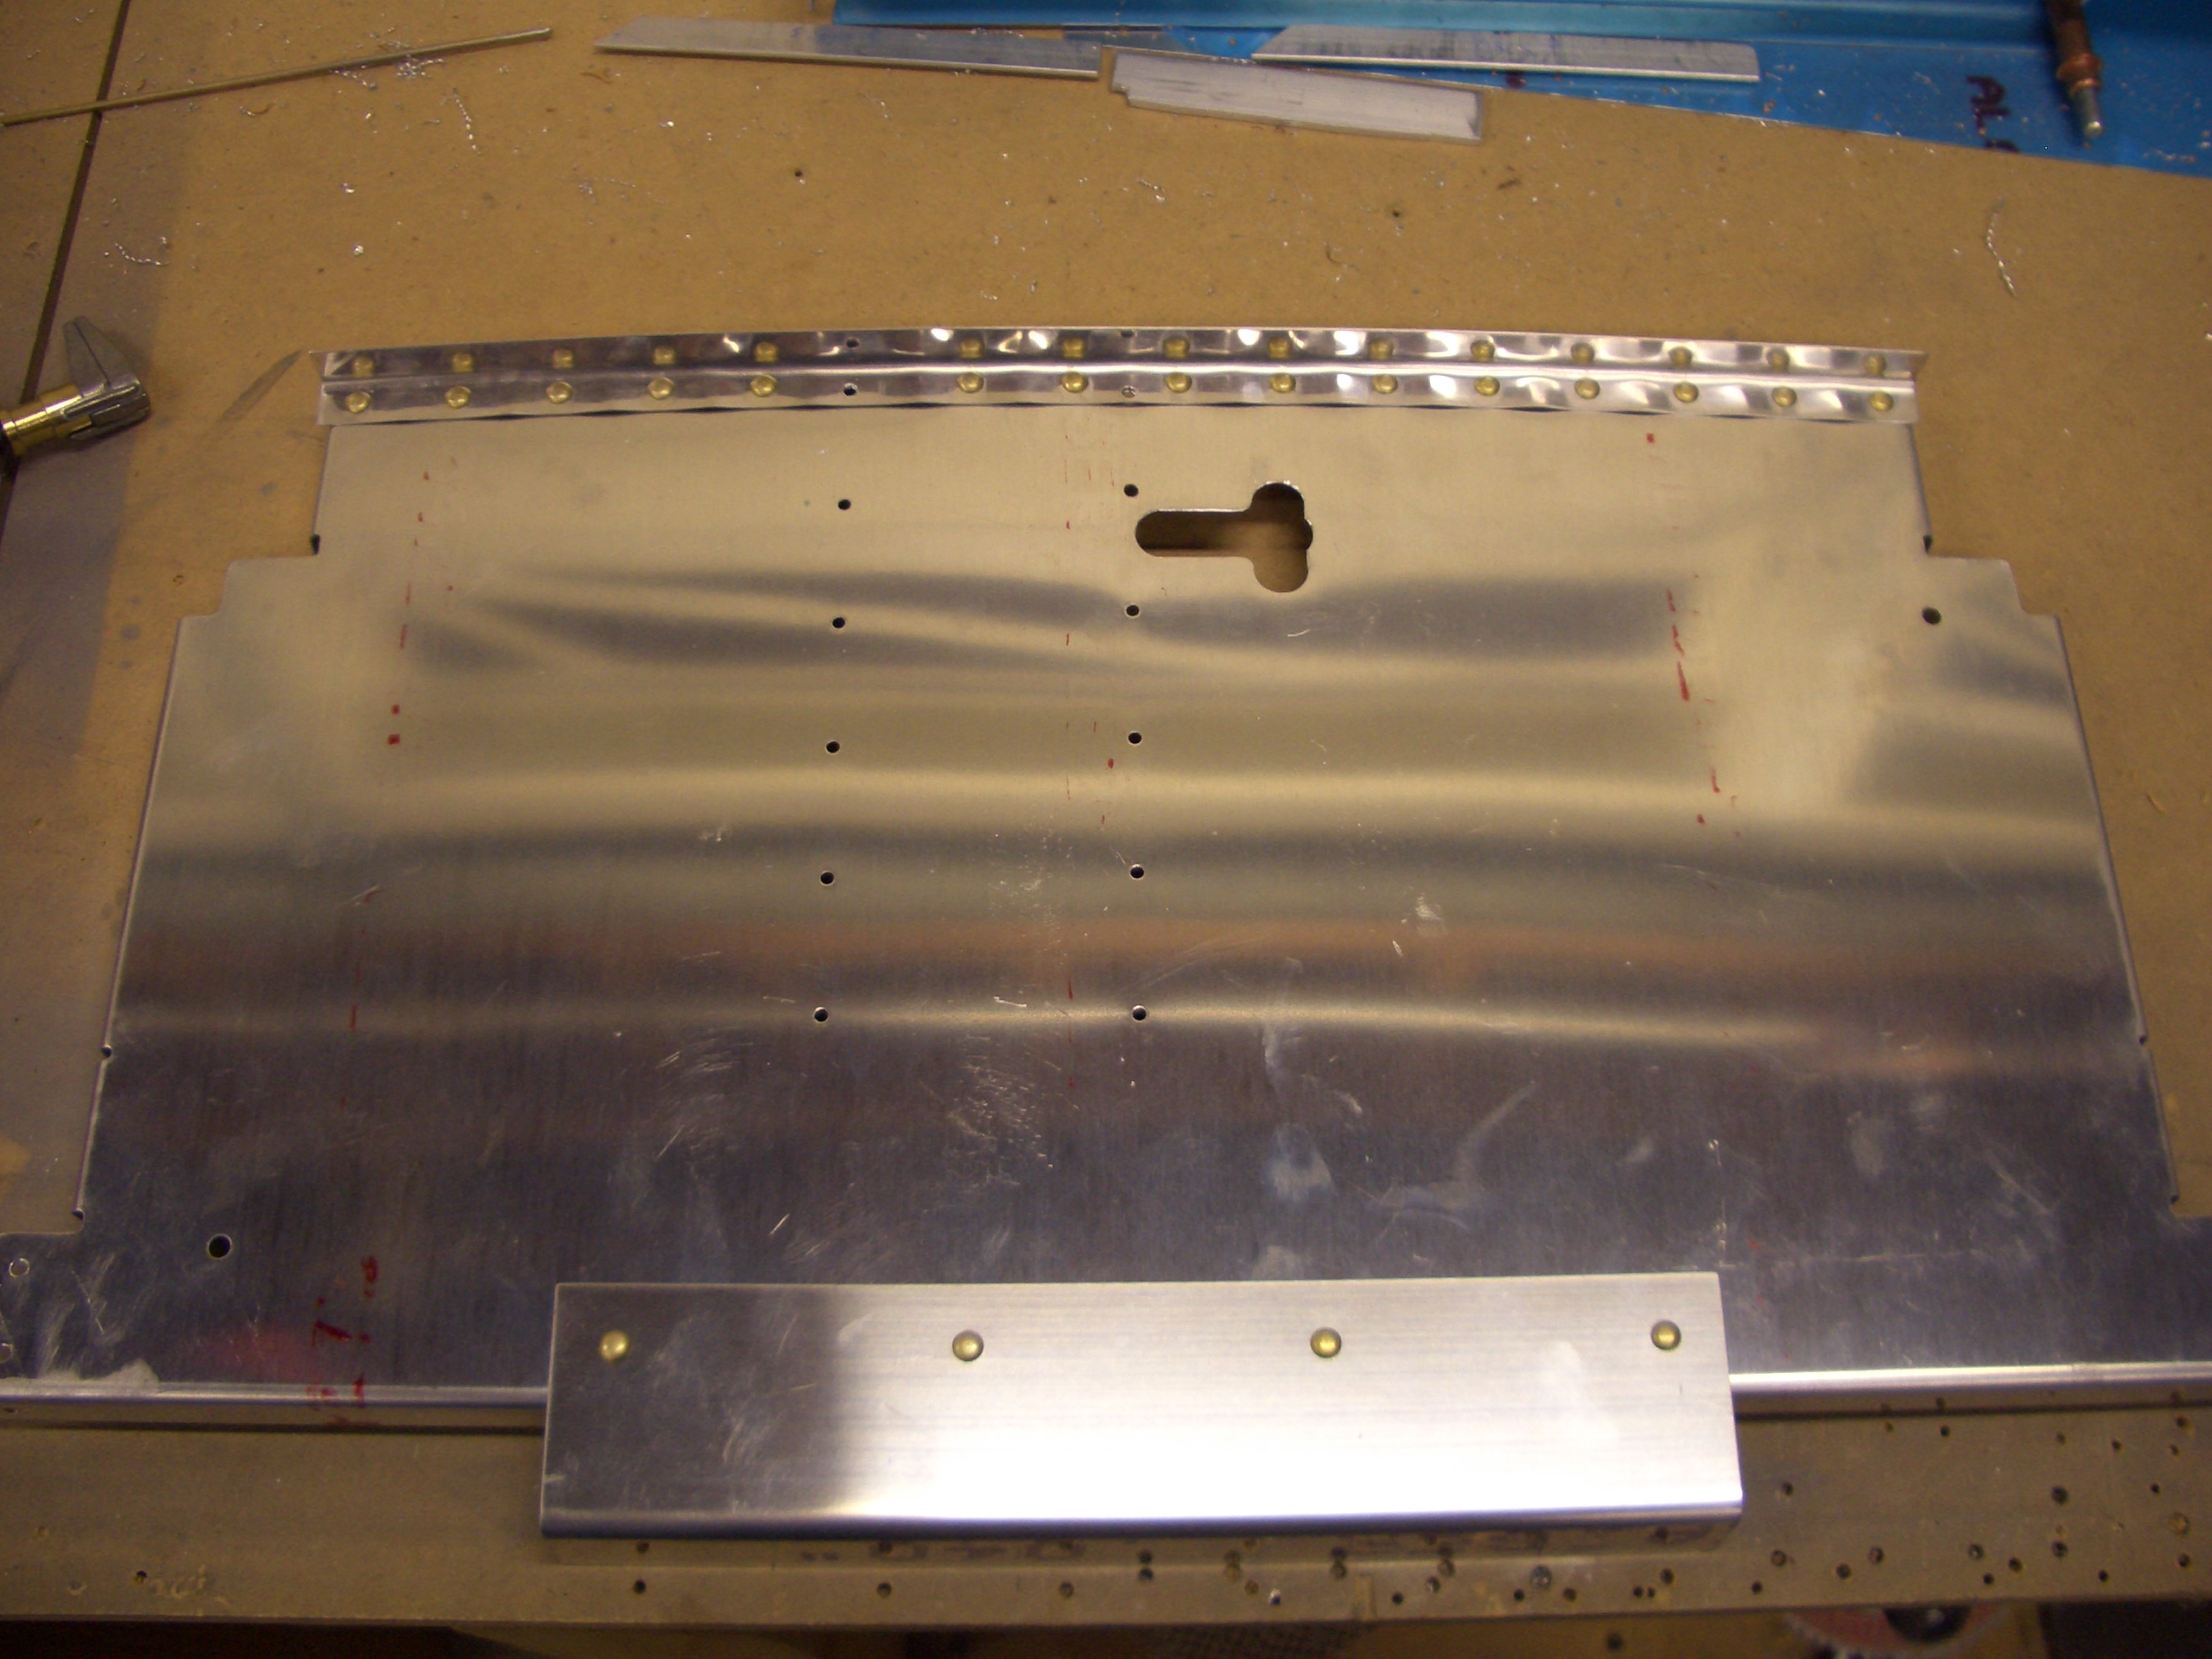
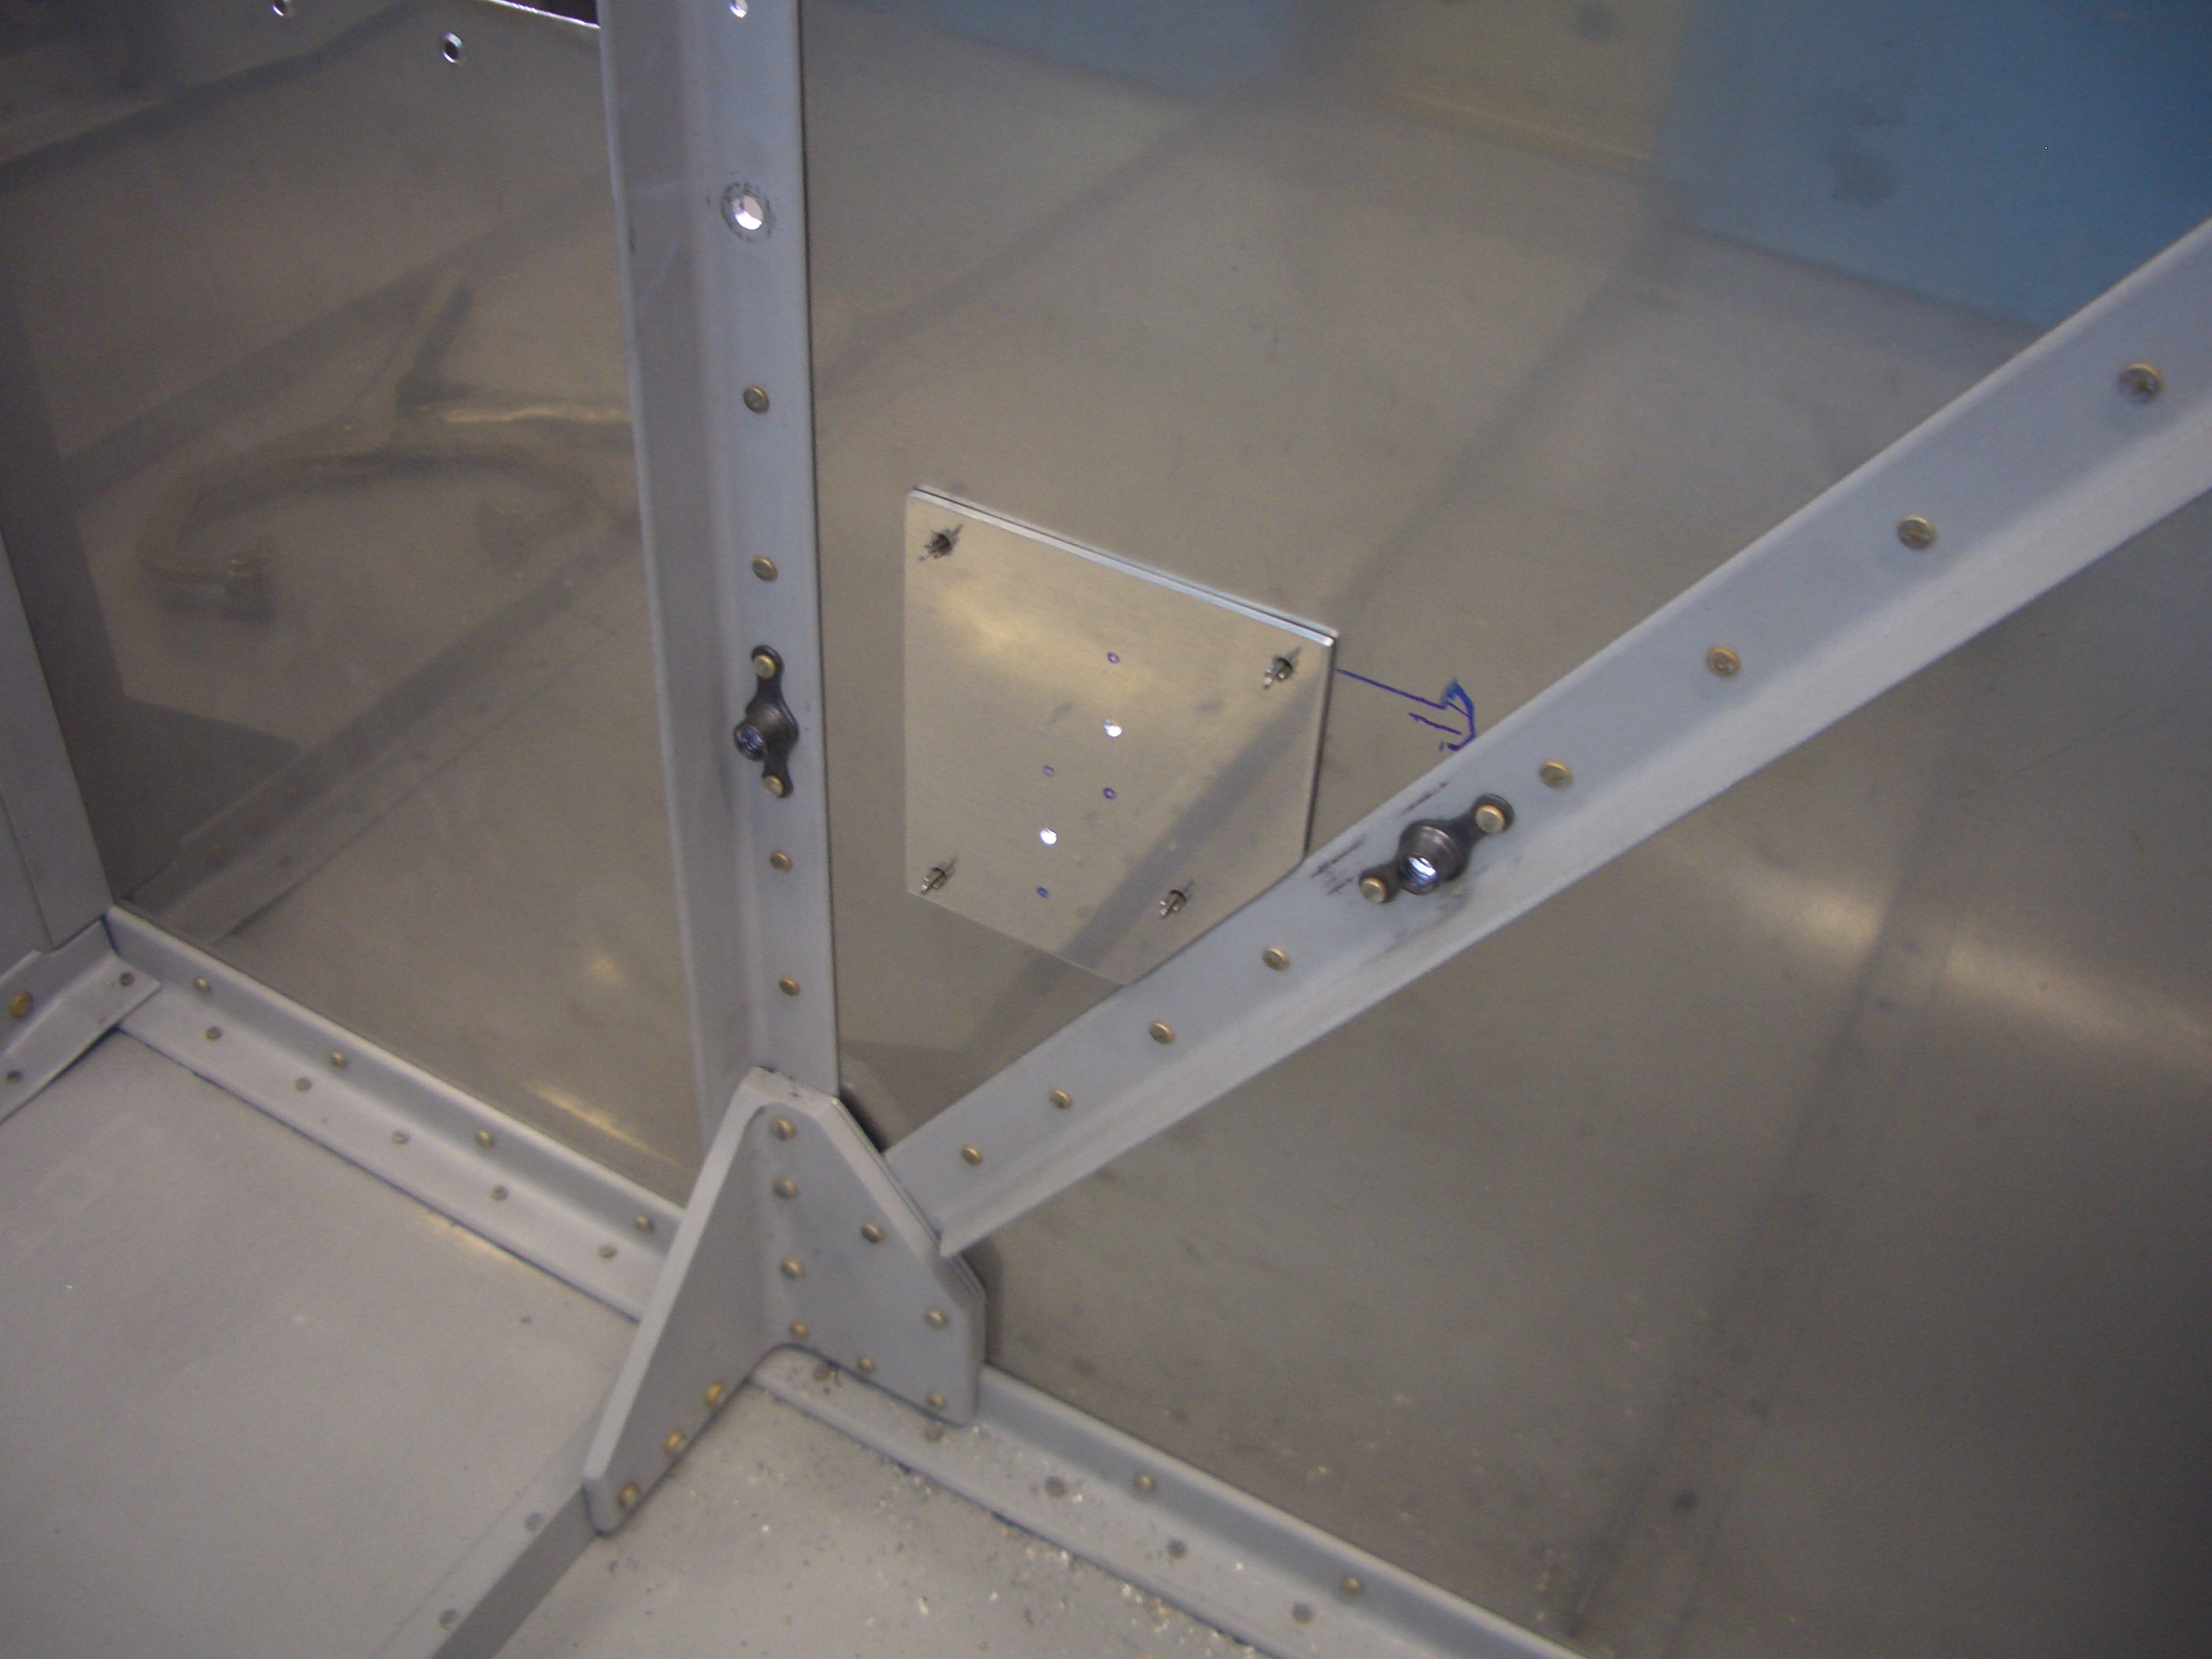
Next, I clamped sude support angles in place and match drilled them to the battery box. The left side is flush with the back wall of the battery box, but the right side is offset forward about 0.024″ to make room for the firewall recess and the thickness of the firewall sealant. To do this, I set the angle on a piece of scrap stock.

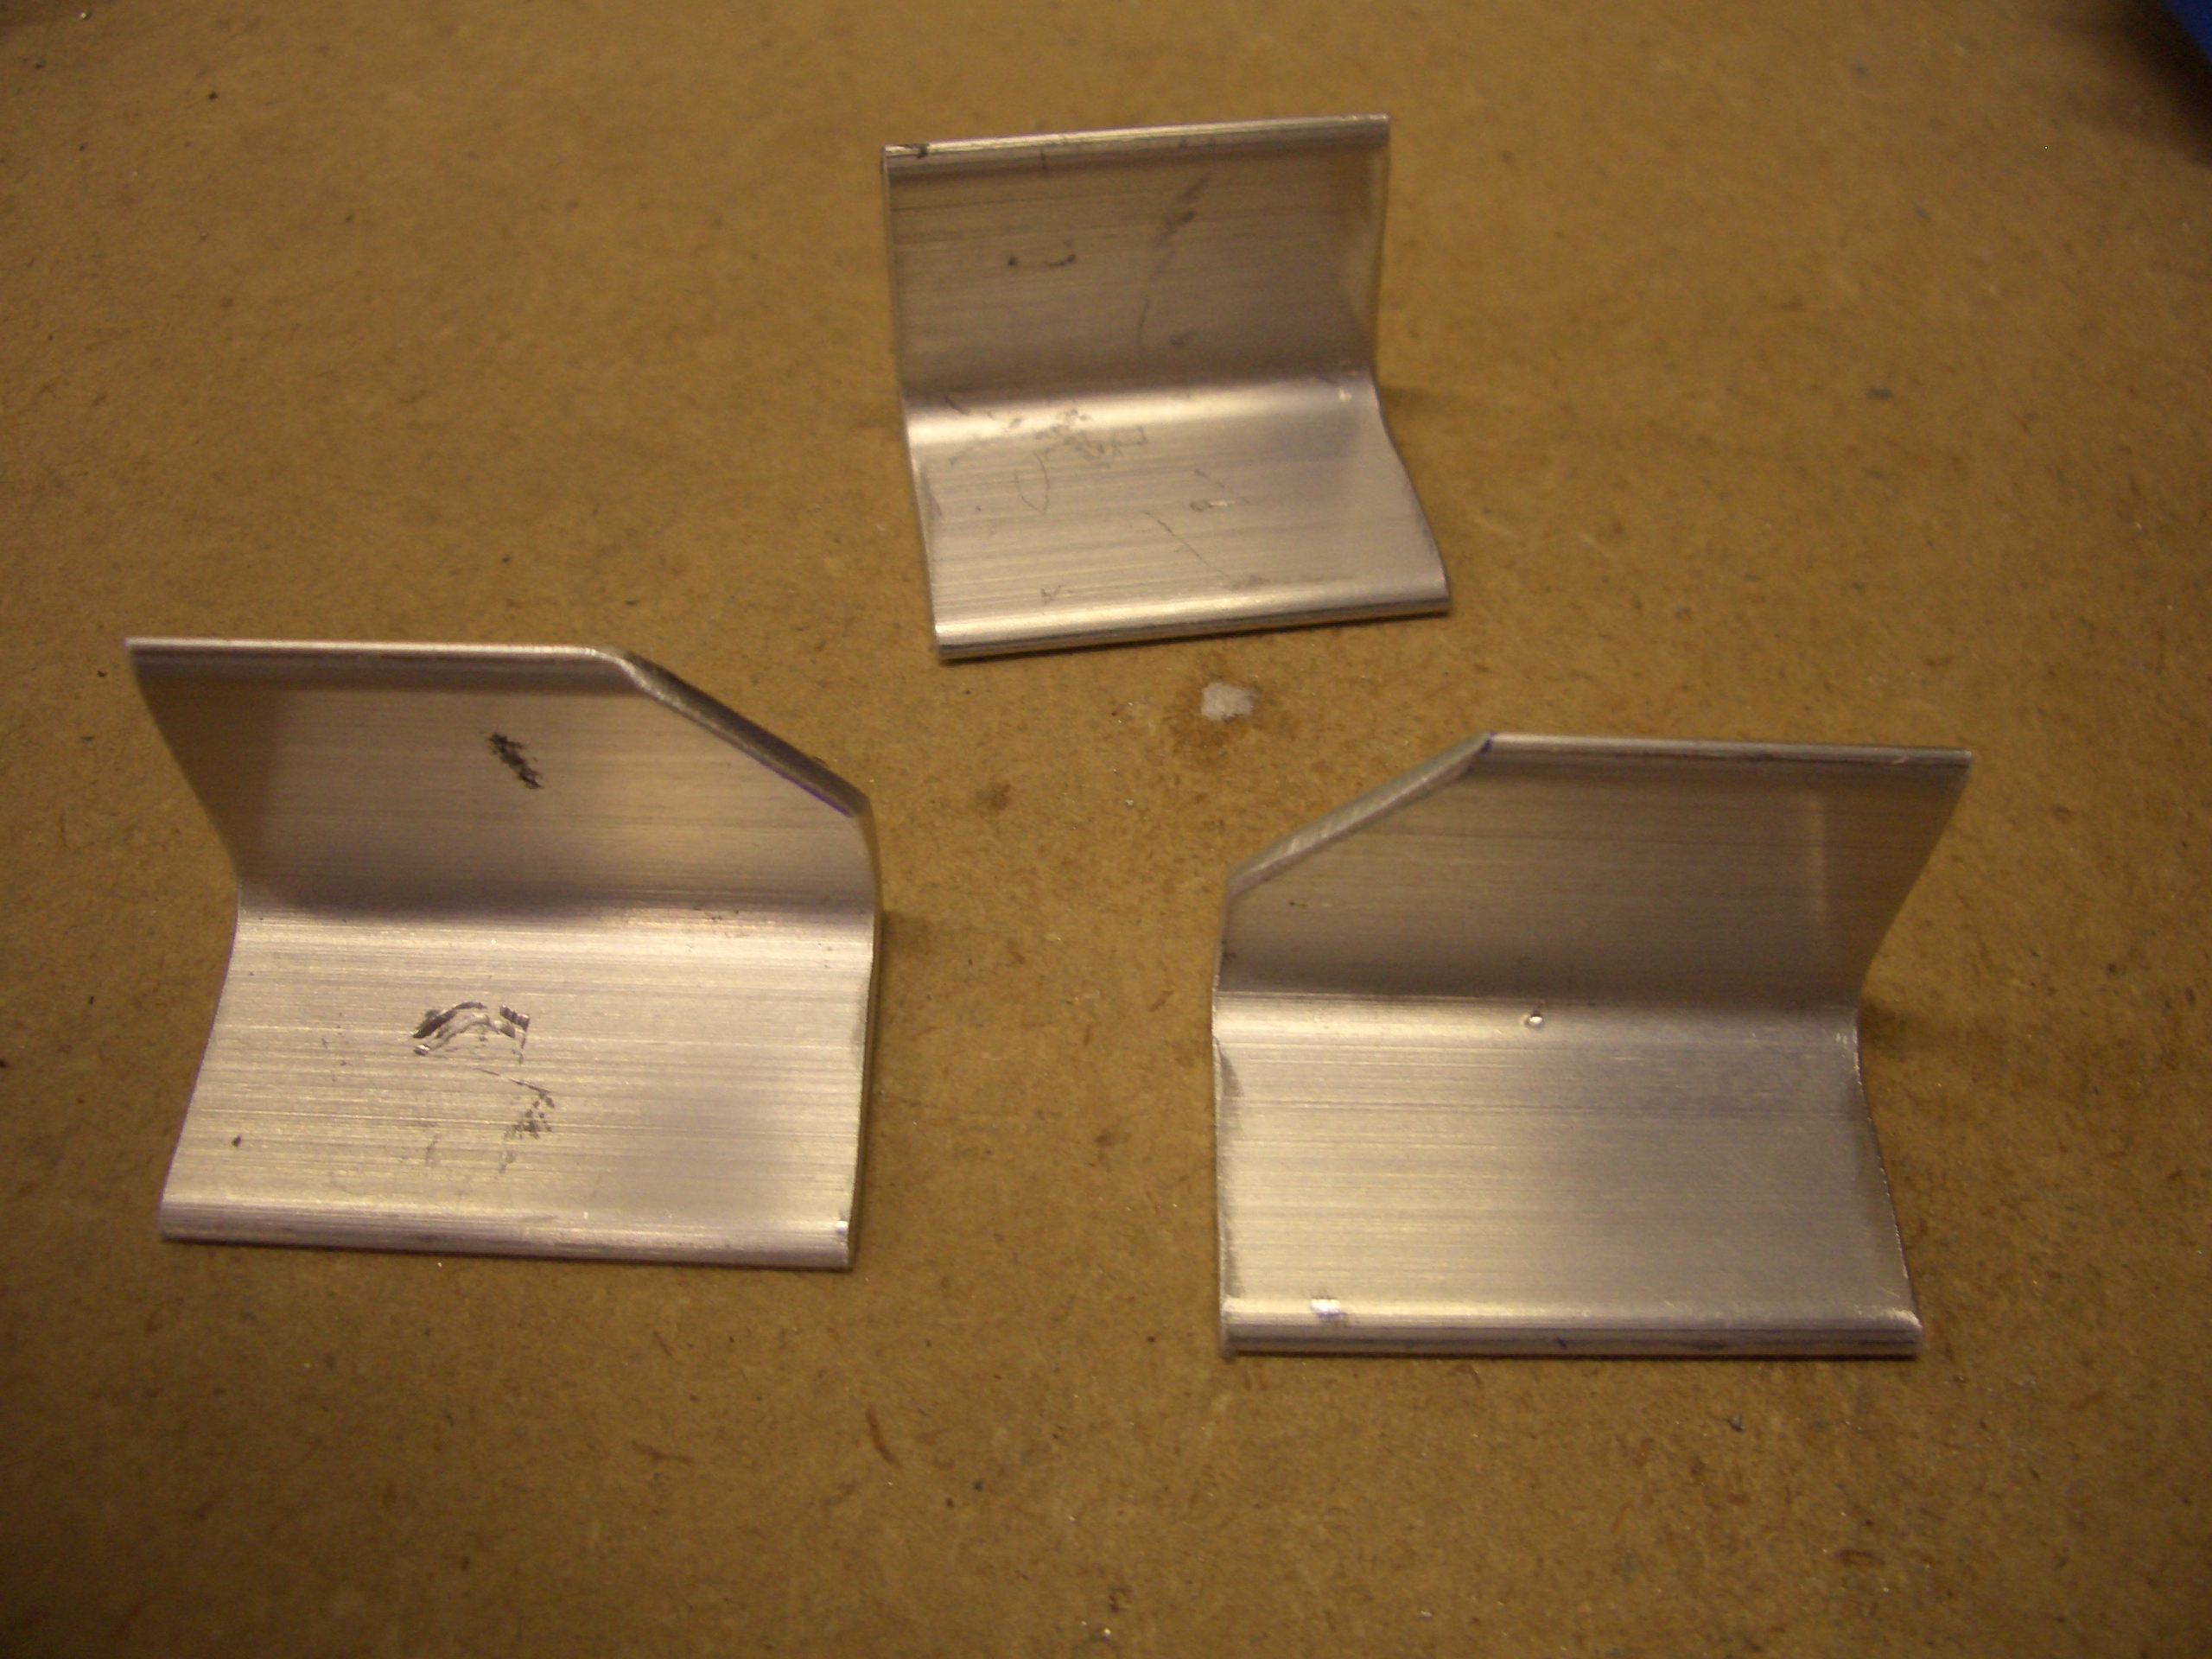
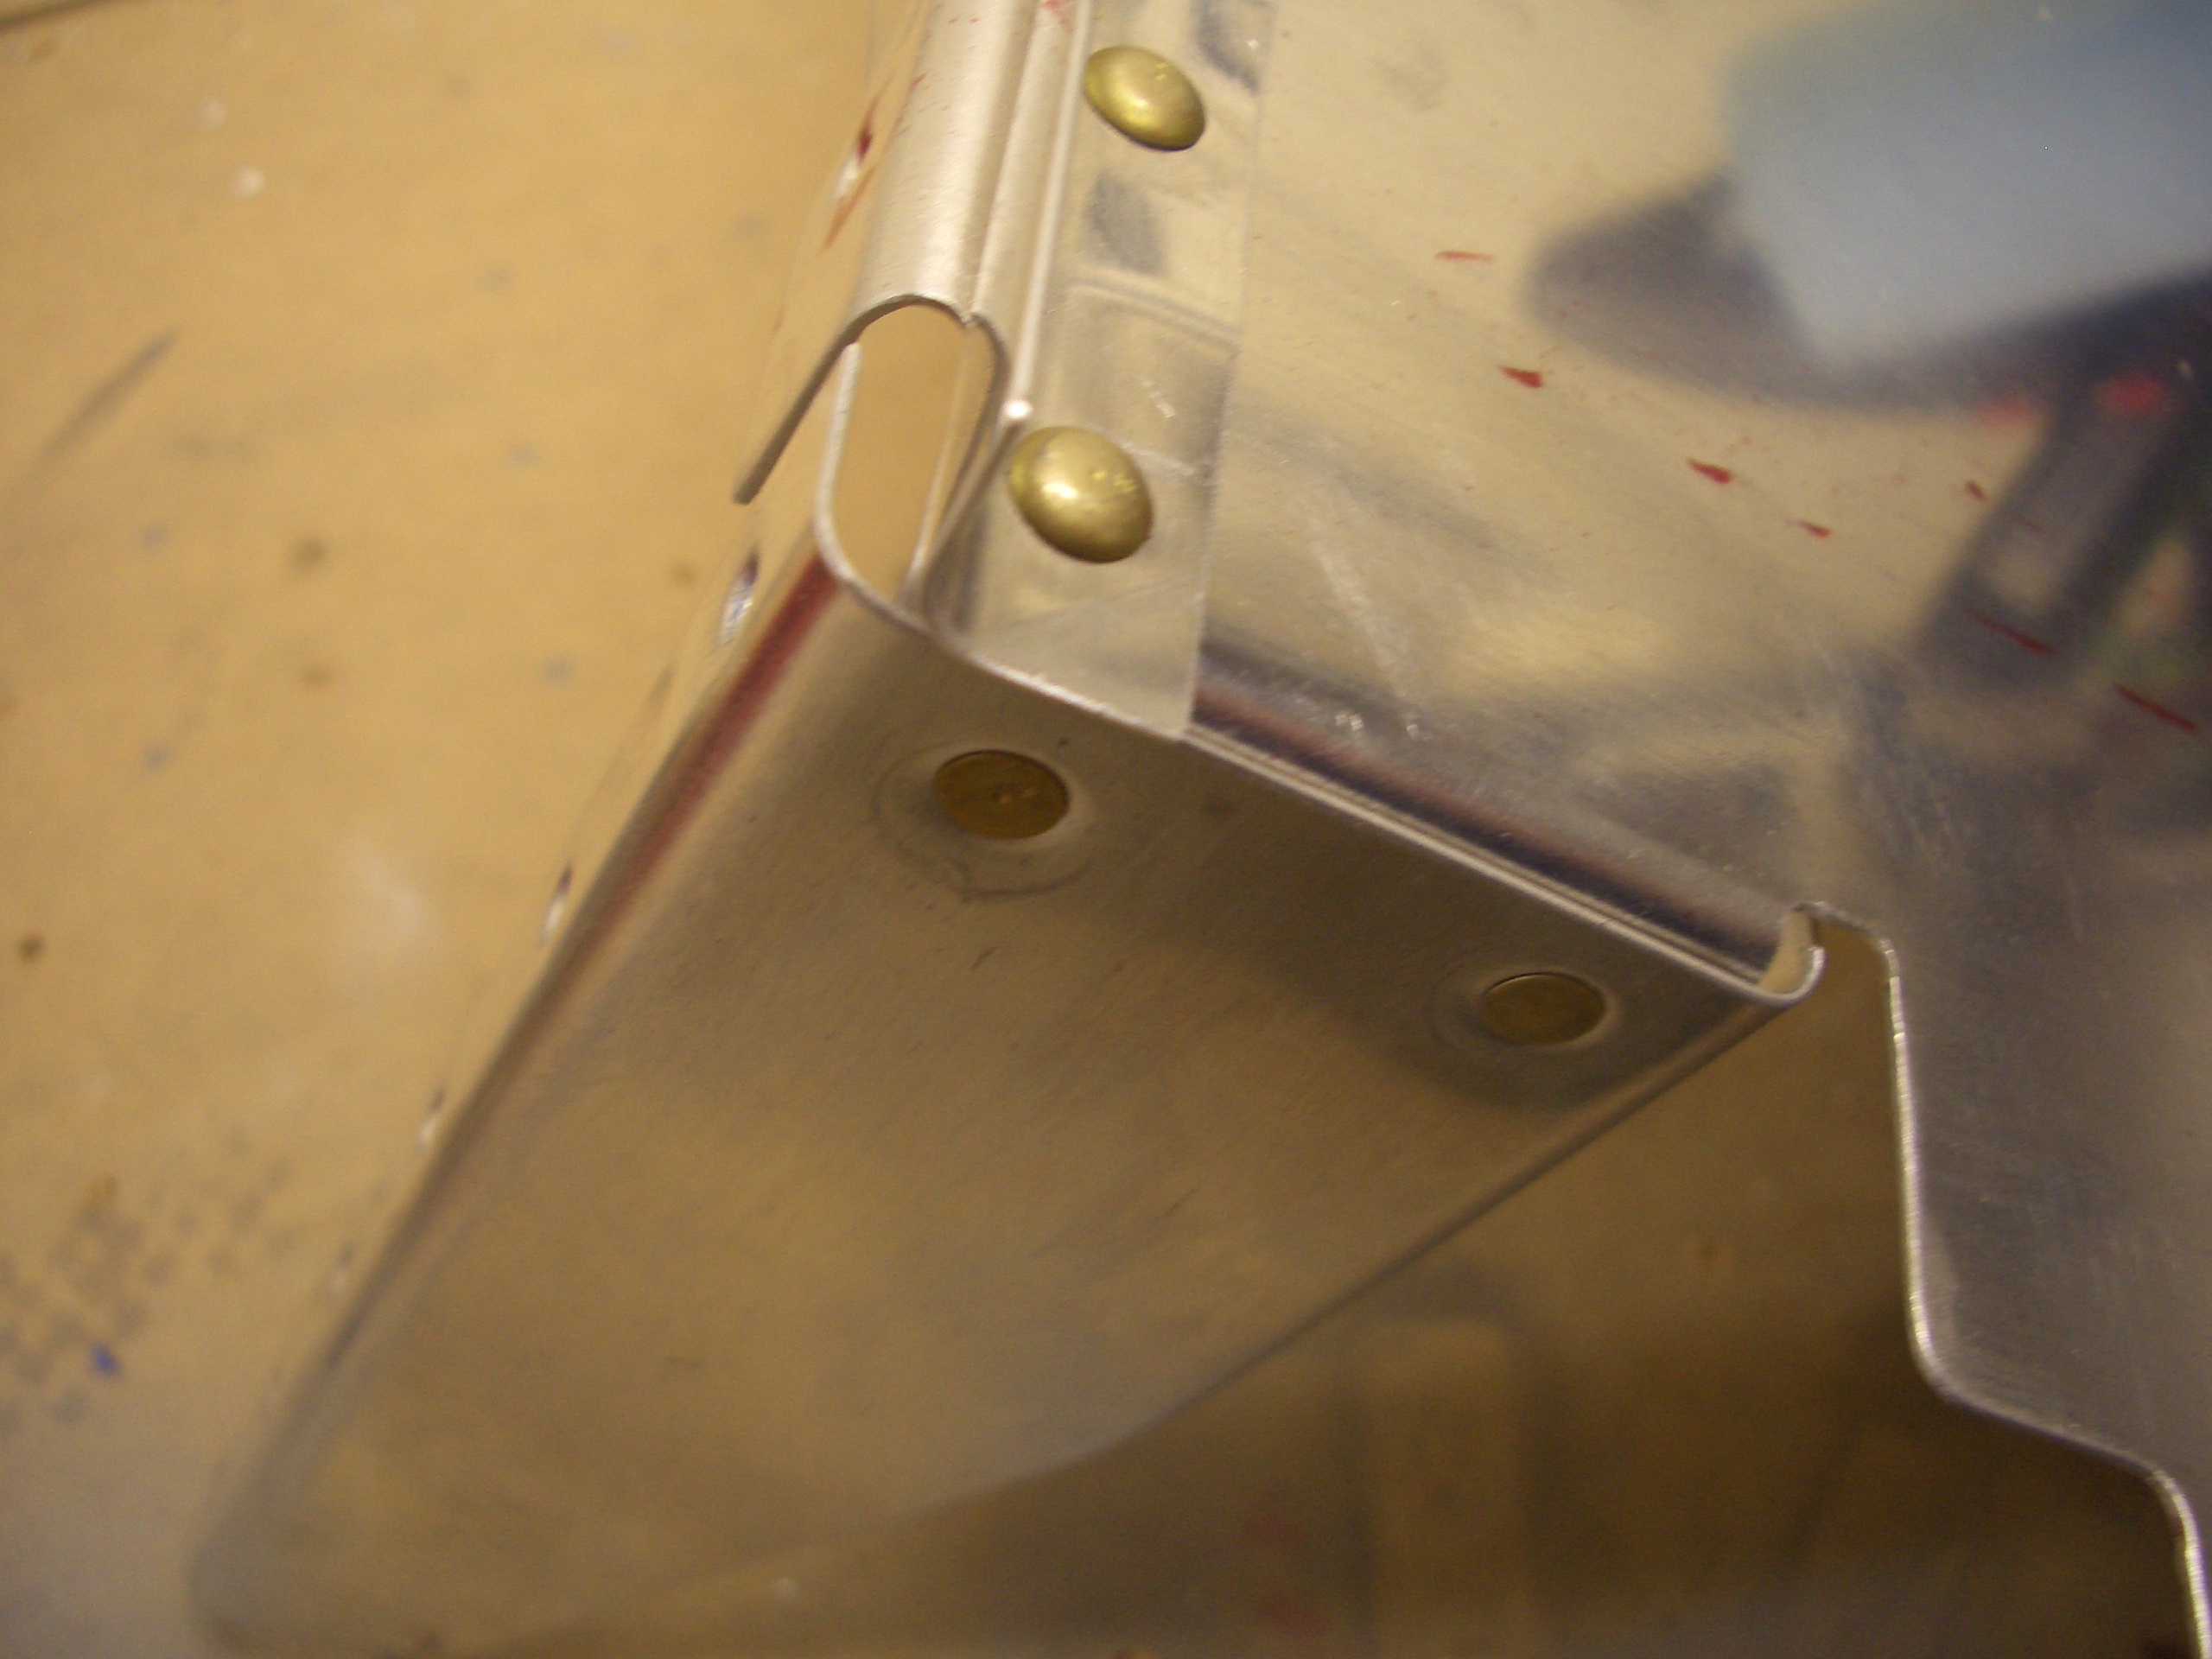
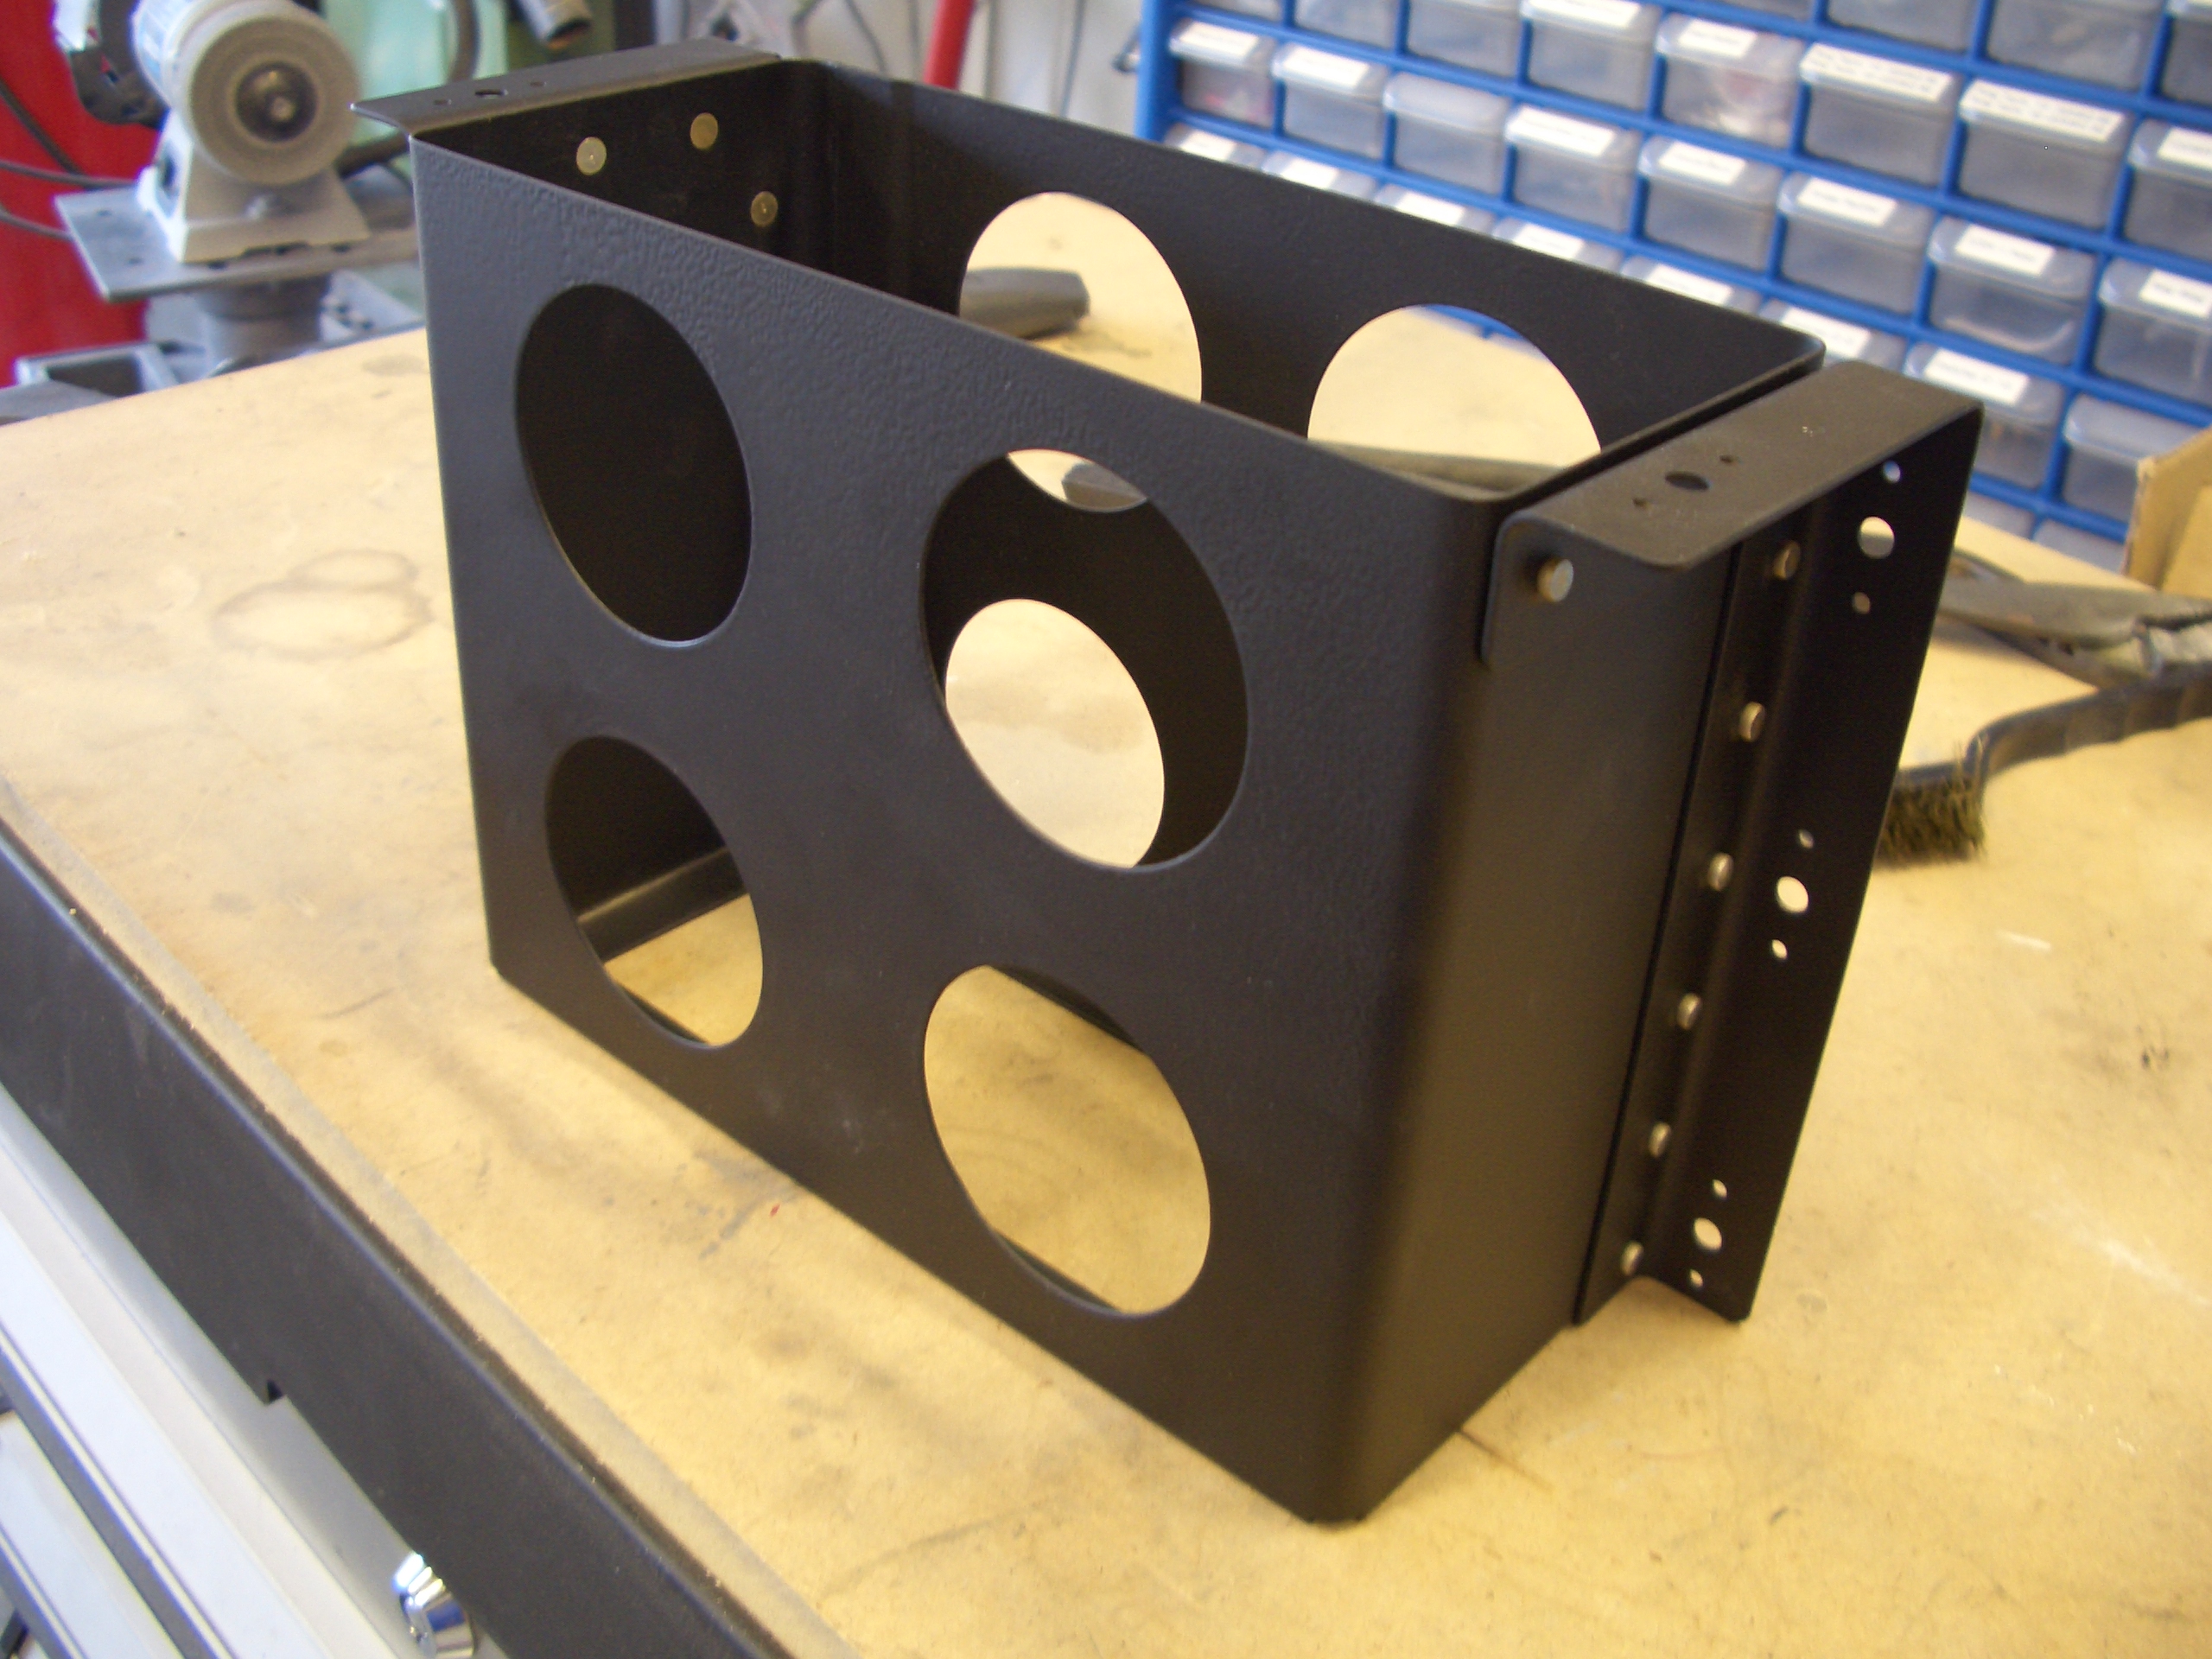
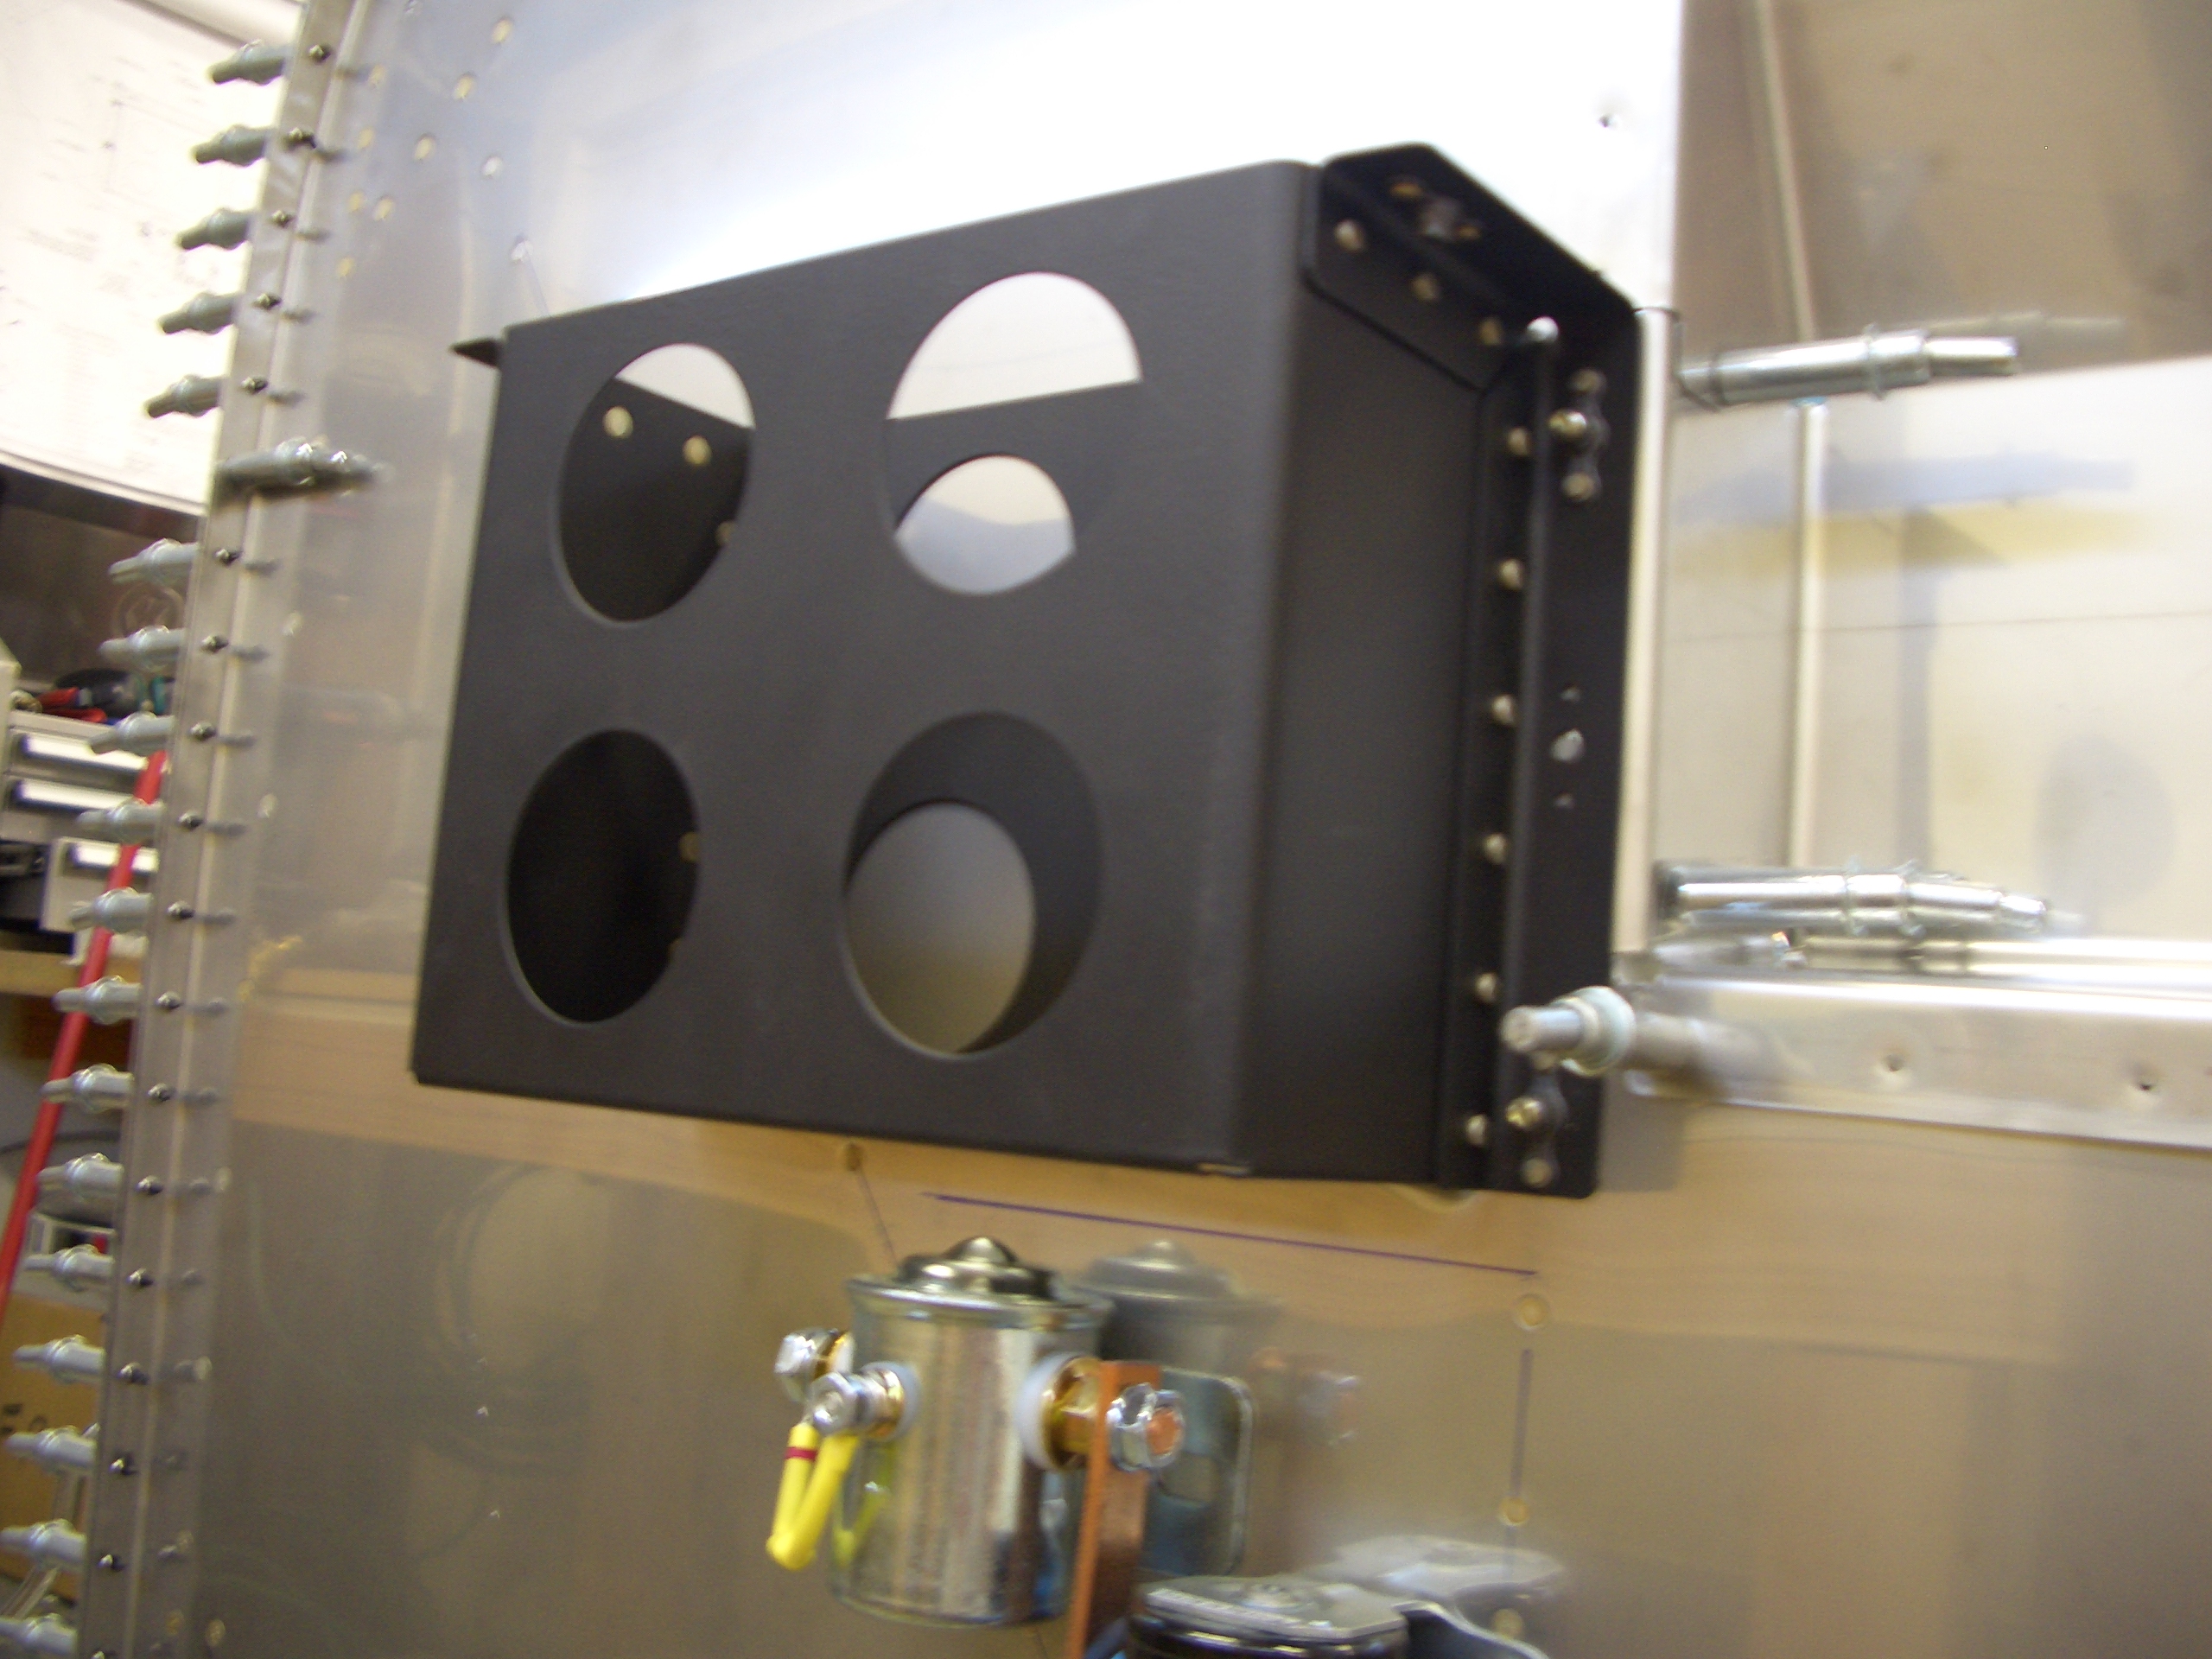
After deburring and dimpling the battery box and angles (the box needs flush rivets on the inside so that they don’t interfere with the battery), I painted the box and mounting angles with some gloss black paint.

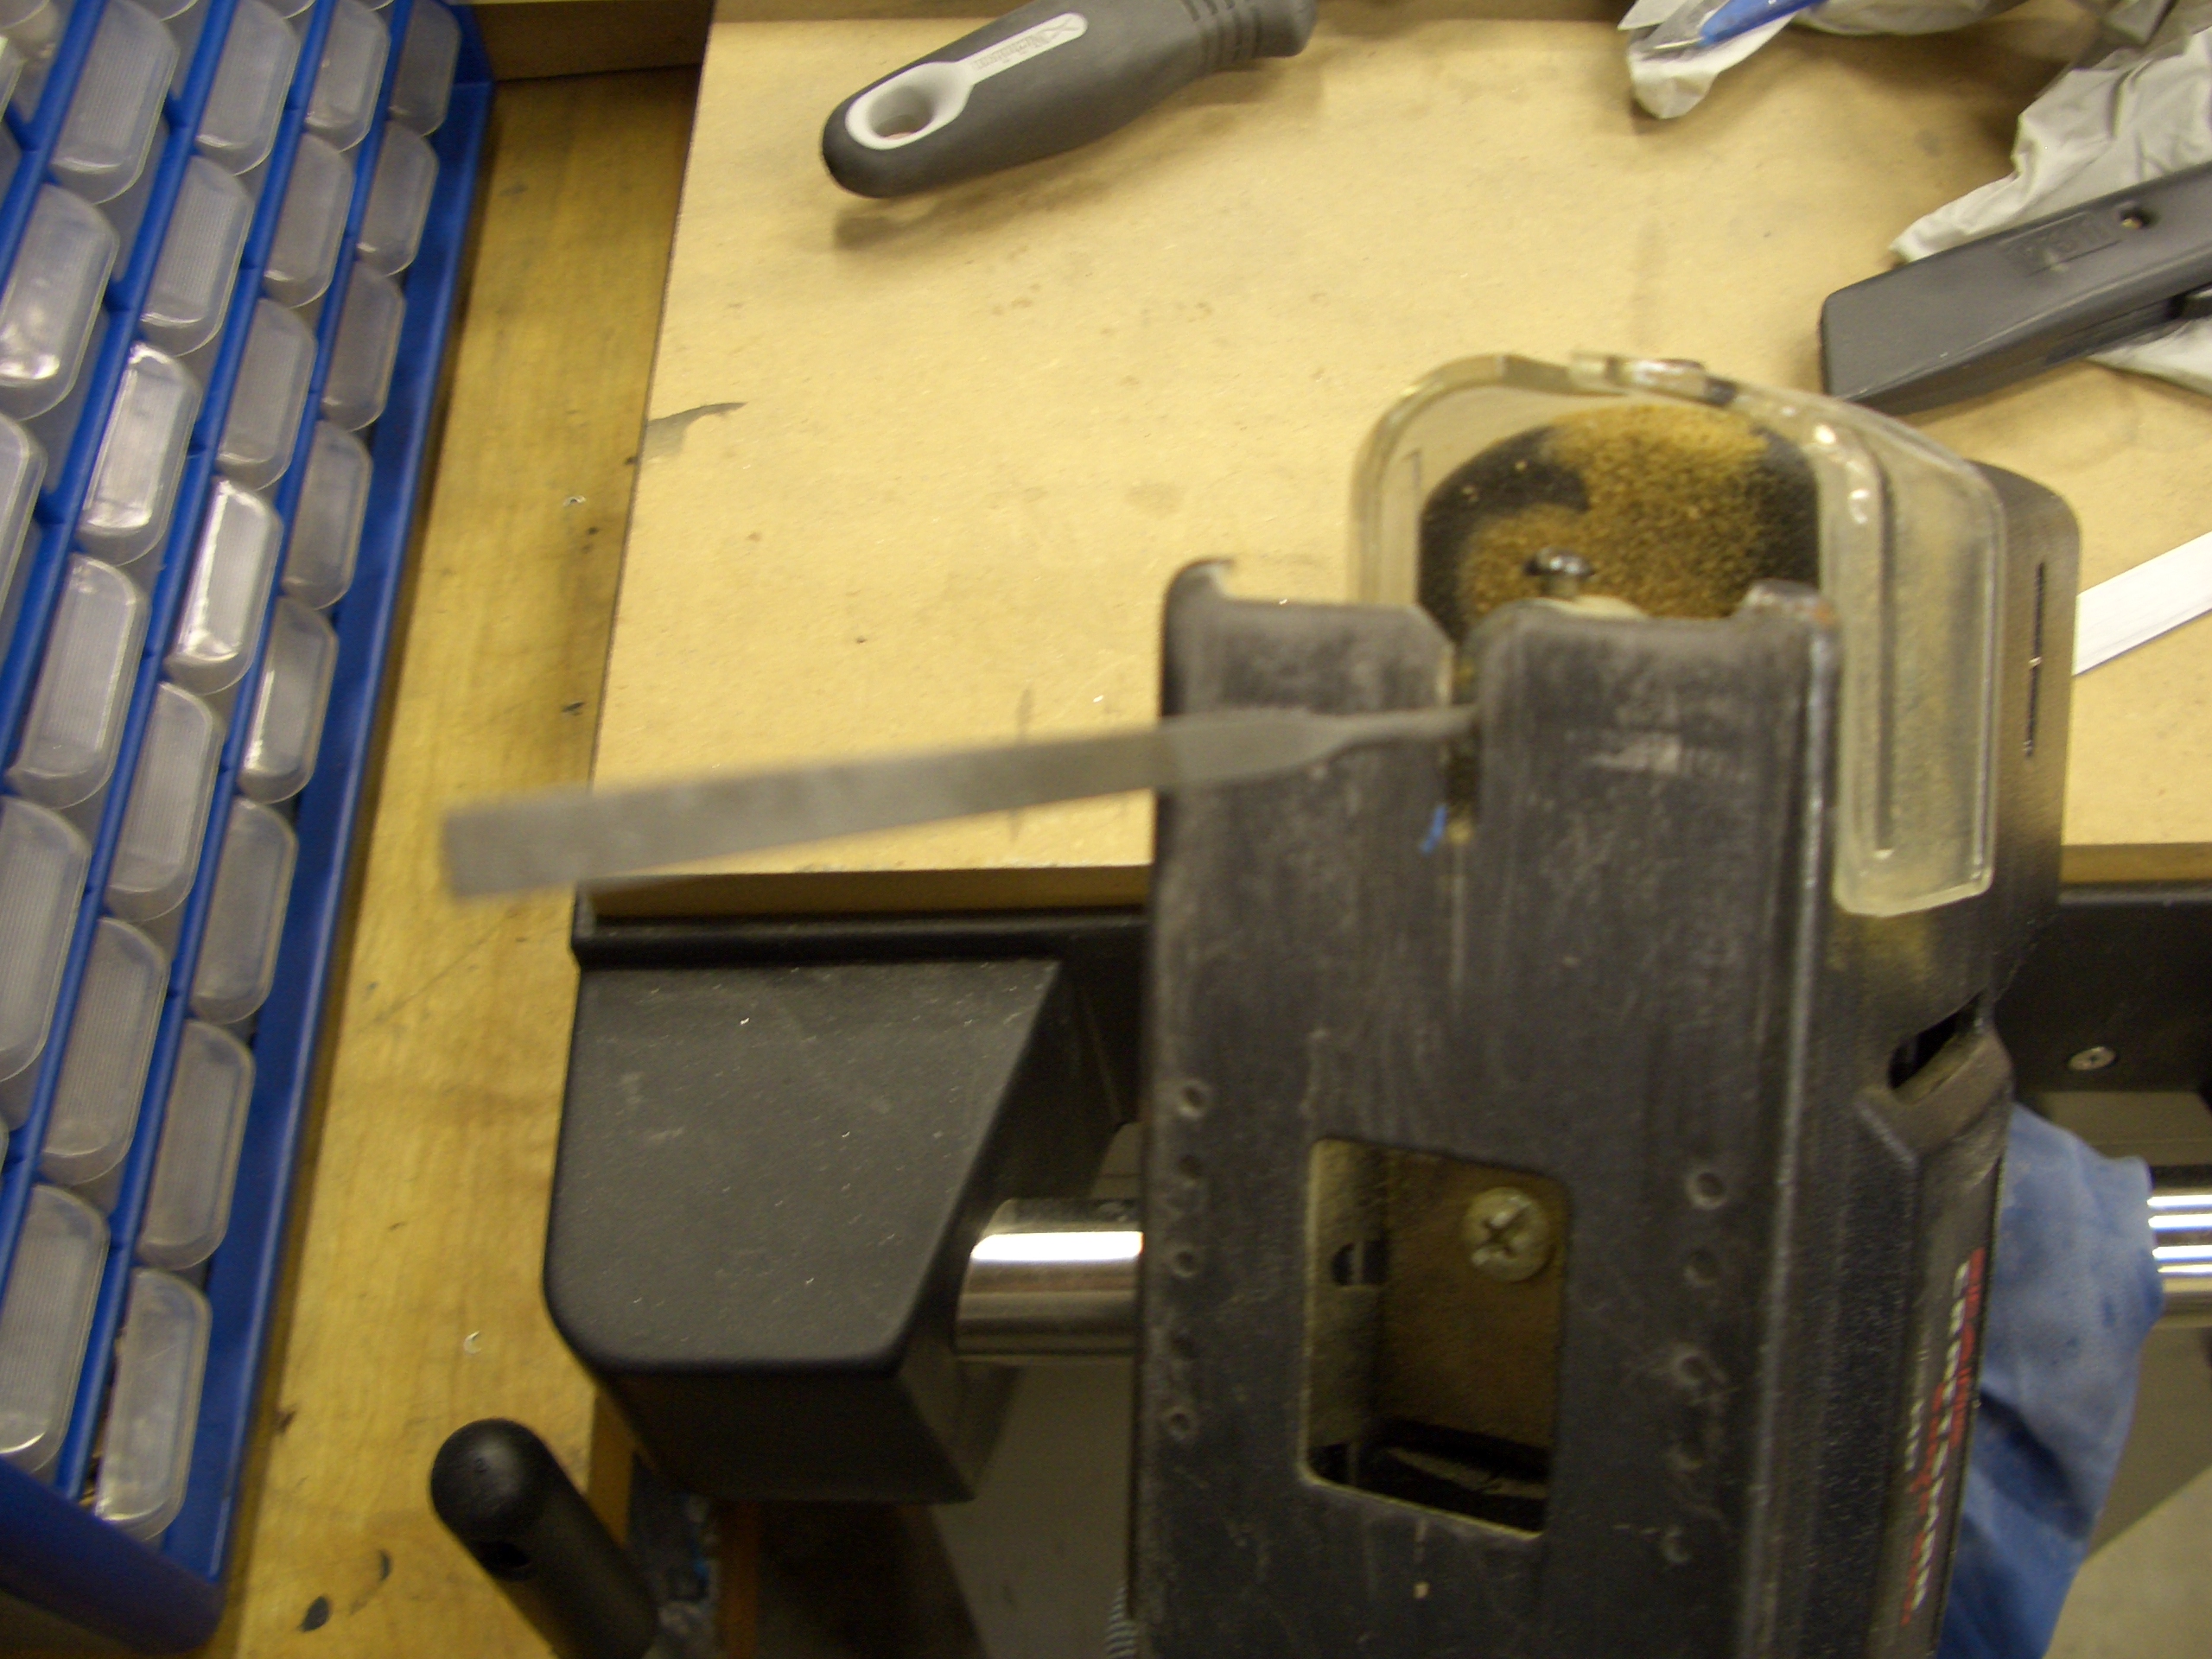
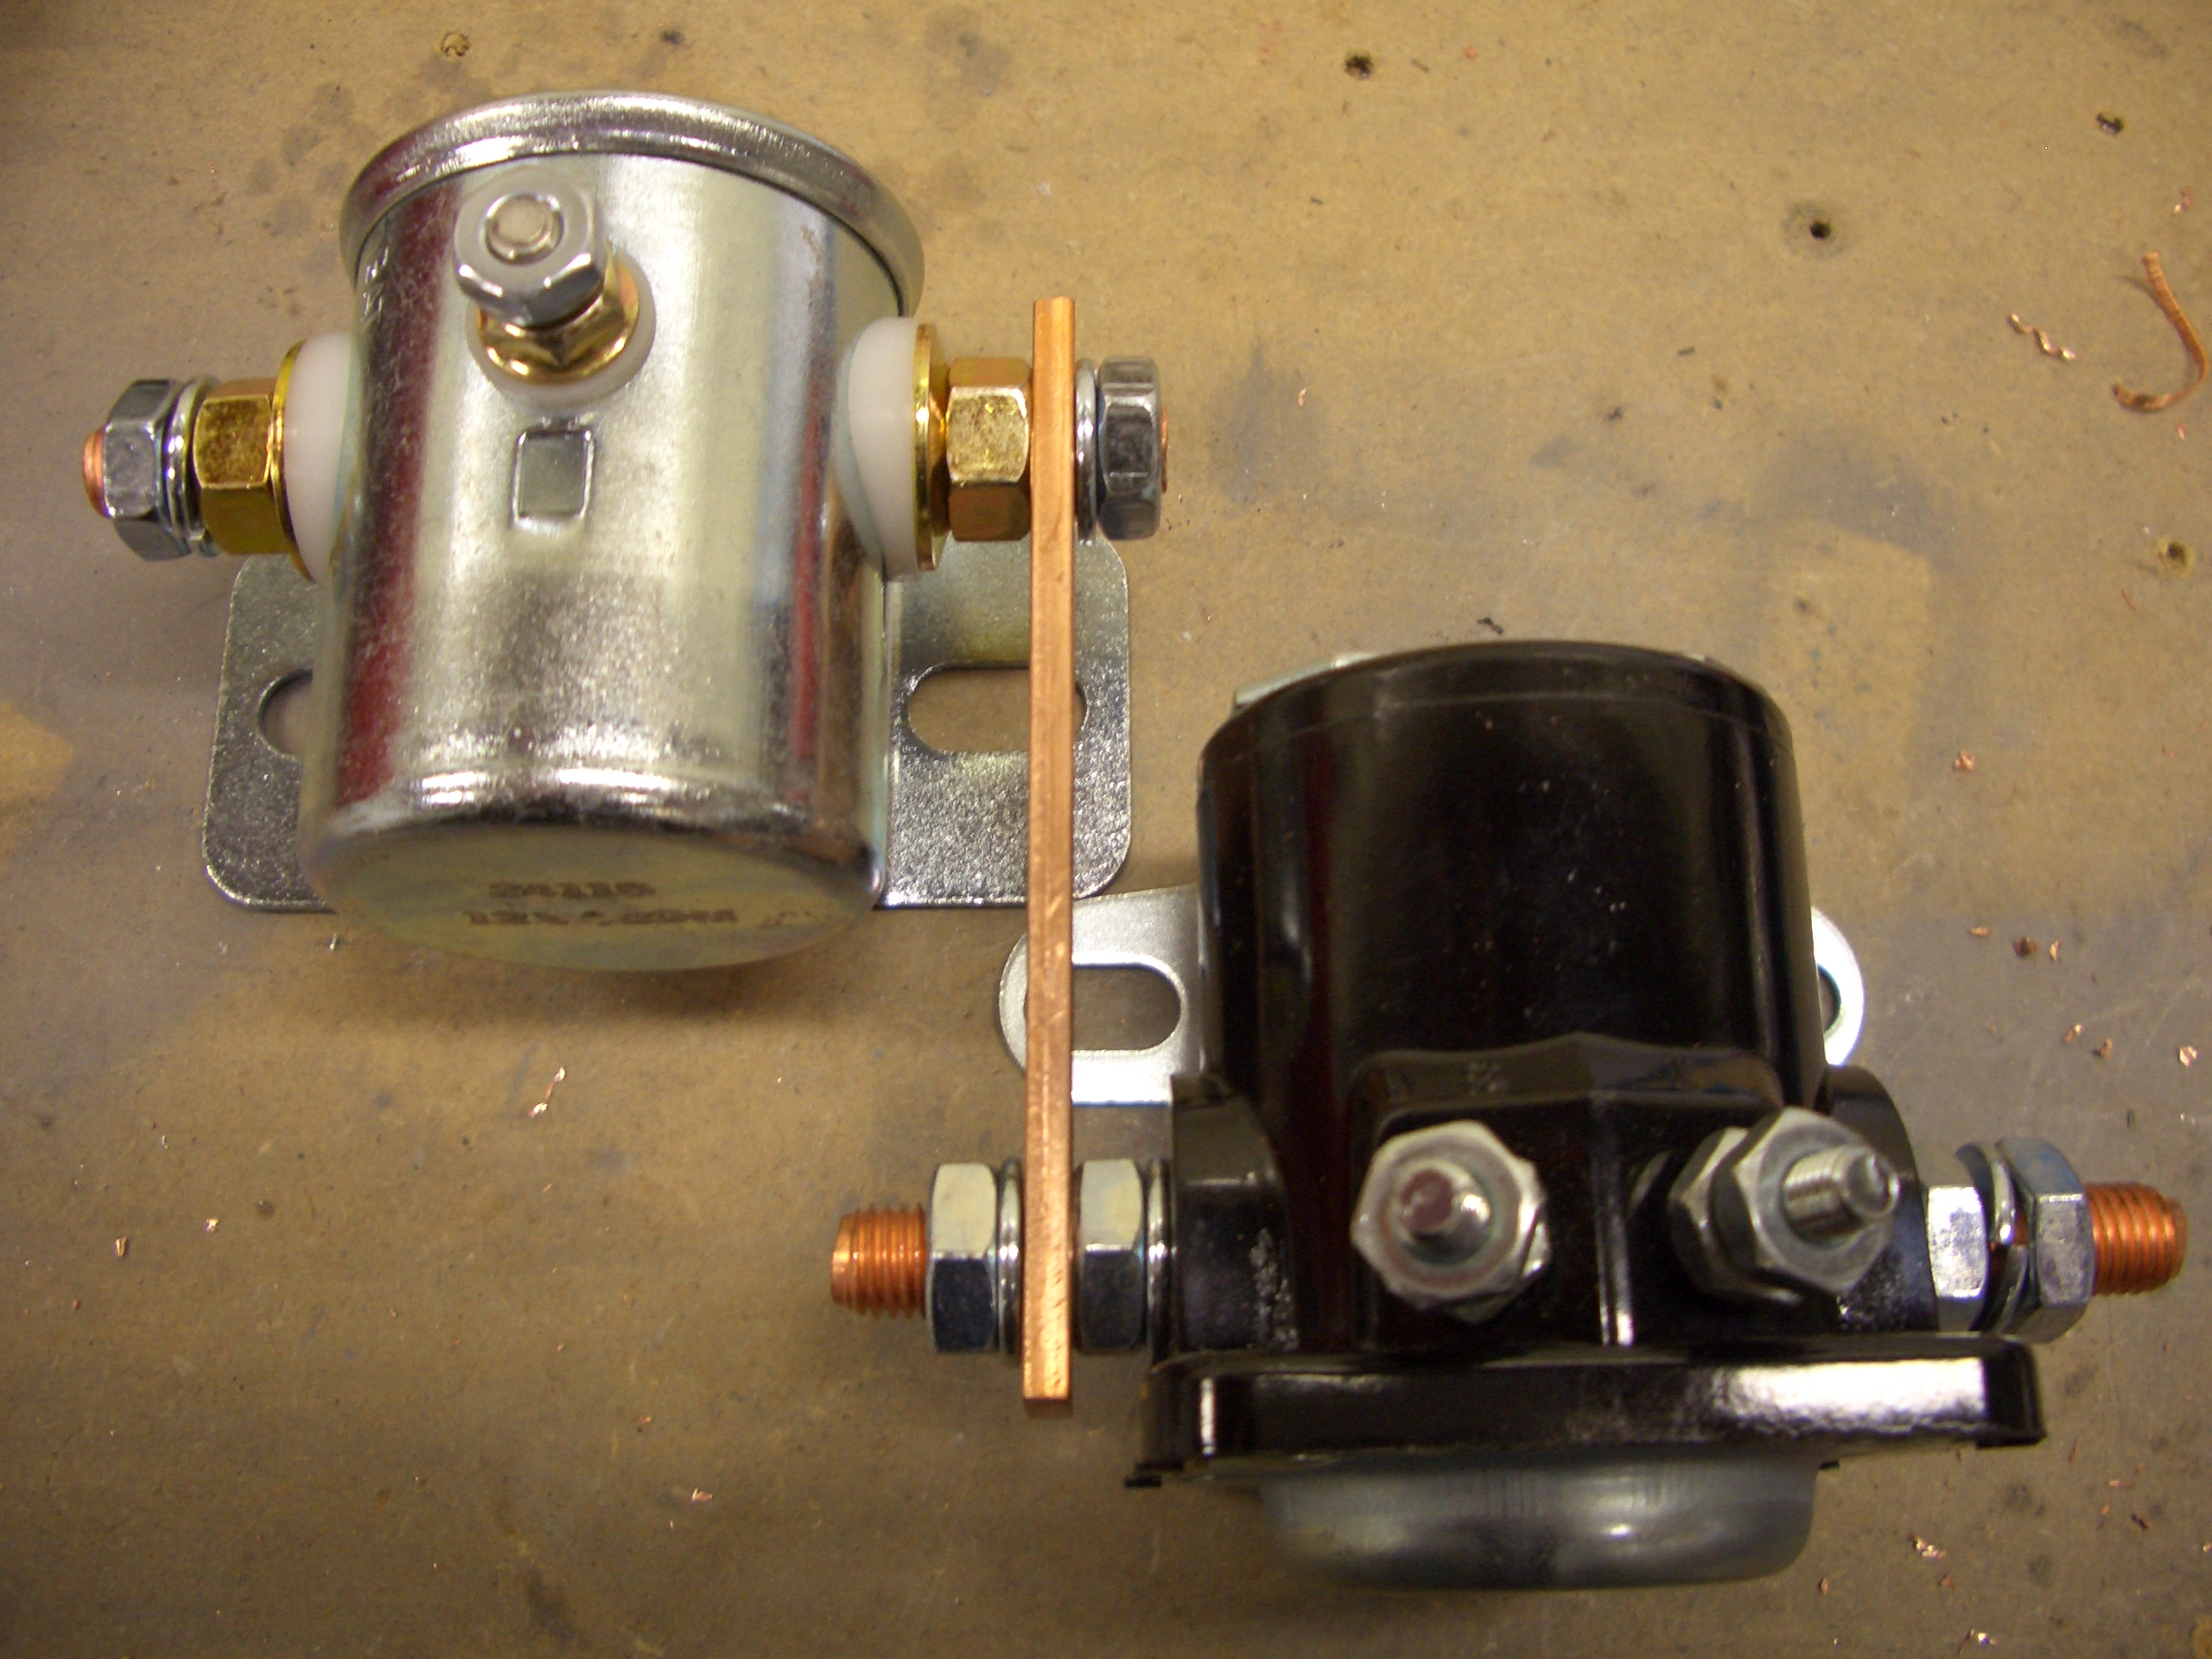
While waiting for the paint to dry, I fabricated the connection between the battery contactor and starter contactor. Instead of using a big wire with terminals on the ends, Van’s recommends positioning the contactors such that a solid copper bar can be used to connect the output of the battery contactor (silver) to the input of the starter contactor (black). Van’s recommends using two pieces of 1/16″ thick copper and sells this stock. Aircraft Spruce sells 1/8″ thick stock for less, so this can be fabricated from a single piece. I made the bar slightly longer than the plans so that the mounting ears don’t interfere.

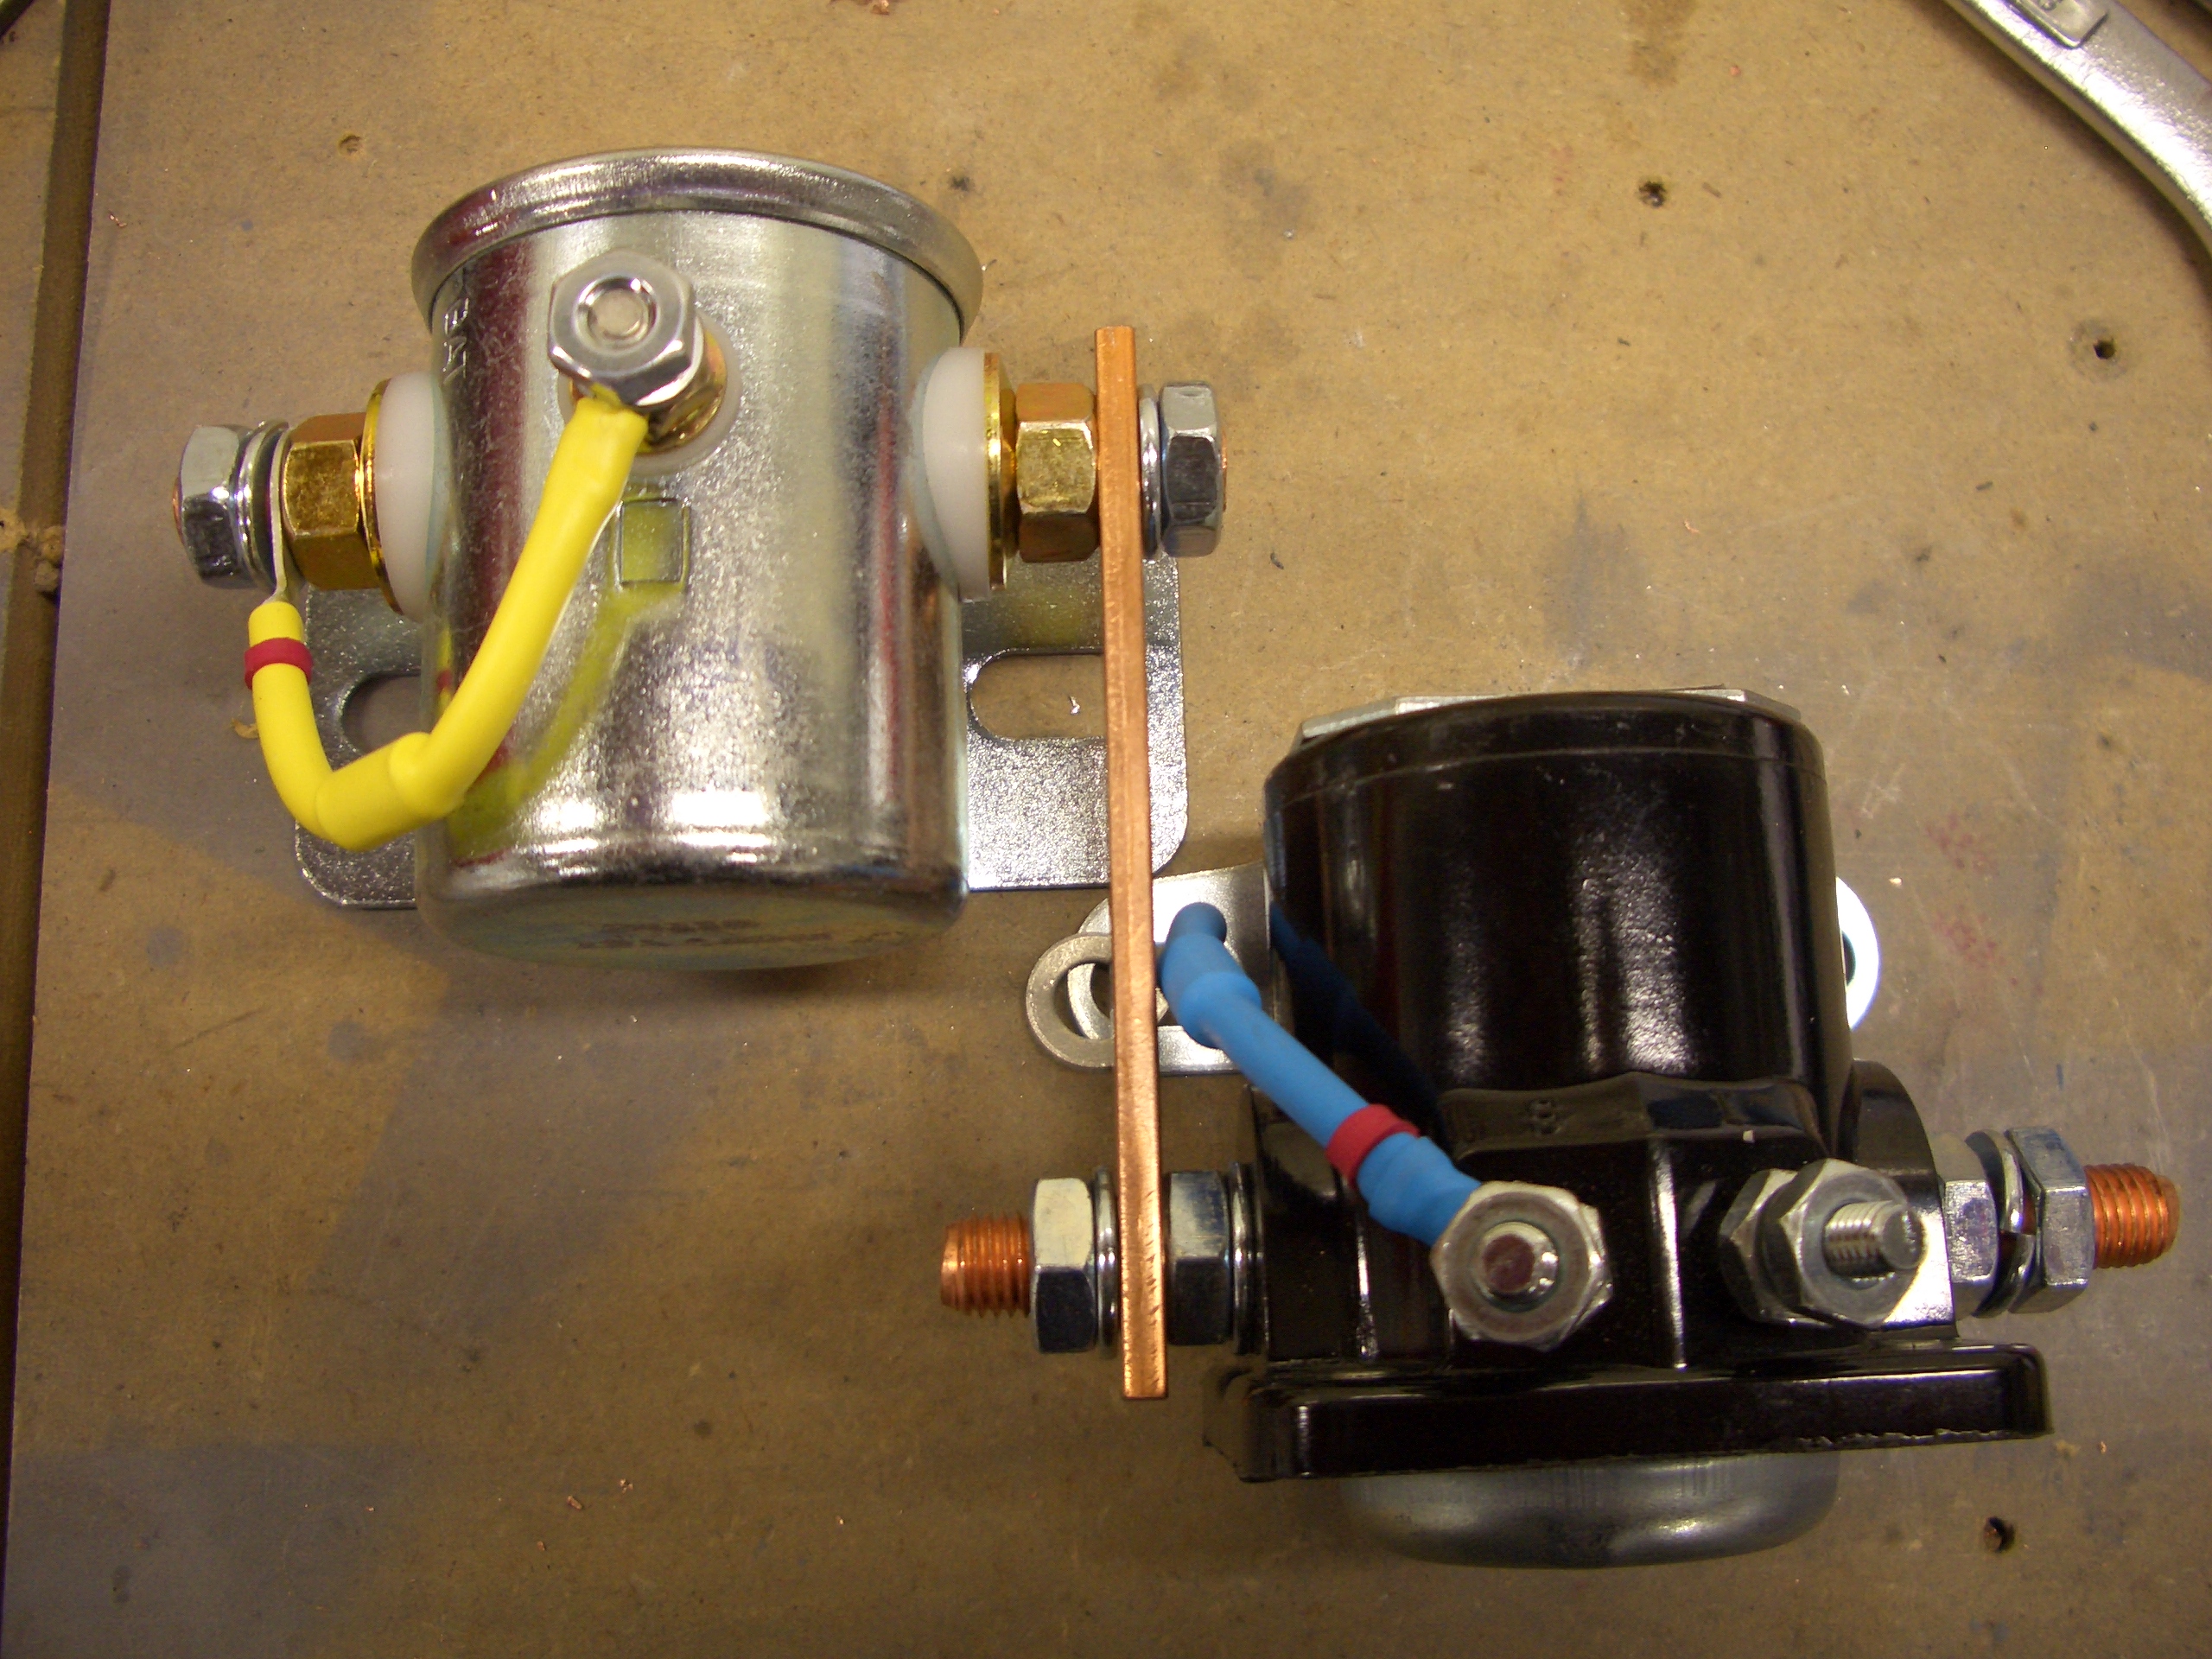
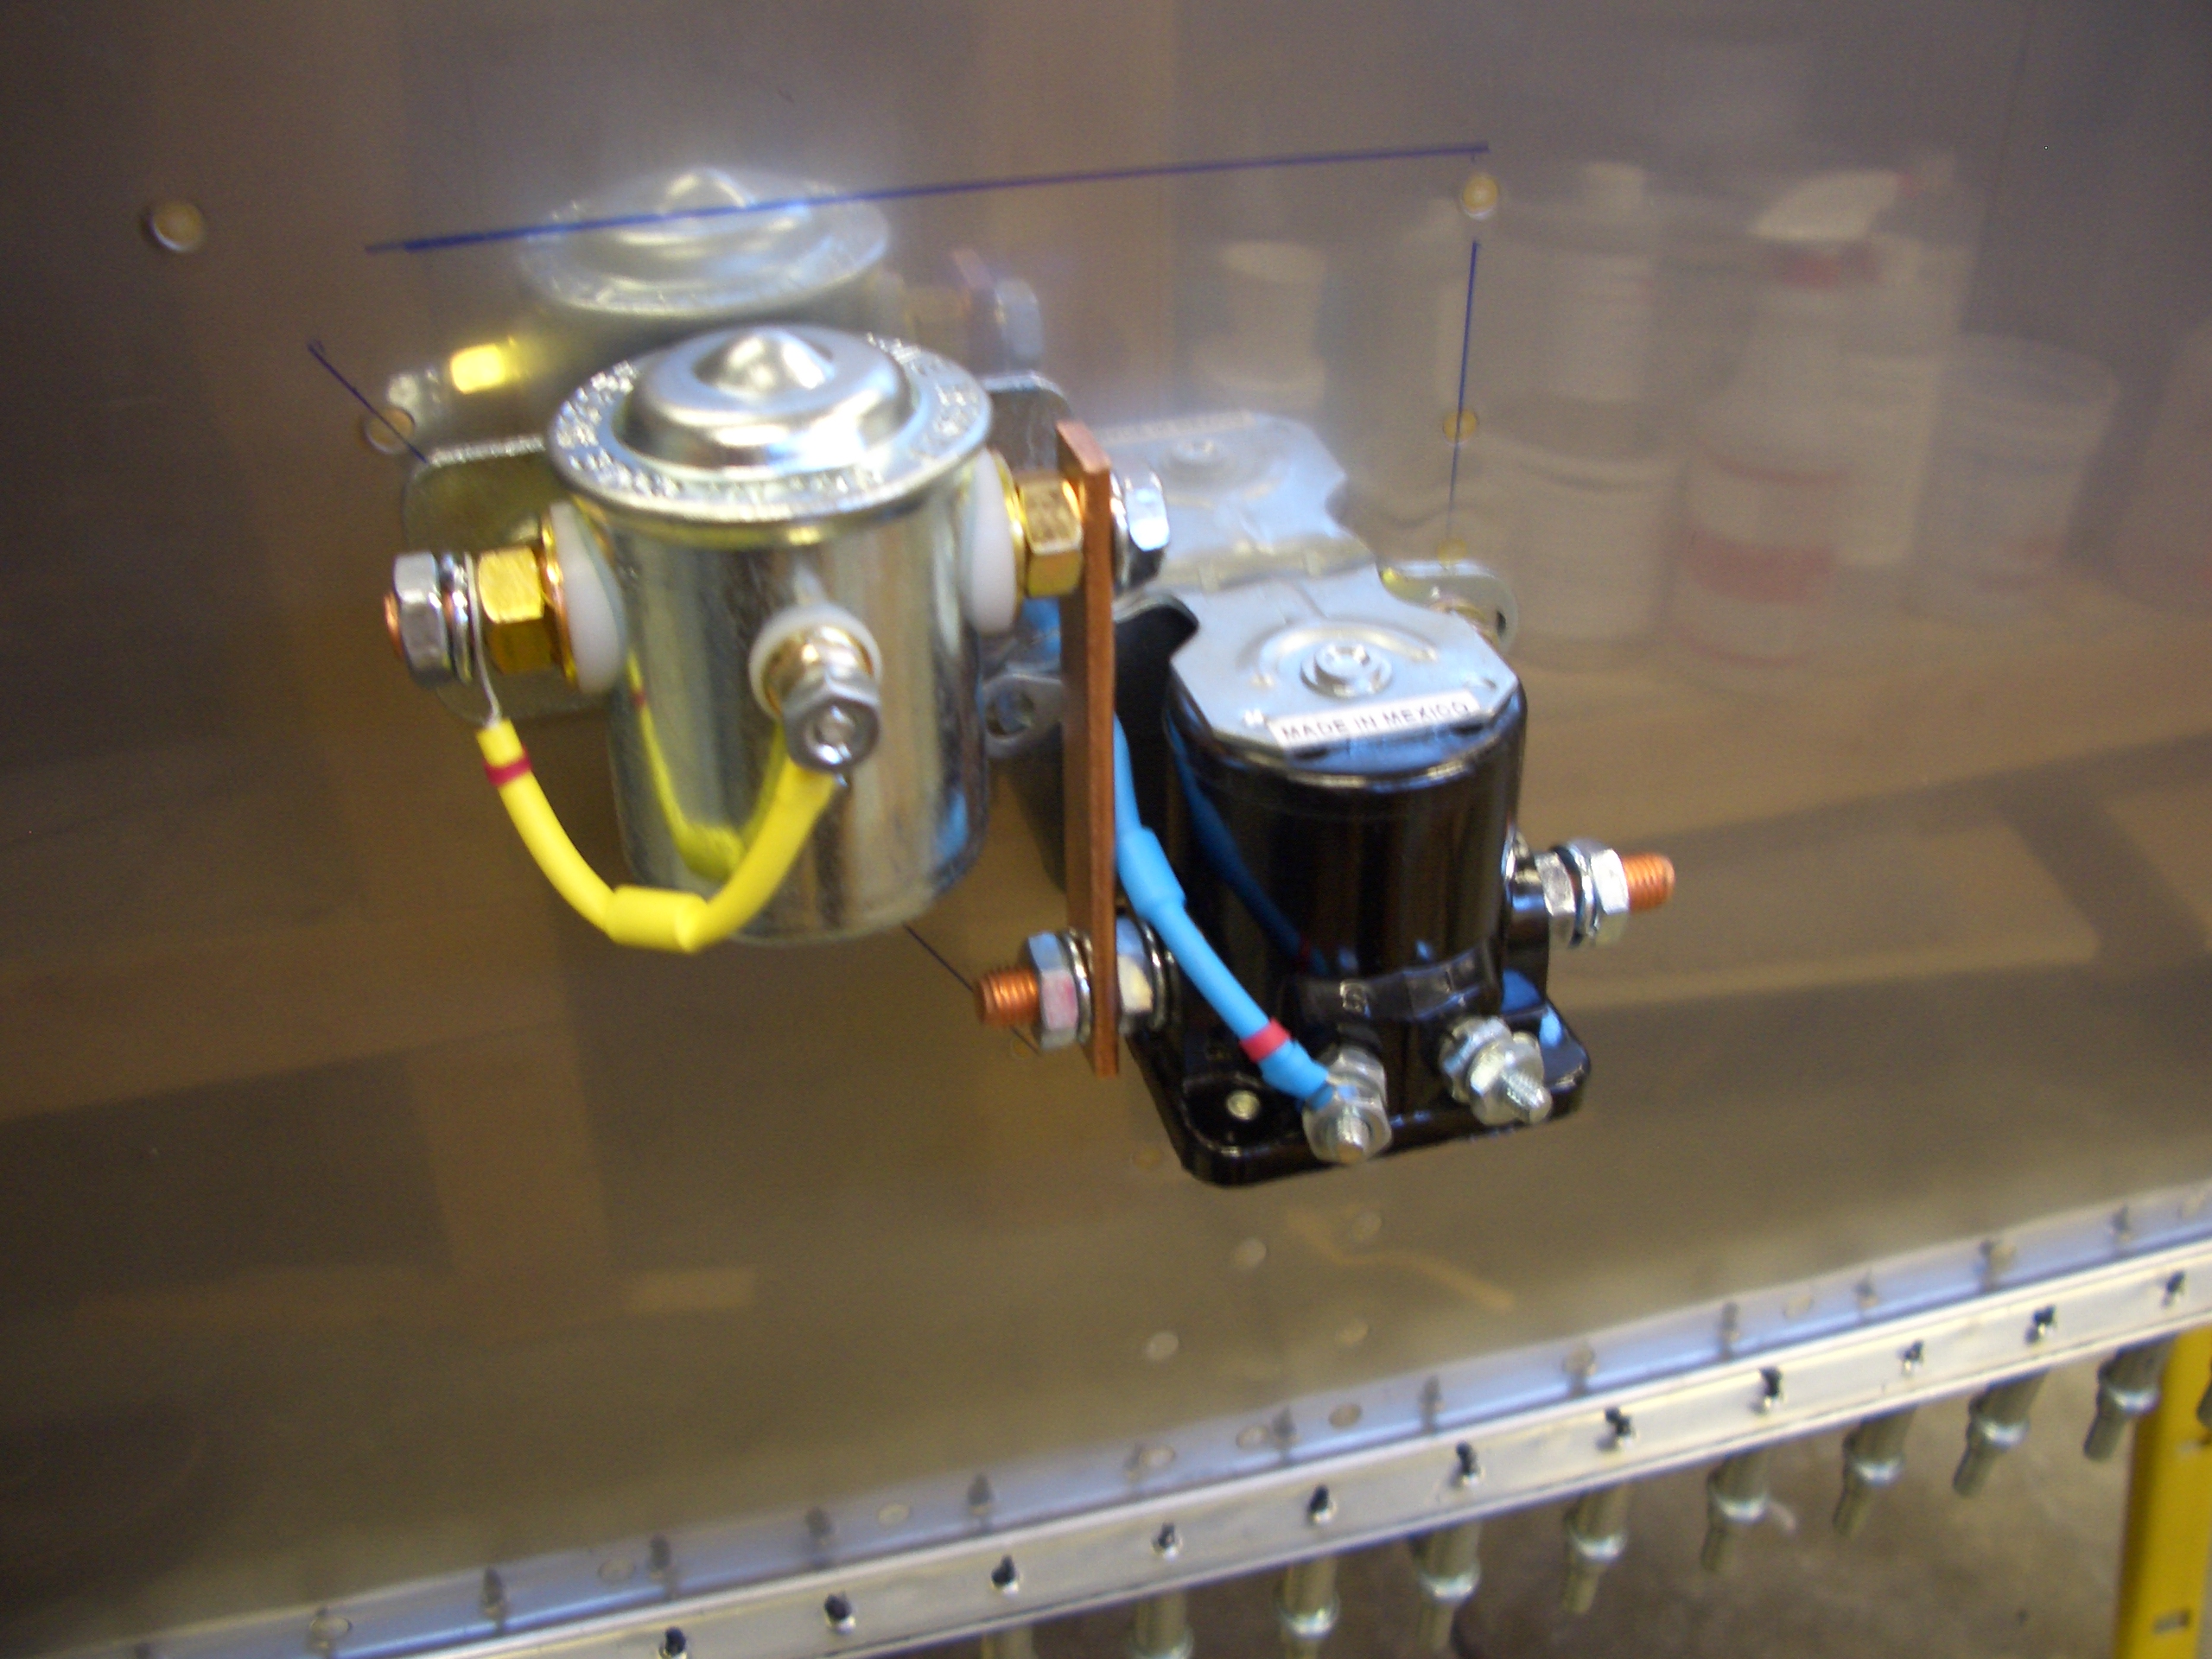
Two diodes need to be mounted between the input of the starter contactor and the control terminal as well as between the left control terminal of the starter contactor and ground. These contactors are basically electromagnets, and shutting off power to these coils causes the magnetic field to collapse which can generate voltage spikes of hundred to thousands of volts. This causes arcing in the switches which can cause them to prematurely fail. By using these diodes, the energy from the collapsing magnetic field can be safely dissipated.