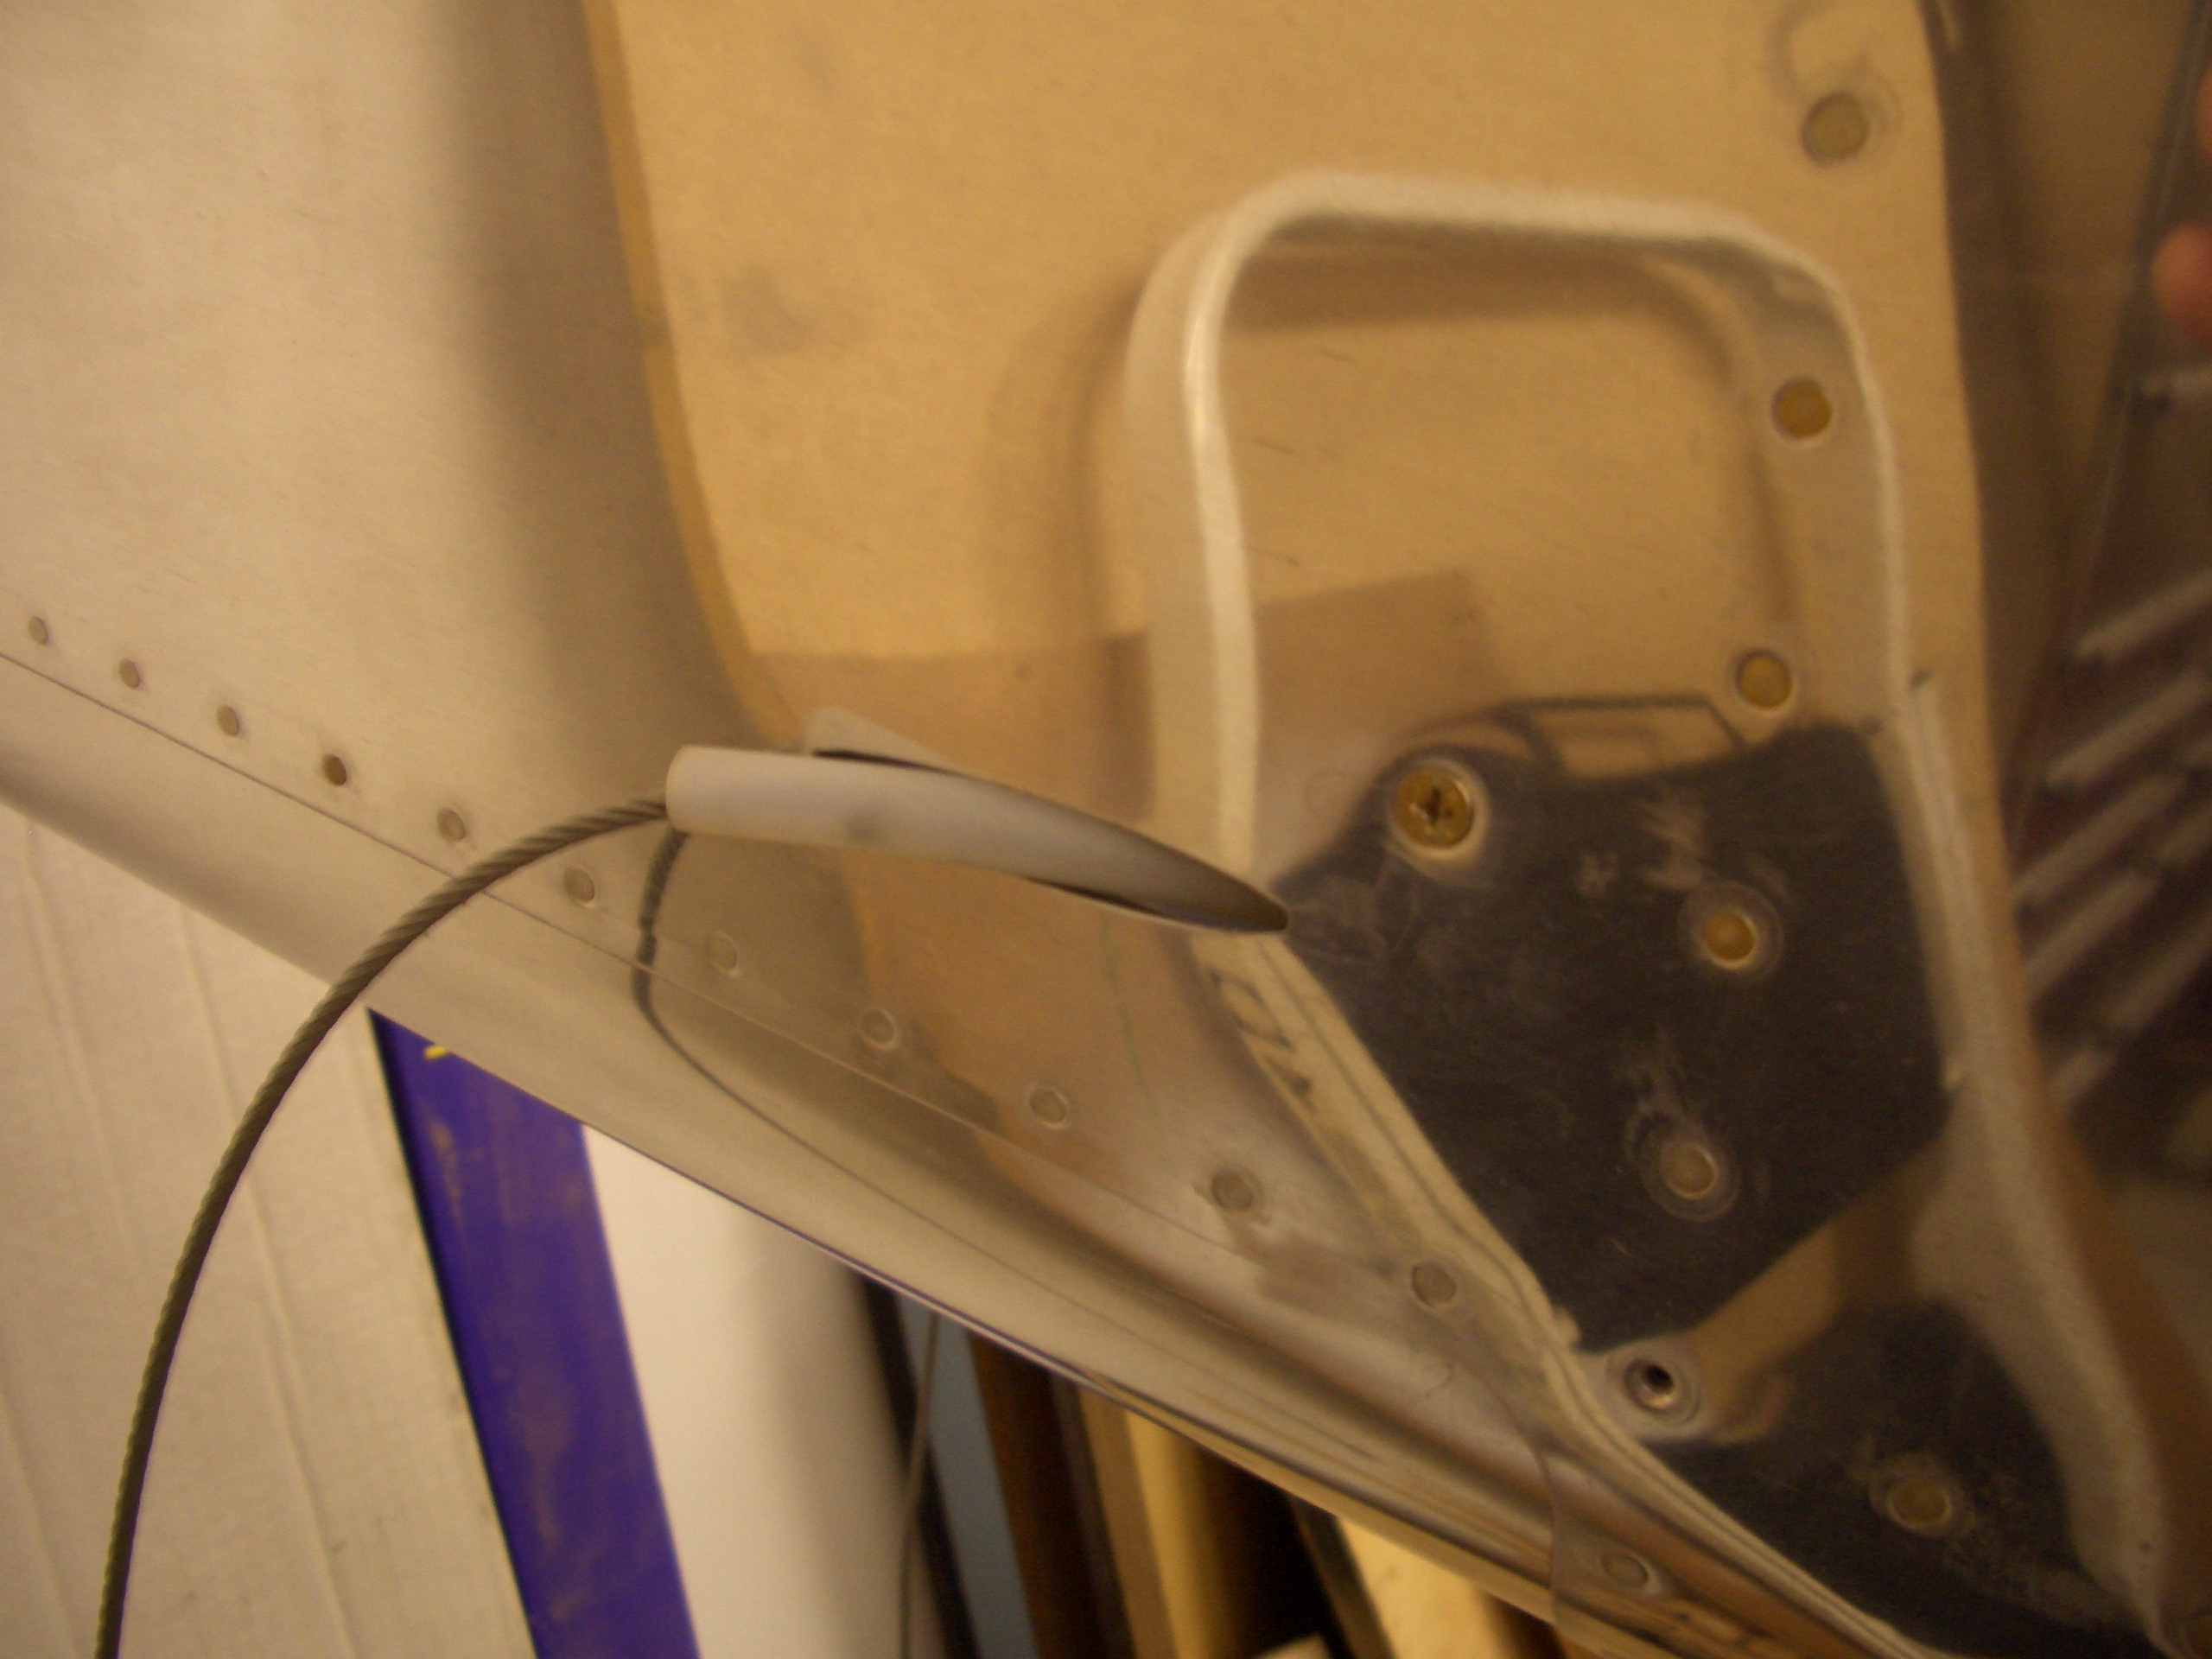
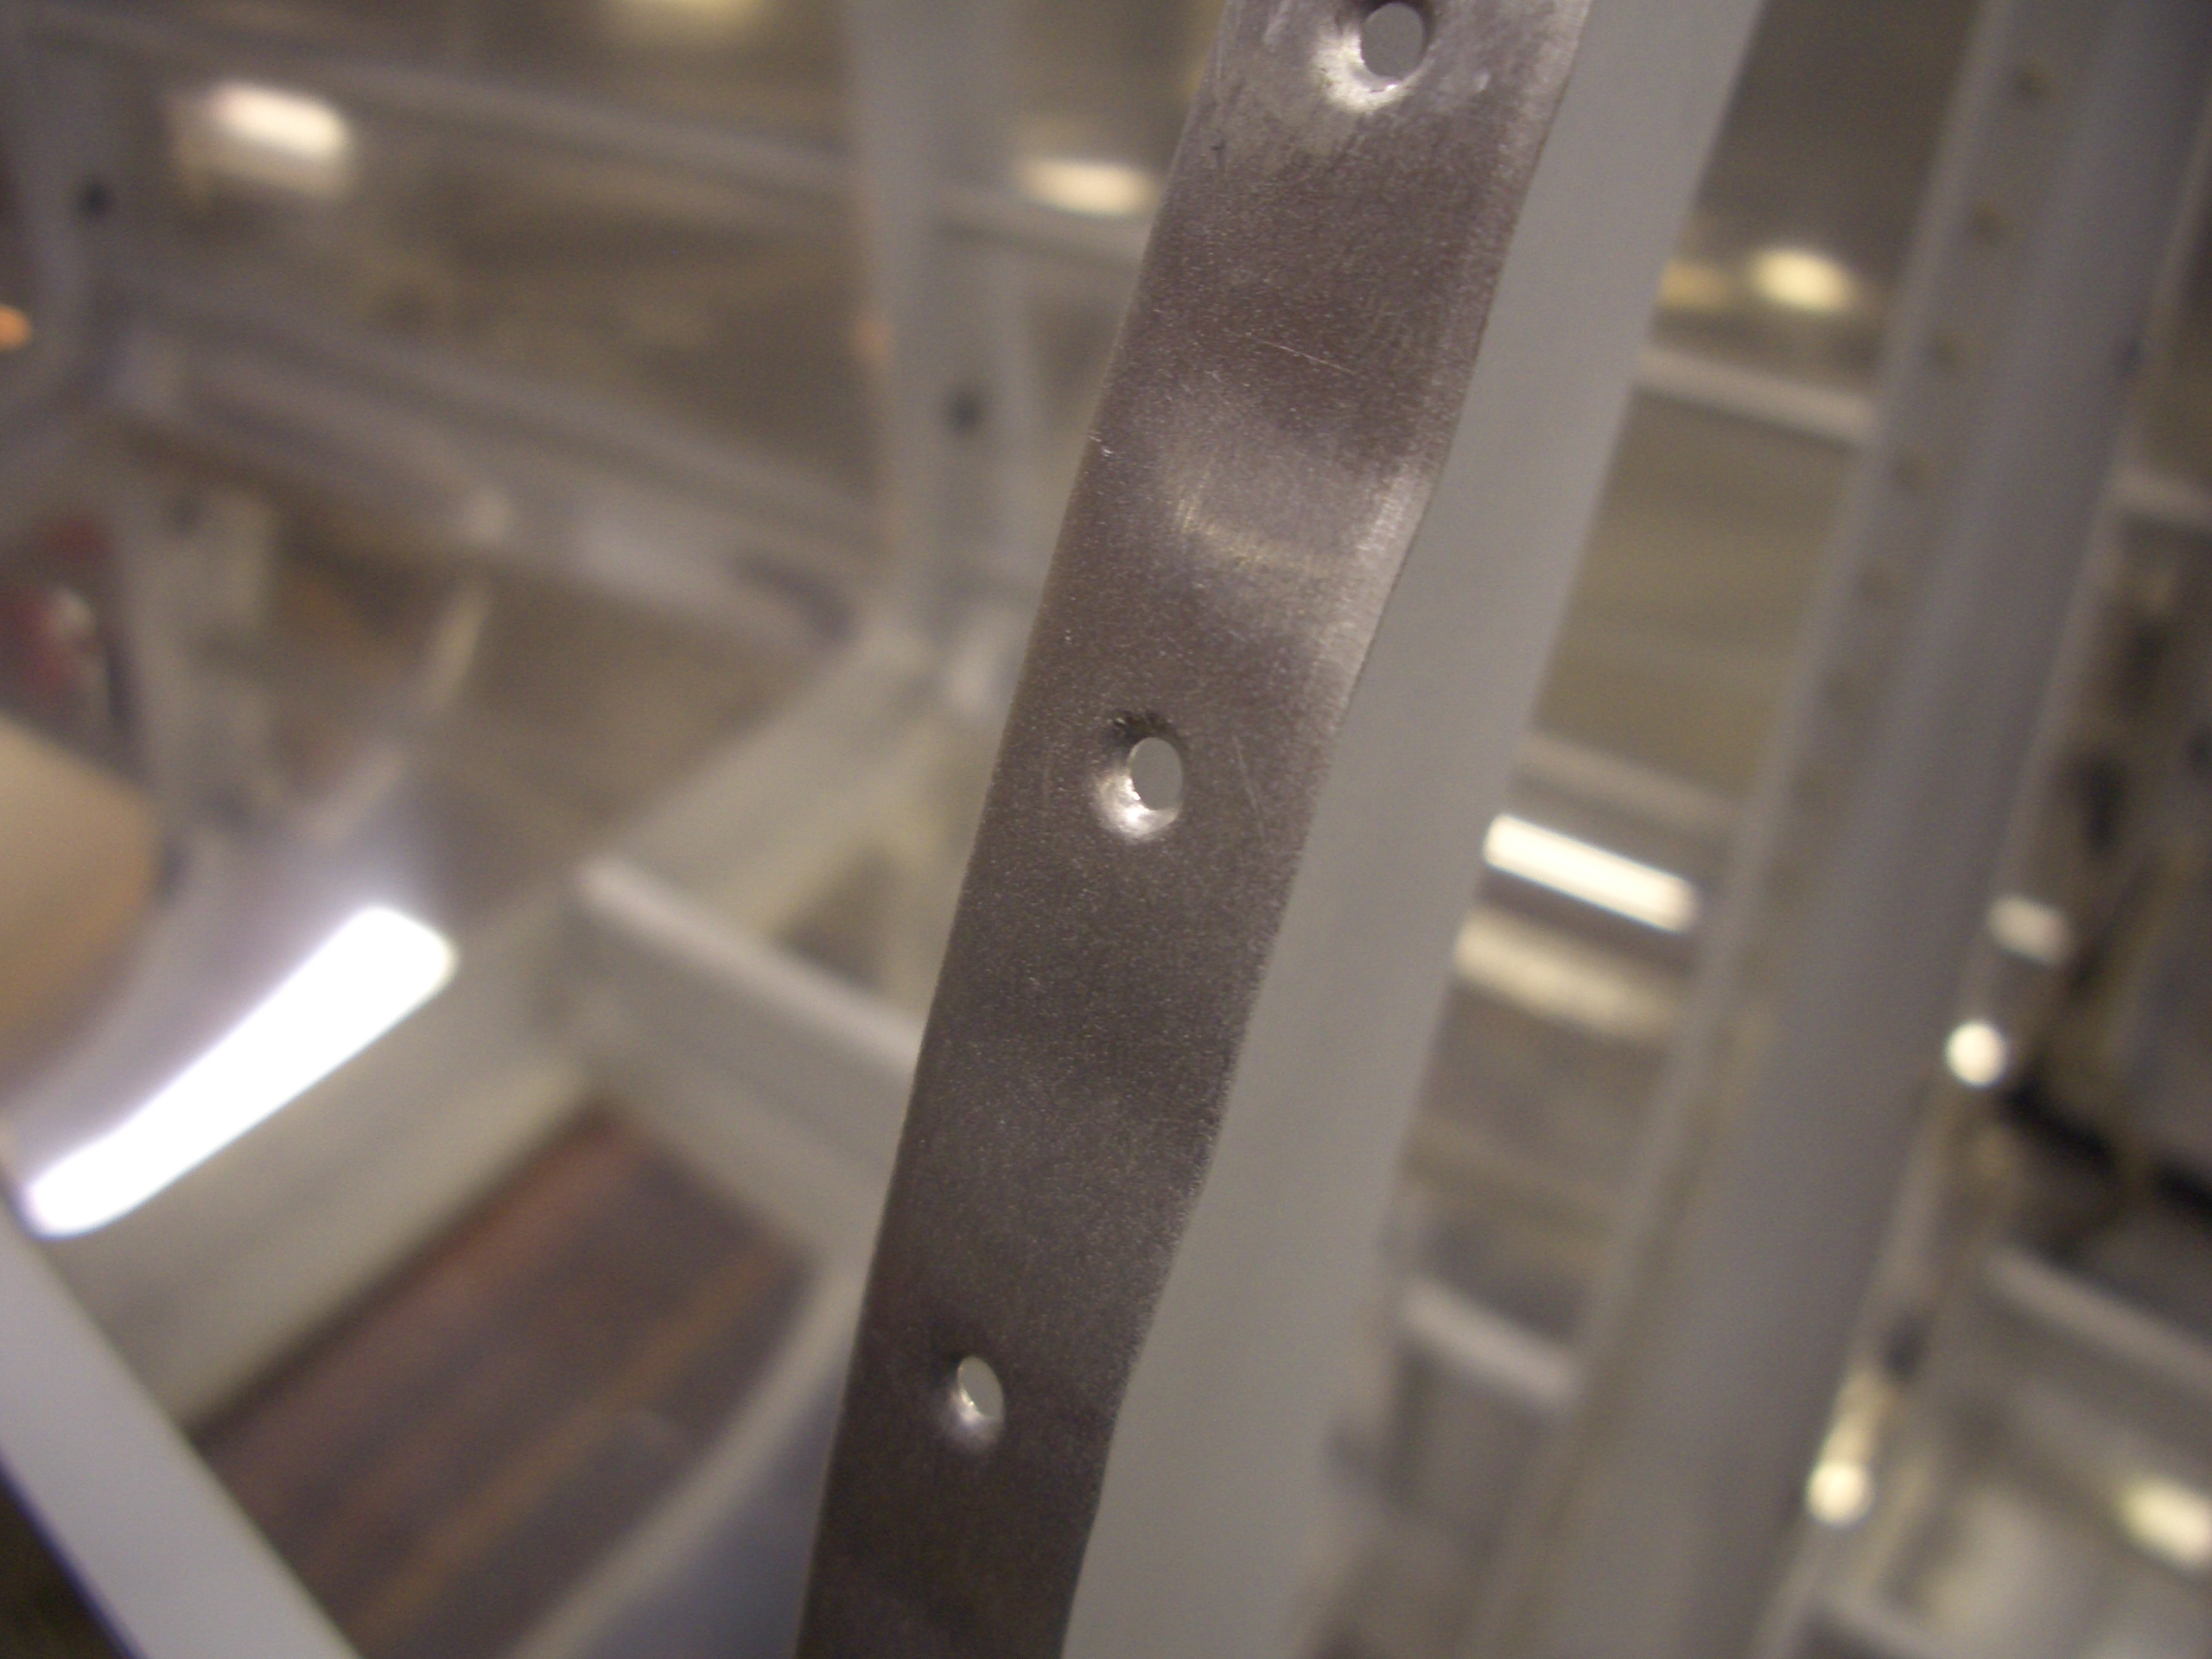
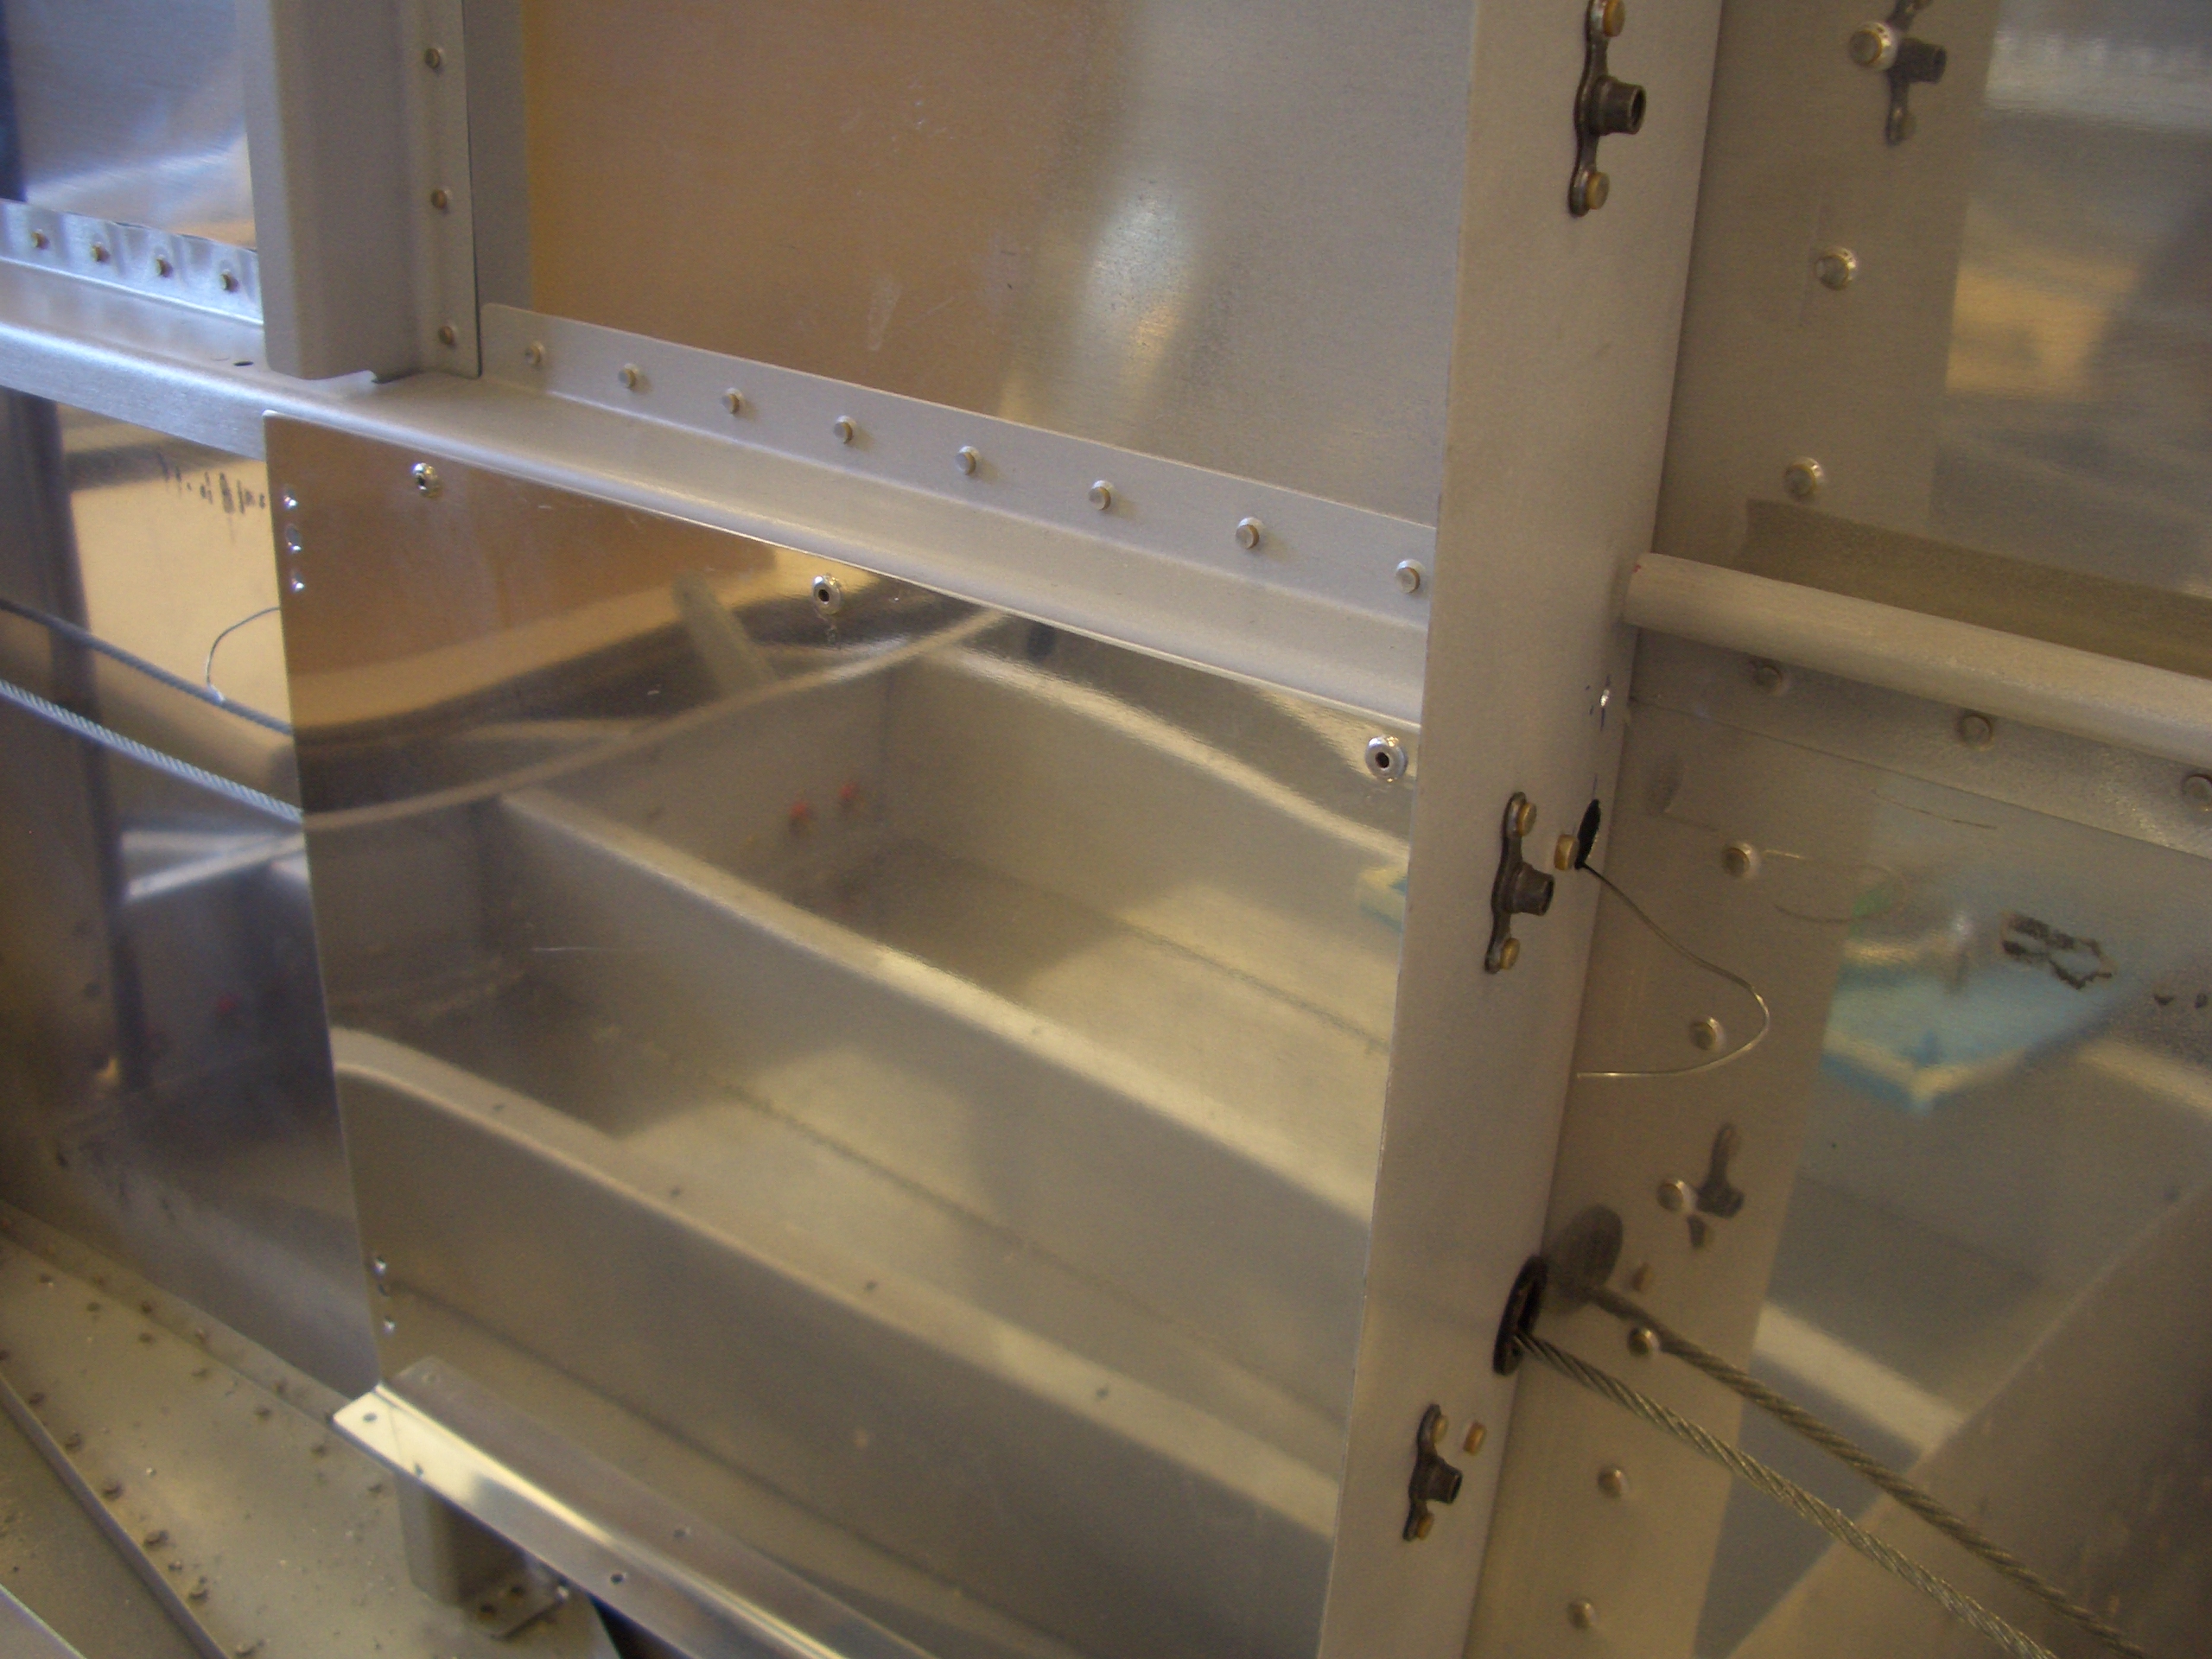
Since I’m going to mount the ELT on the Van’s mounting bracket on the right side wall behind F-706, but put the antenna behind the roll bar, I decided to run the antenna cable behind the baggage sidewall. I drilled a couple of 3/8″ holes in F-706 and F-724 below F-786B. The cable will also run behind the flap cover and then come up through F-786B right behind F-705. I then fished a piece of safety wire through both holes so that I can later pull the coax through. This would have been easier to do before riveting on the side walls, but it wasn’t too bad.
Update: I ended up not mounting the ELT on Van’s mounting bracket and put the antenna under the empennage fairing.

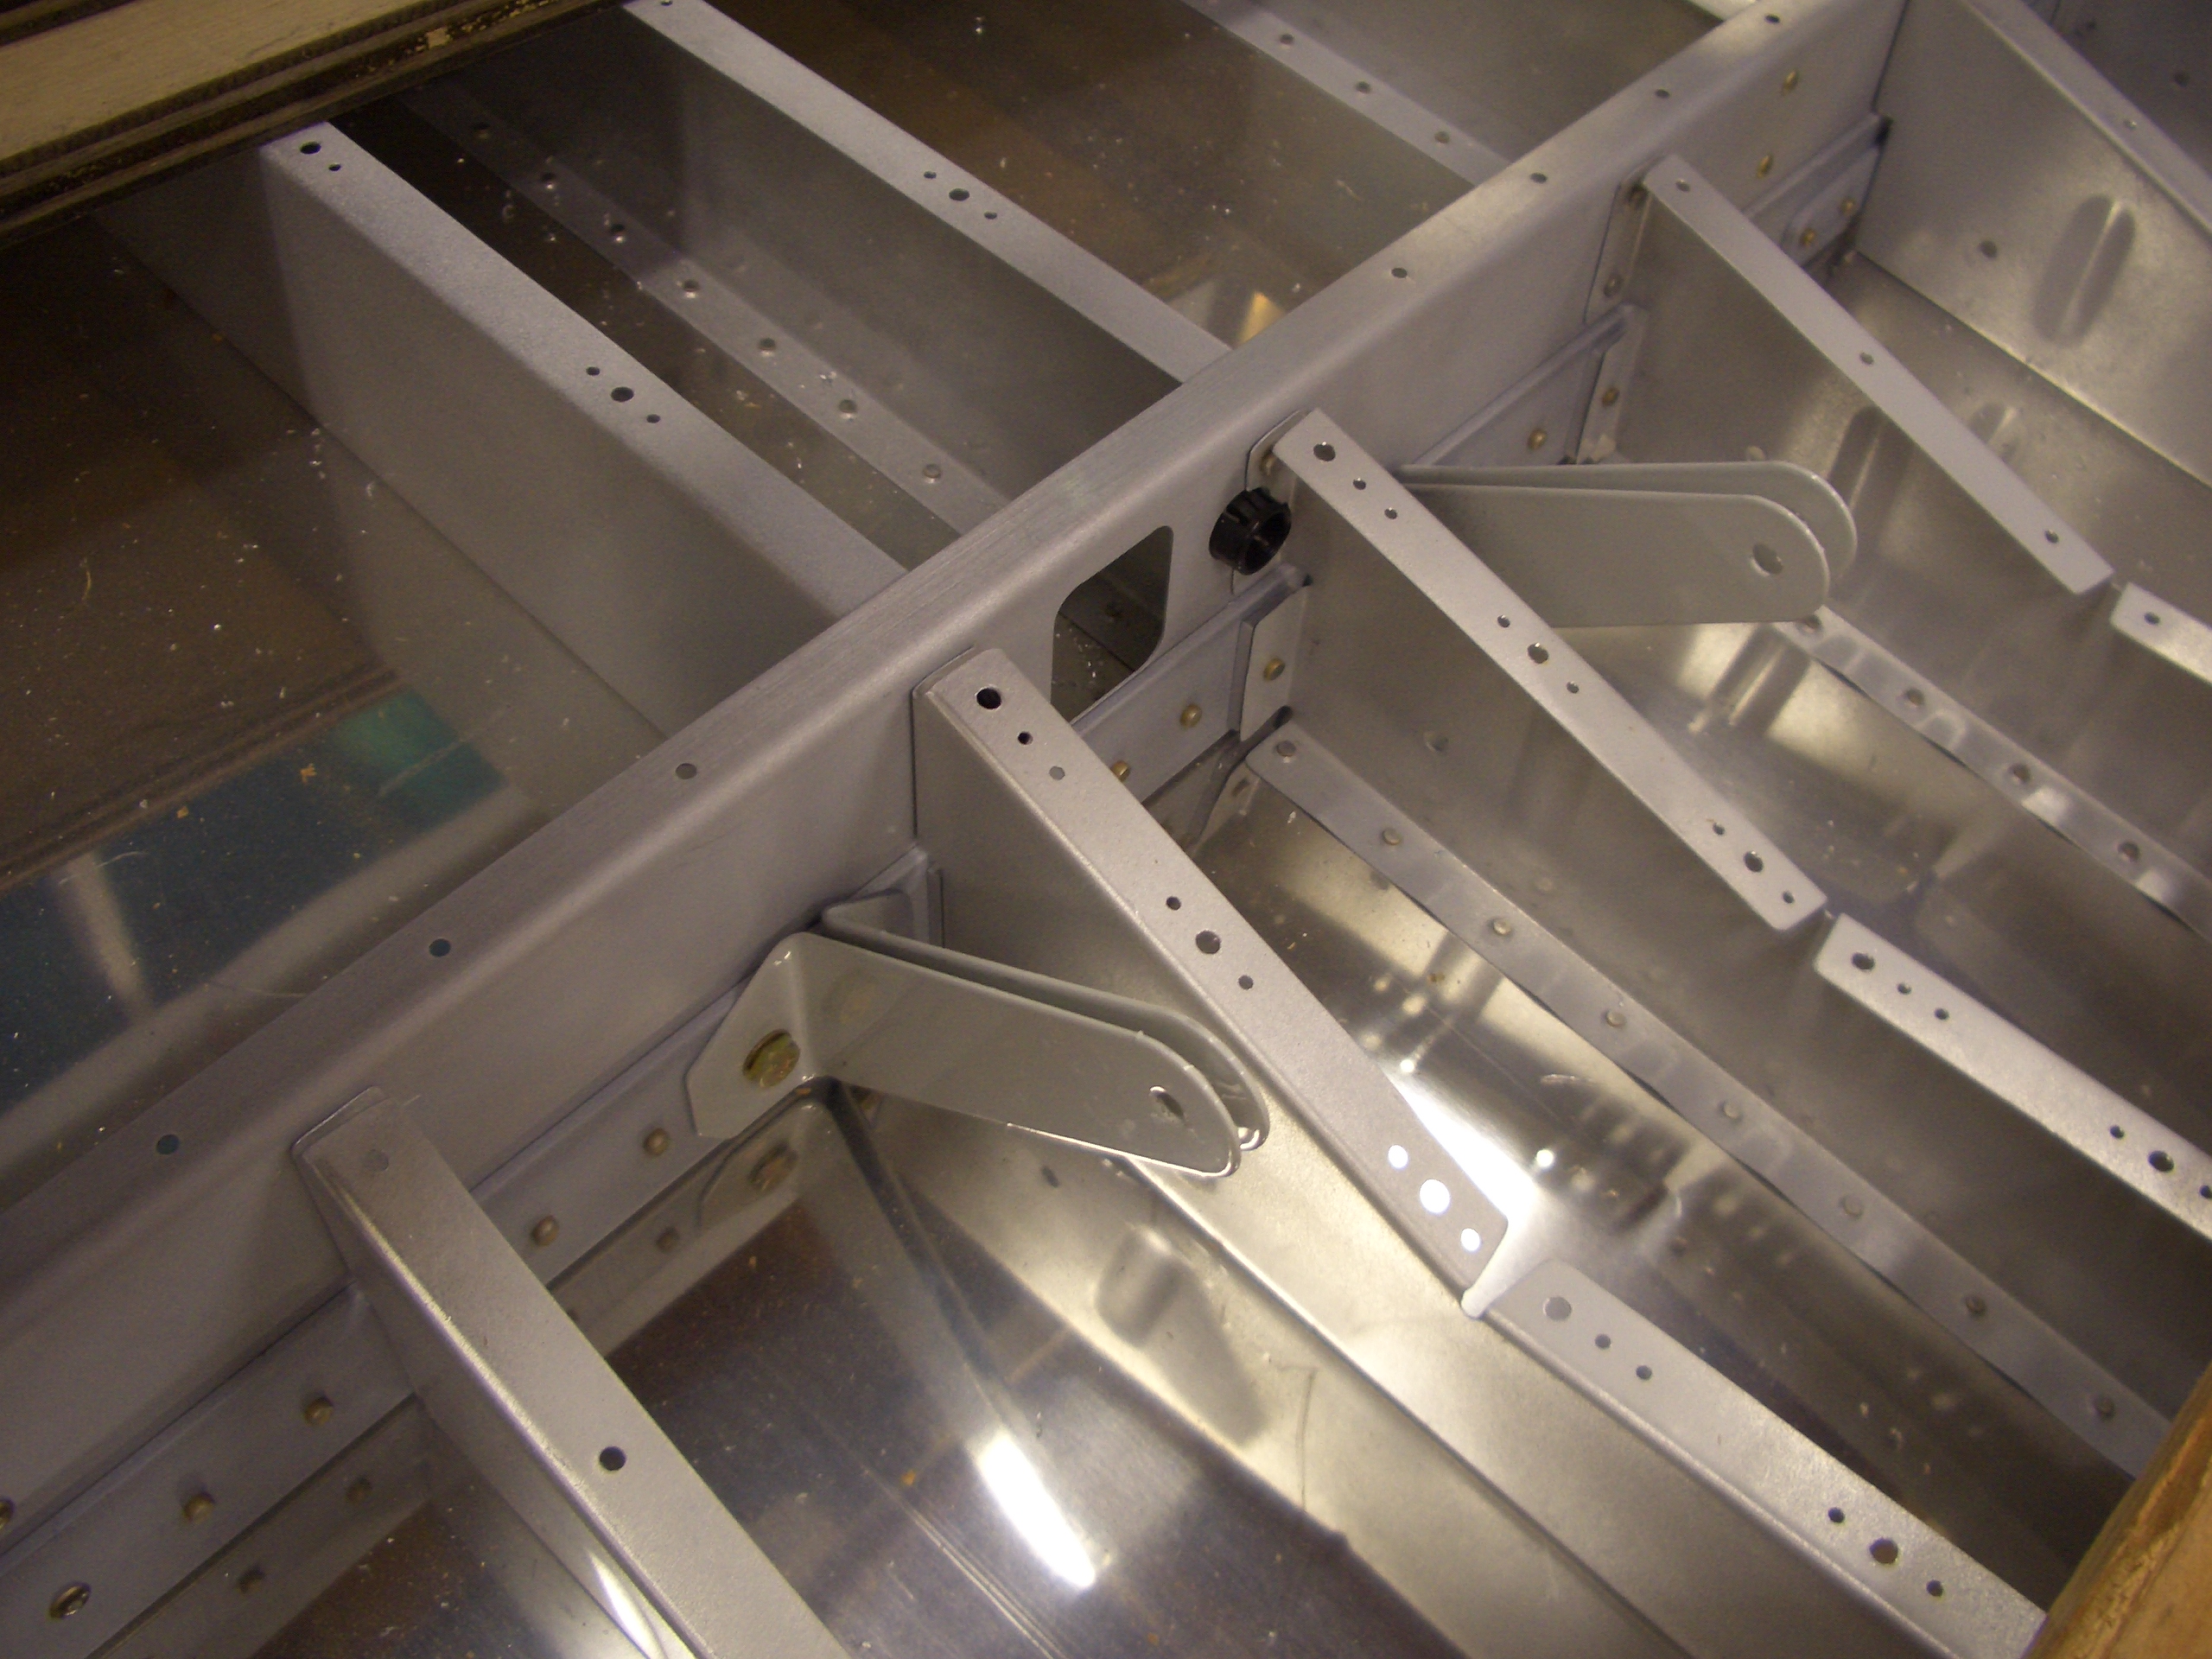
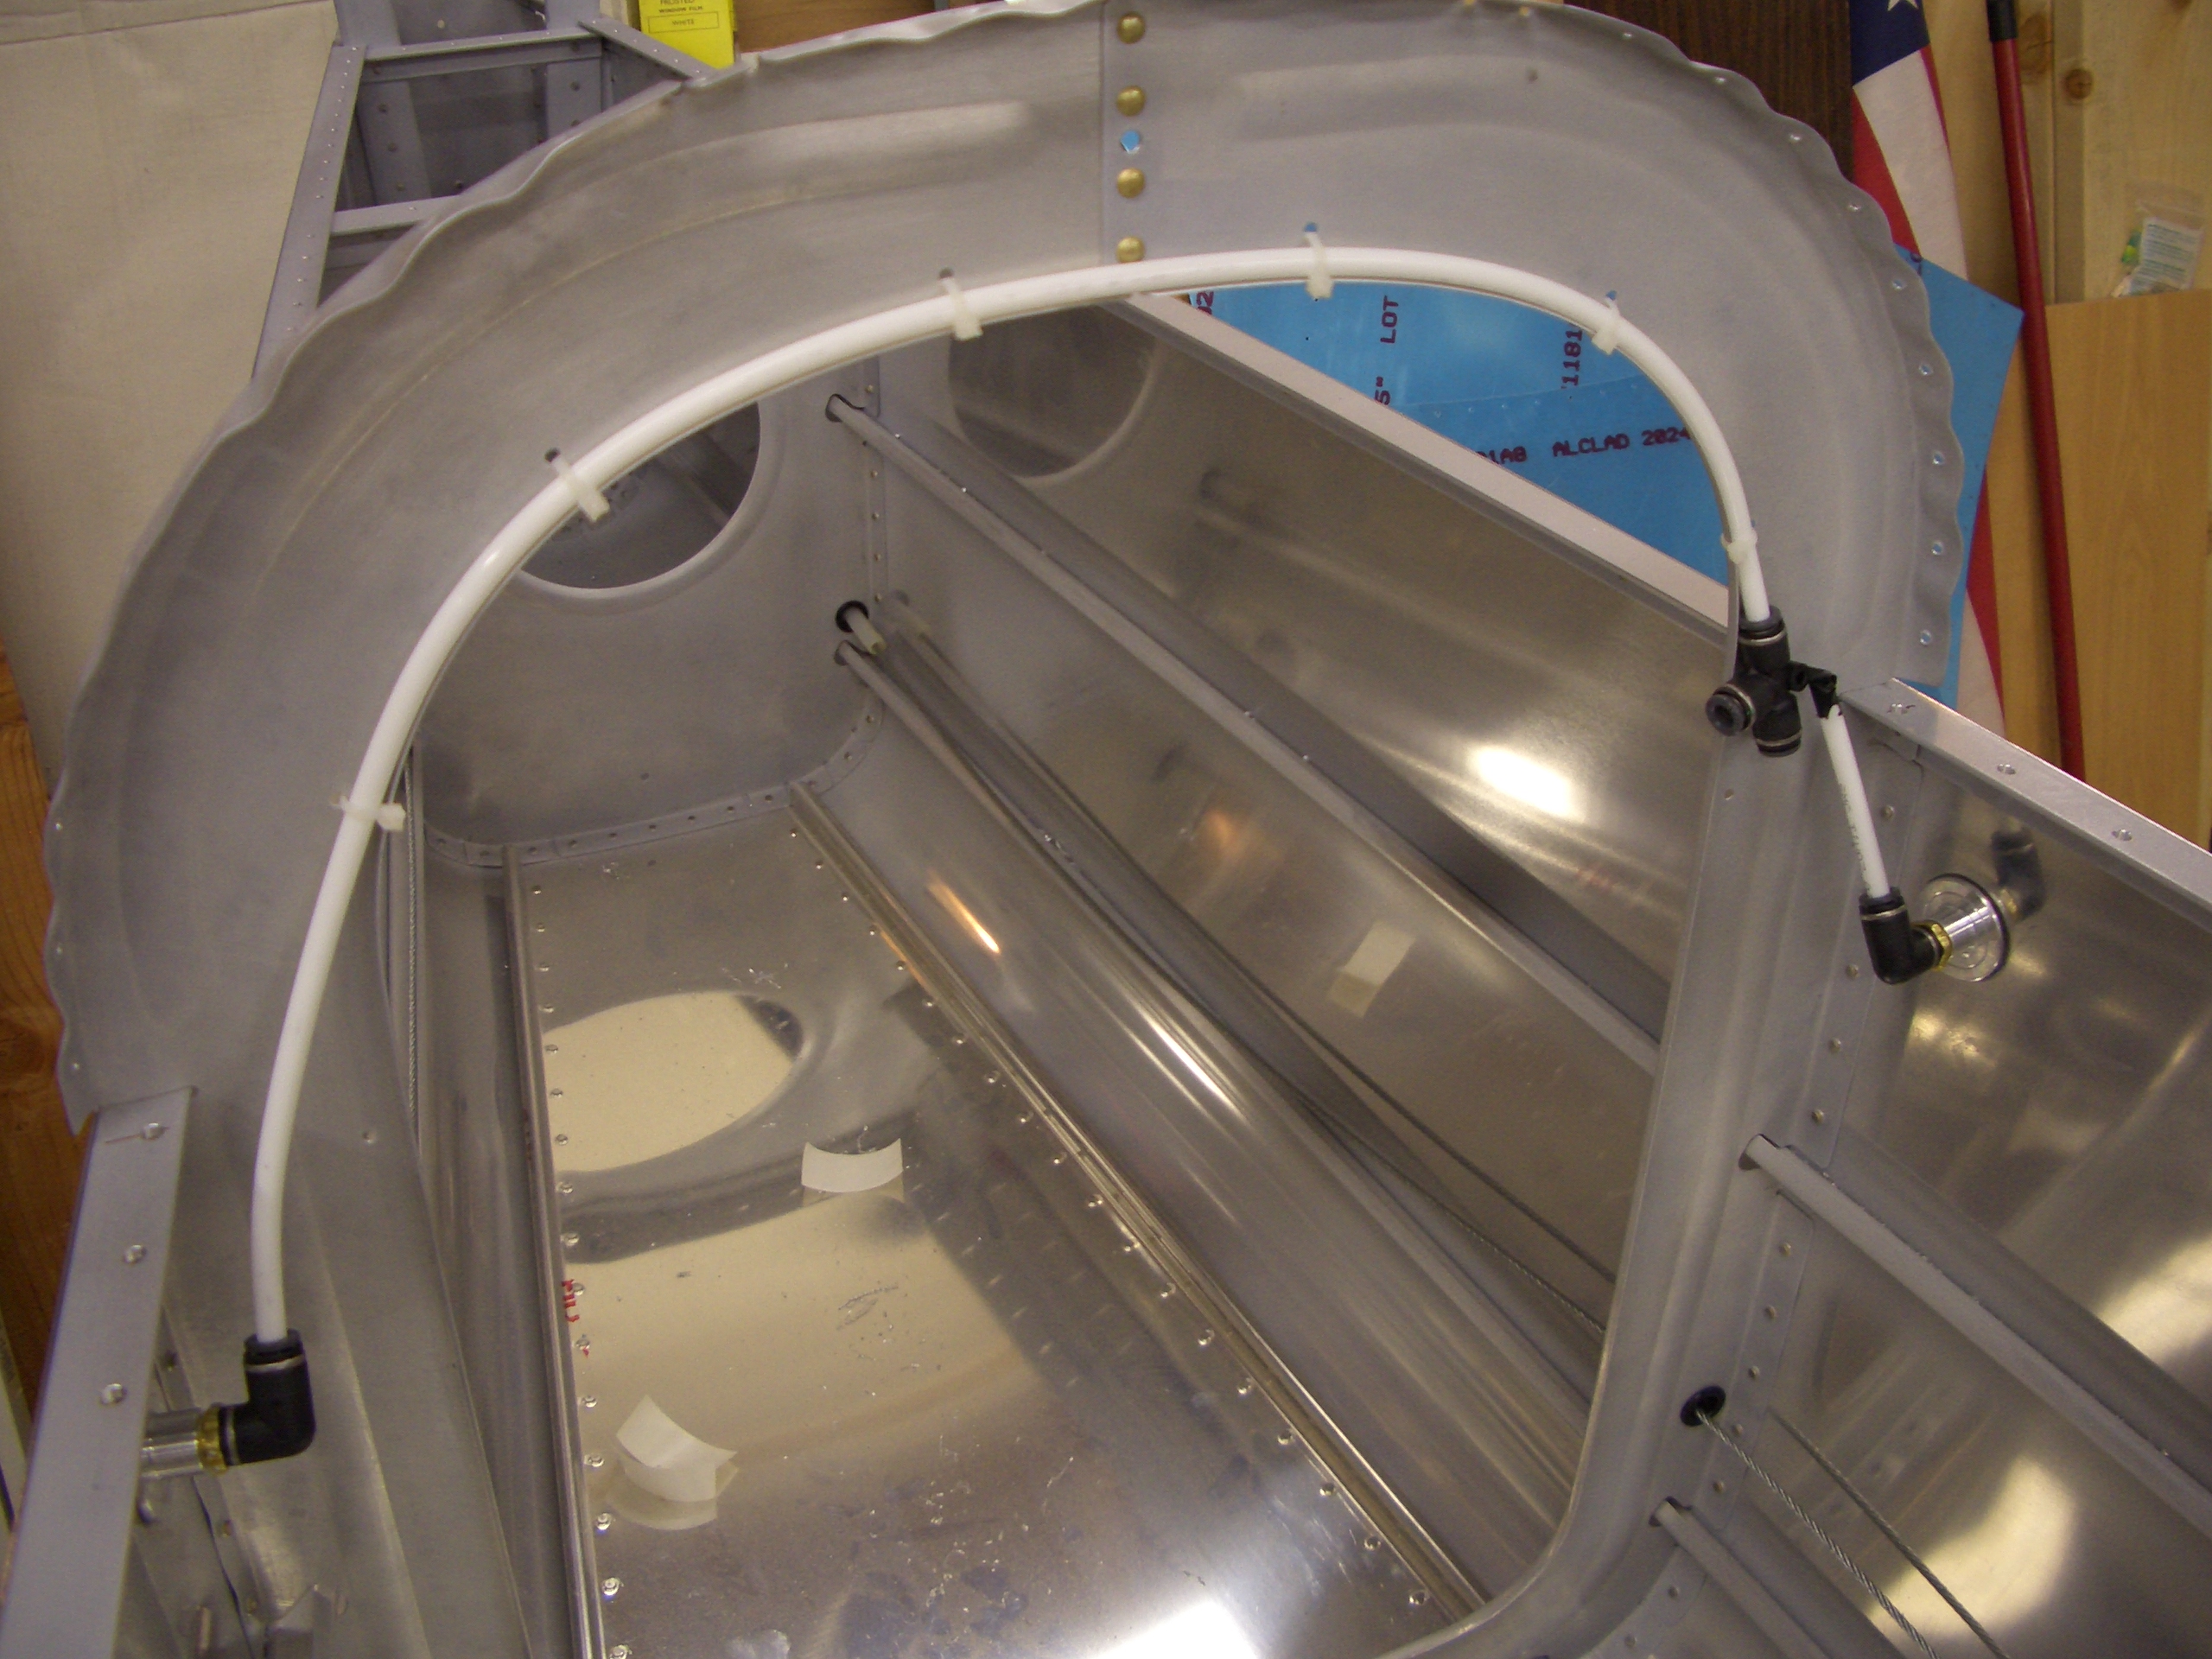
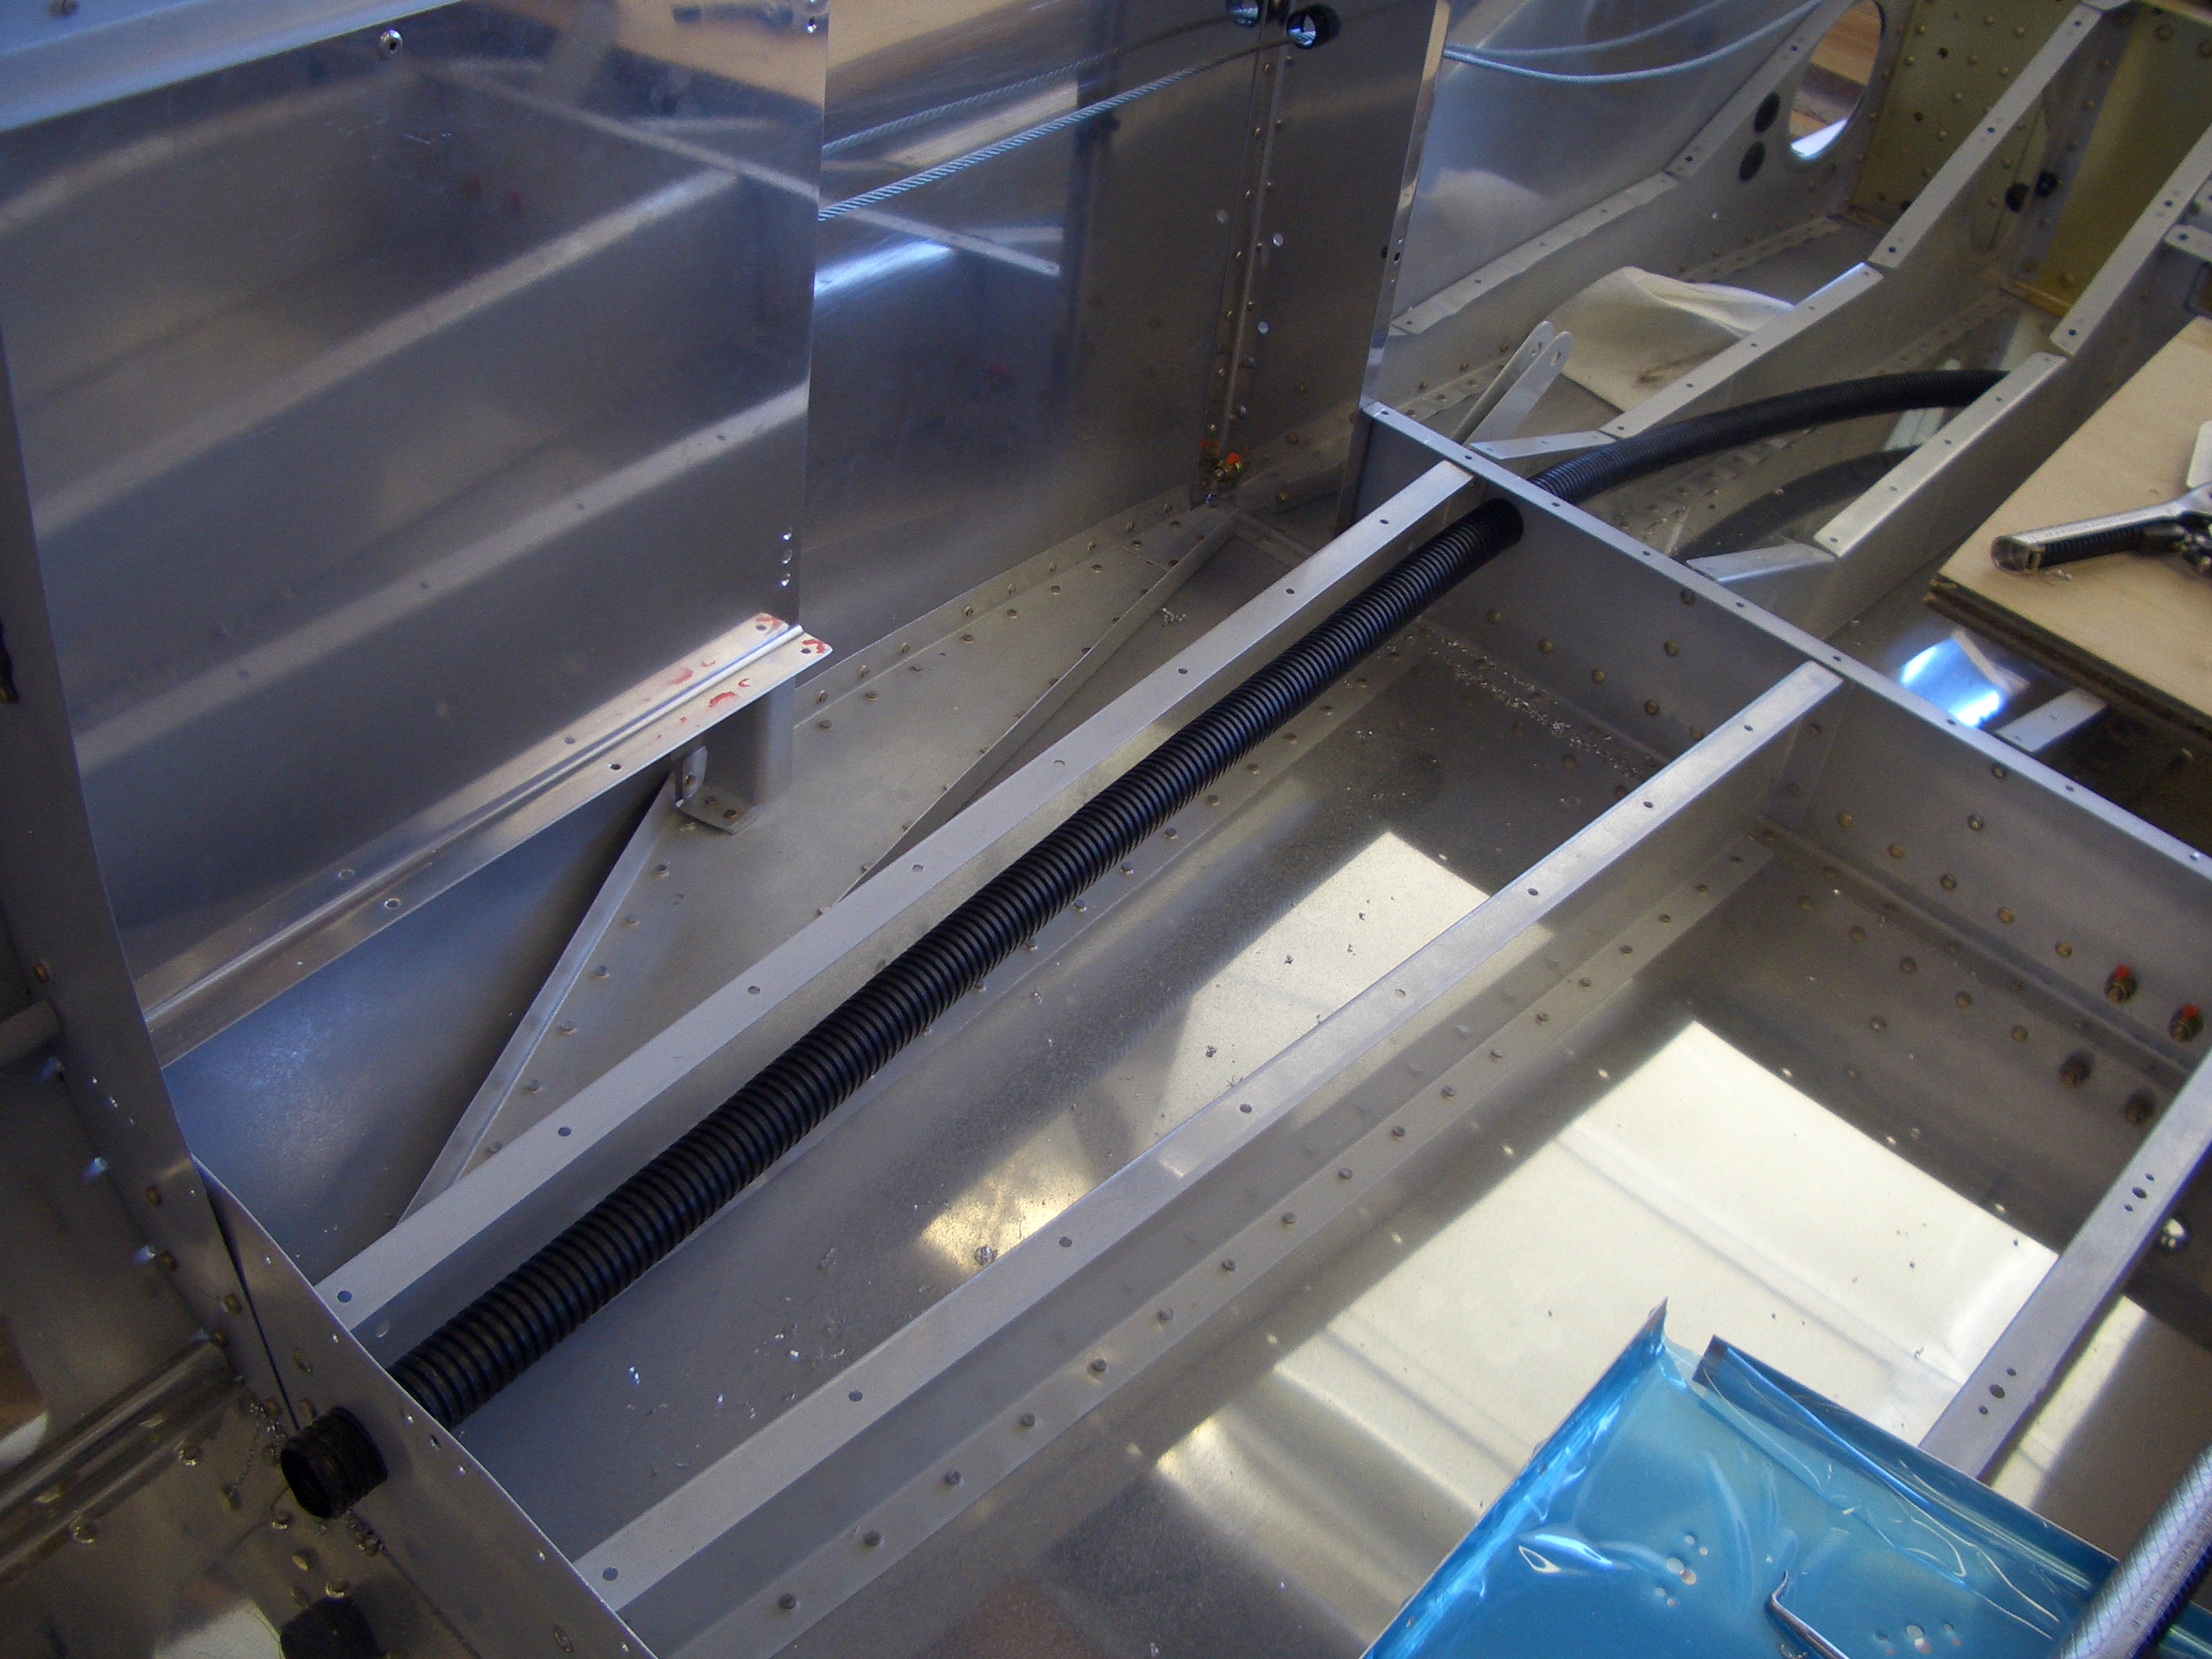
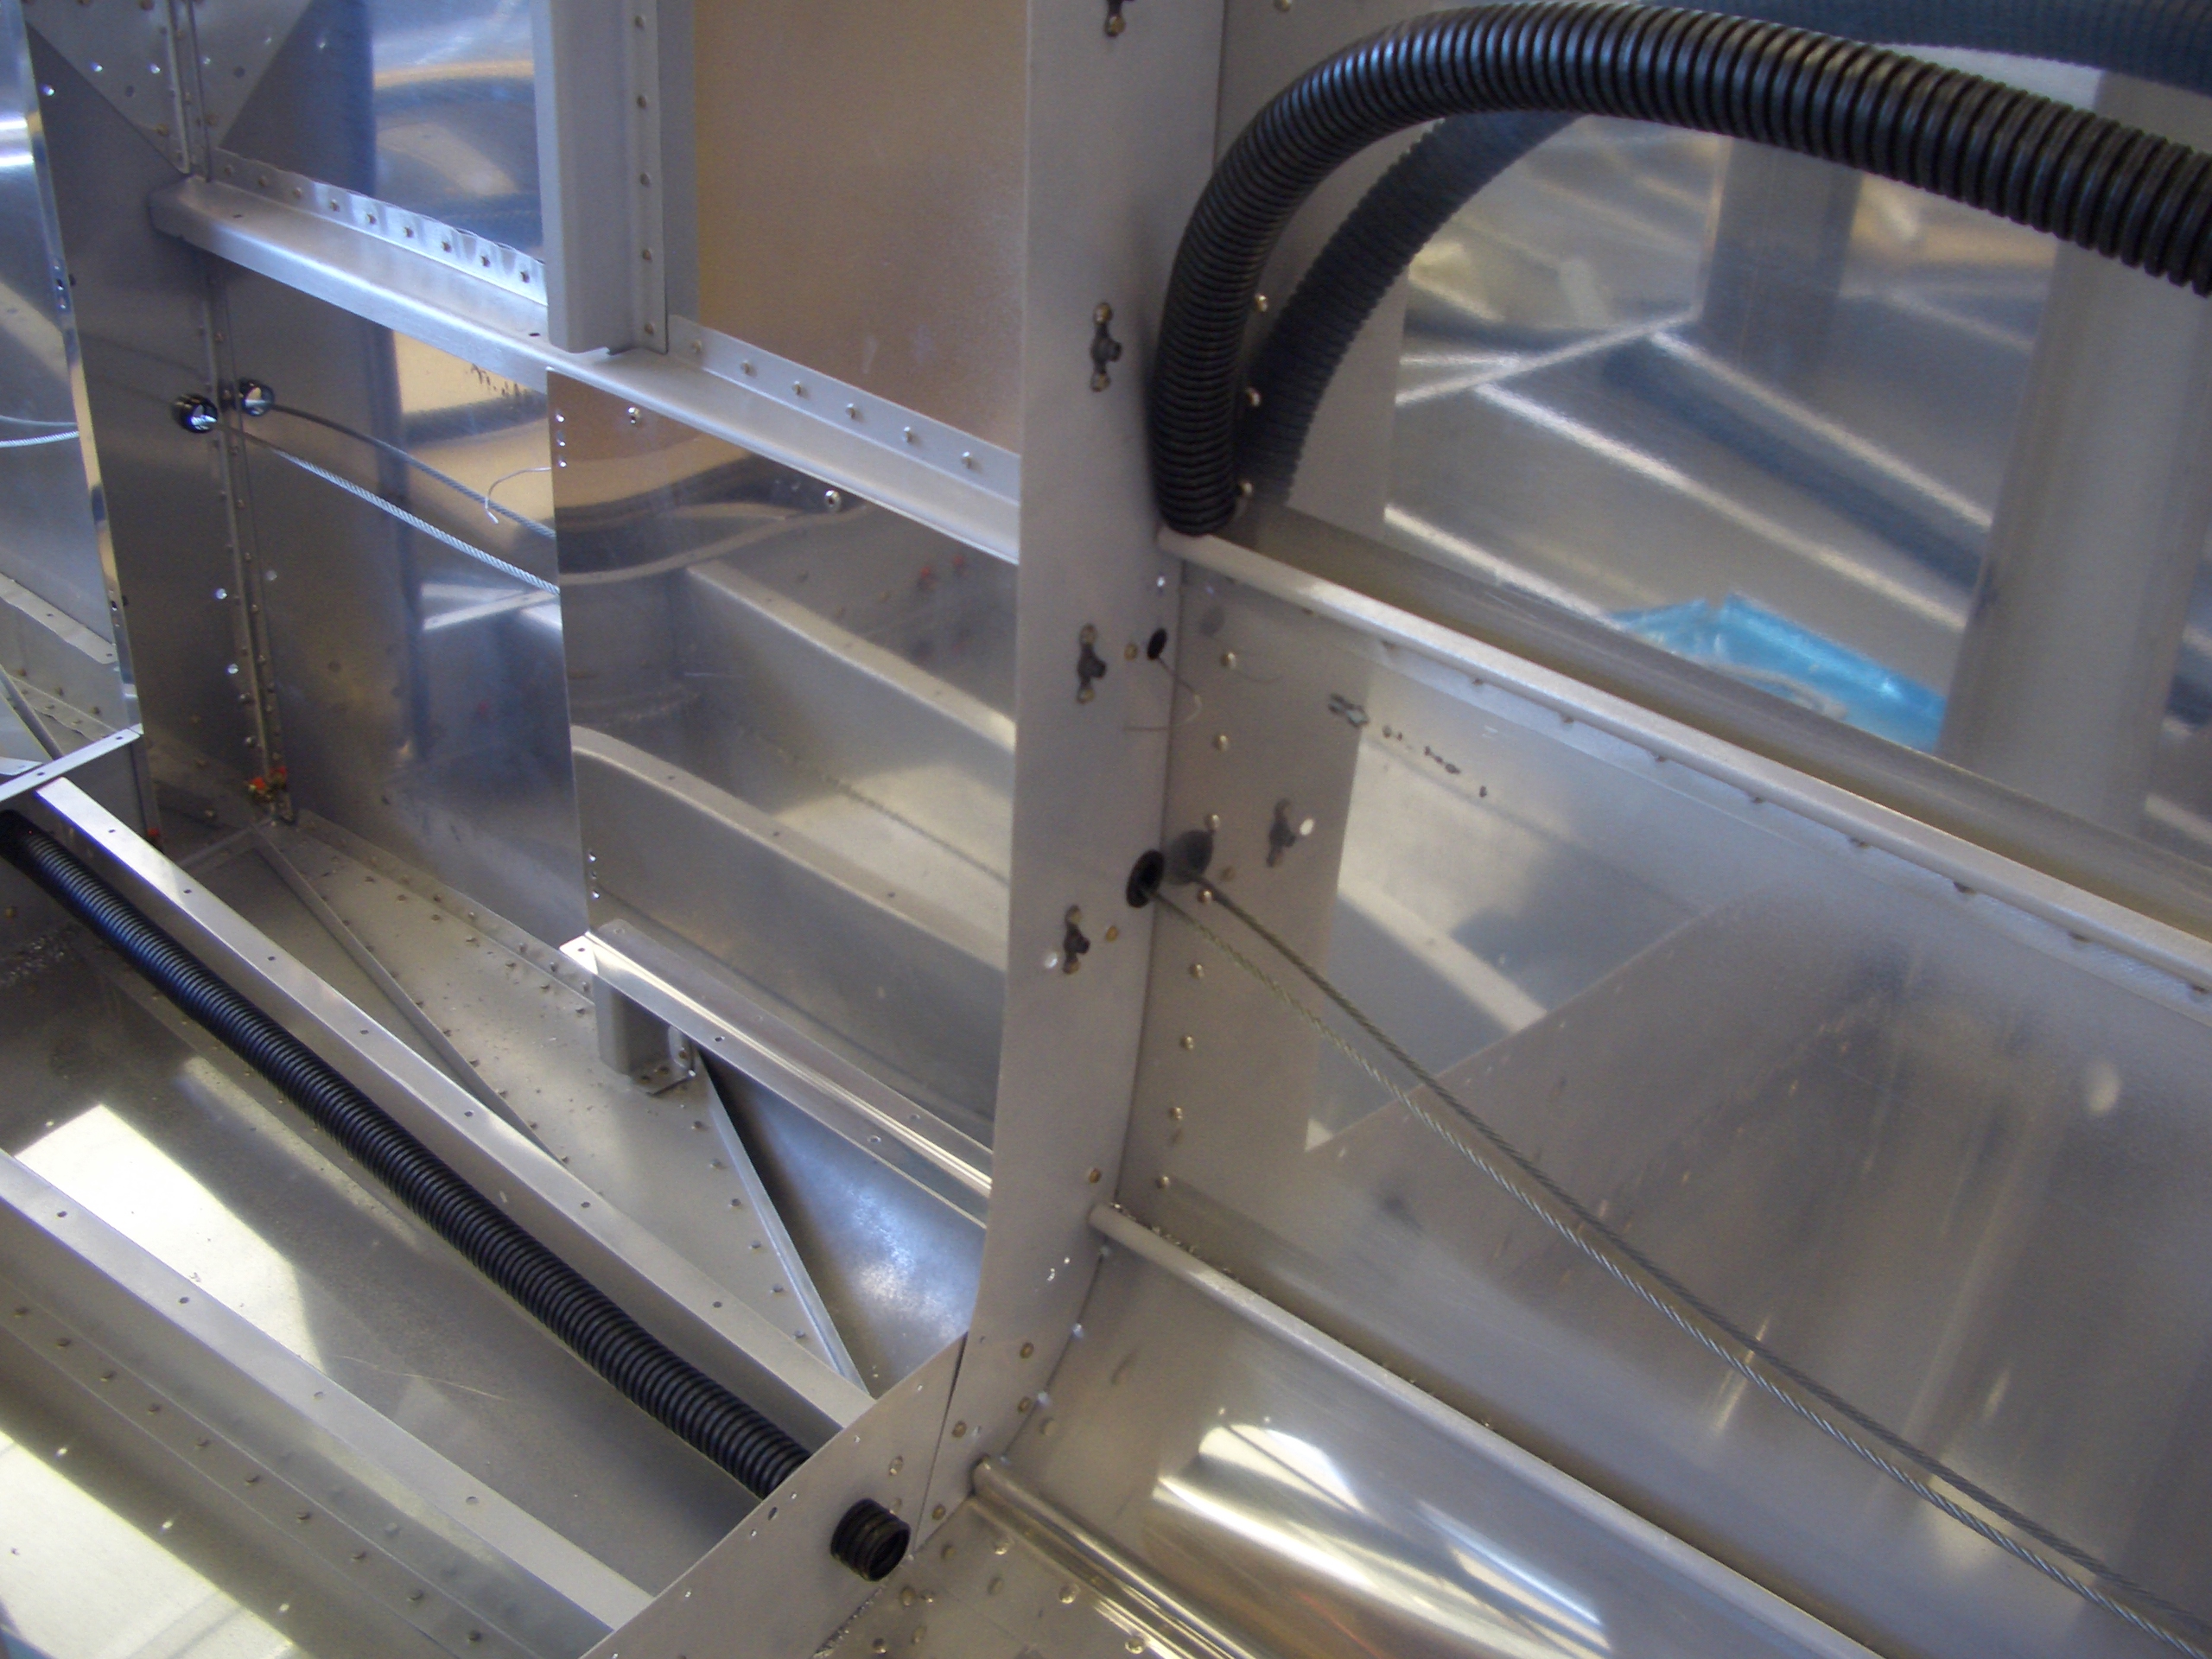
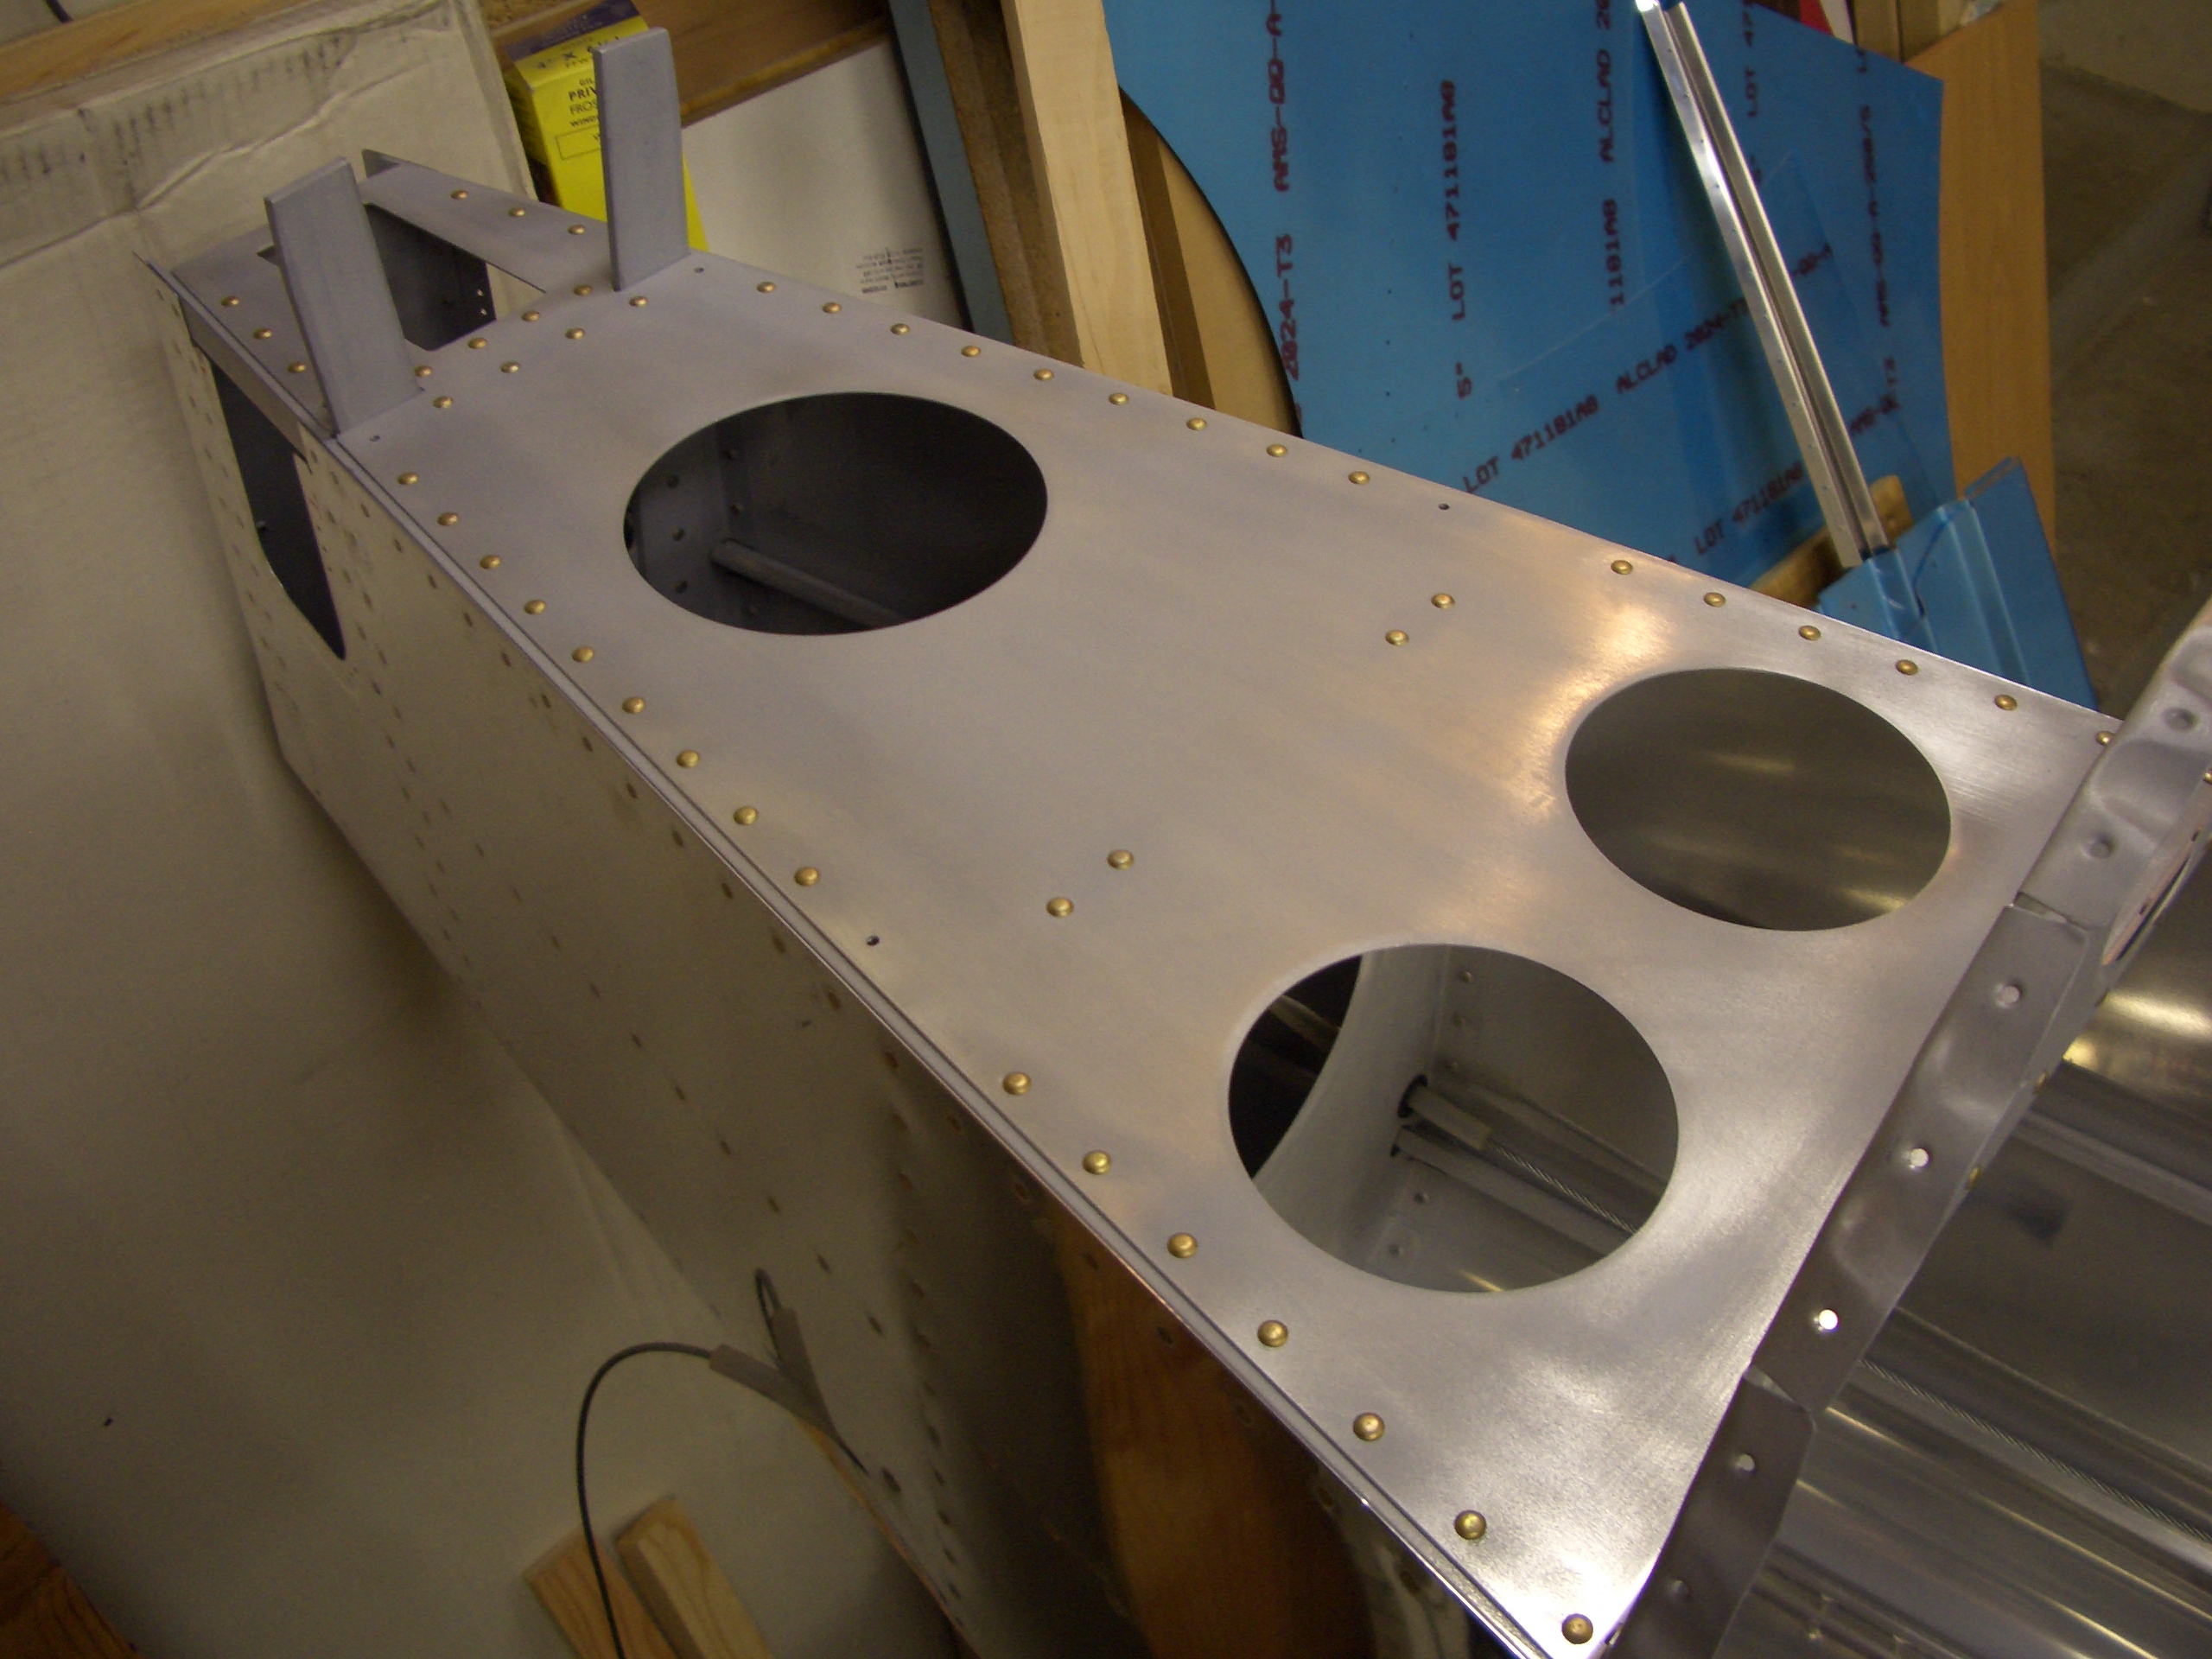
Next up, I drilled 3/4″ holes through F-705A and F-706 on both sides of the fuselage and ran conduit. I’ll put a zip tie anchor on the rib and cushion the holes with proseal before buttoning this up.

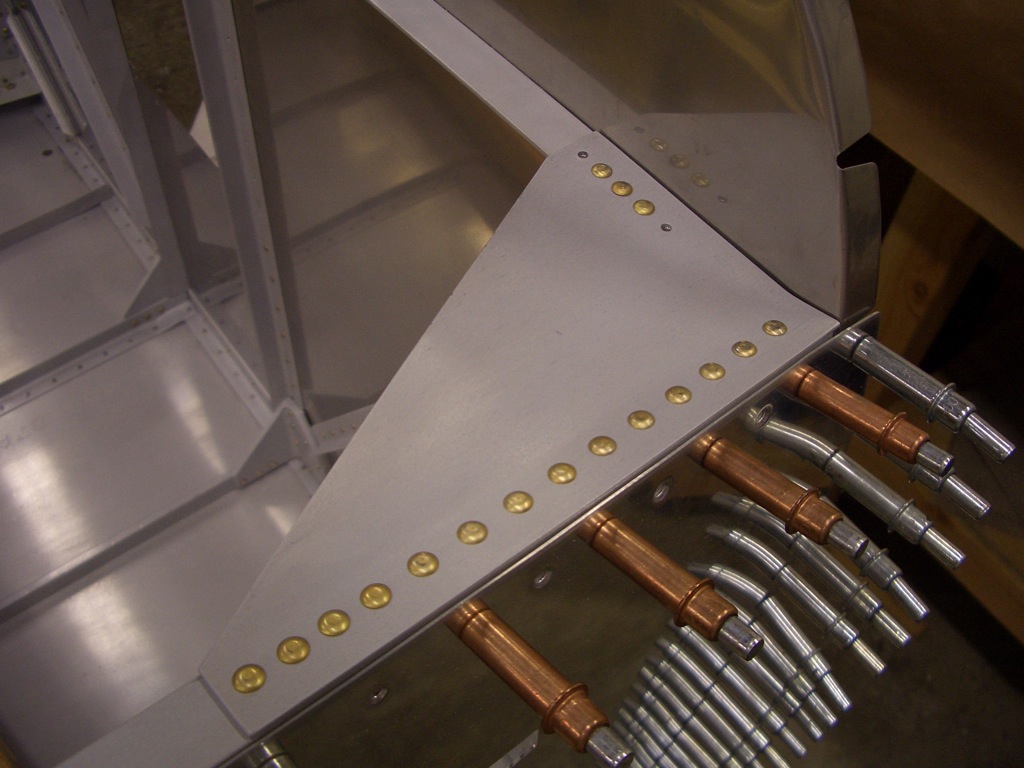
On the right side, the wires will exit the lower conduit and come up the back of F-706 through an adel clamp to keep them away from the rudder cable. The ELT wires (other than the antenna cable will separate here and go to the ELT bracket. The trim and tail strobe wires will continue up and enter the conduit shown in the upper right which makes a straight shot to the tail. I’ve intentionally left this conduit long right now while I determine how to terminate it.

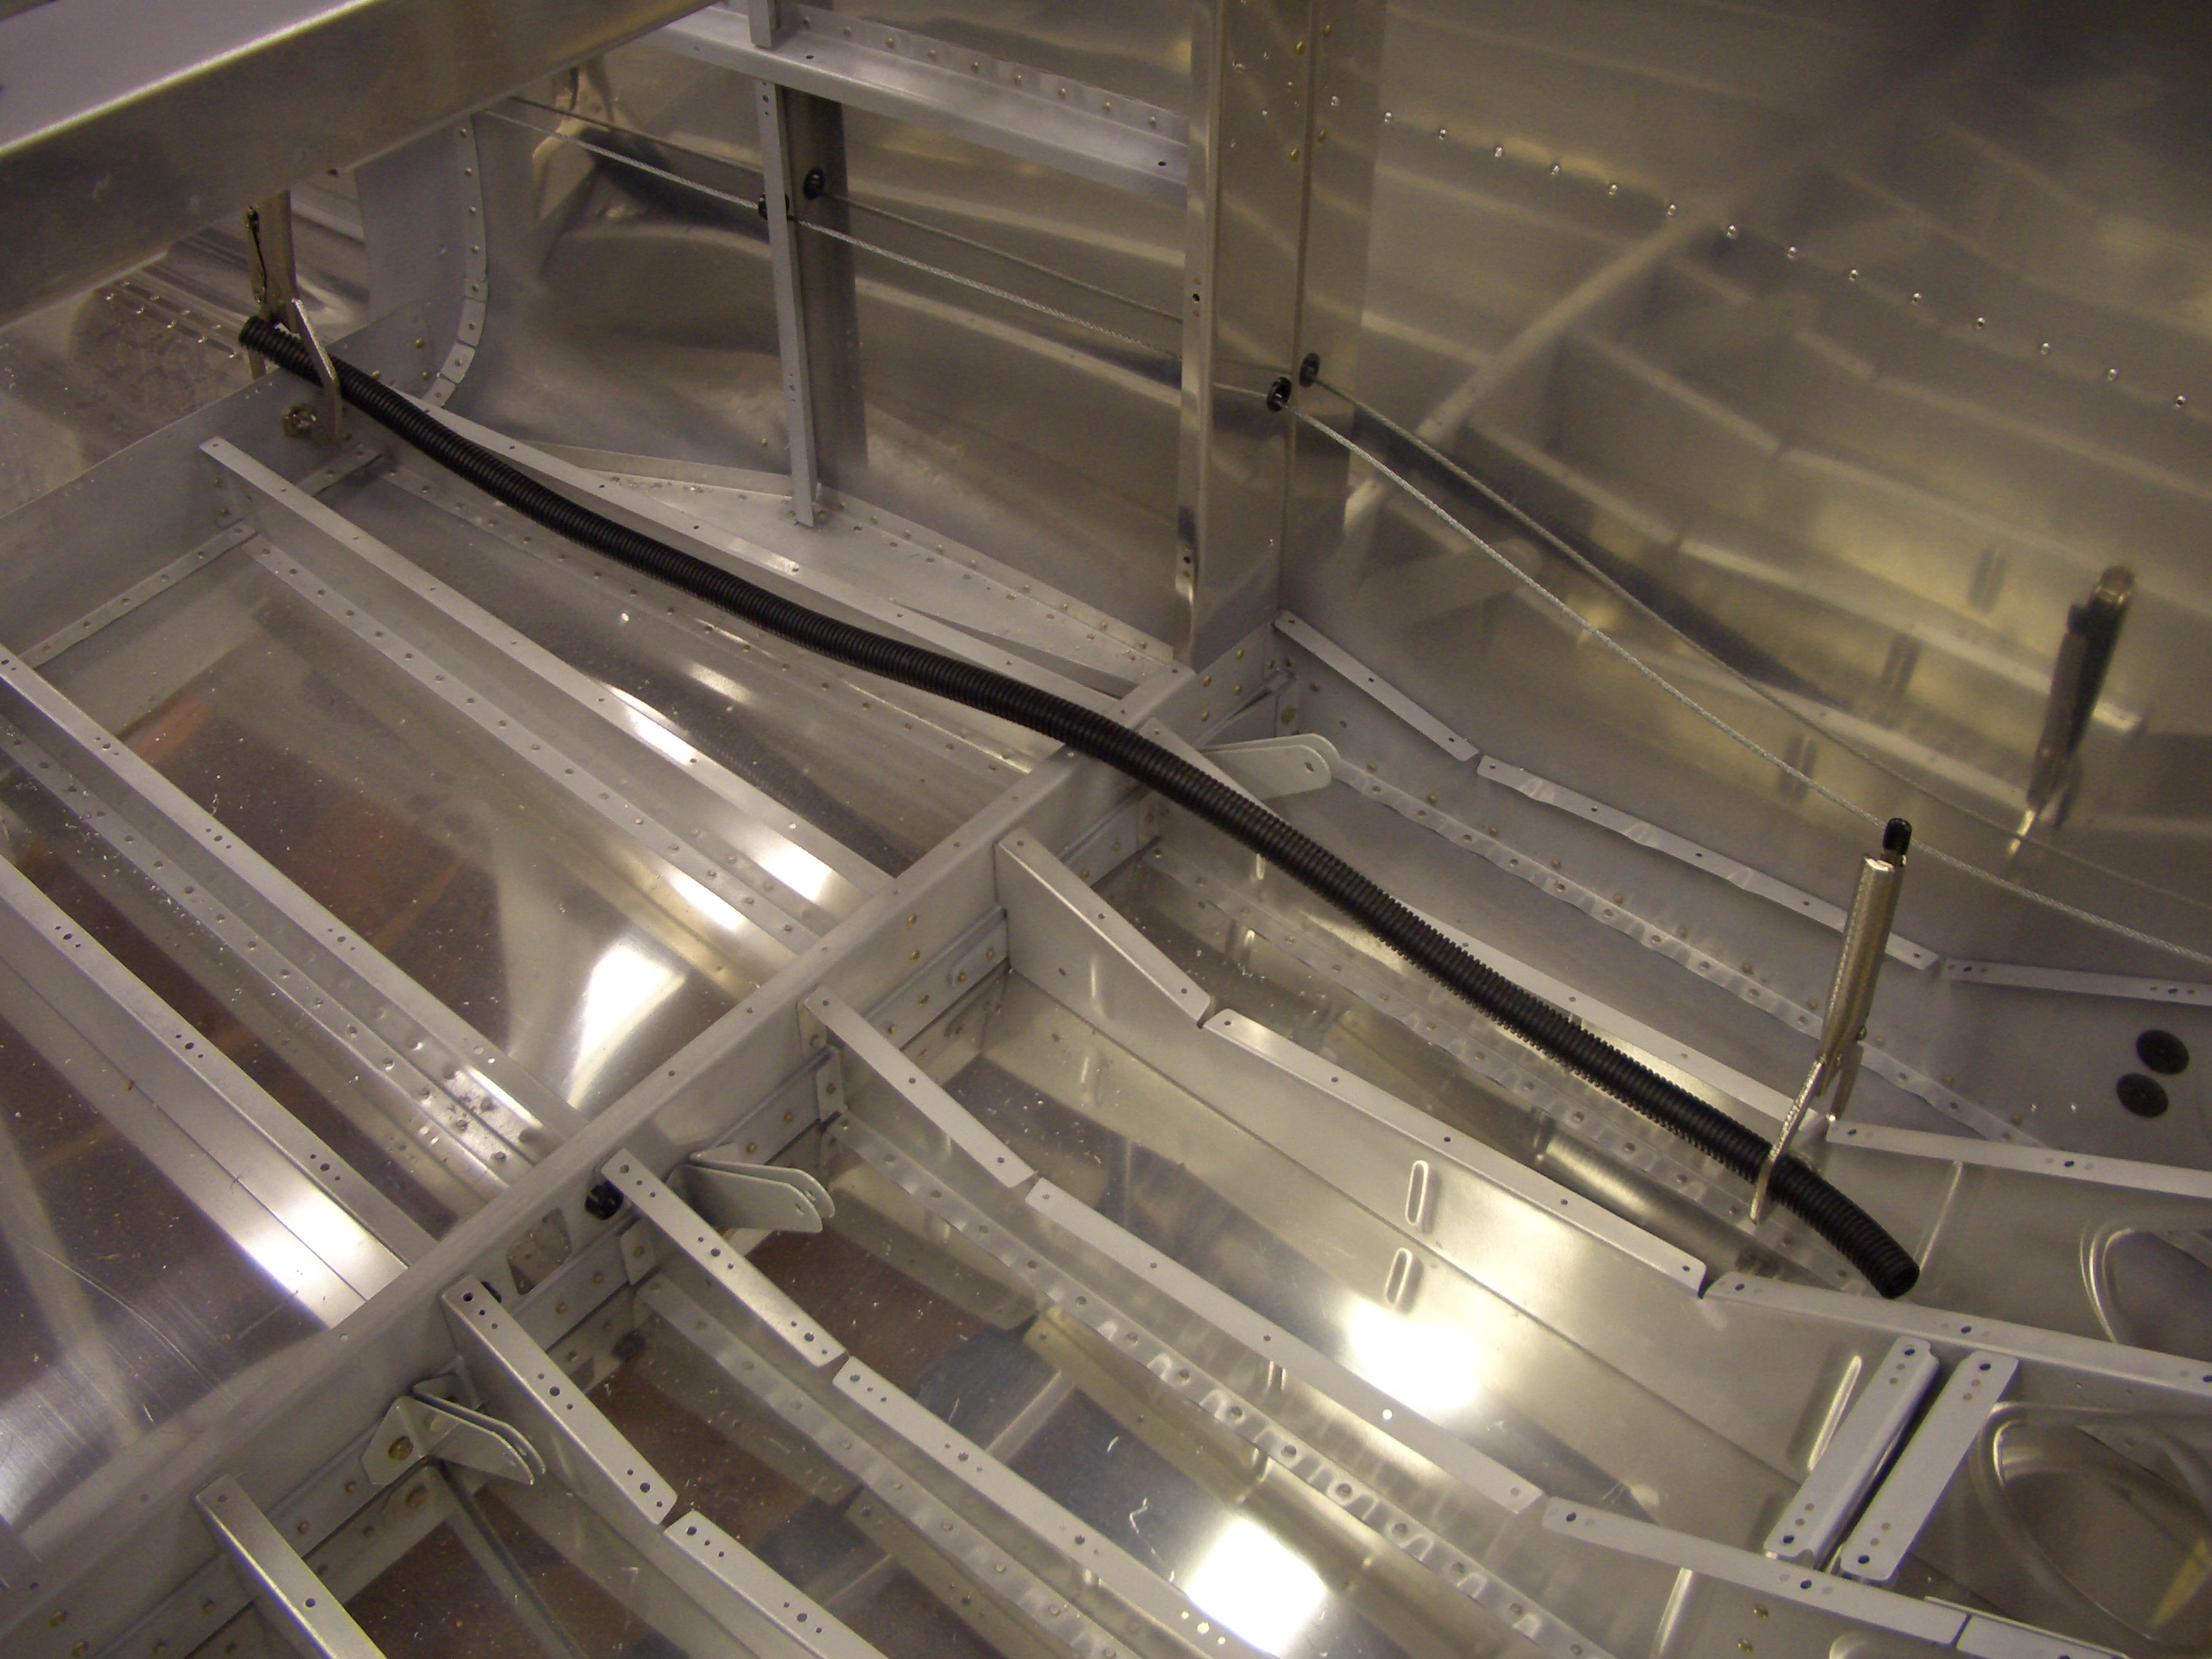
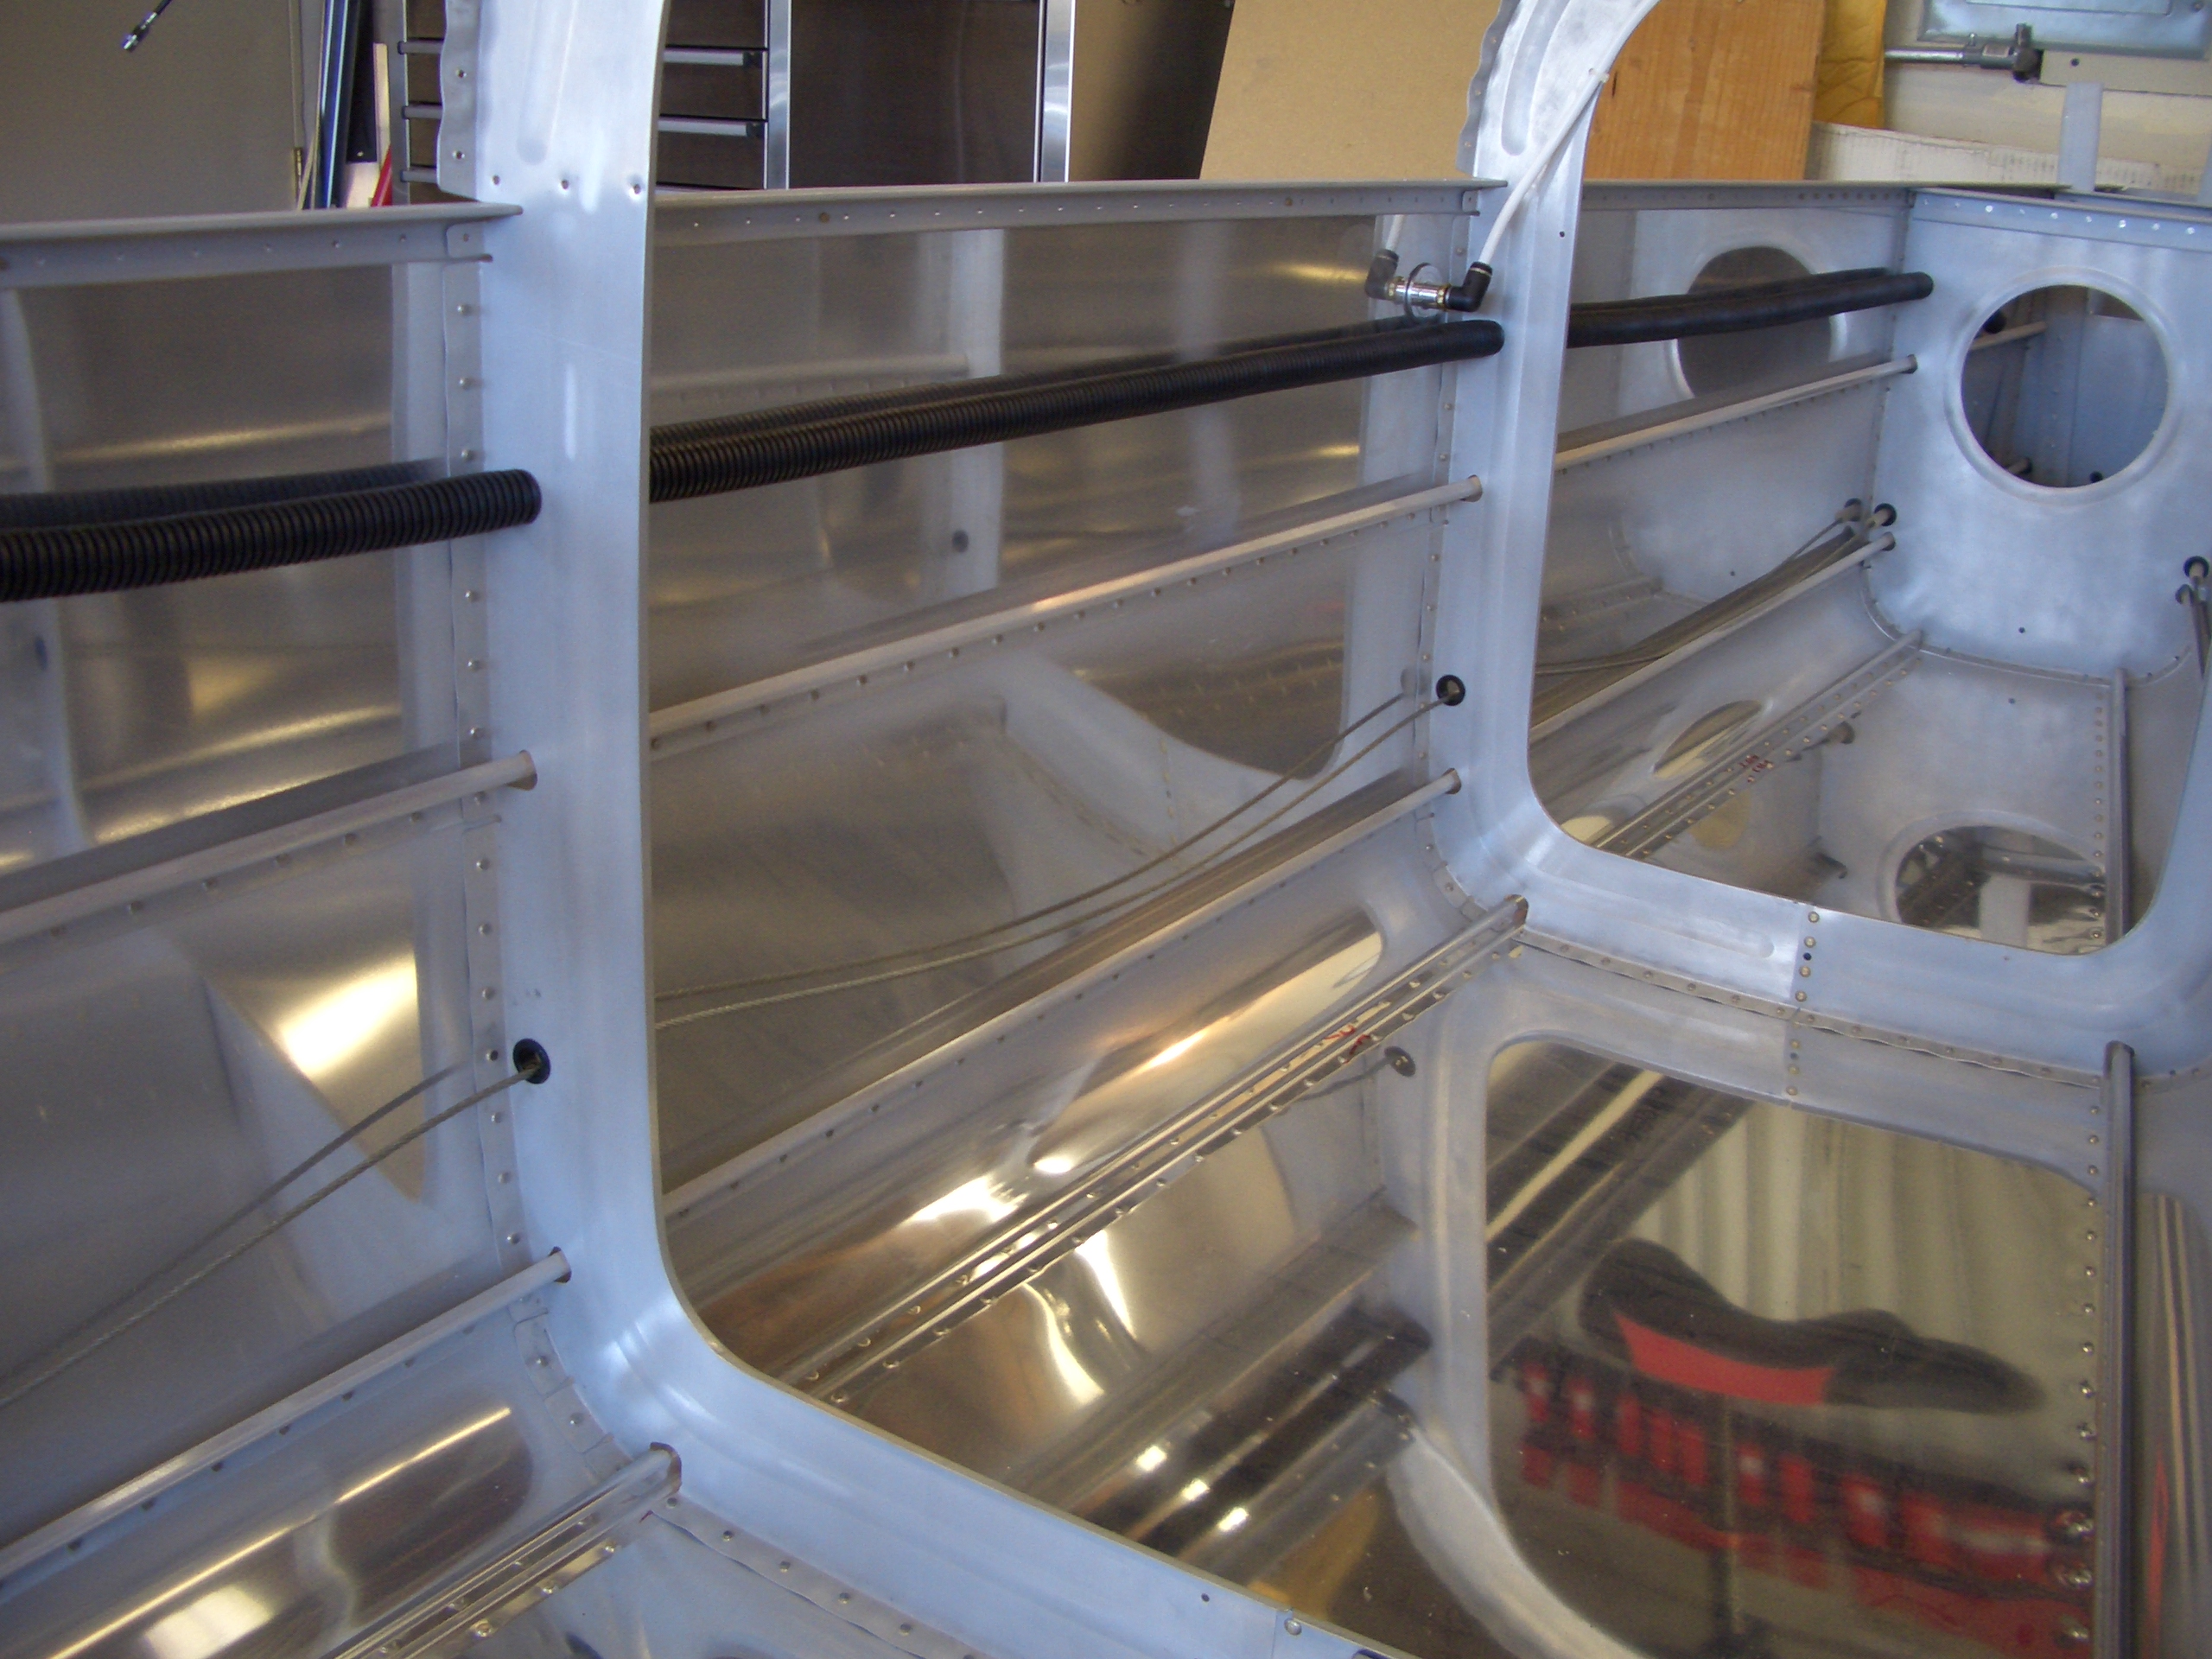
Here you can see that the conduit passes through F-707, F-708, and F-710. The wire bundle will then separate with the tail strobe wires dropping down to penetrate F-711 and F-712 and into the rudder while the trim servo wires will make their way up and into the elevator. I put the conduit up high like this to keep it about 2′ from the Dynon Skyview ADAHRS unit.

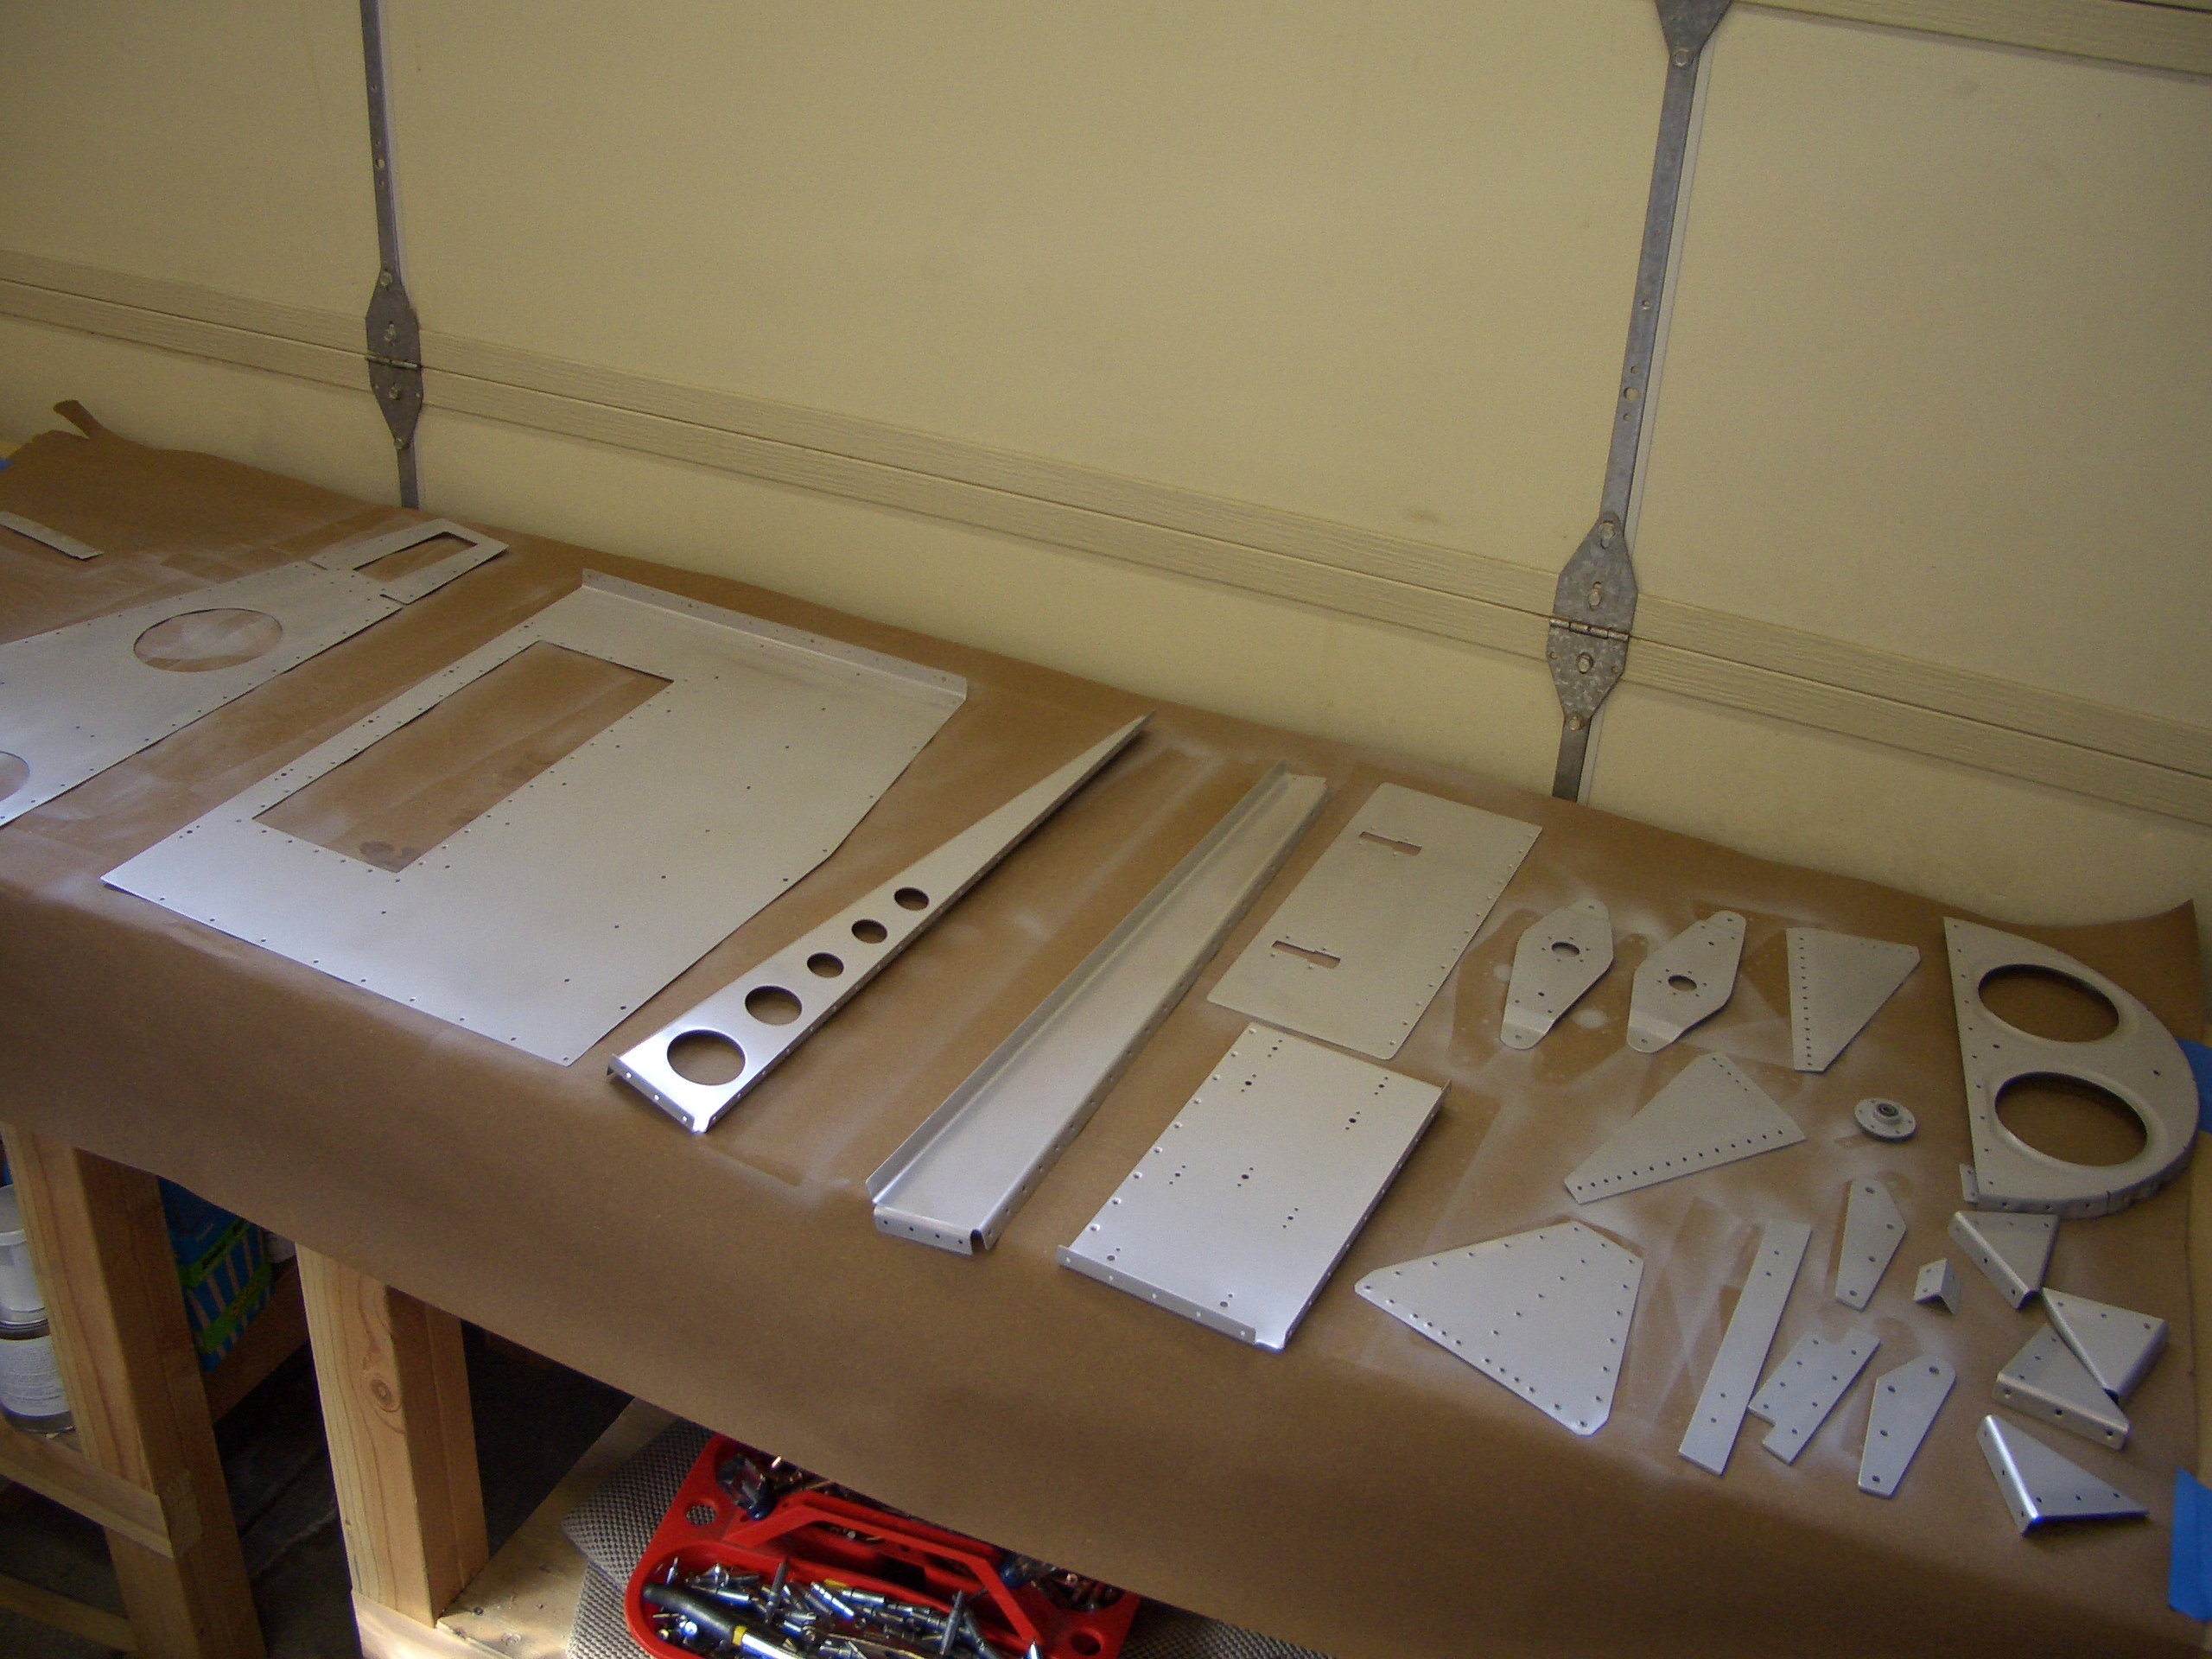
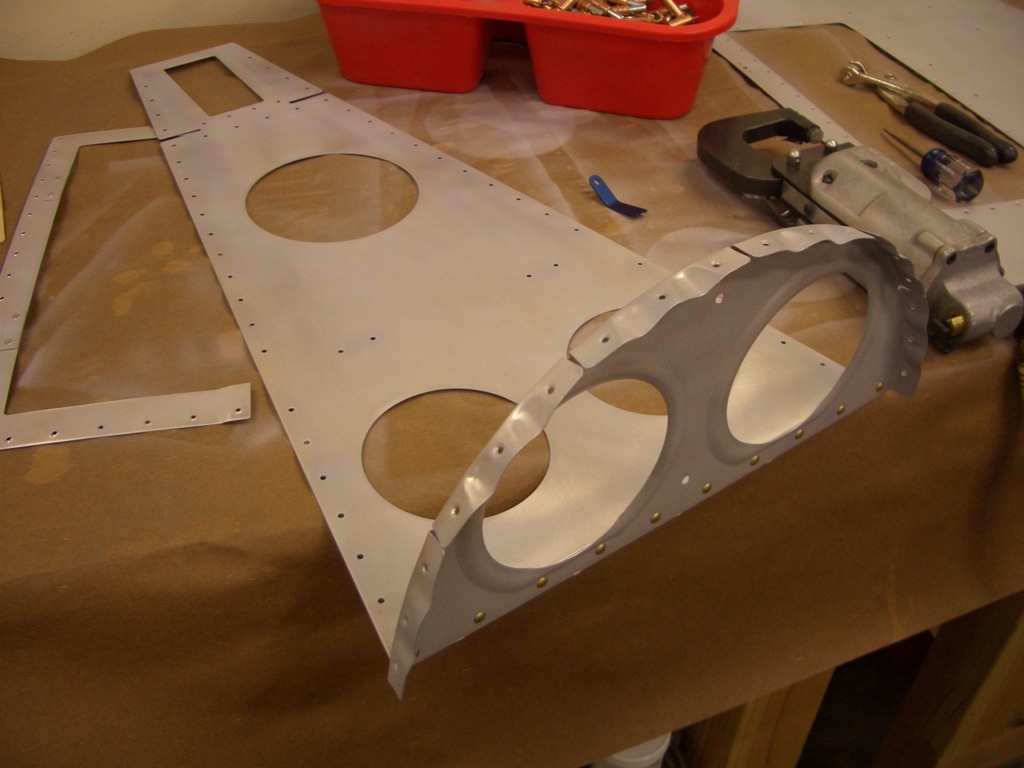
I deburred and primed all of the fuselage components that I’ve finished so far.

After those were dry, I riveted F-709 to the aft deck.
I then riveted the aft deck to the longerons and F-710/F-711. There were four rivets that couldn’t be reached with the squeezer, so I’ll have to shoot/buck those.

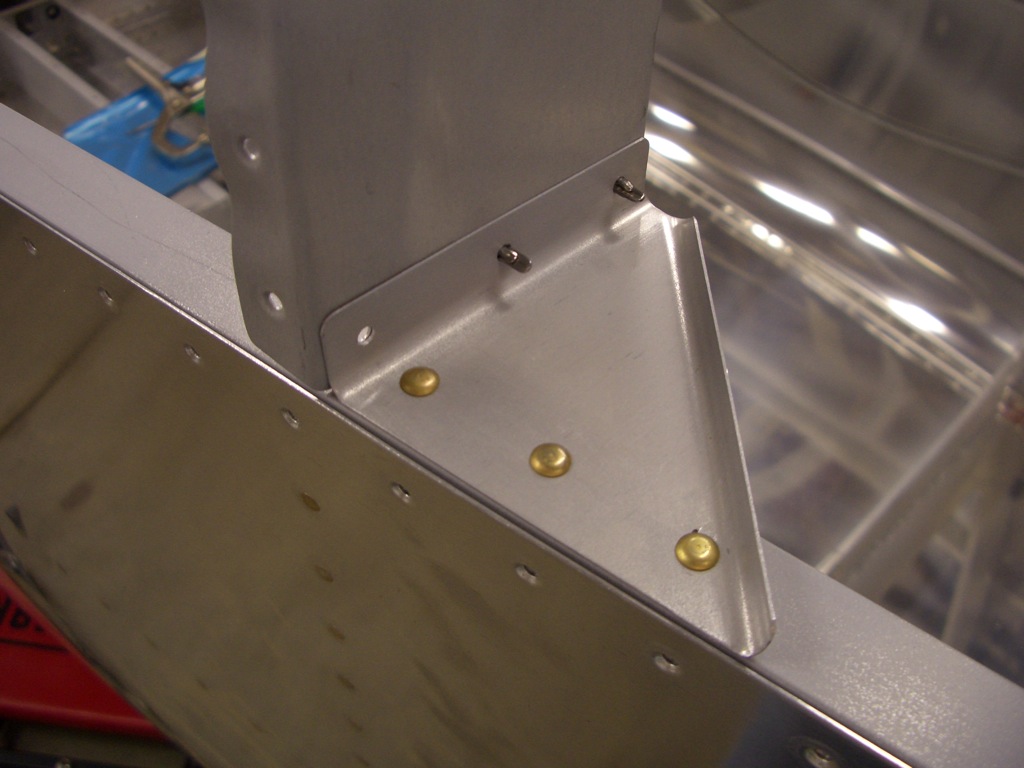
Next up, I riveted the F-695 gussets to the longerons and upper firewall stiffener. There were two rivets on each side along the firewall stiffener that couldn’t be reached with the squeezer. I’ll shoot those later.
I then squeezed all of the rivets that tie the bulkhead braces to the longeron.
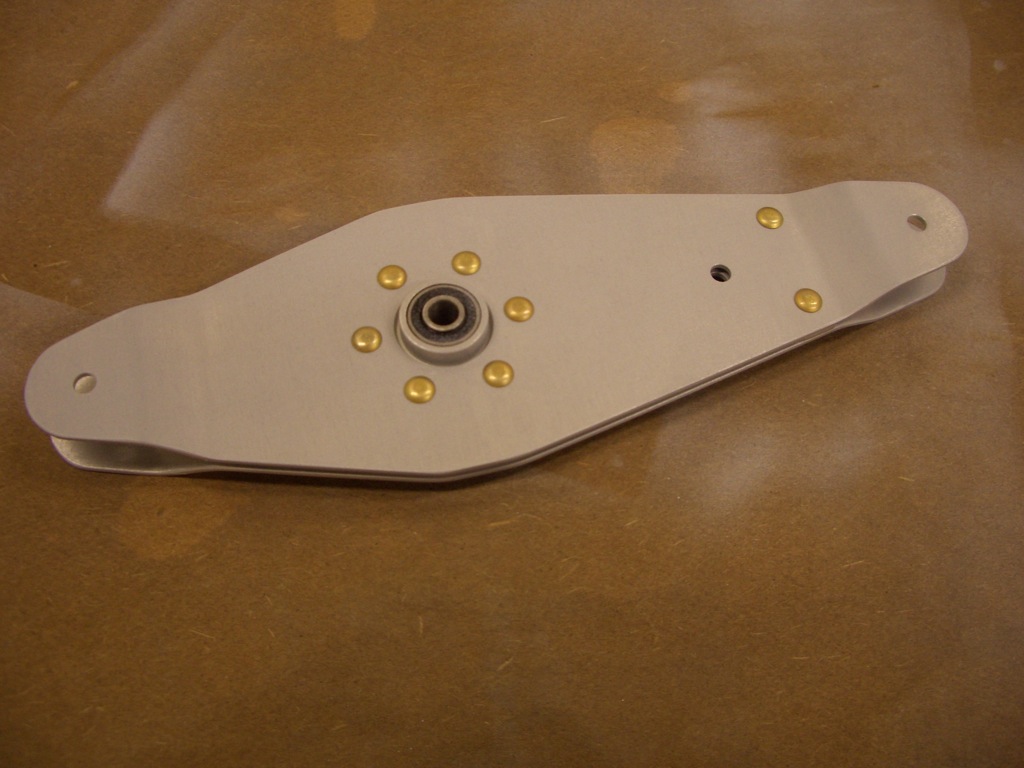
I squeezed all of the rivets that hold together the elevator bellcrank. I’ll have to slip a washer in between the halves when hooking up the autopilot servo, but that will be easy with the washer wrenches.
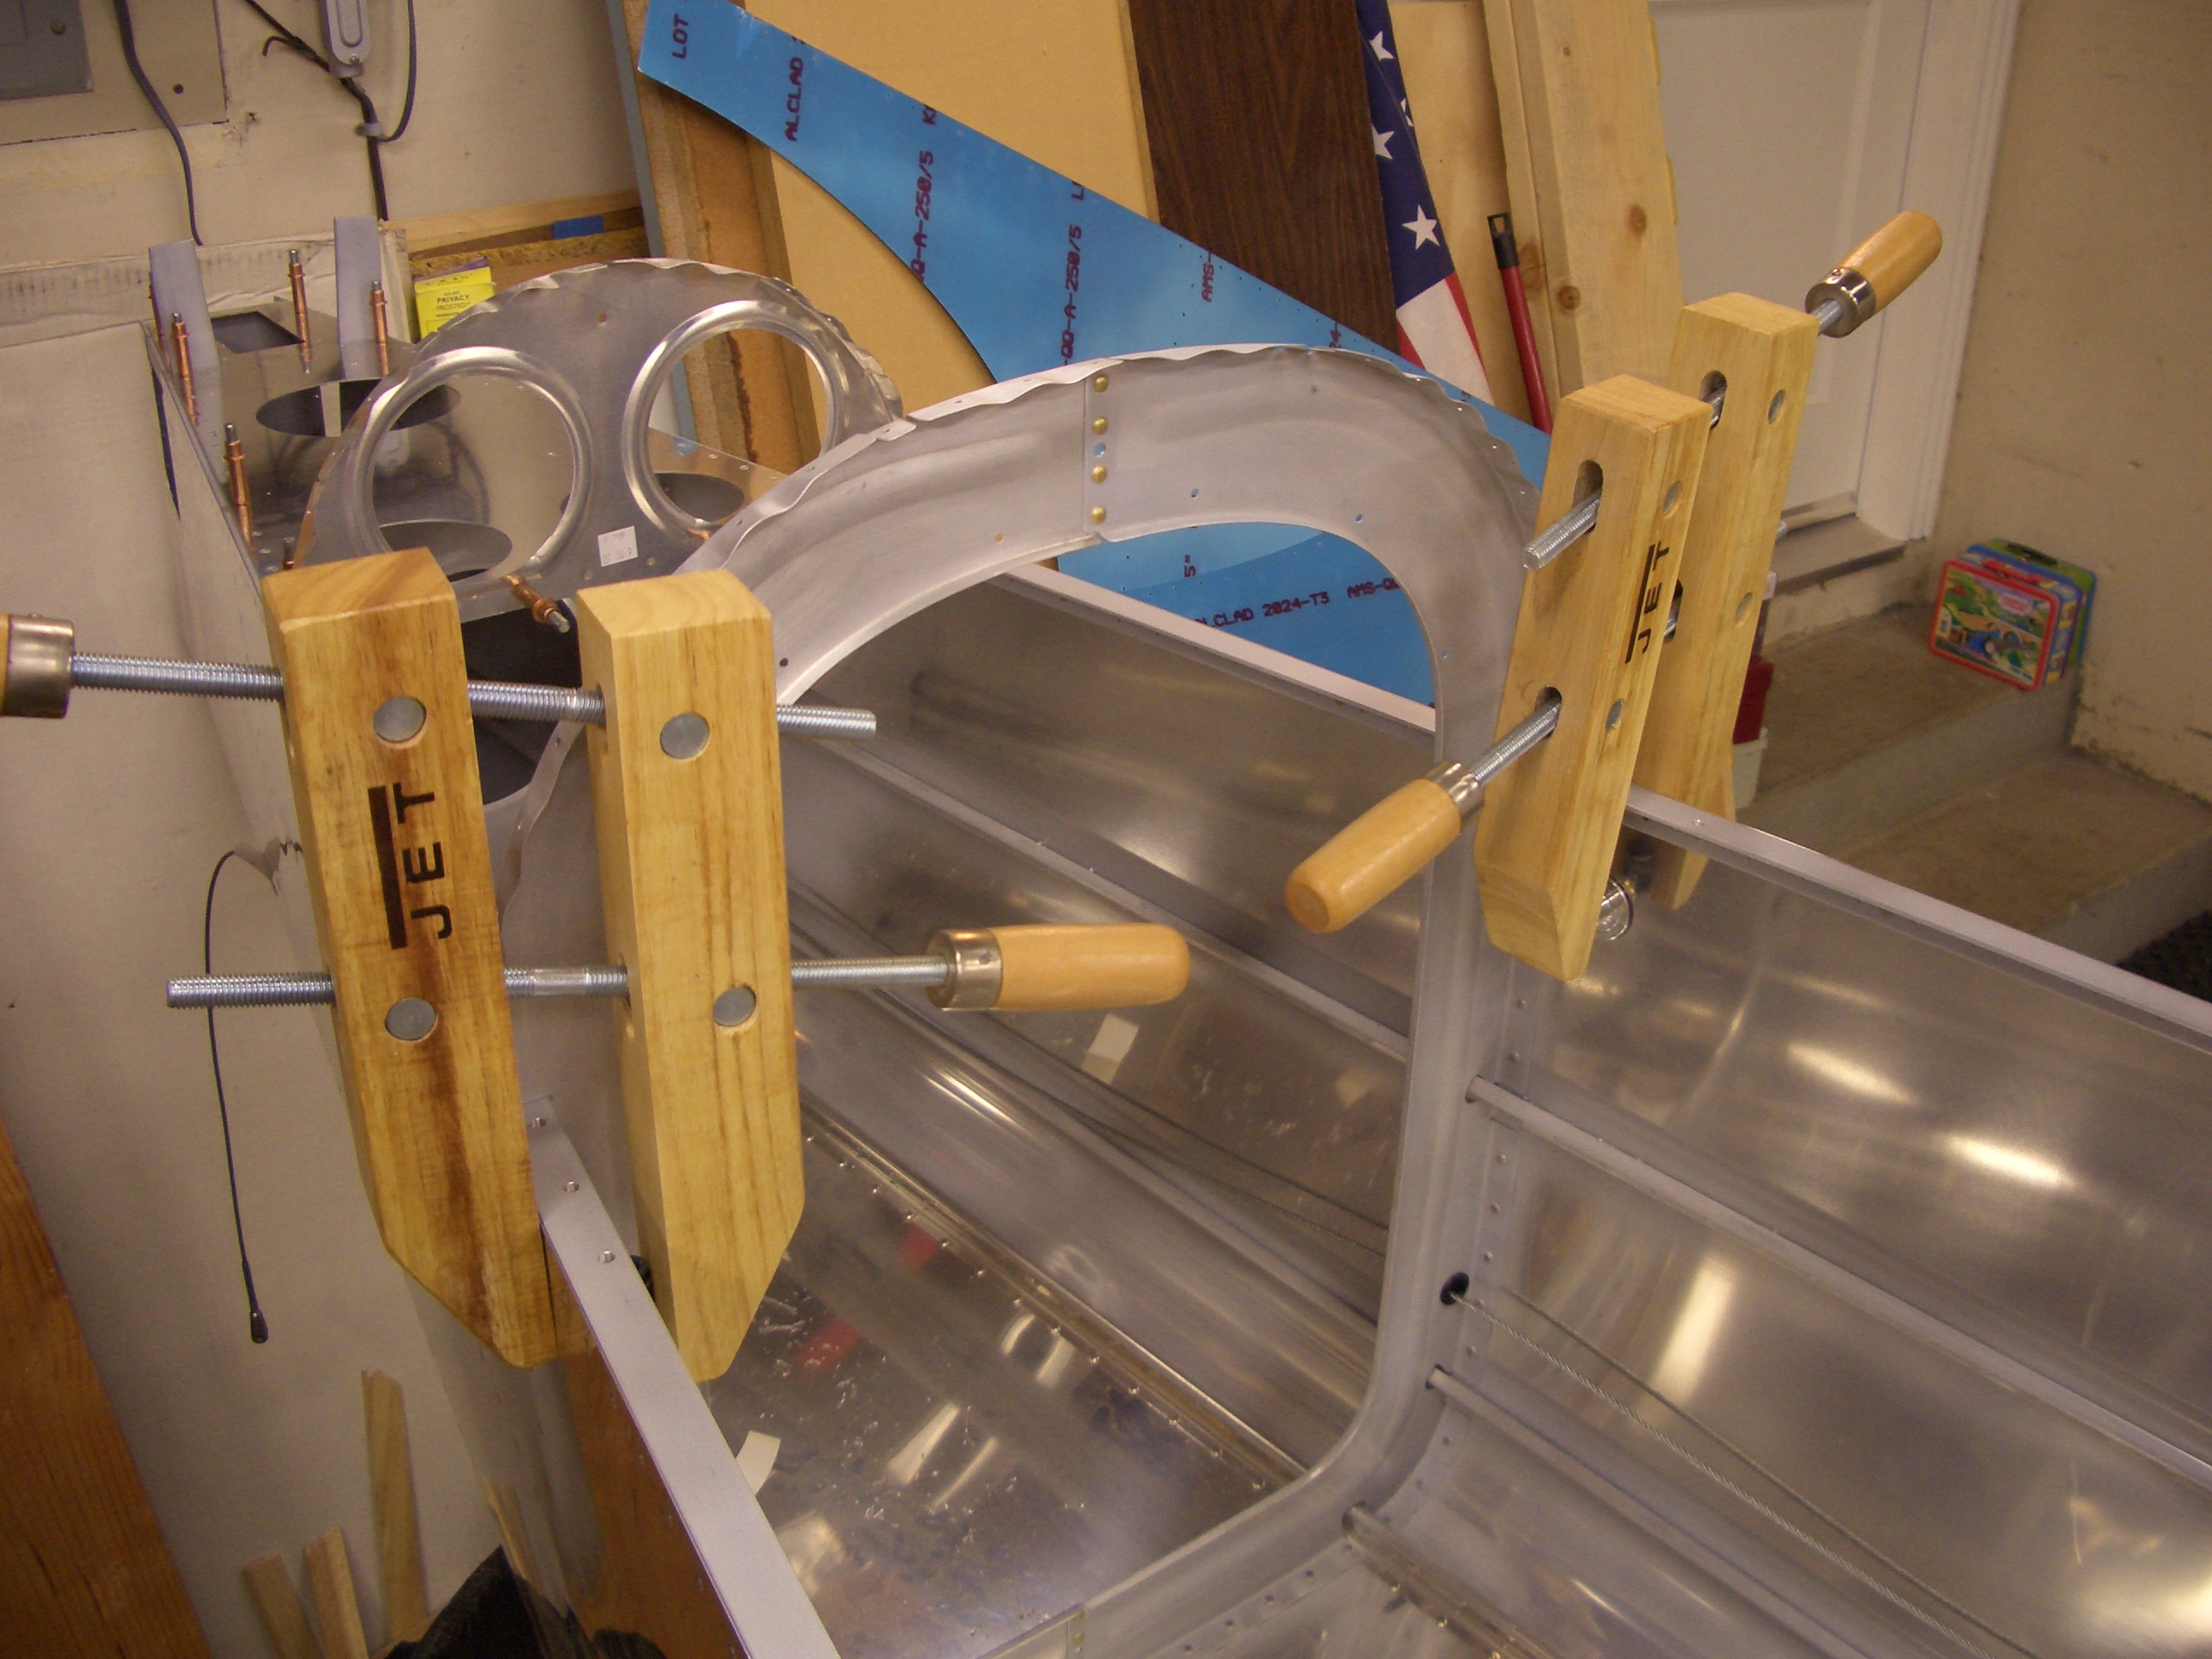
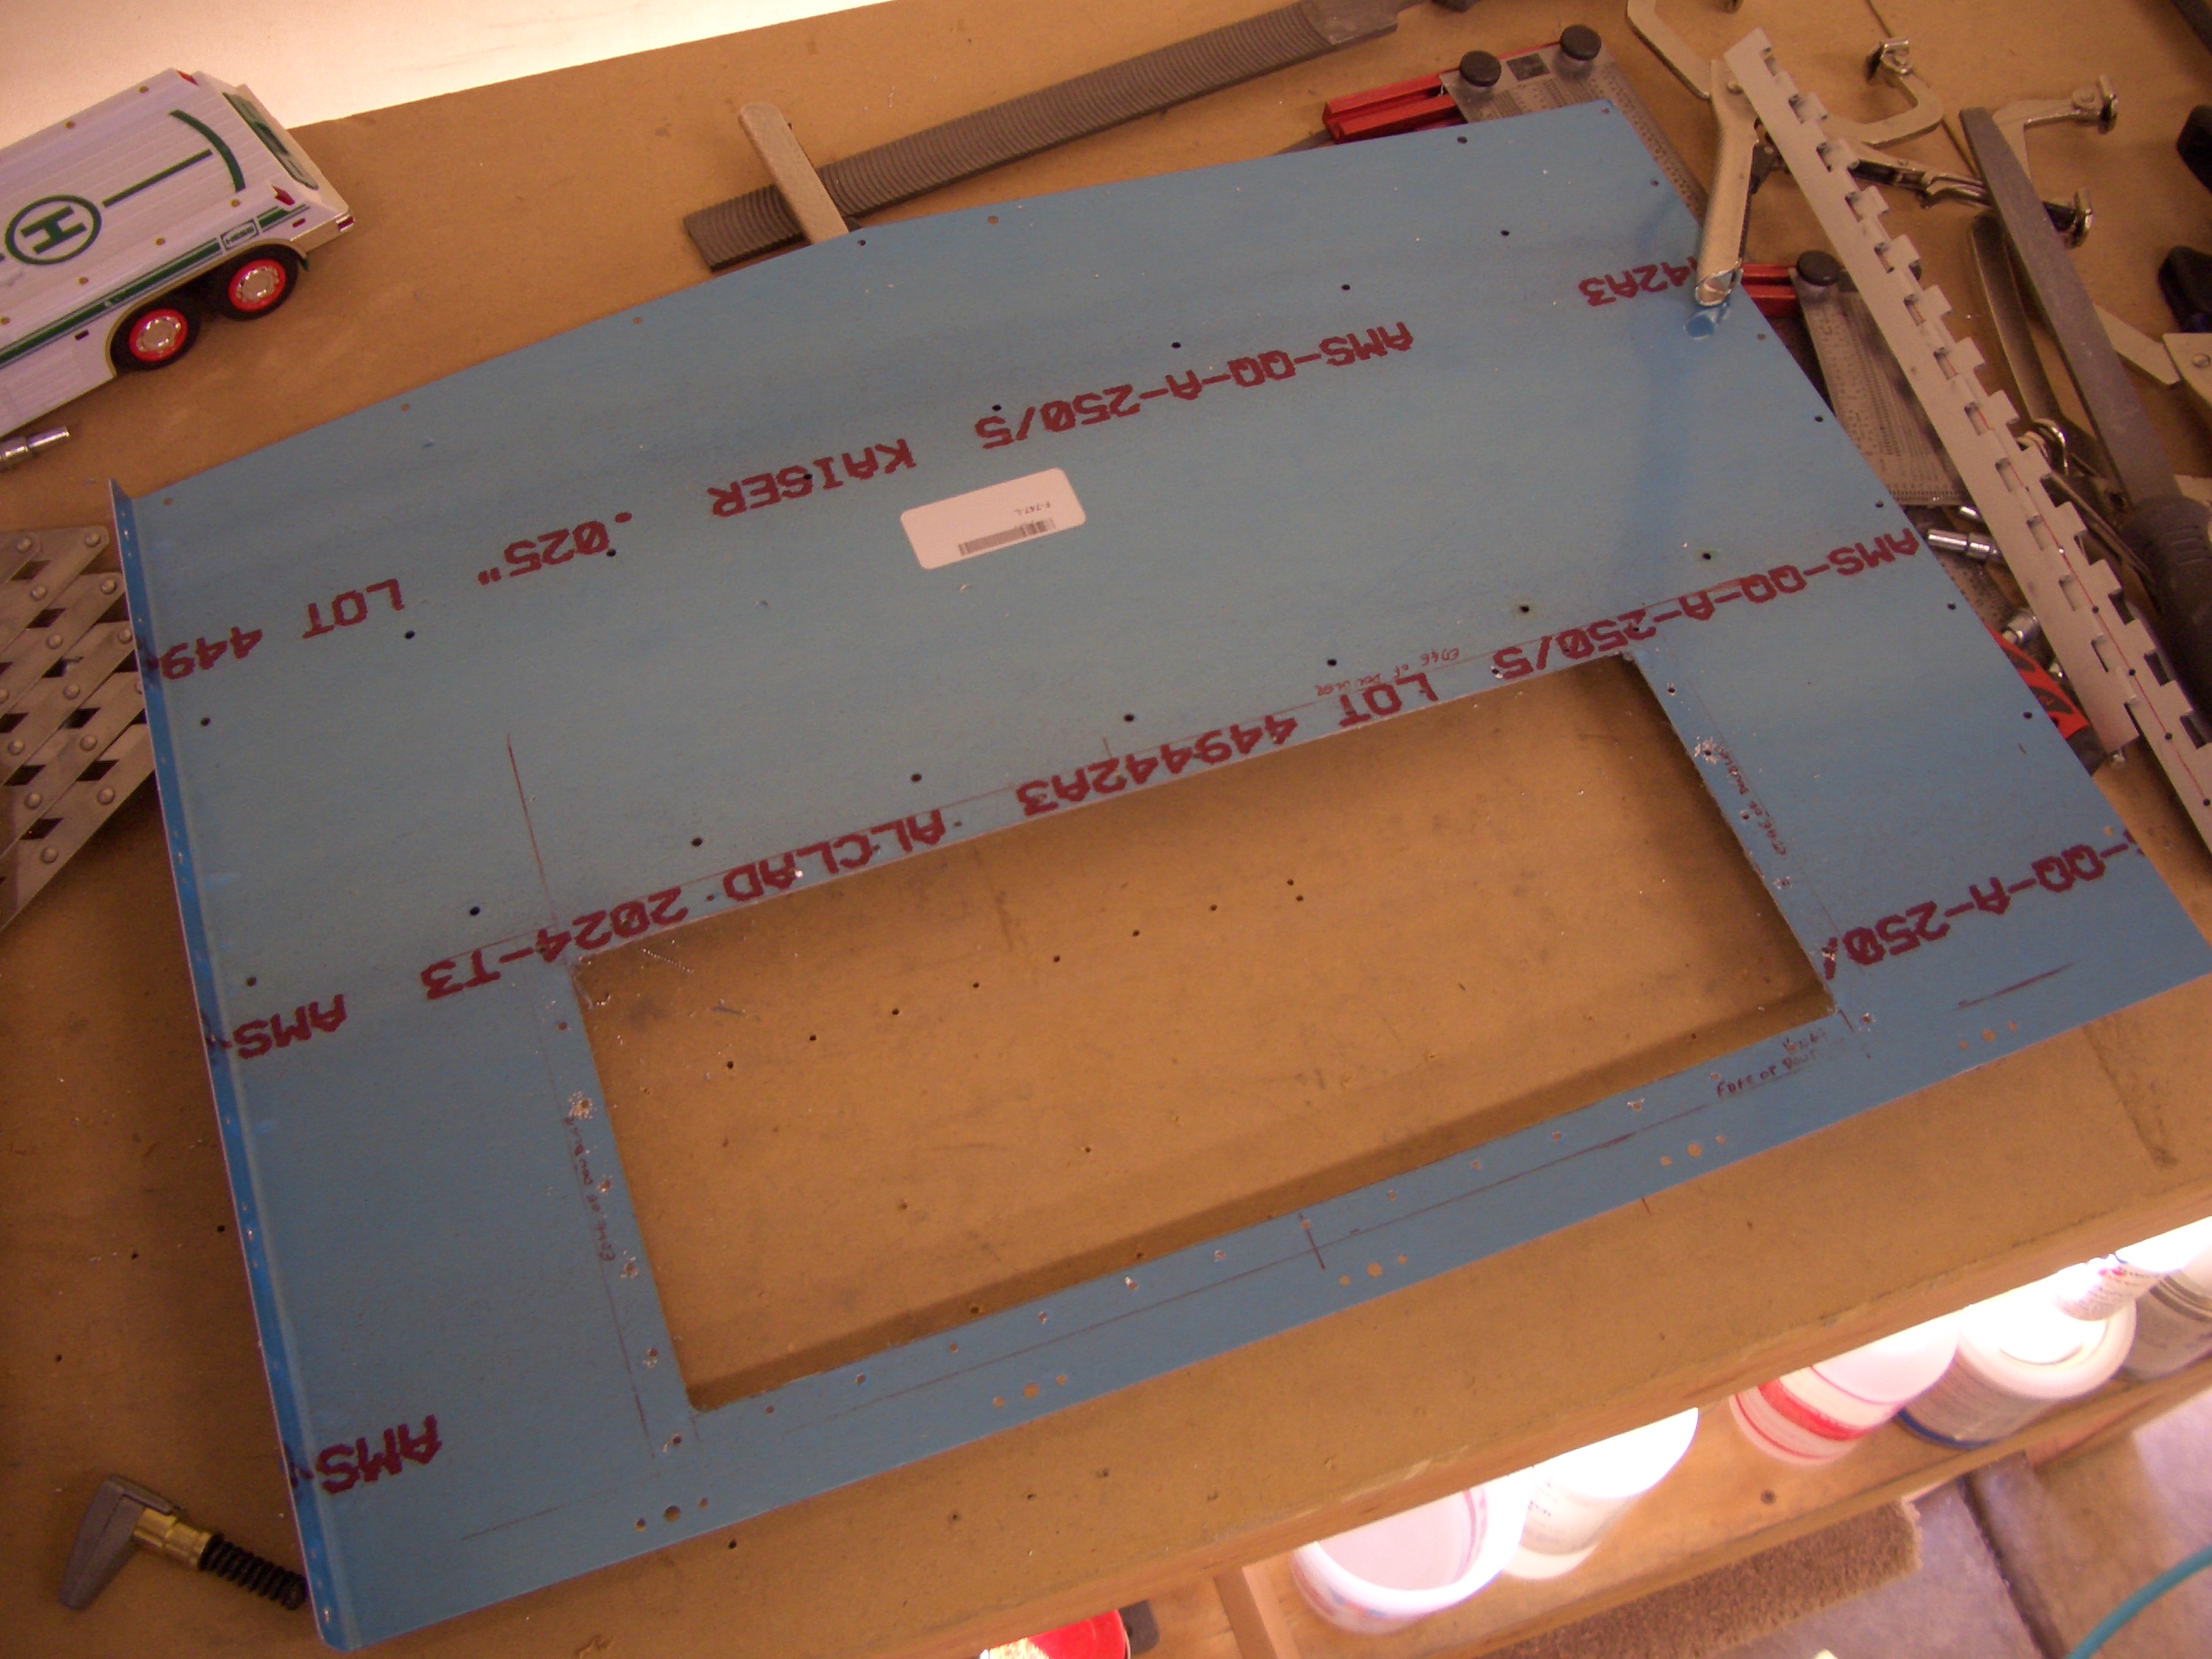
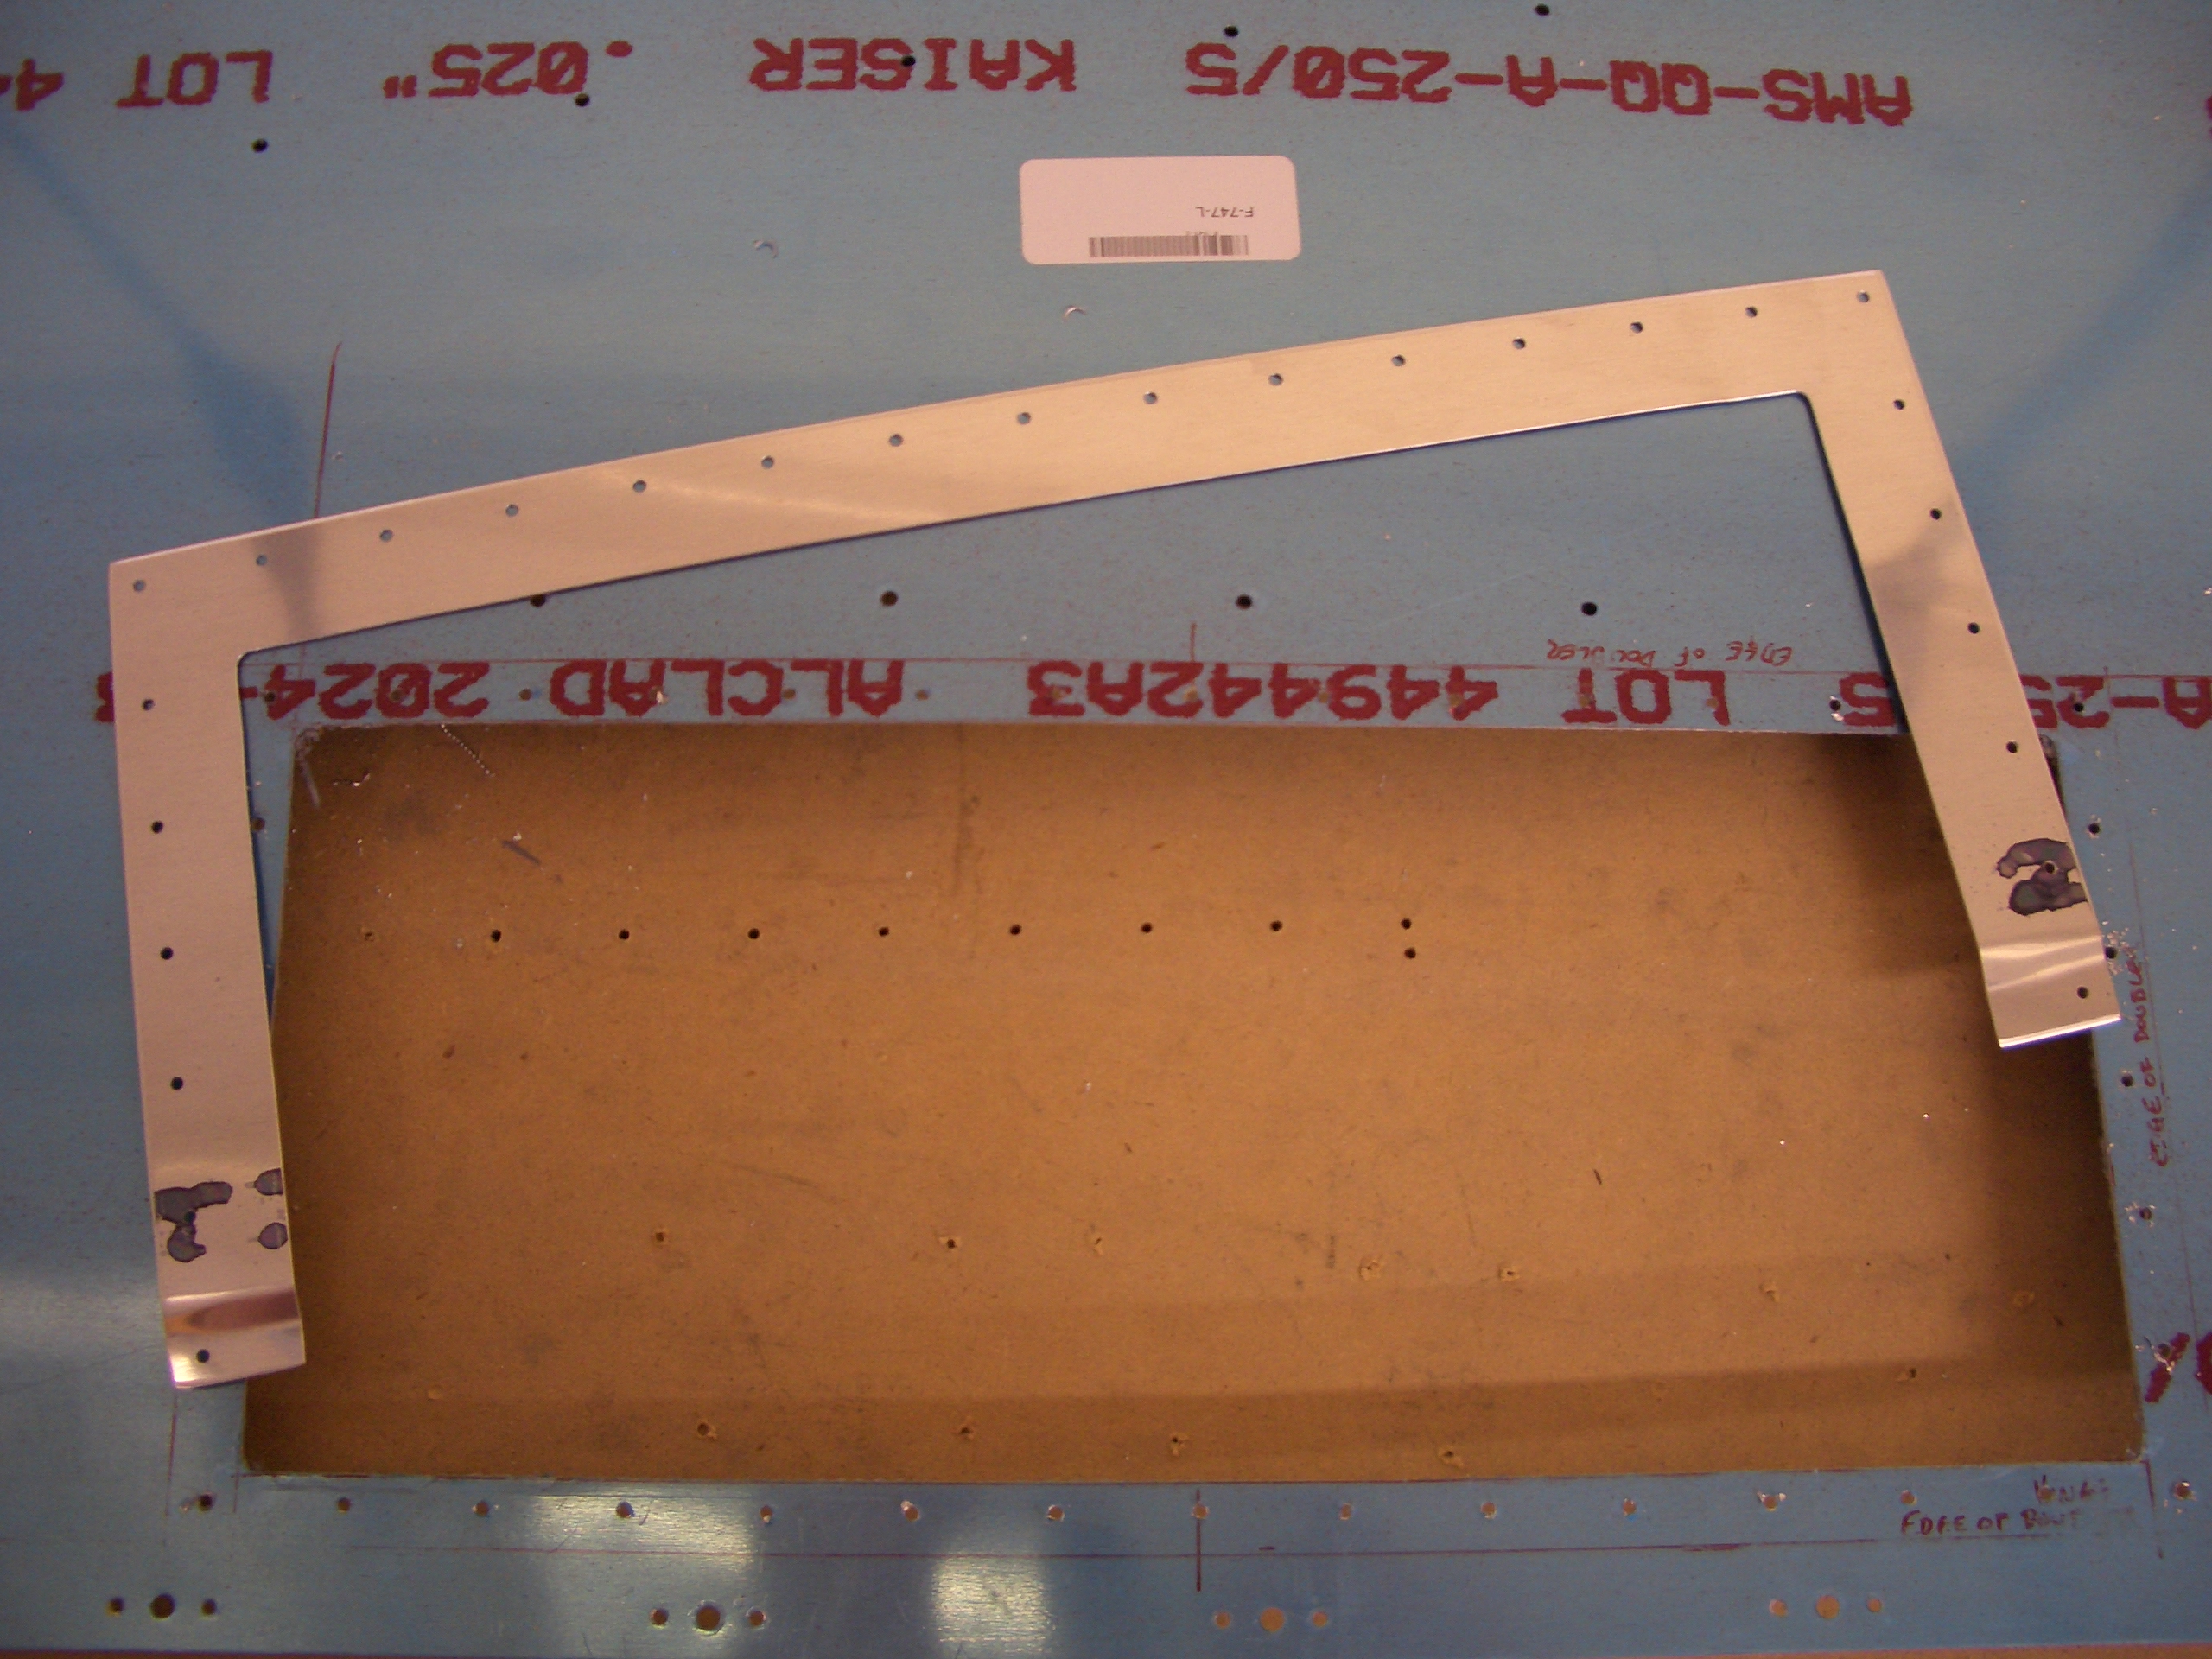
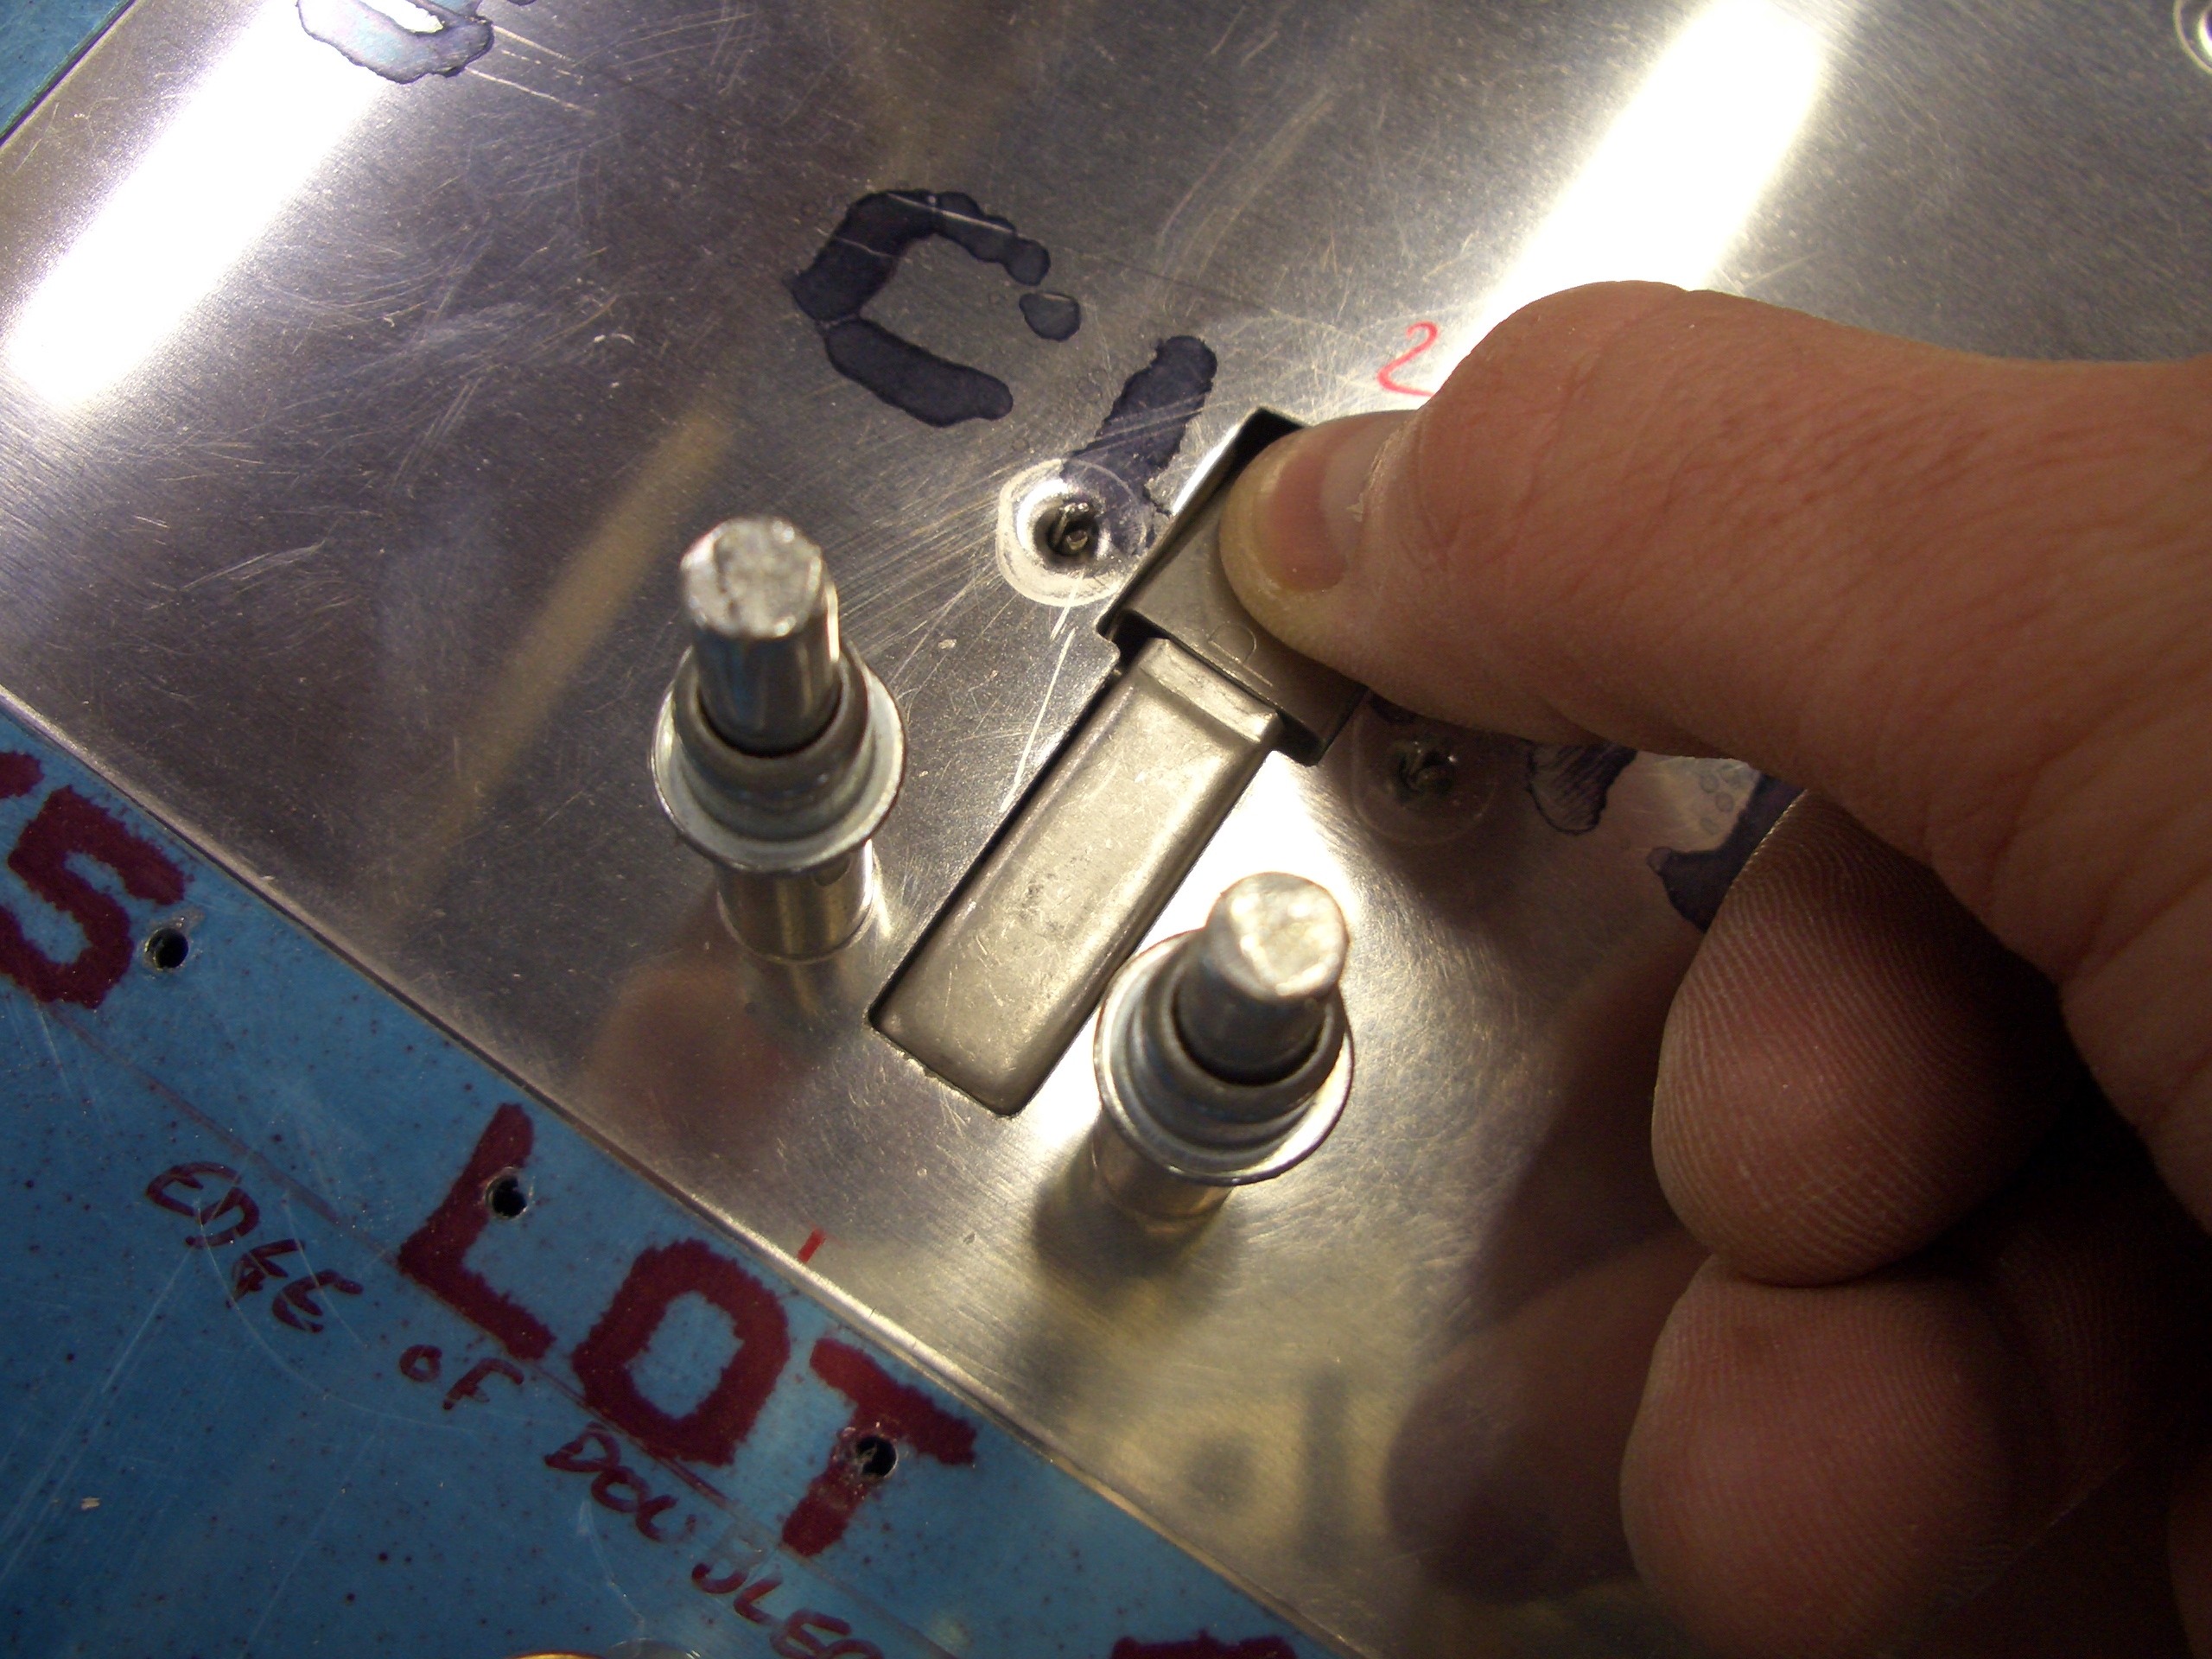
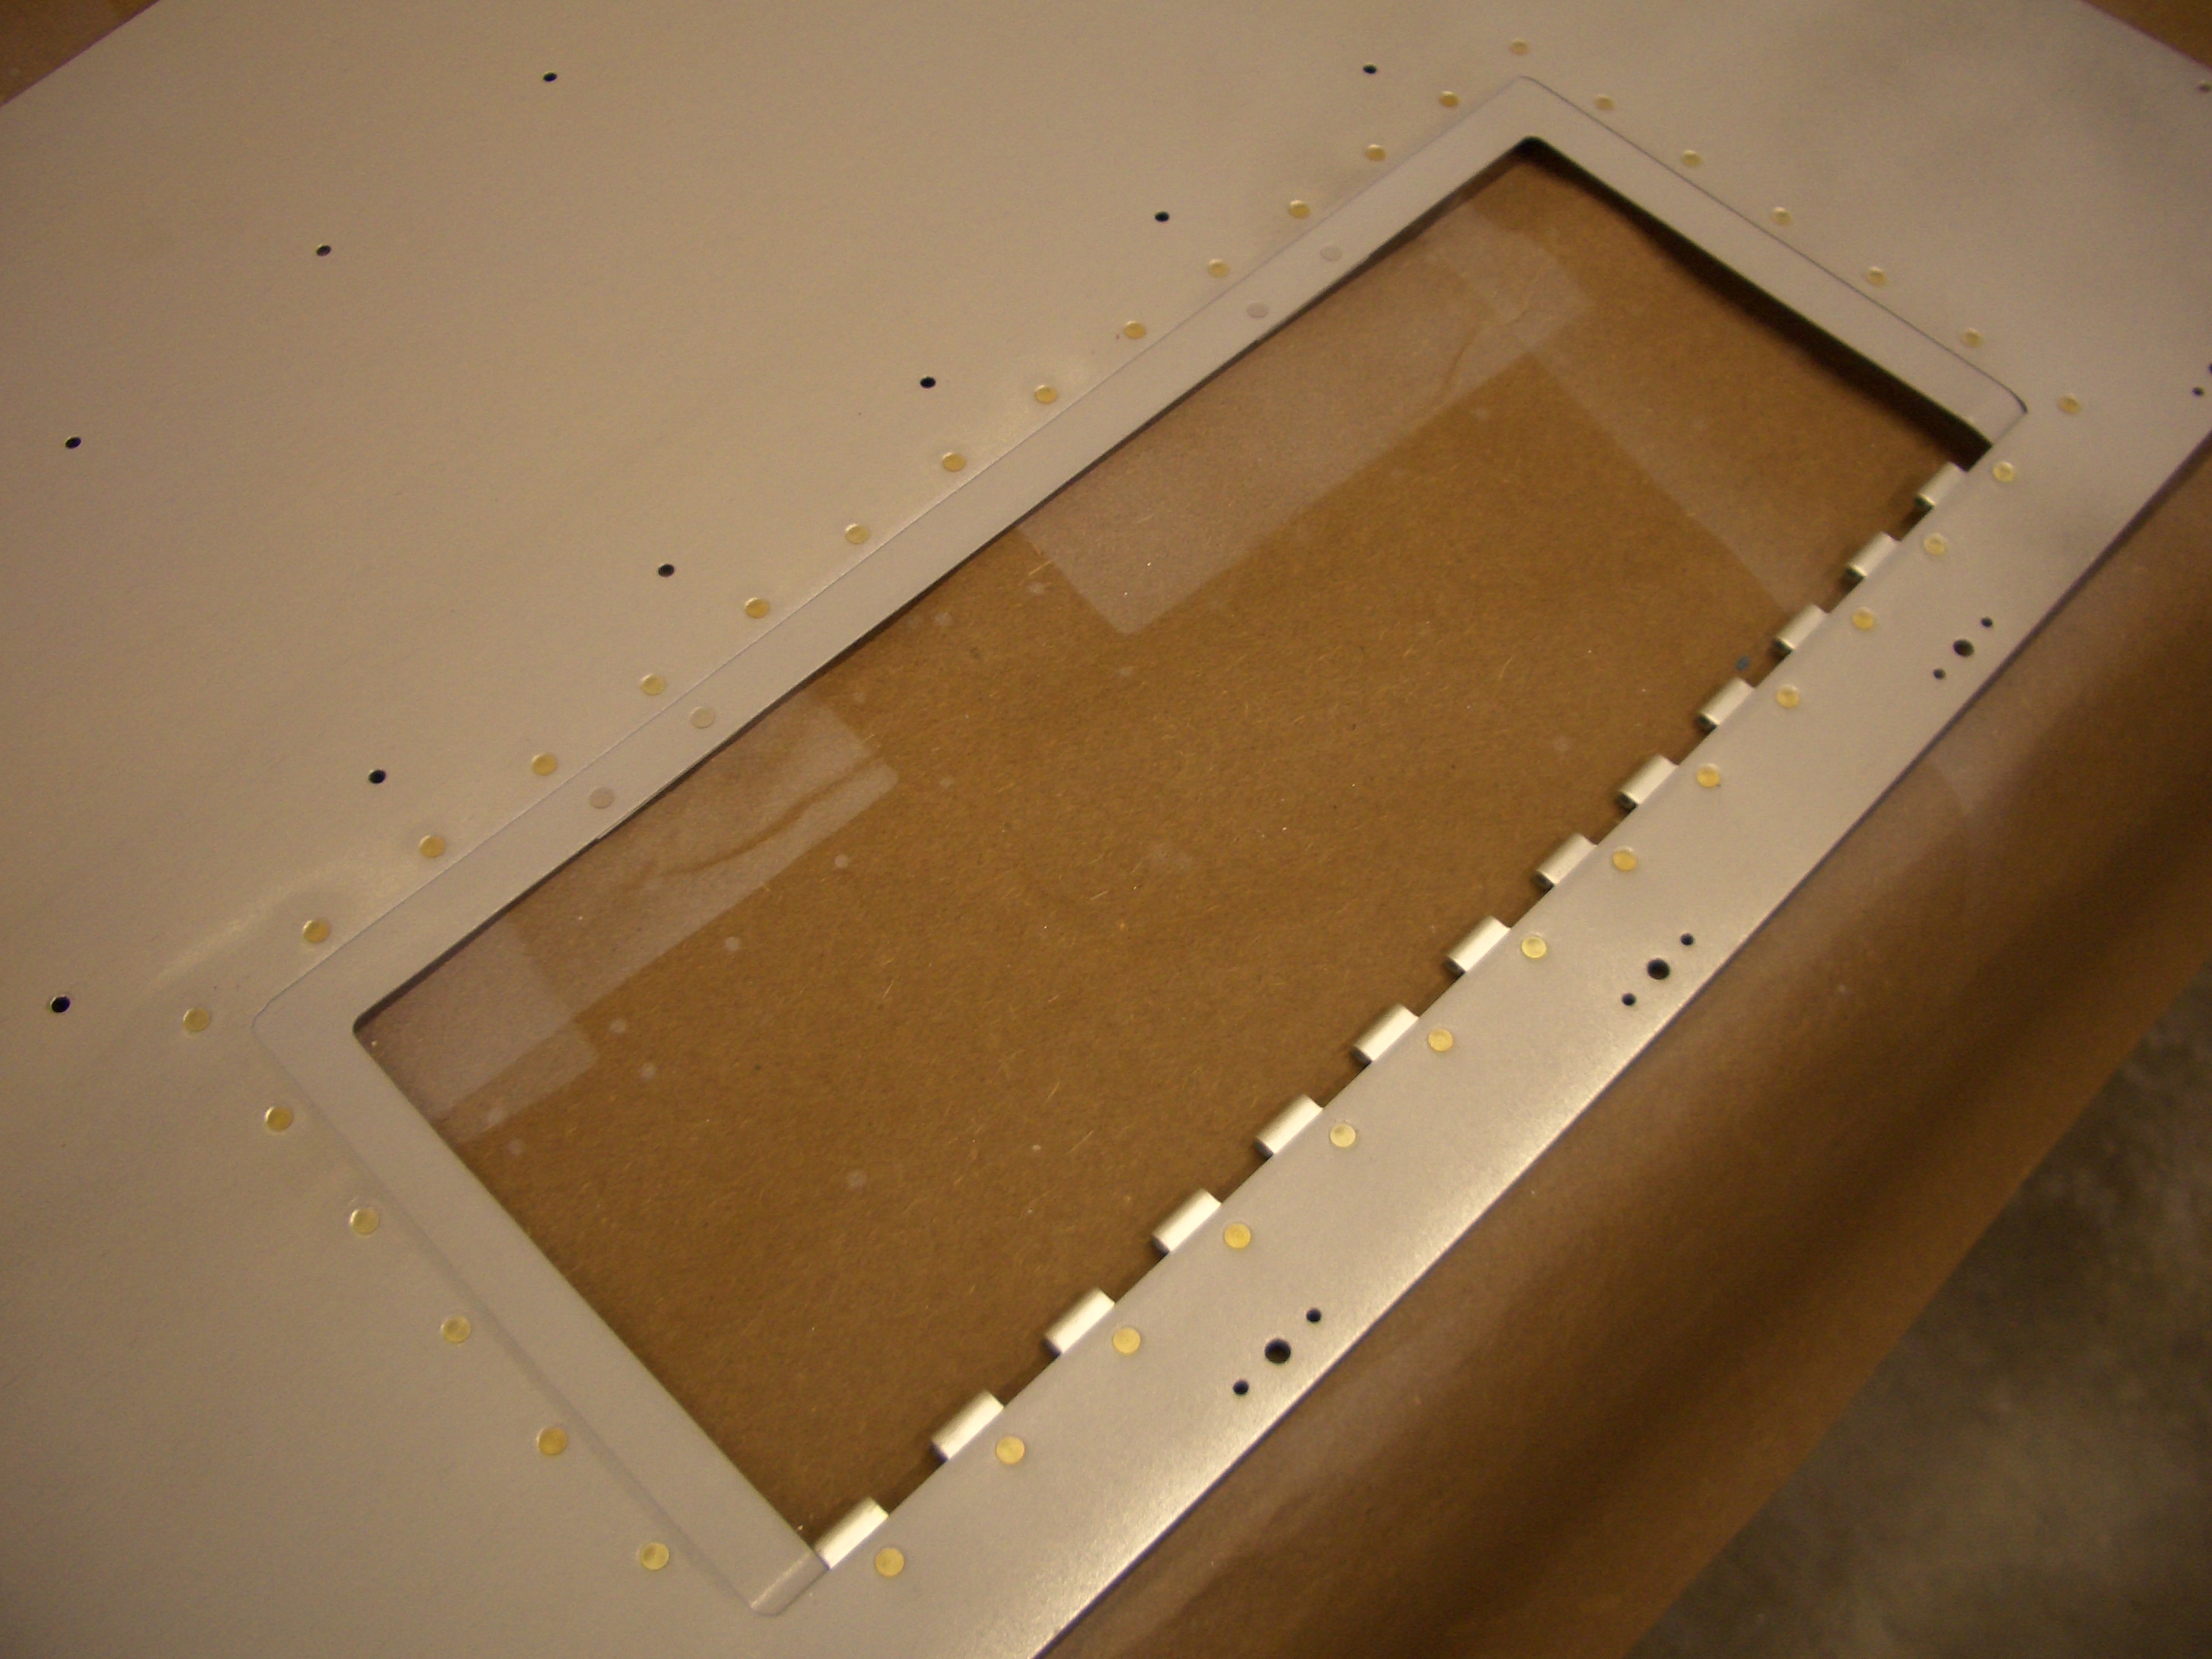
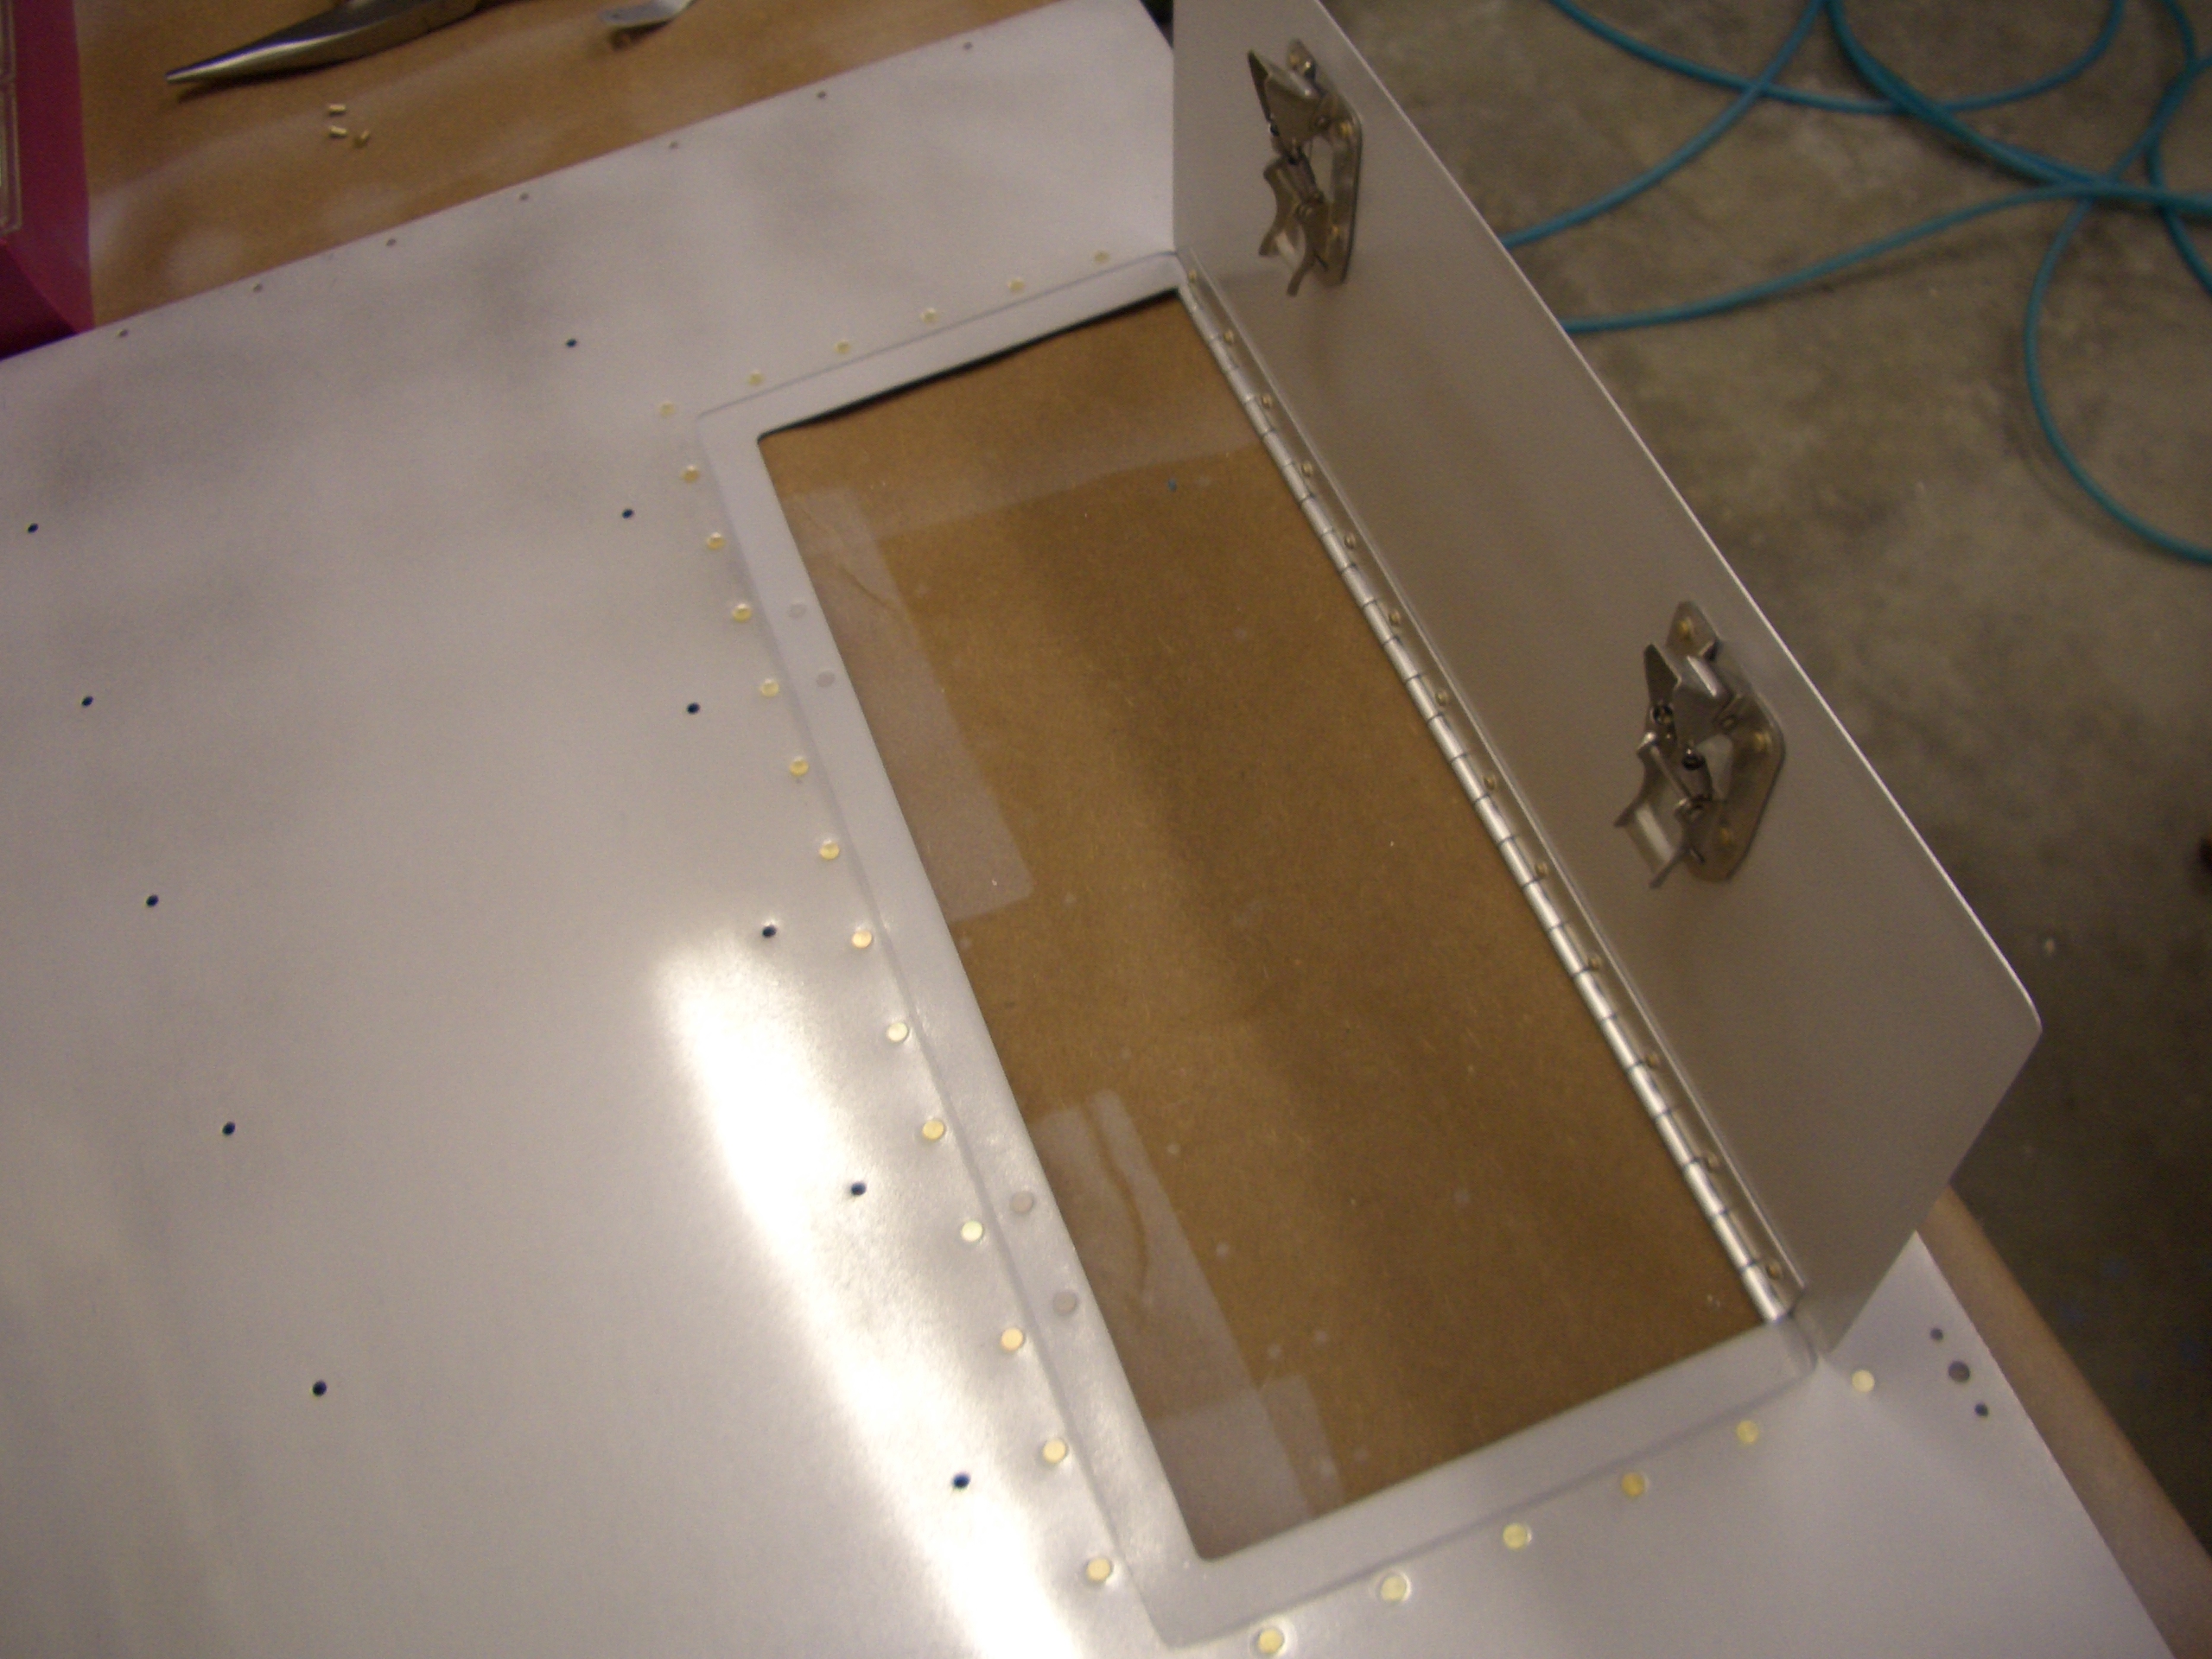
I also assembled the hatch in the left baggage floor. Here, I’ve riveted the reinforcing ring and hinge to the floor.

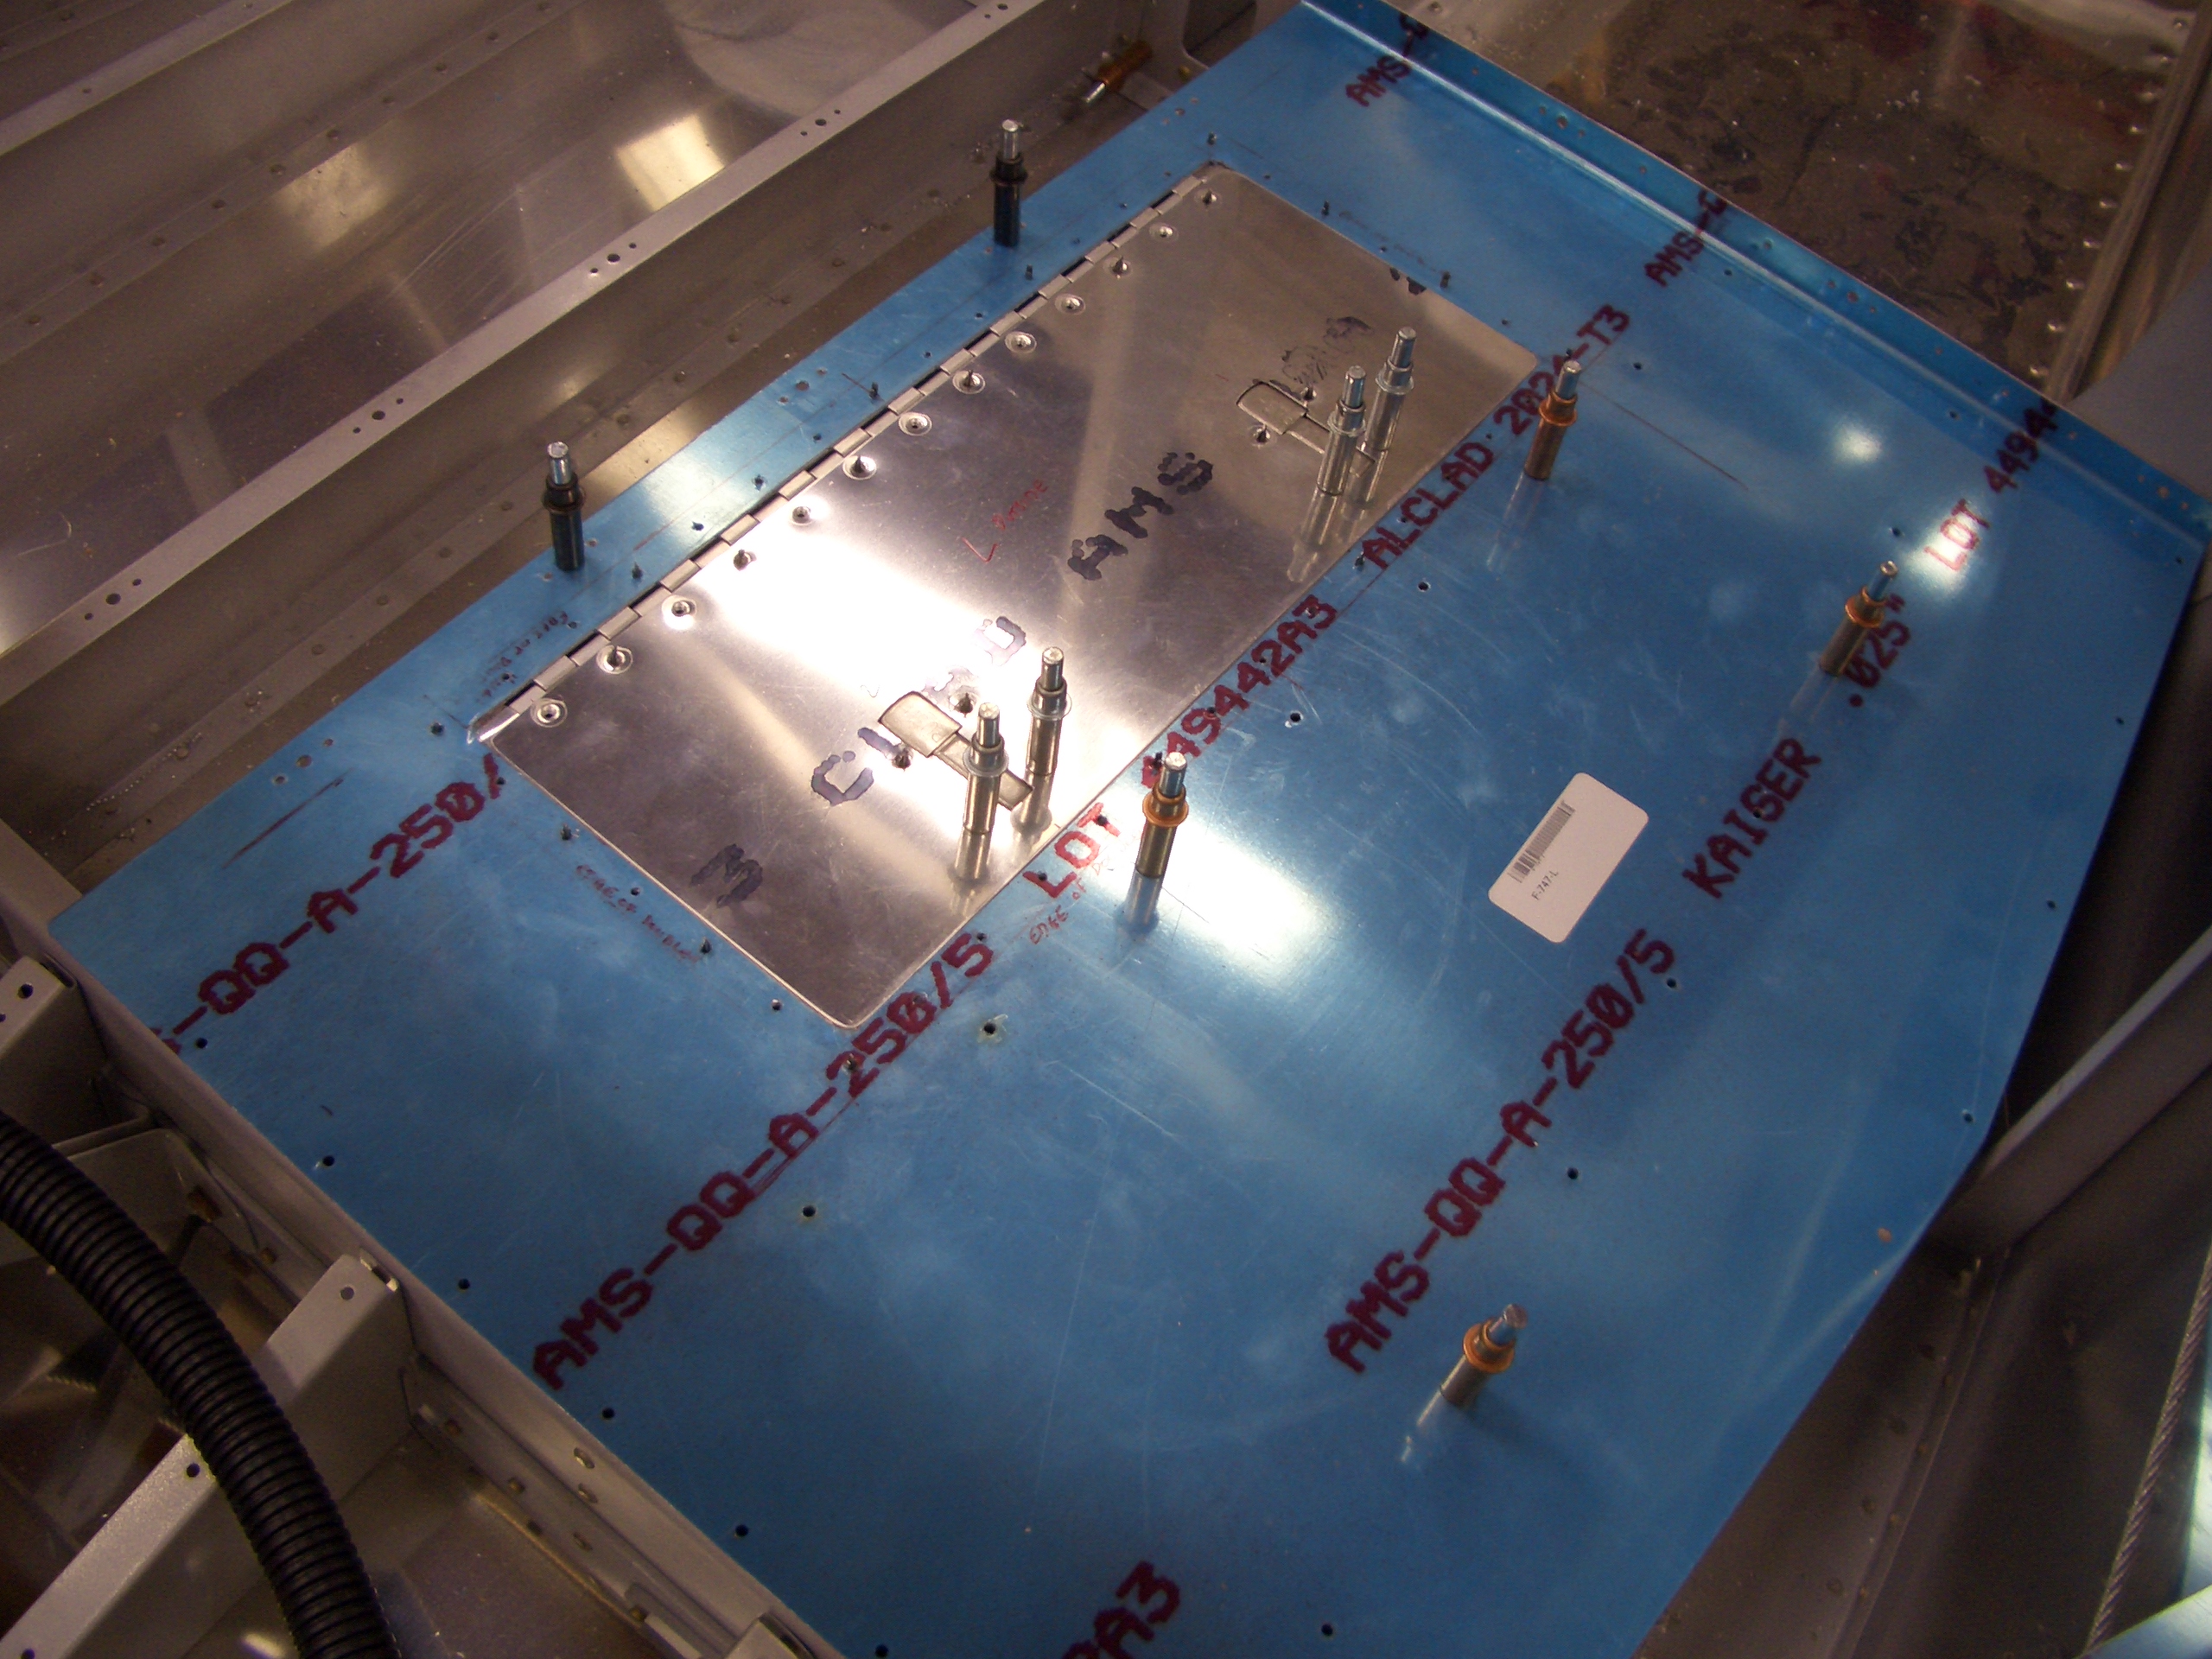
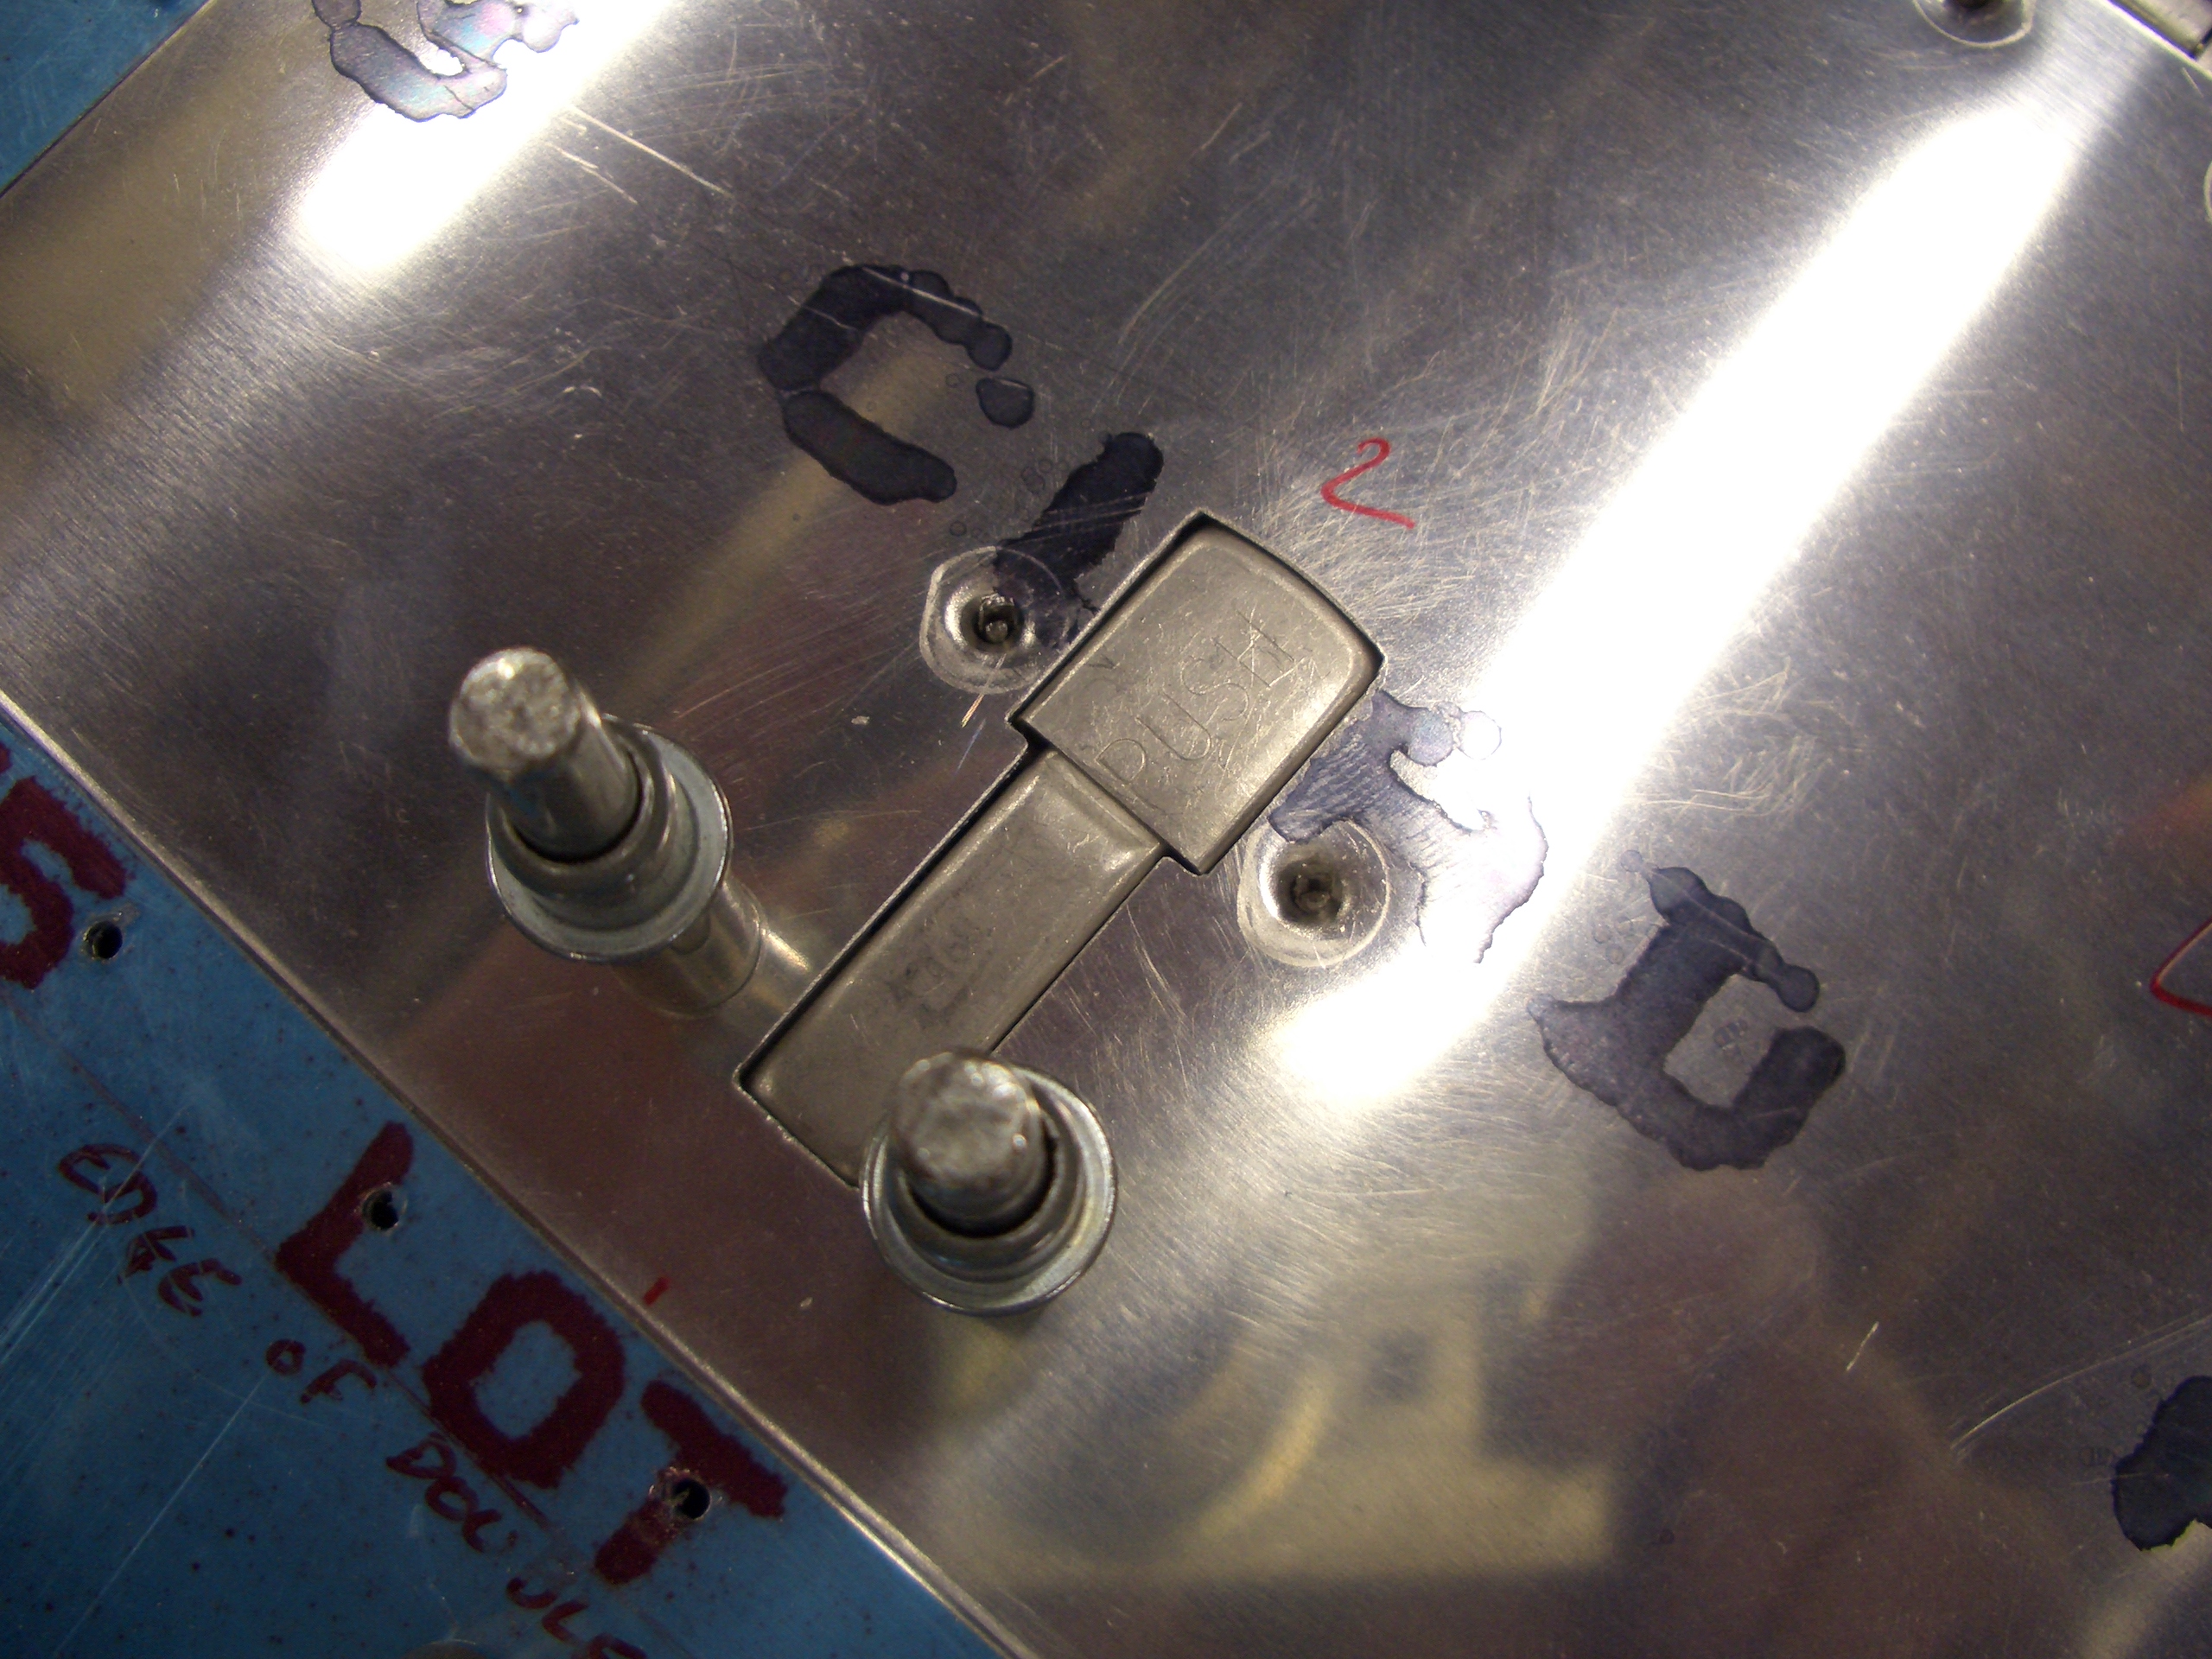
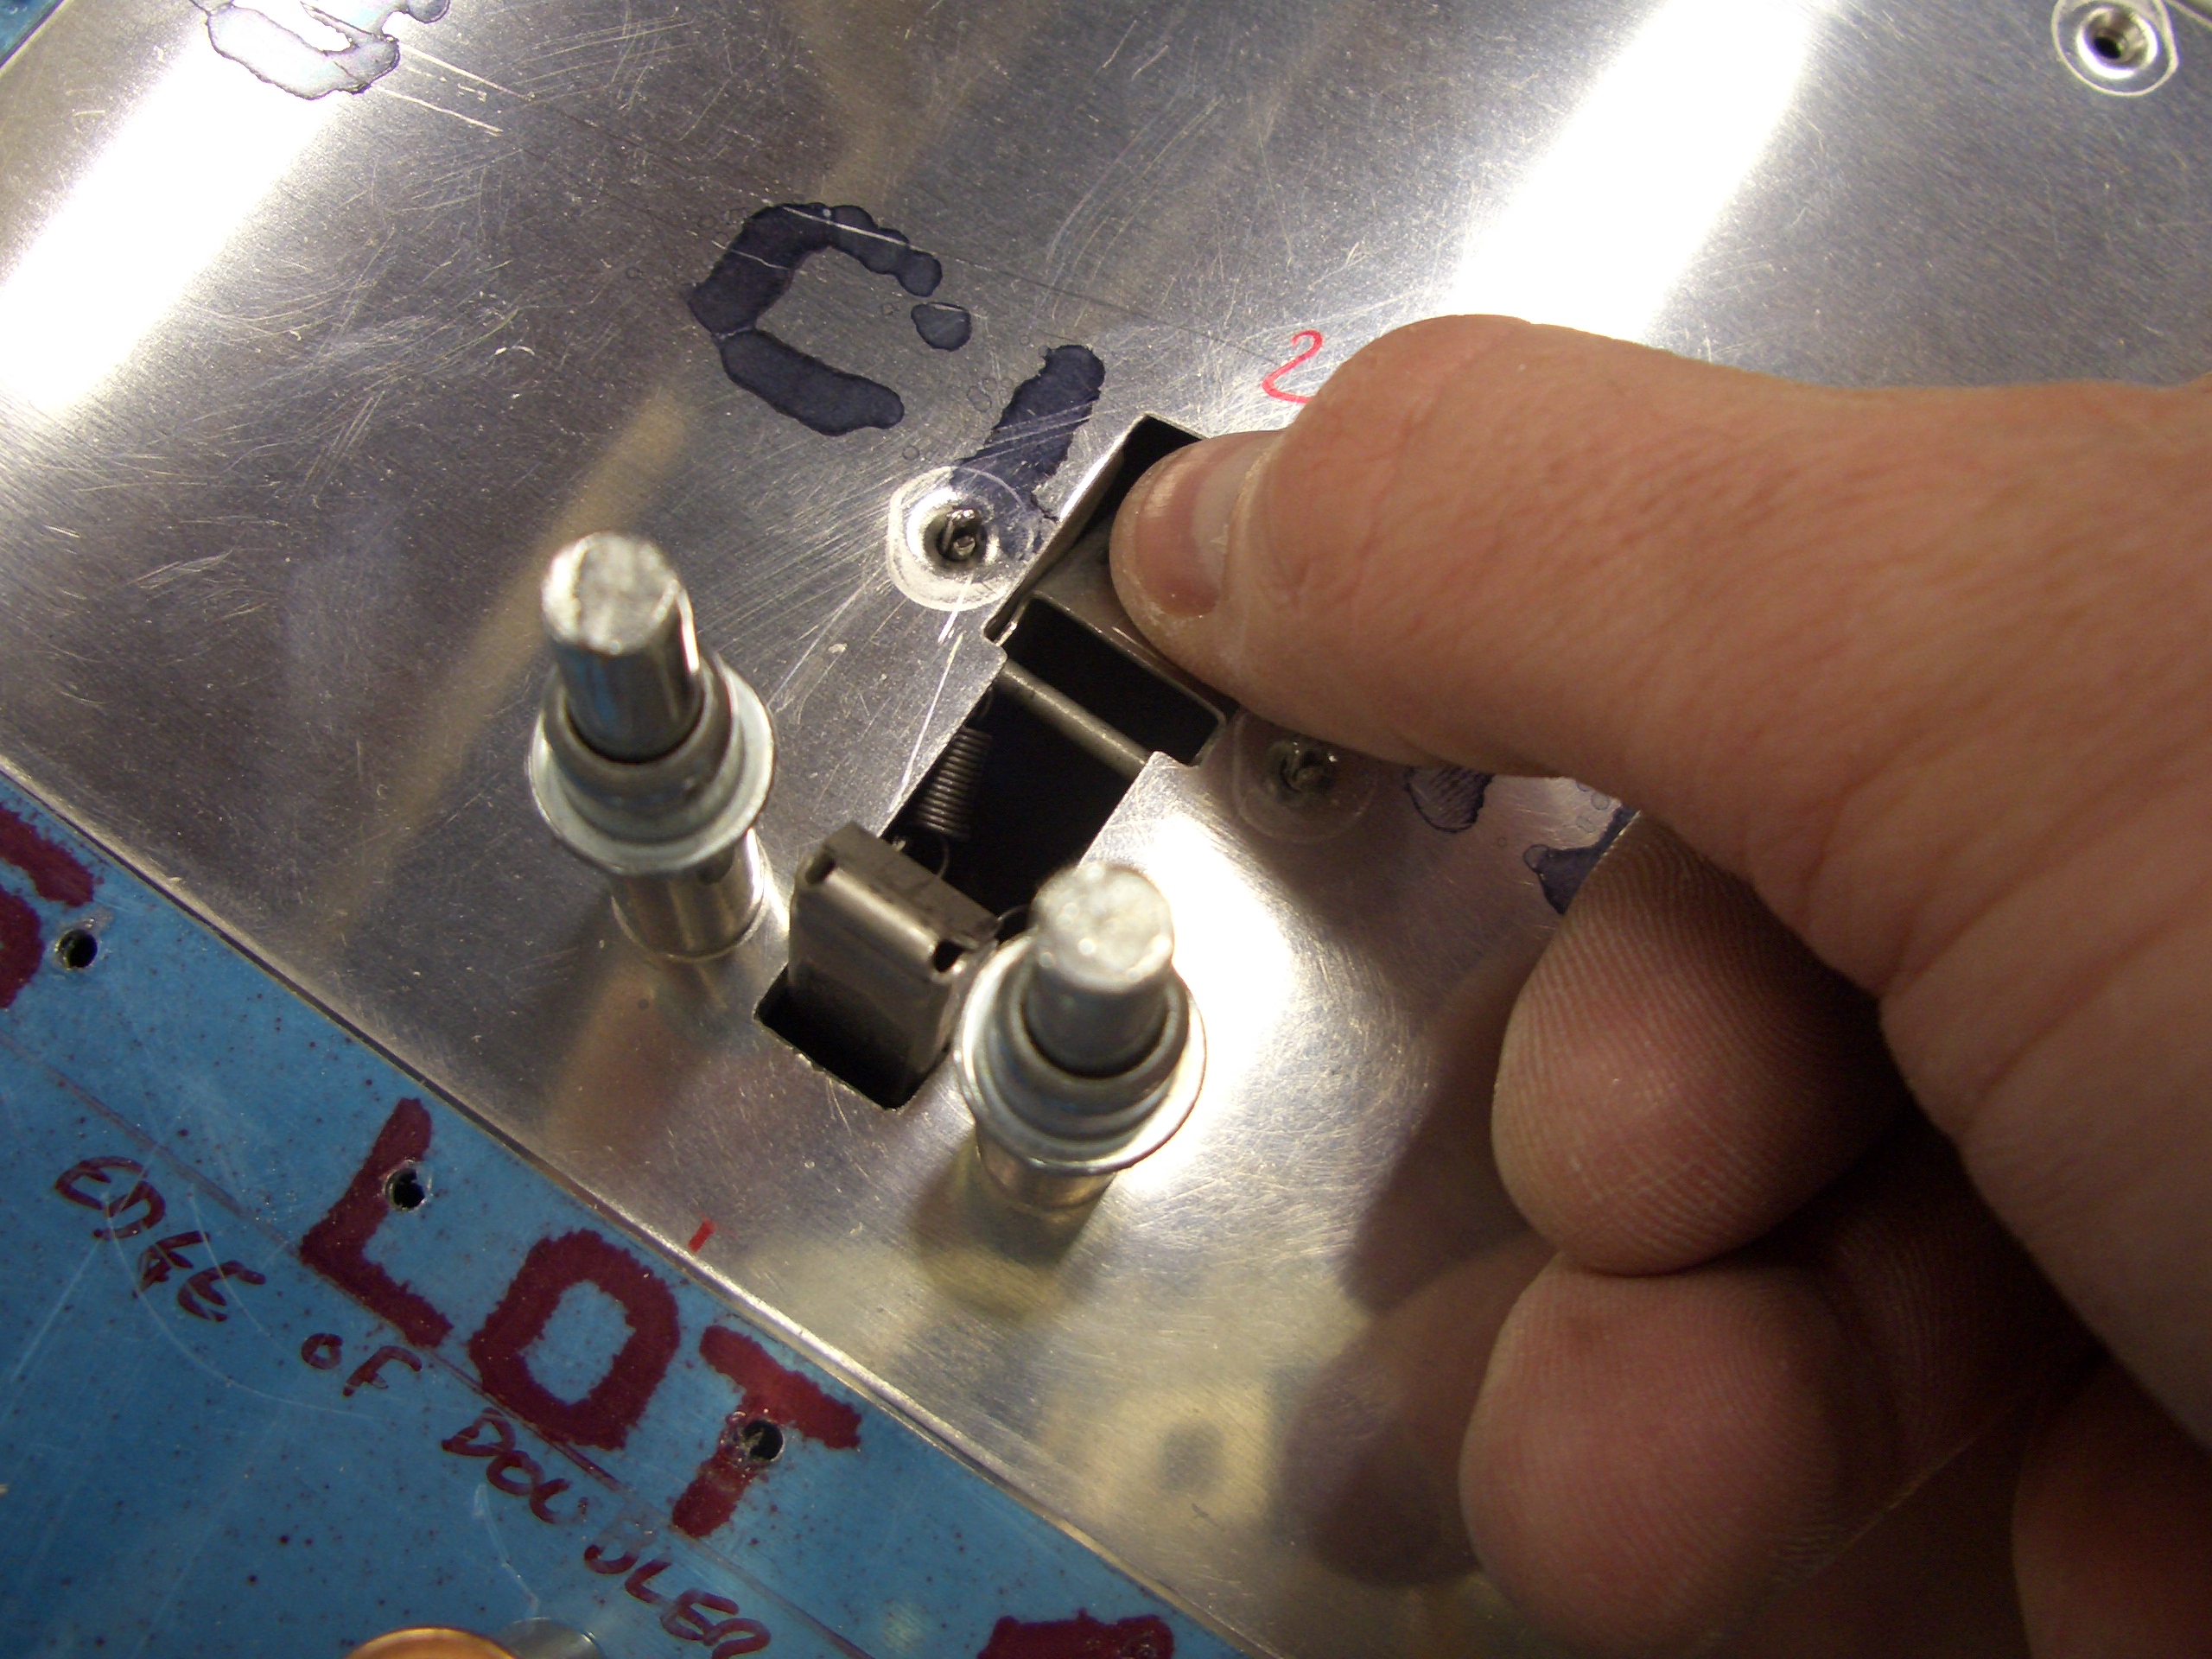
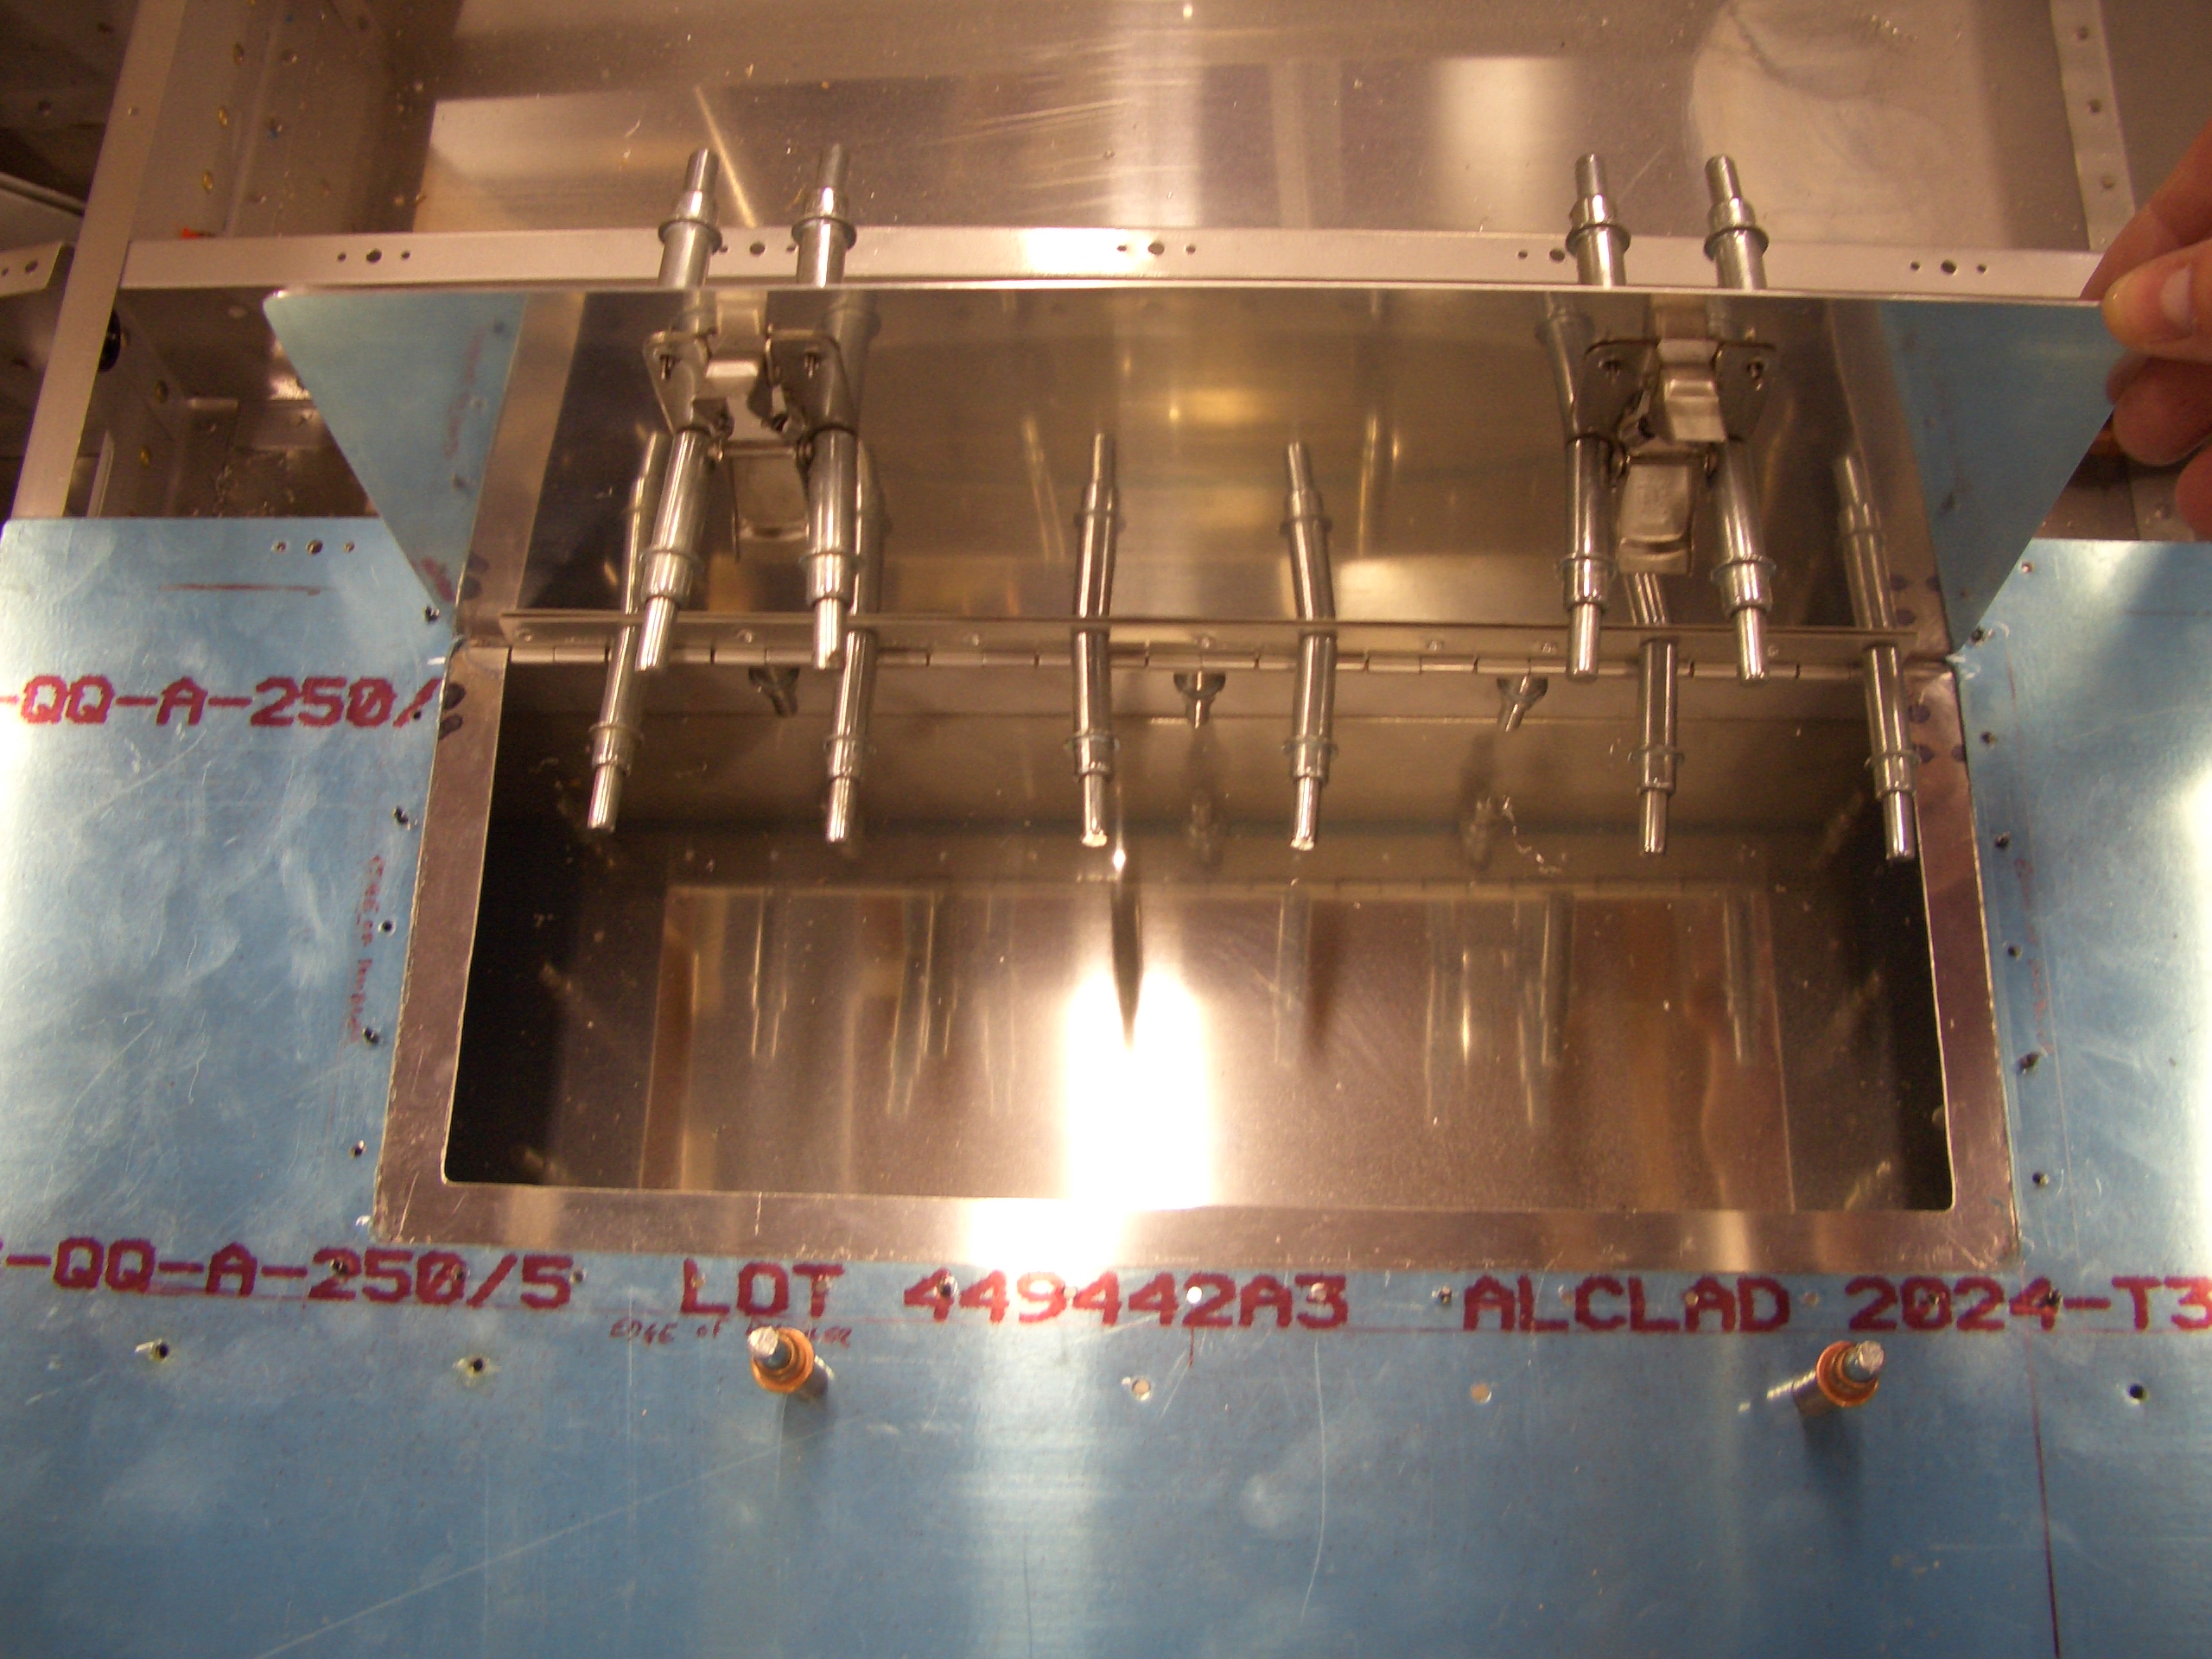
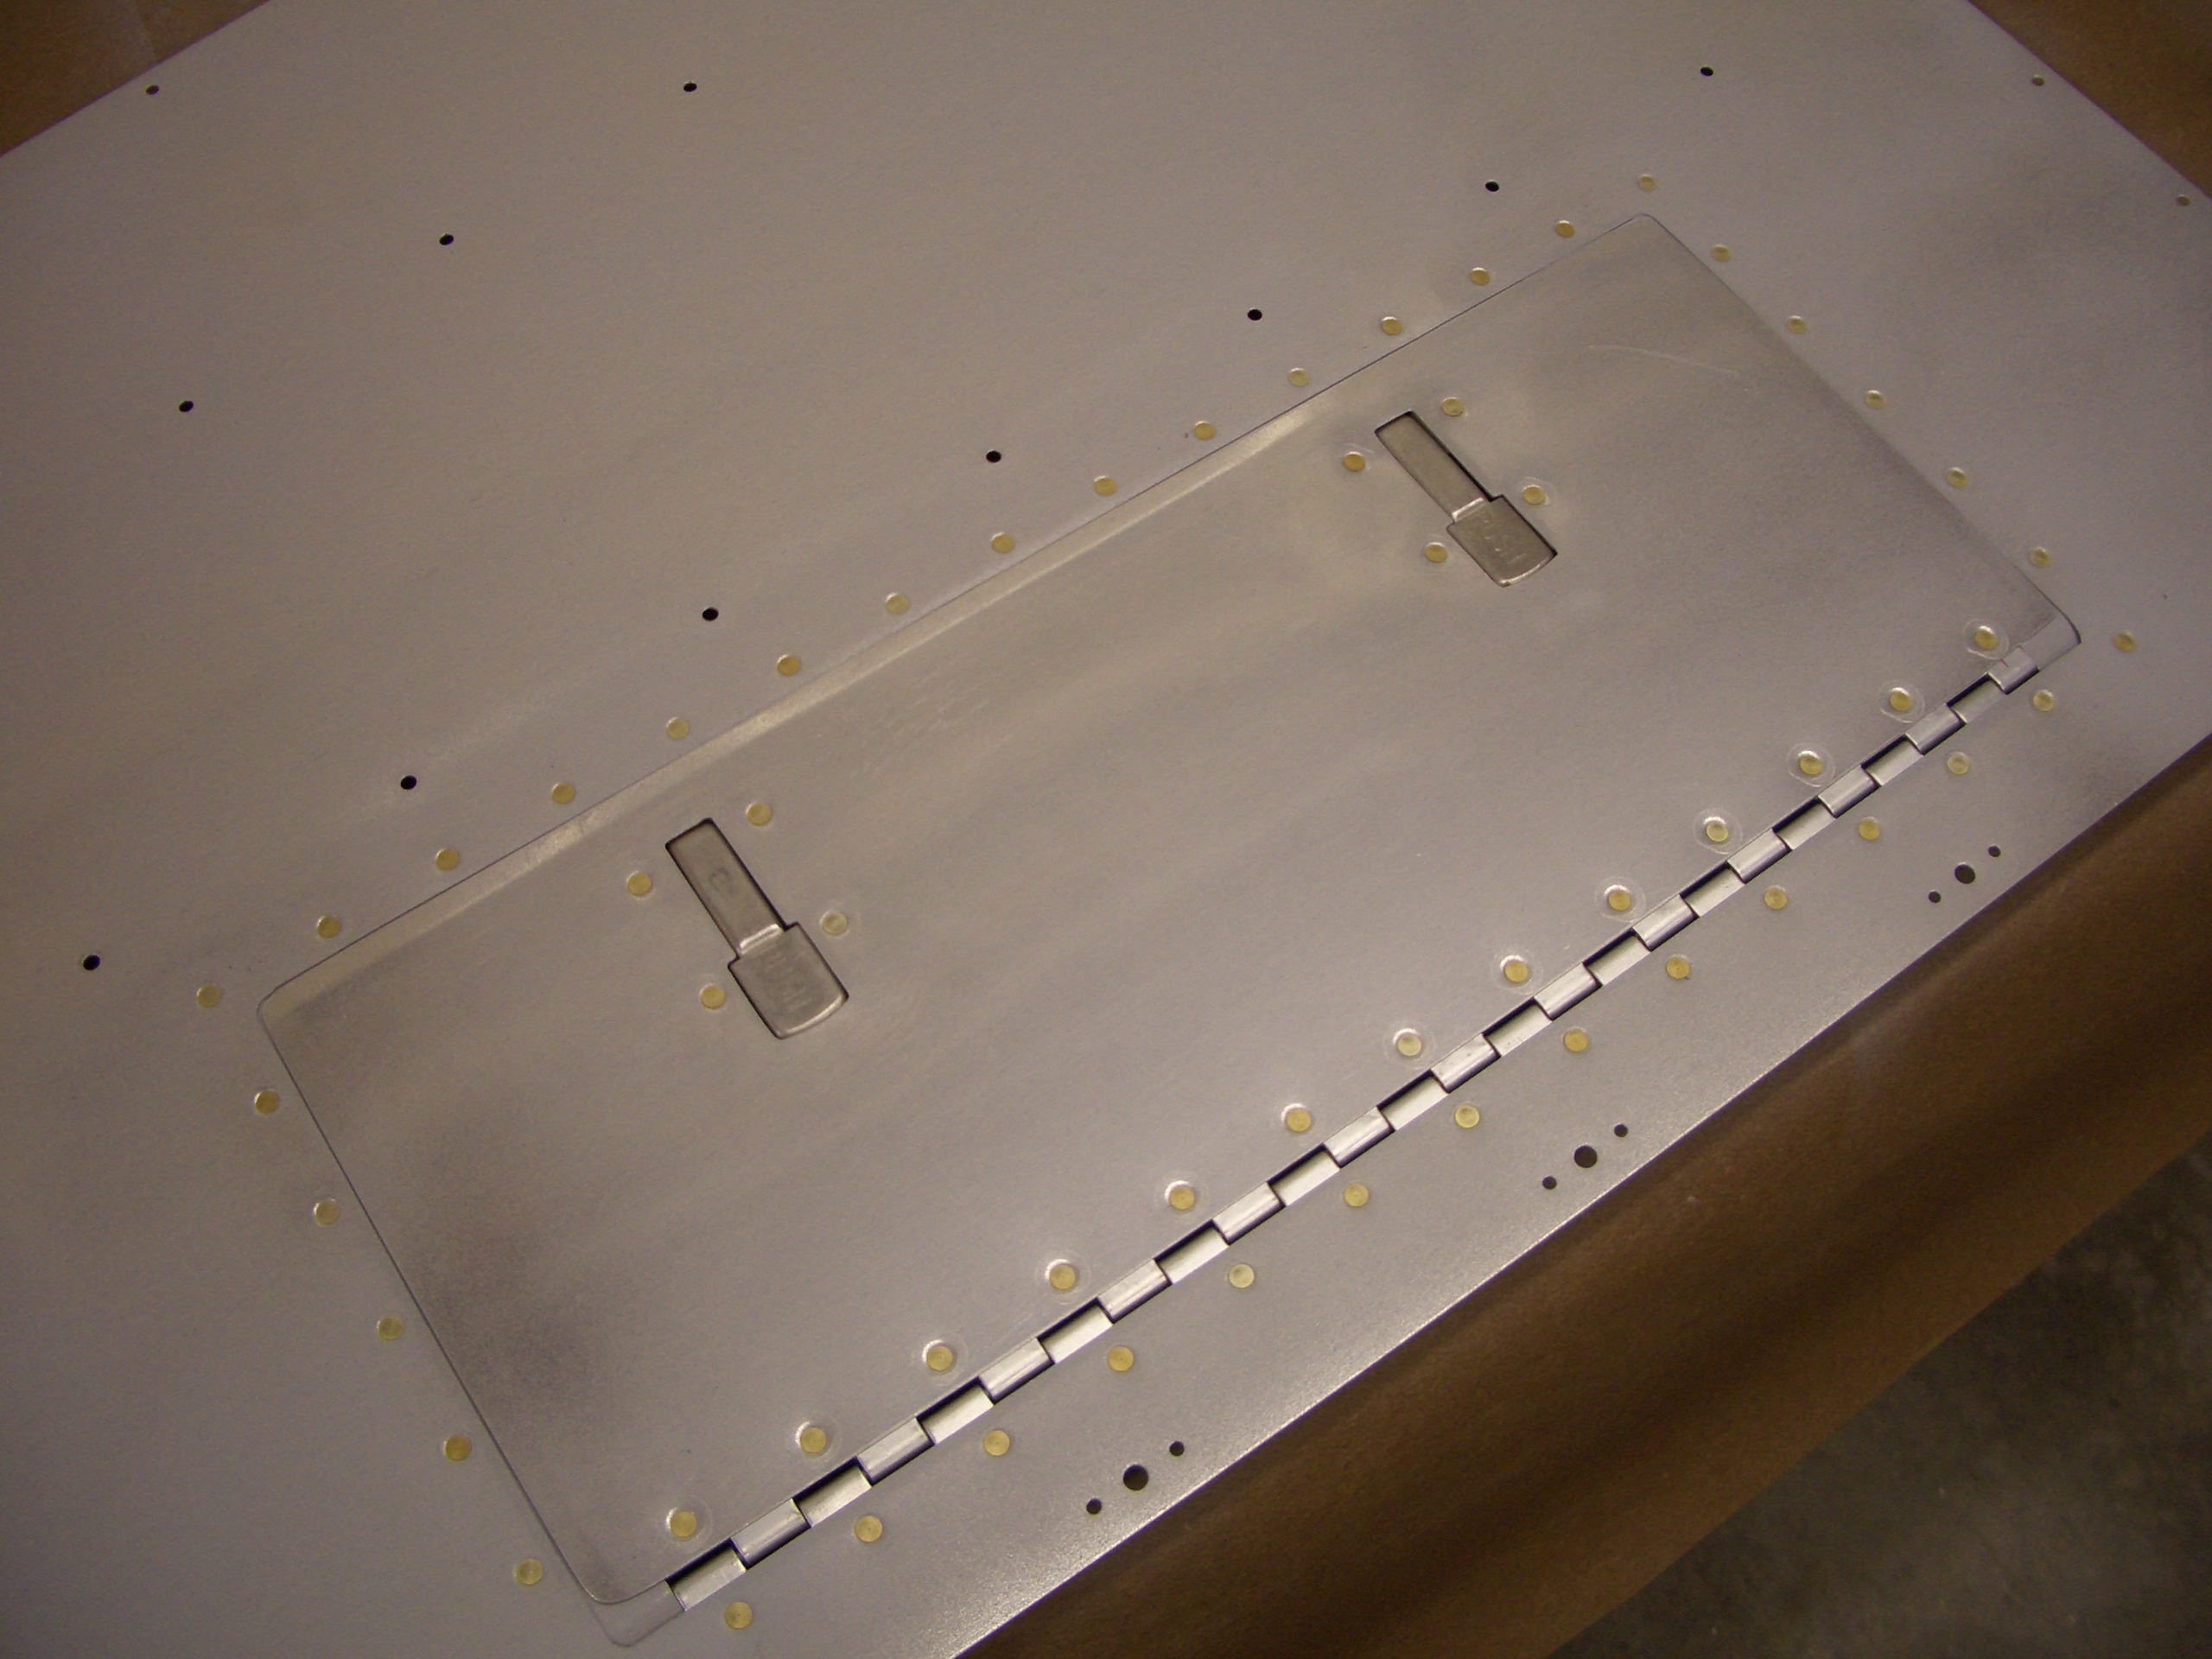
I then riveted the other part of the hinge and the hartwell latches to the hatch. Here is how it looks closed. The hatch closes firmly enough against the flange that it shouldn’t rattle in flight.

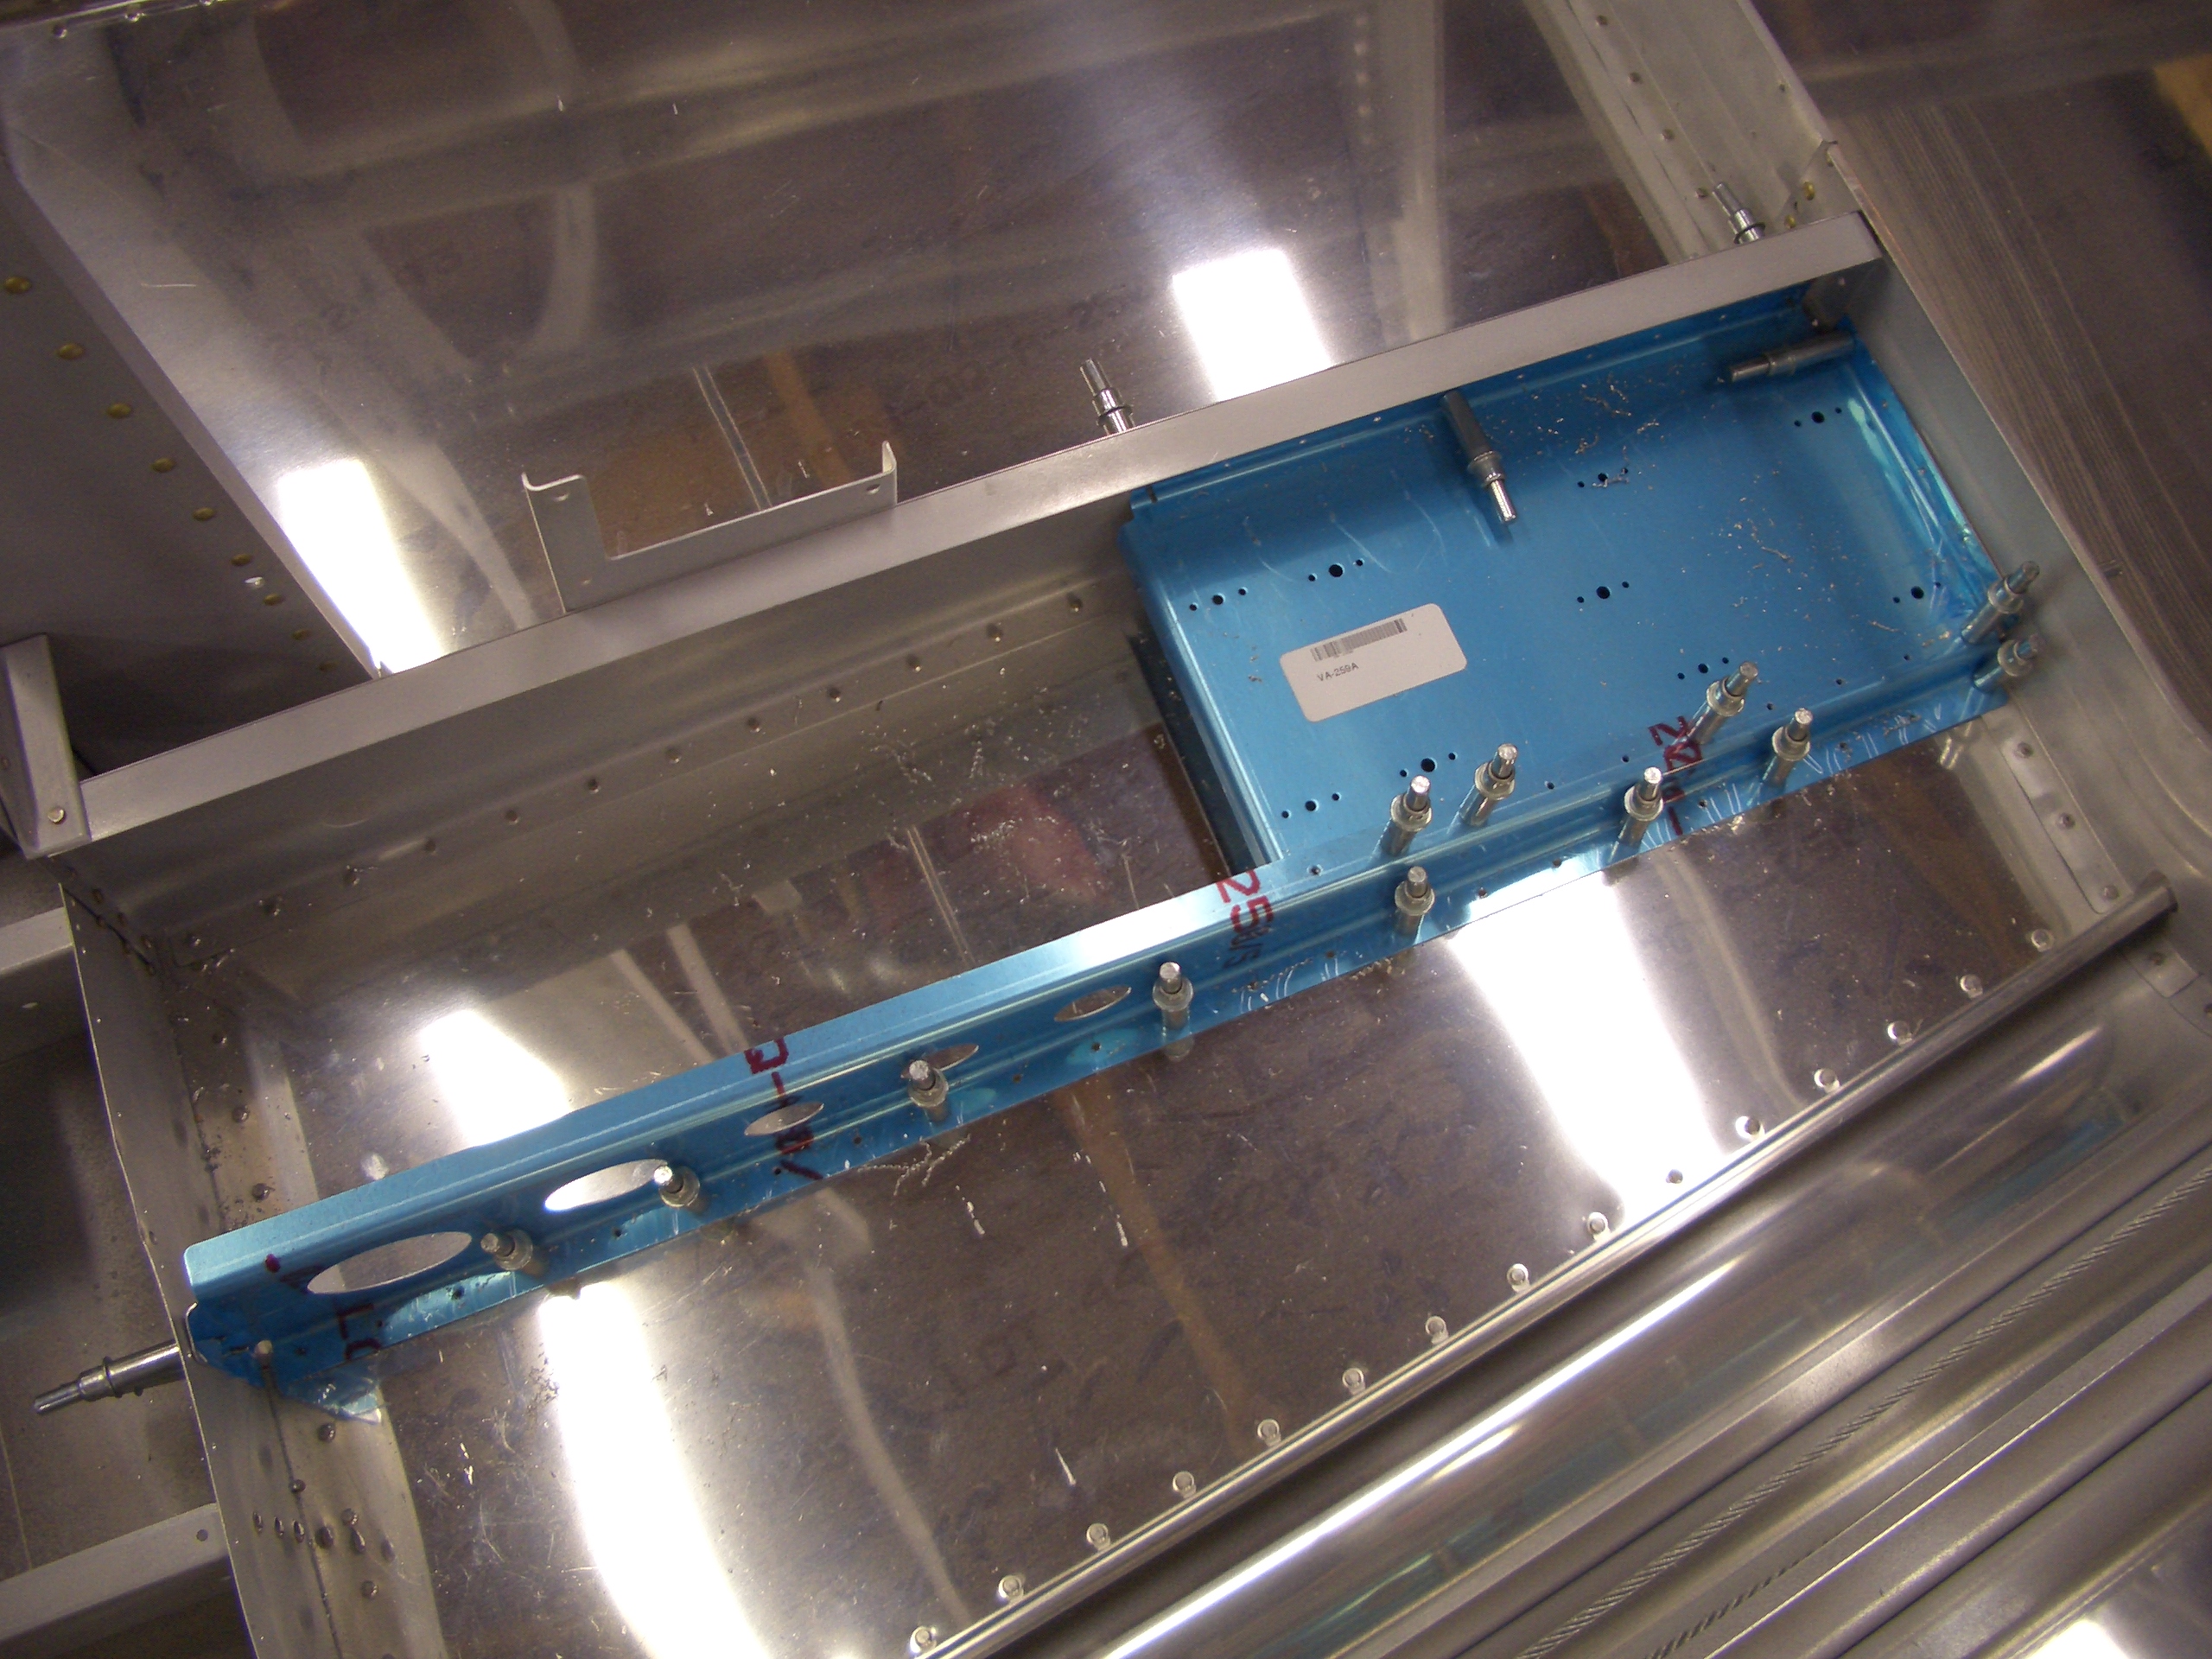
And it opens just enough past vertical that it will stay on its own. I’m really happy with how this turned out. This will come in very handy.