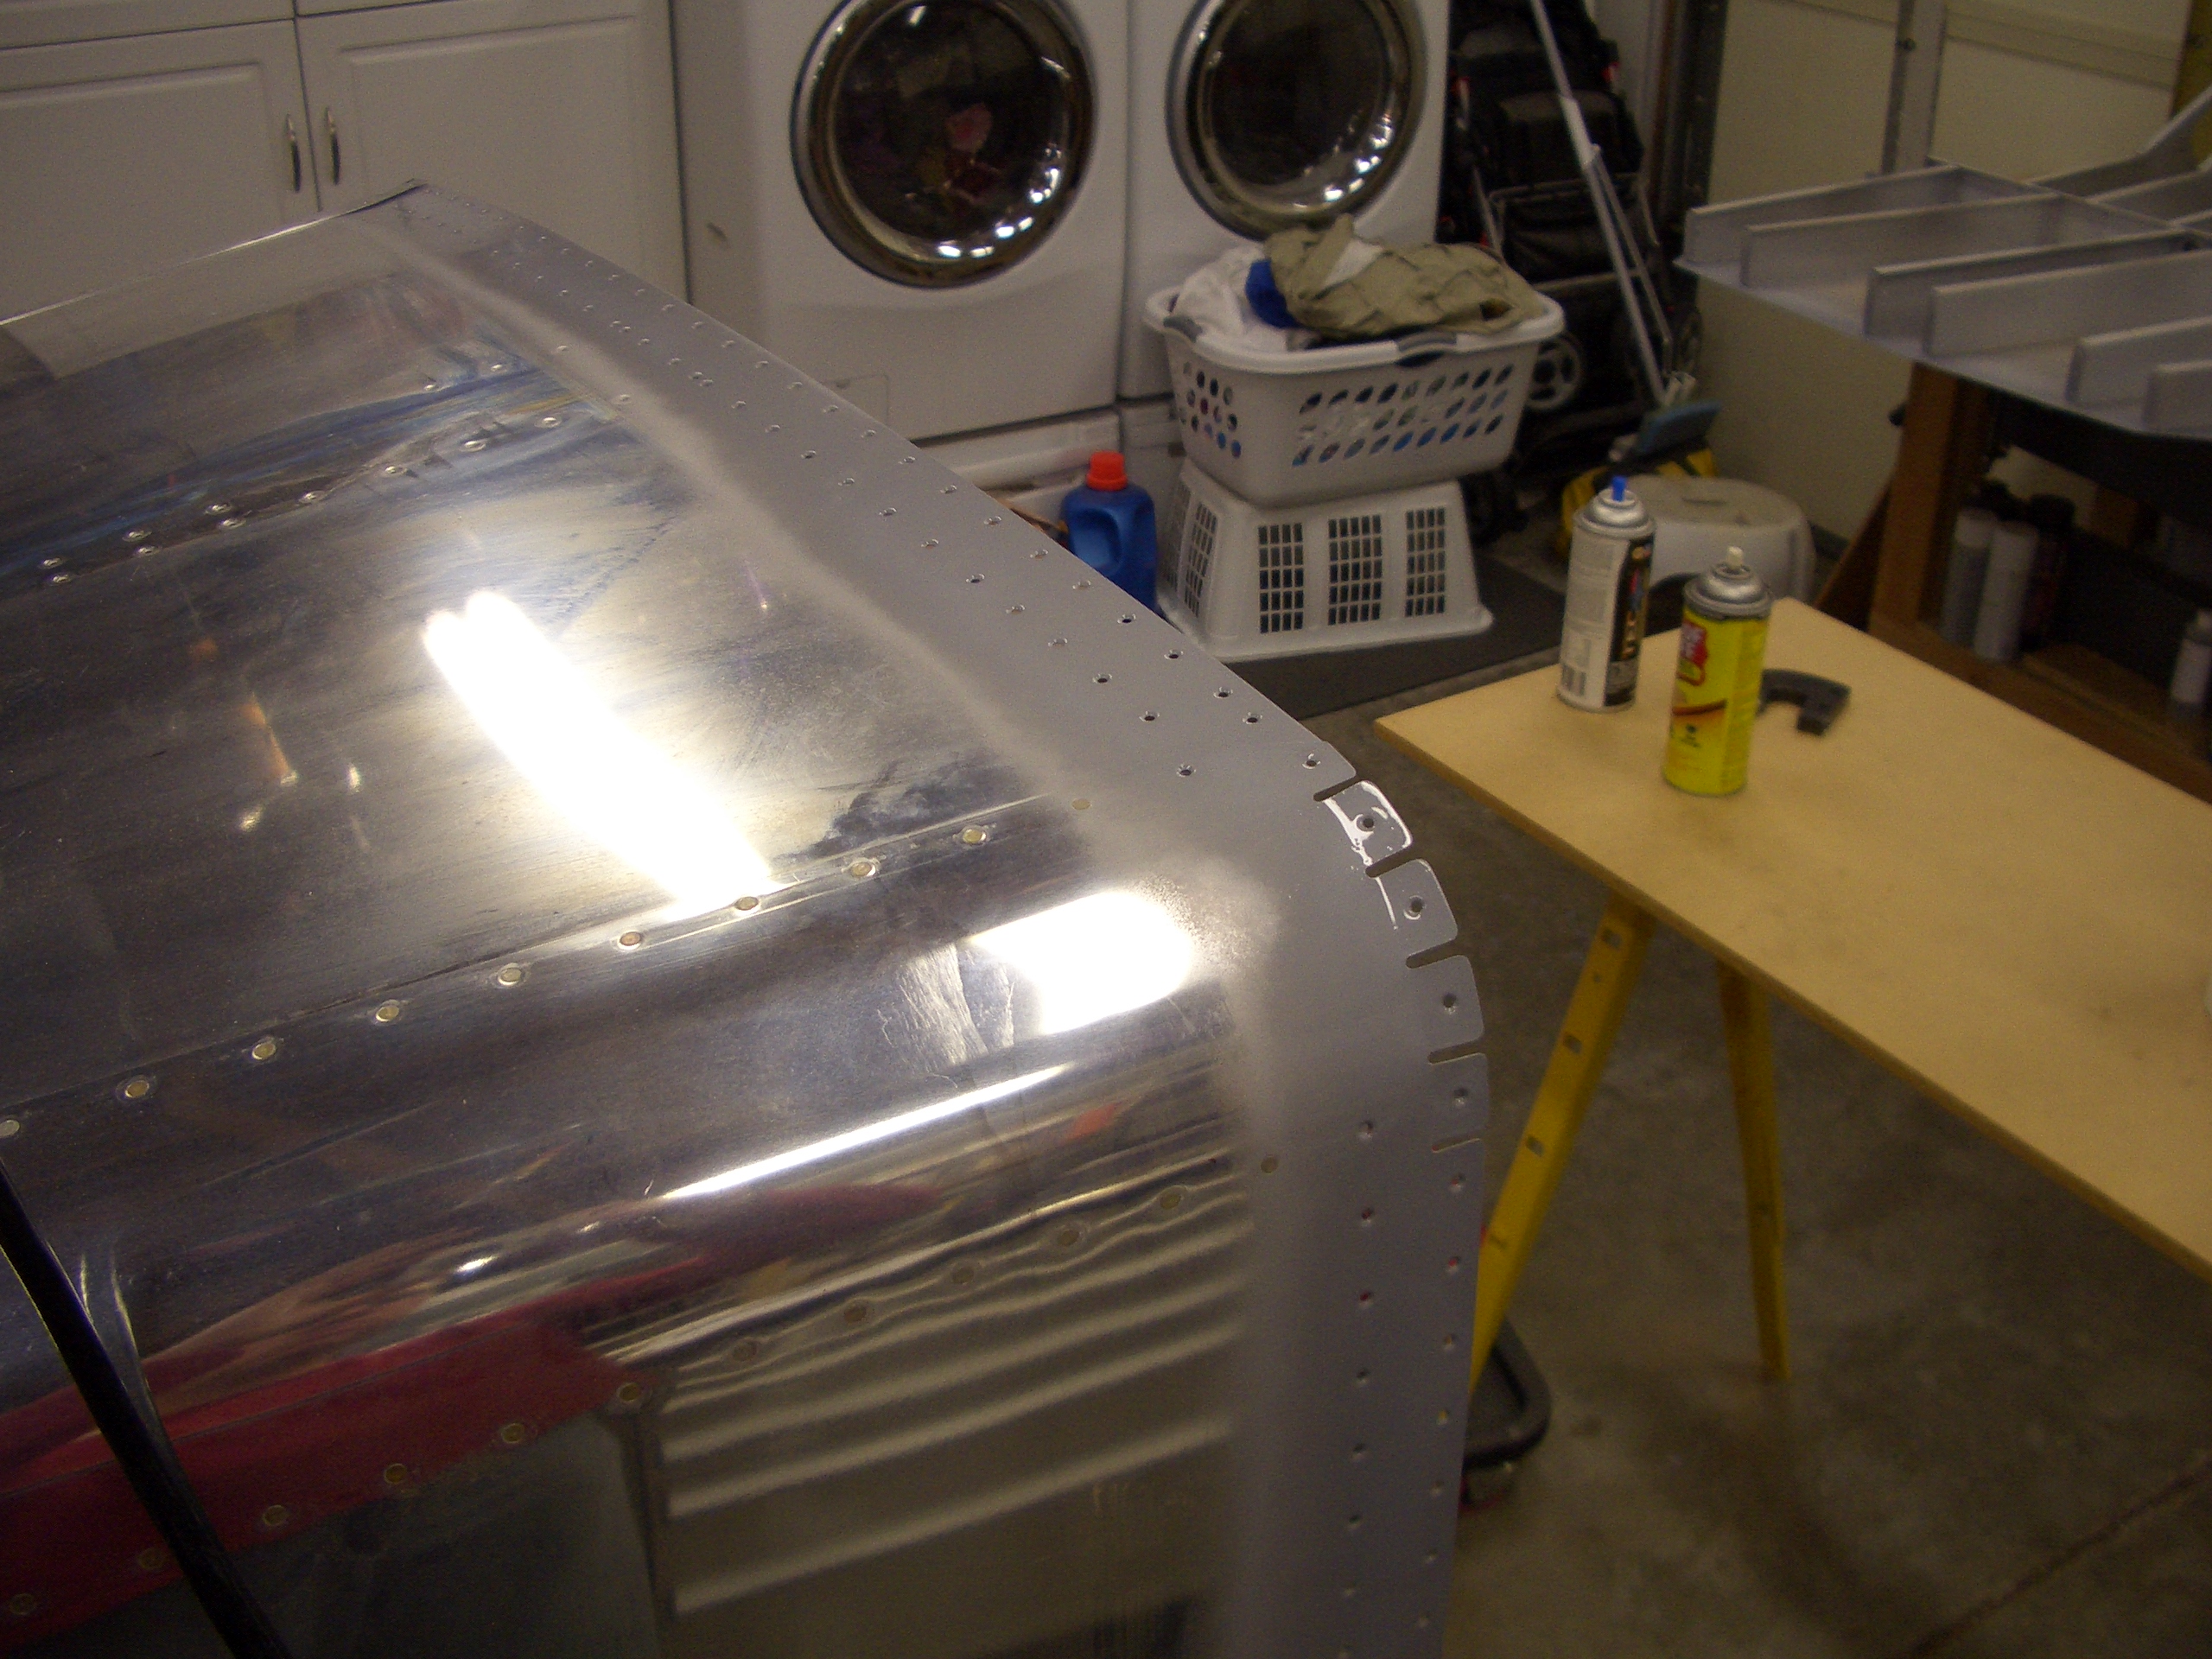
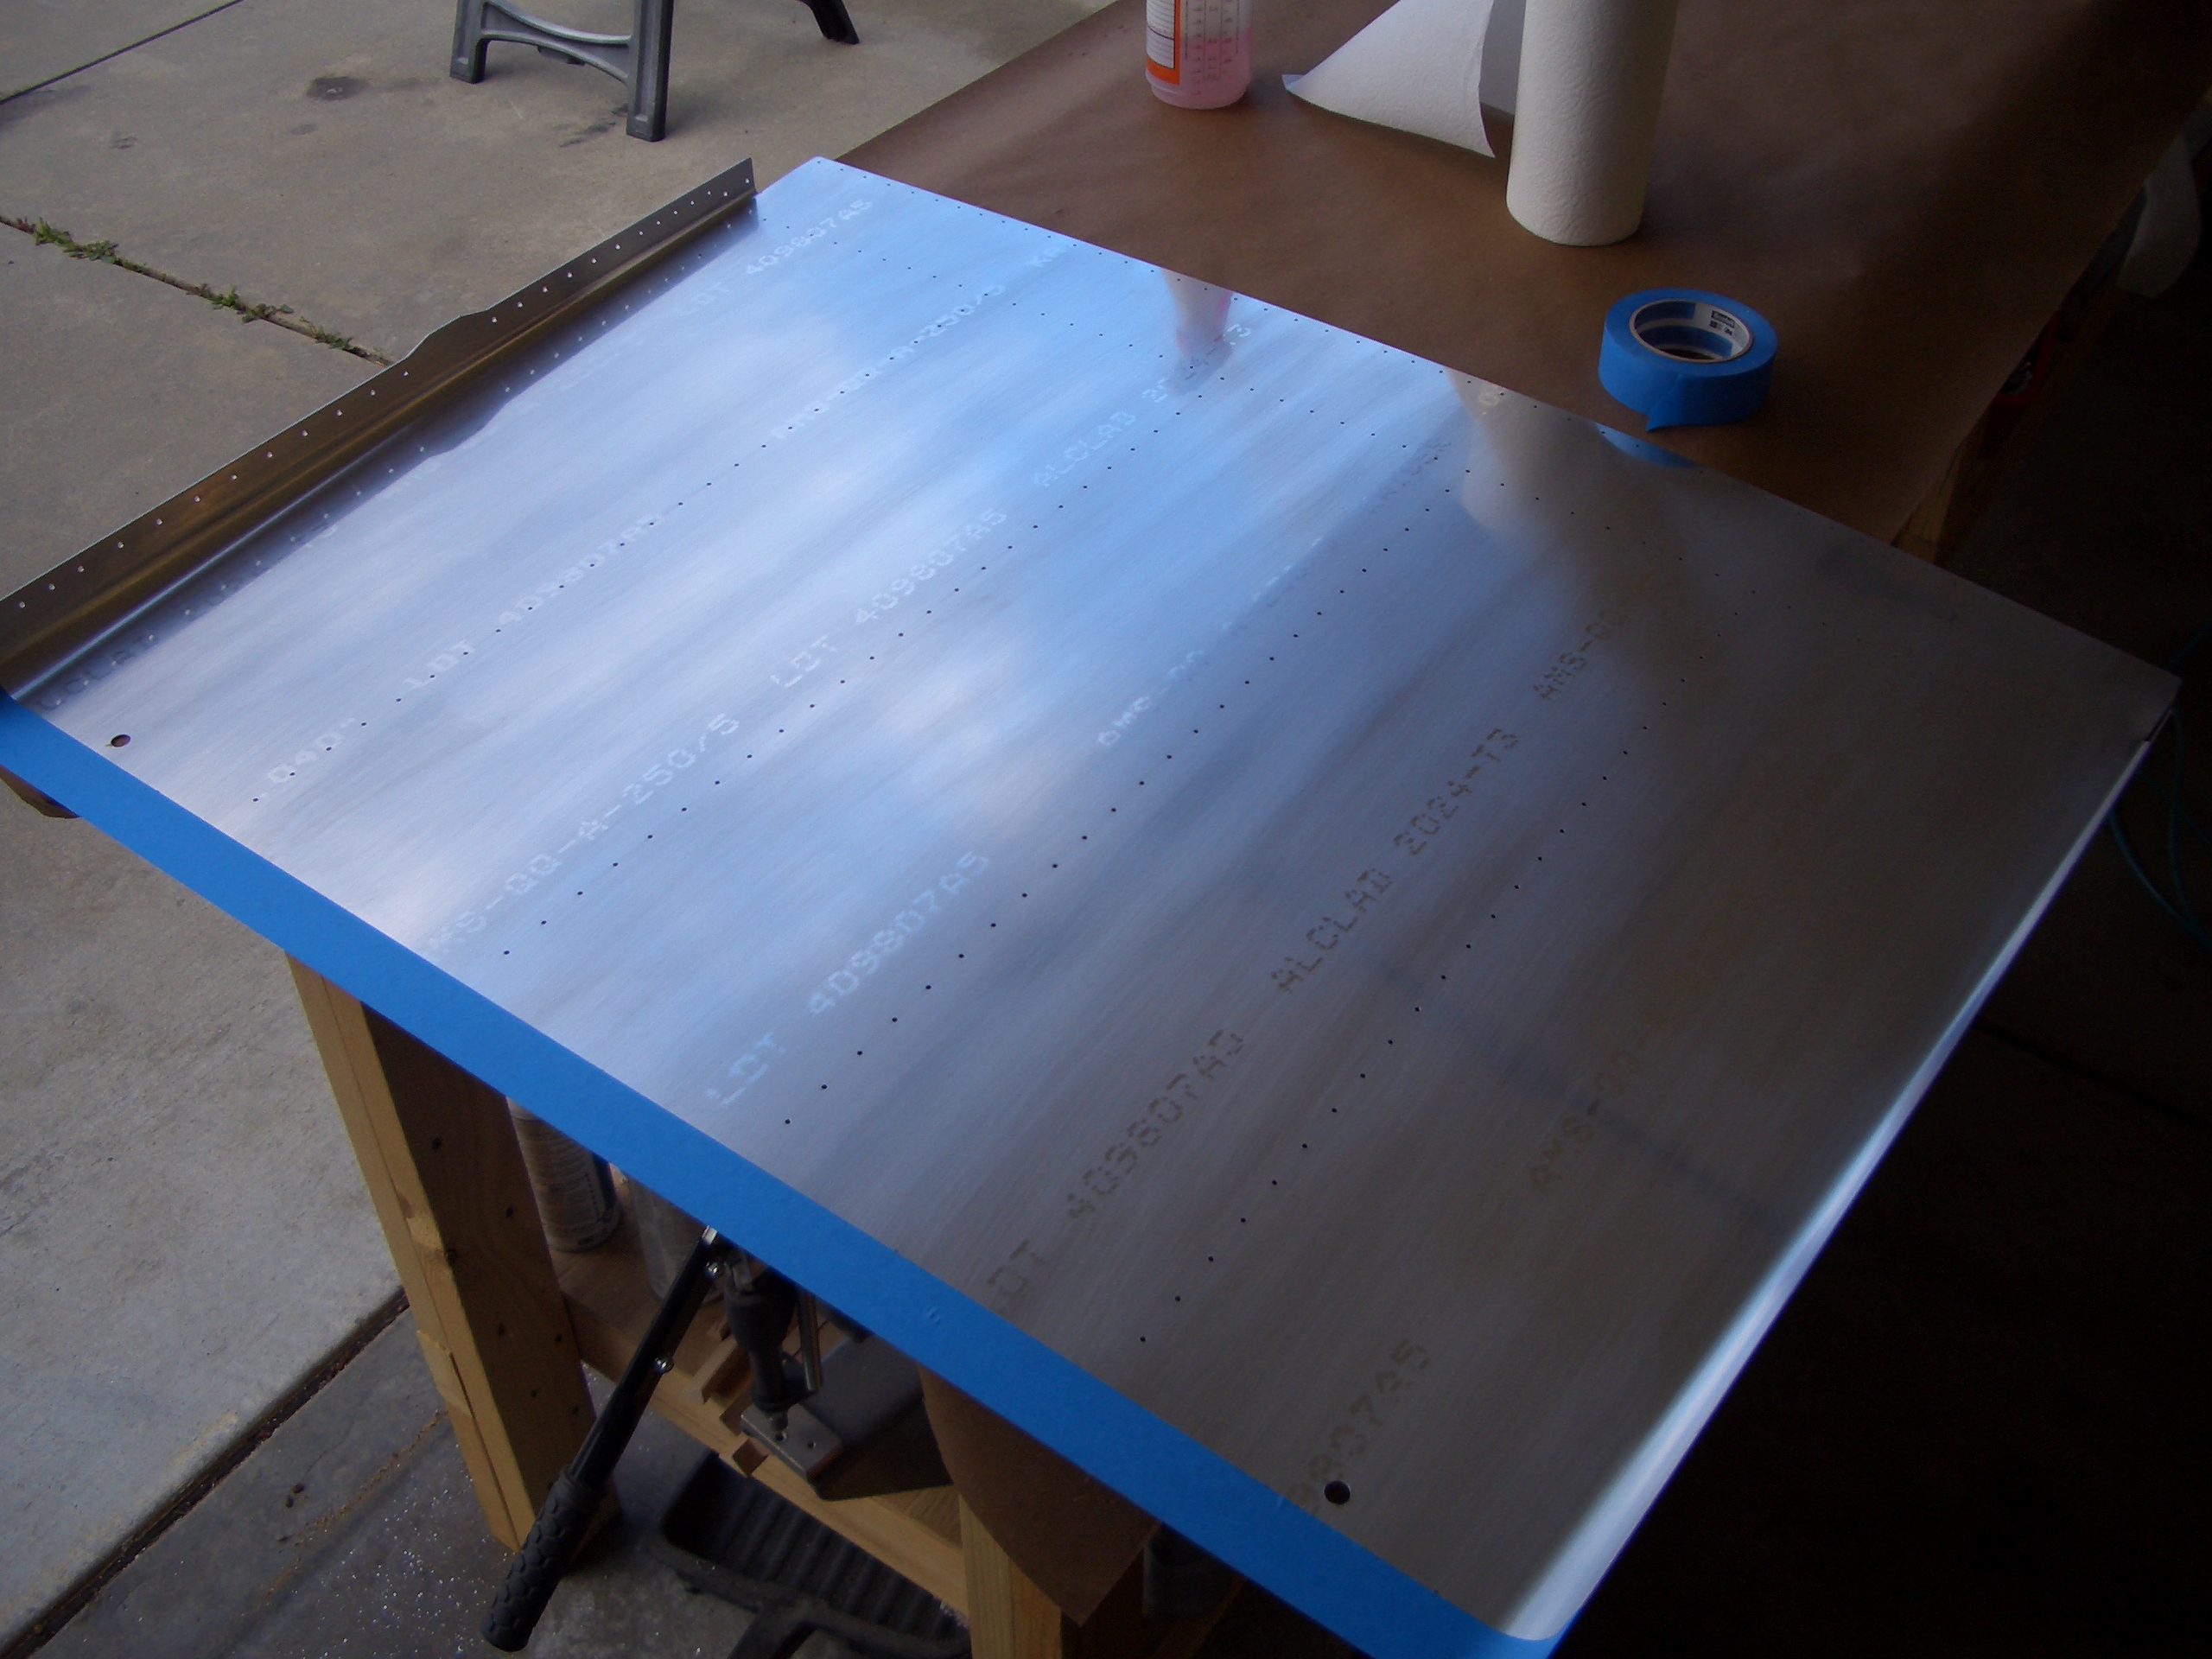
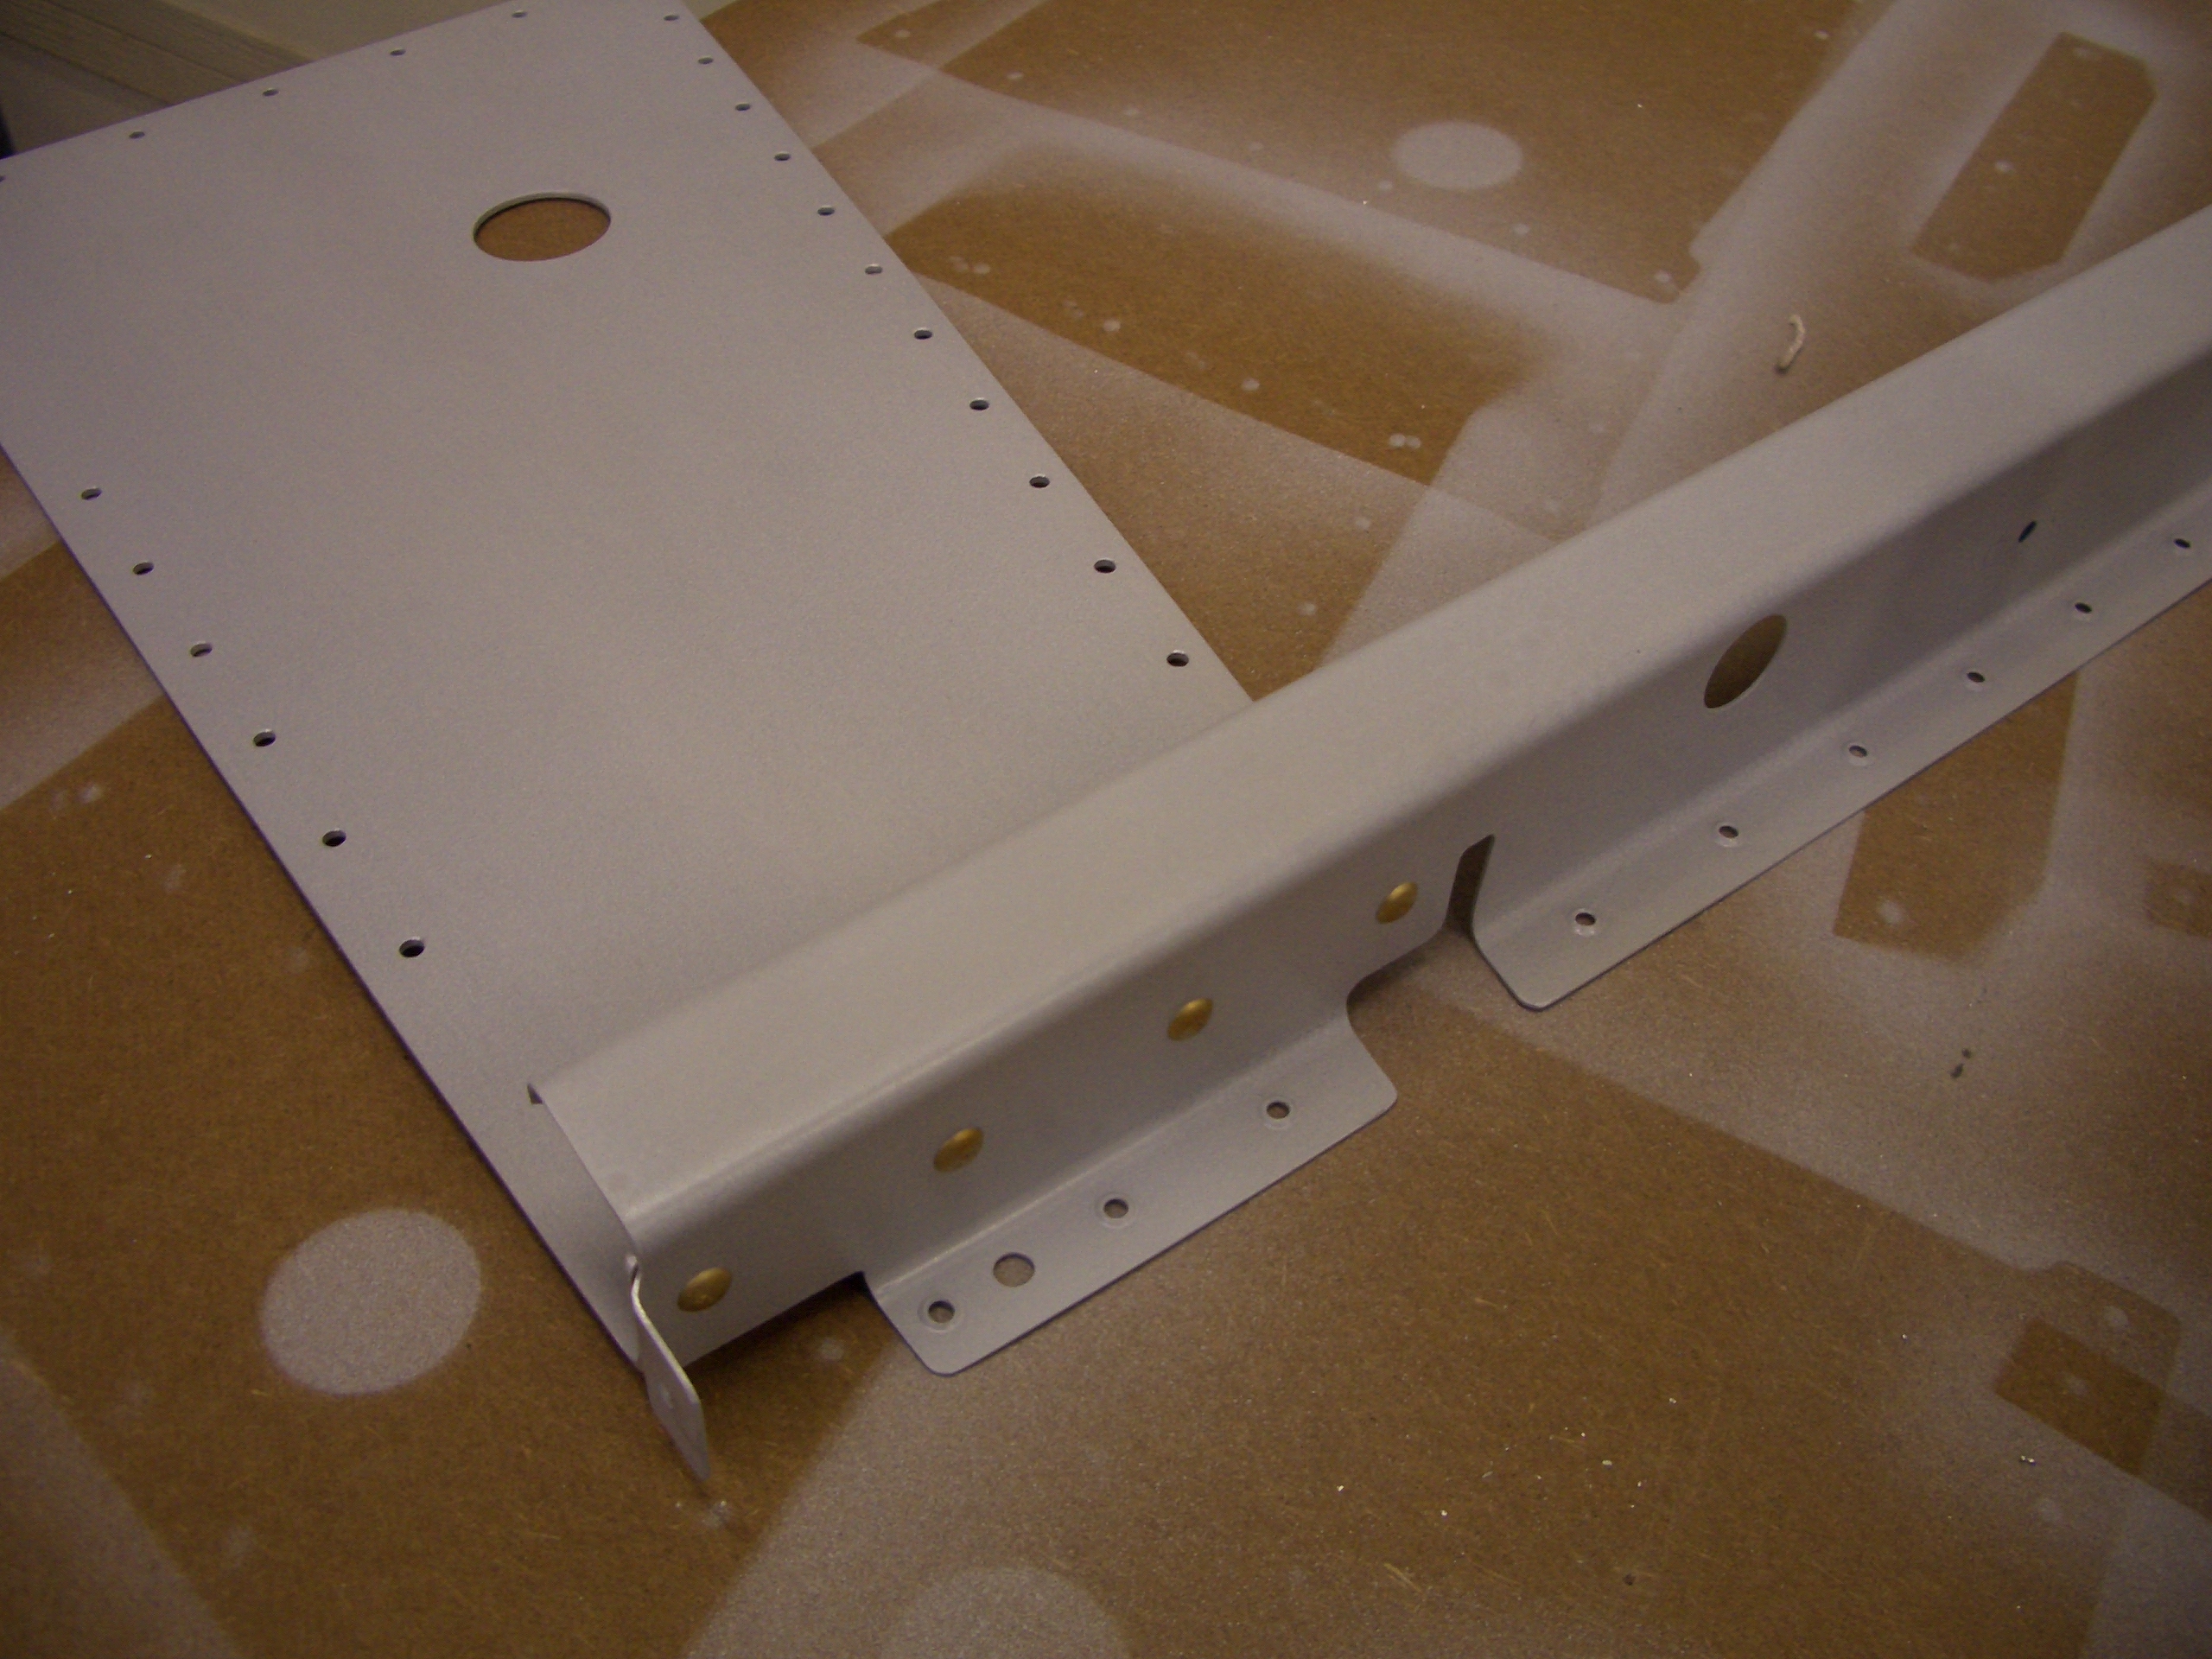
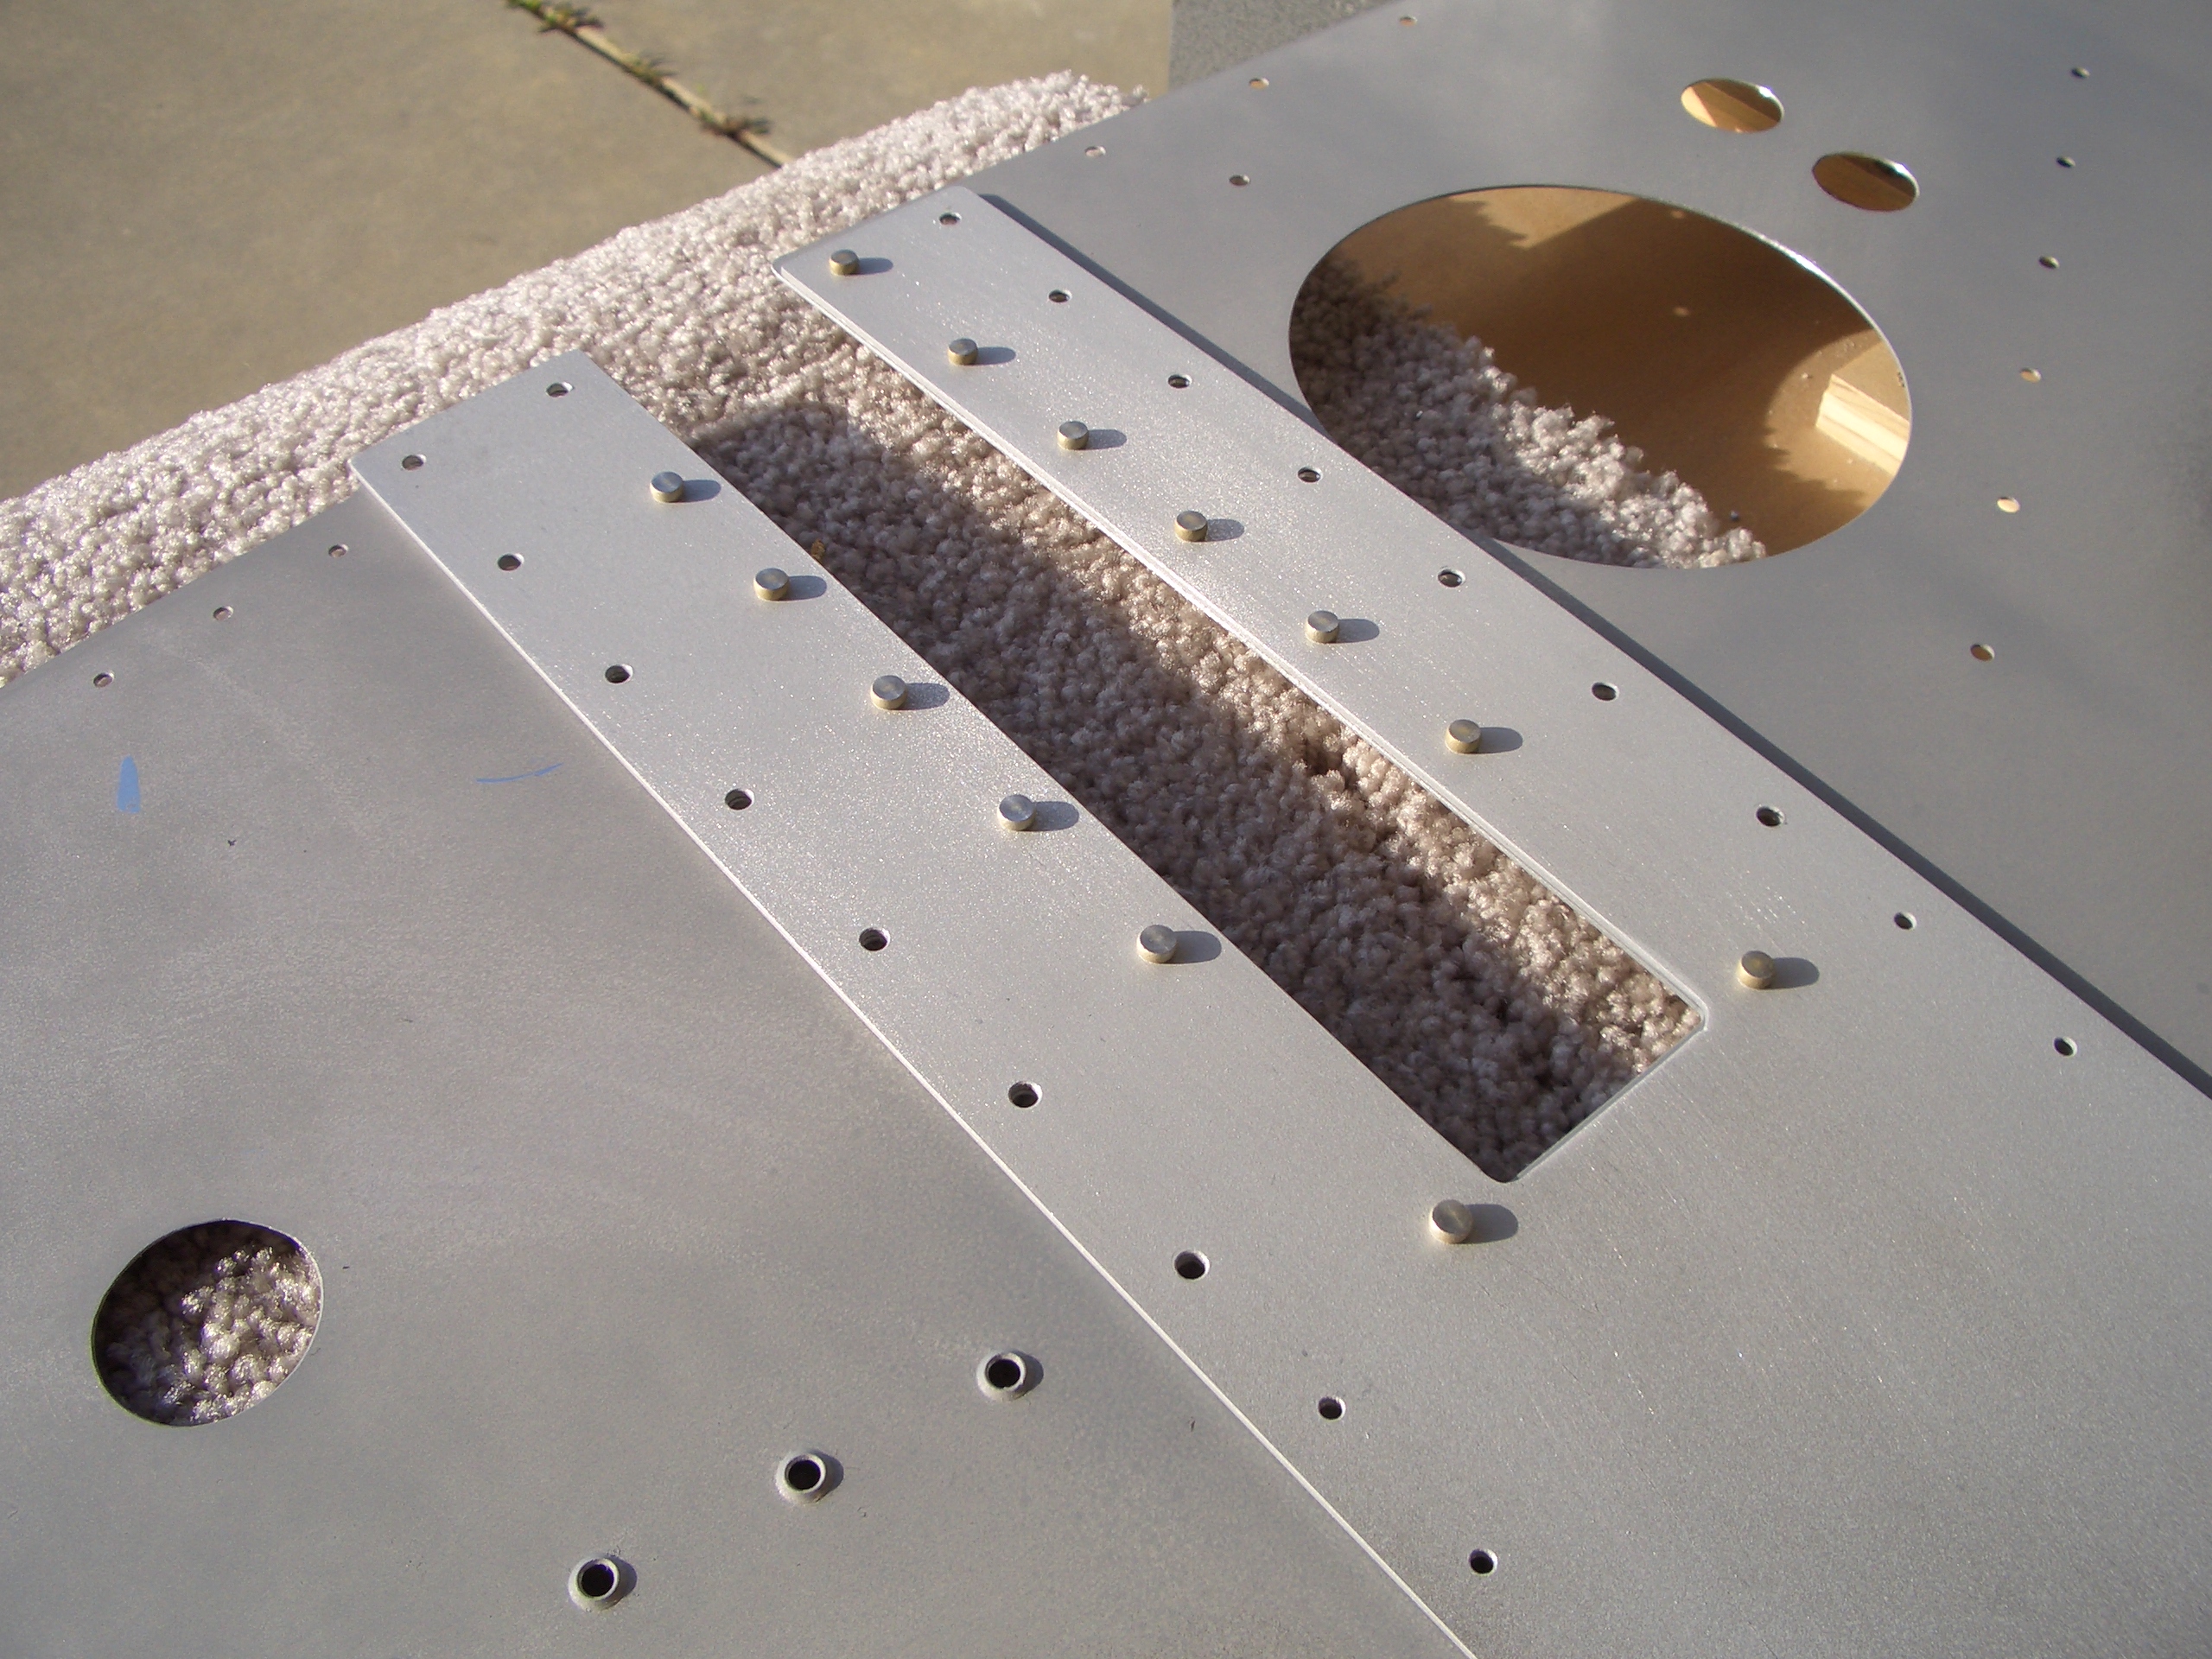
I finished deburring the forward bottom skin and dimpled all of the required holes. Be sure and skip the two #30 holes on the aft end of the sides since those are riveted with AN470 rivets.

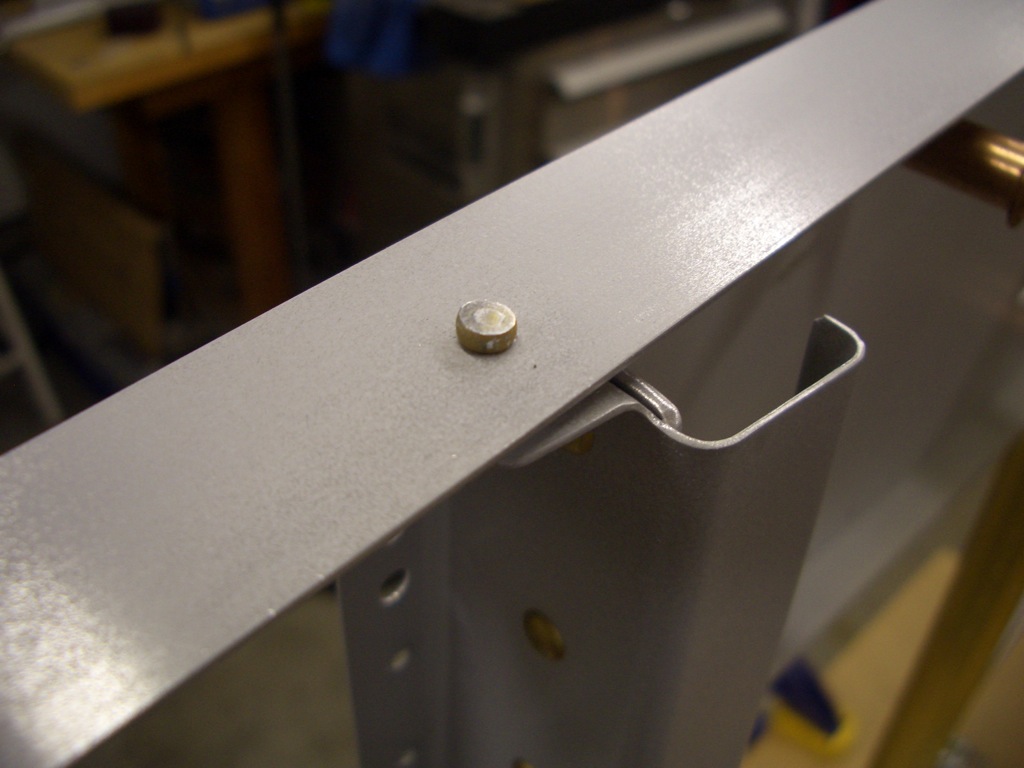
Since I’m building a tail dragger, there are two holes that need to just be filled with AN426AD3-3 rivets. These are used as the pilot holes for the brake lines on the A models.
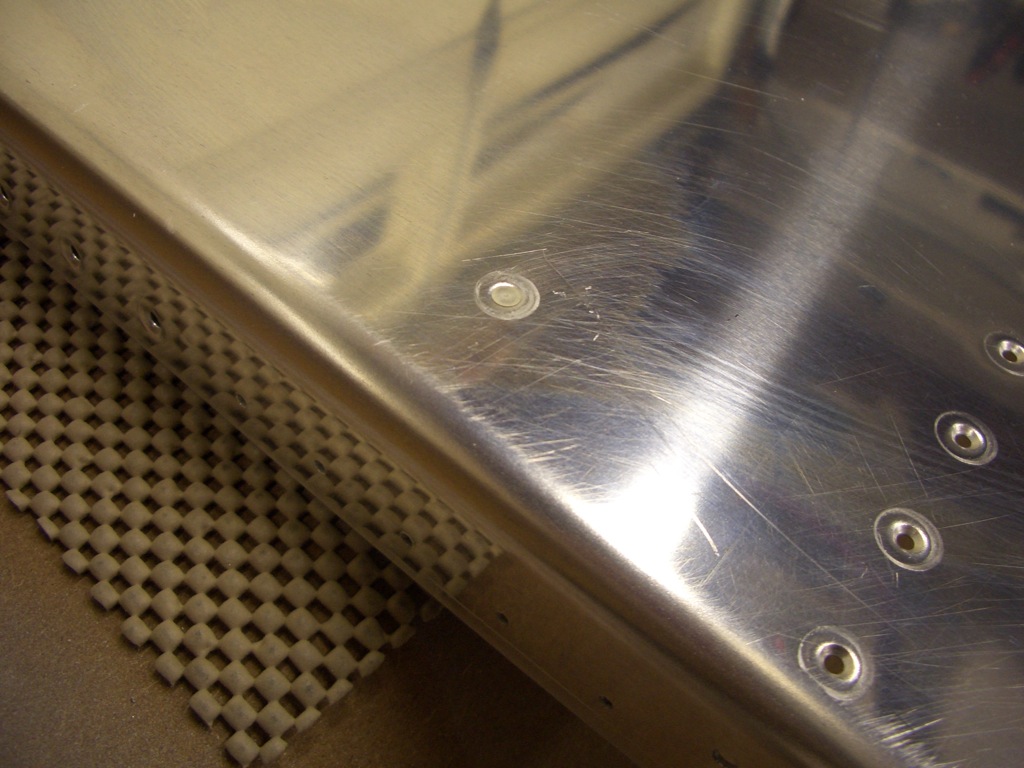
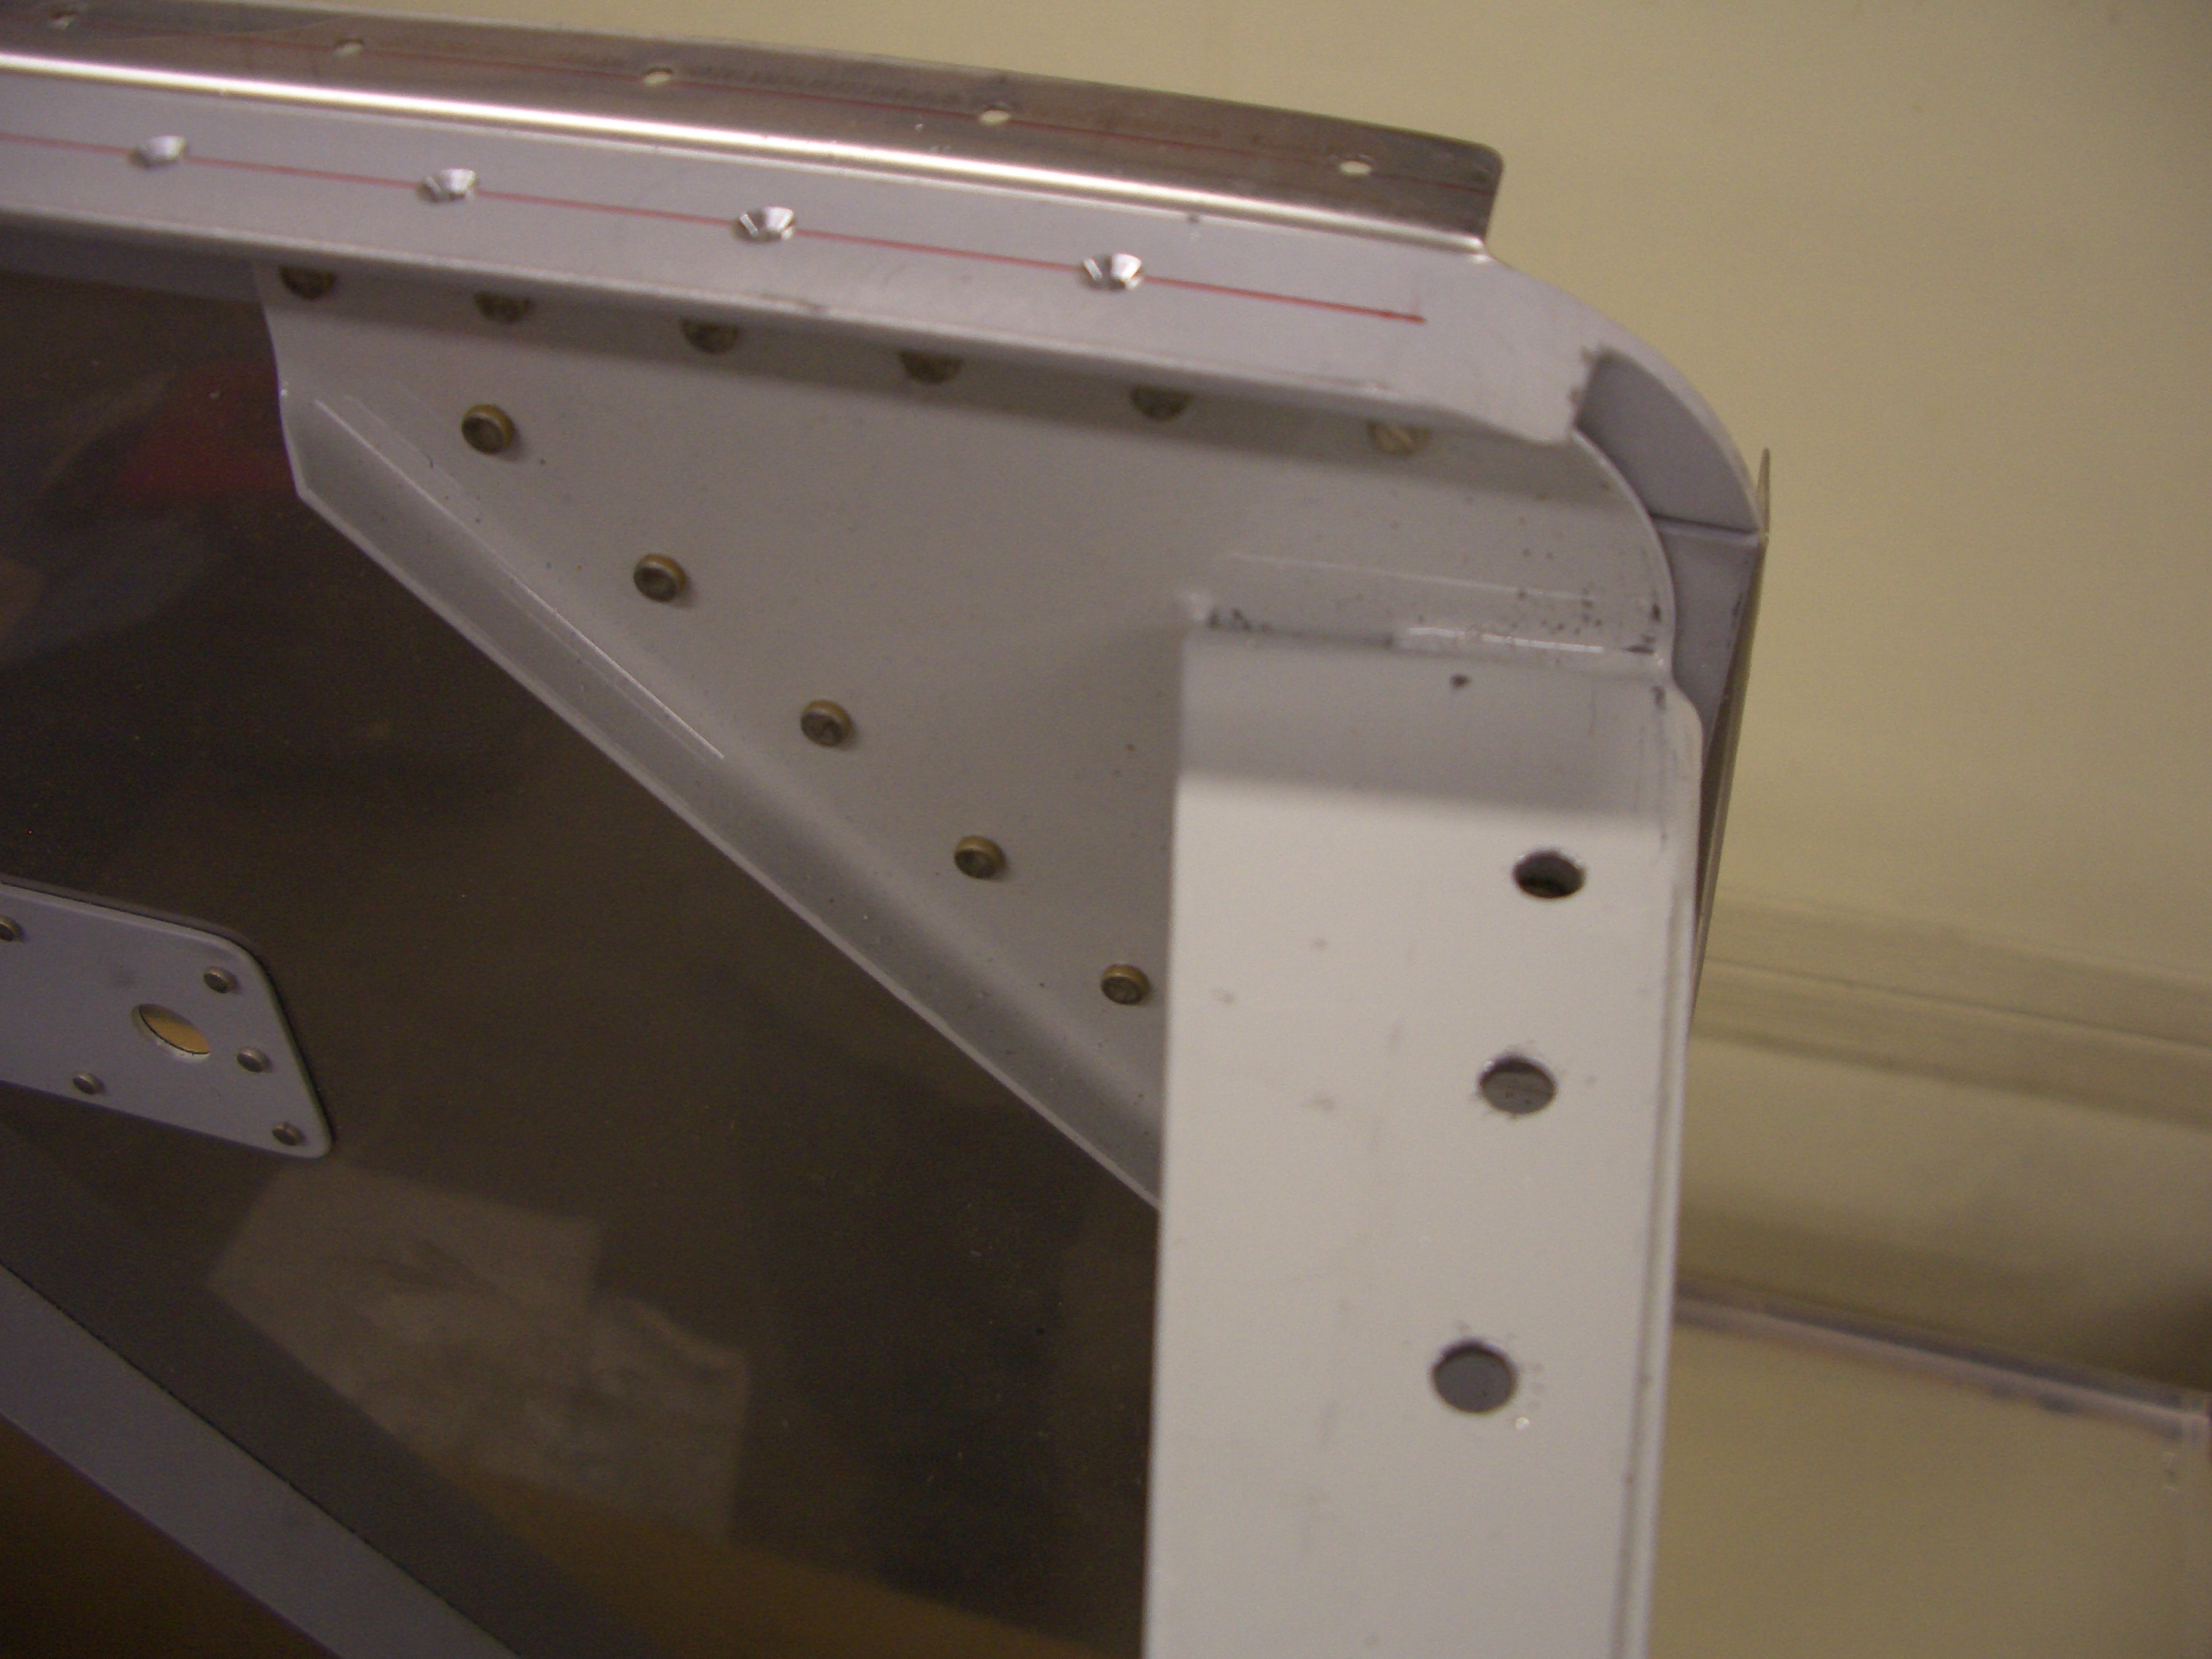
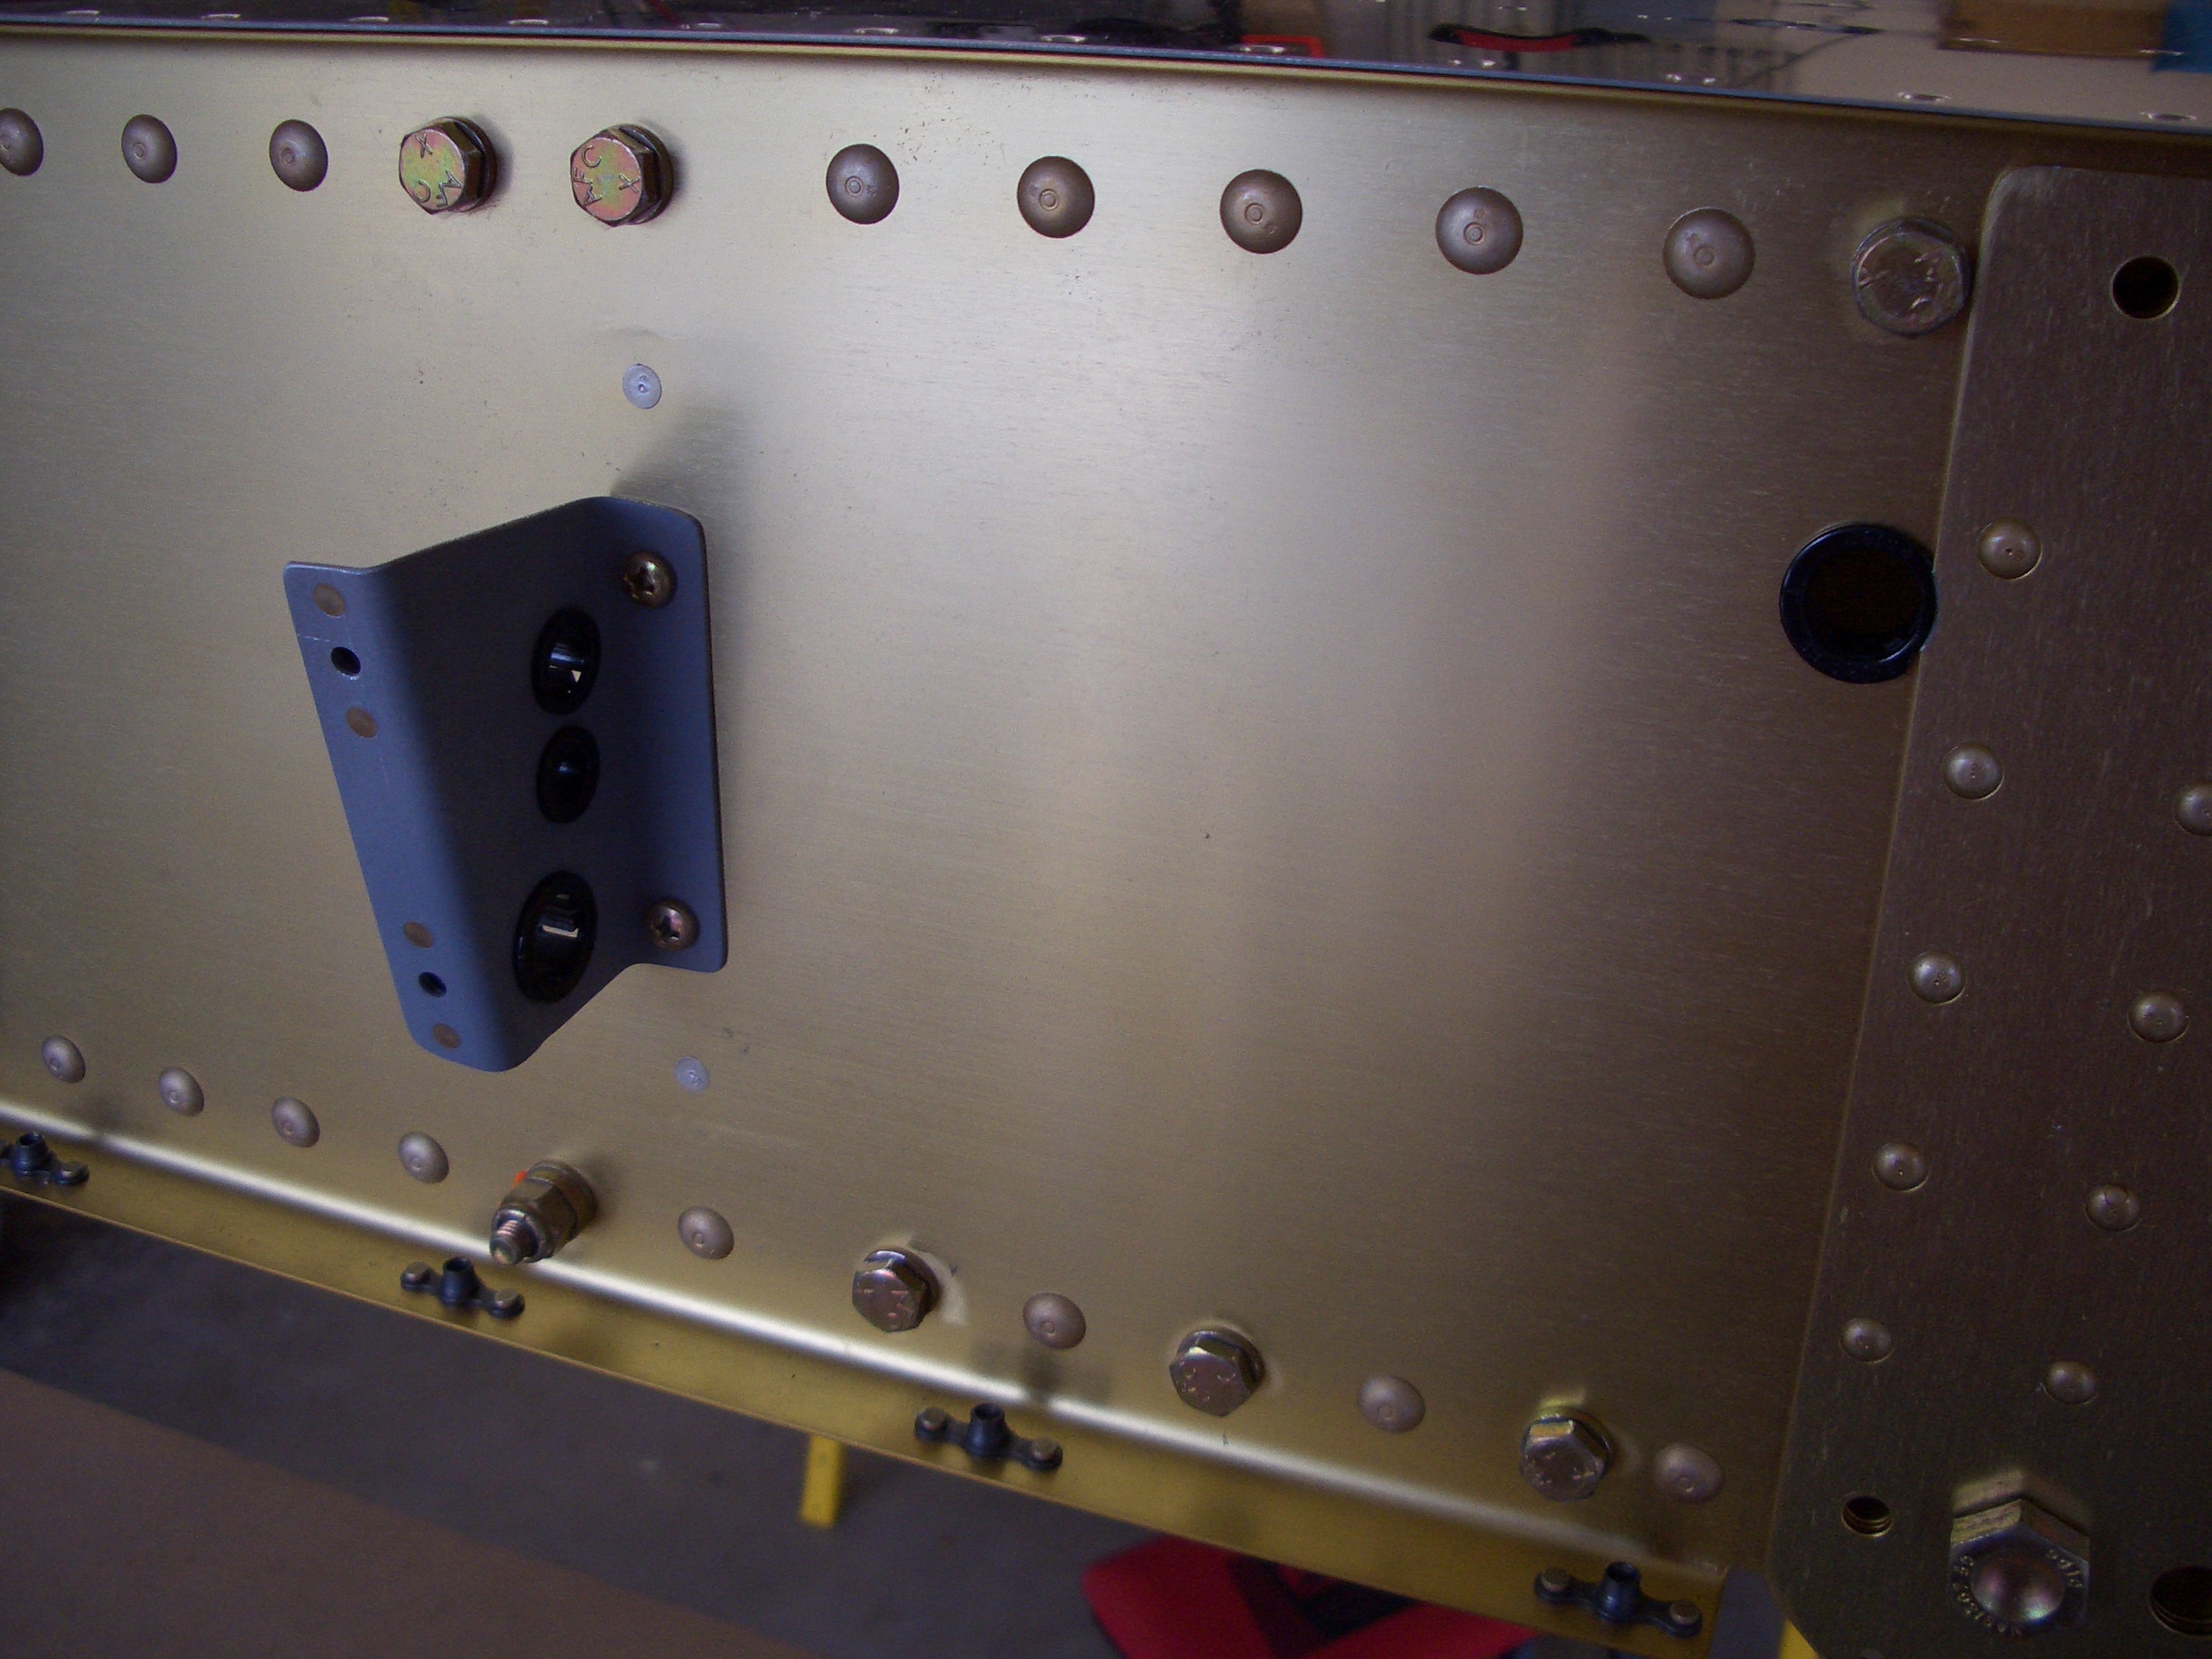
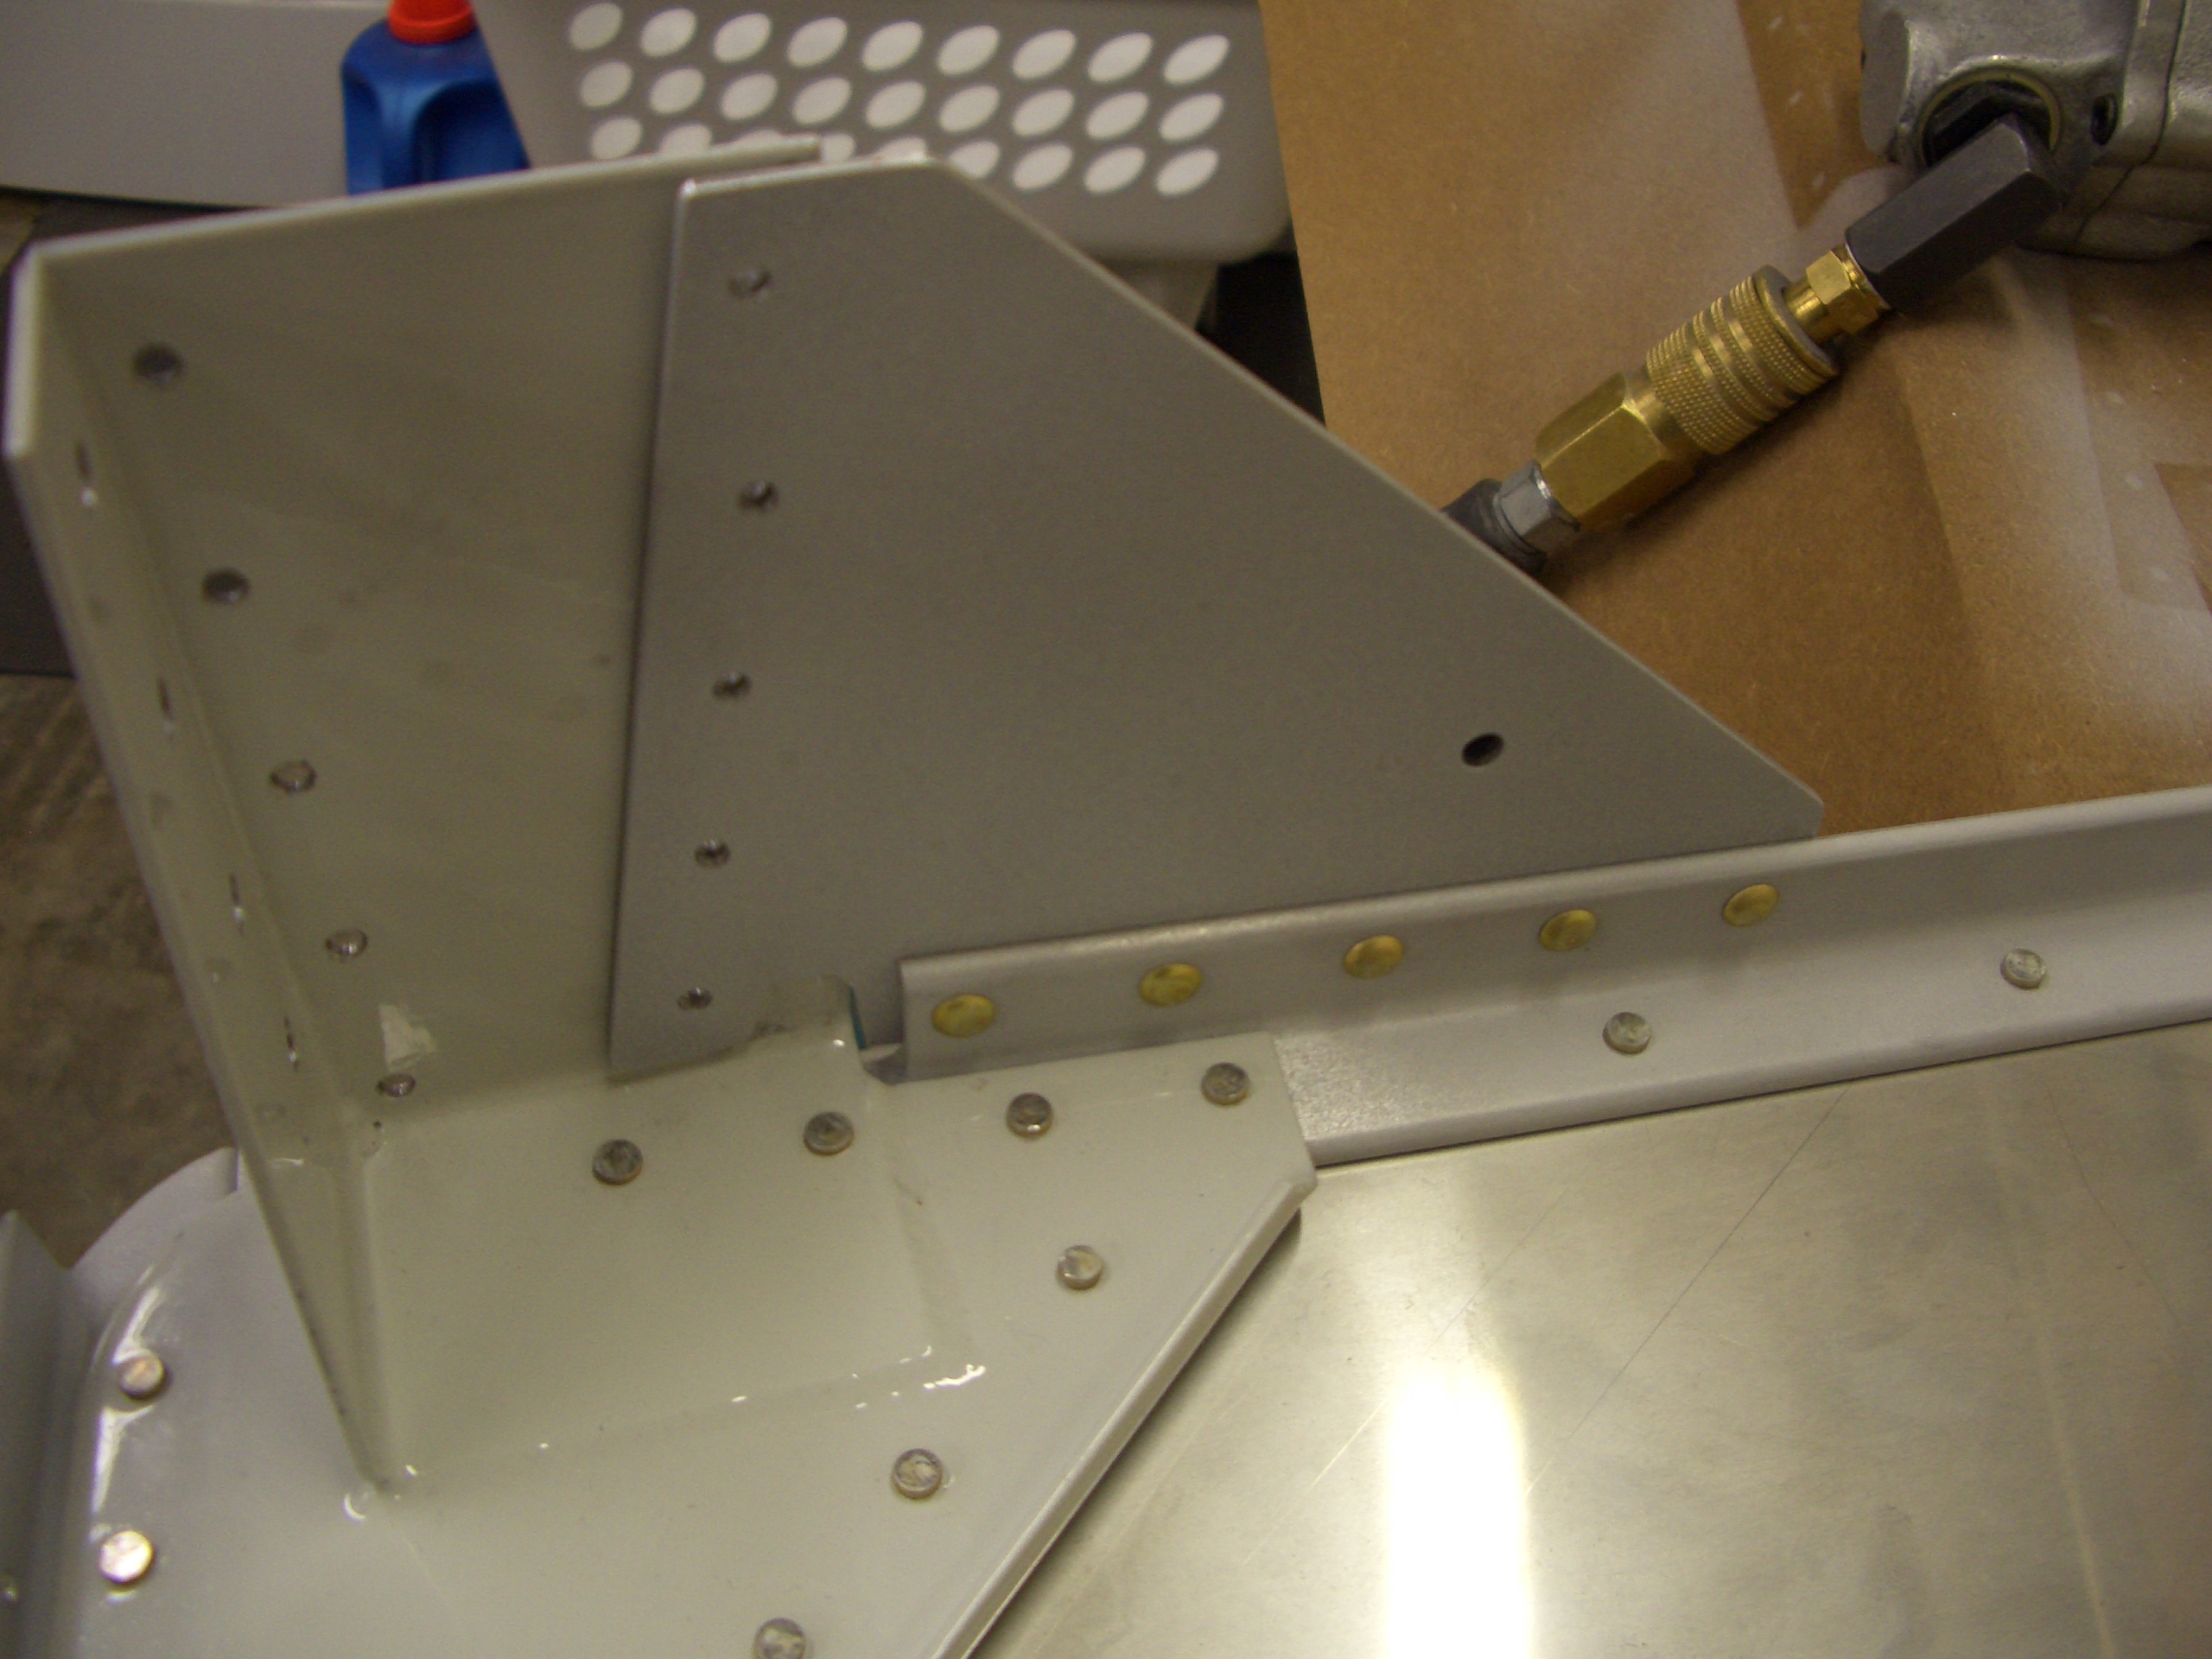
The F-684 gussets can be riveted to the side firewall stiffeners now. The remaining holes are also shared with the lower aux longeron and the side skin, so they’re left open for now. Where possible, I’m trying to put the manufactured heads where they will show in the cabin since I think it looks nicer.
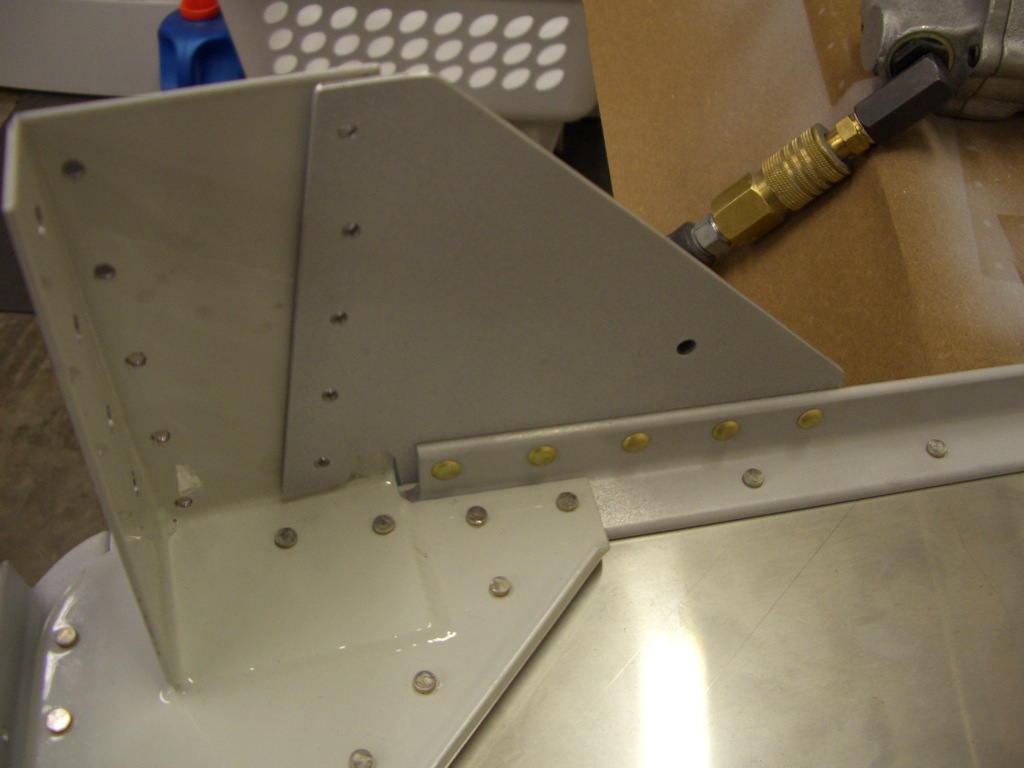
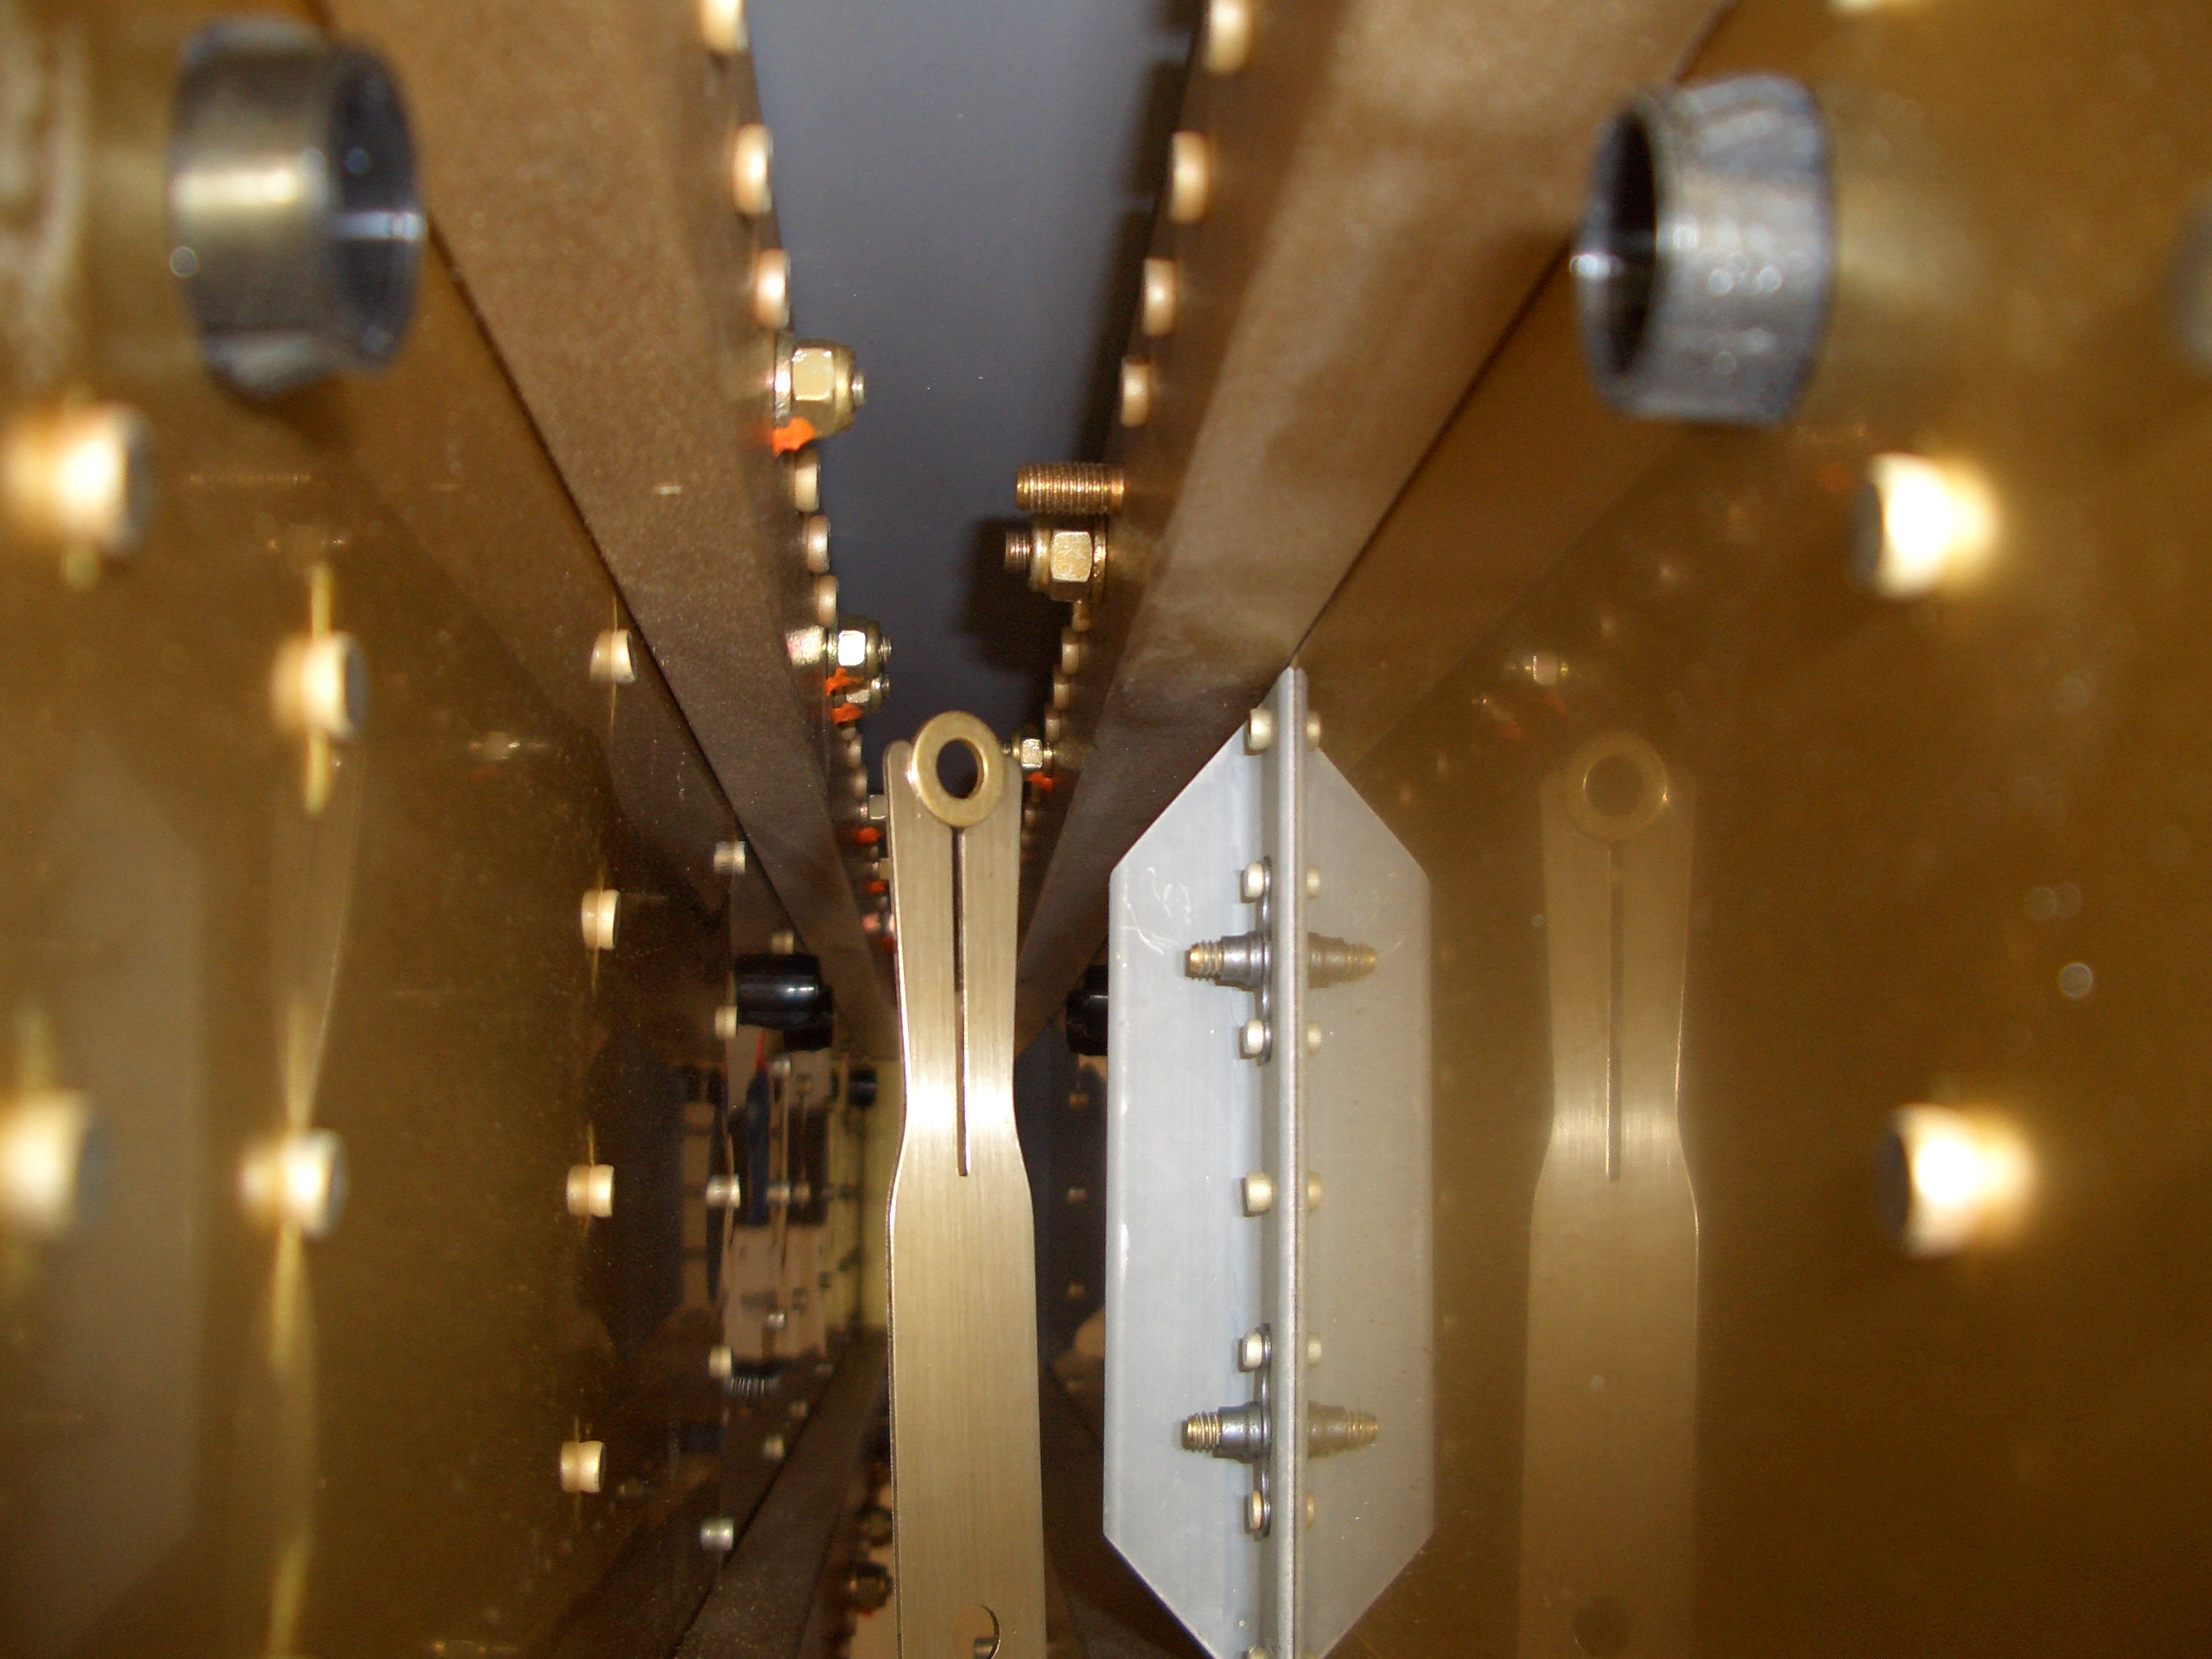
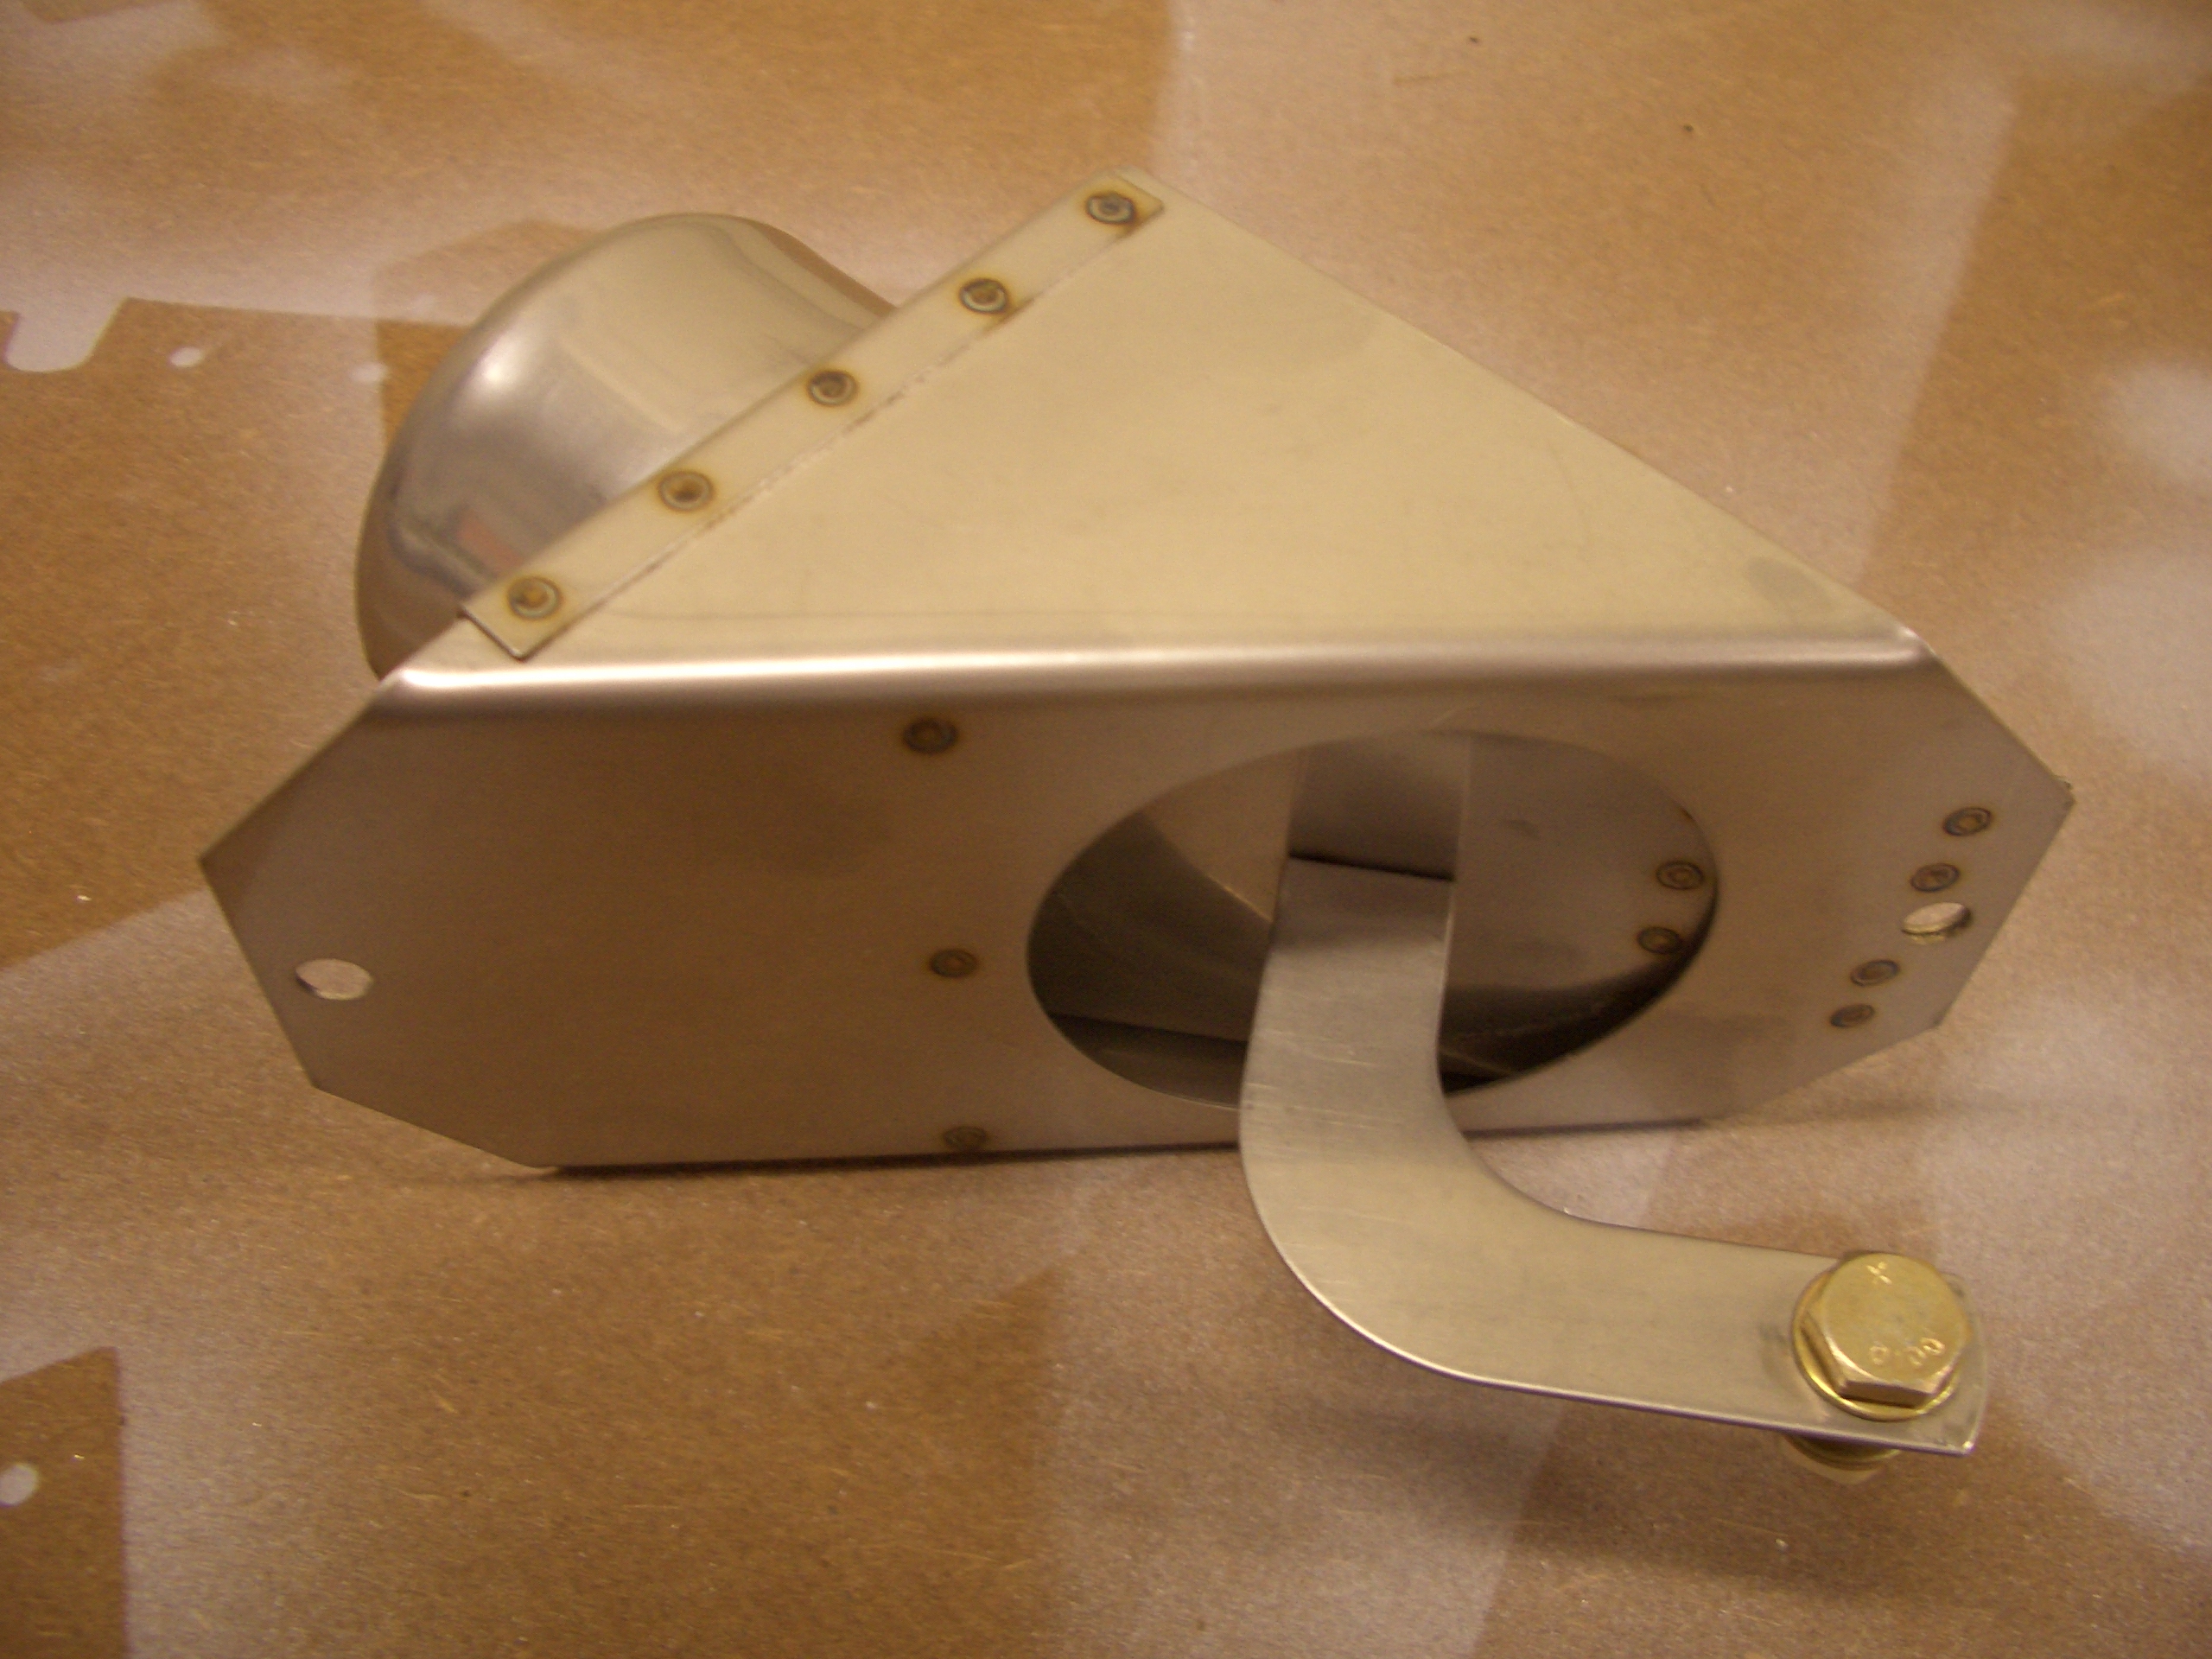
The F-7101 gear webs can be riveted to the F-902 forward bulkheads since access would be difficult later.

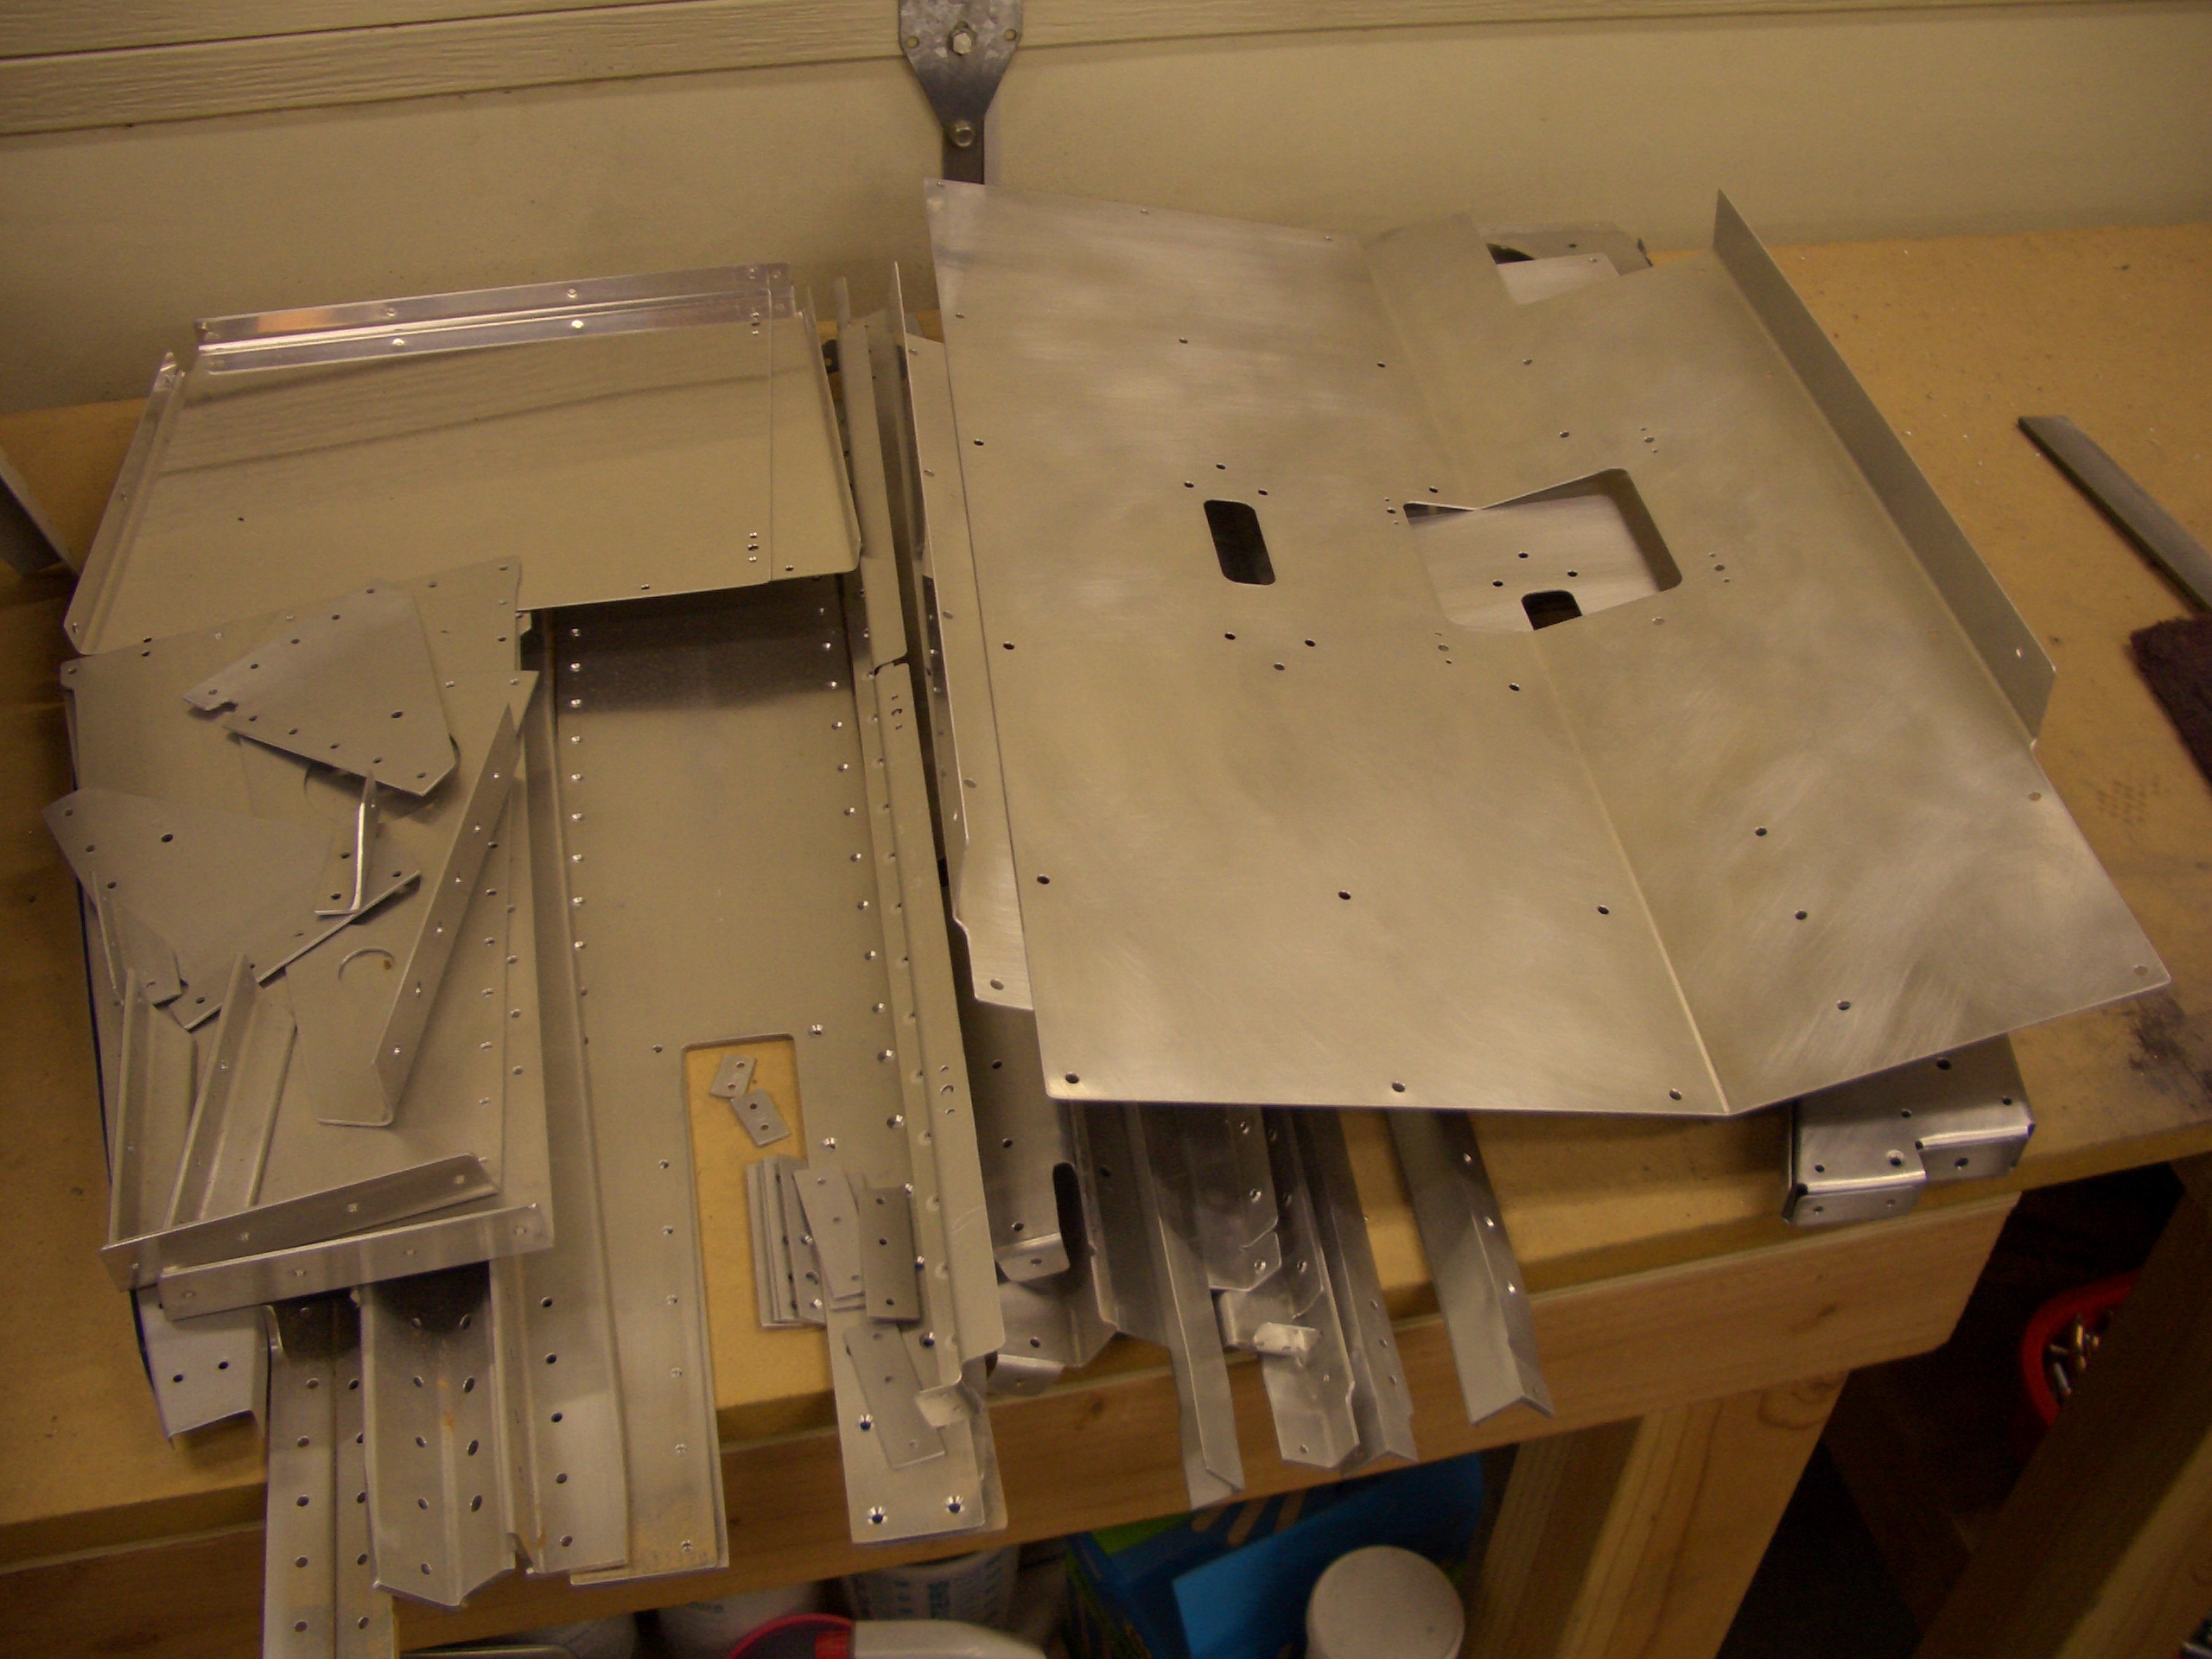
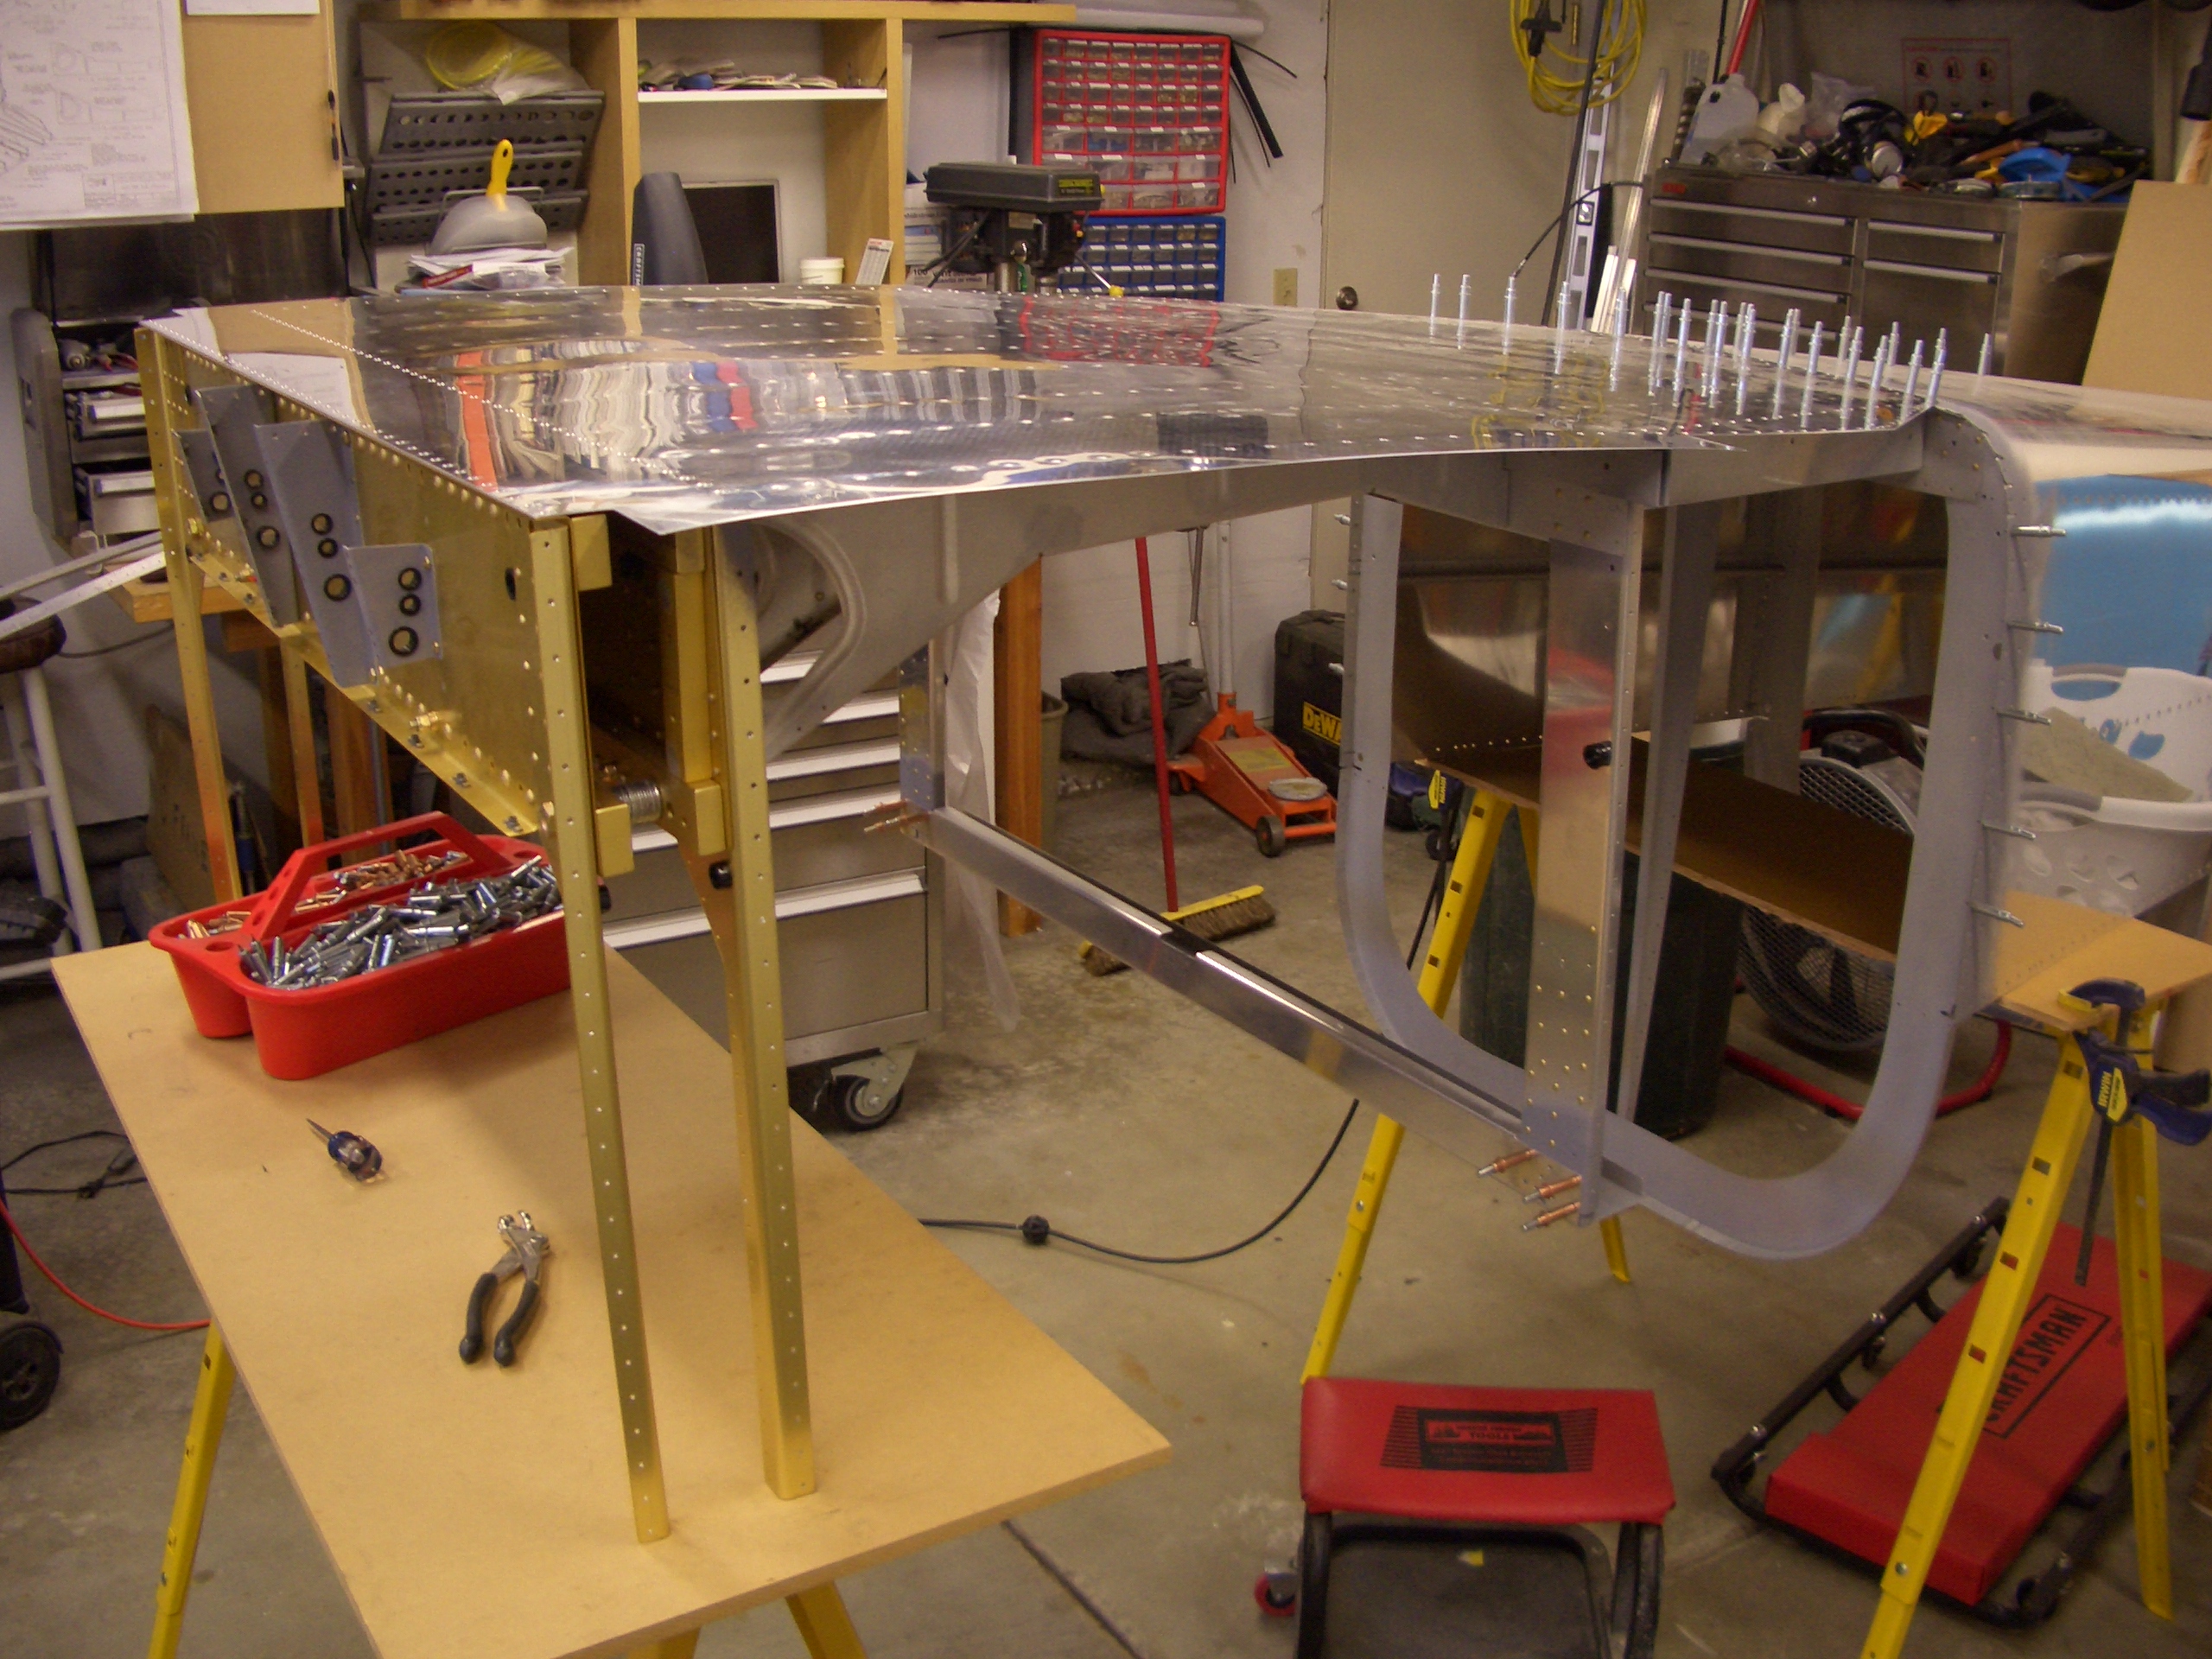
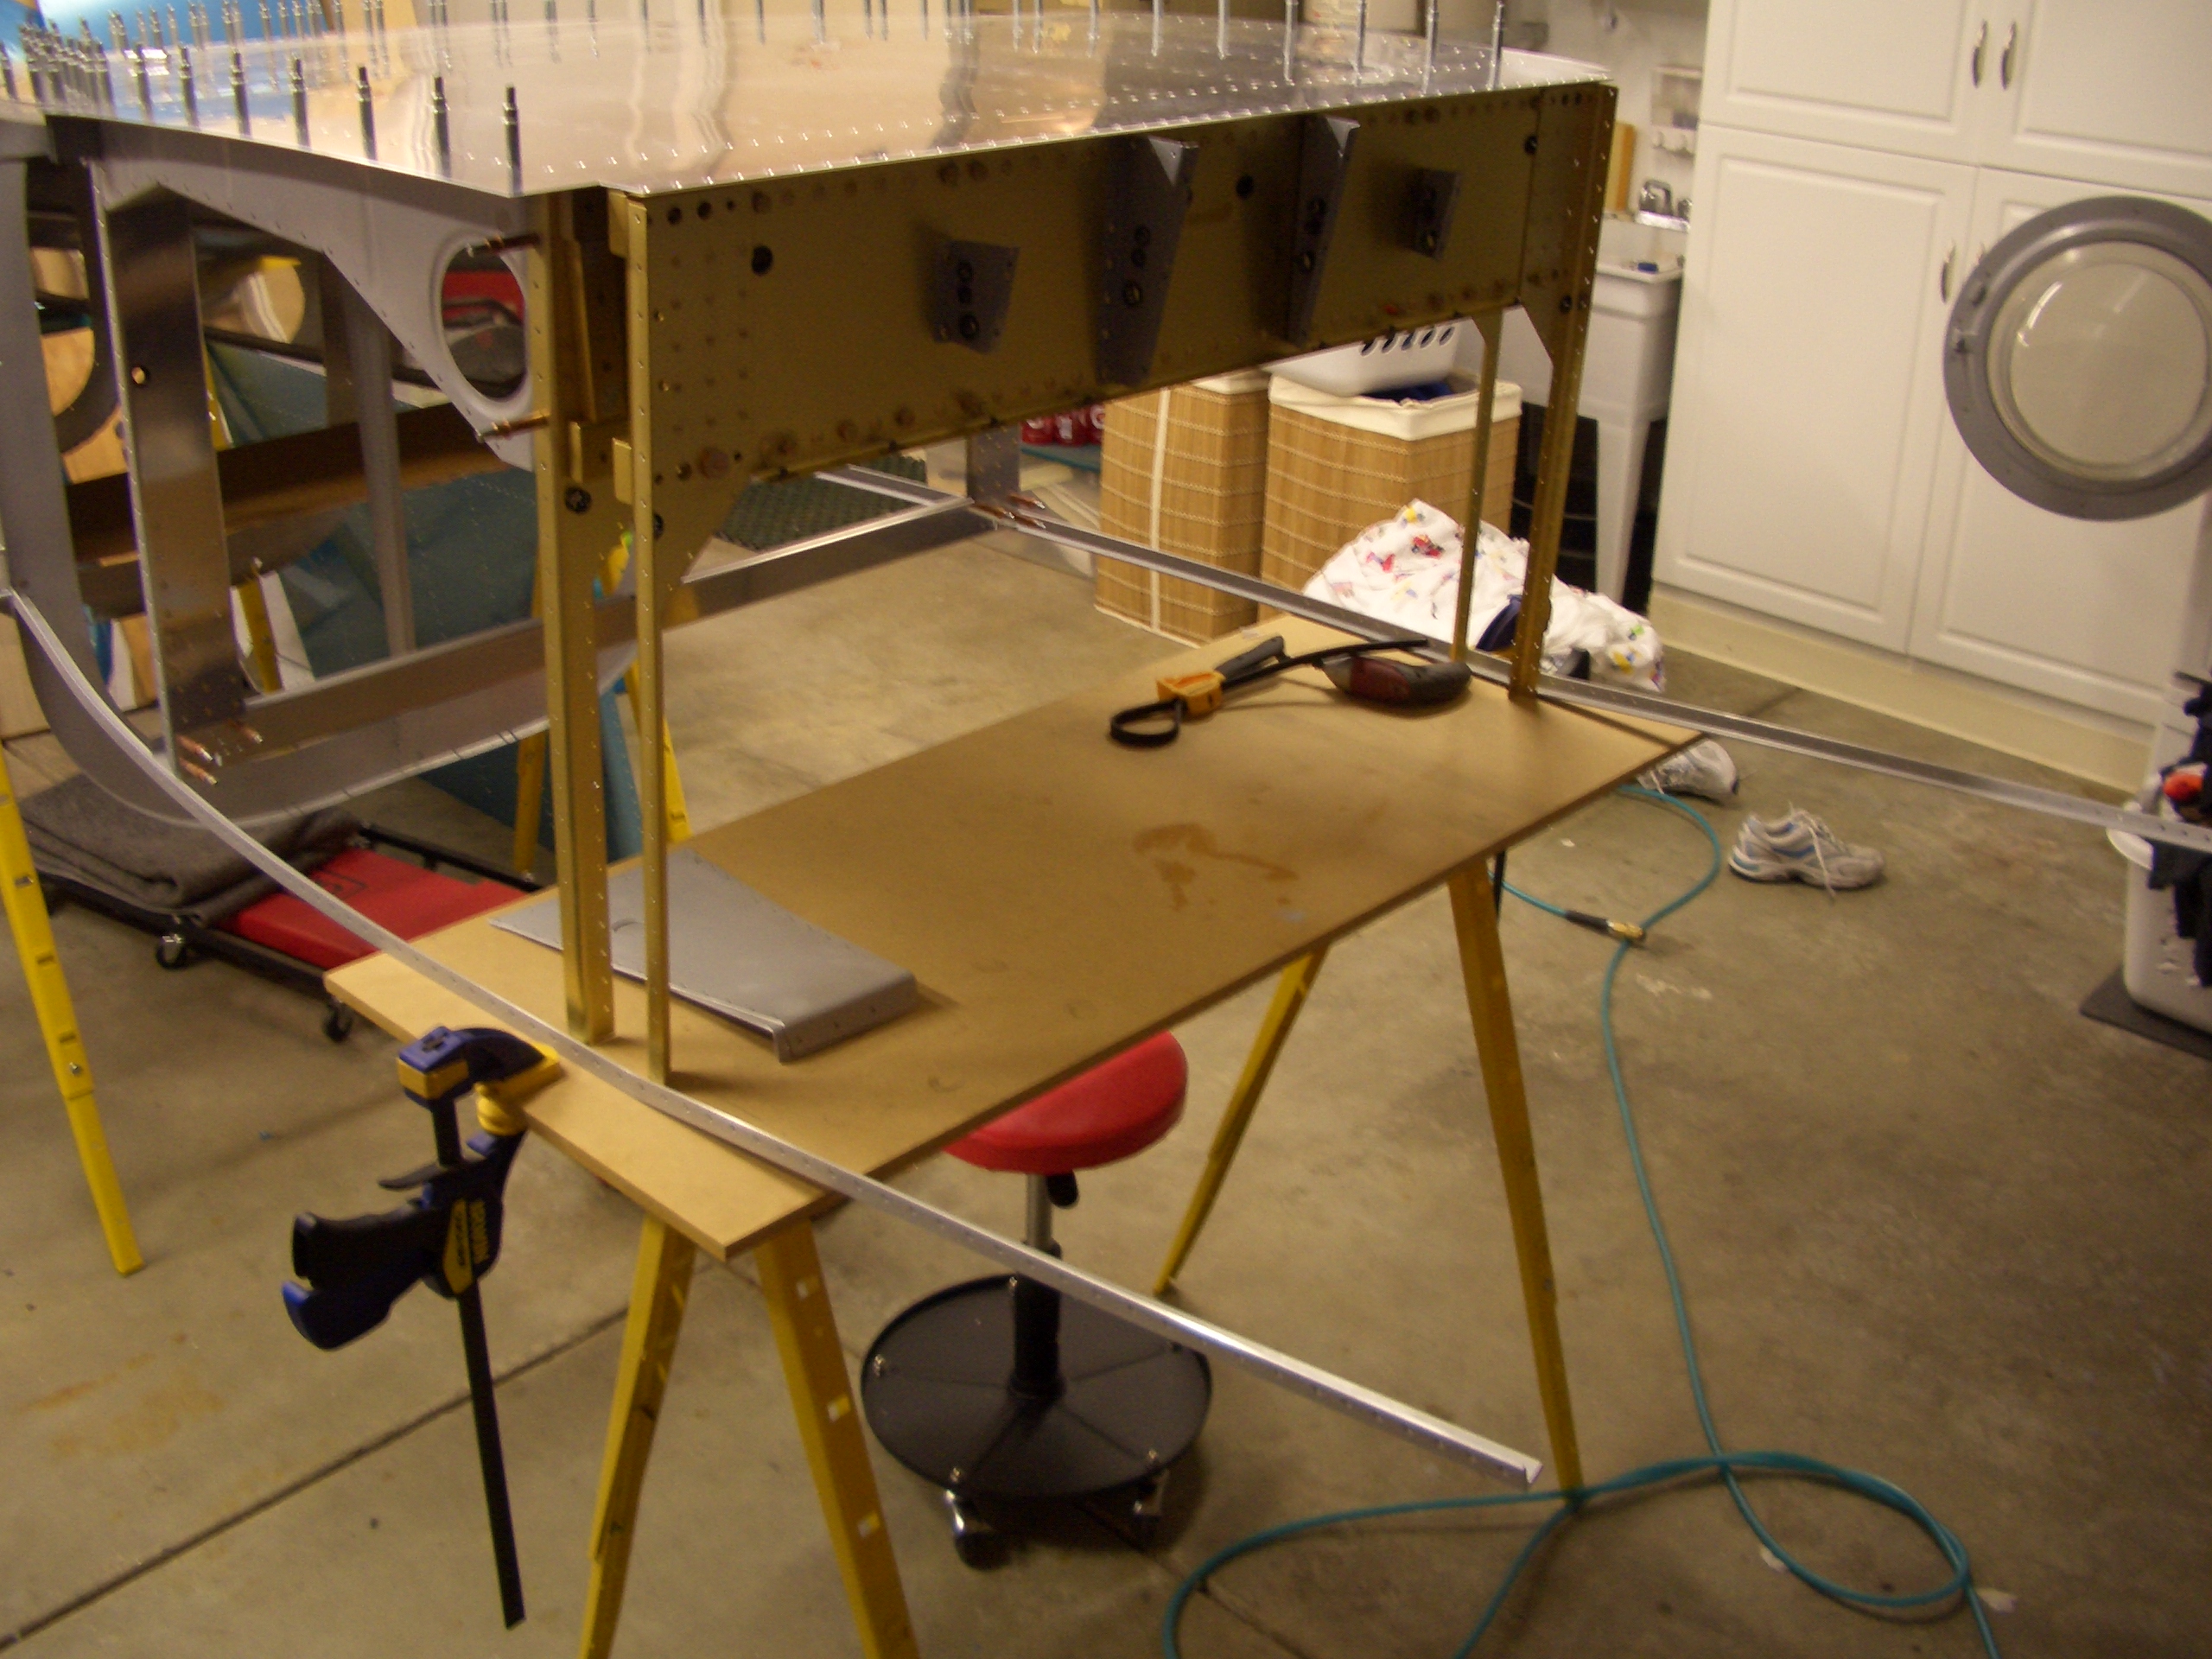
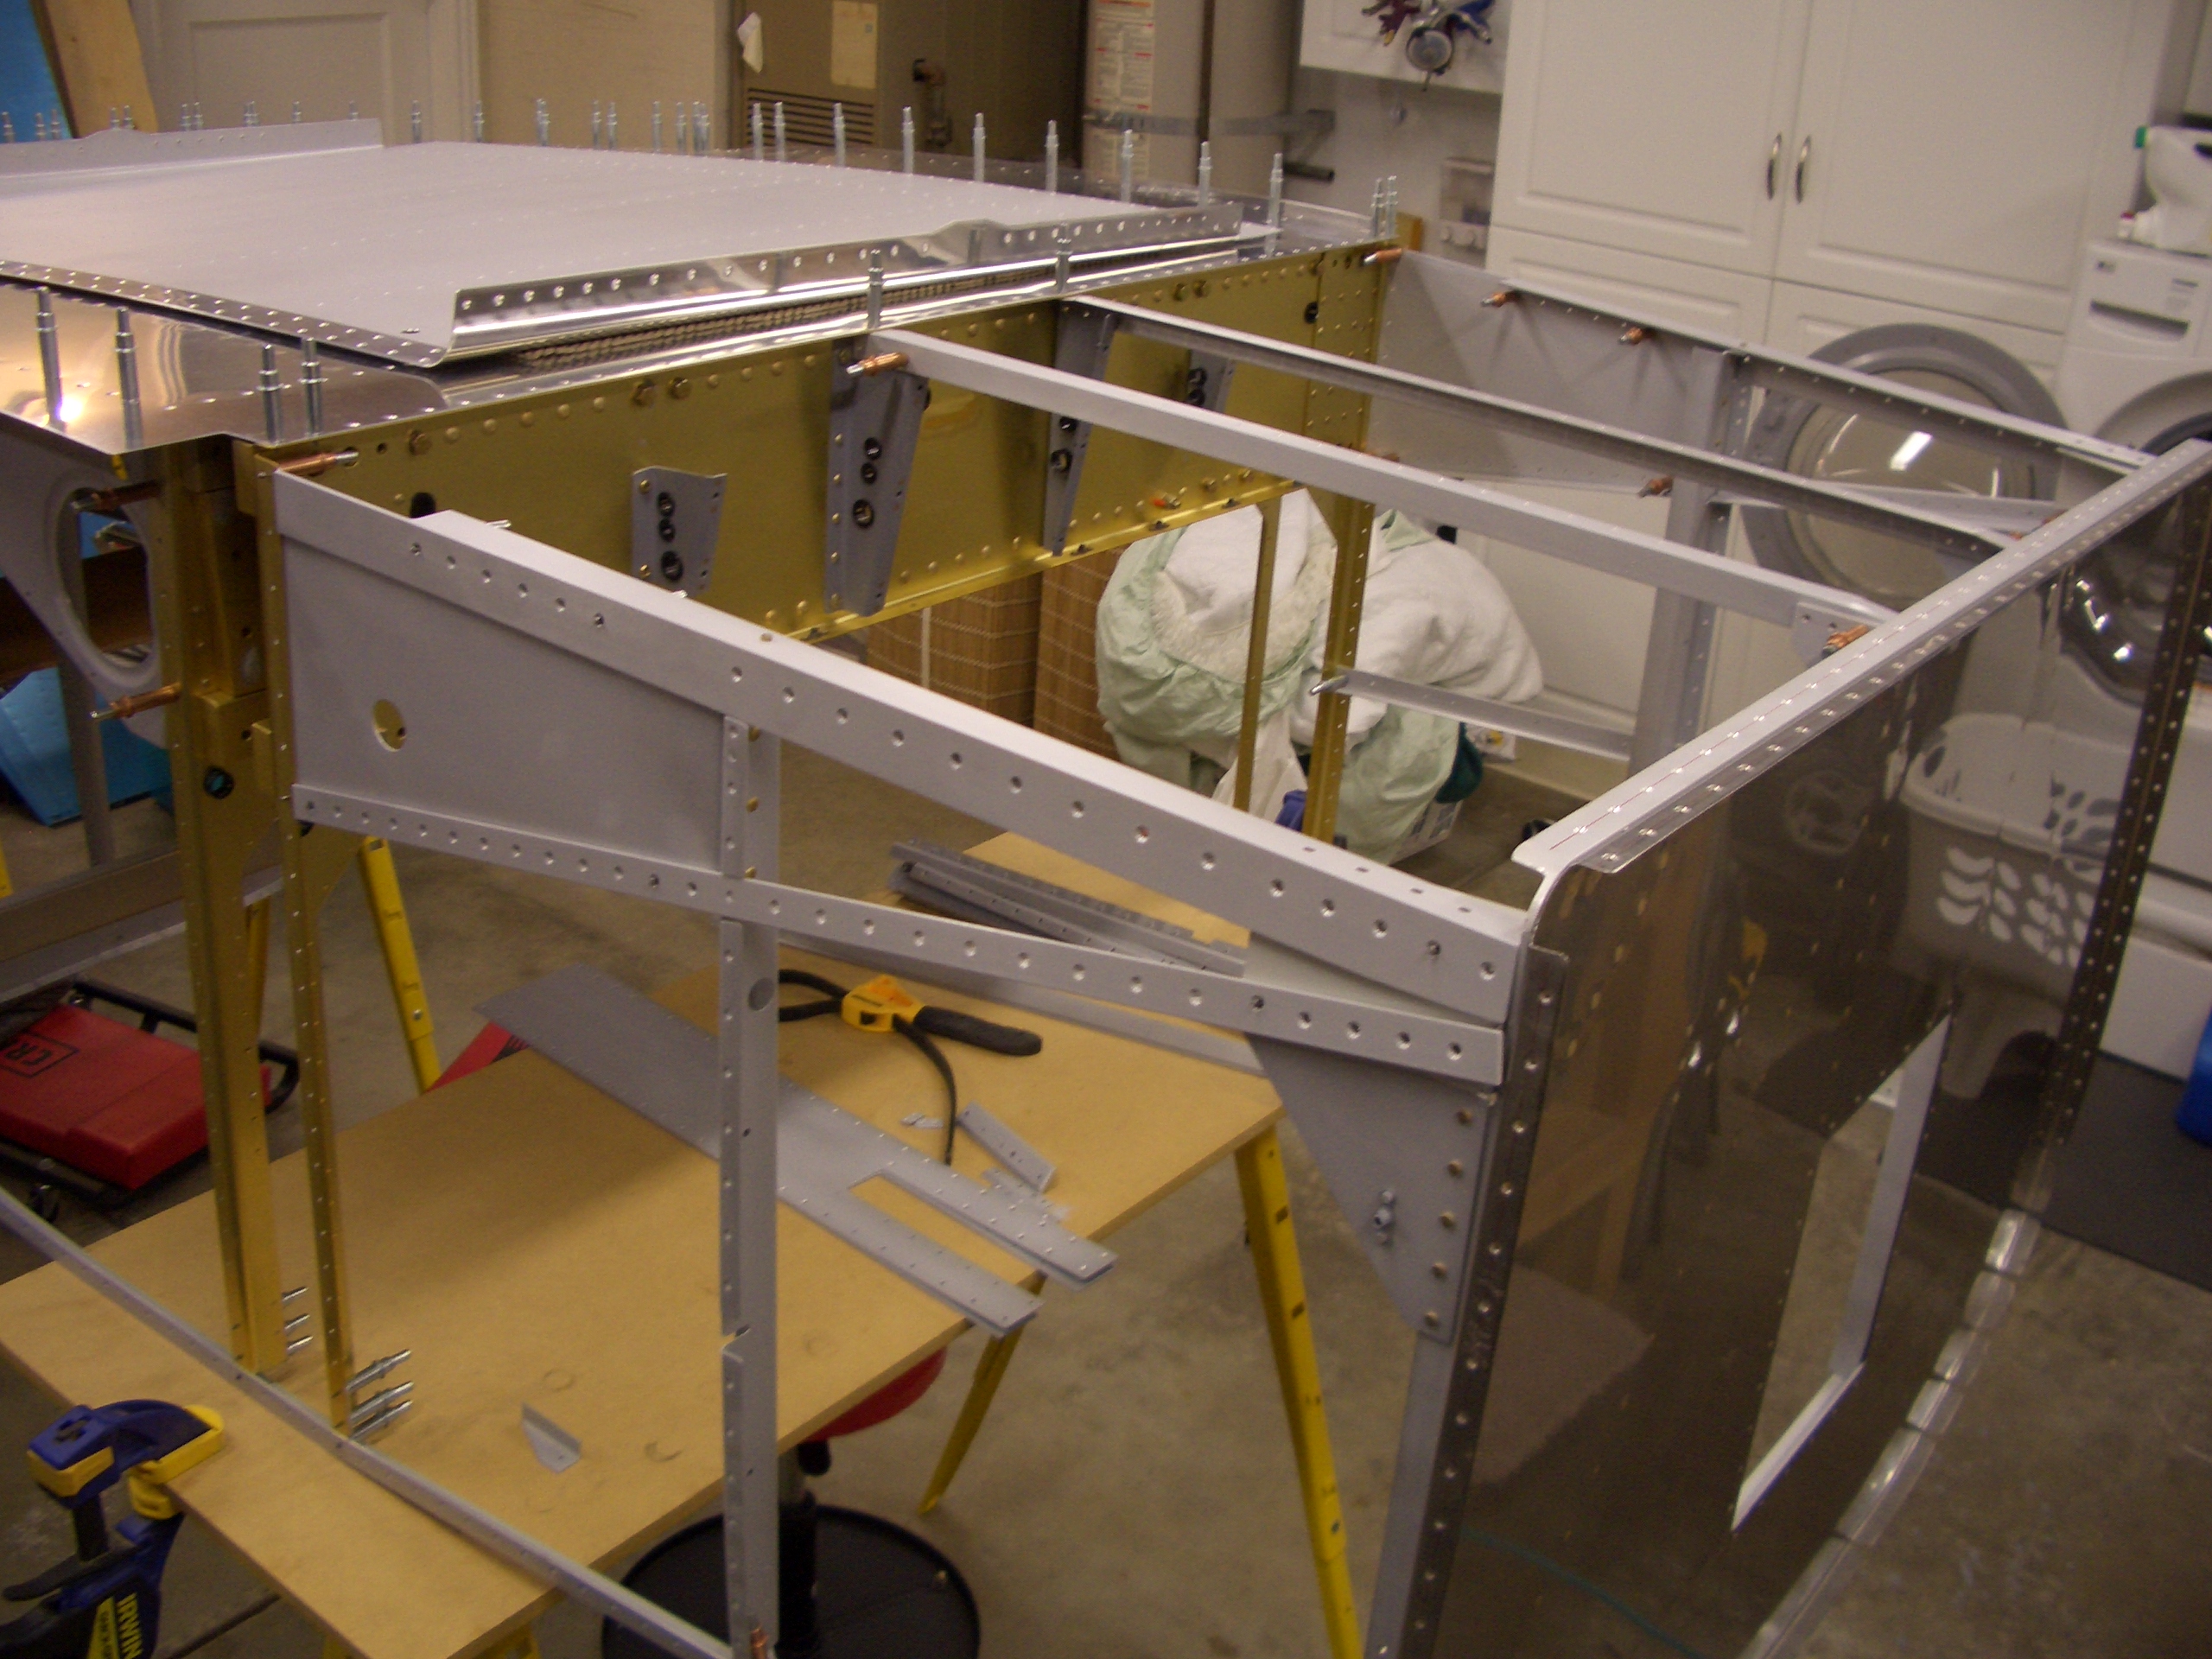
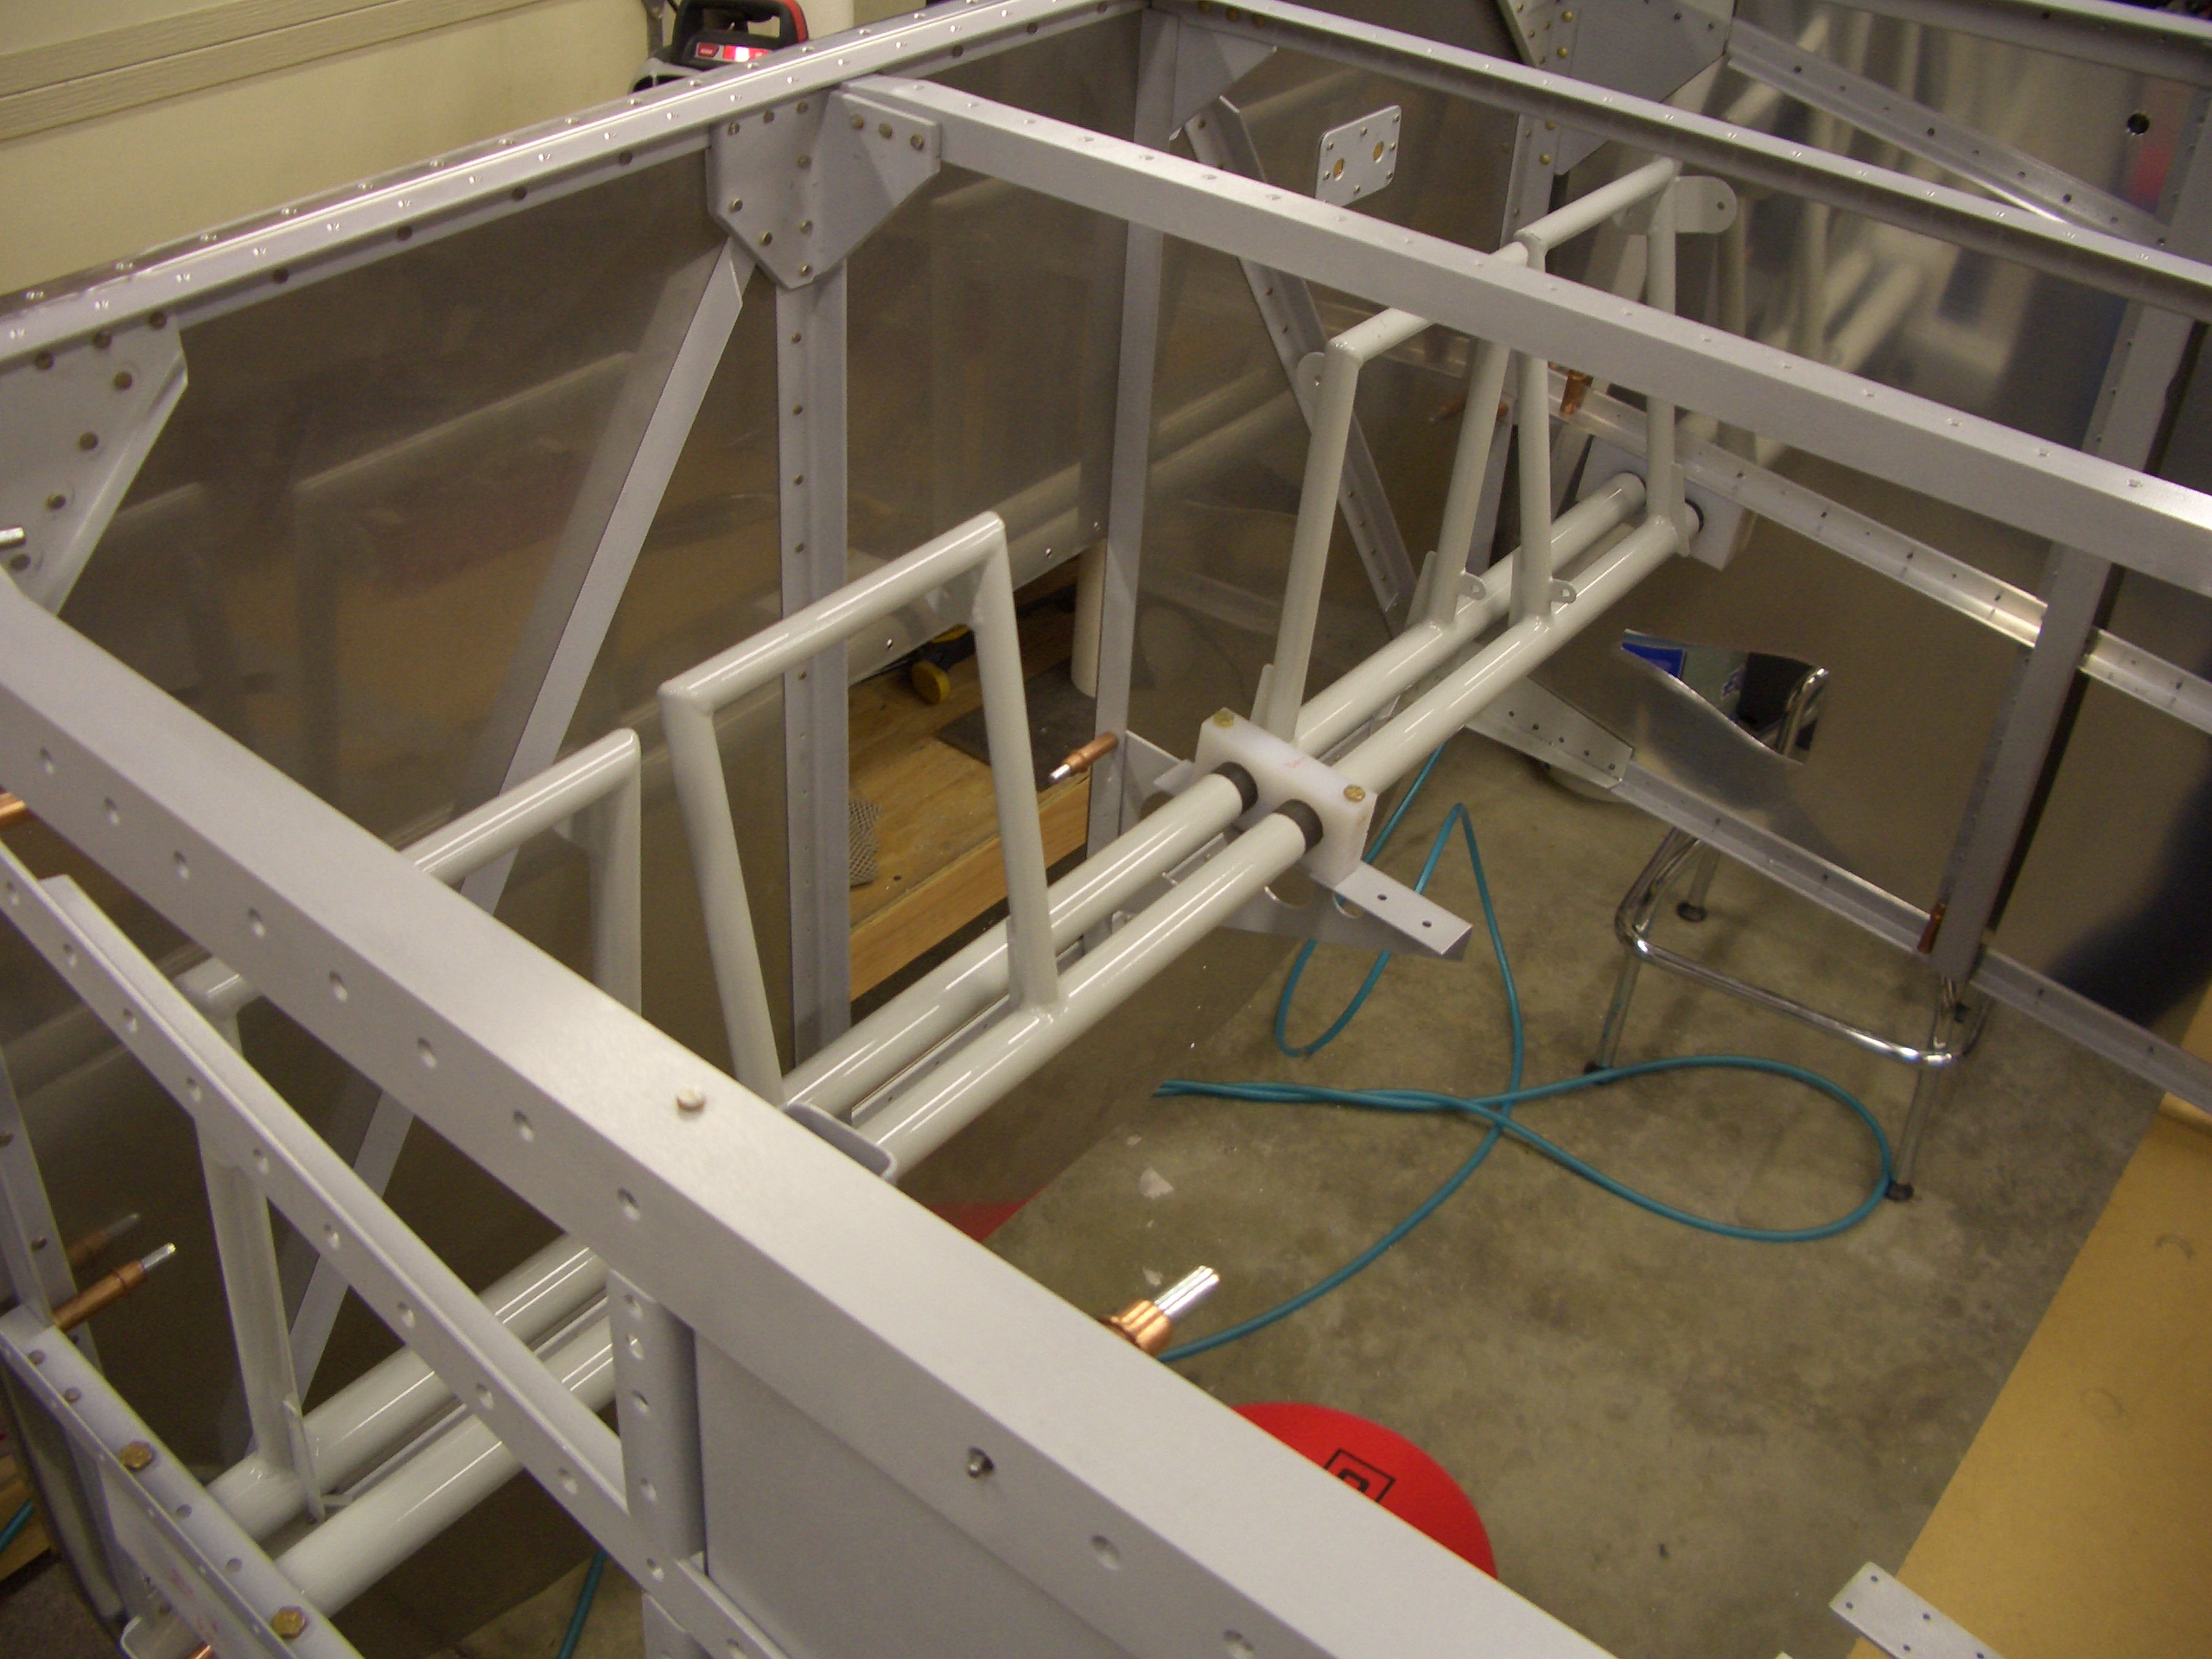
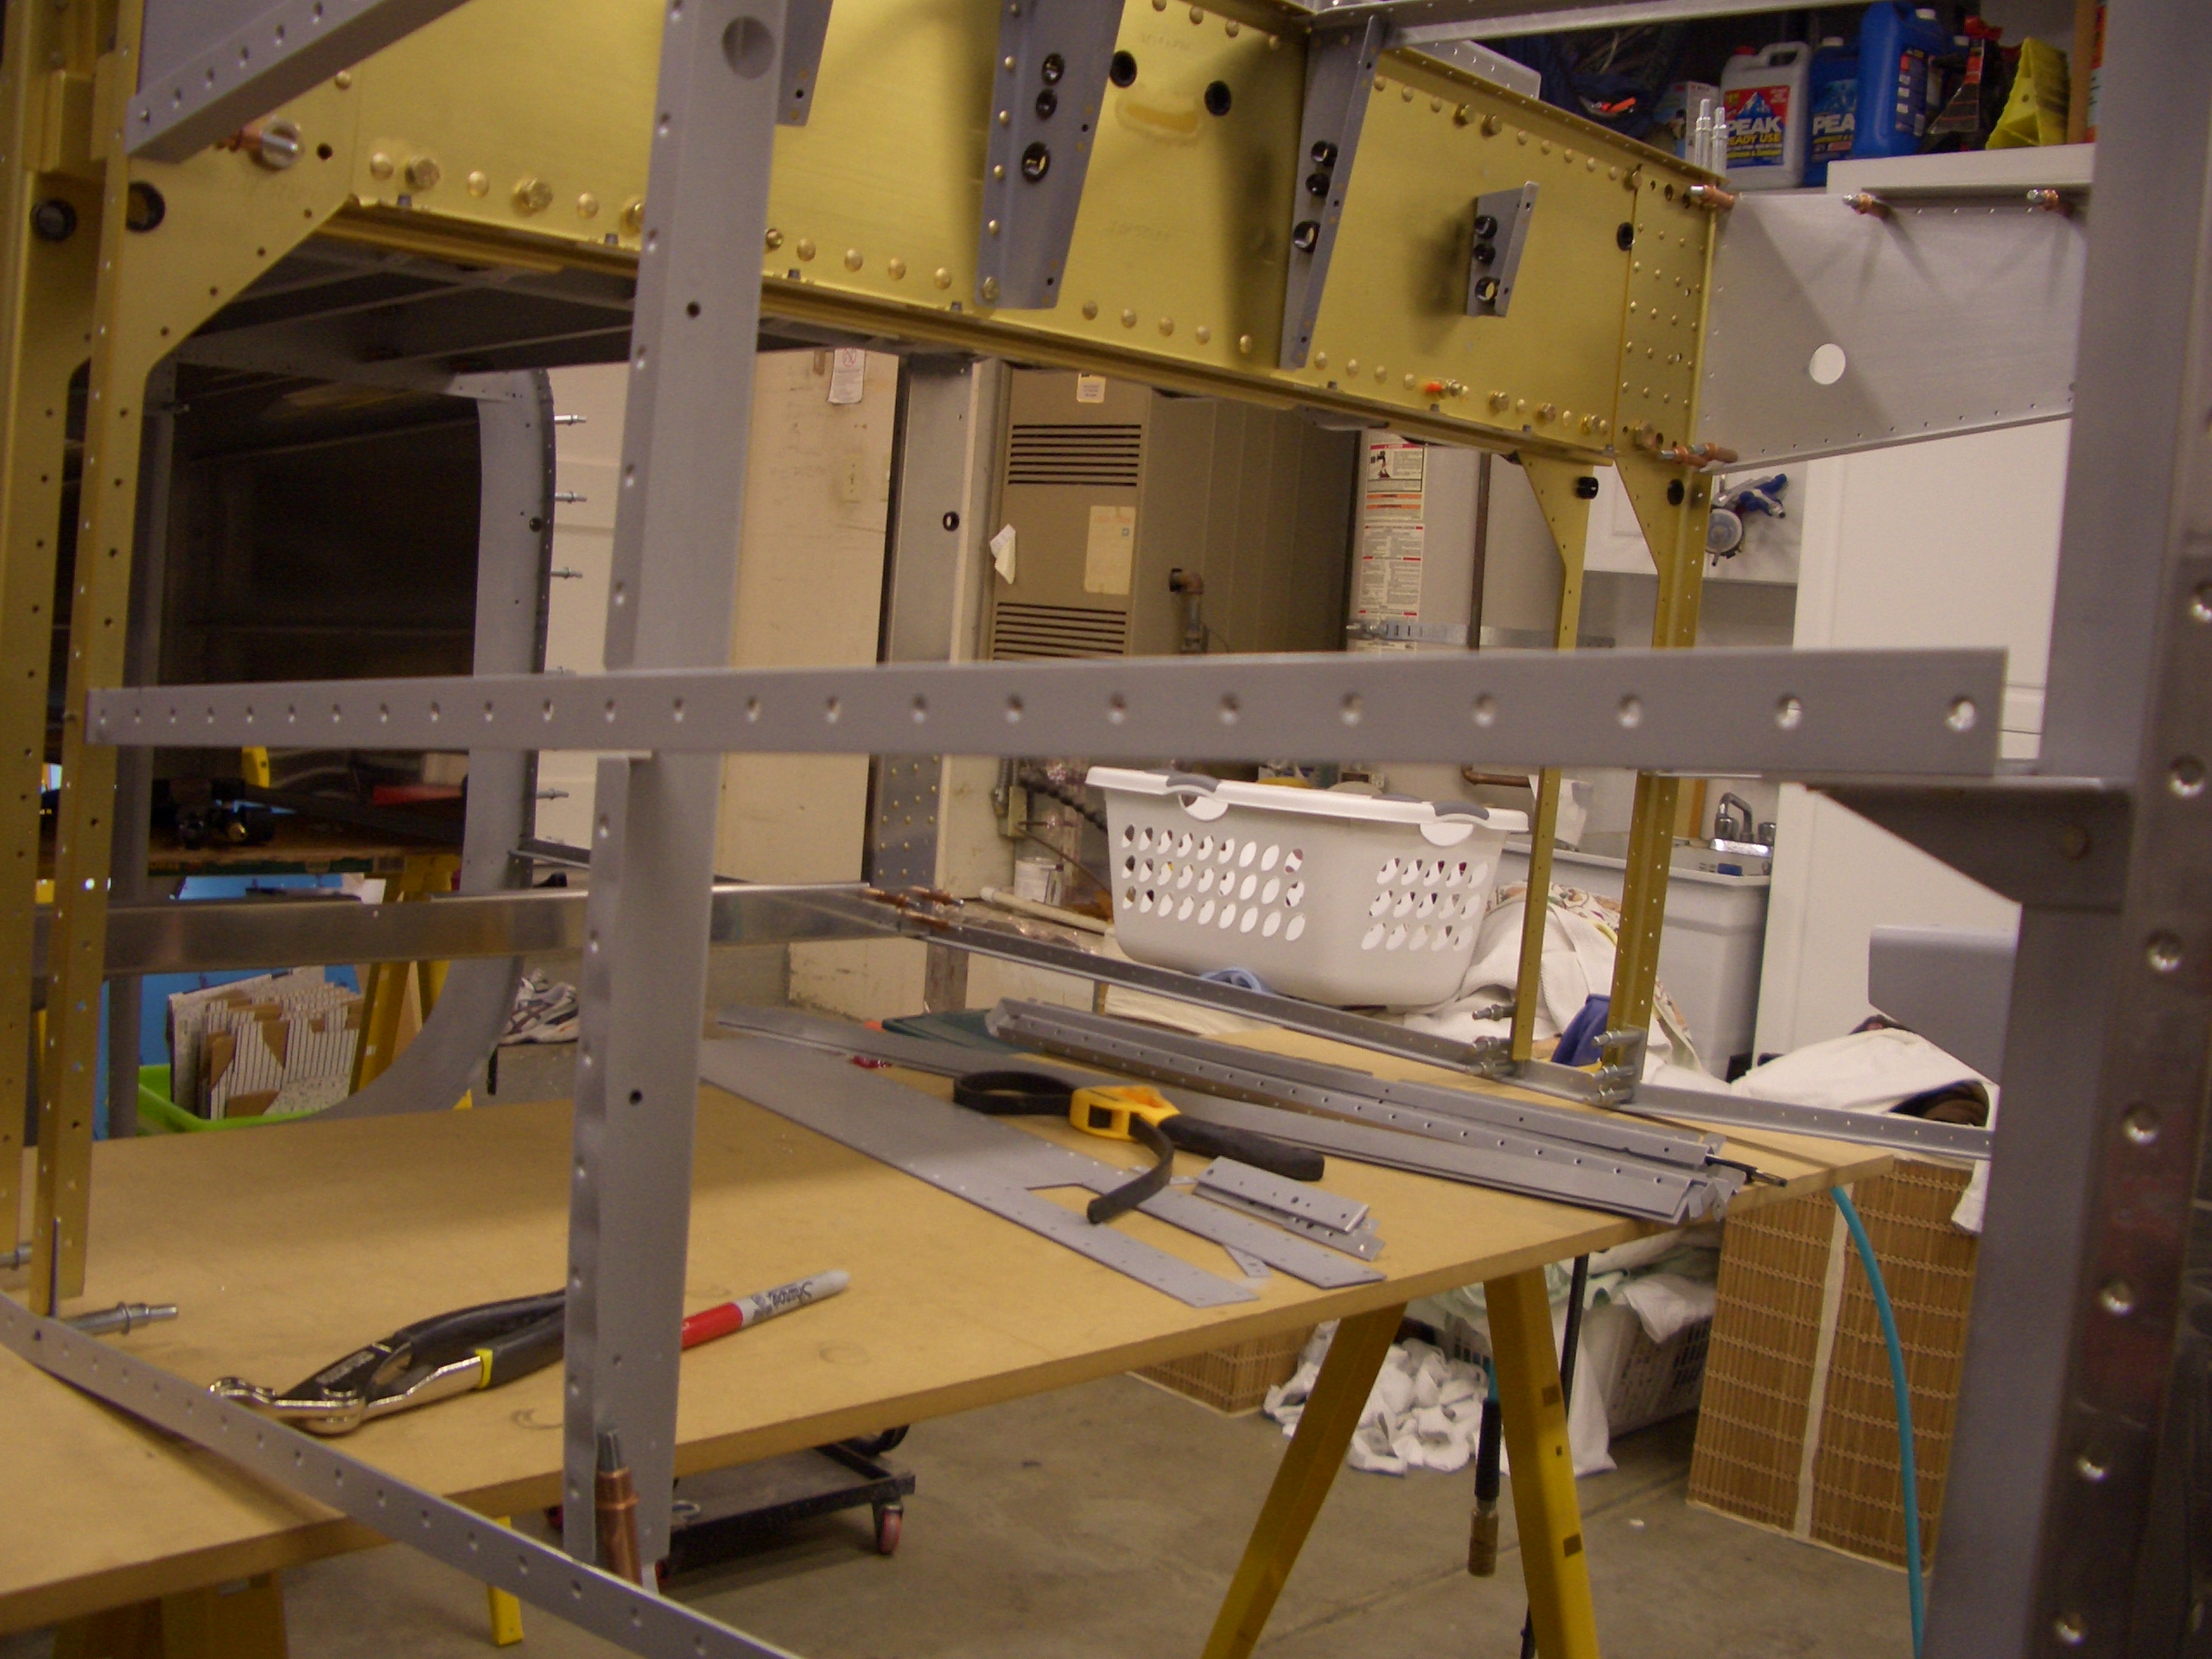
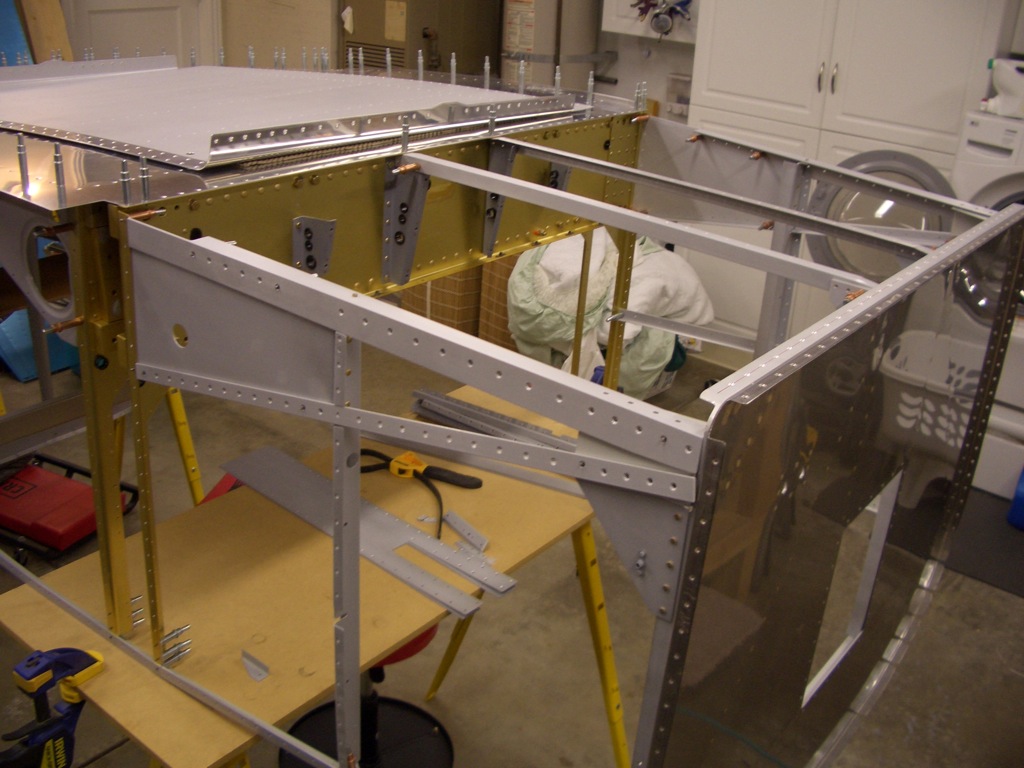
I still need to debur the side skins, but I wanted to start assembling the forward fuselage so that I didn’t have such a big pile of small parts stacked around and in my way. Here I’ve clecoed on the firewall and all aux longerons. Notice the missing longeron on the near side. This is the piece that had the crack from a couple of weeks back. I have the new piece, but I want to put the side skin back on in order to drill it.
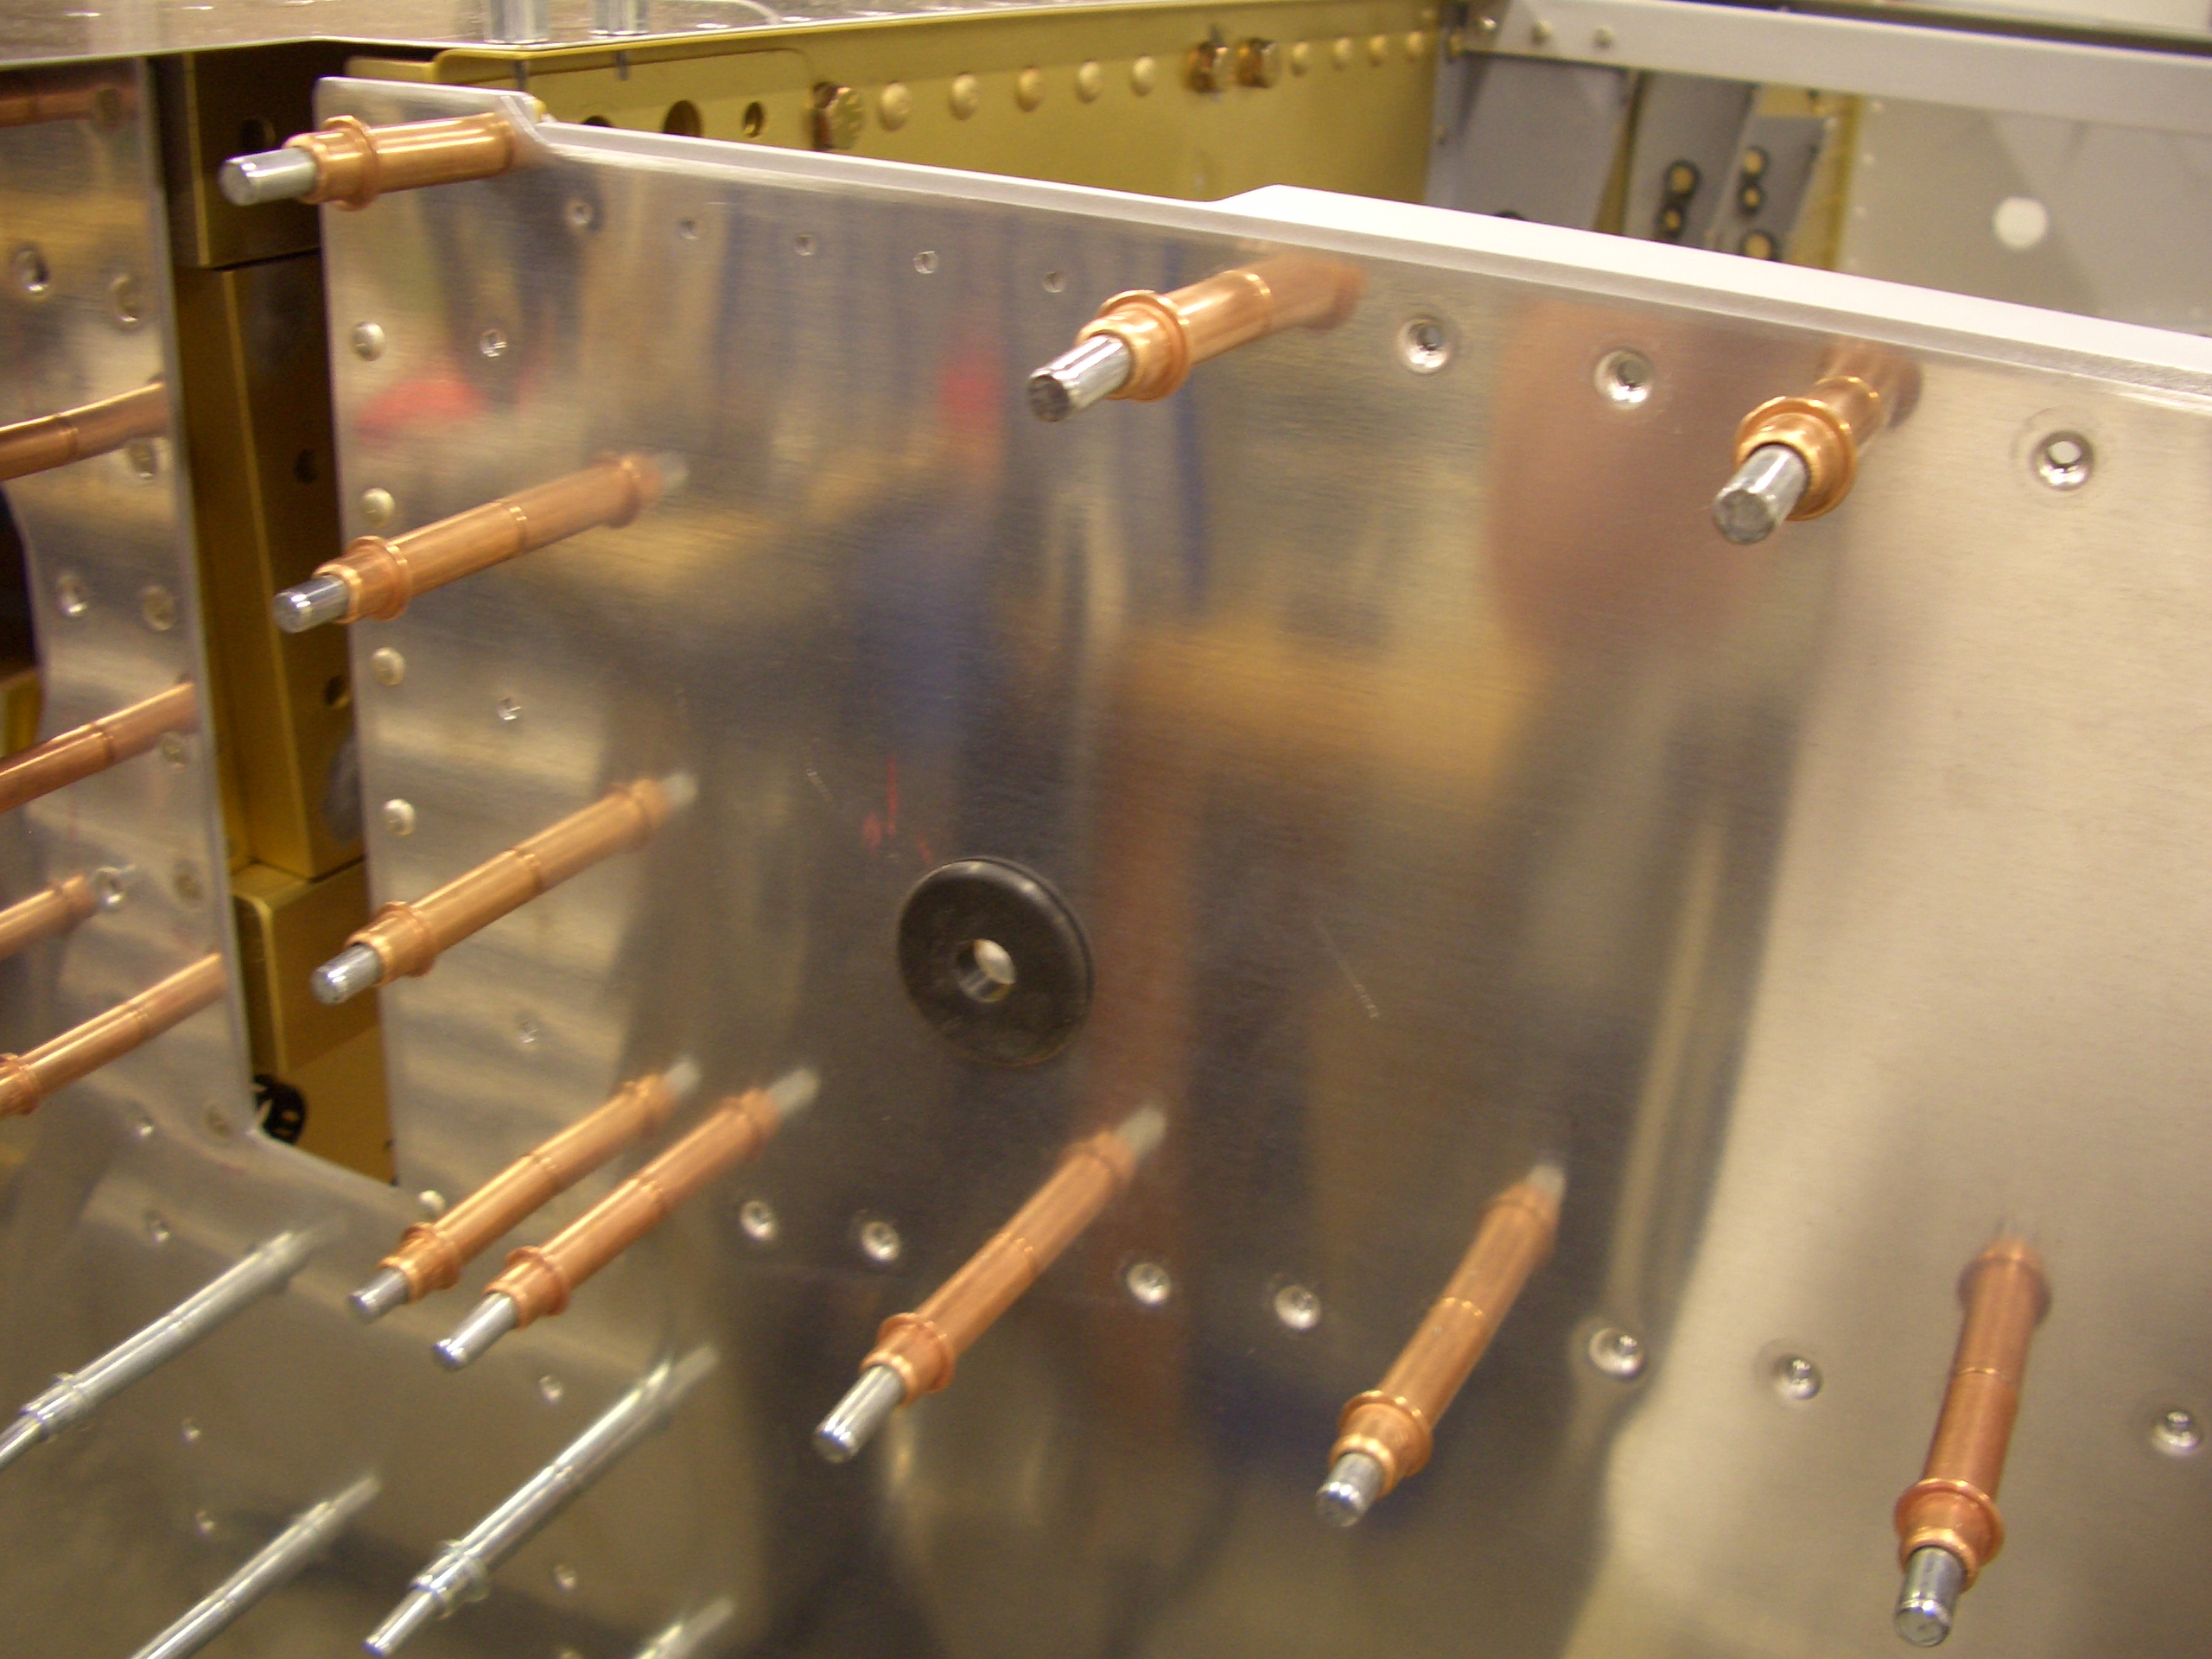
I went ahead and riveted the F-902 bulkheads to the lower longerons. The corresponding holes tying the F-902 to the upper longerons need to be left open until the forward top structure is drilled.
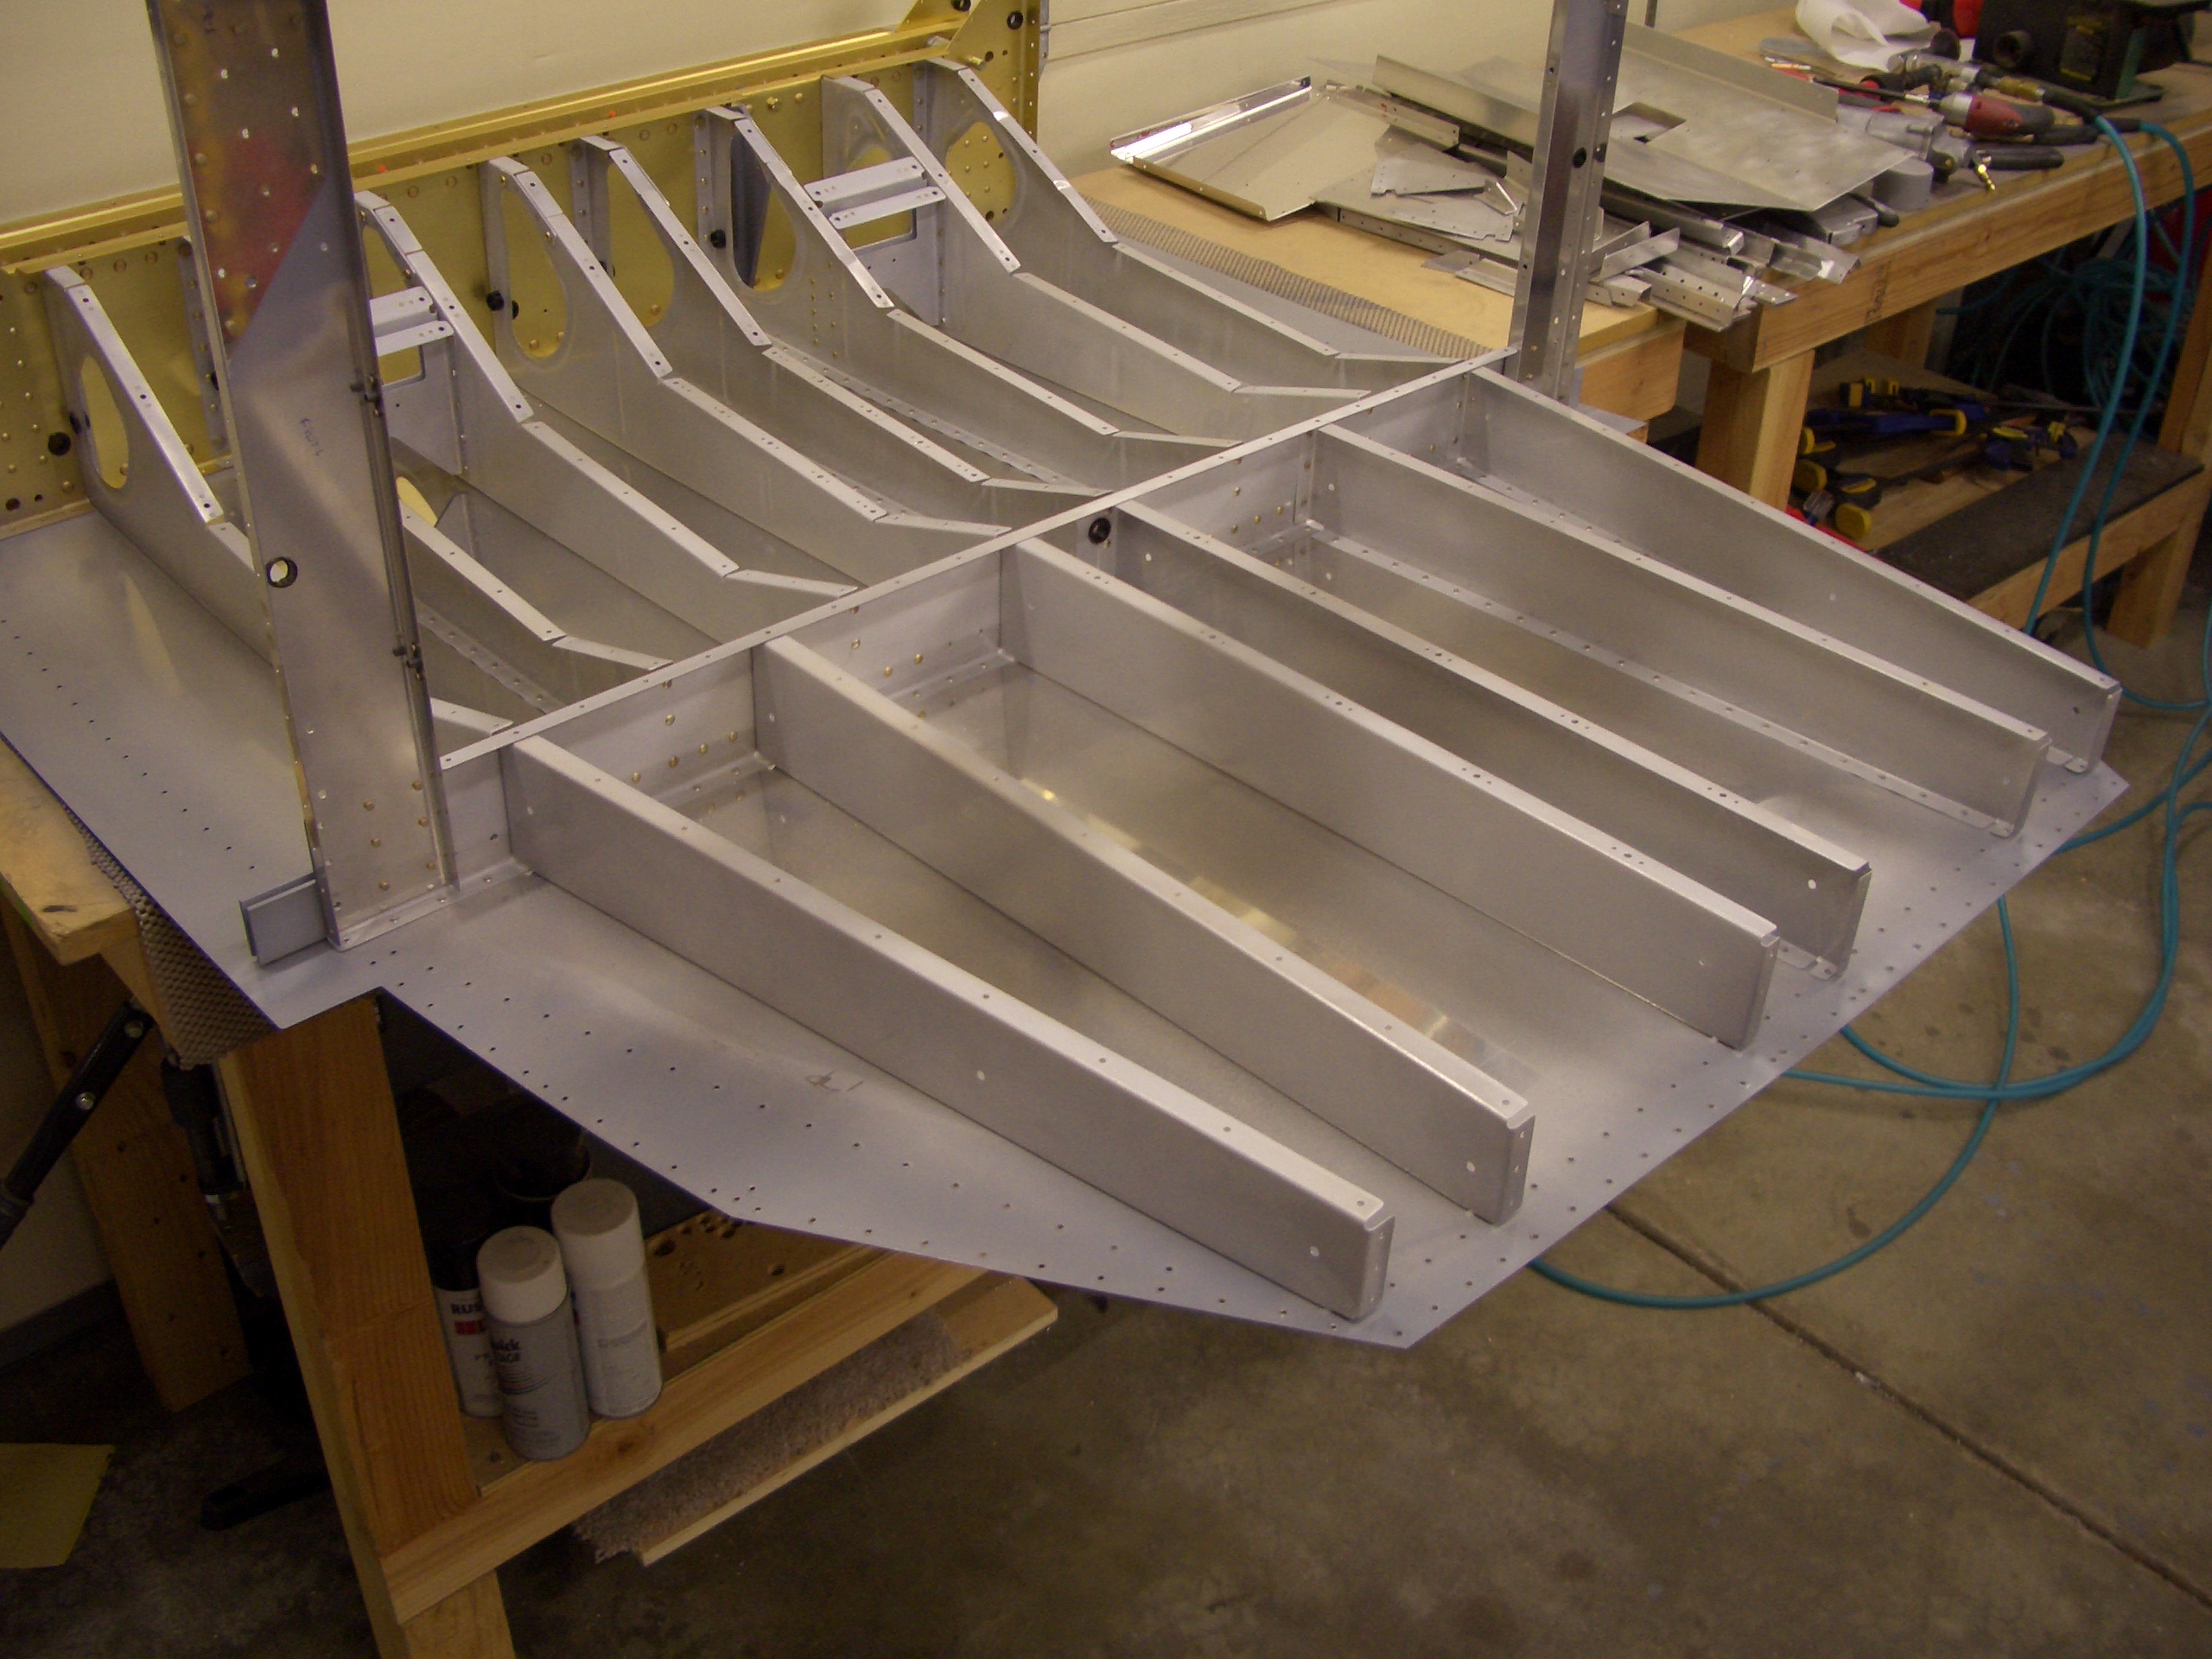
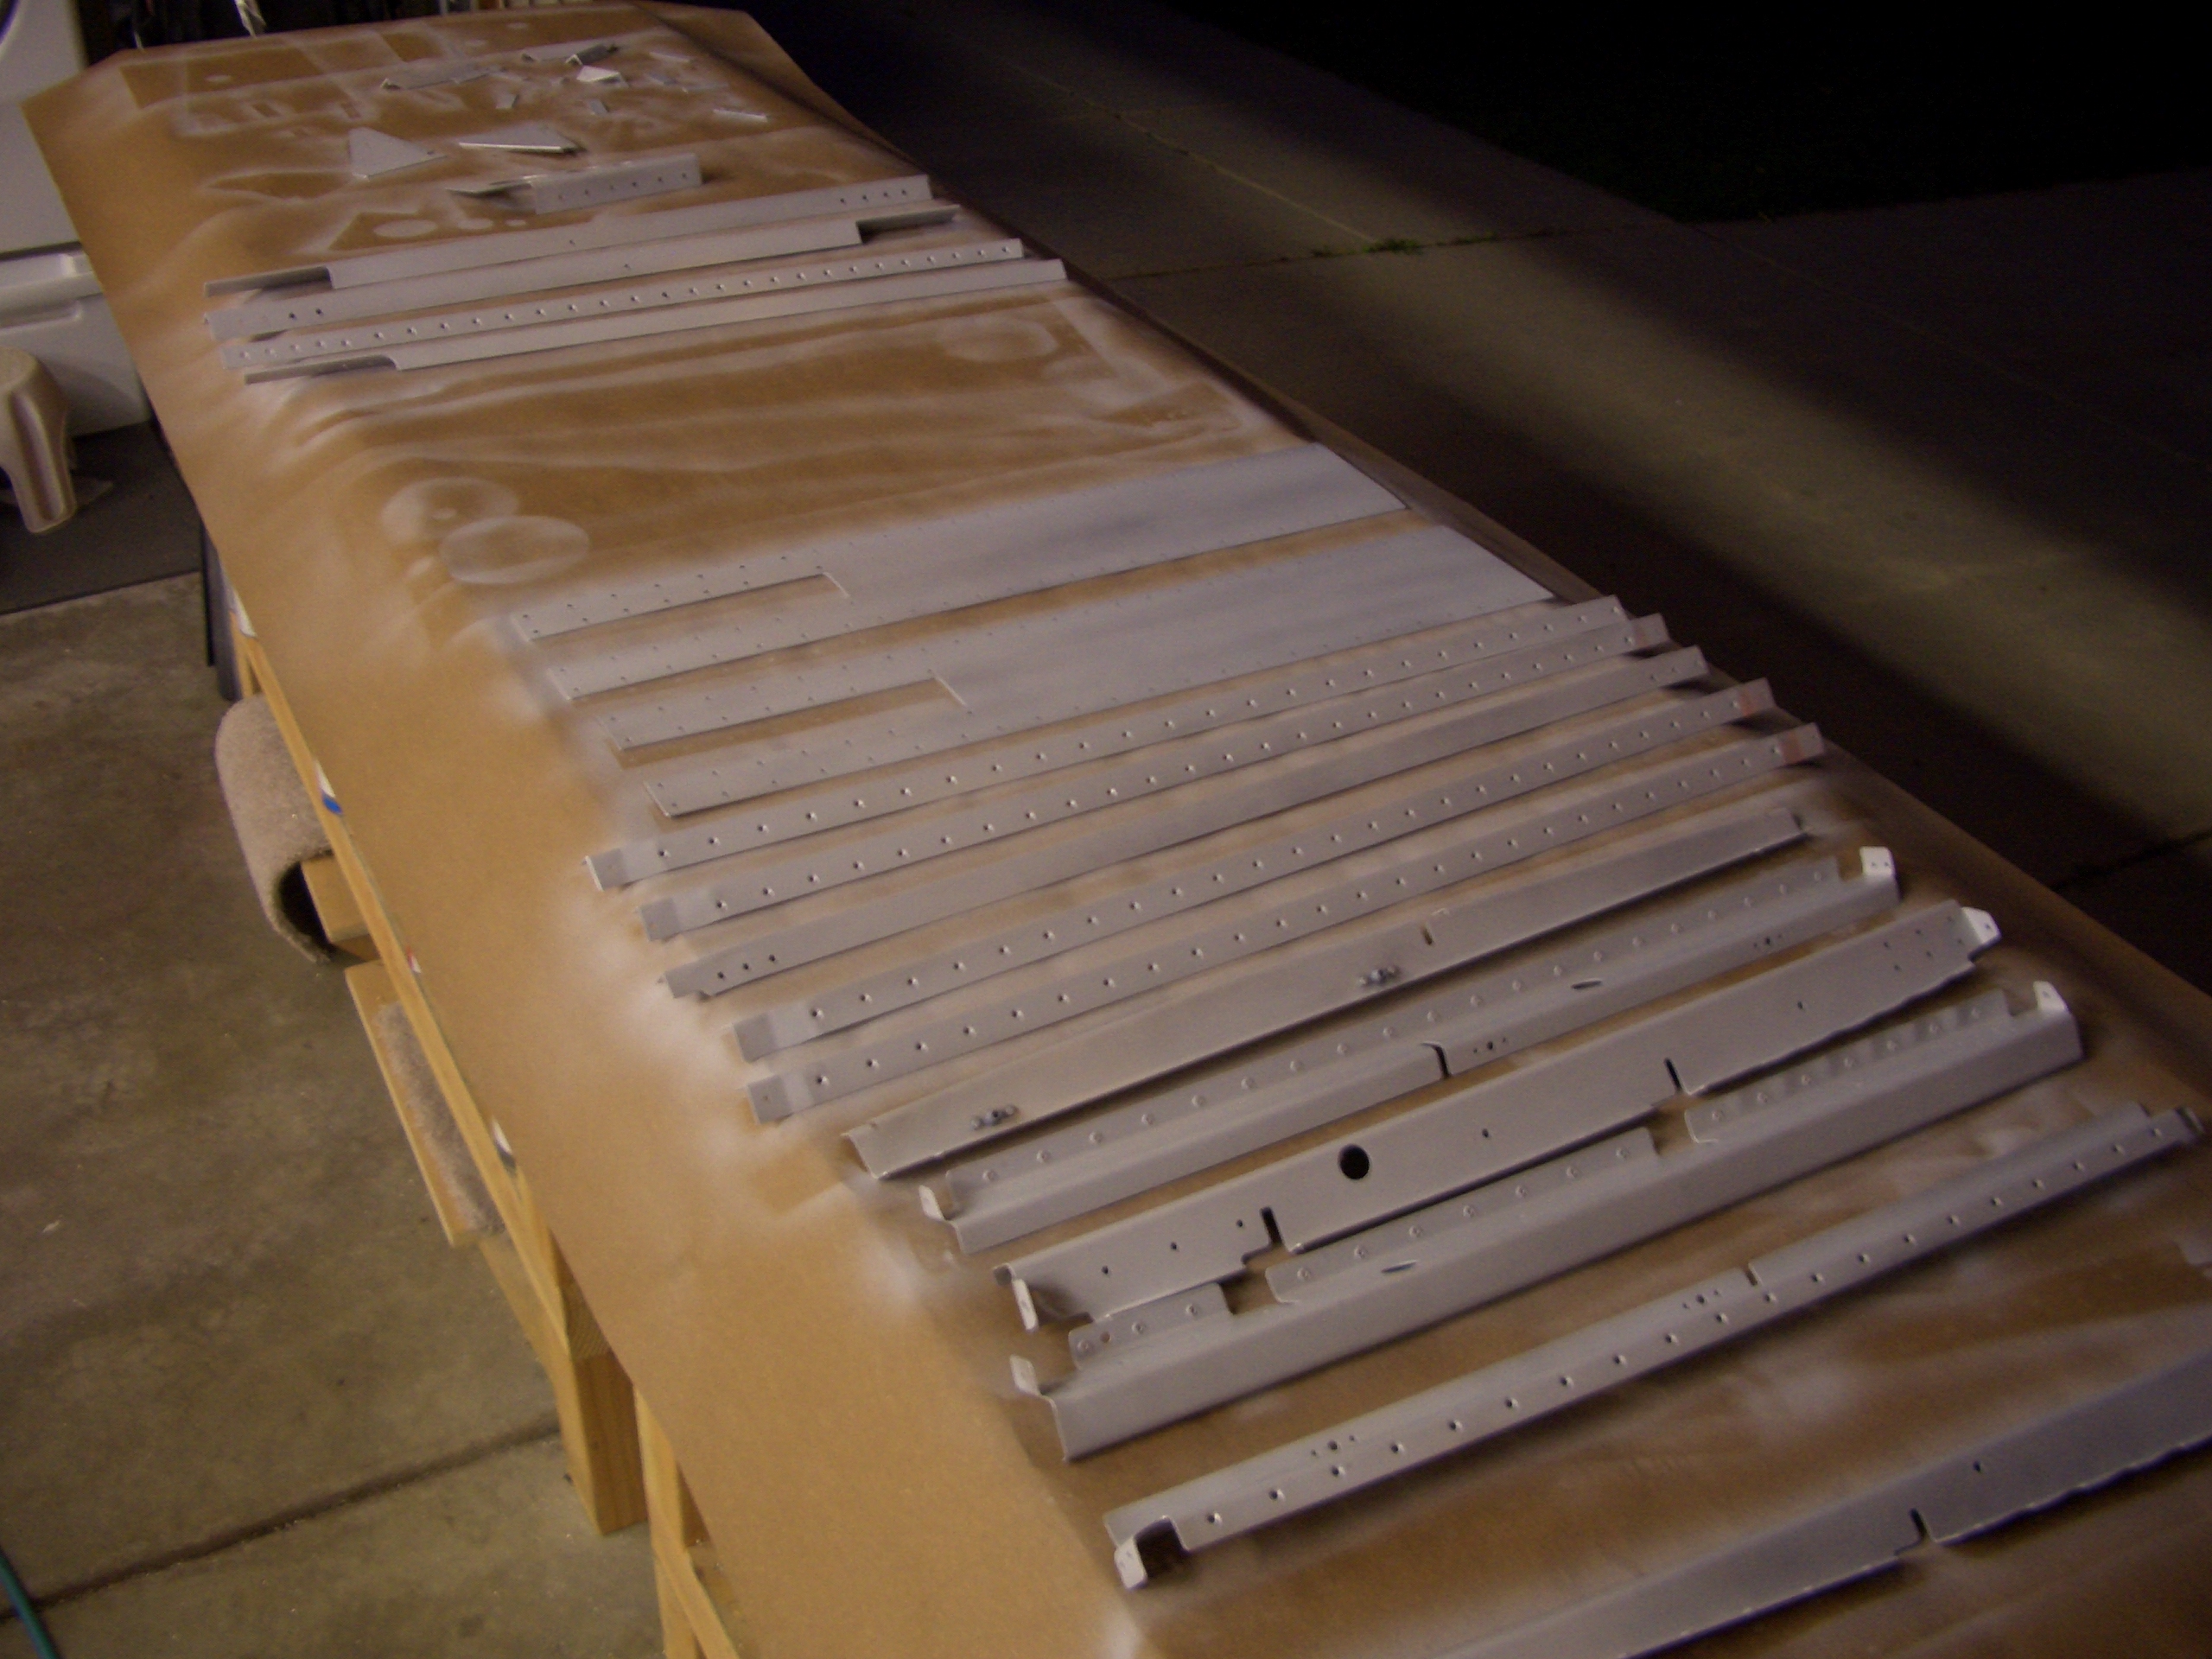
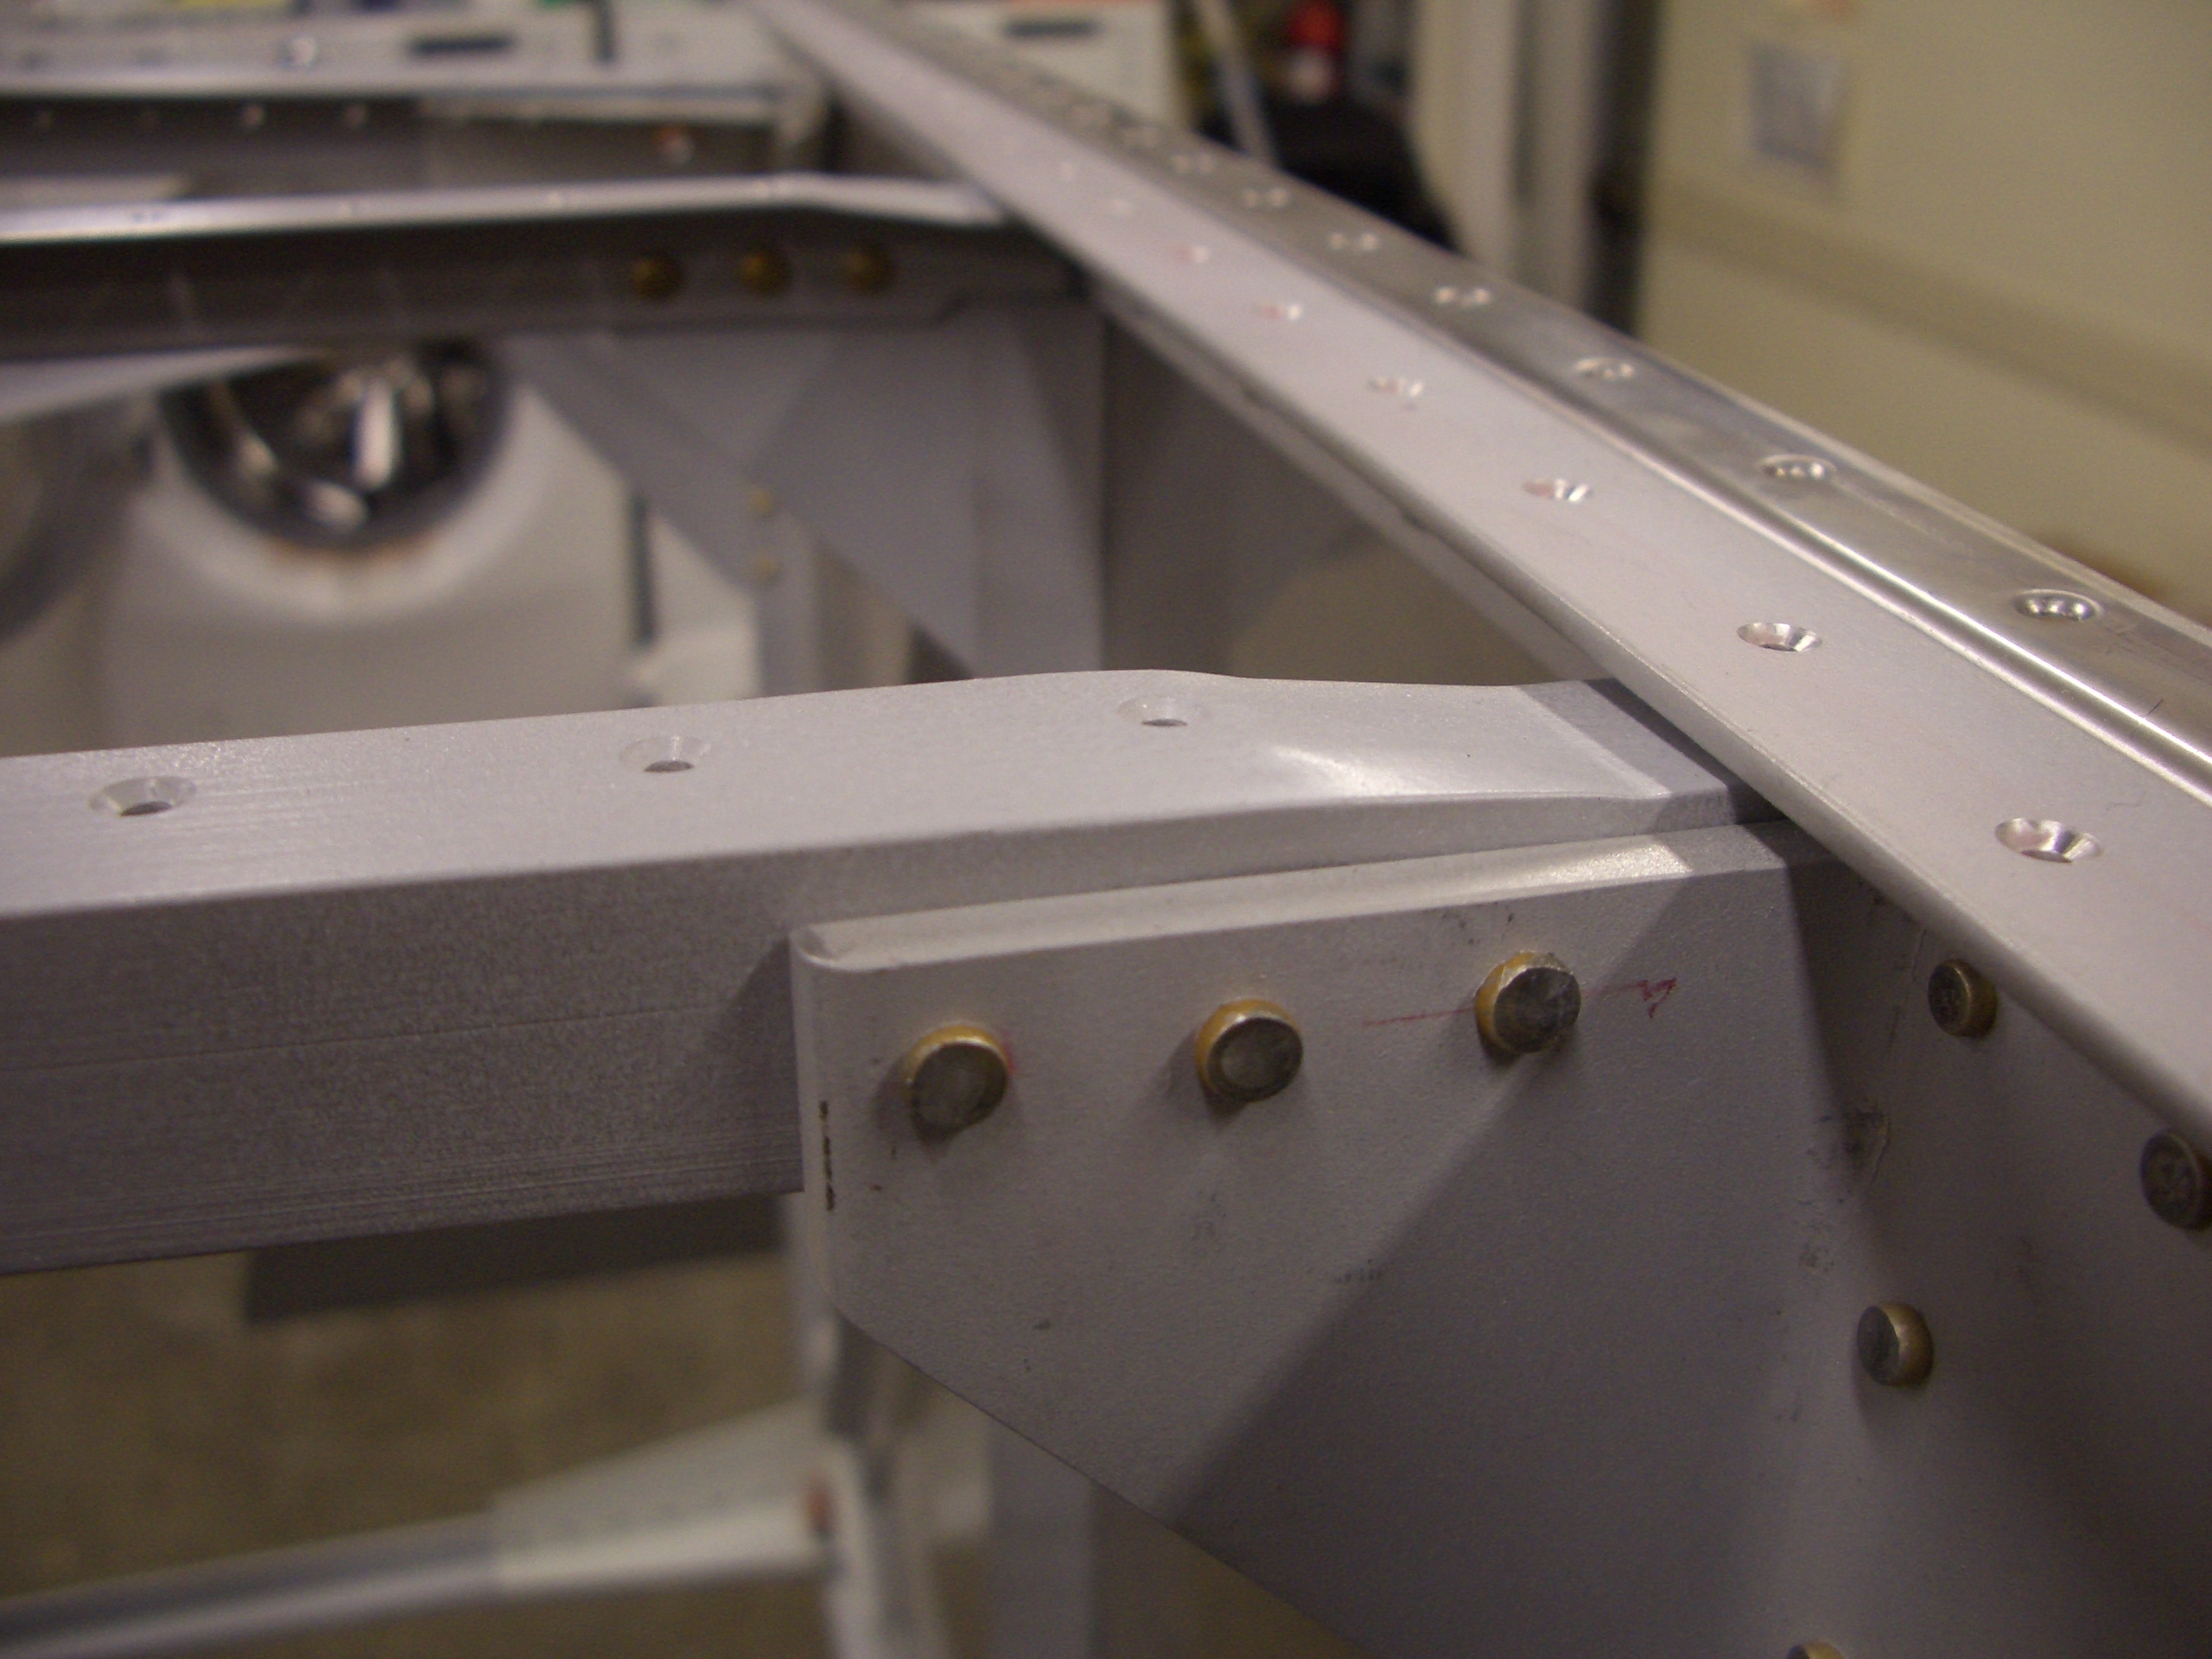
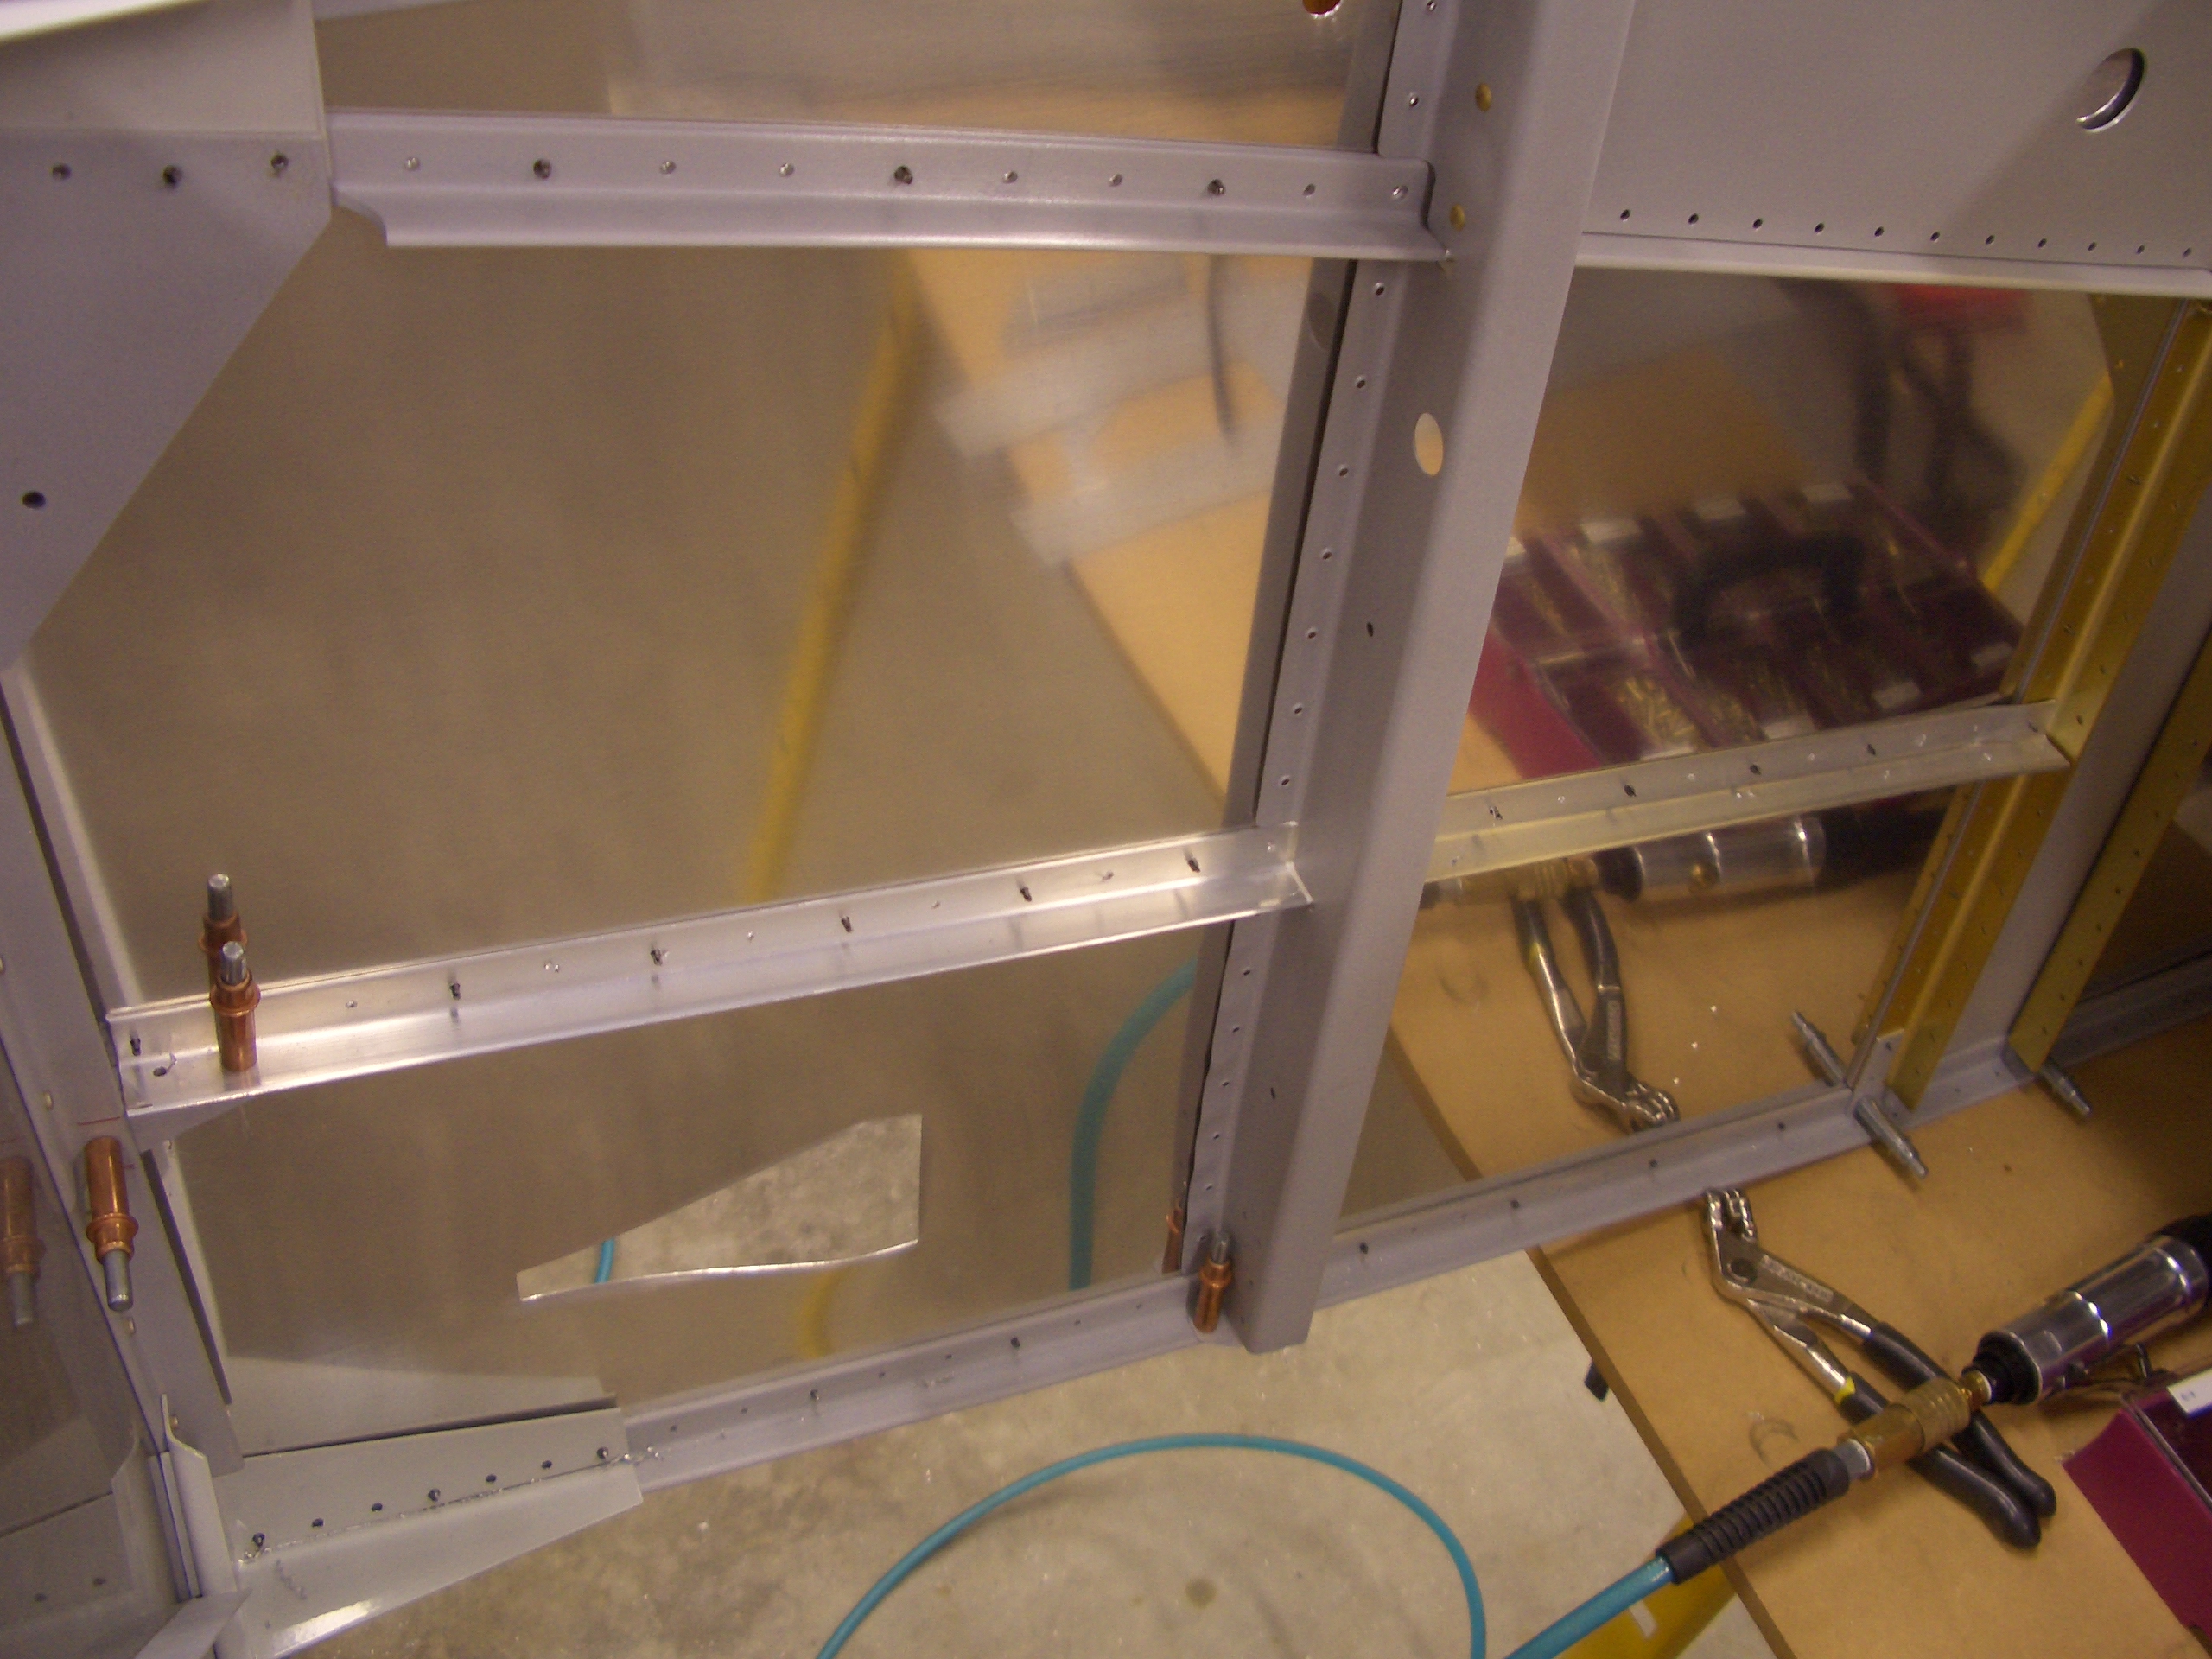
The center floor stiffeners can be riveted to the cover support ribs. I couldn’t reach the aft holes with the squeezer, so I’ll have to shoot those. It’s too late to run the gun tonight though, so that will have to wait until later.

I also squeezed the rivets attaching the center floor stiffeners to the F-601-J angles.