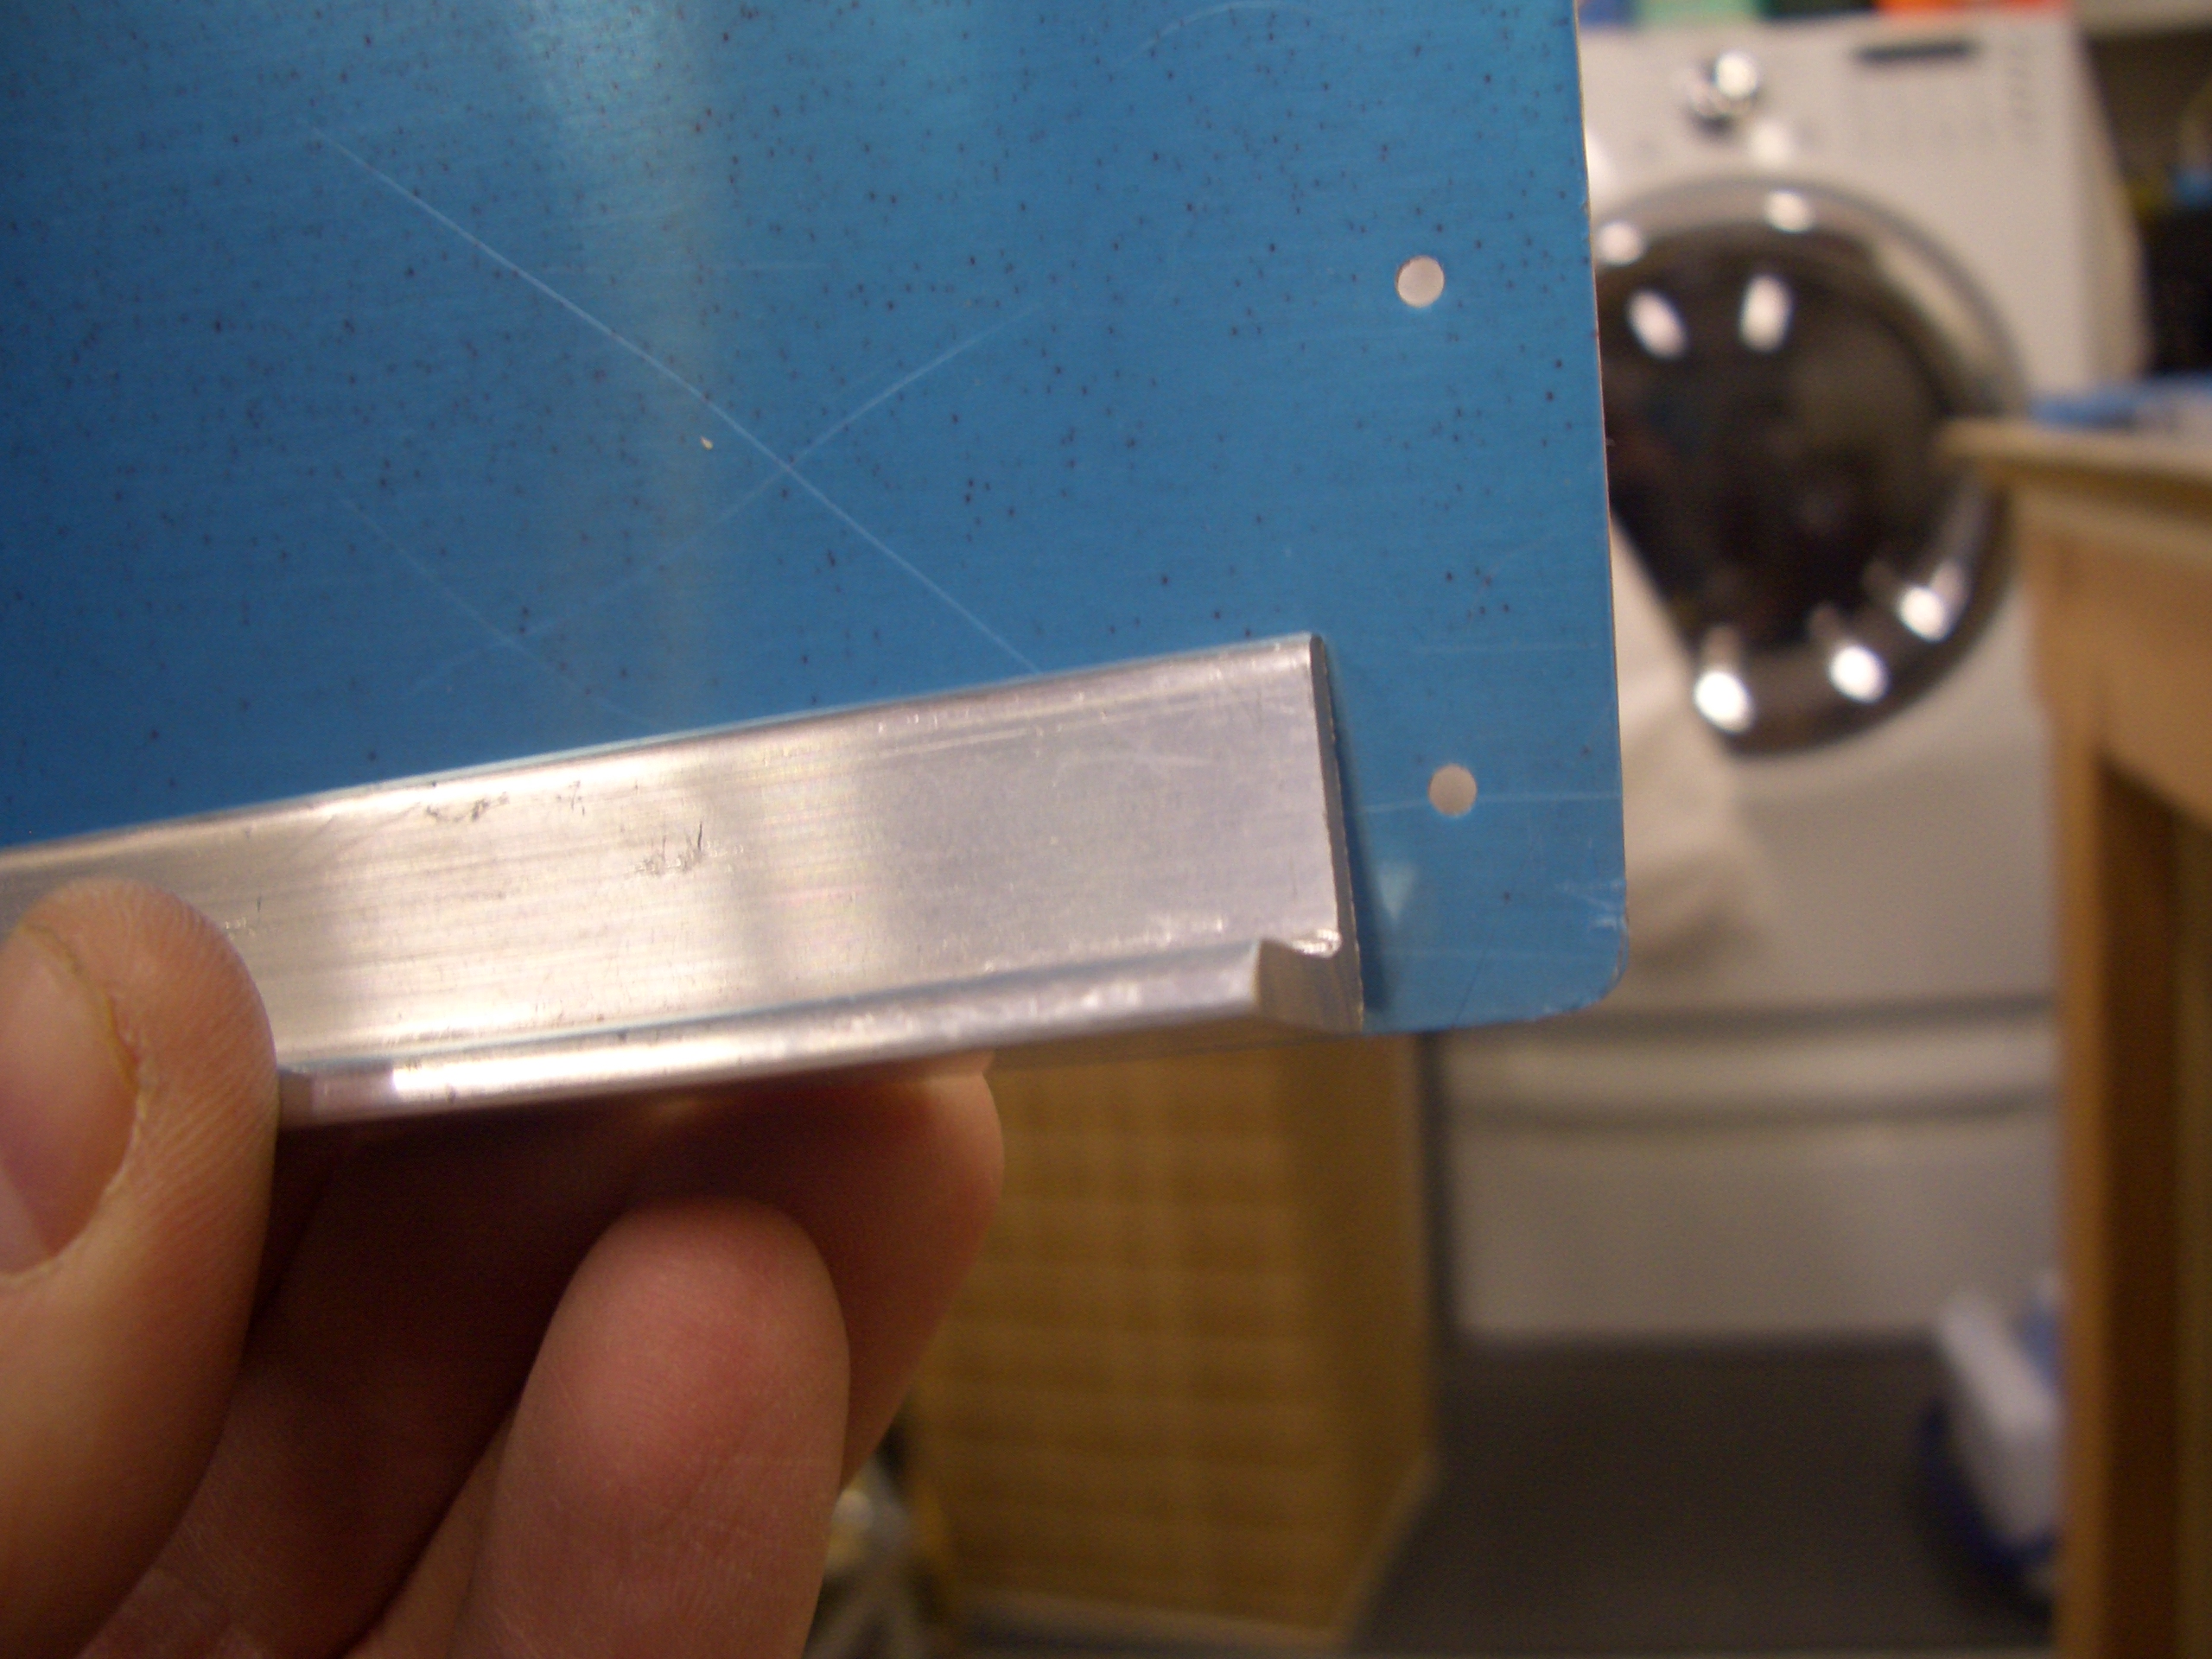
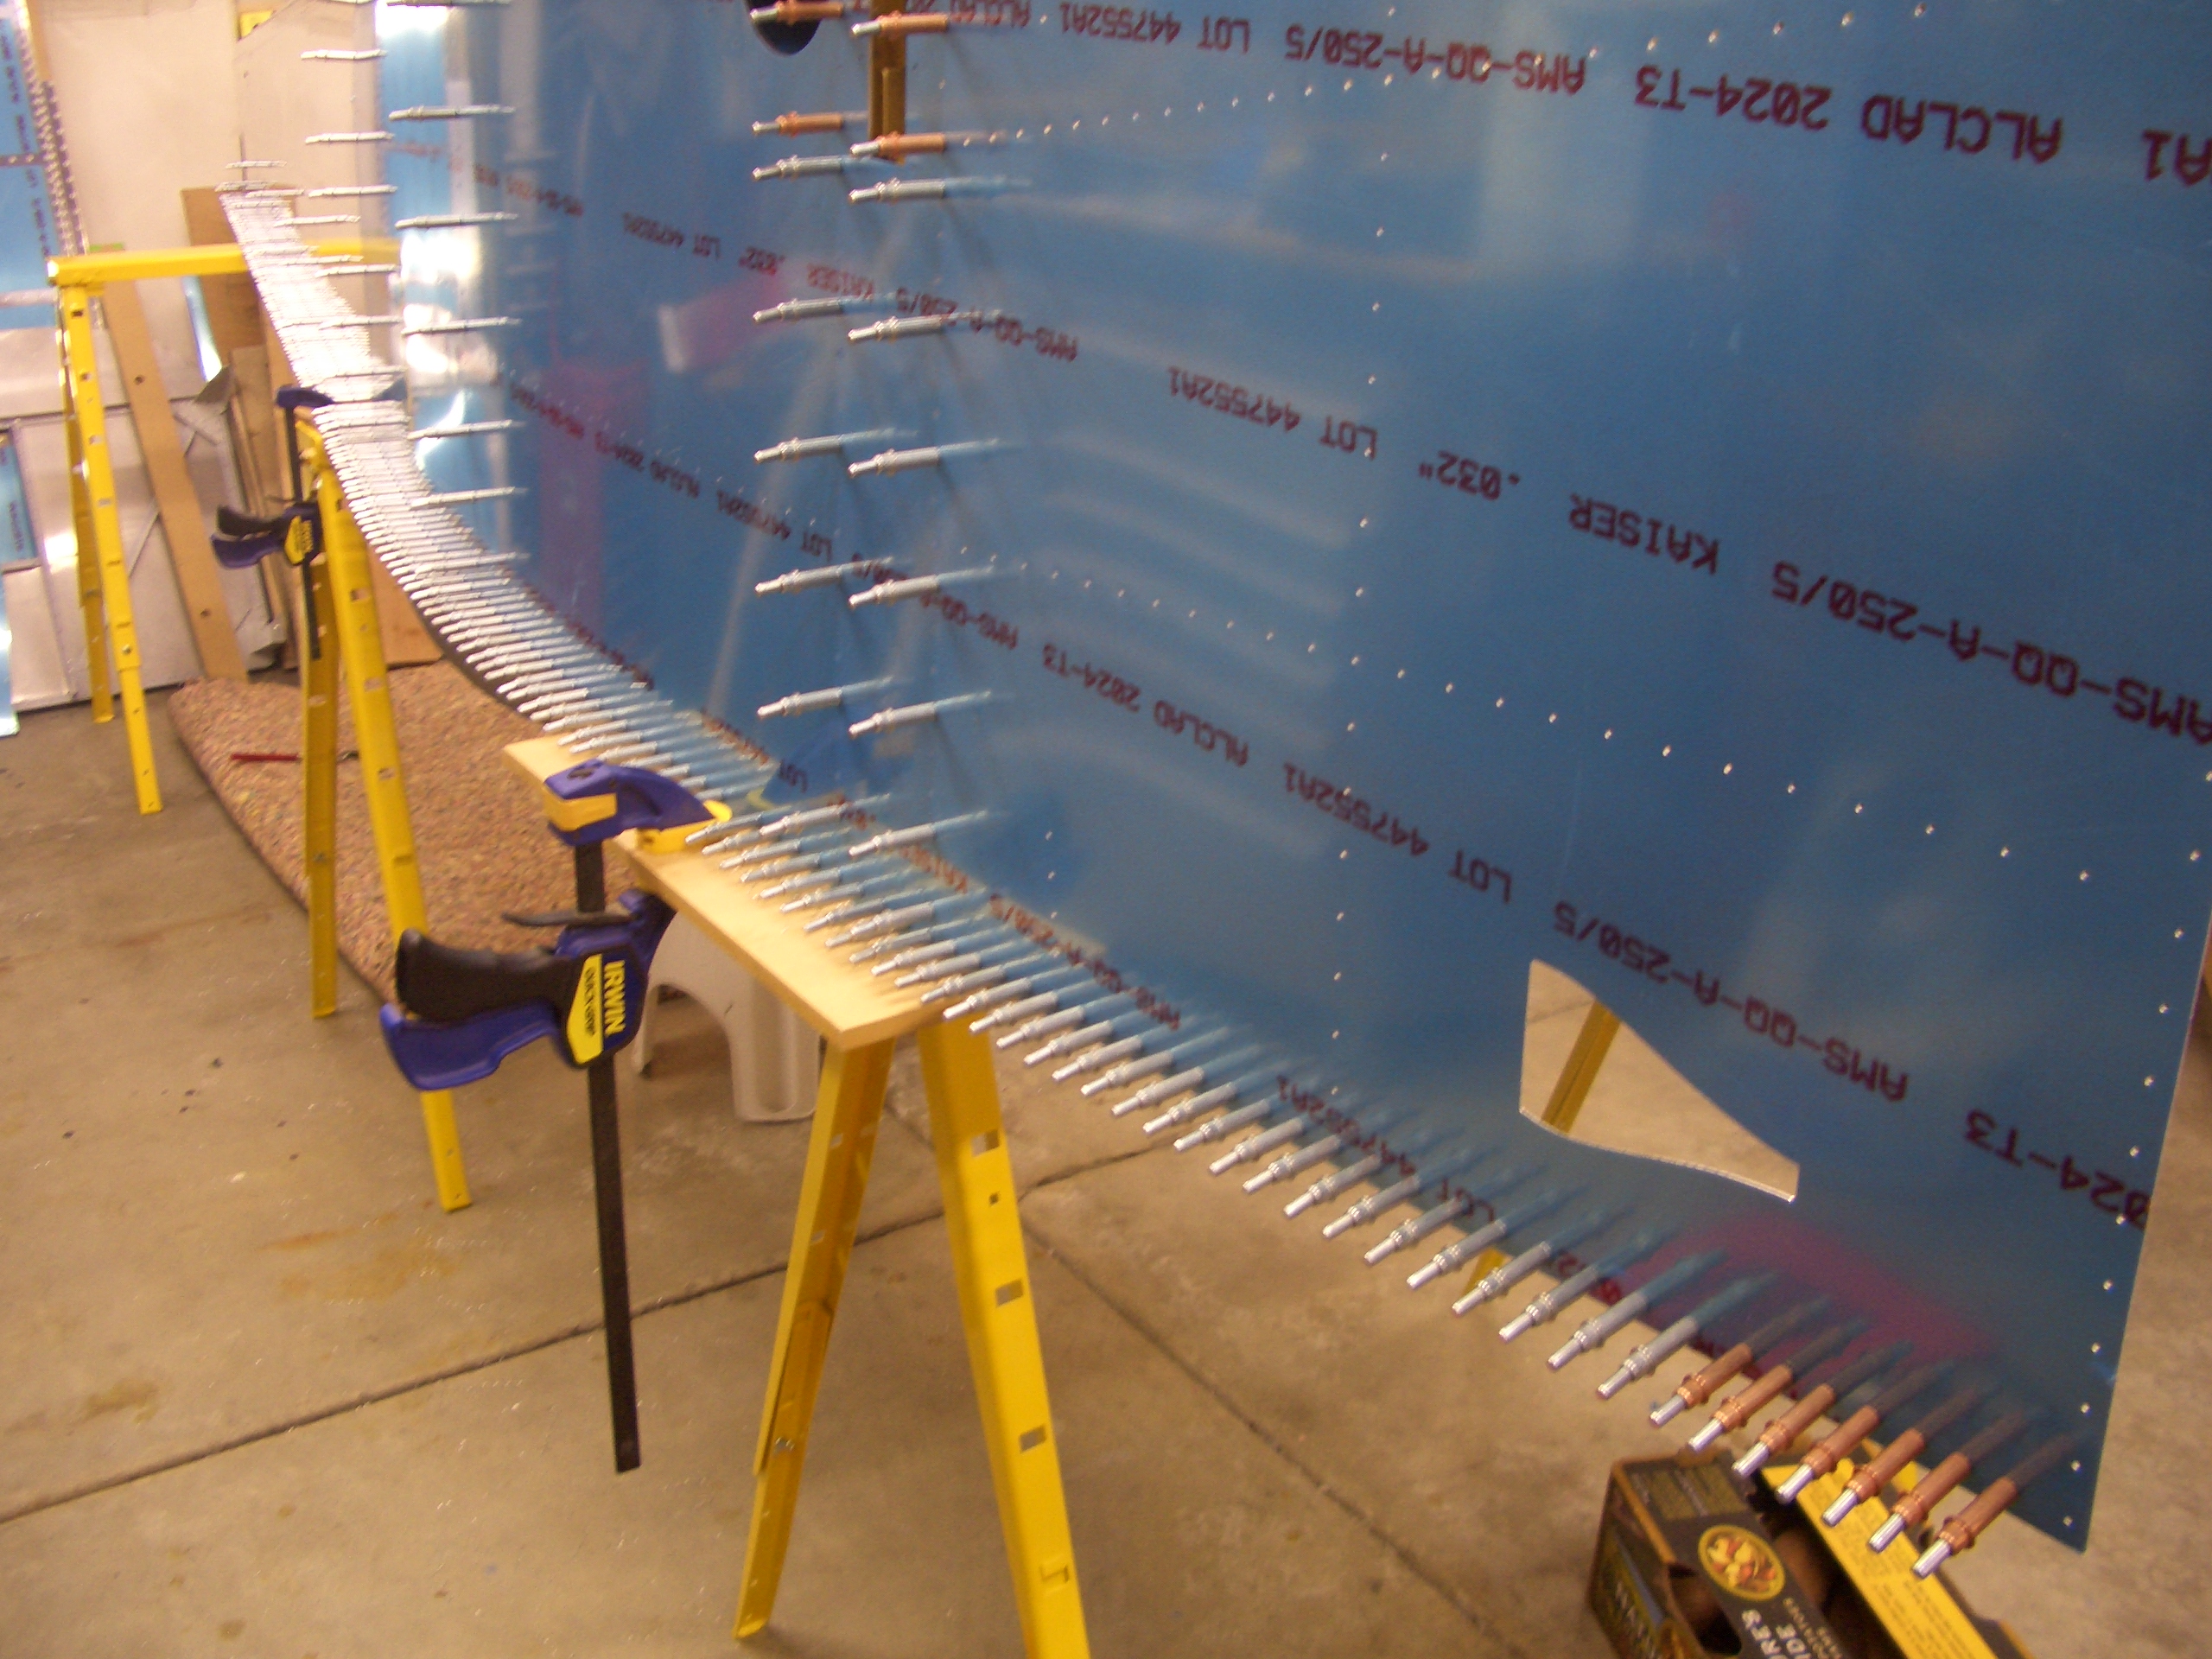
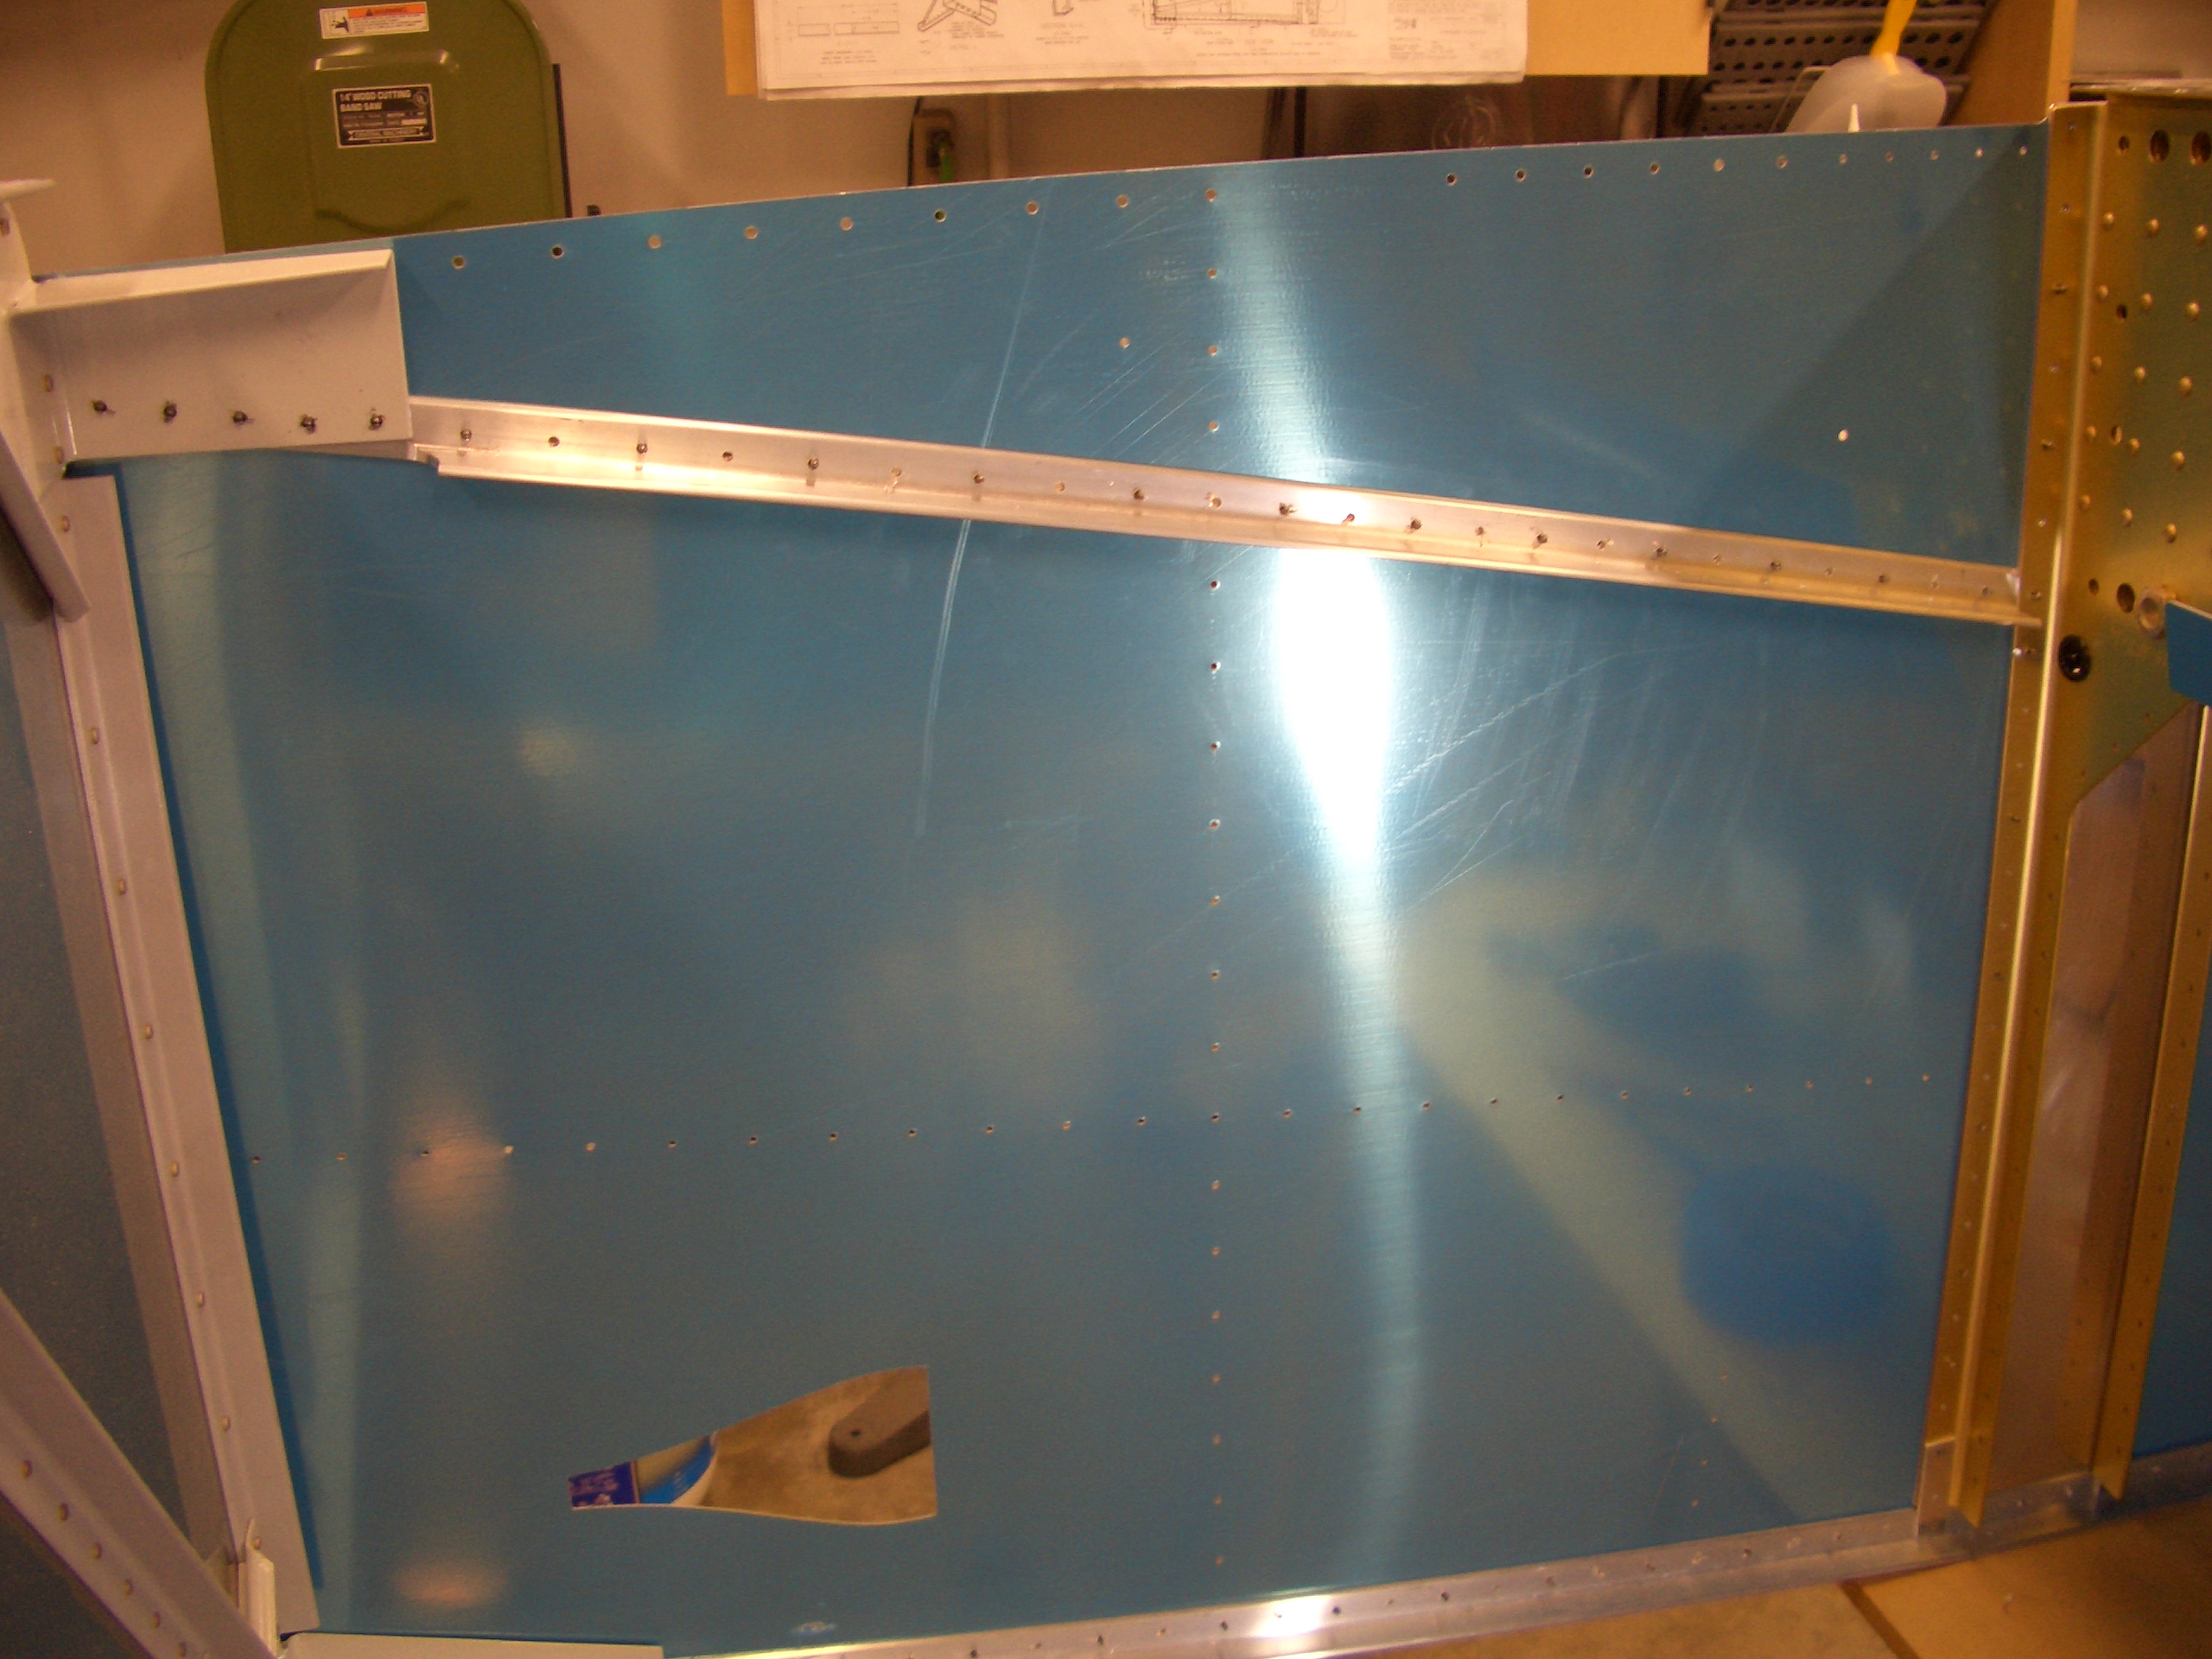
I came out this afternoon and drilled the right longeron to the side skins. This went much quicker than the left since I switched to a new sharp 3/32″ drill bit.
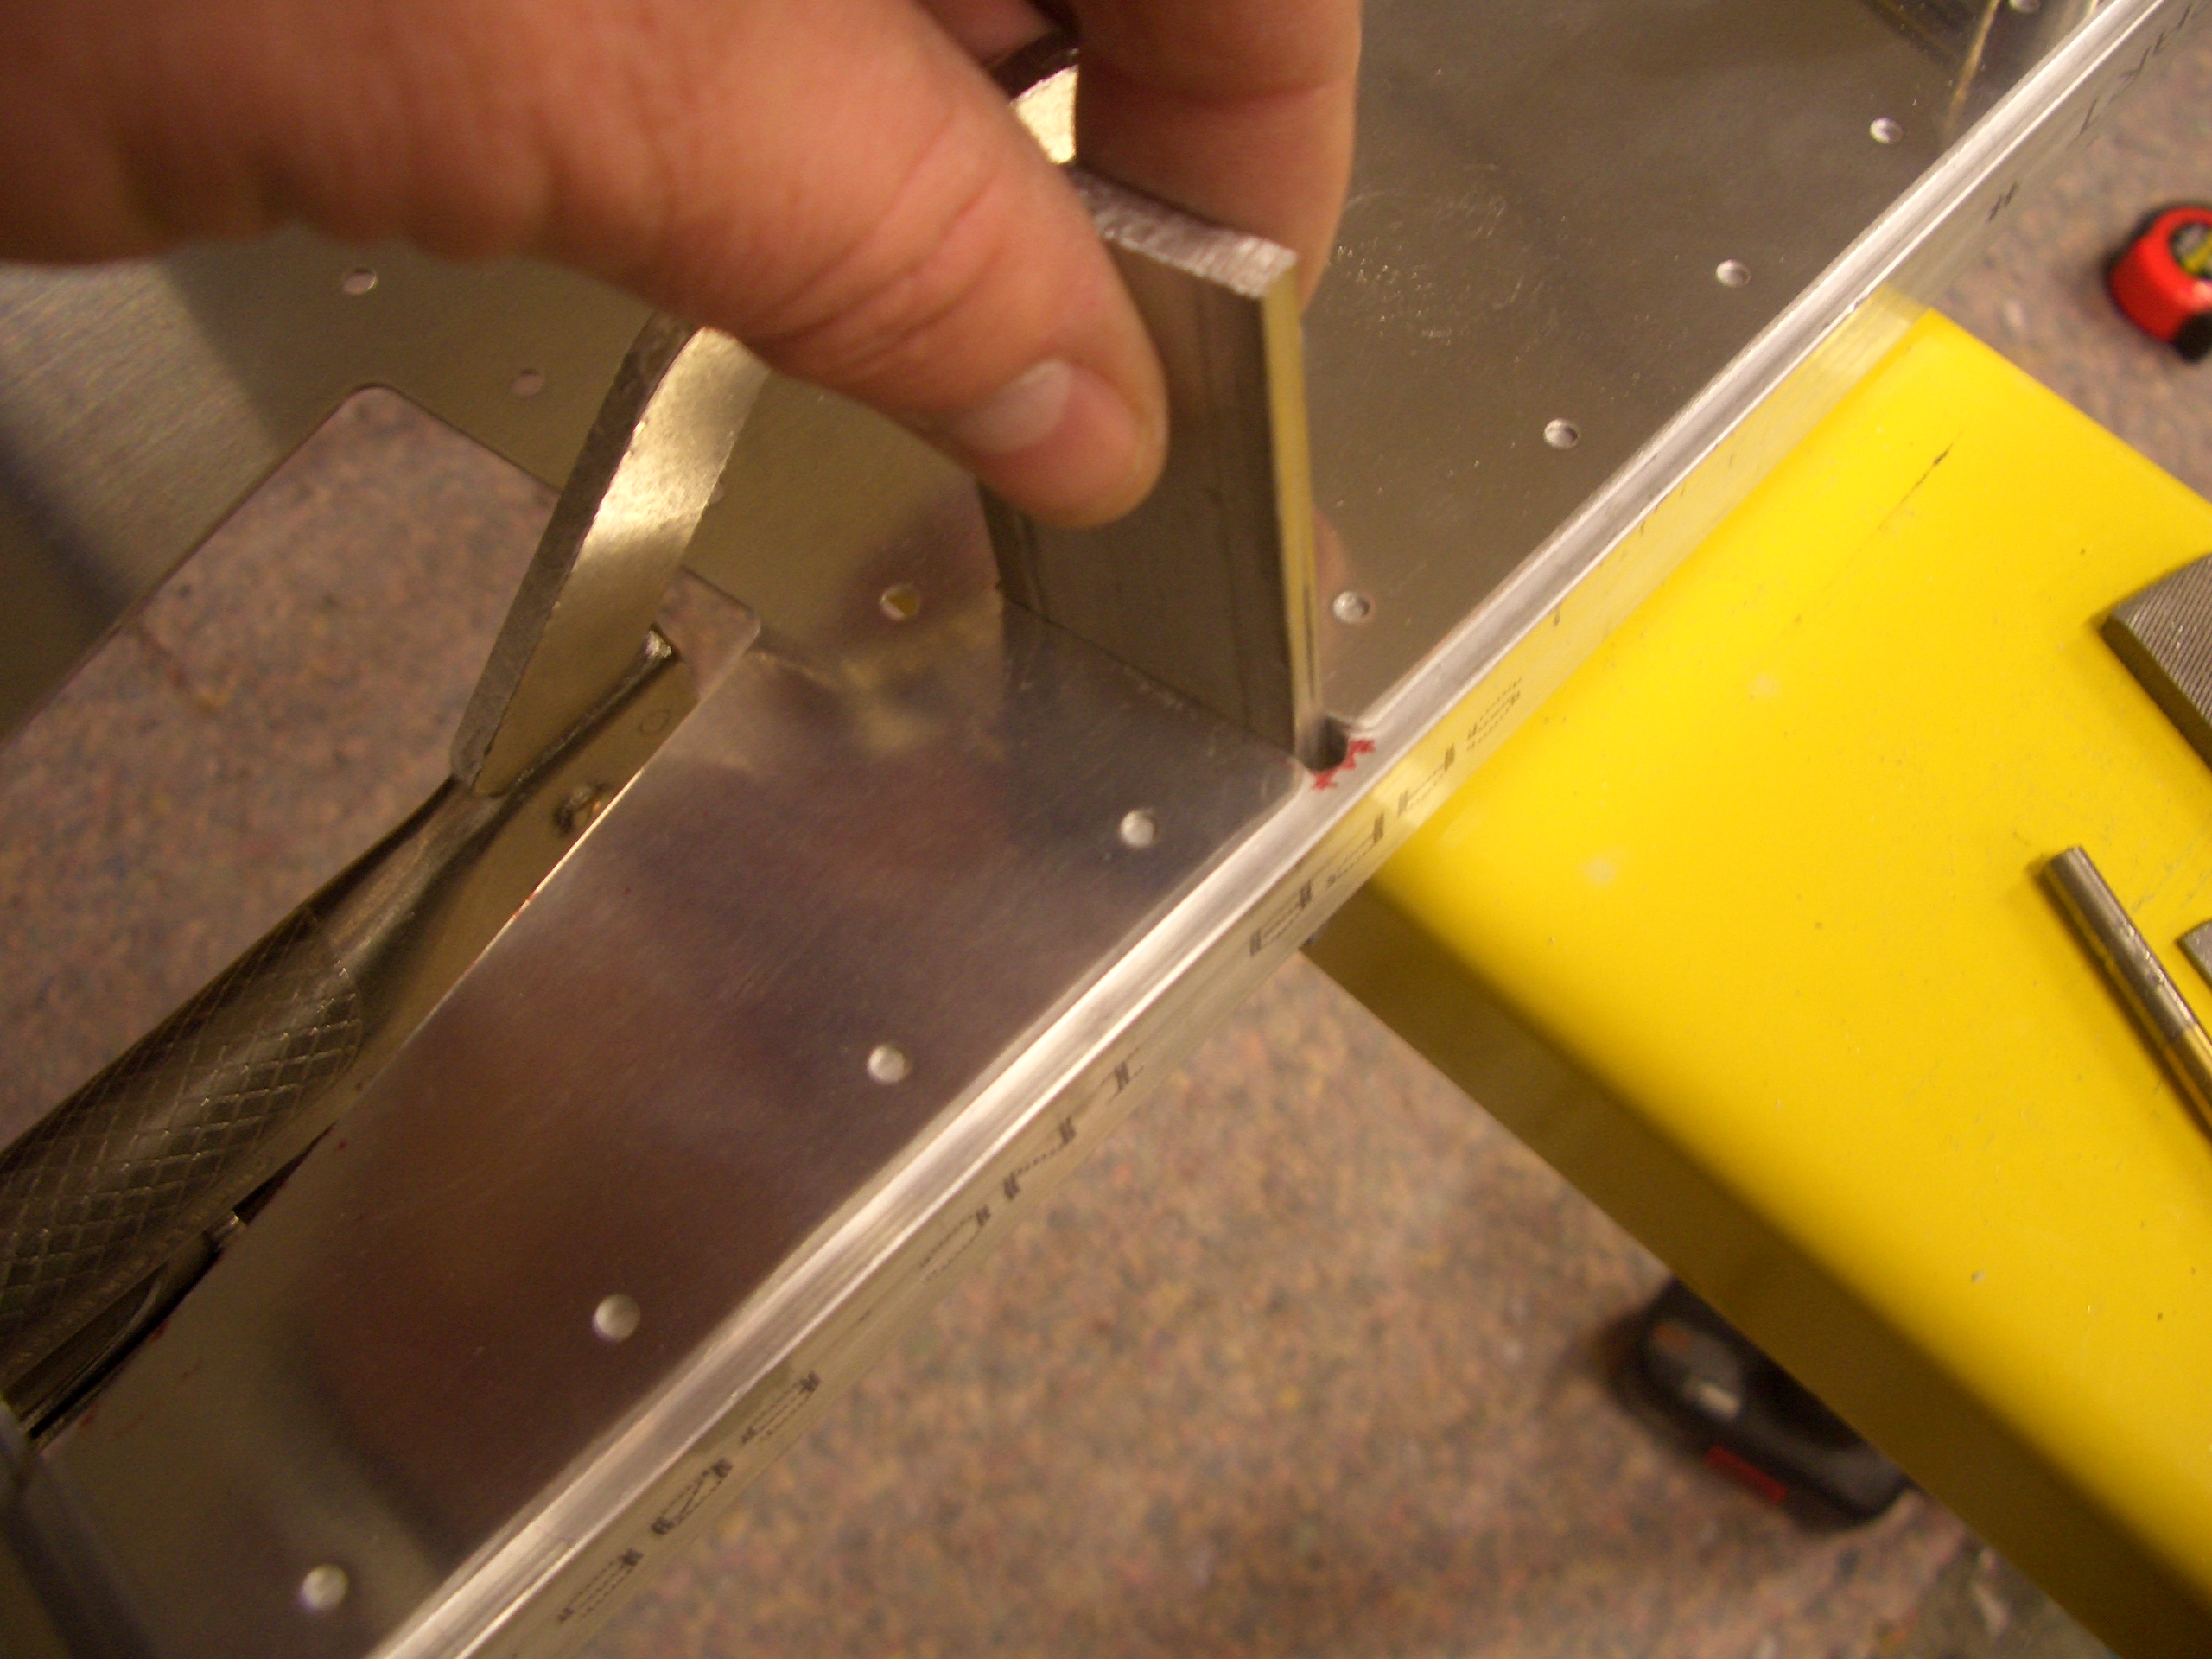
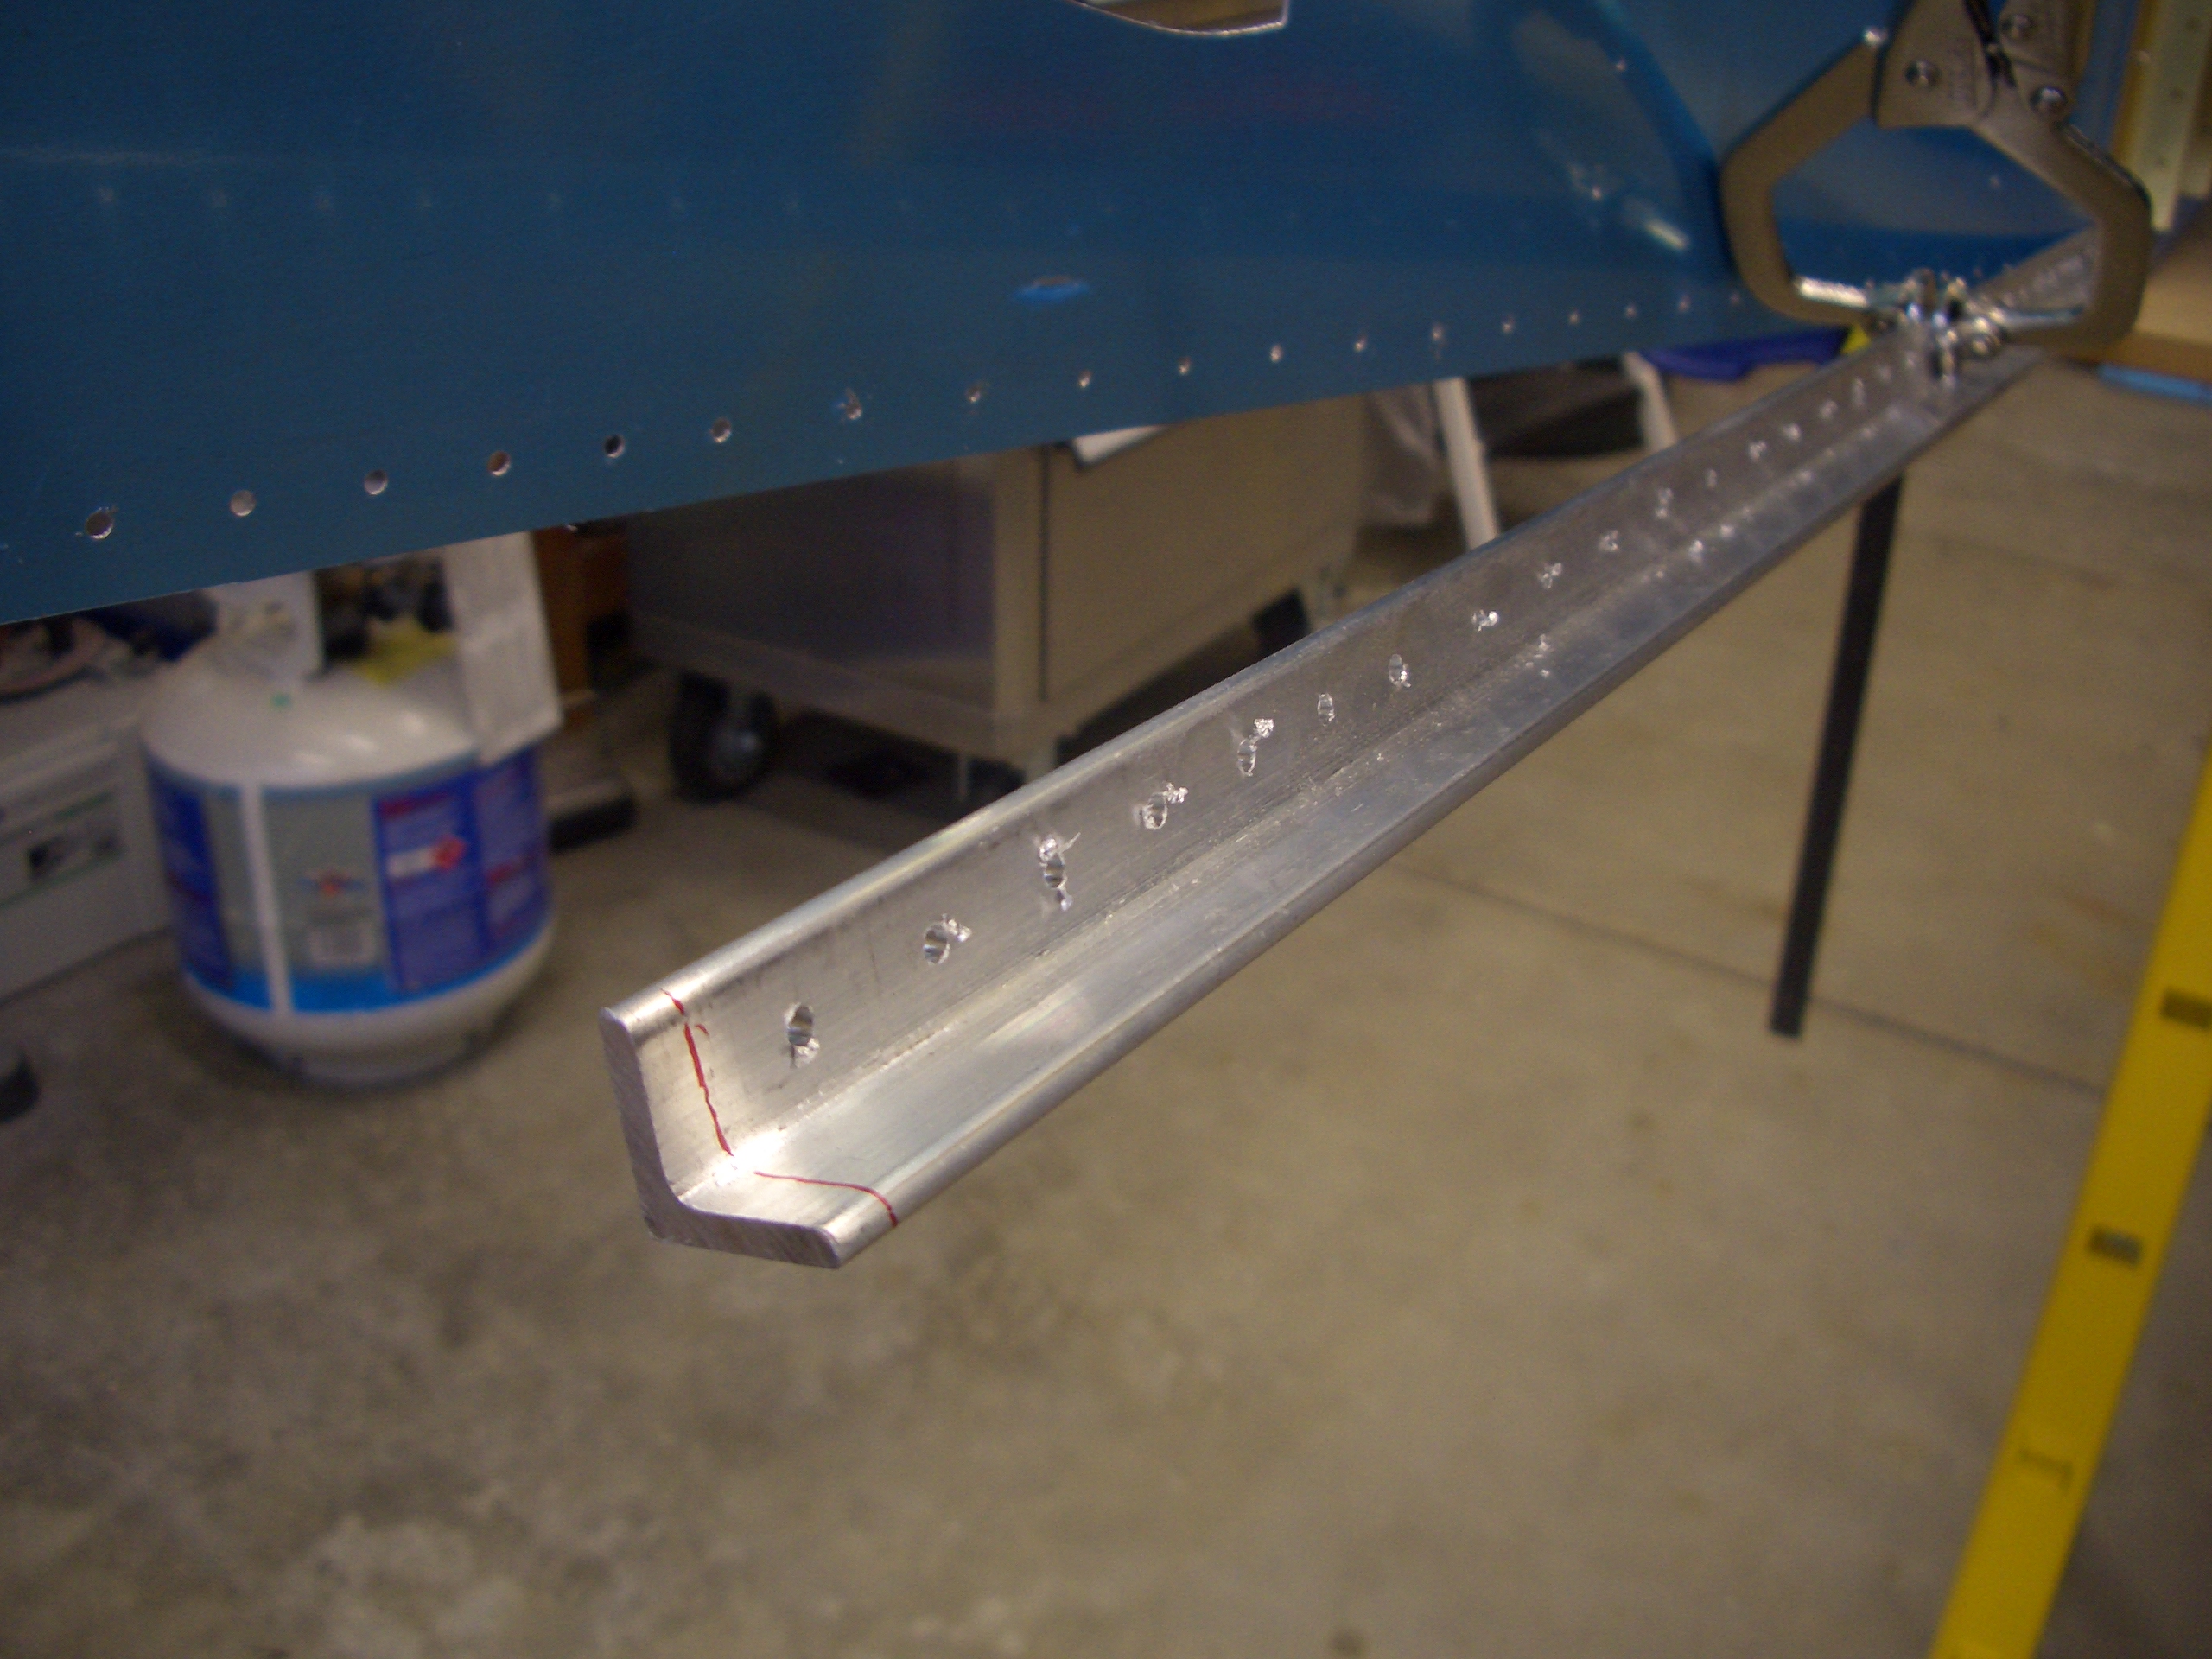
As I mentioned yesterday, the longerons have to be cut back 3/4″ from the firewall. I marked this dimension and then cut it off with a die grinder and cutoff disk and filed to the line.

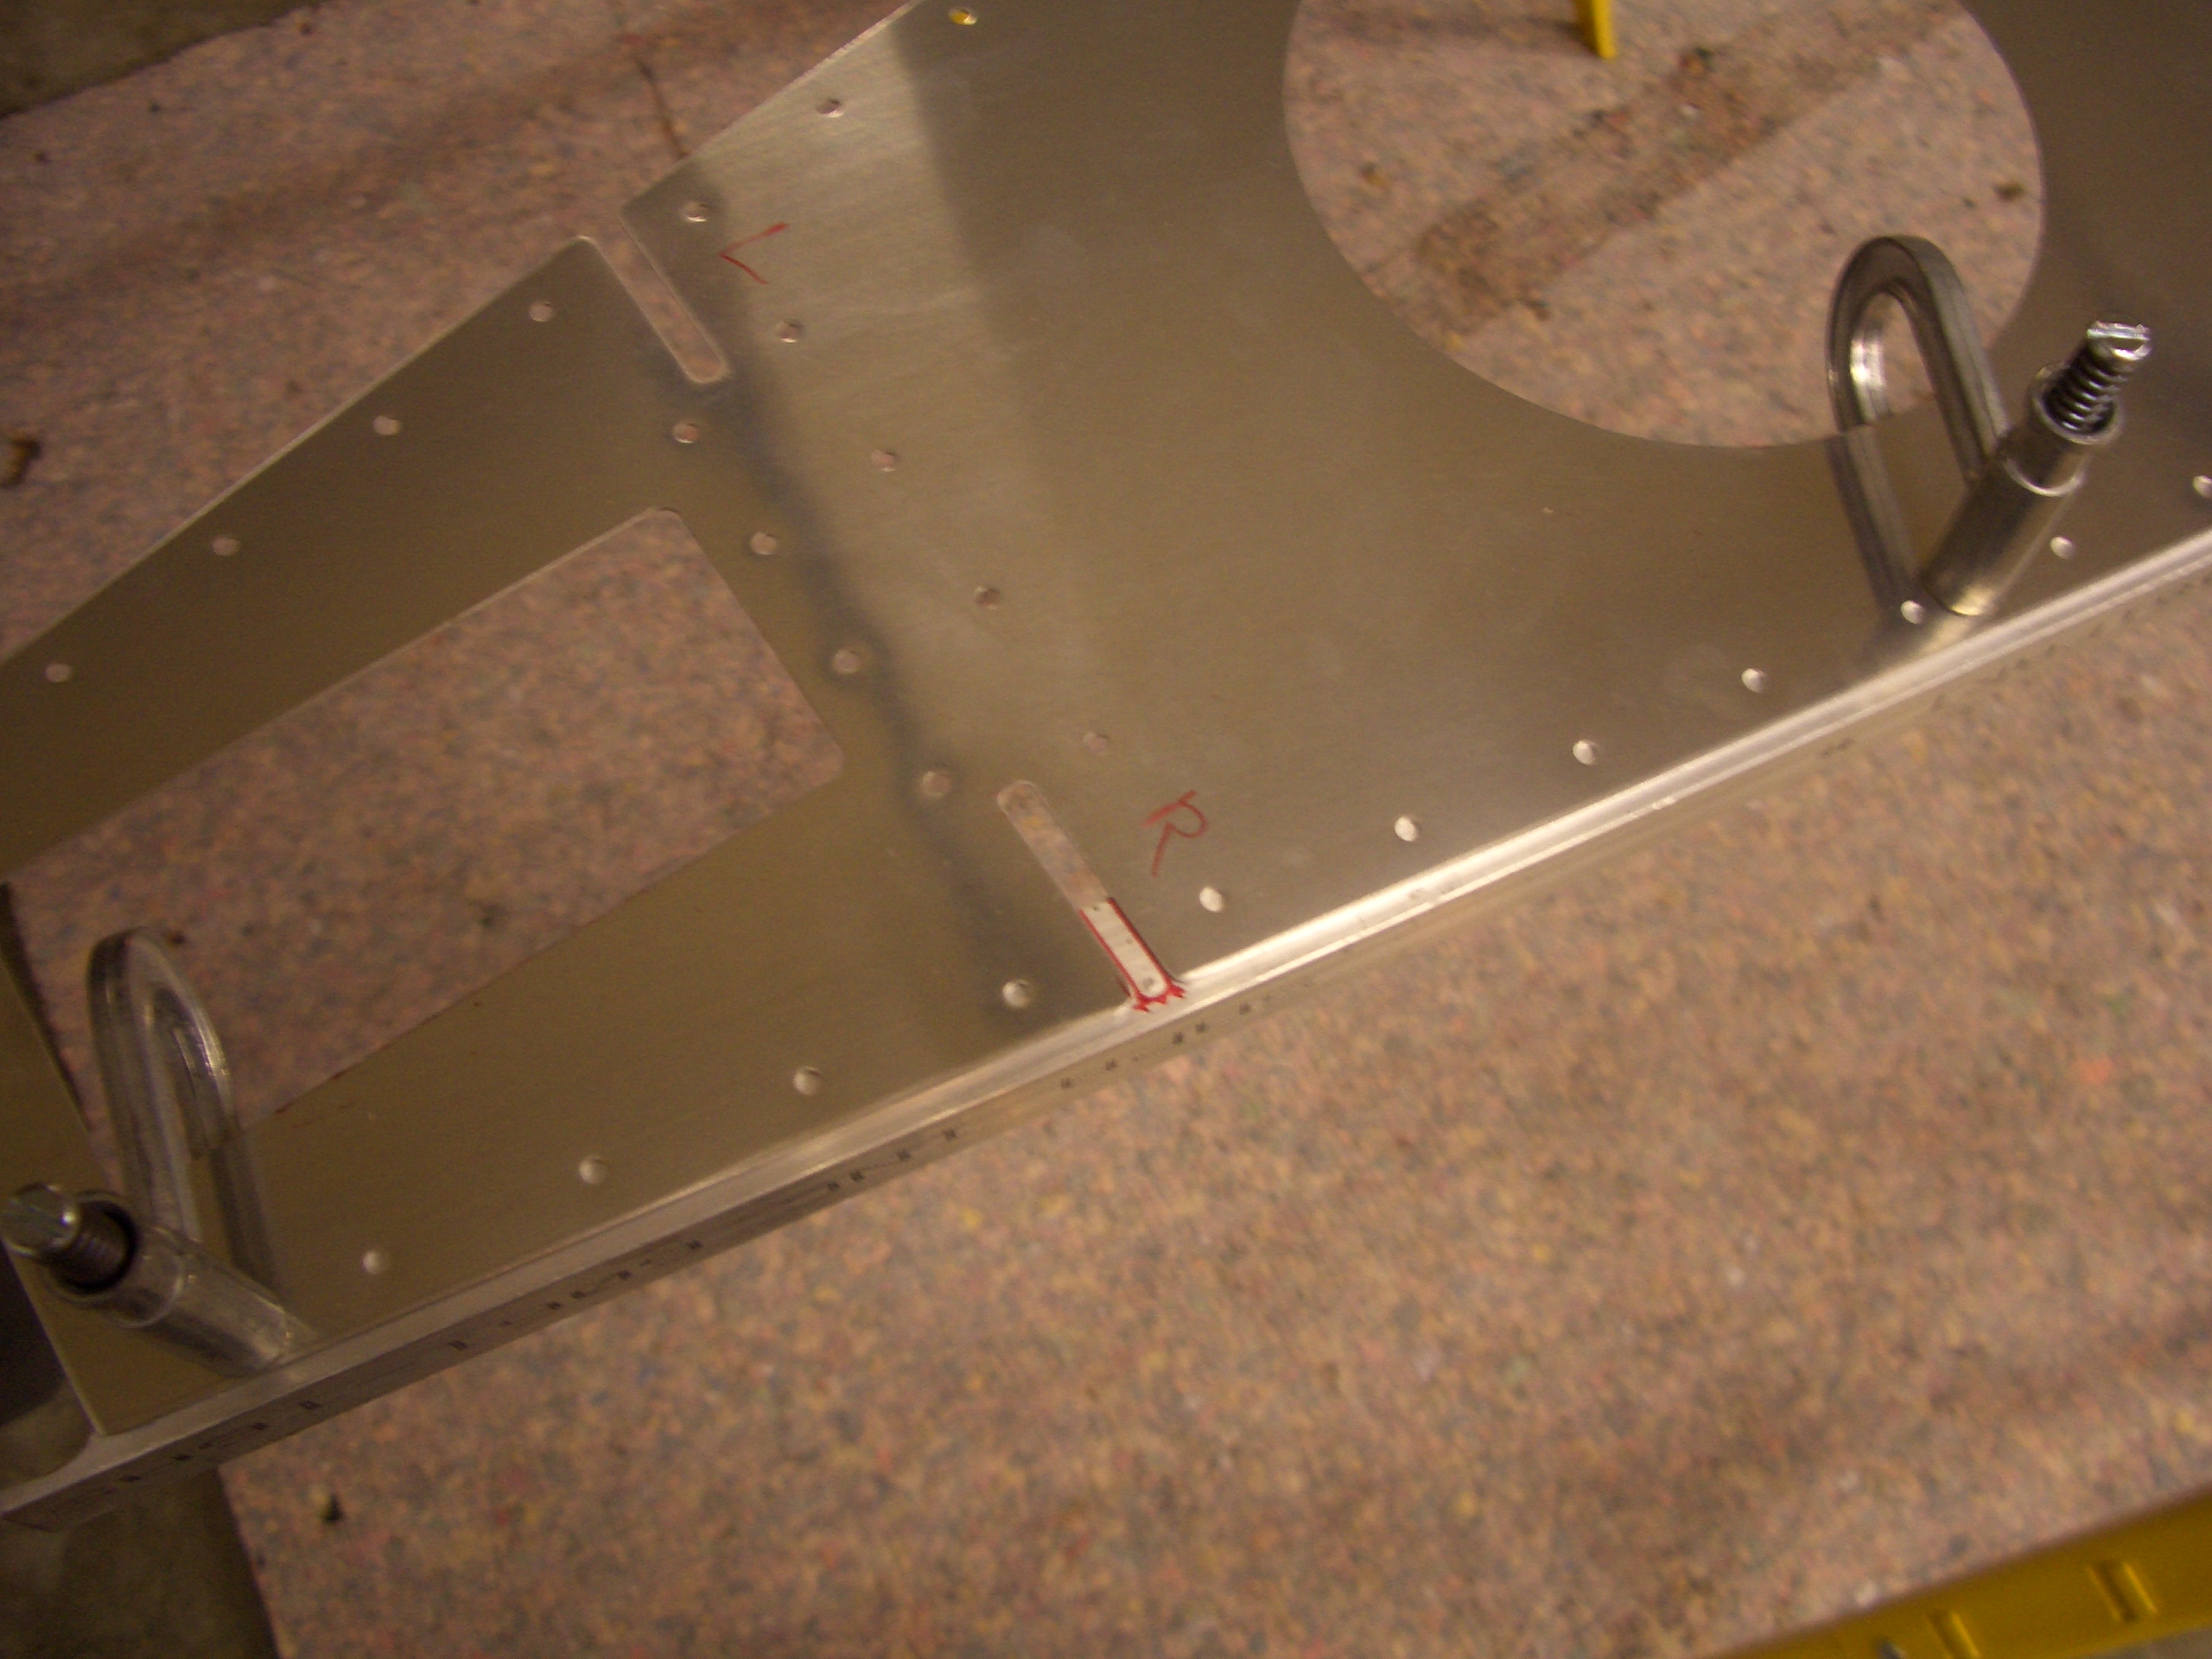
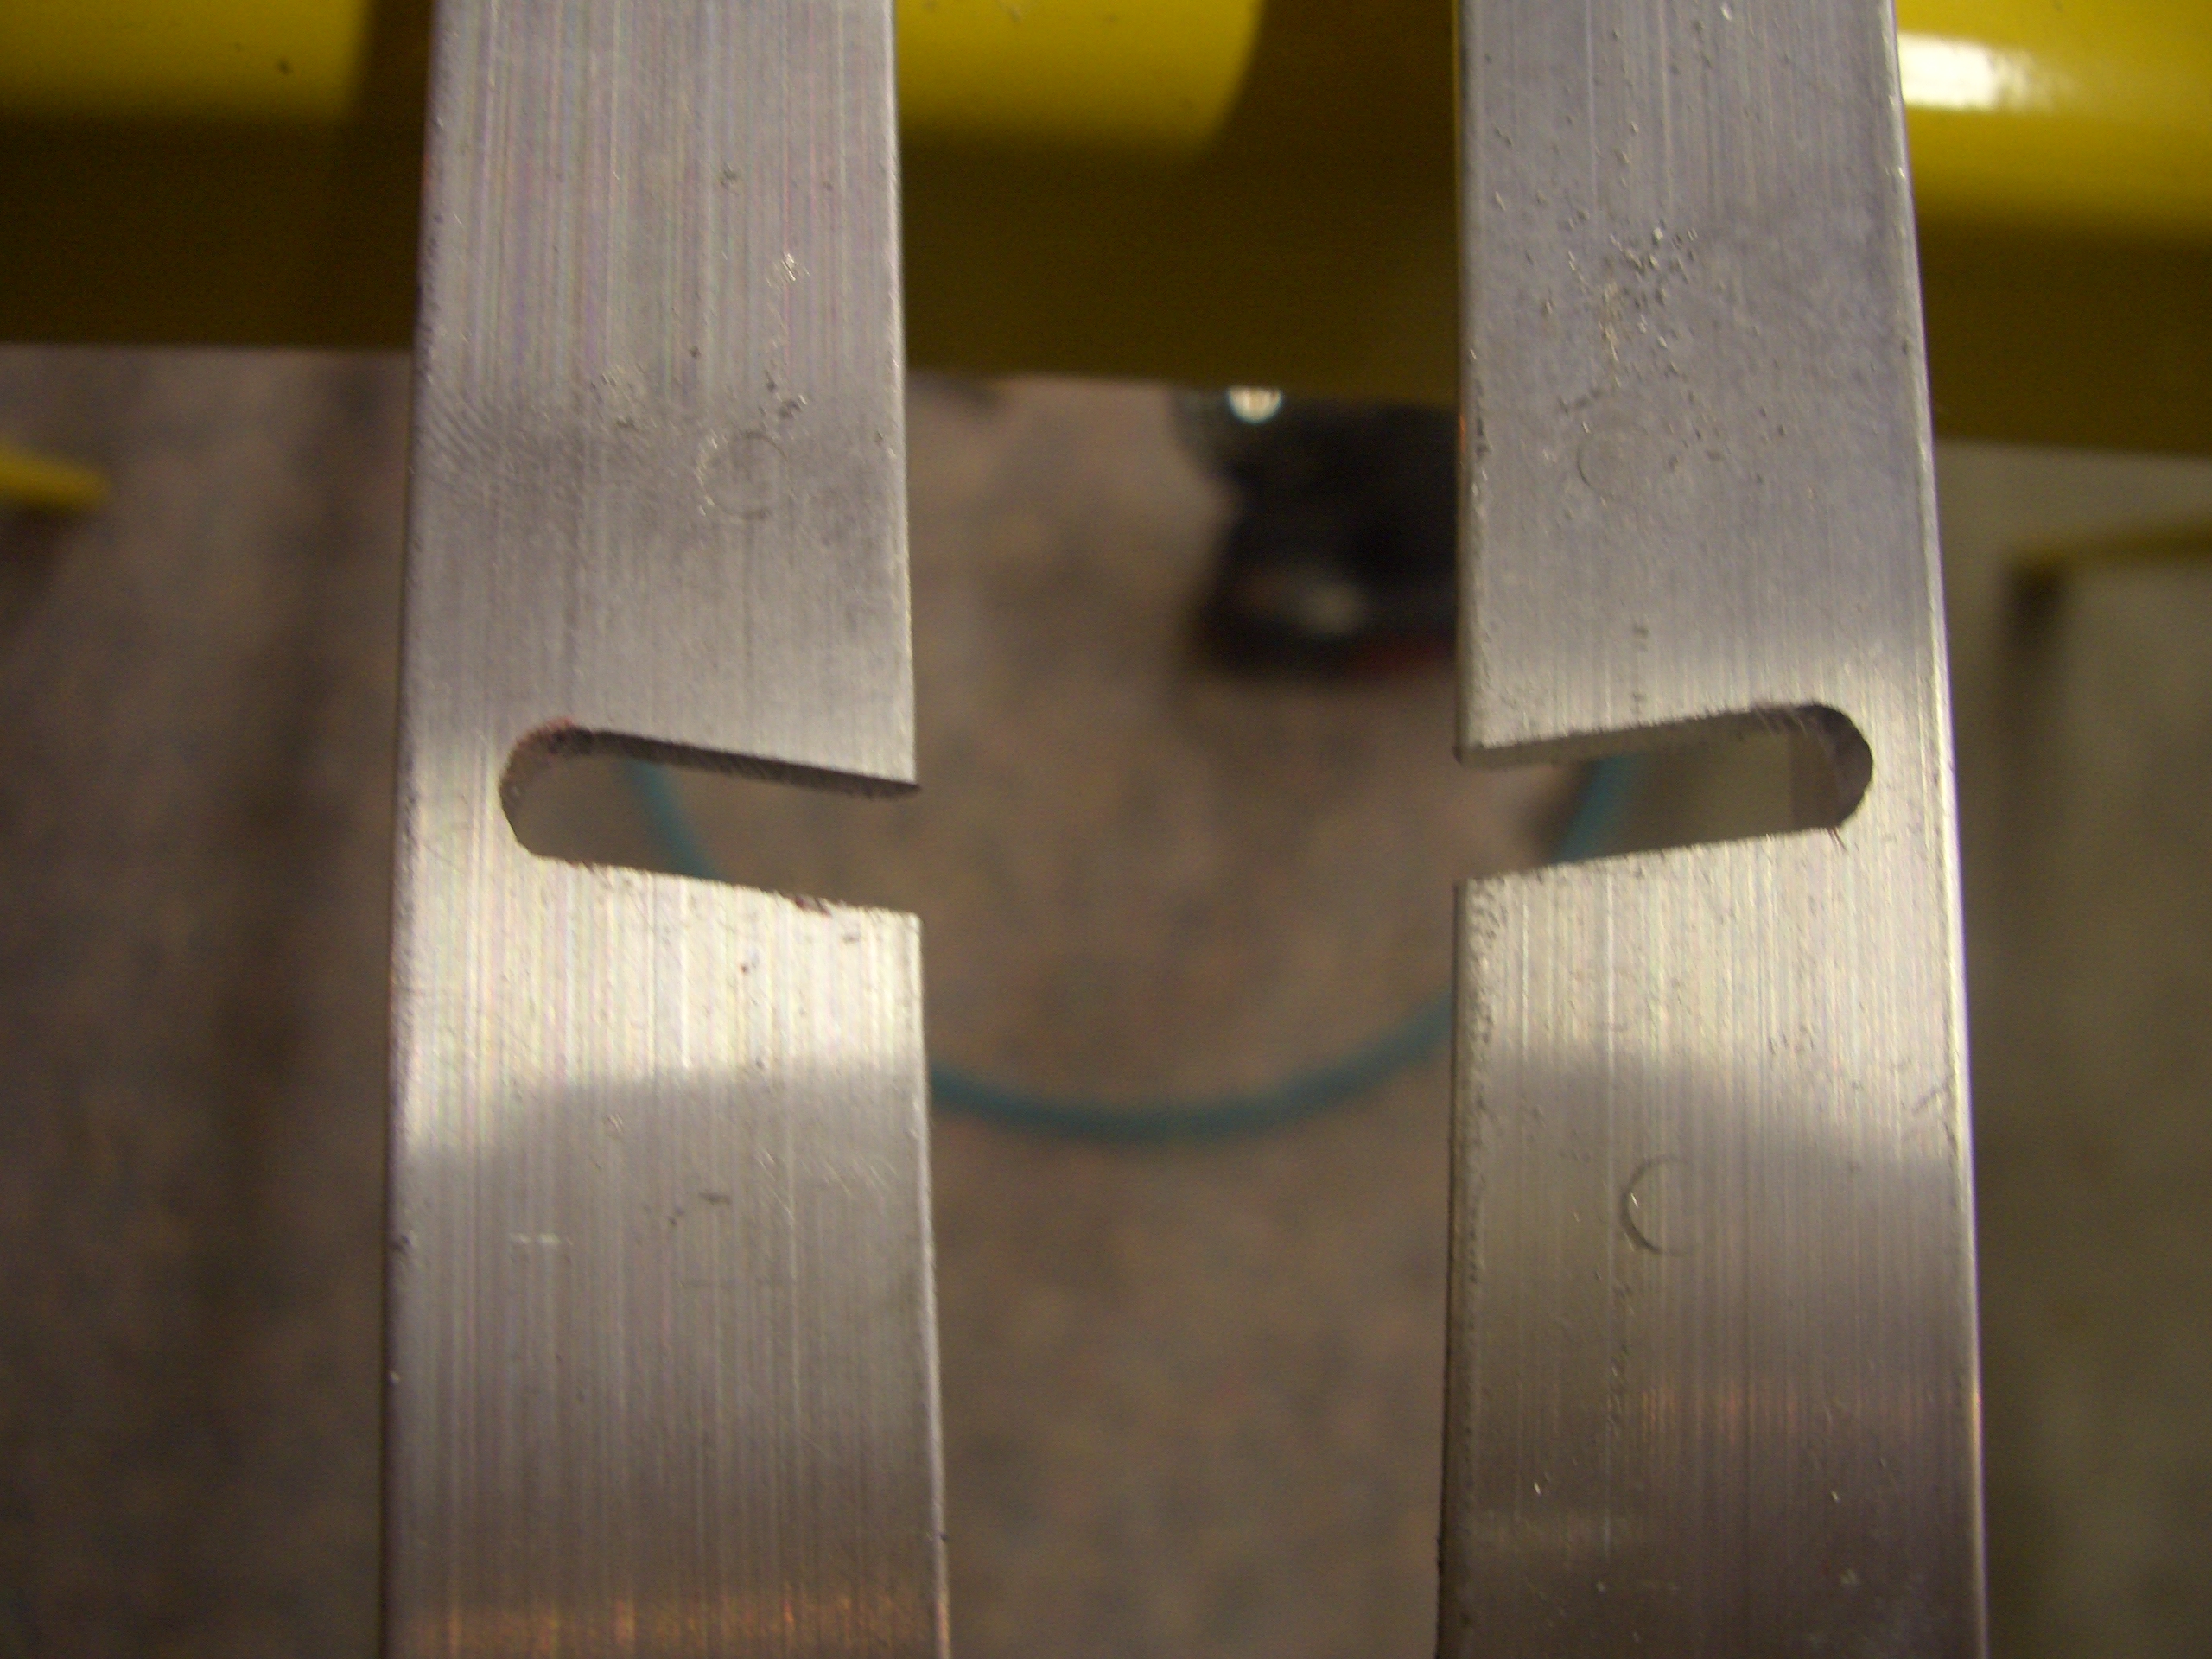
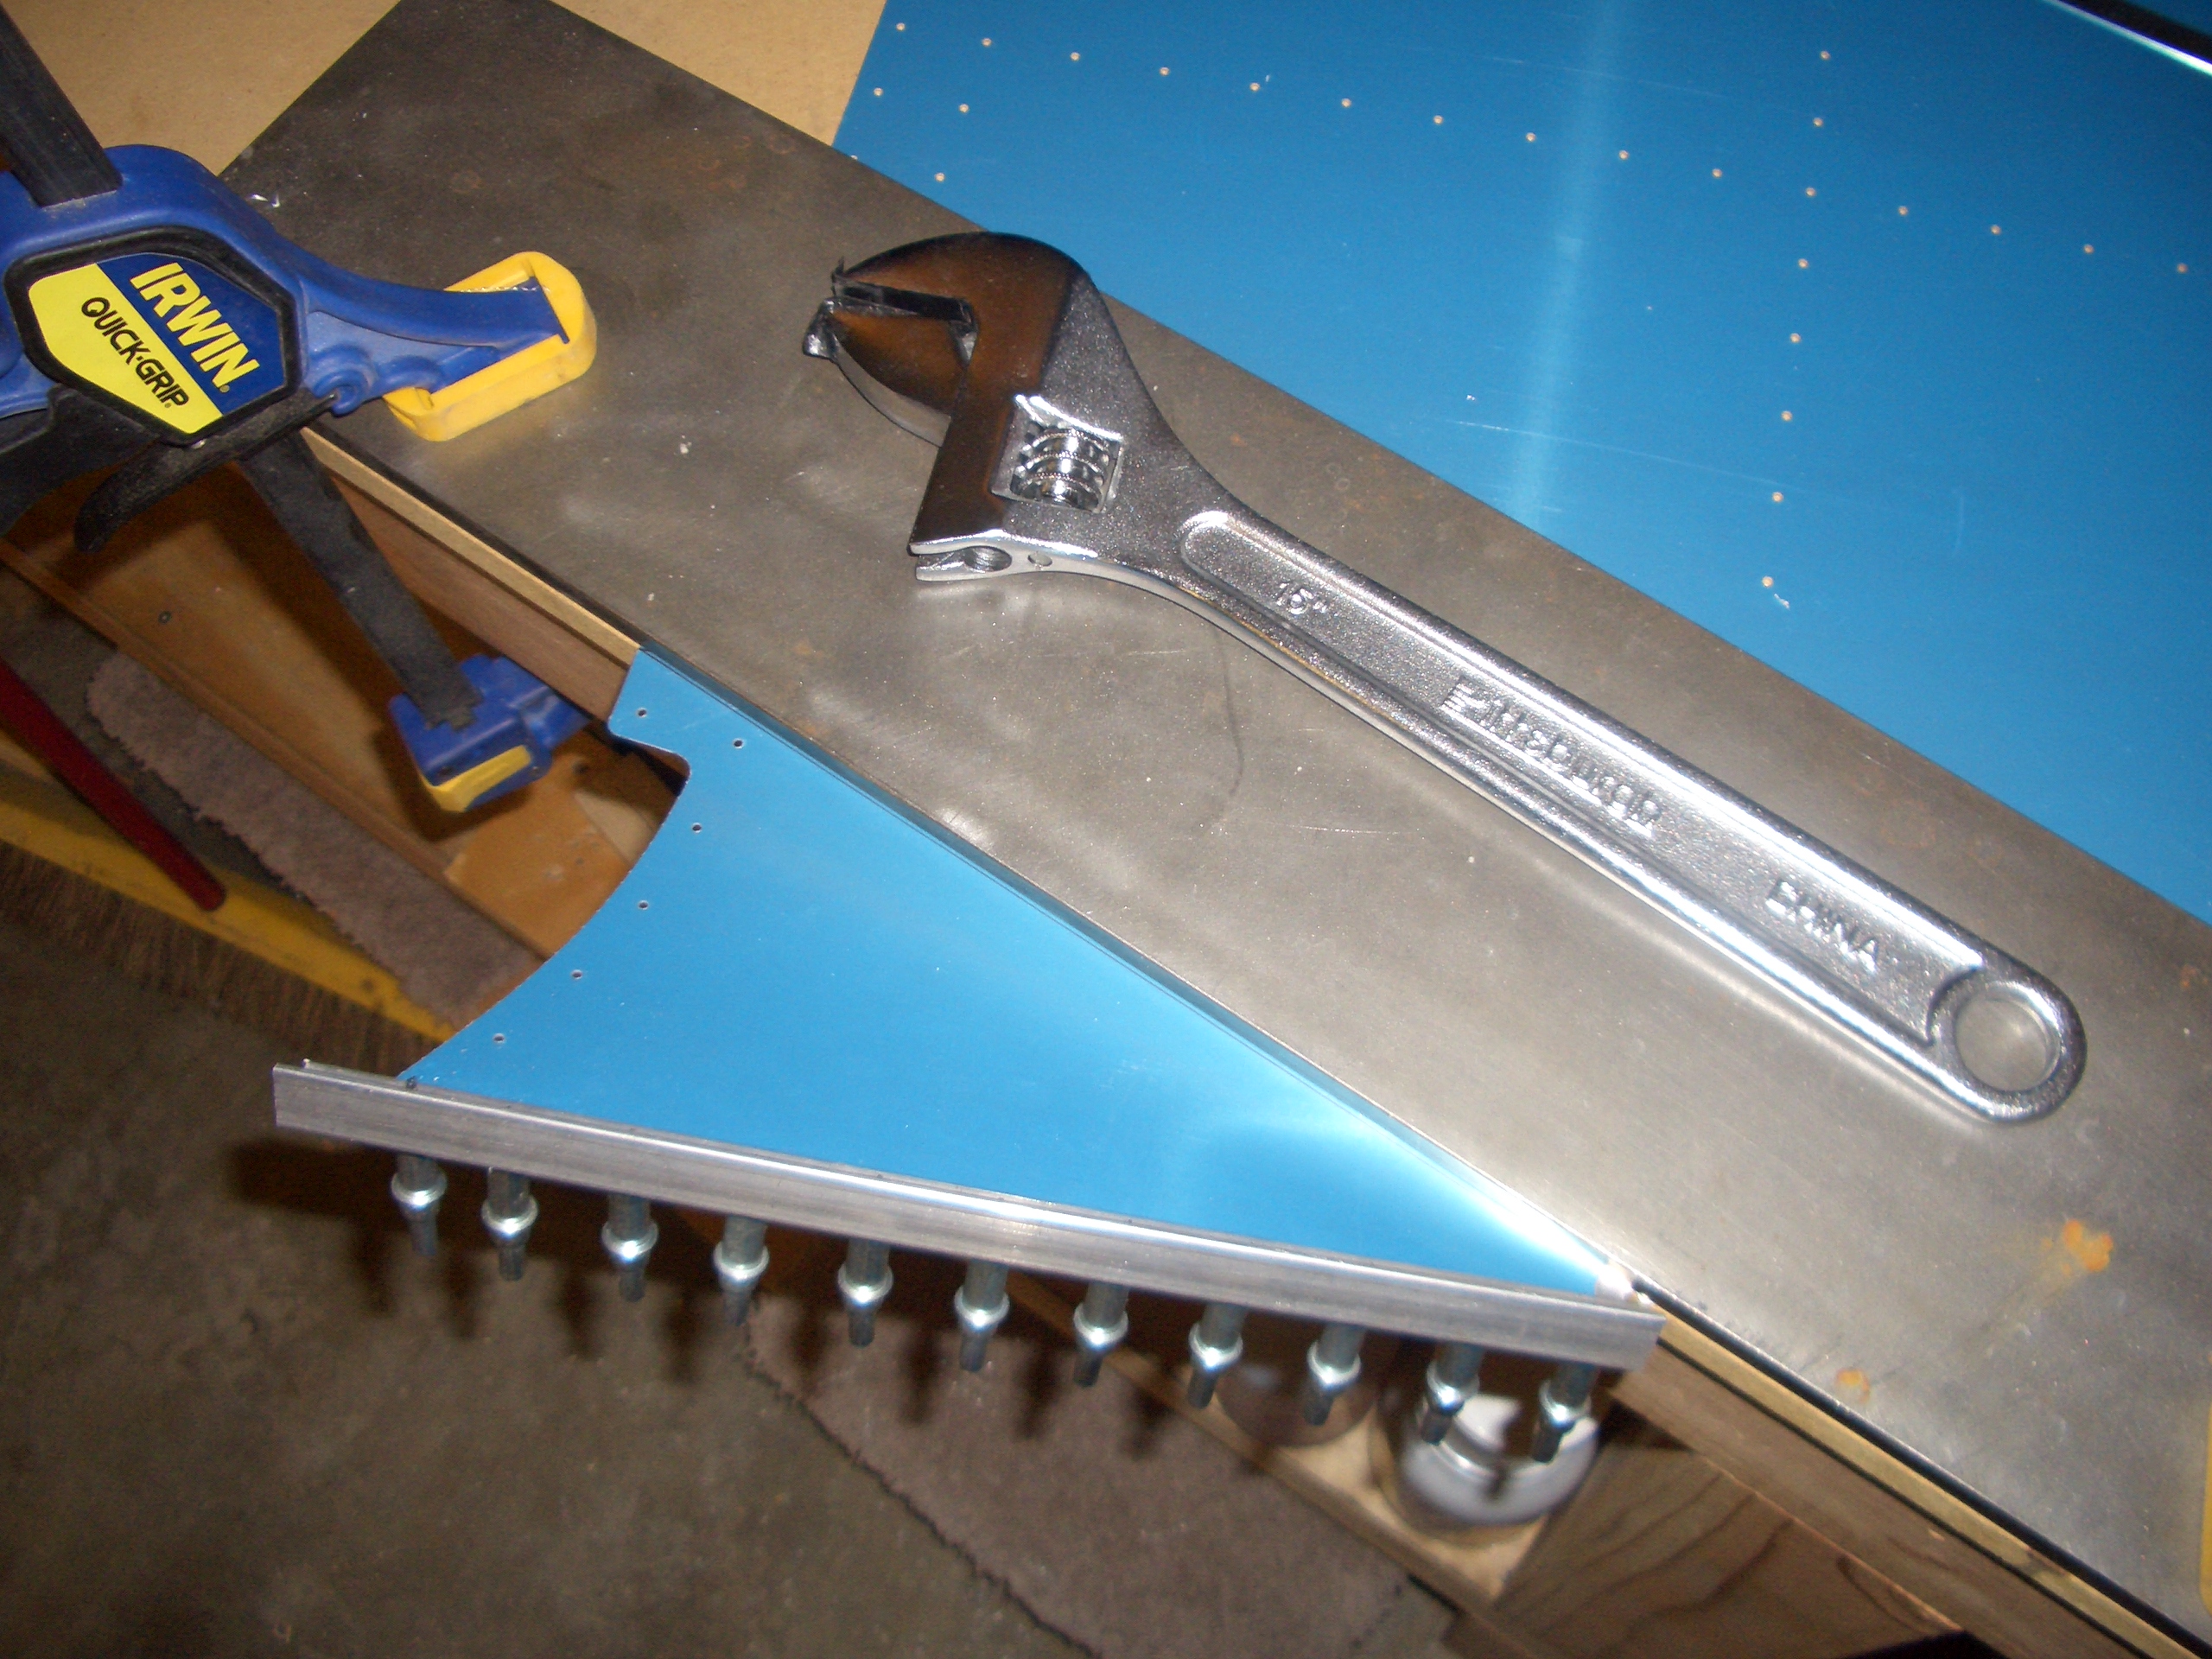
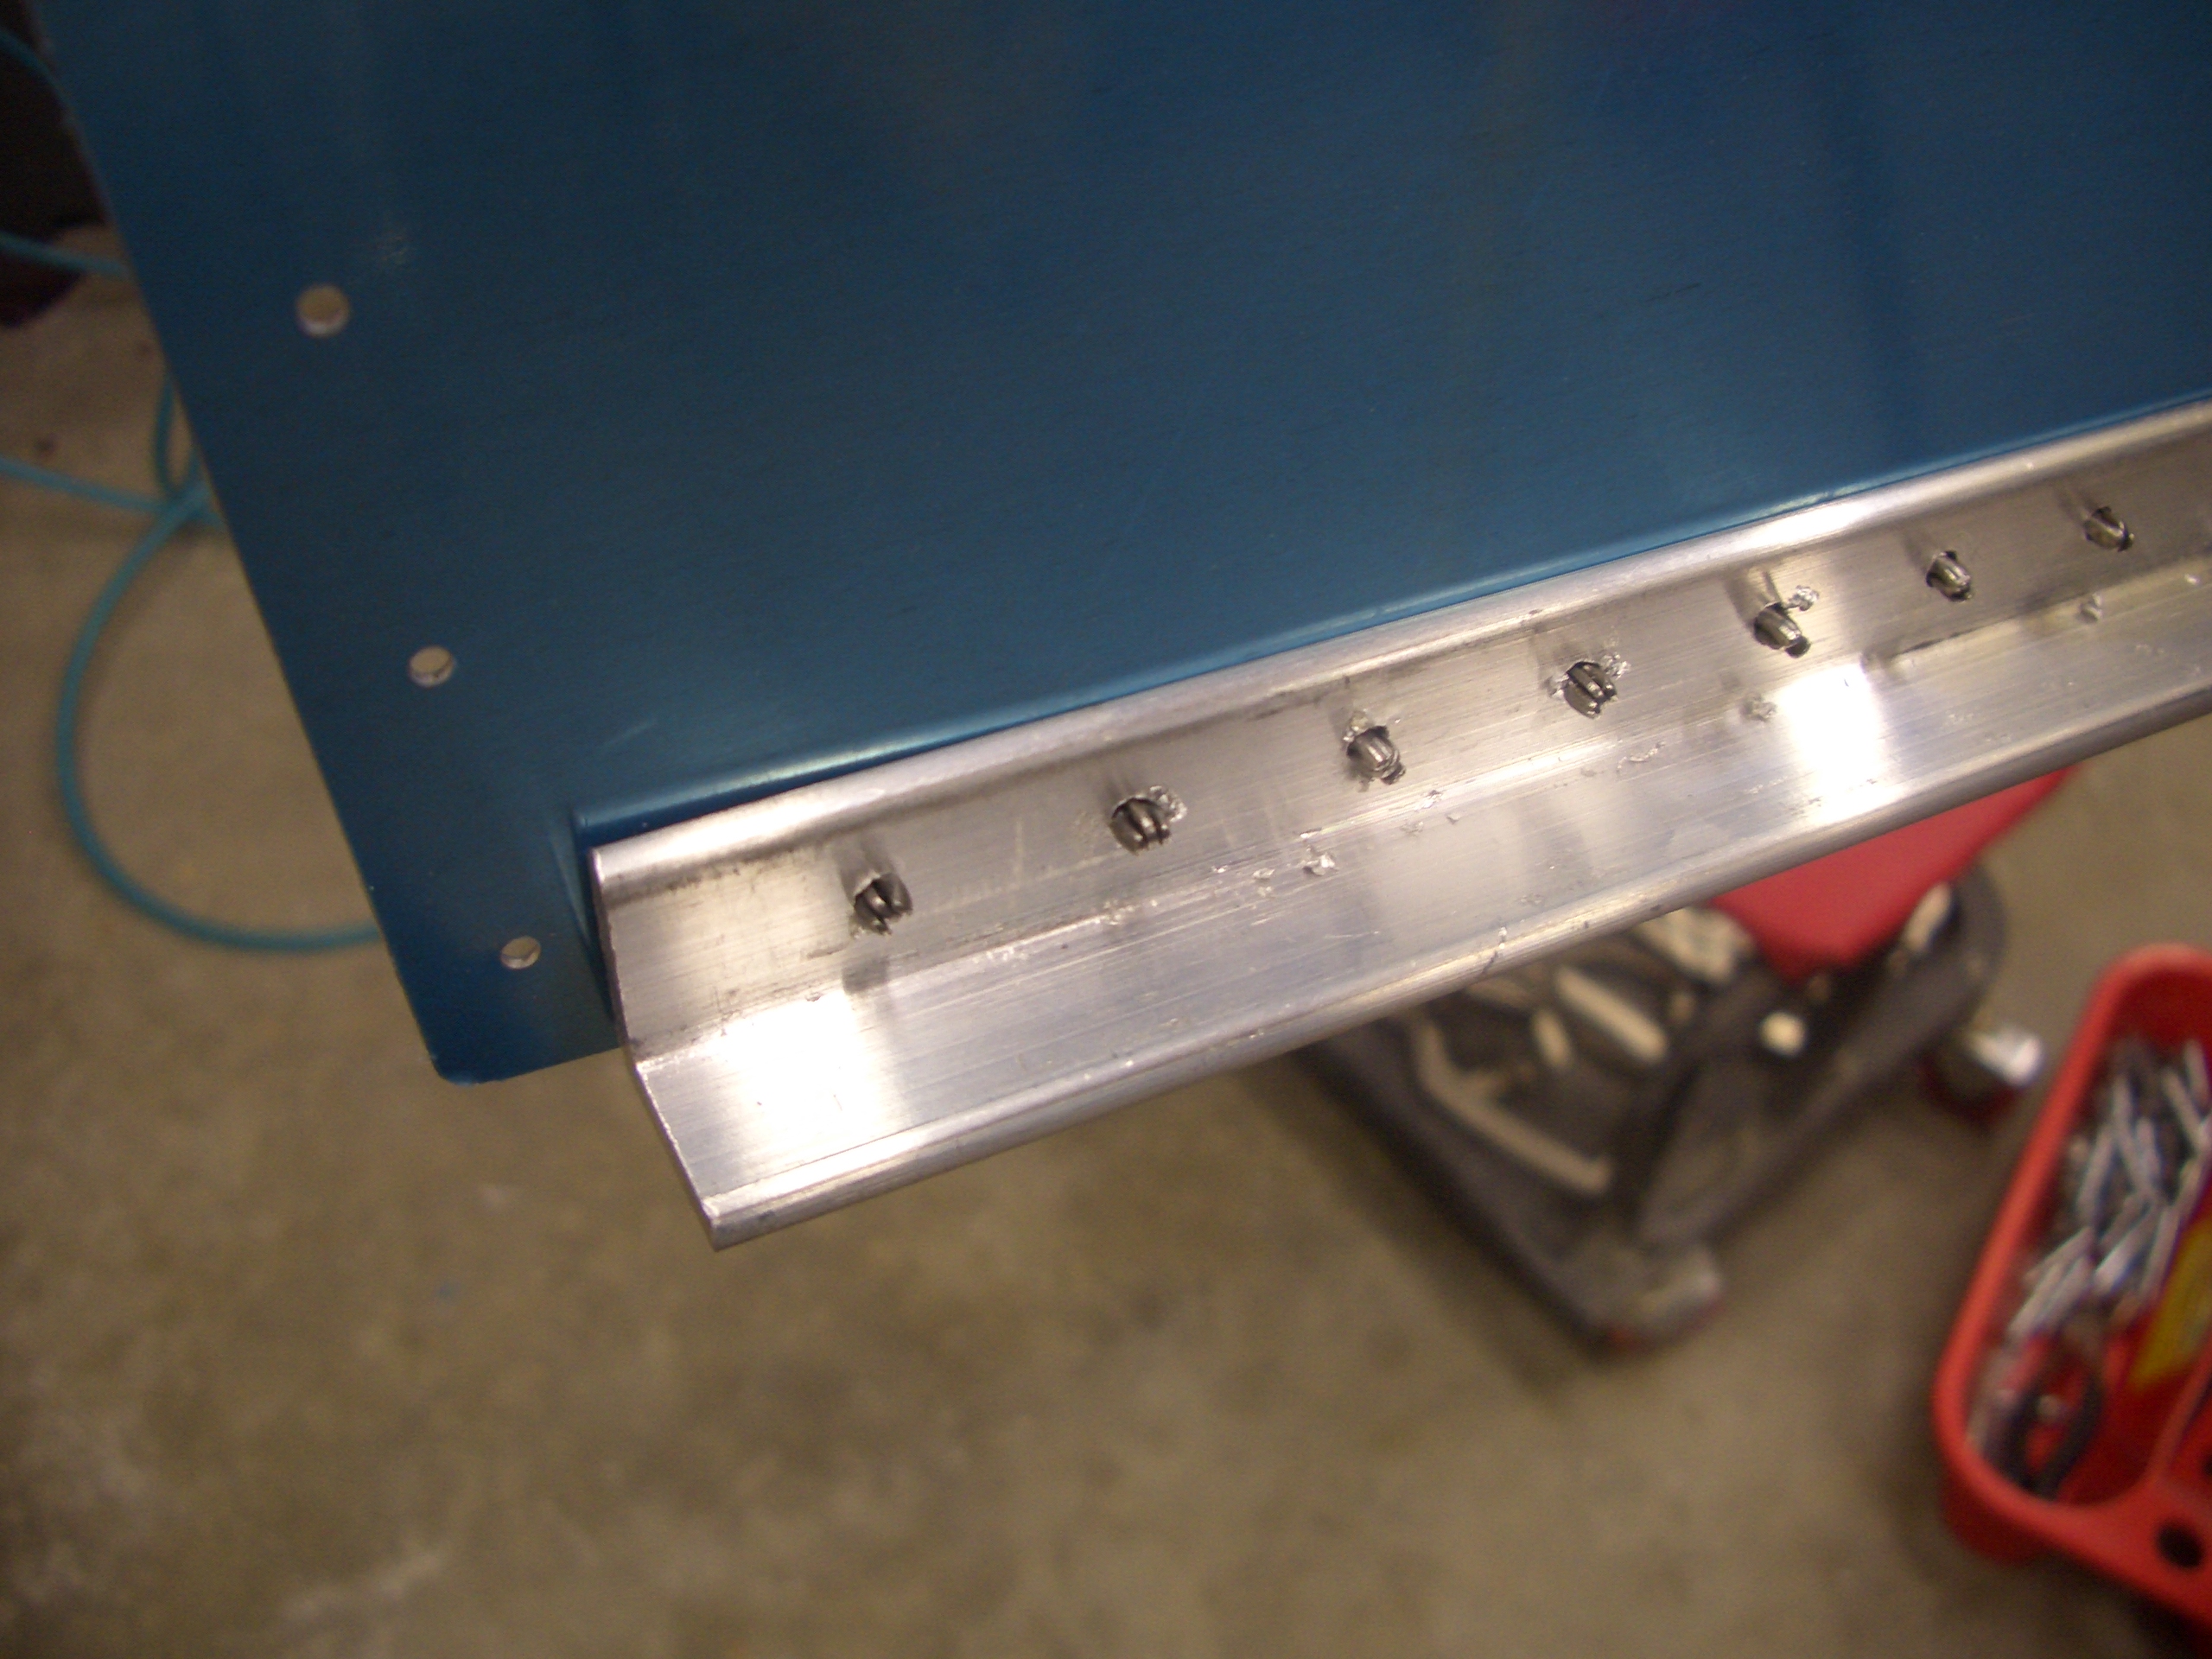
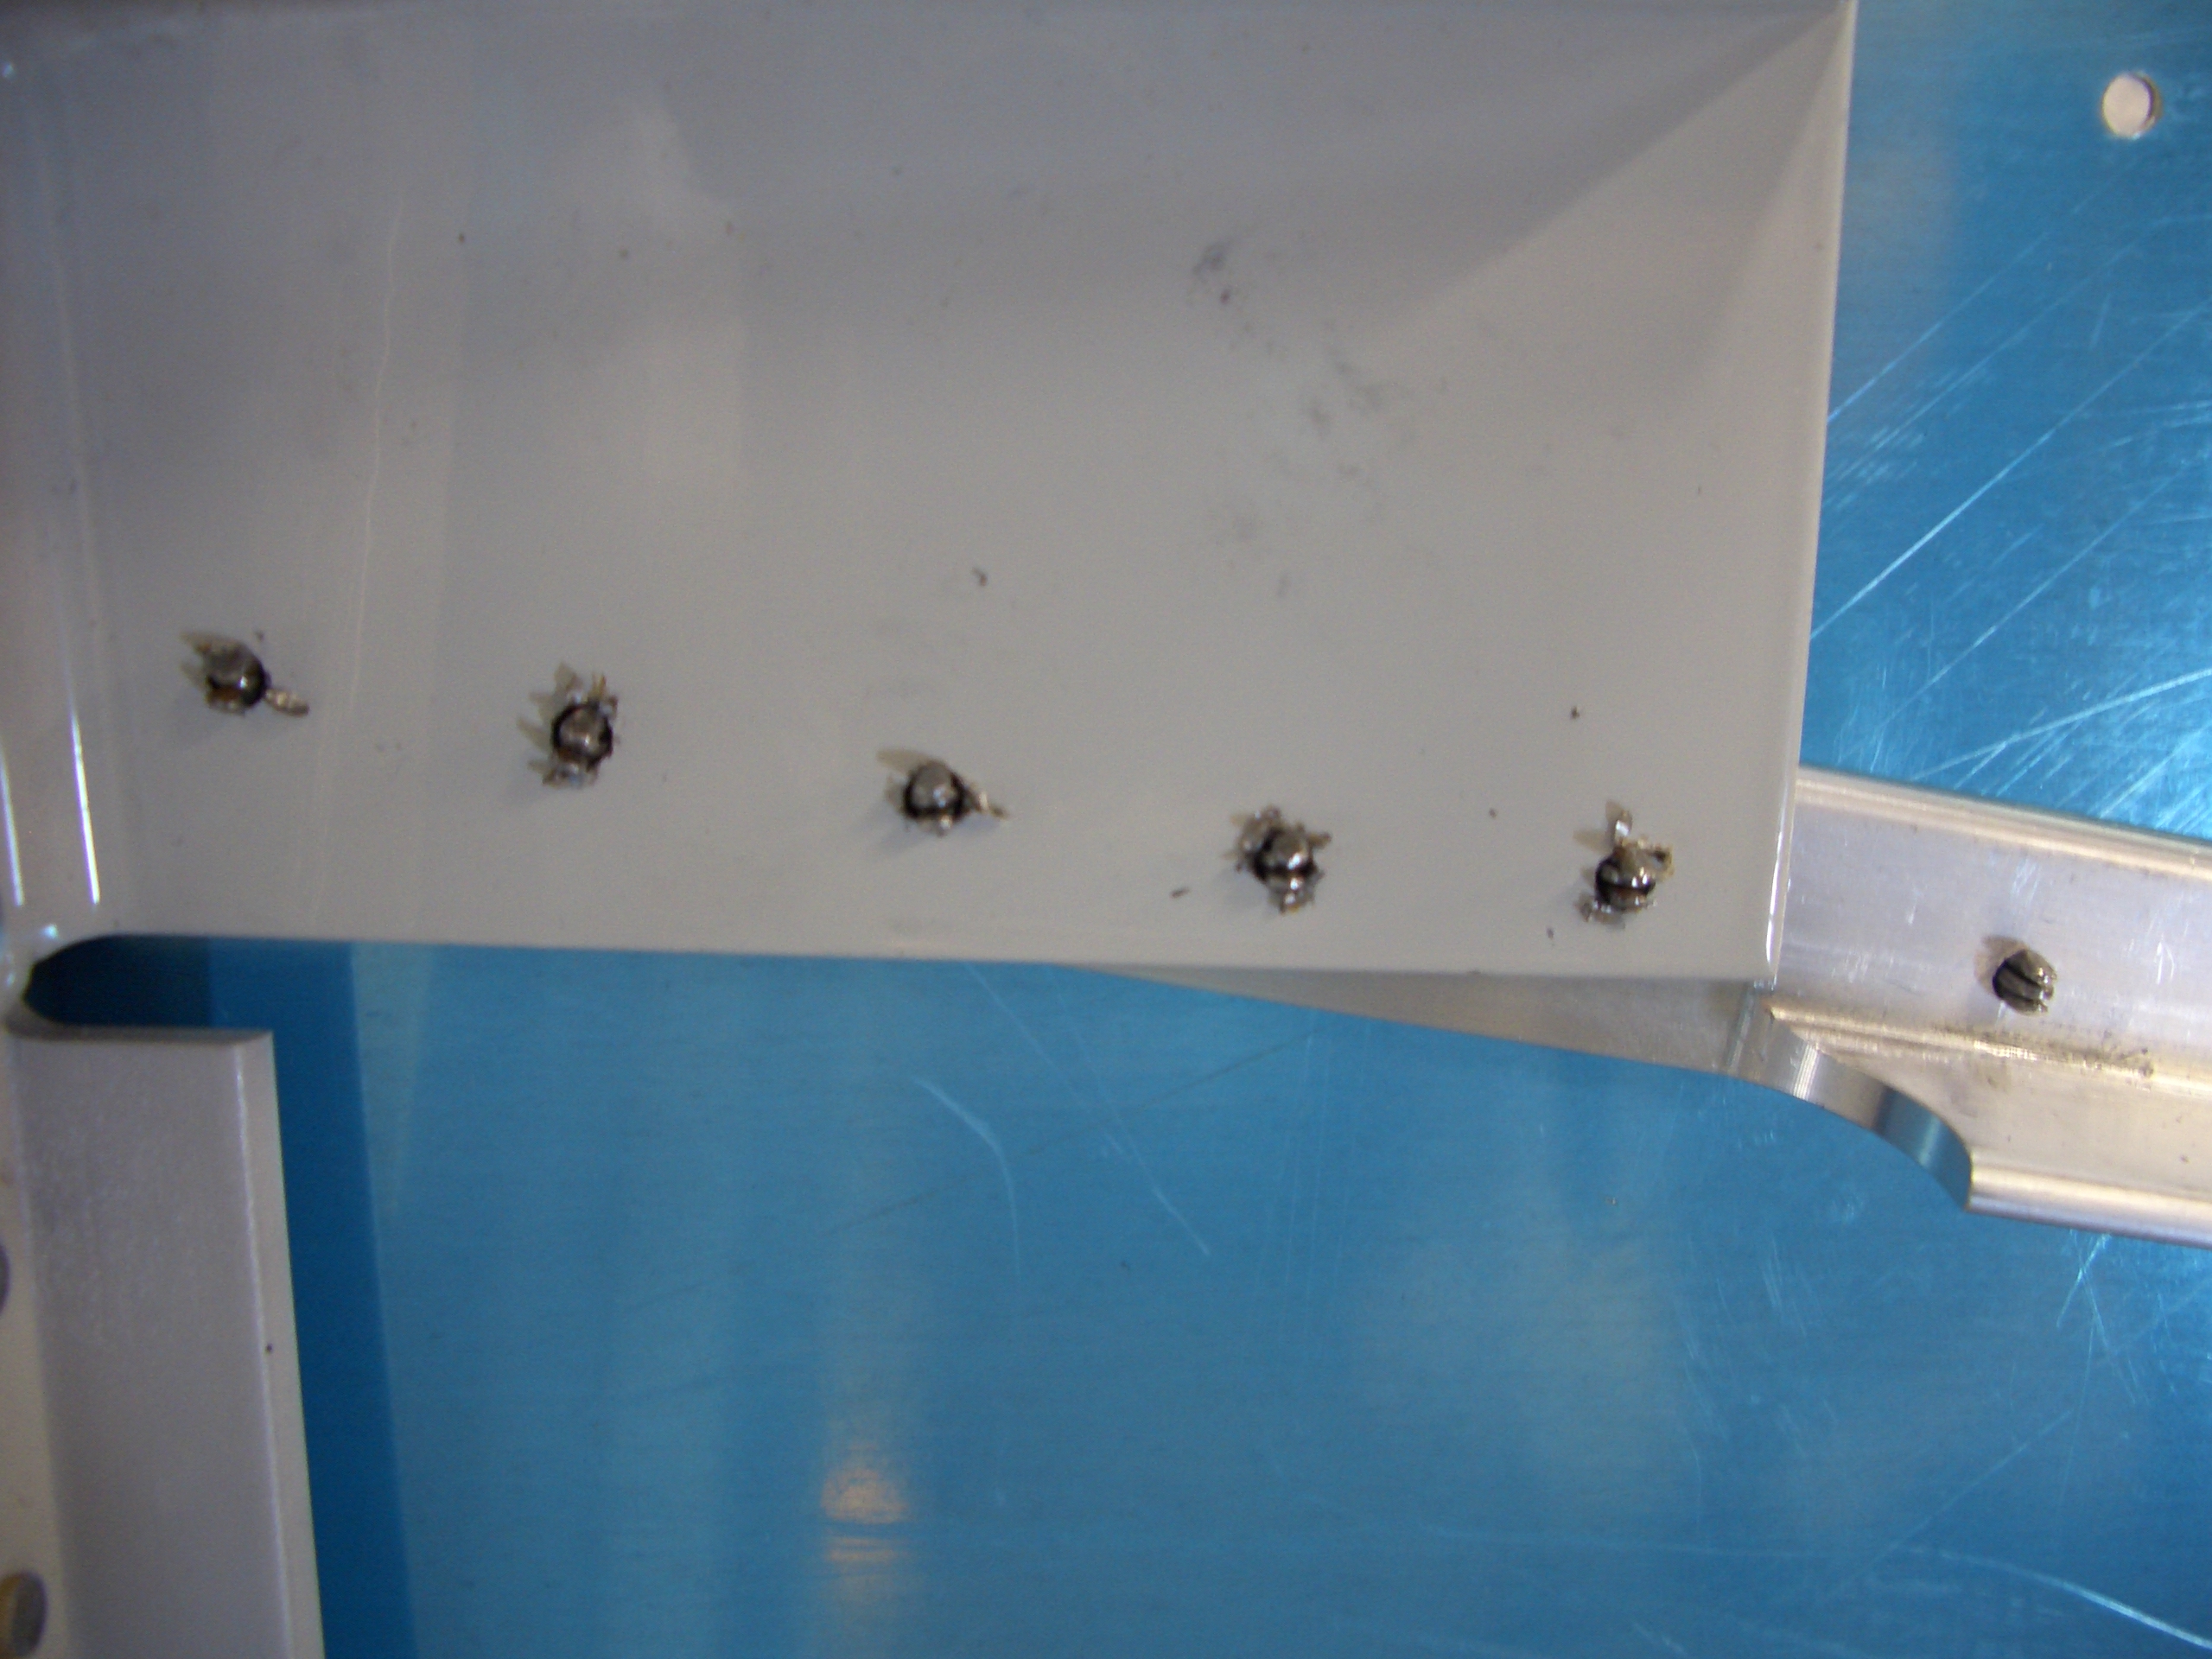
Two F-704 connector straps need to be fabricated out of 0.063 sheet. The kit provides pieces the right thickness and width, but too long. Cutting them to the dimensions listed on the plans first will mean you have to get them positioned precisely to ensure adequate edge distance on each end. Instead, I match drilled them to the structure first and then cut off the long end to ensure sufficient edge distance.

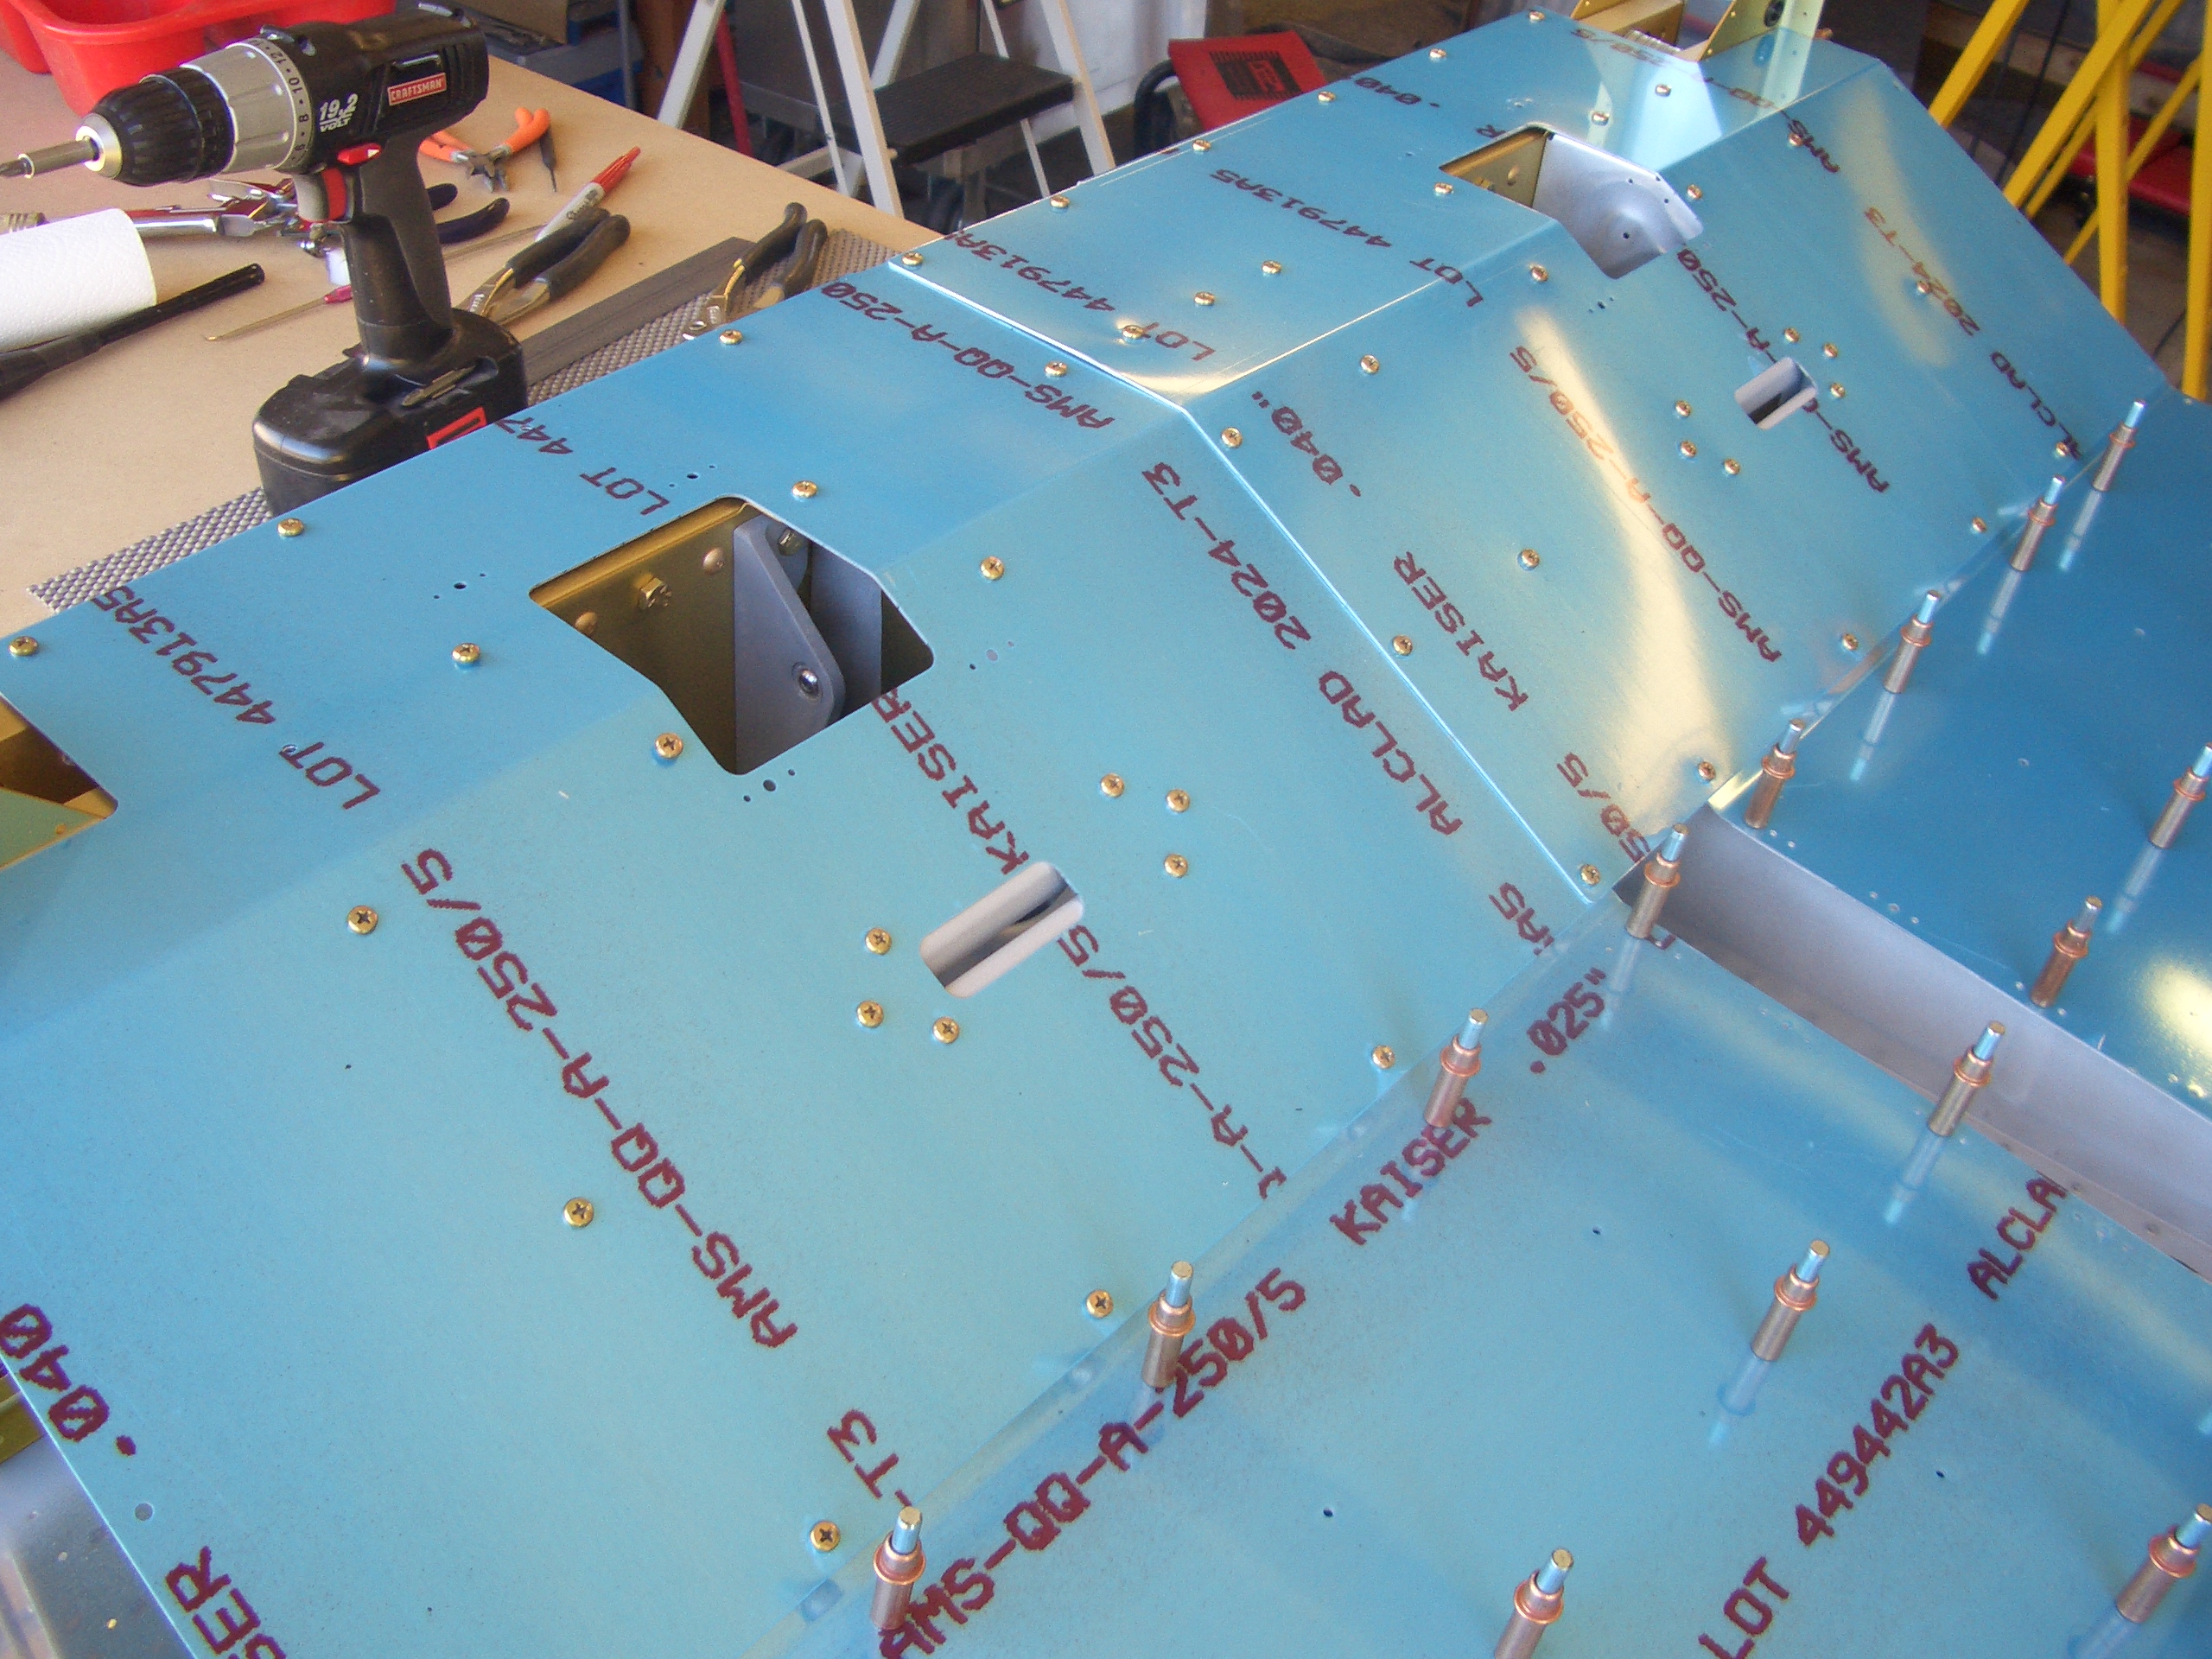
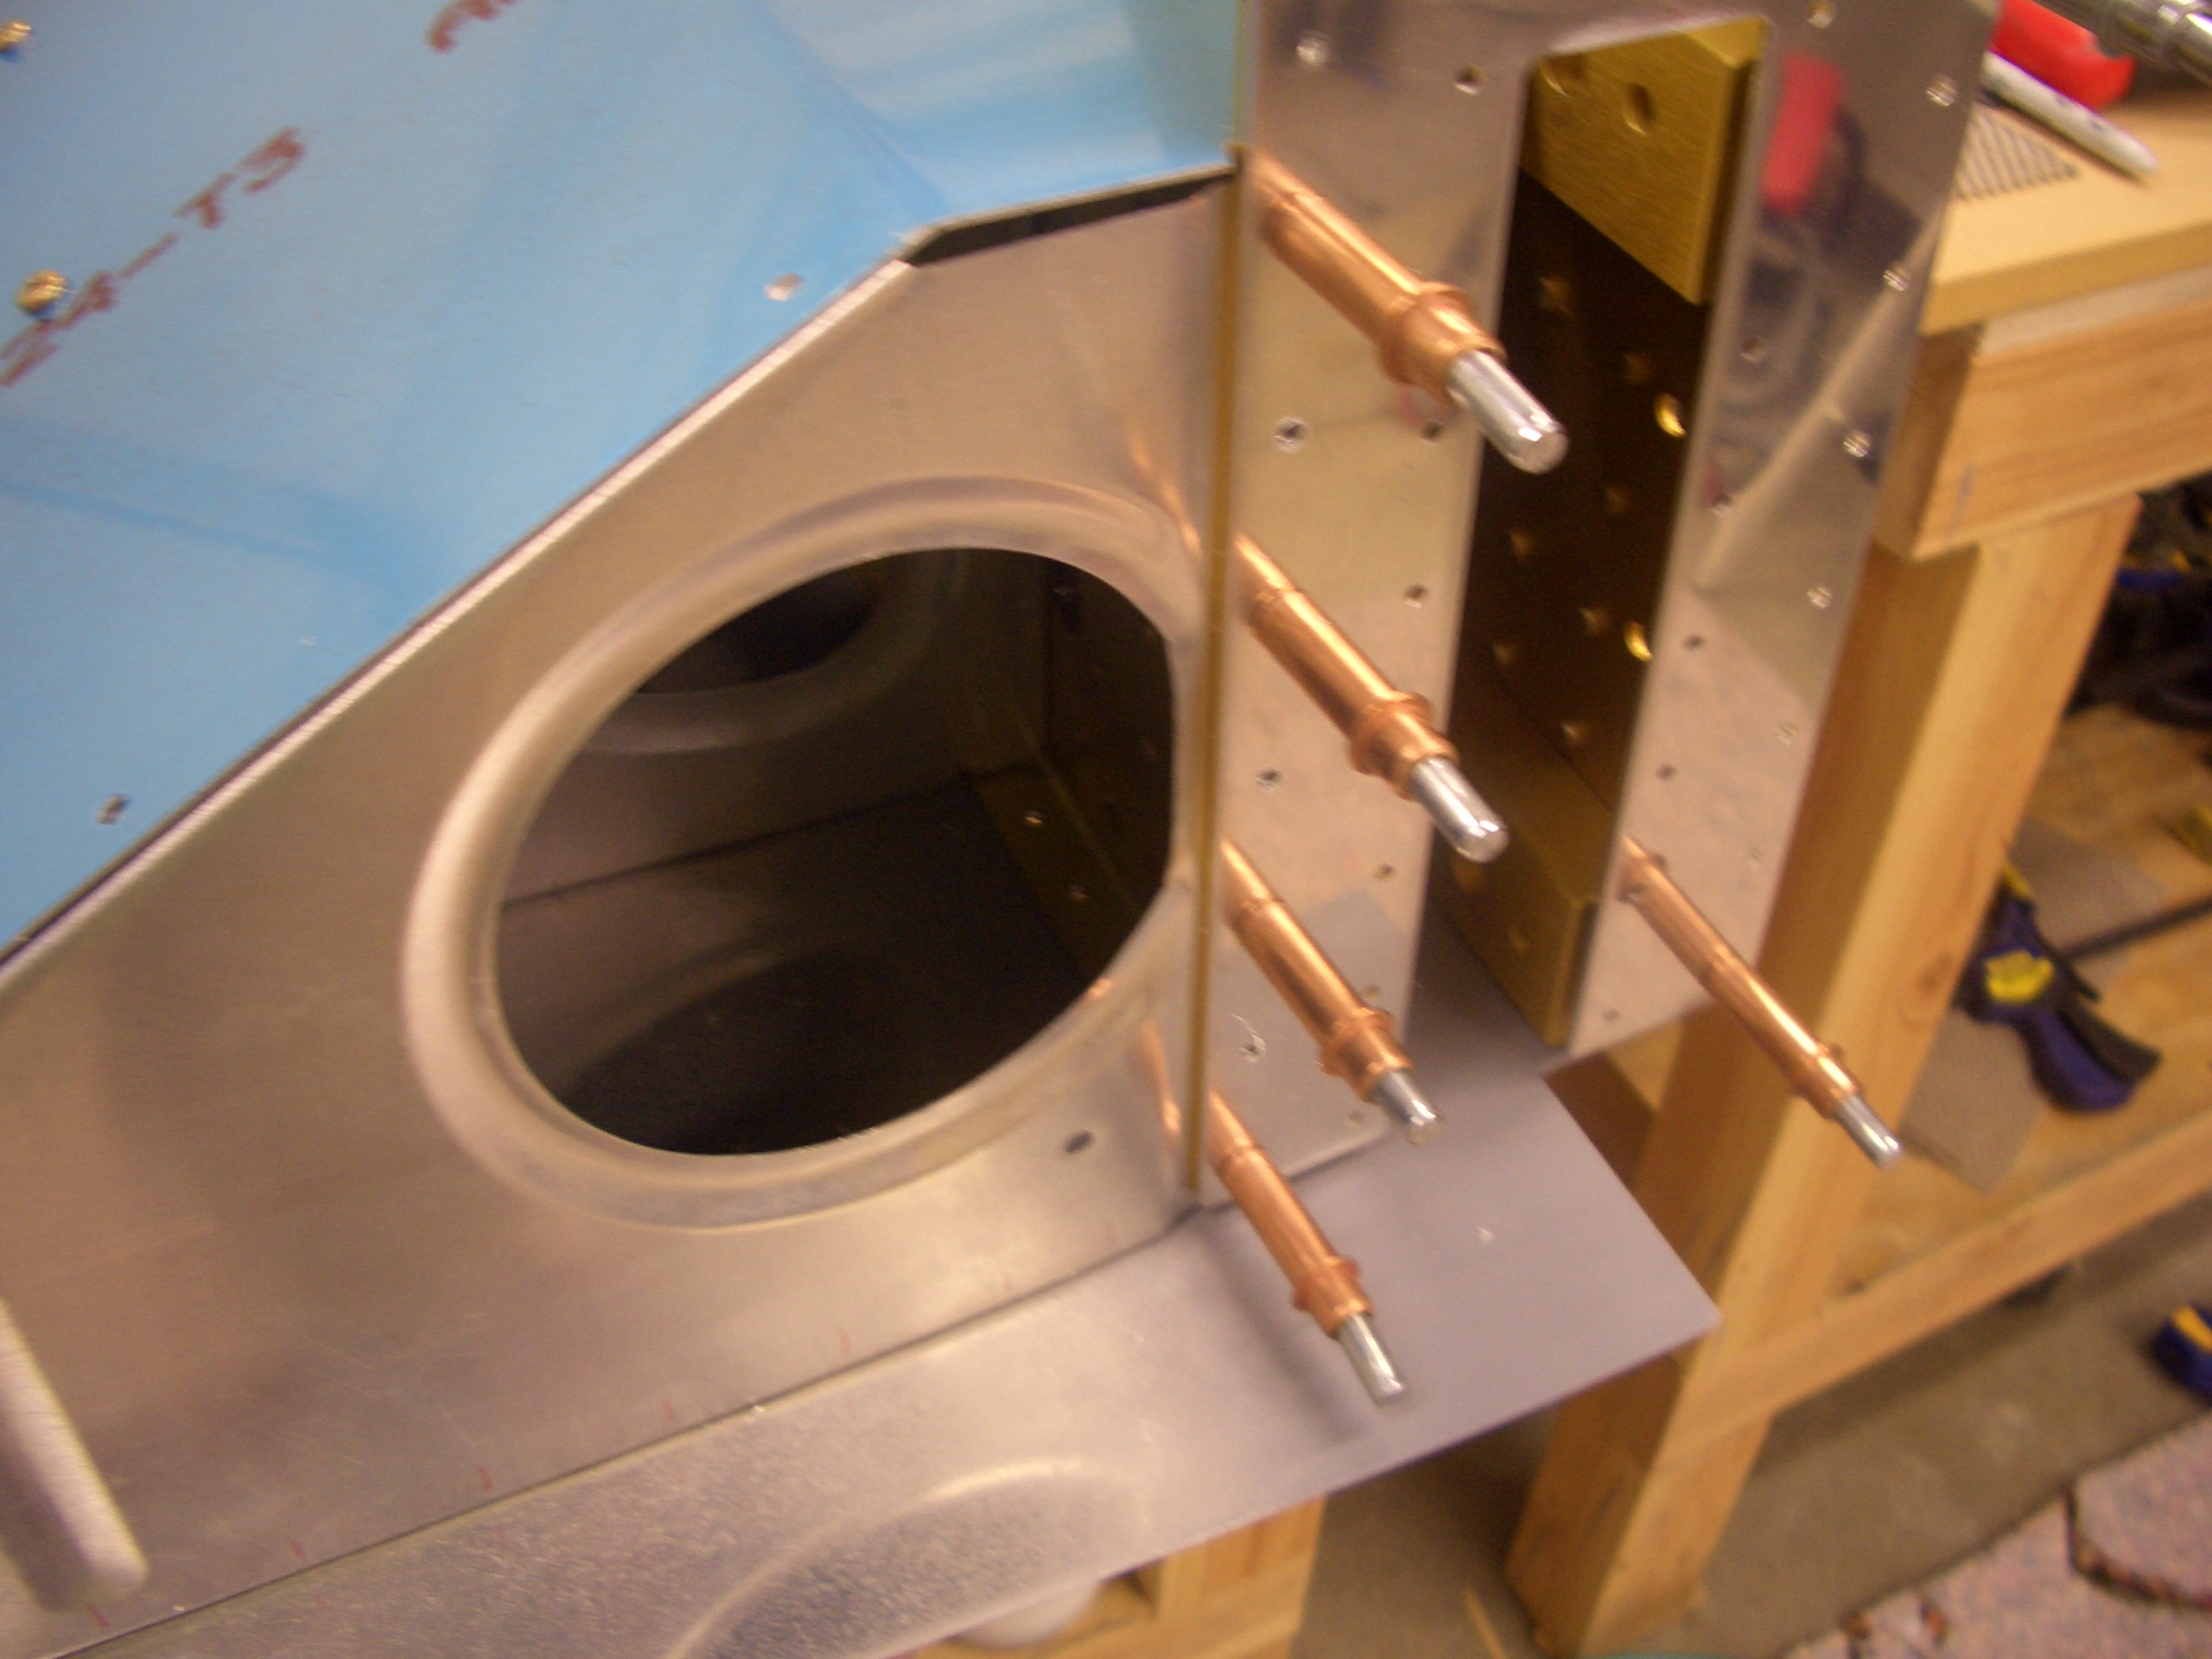
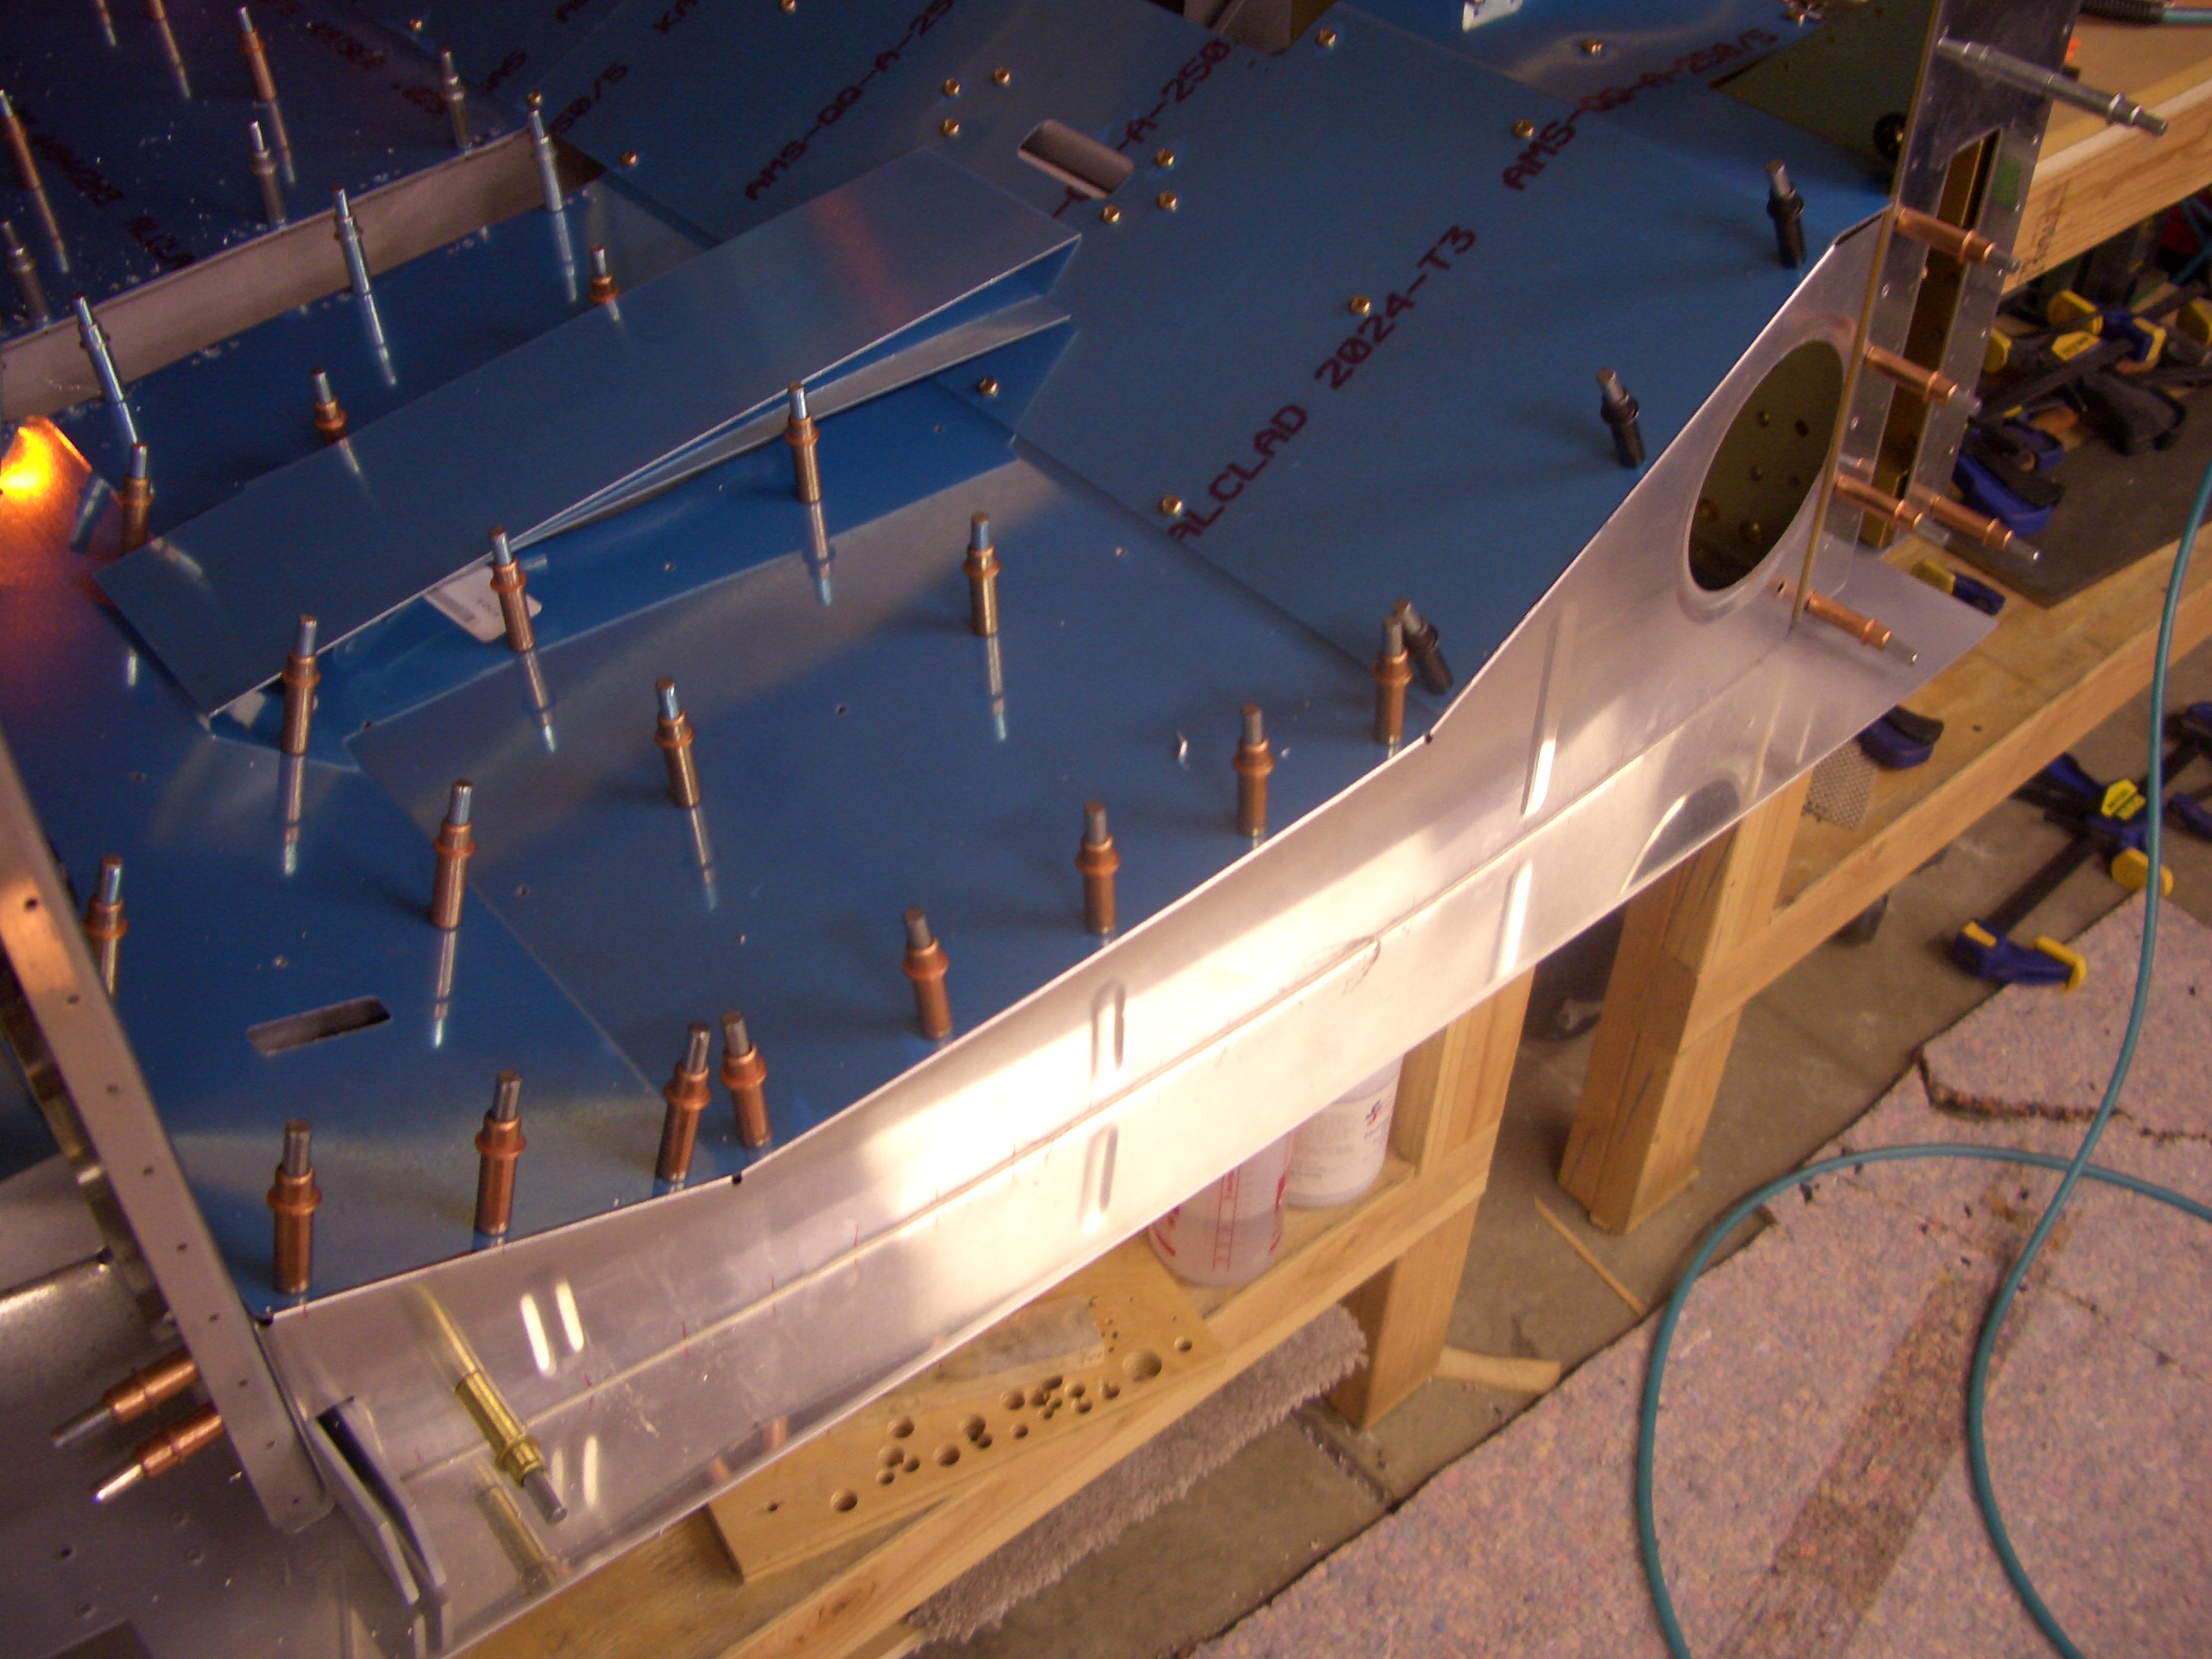
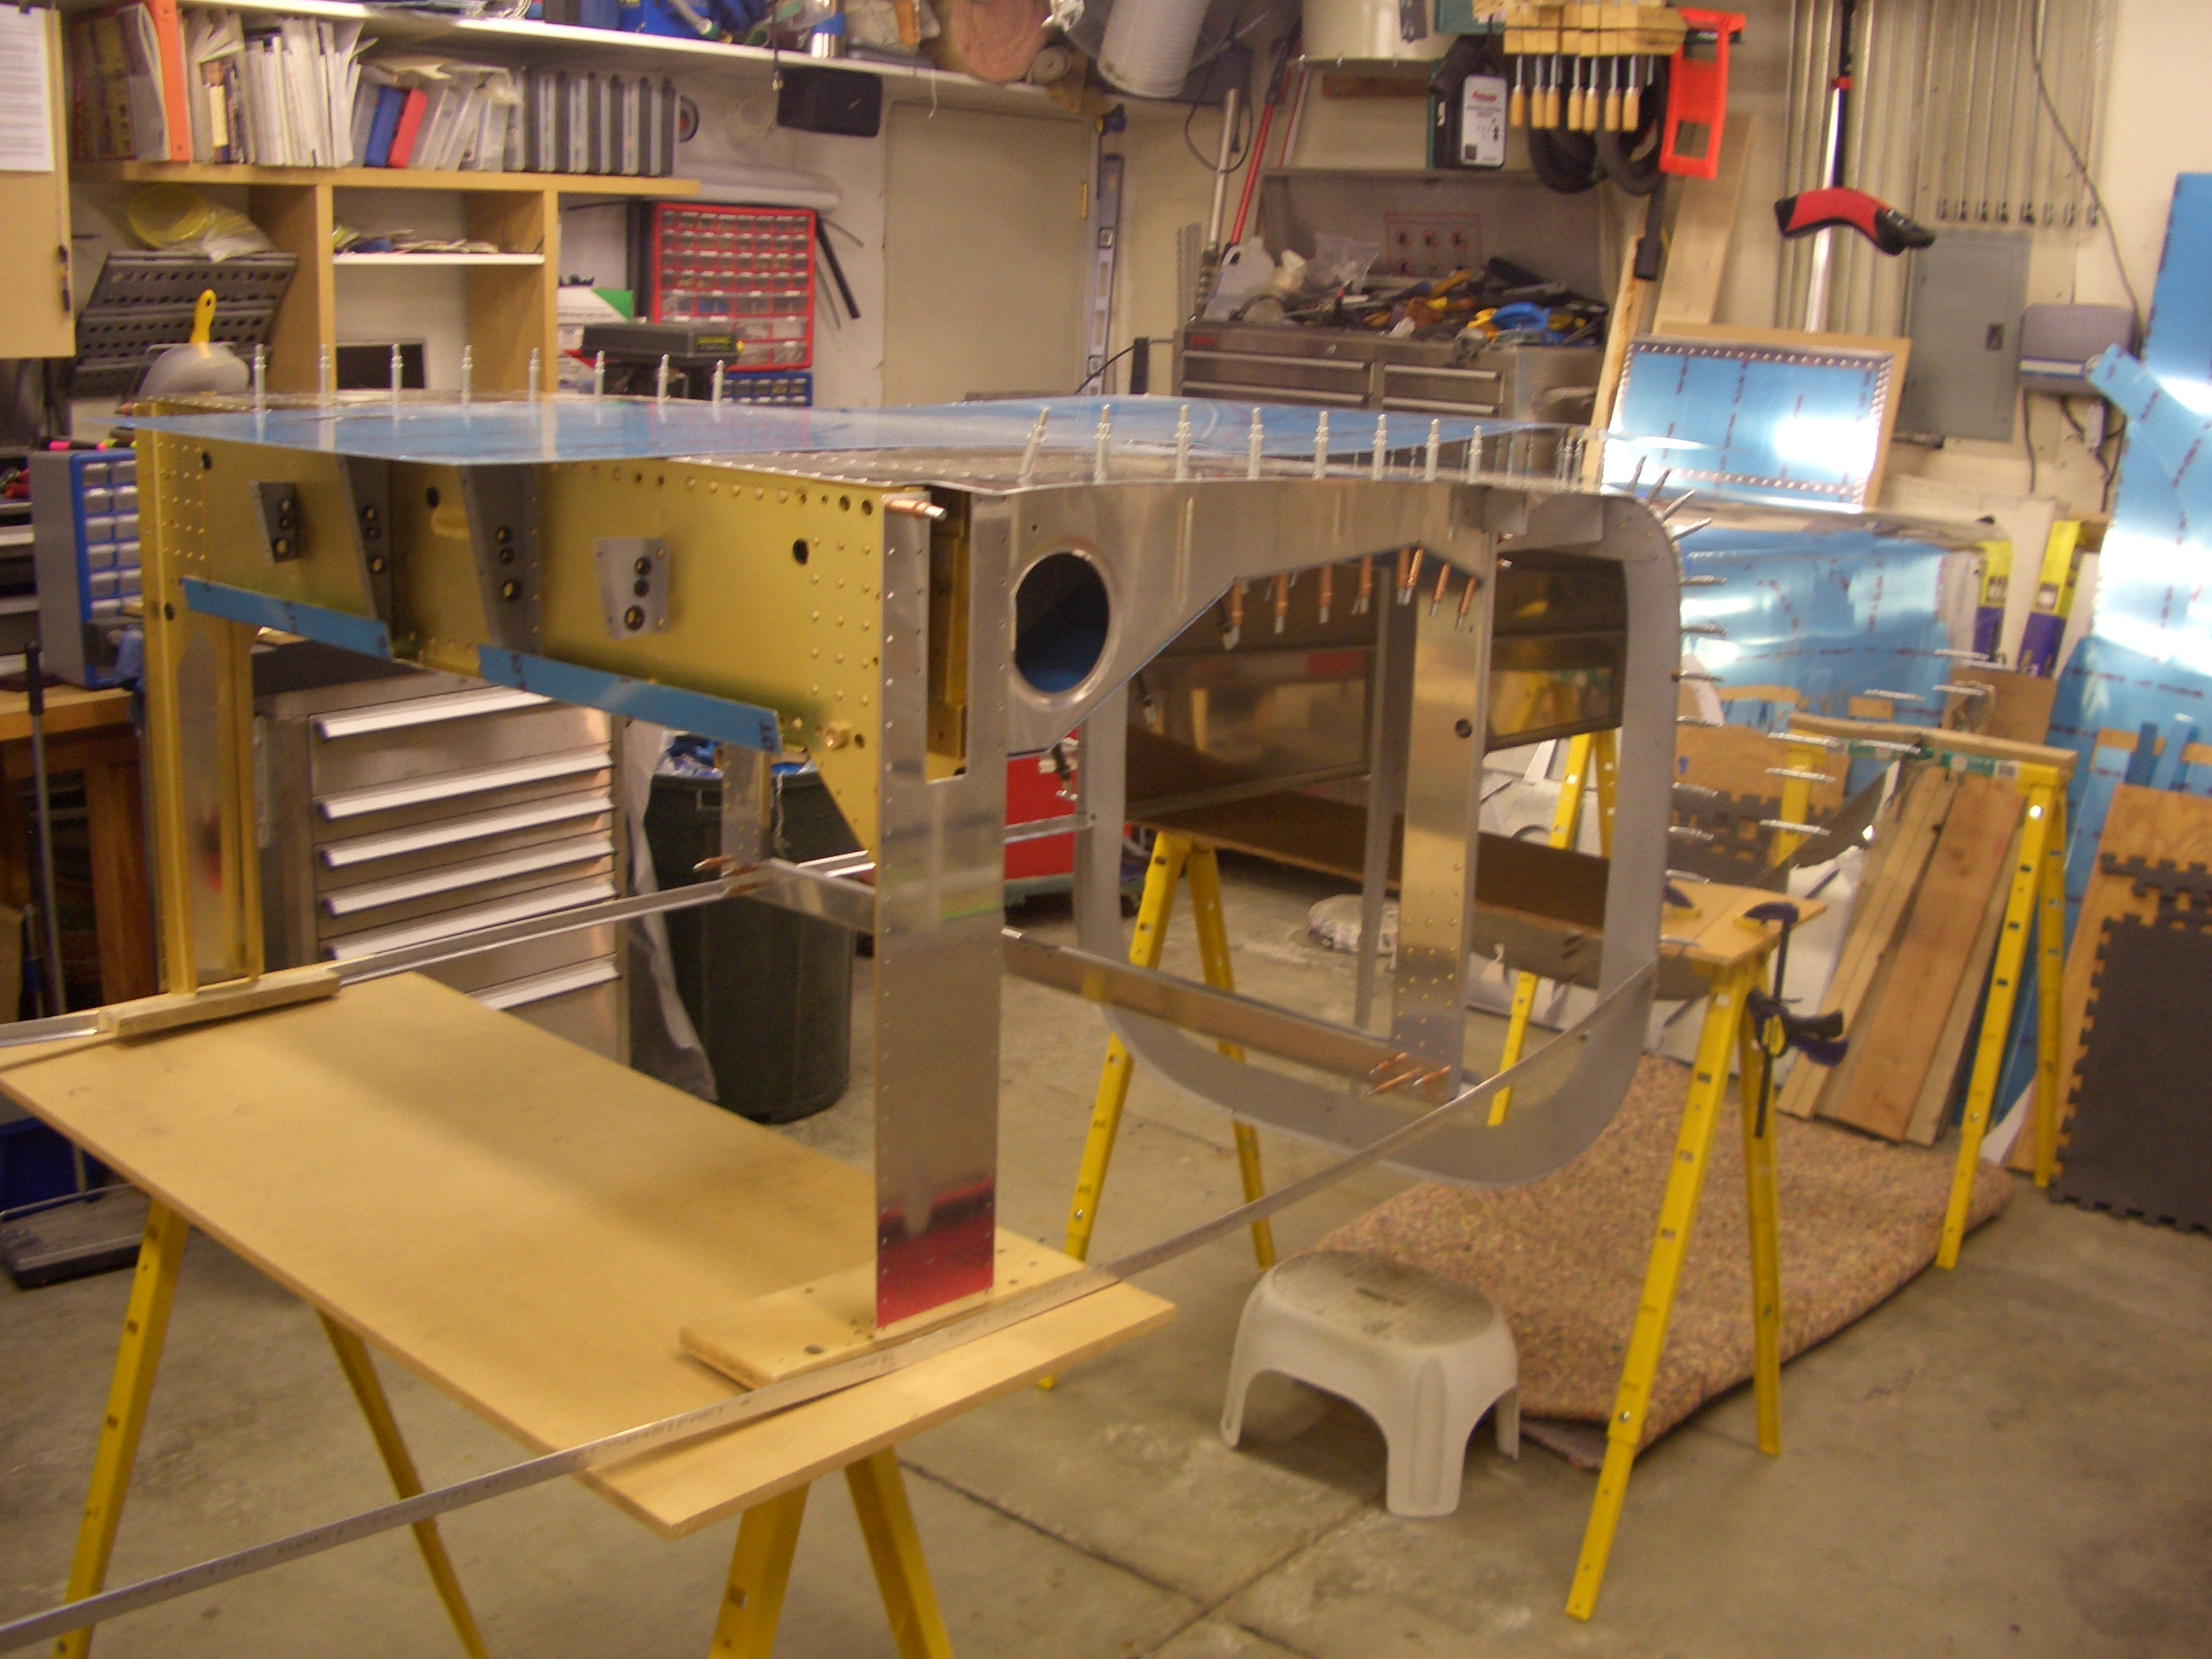
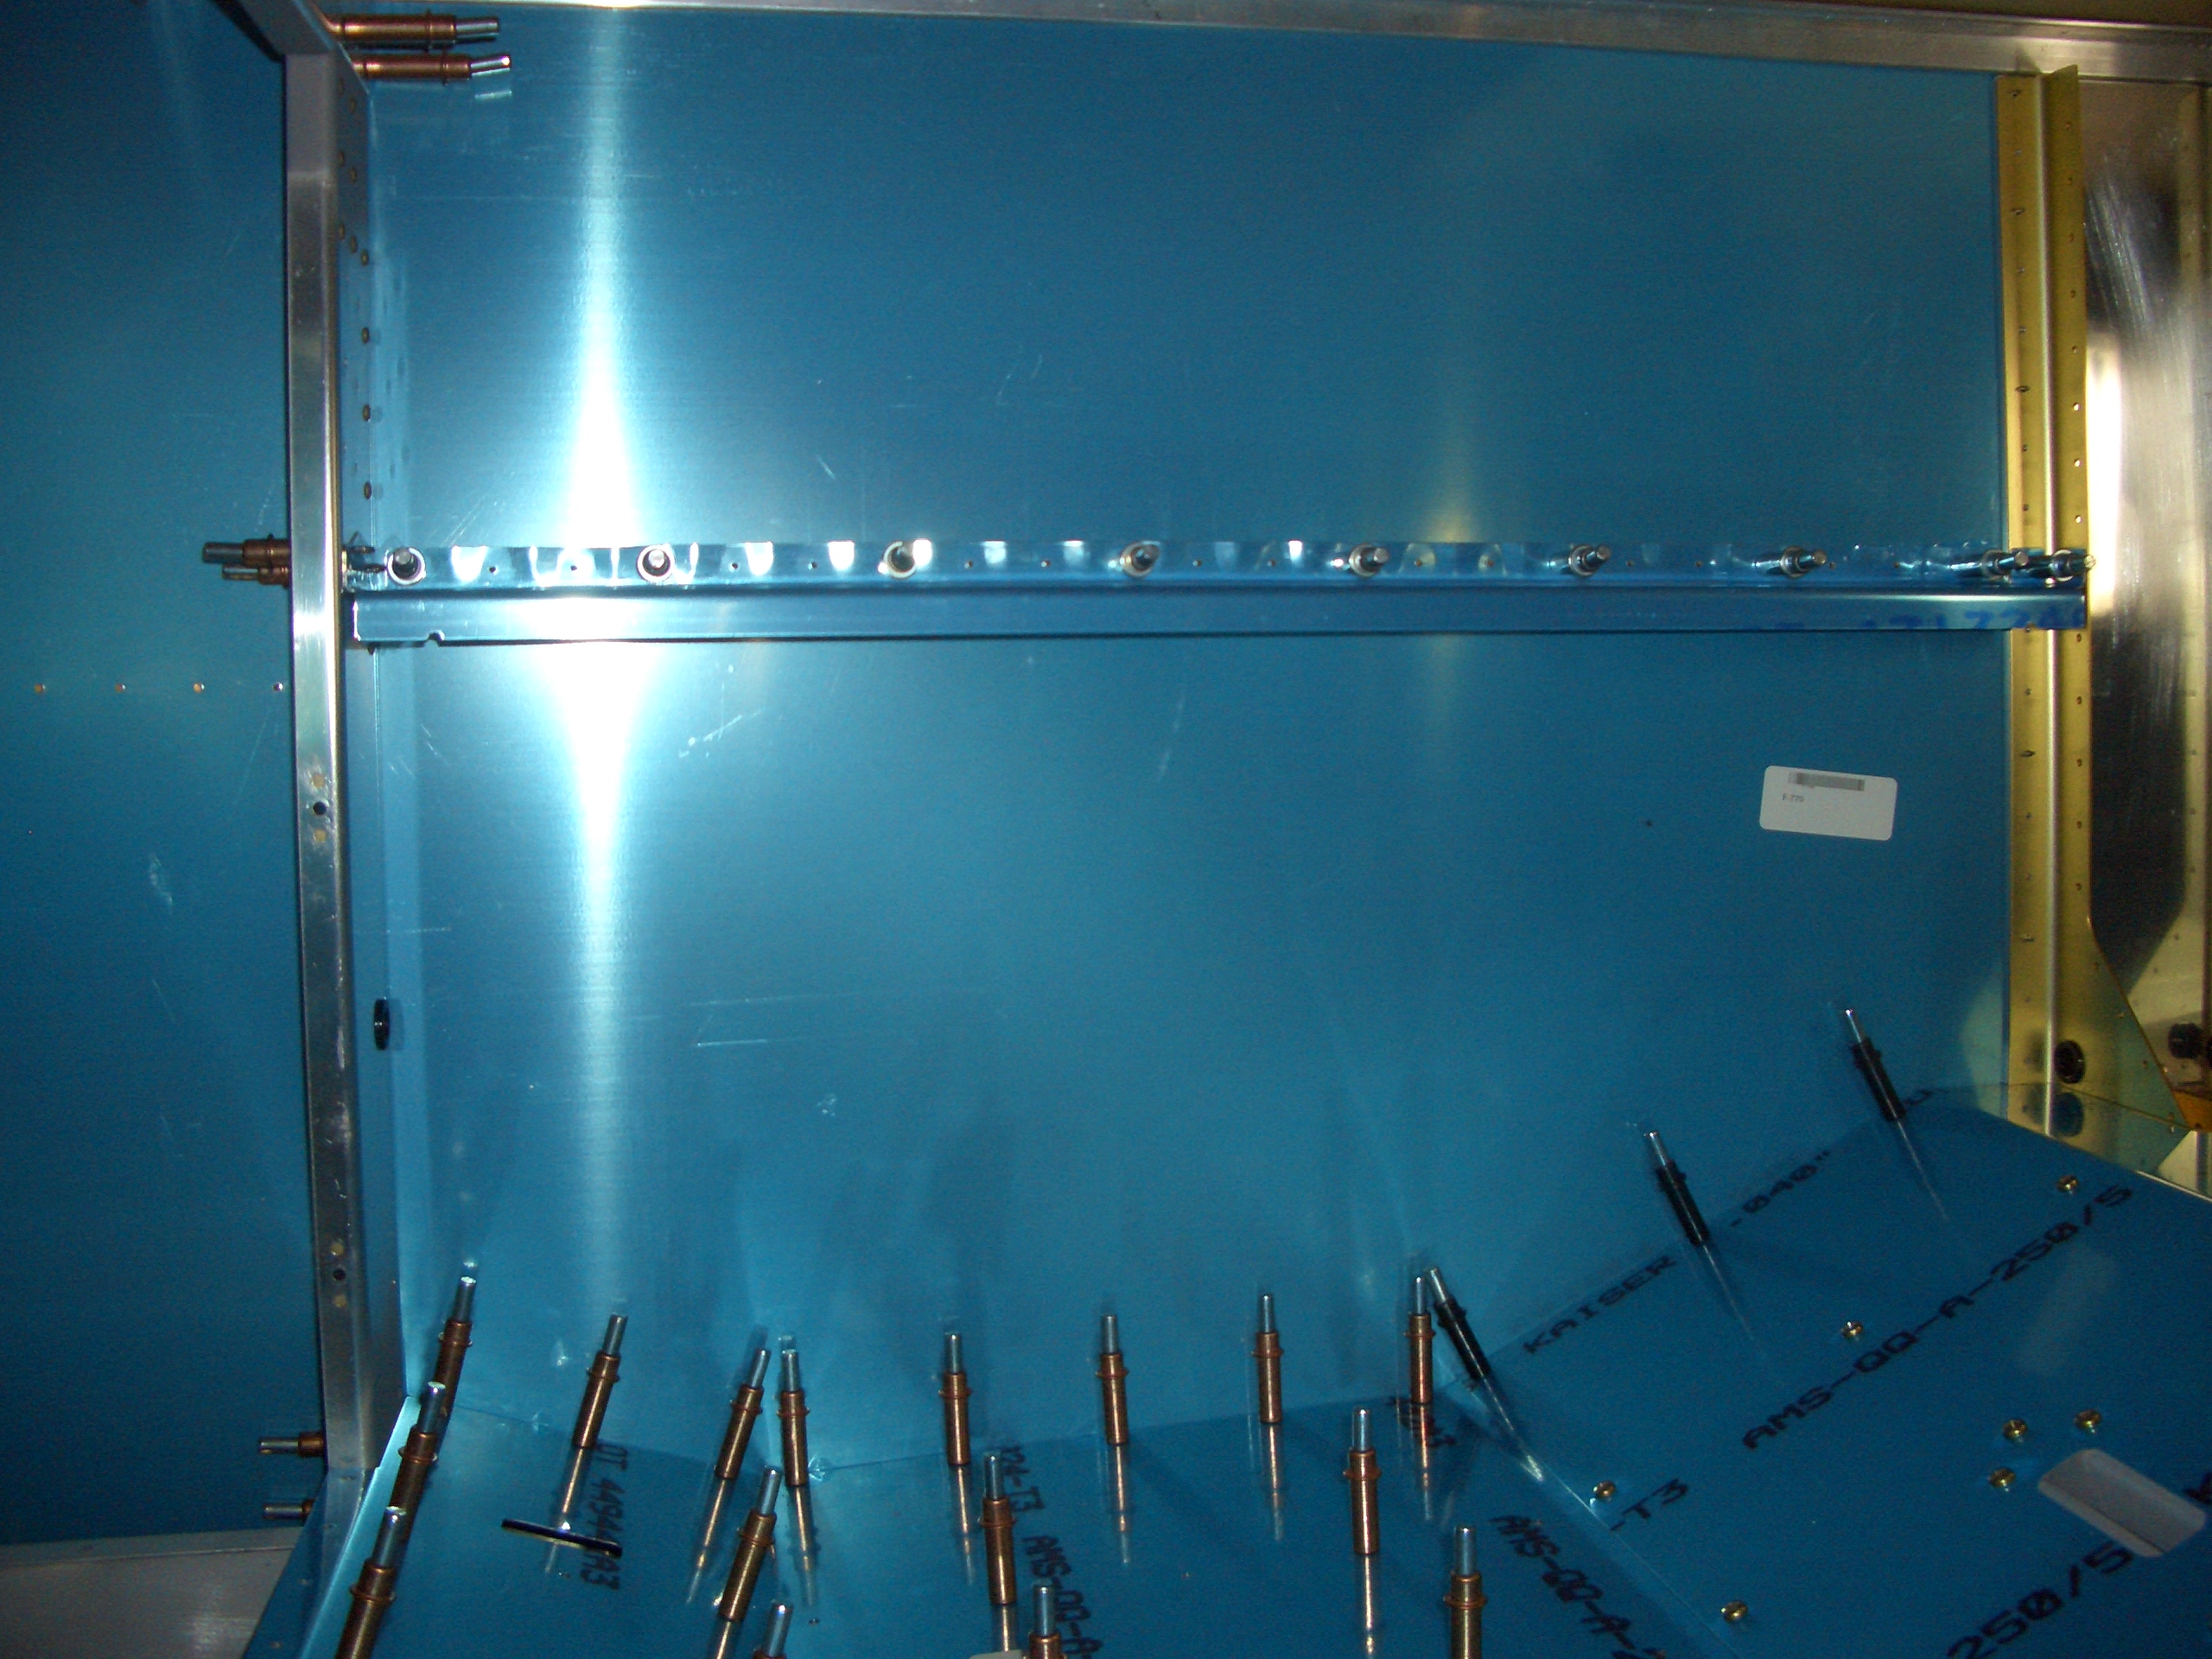
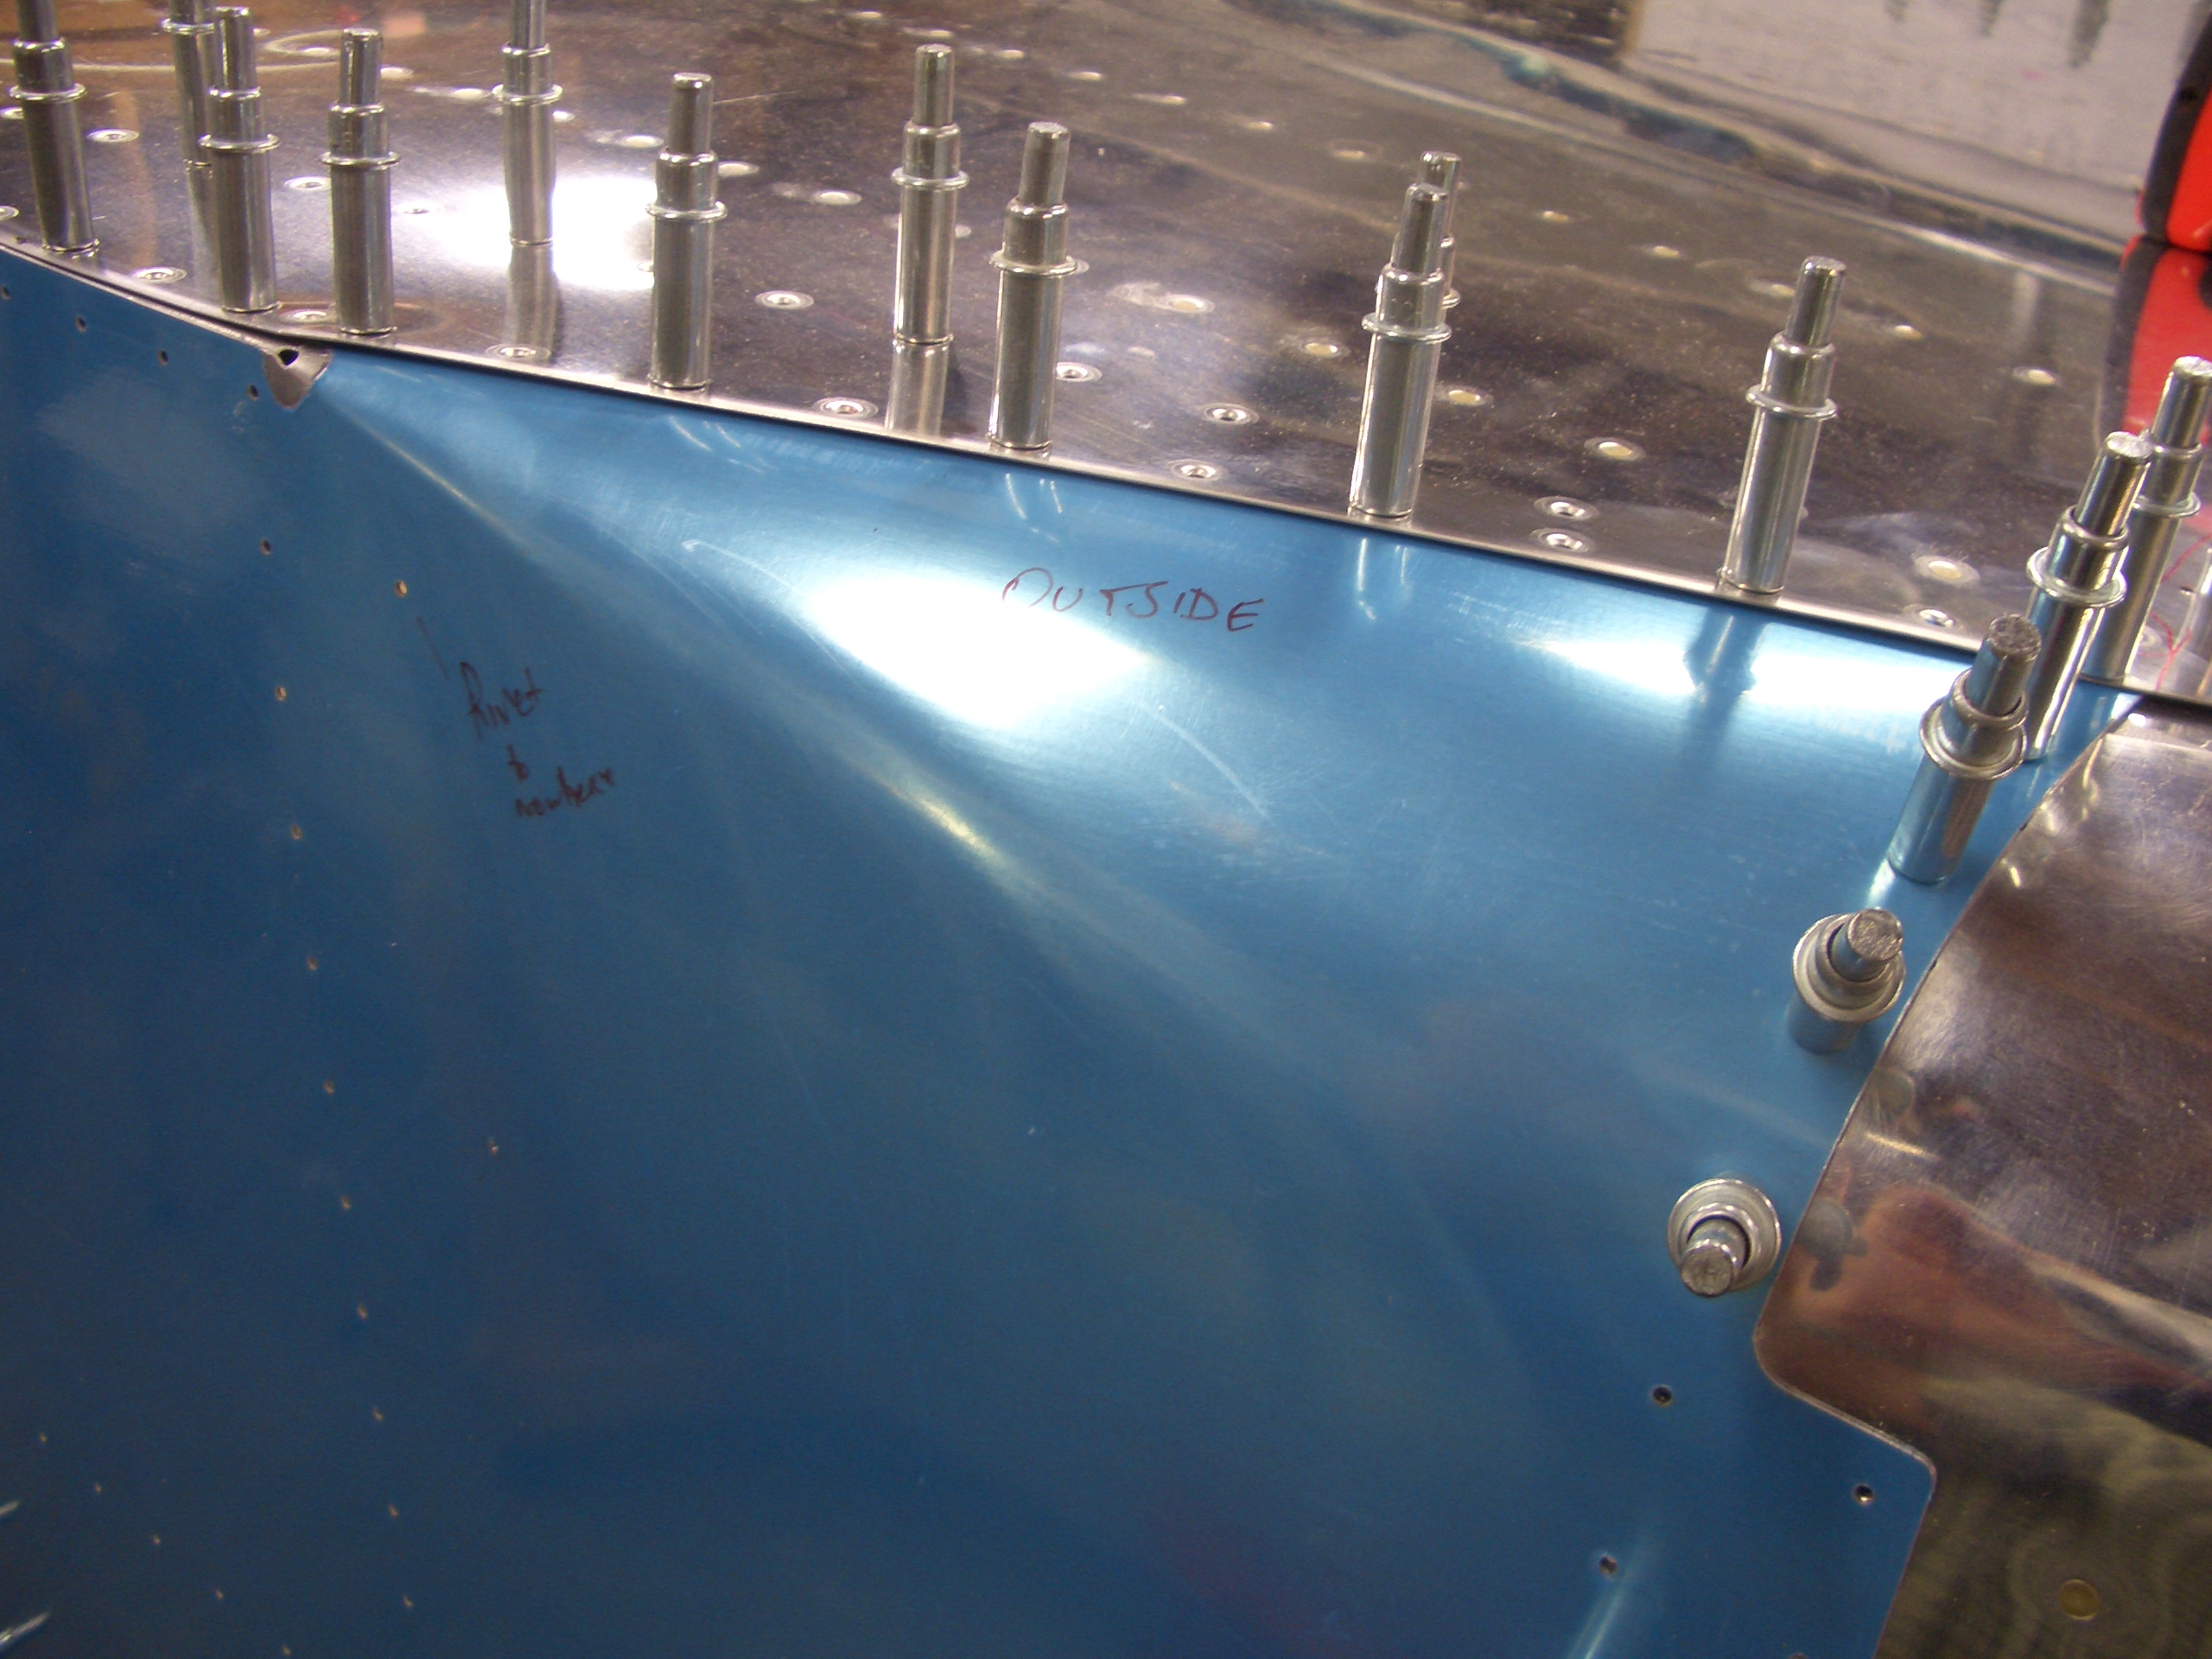
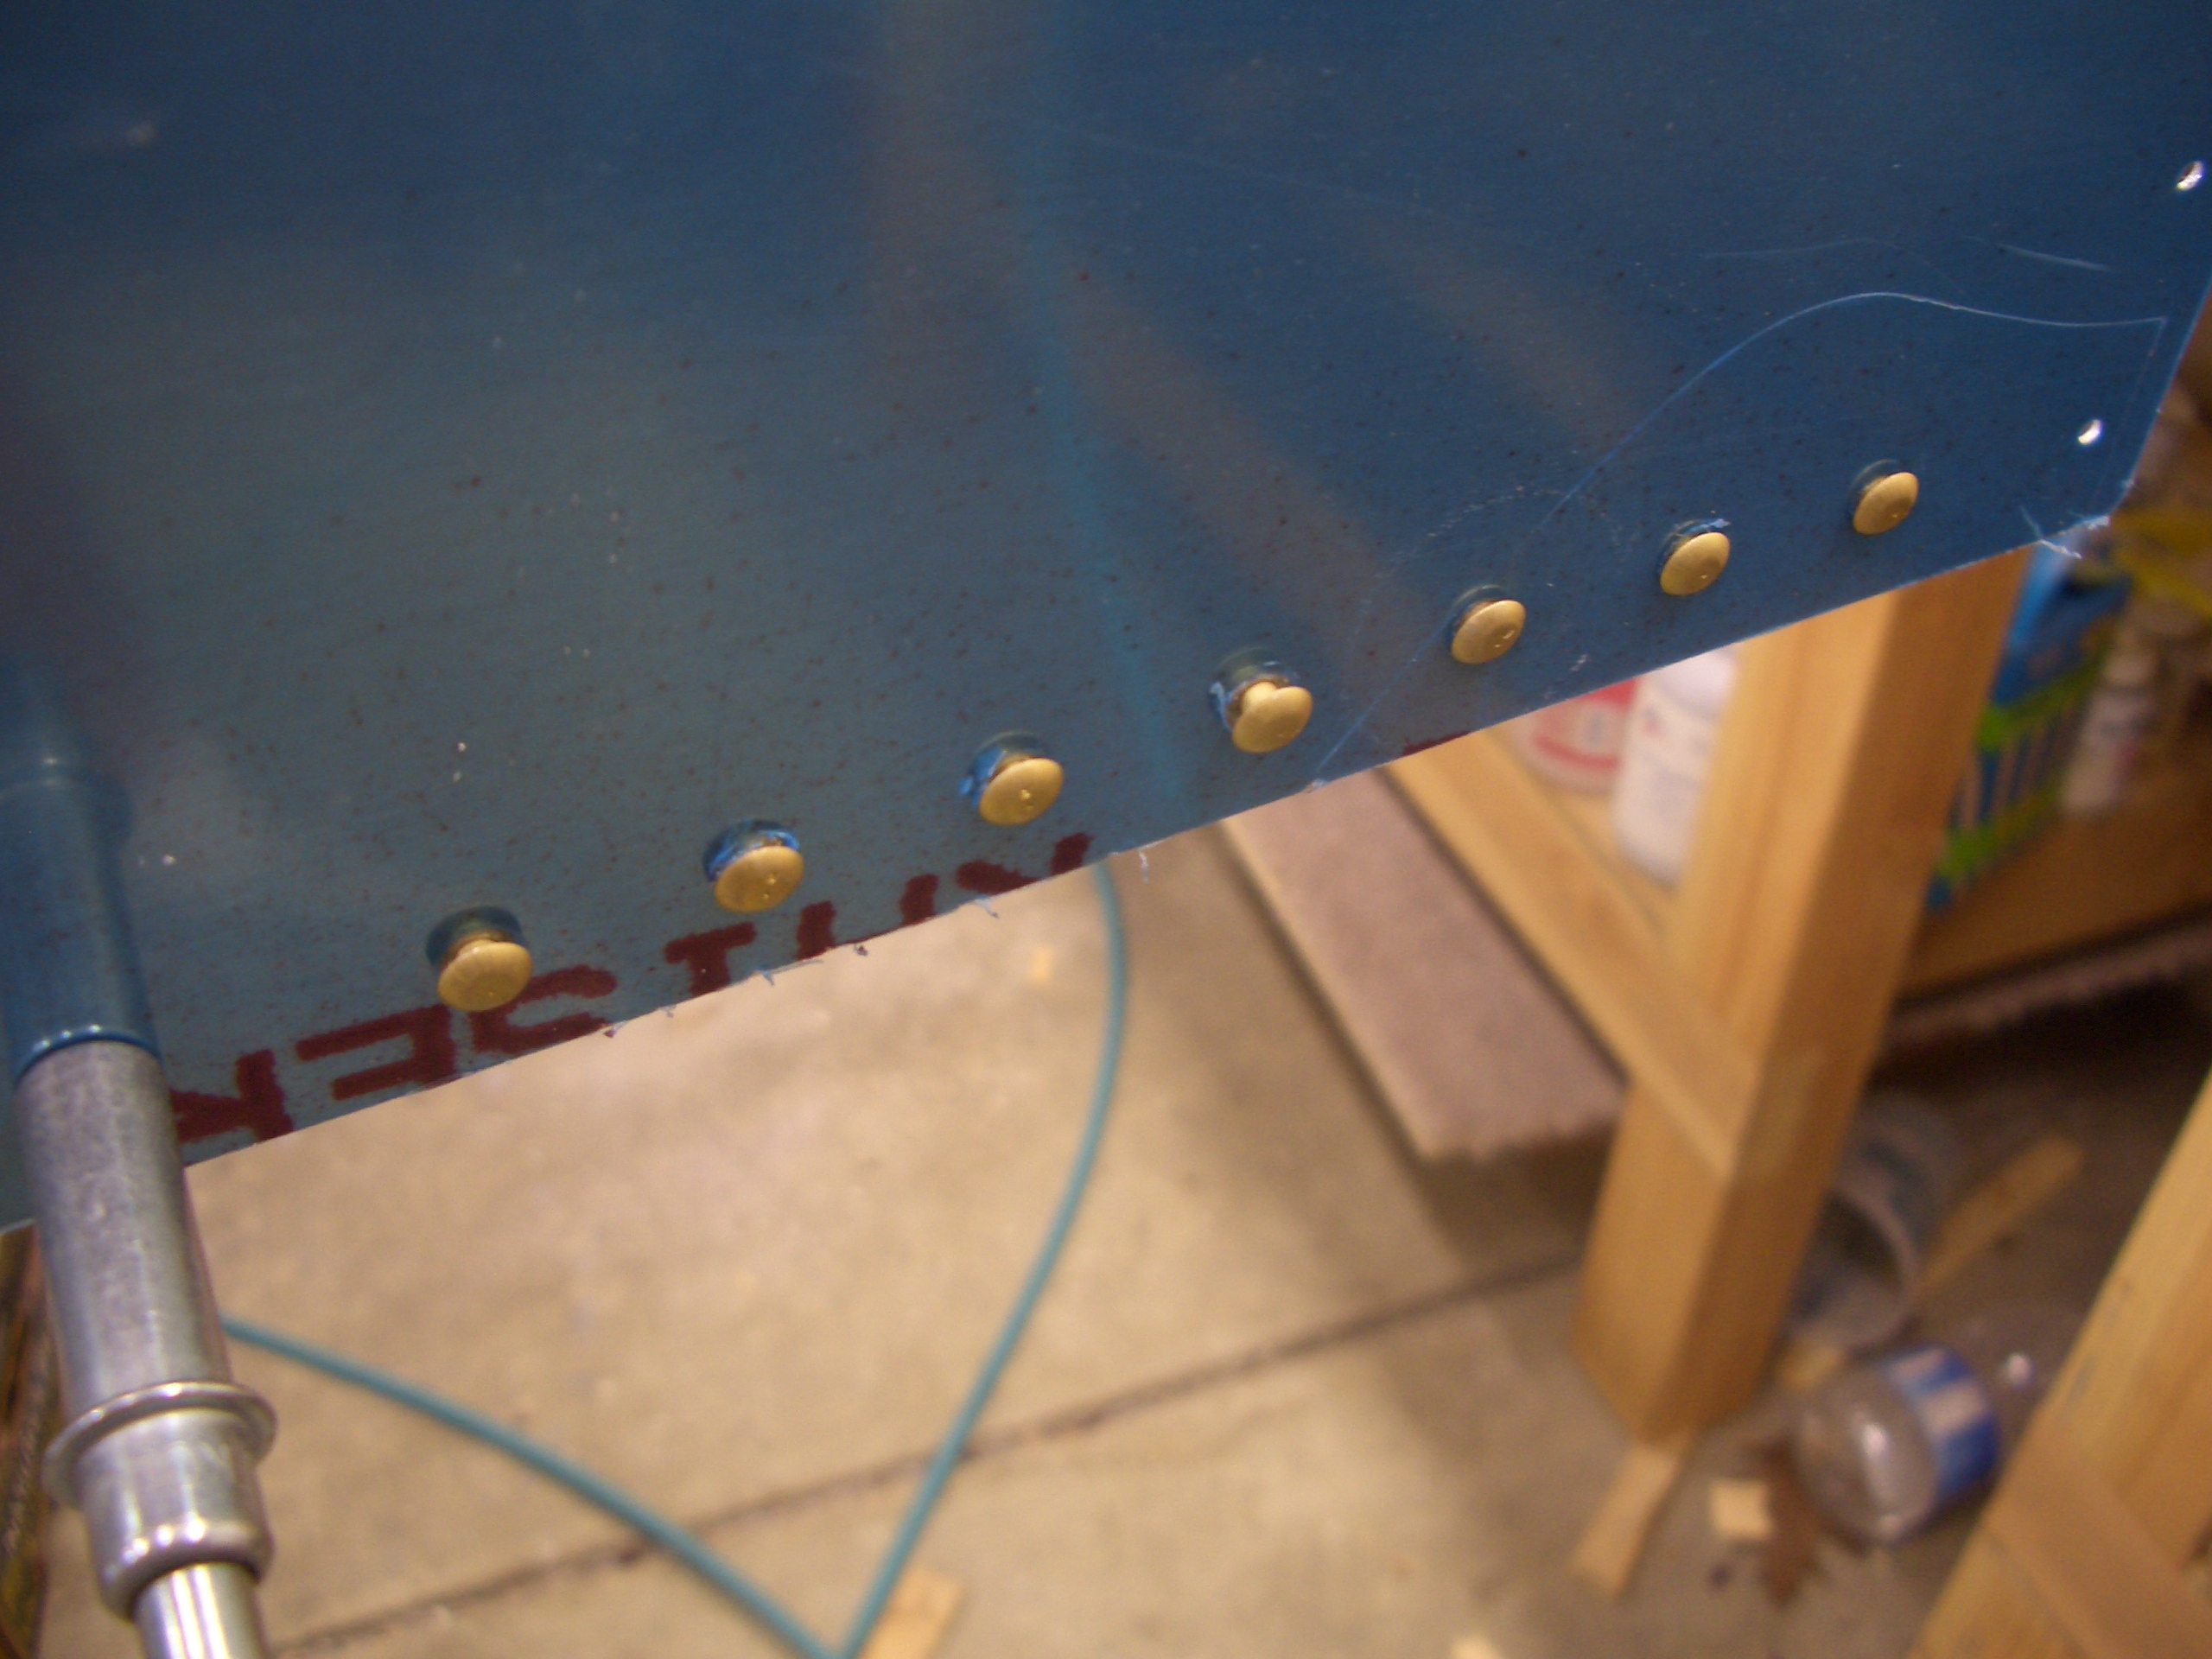
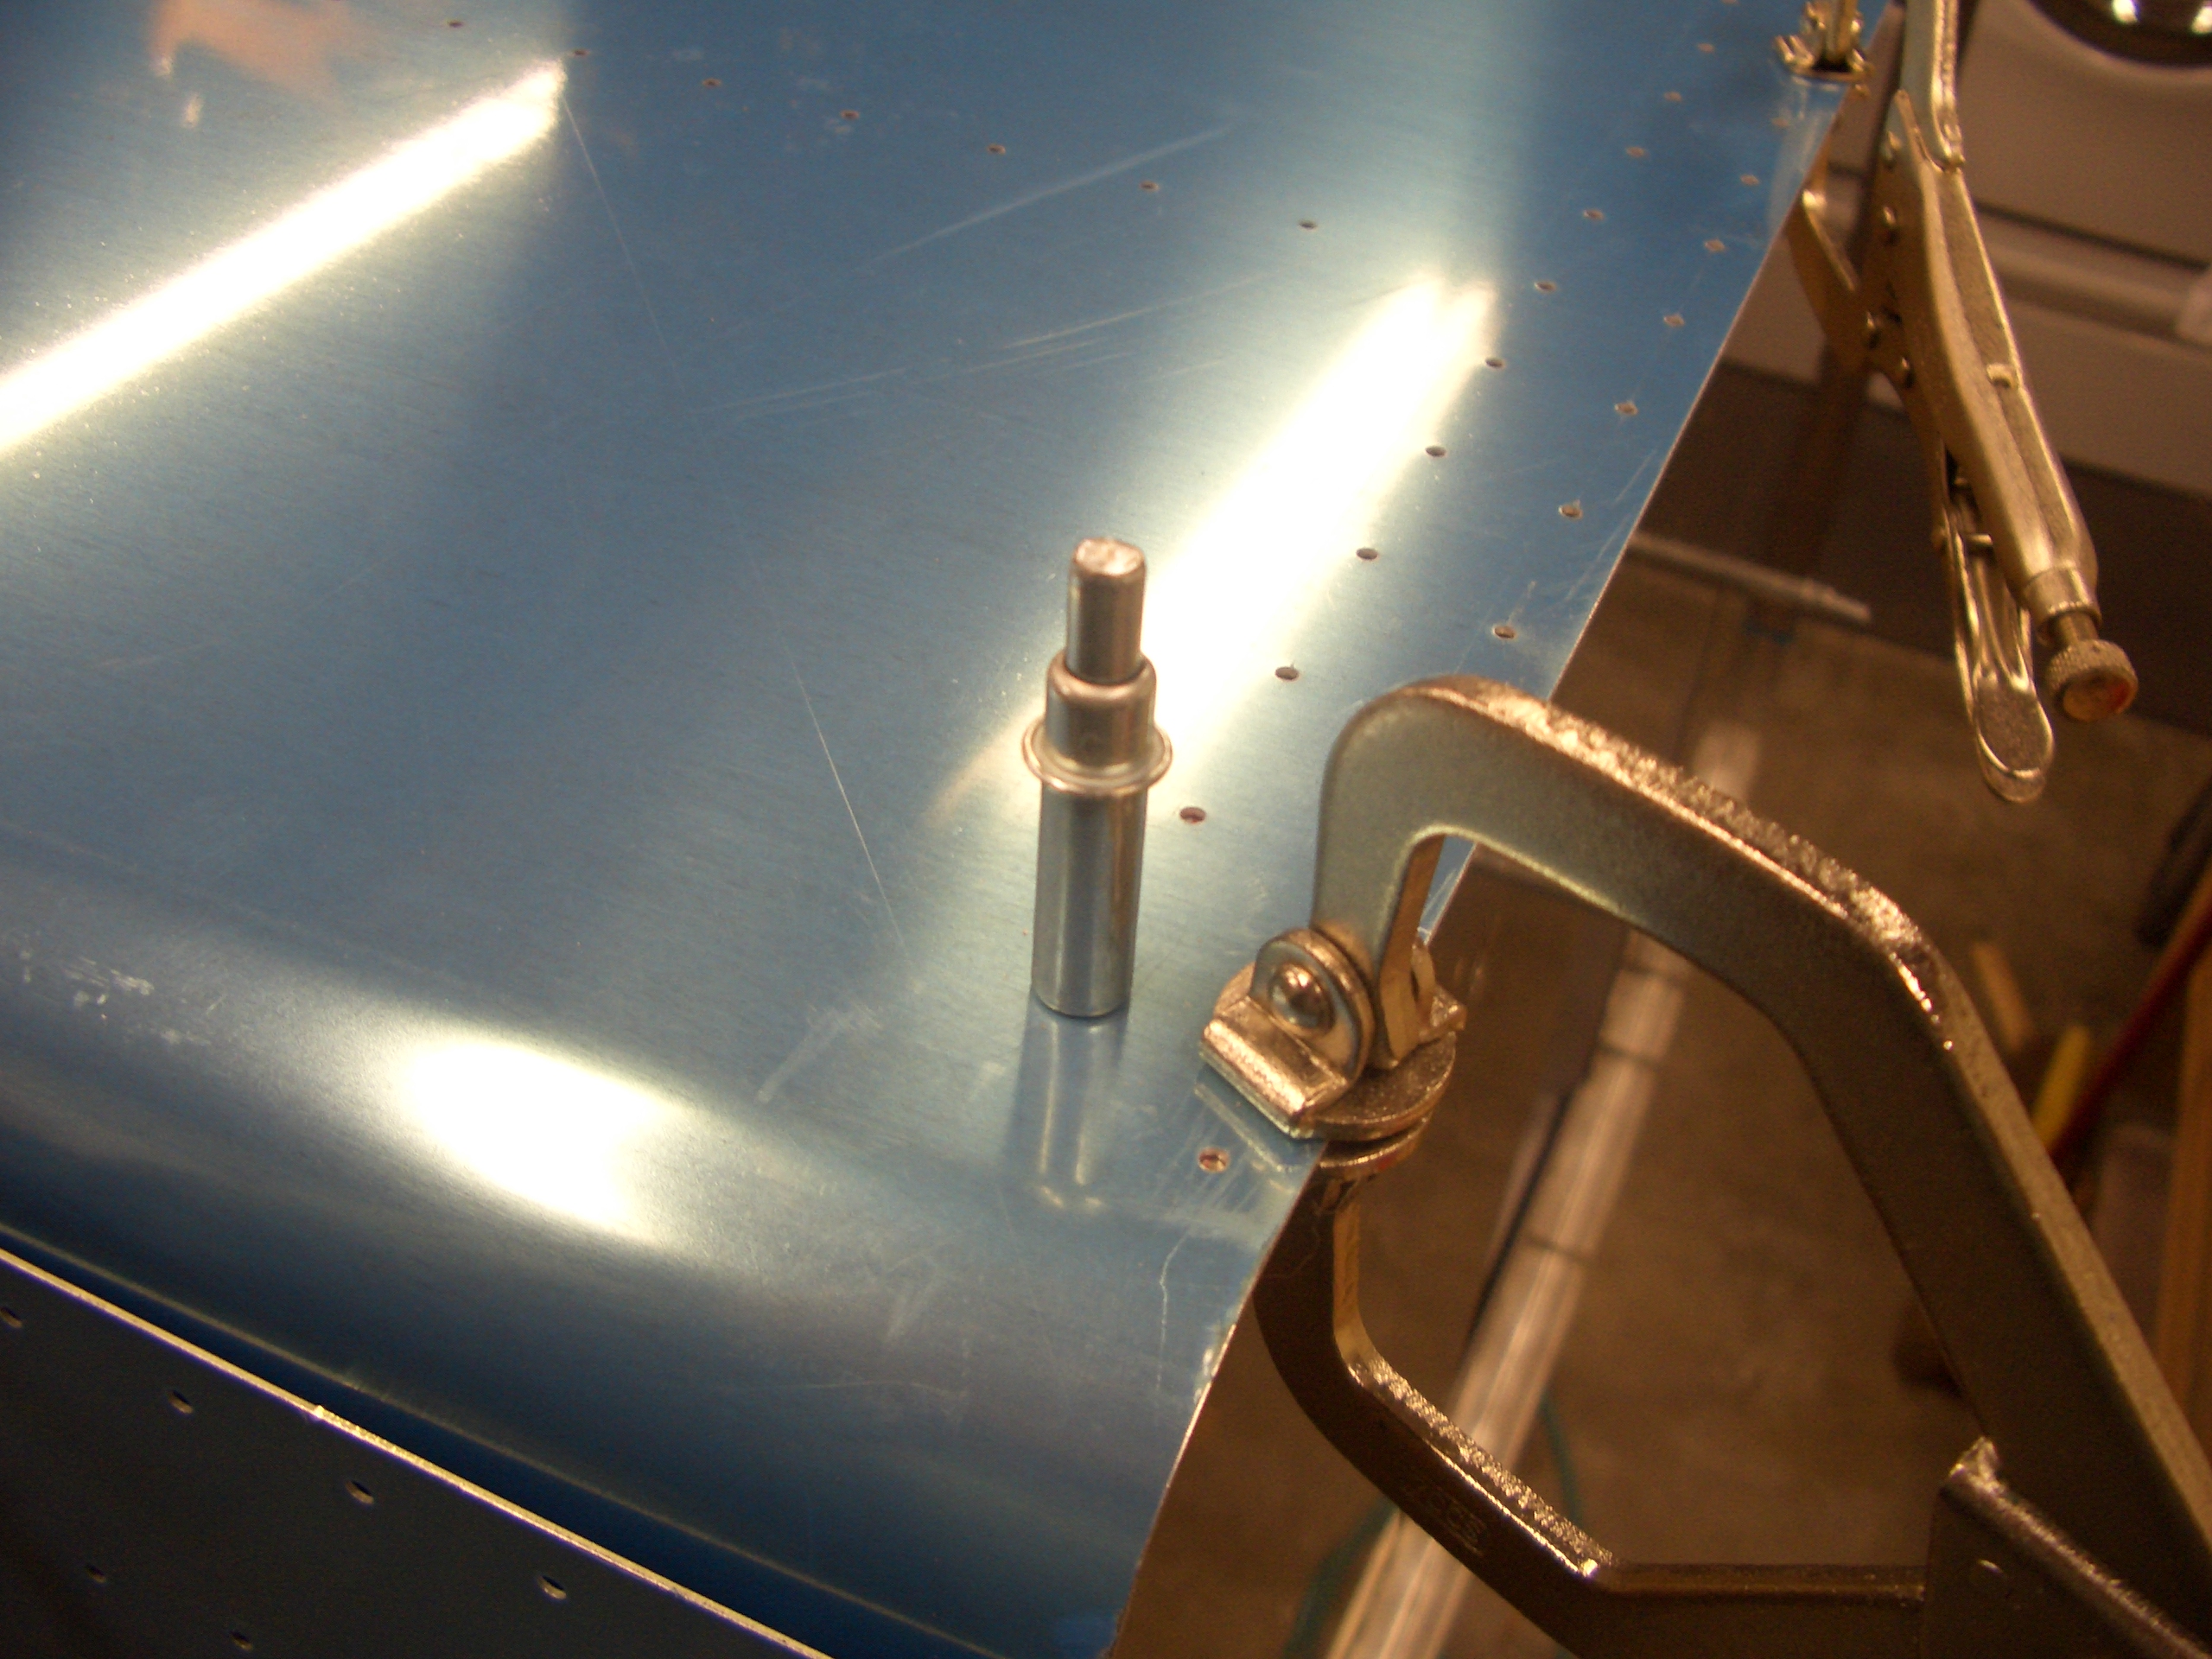
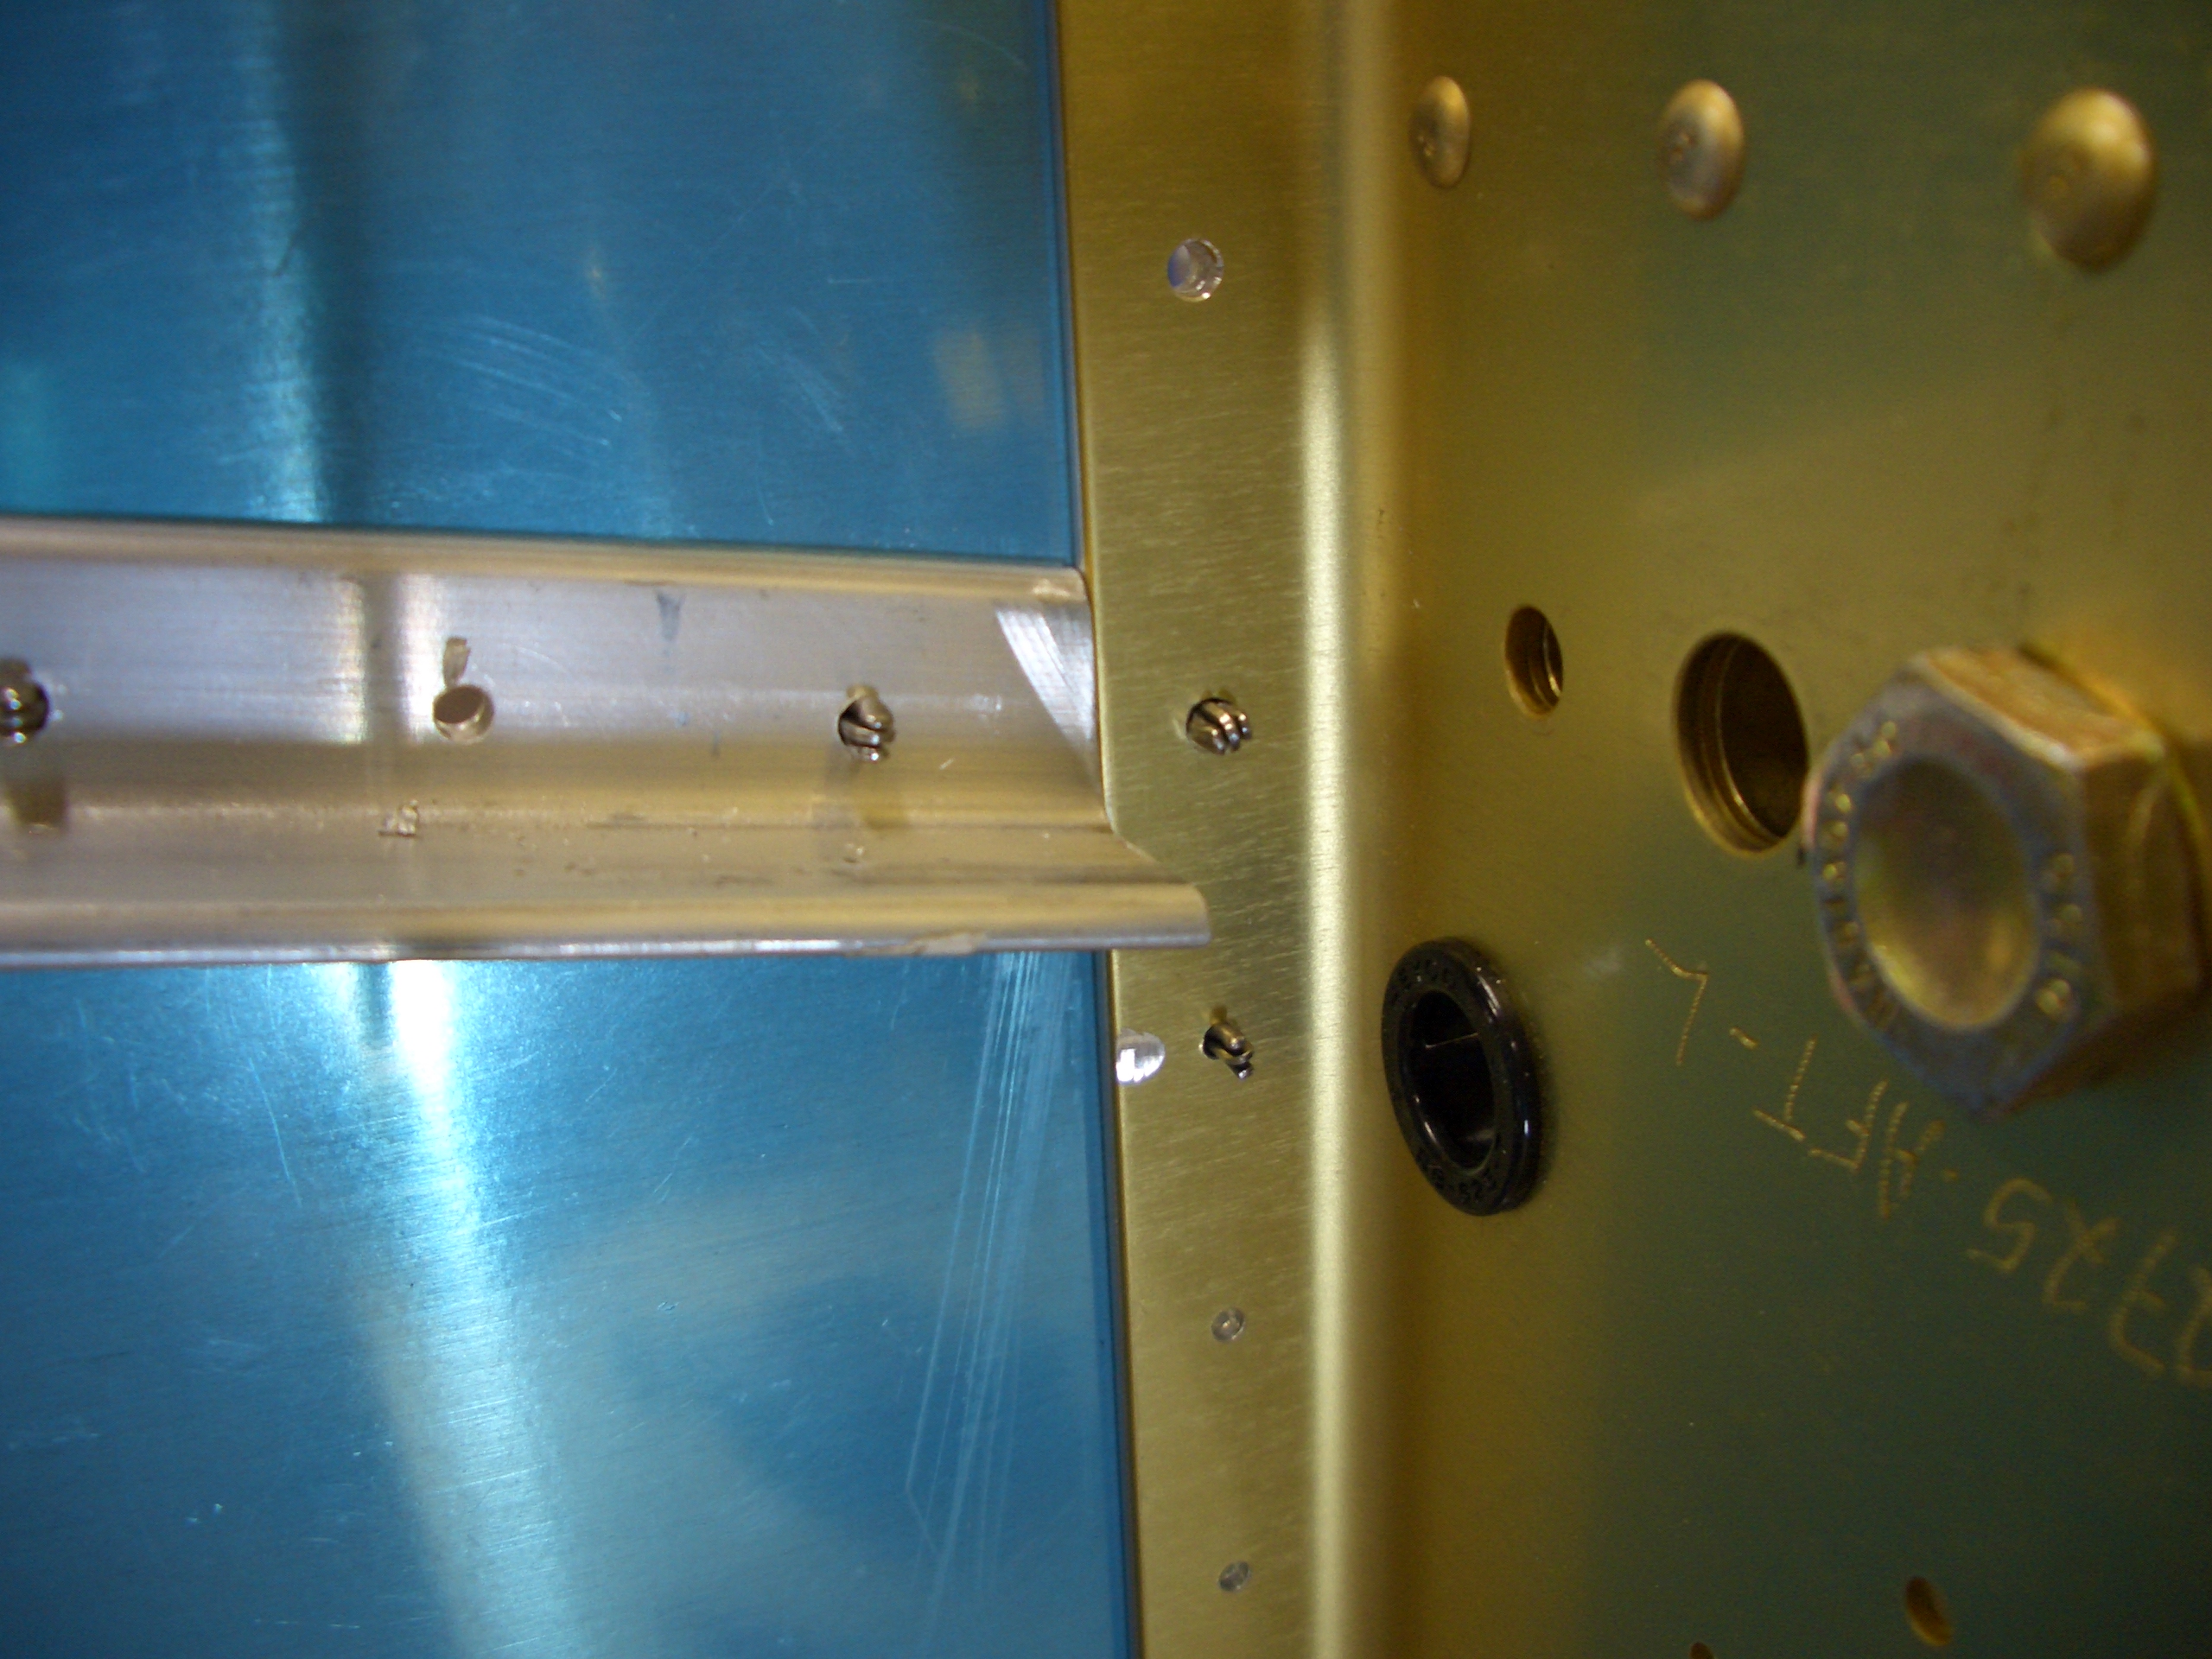
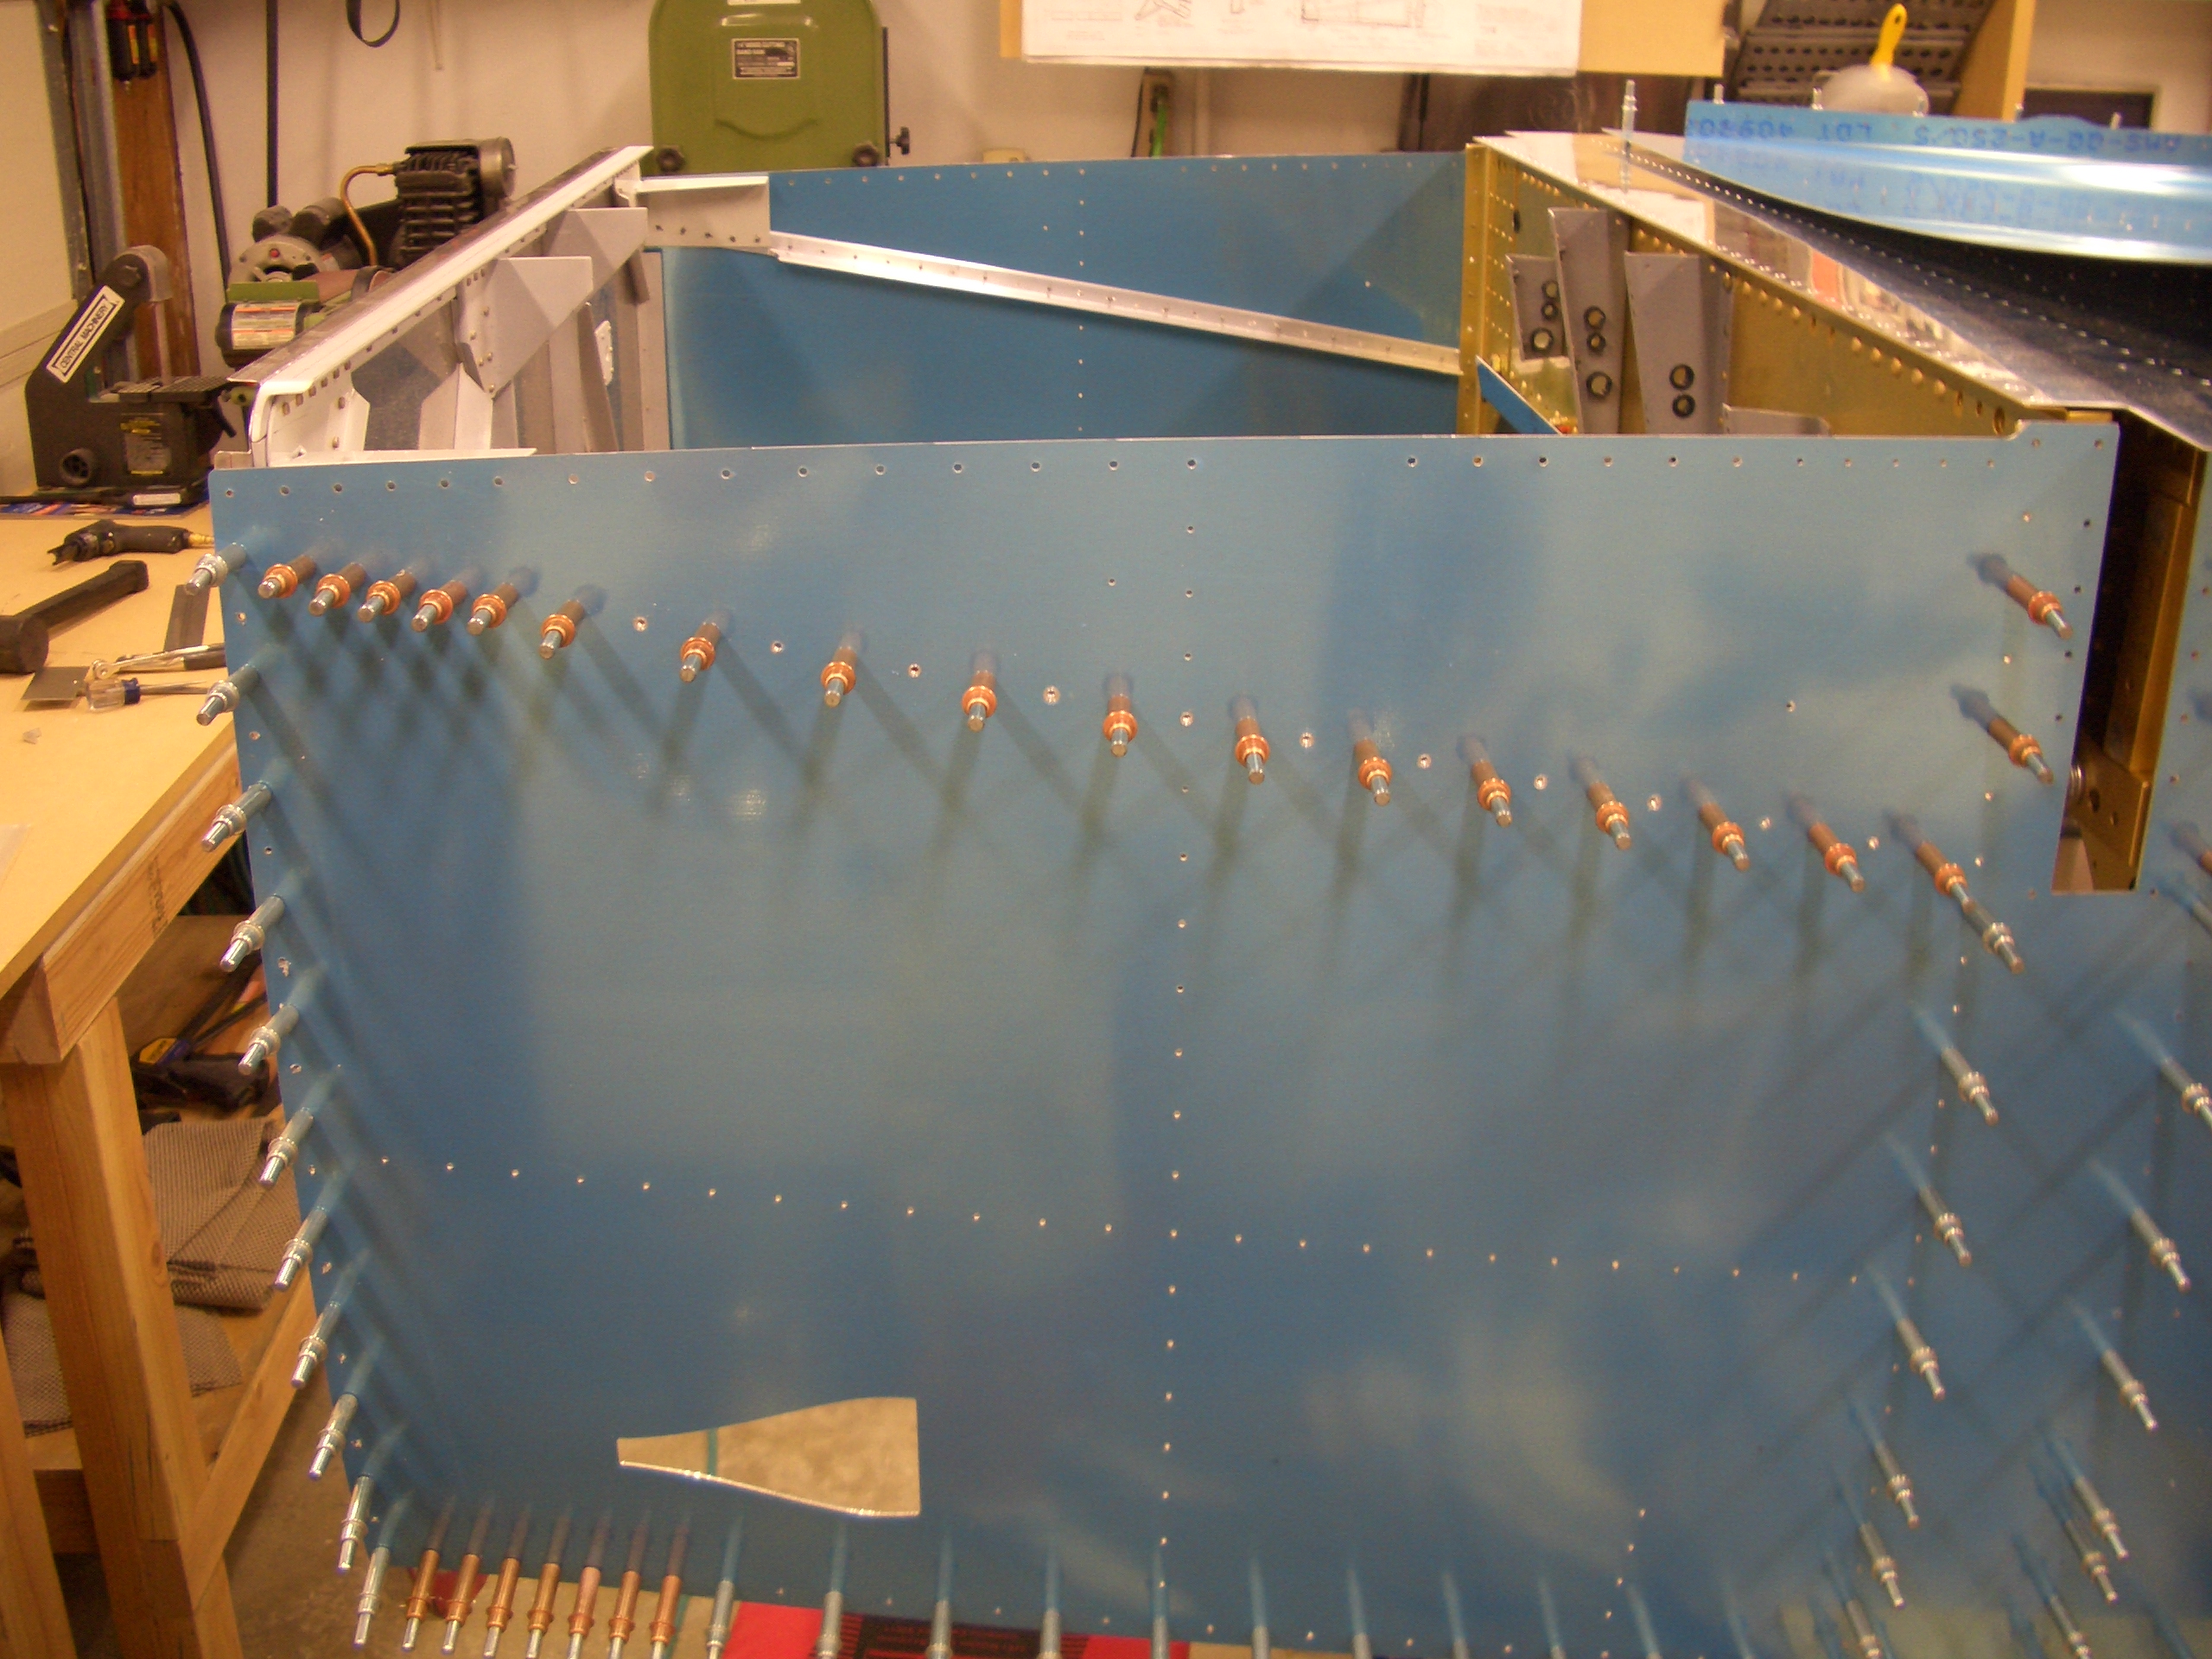
Where the engine mounts on the firewall nestle inside the longerons, clecos would interfere. You can’t just leave the holes empty though since the weight of the firewall would cause the longerons to sag. Fill these with some short AD470AD4 rivets (just sitting loose, not set) to ensure this doesn’t happen. I put a piece of tape over this to ensure they don’t fall out.
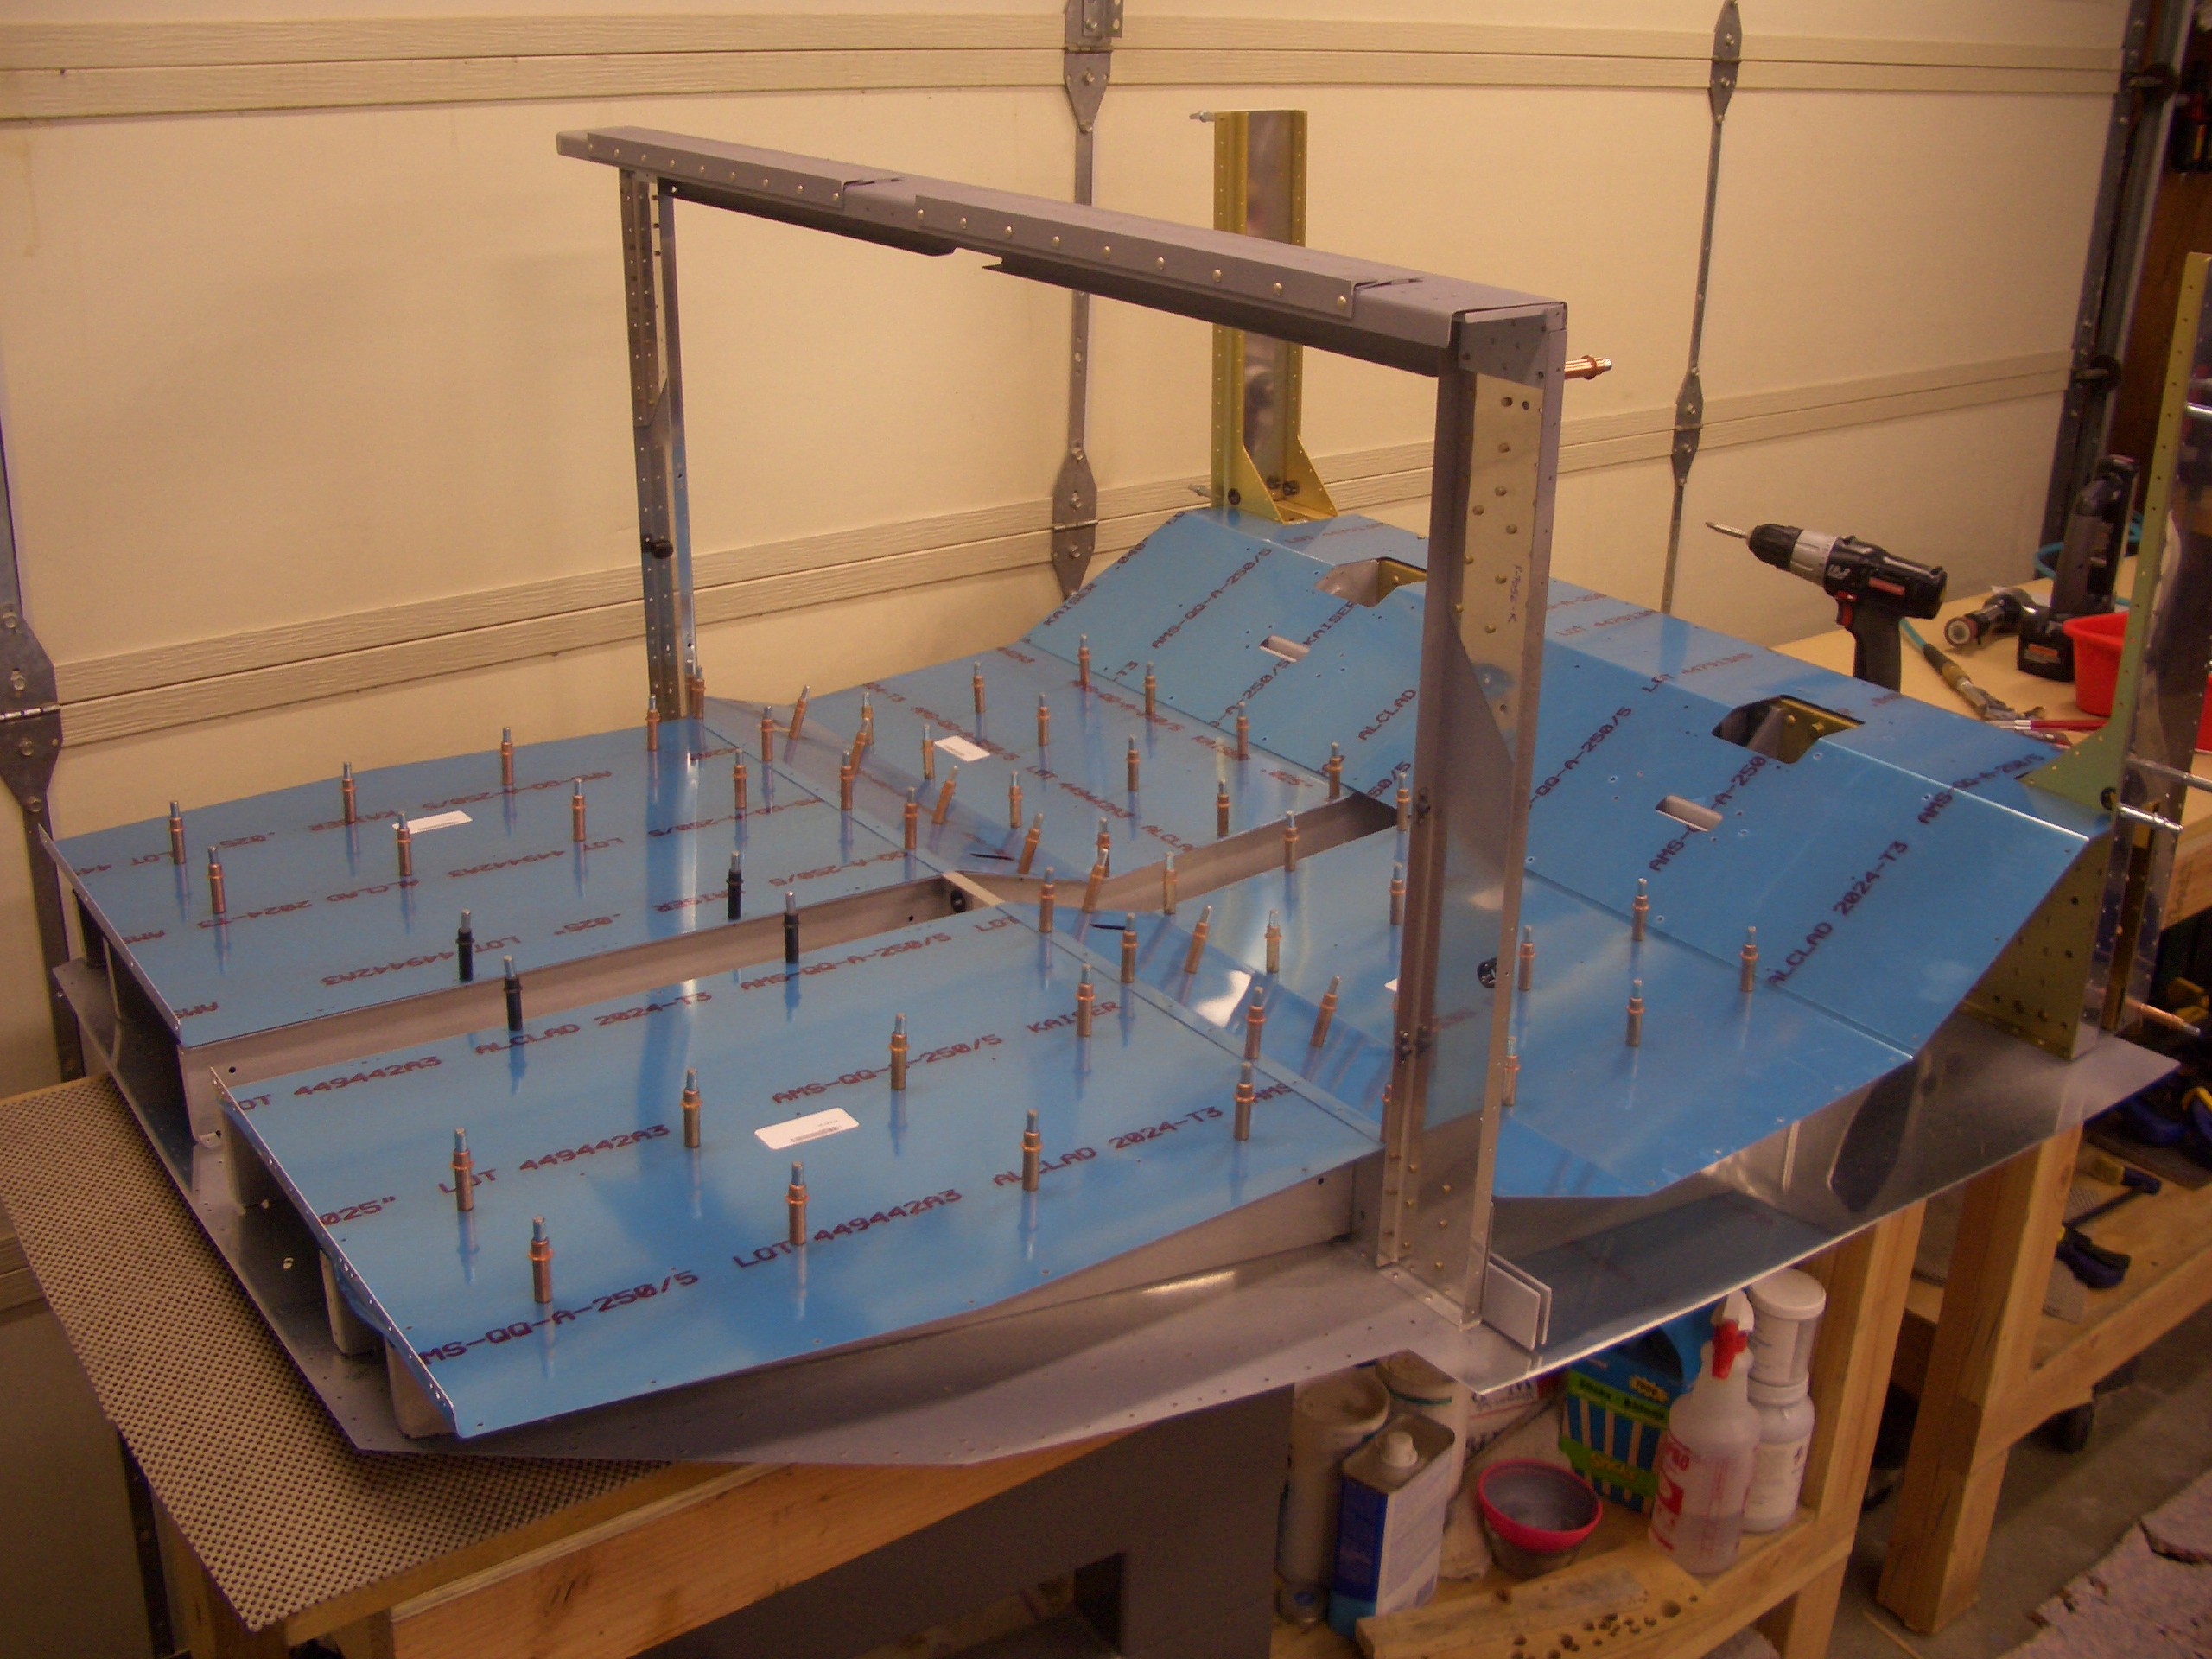
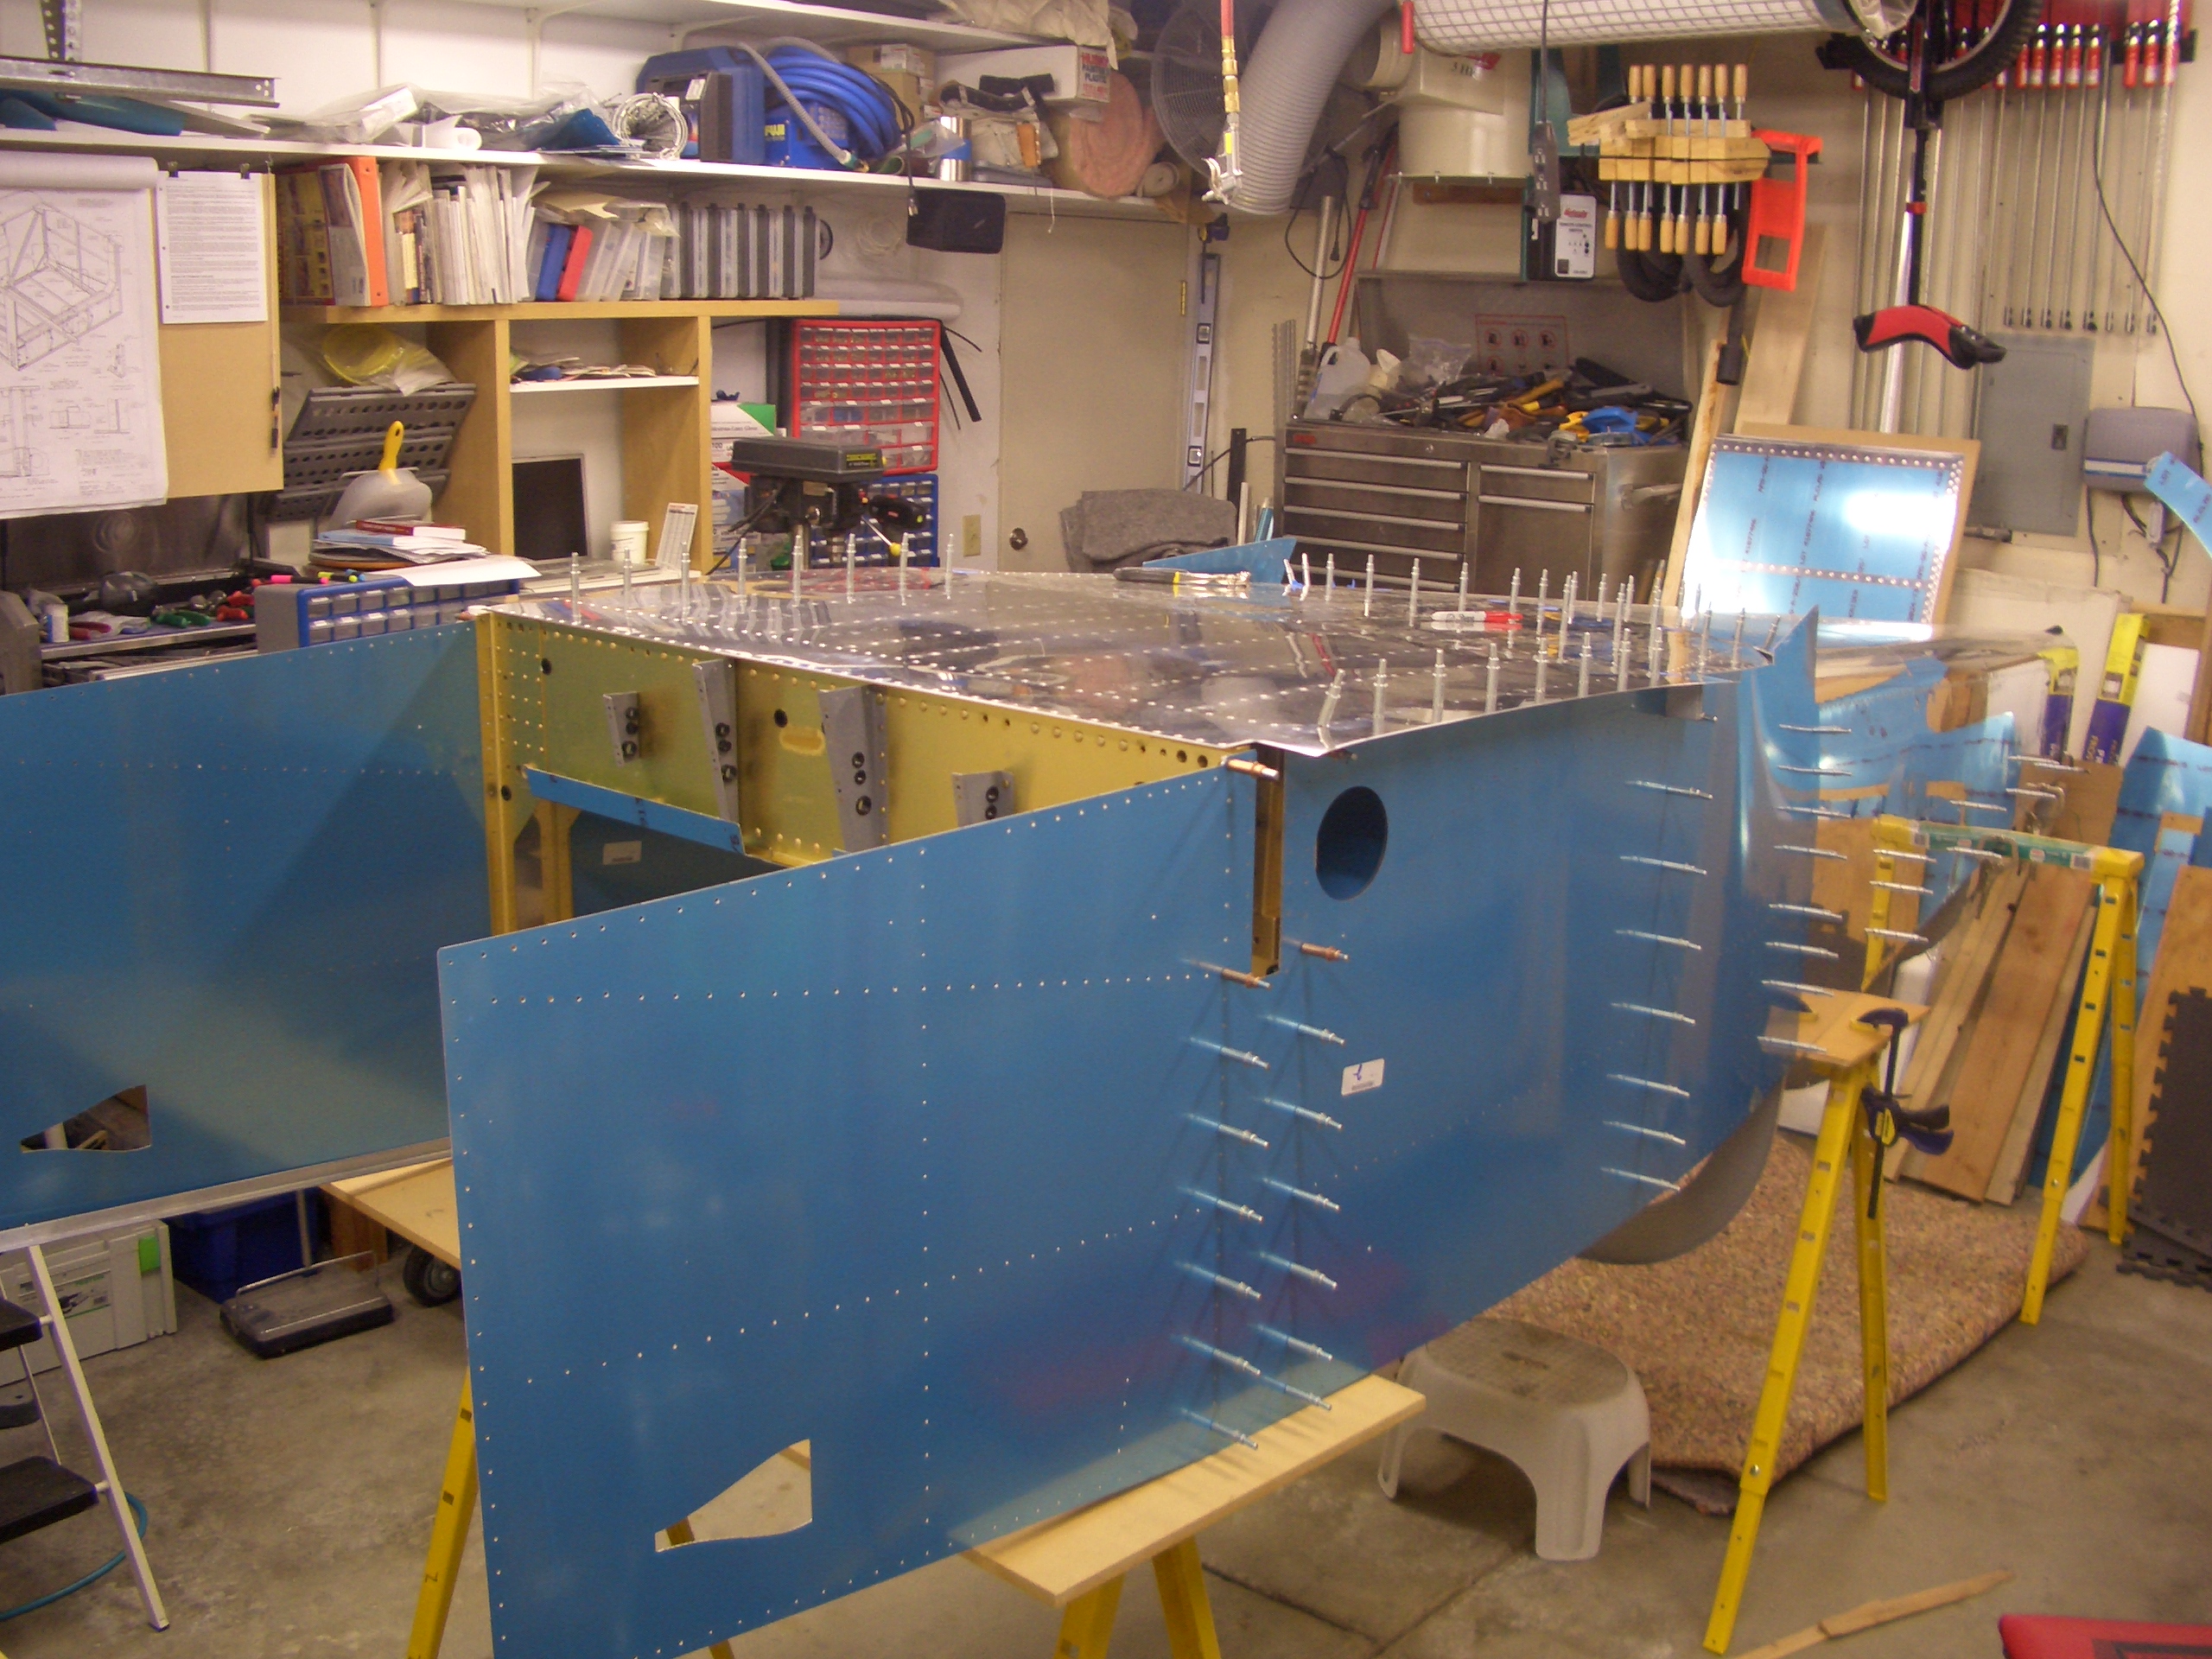
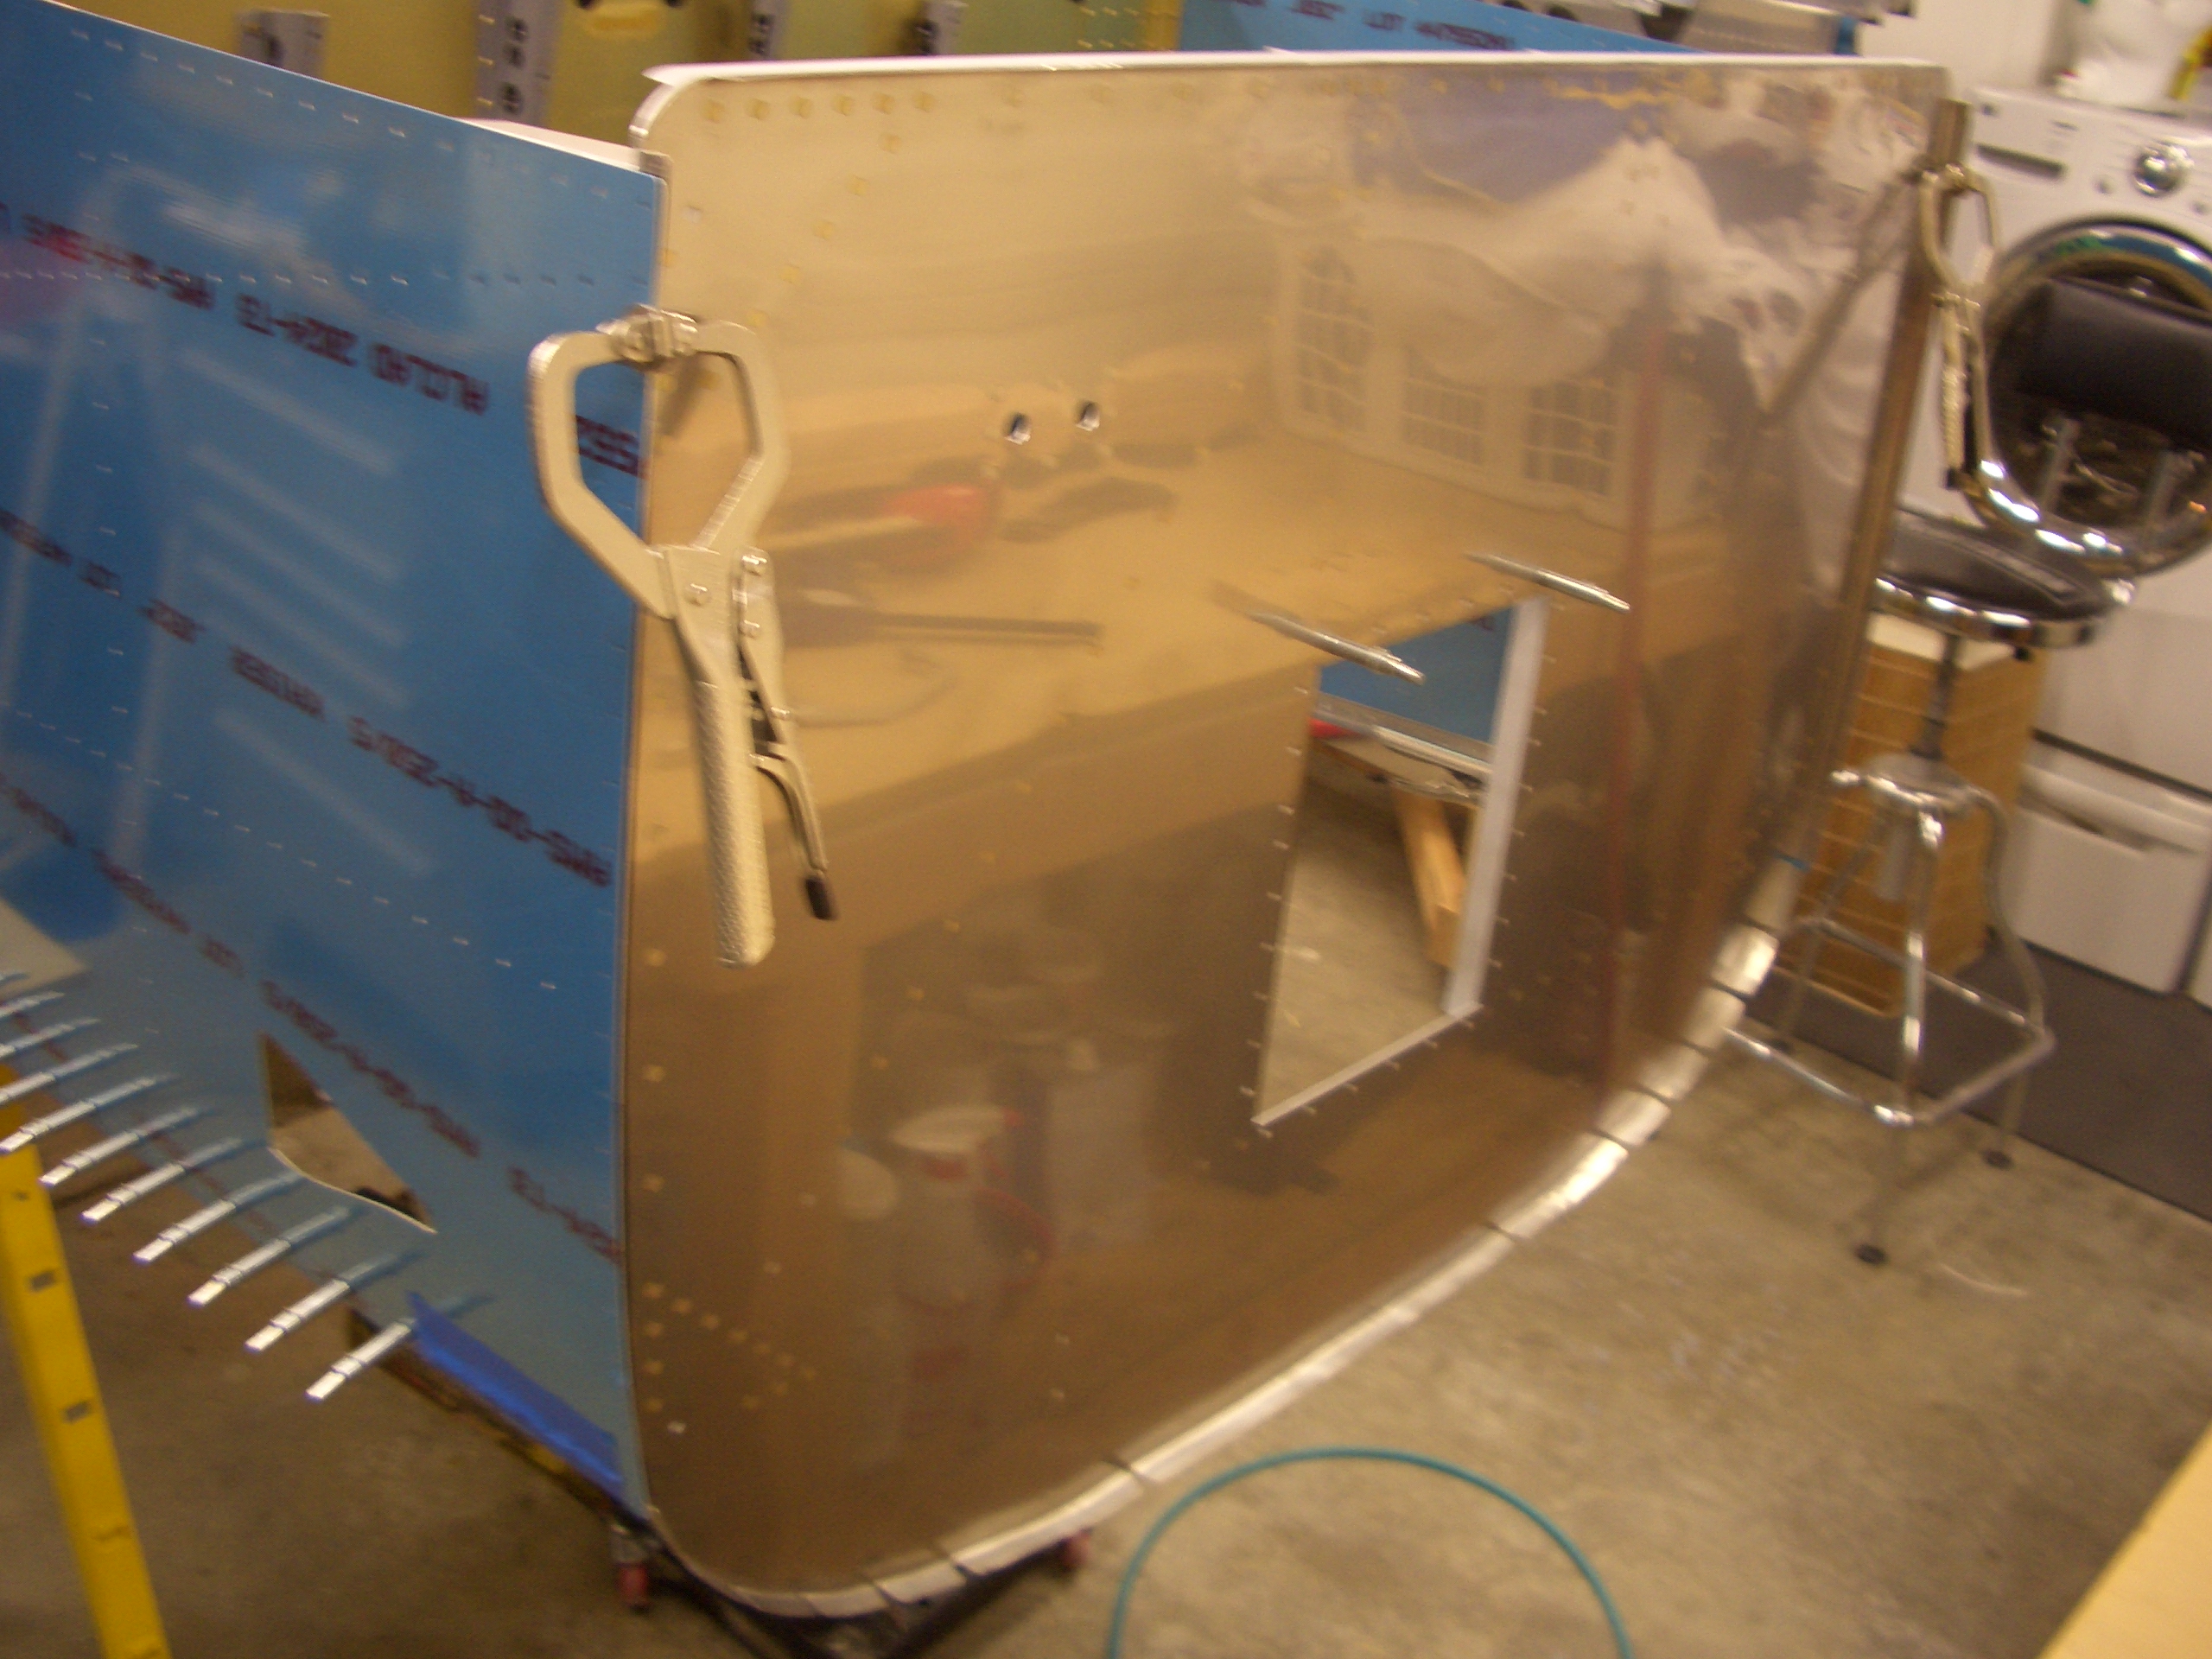
Next, the firewall is set in position to check for correct setback from the side skins. I had to take this off a couple of times to file back areas where the ends of the longerons were interfering with the firewall stiffeners.

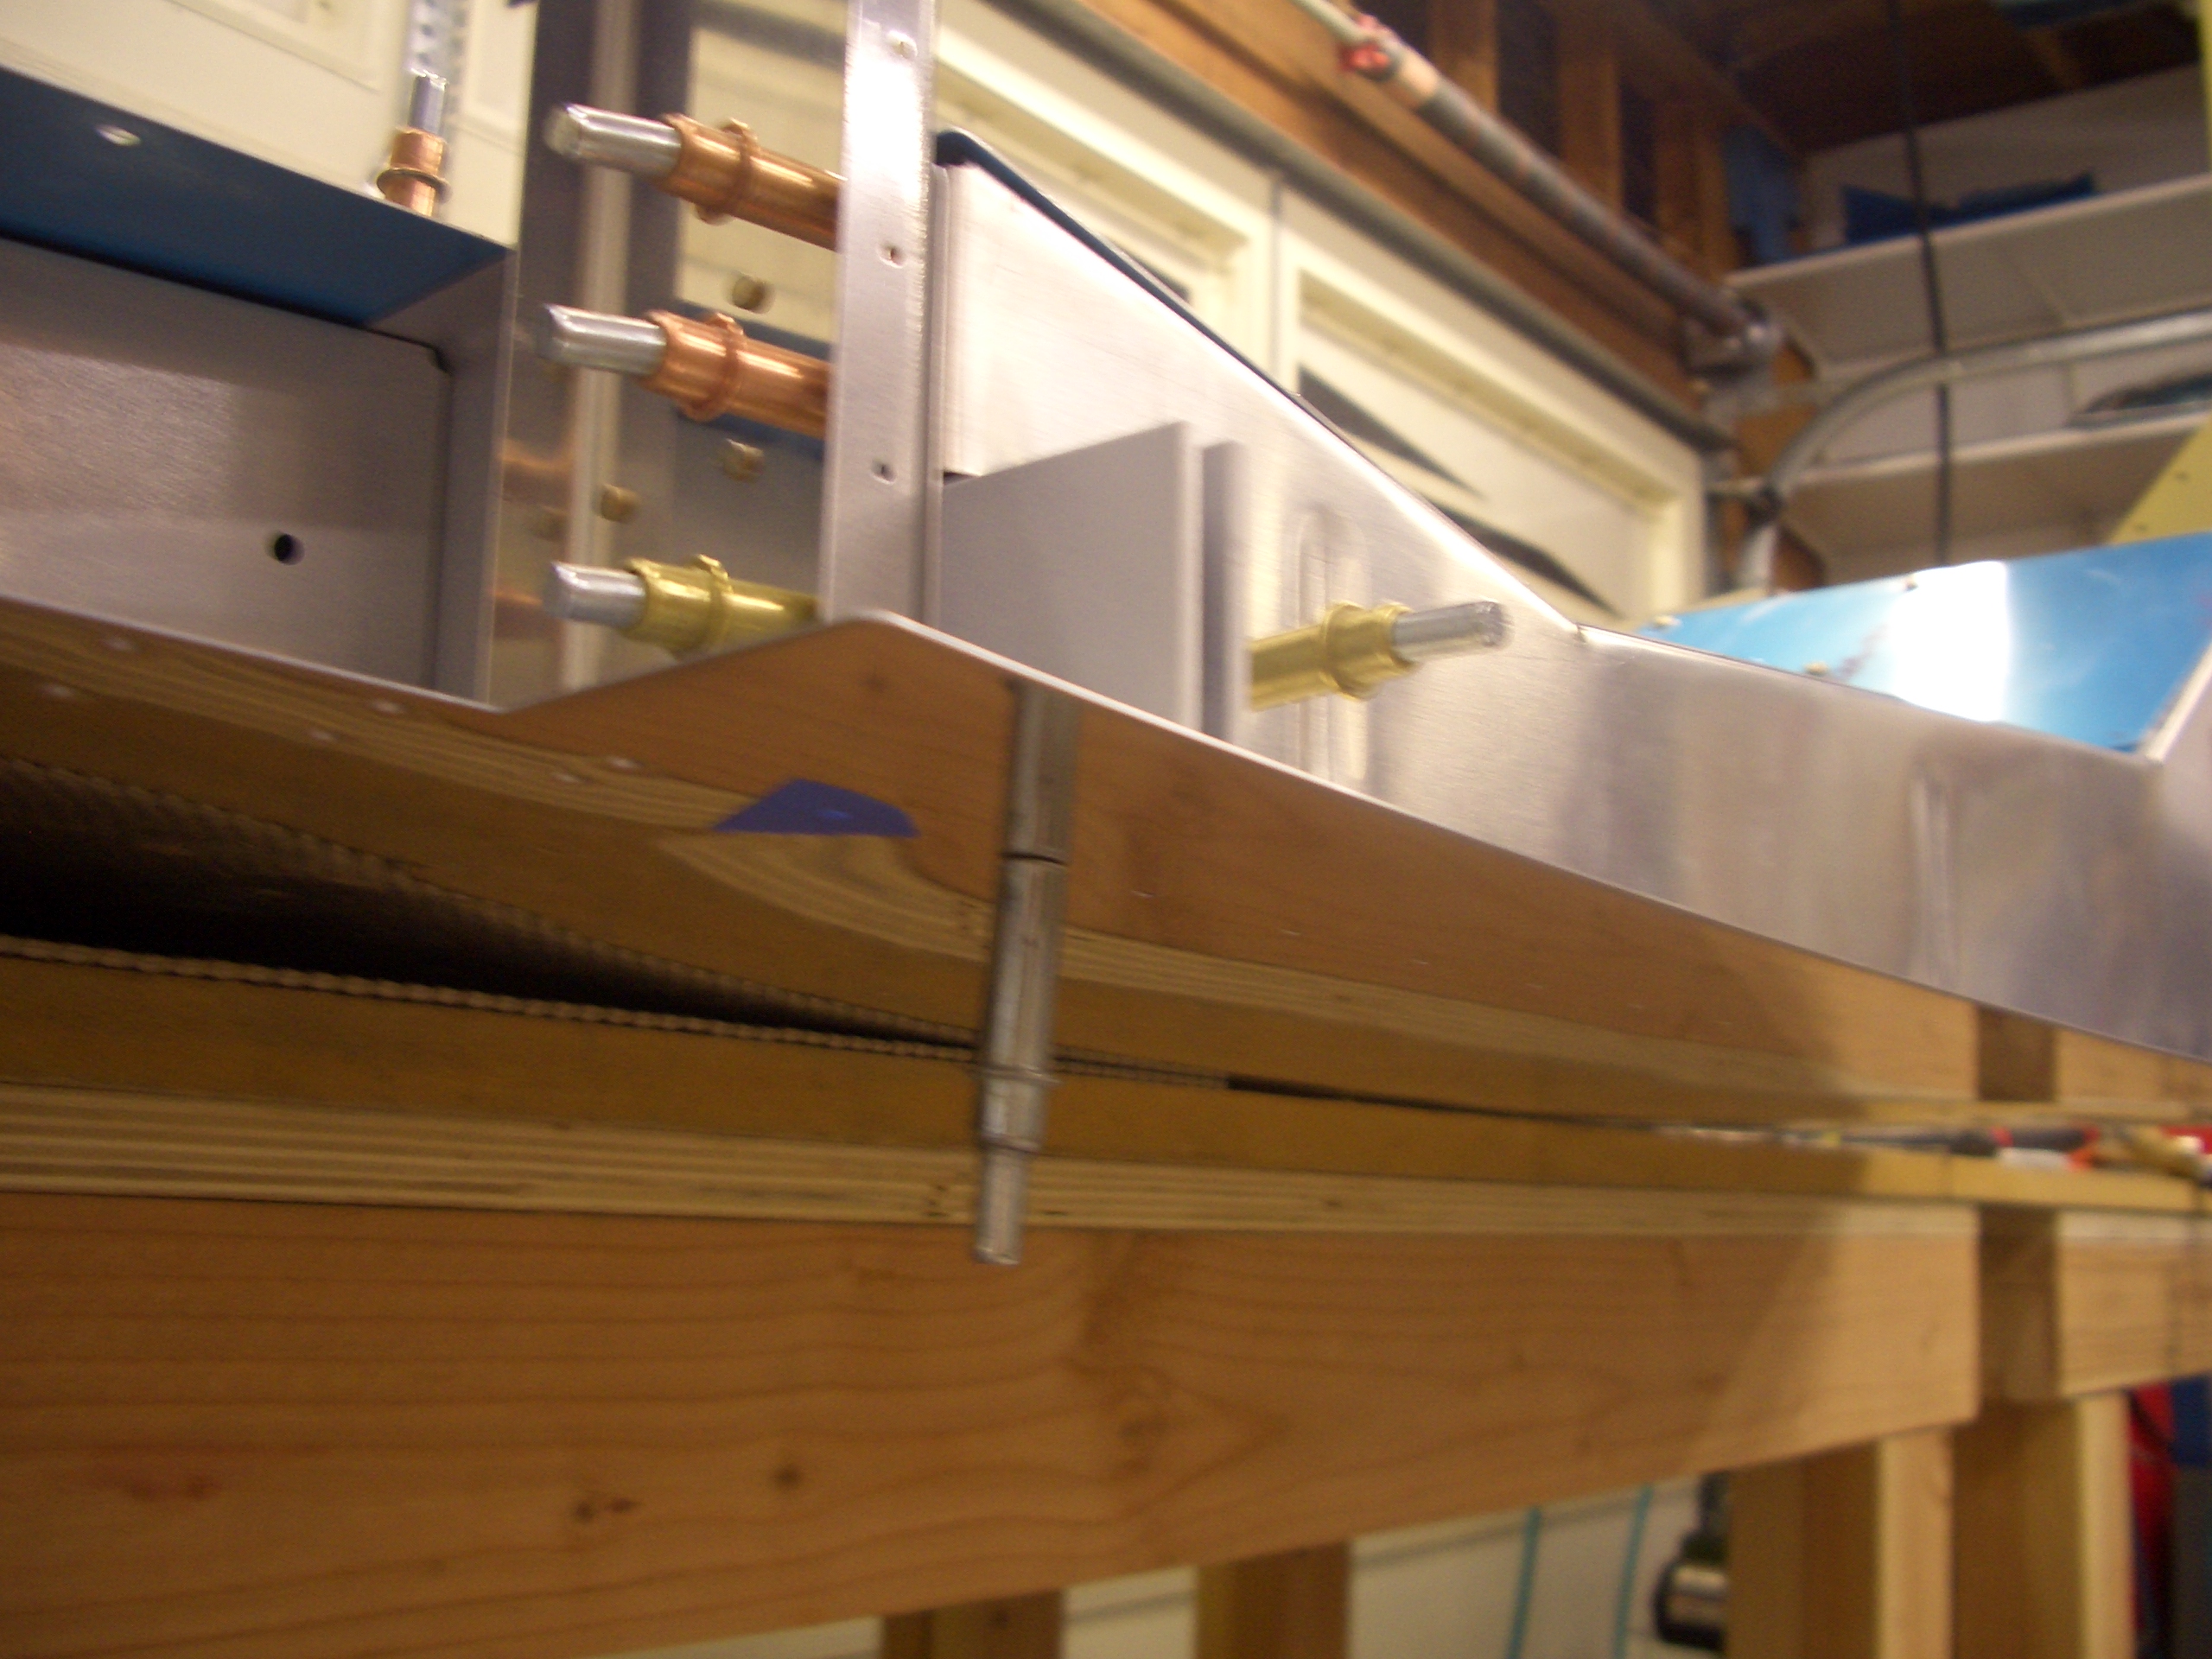
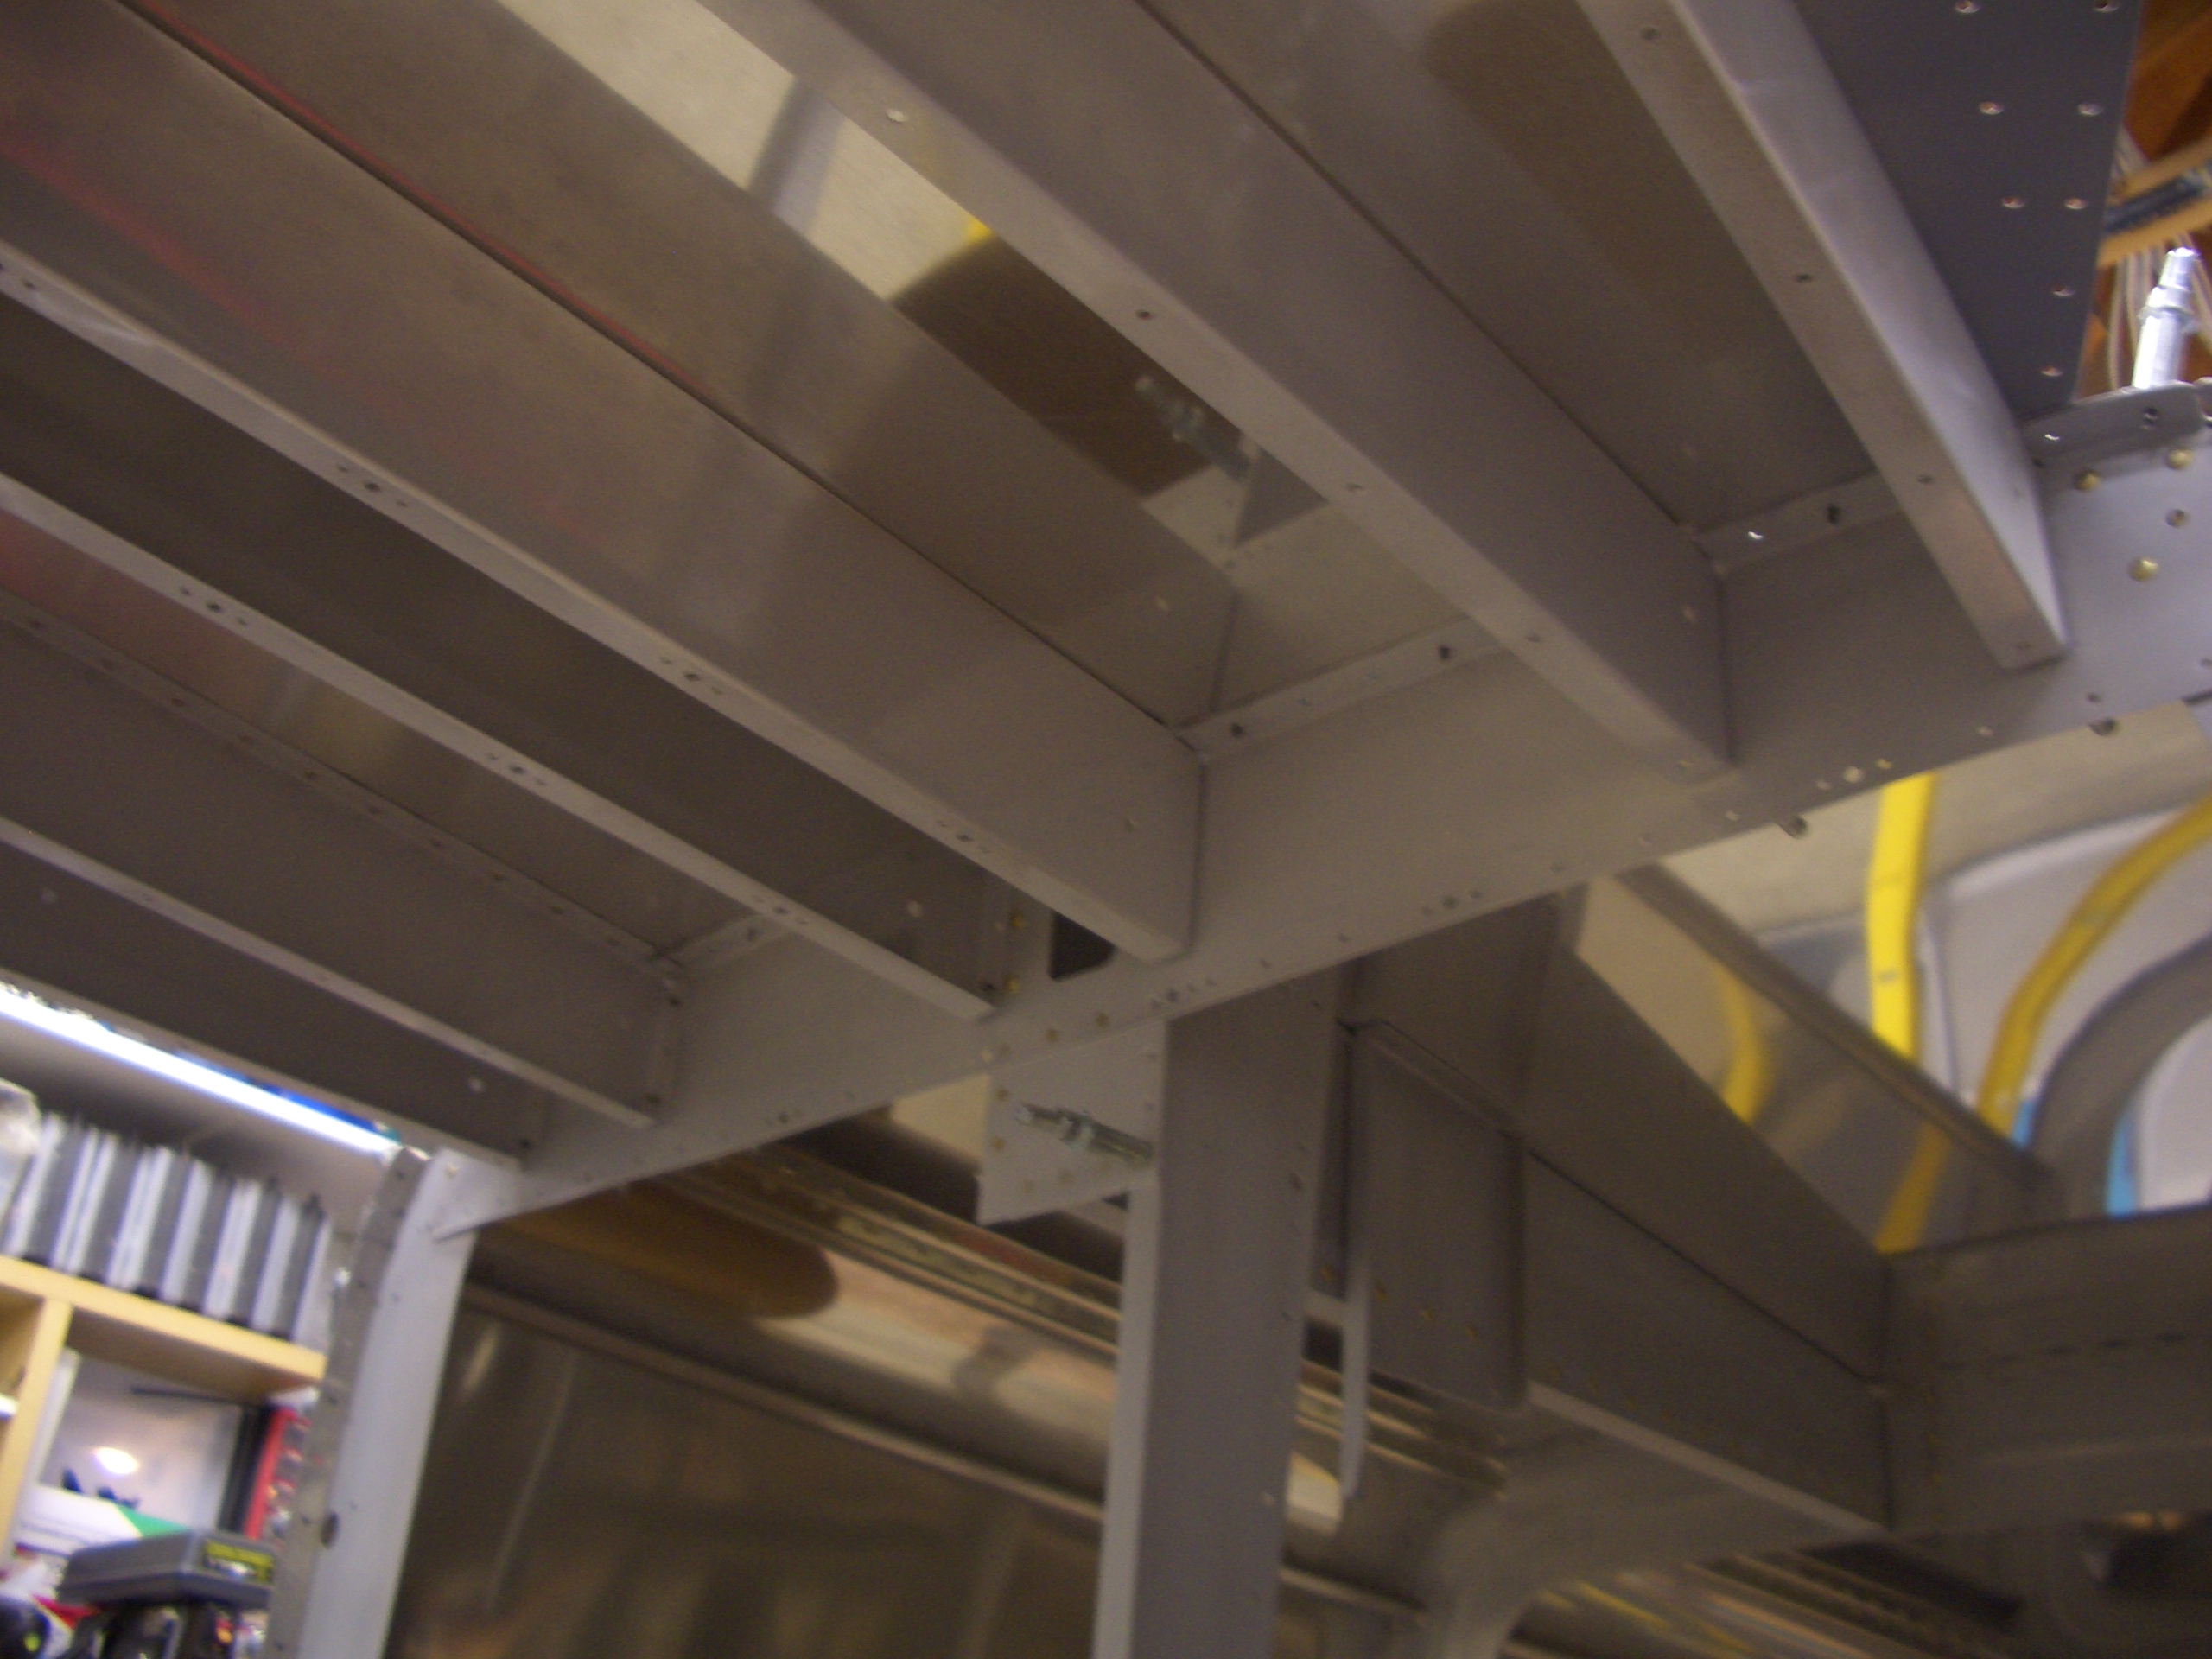
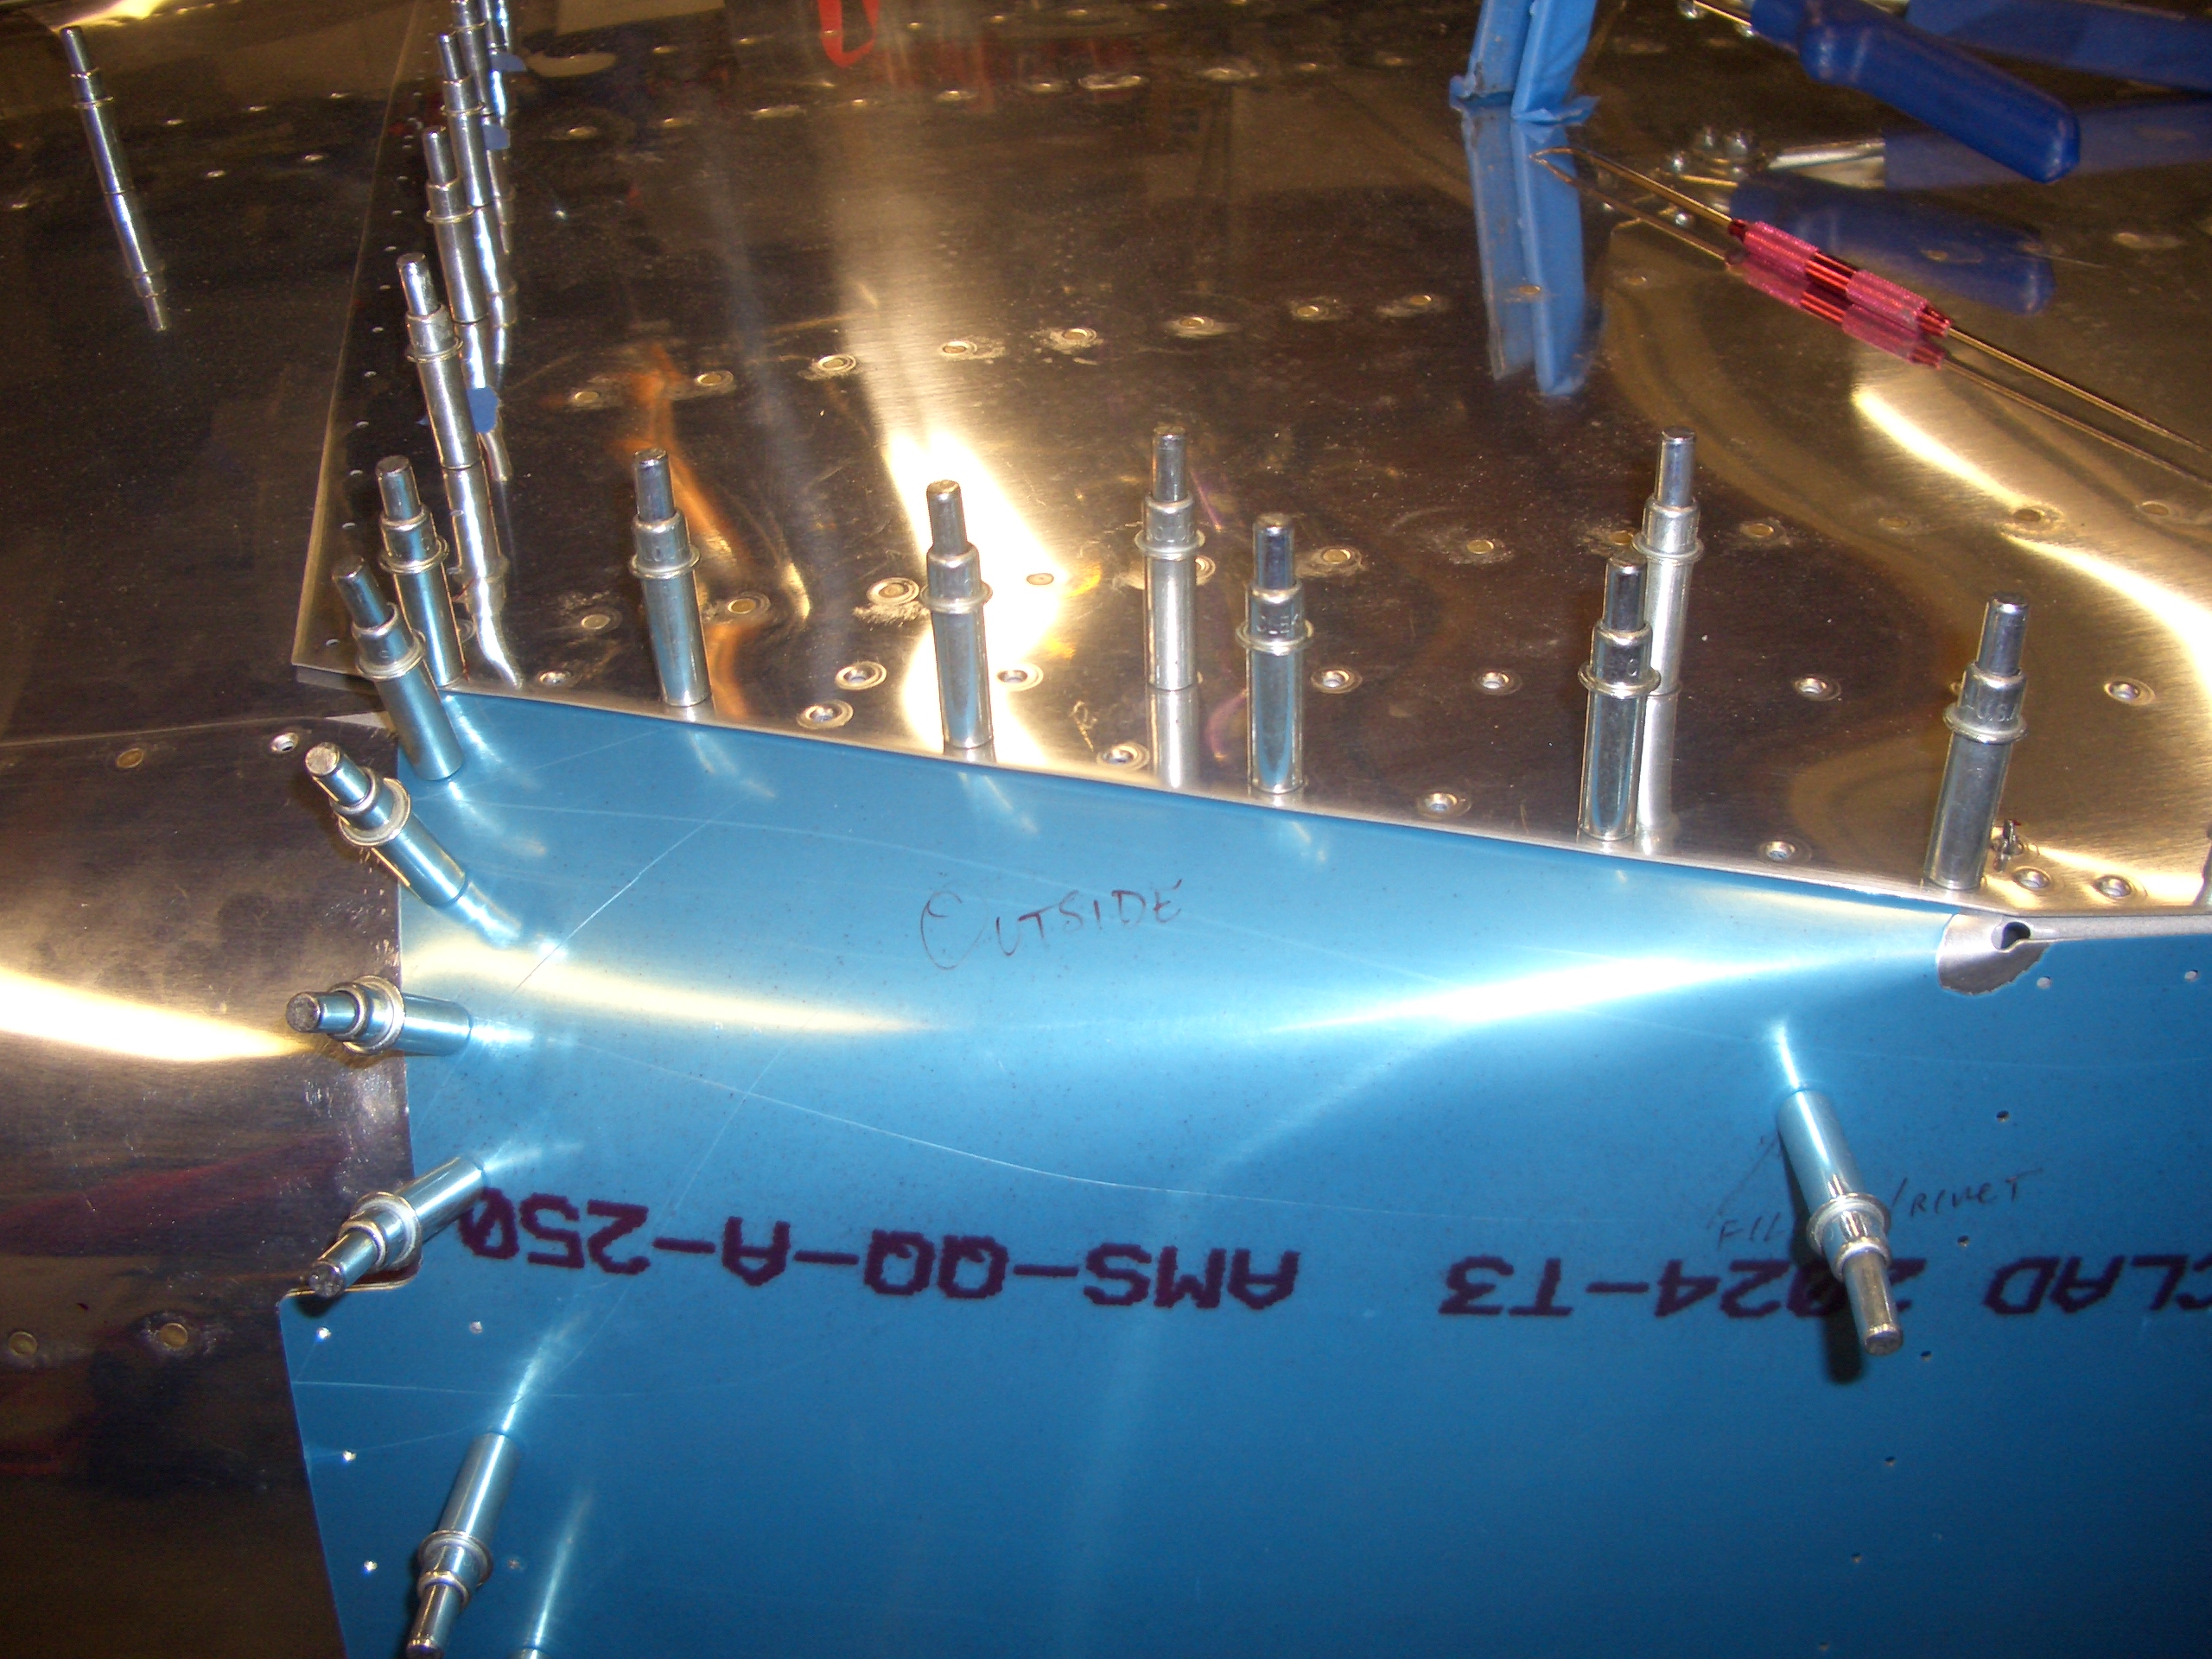
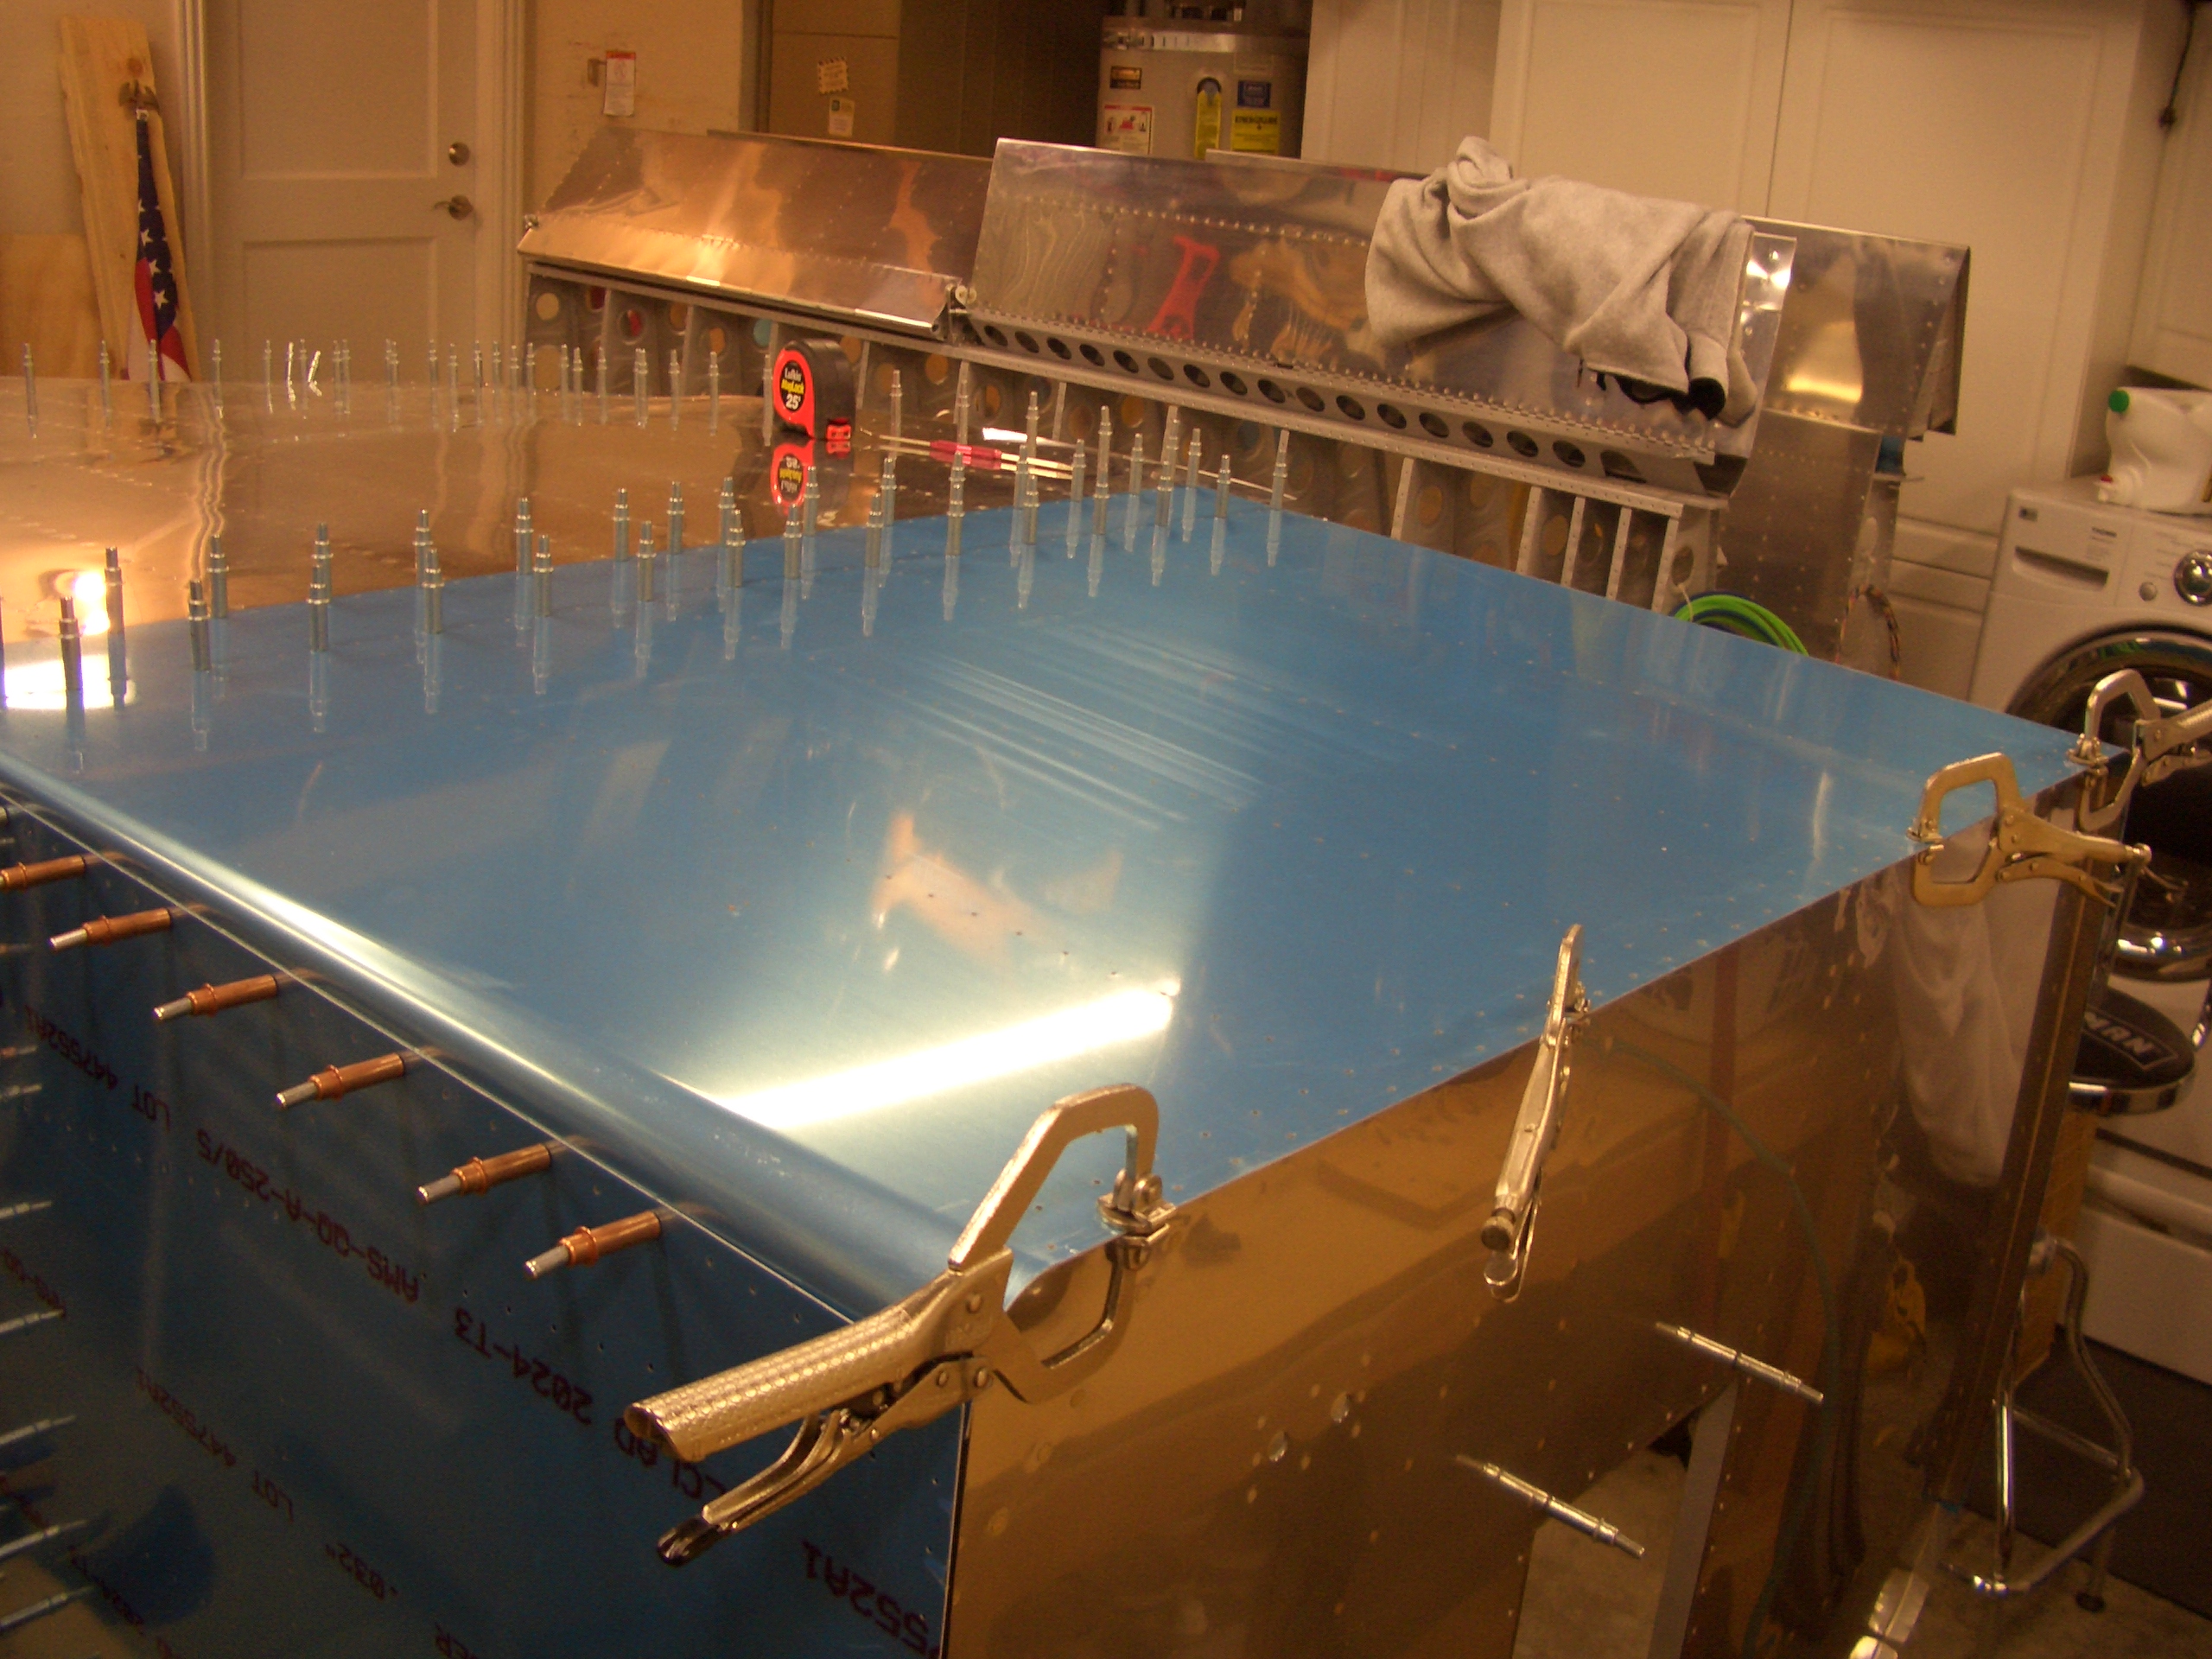
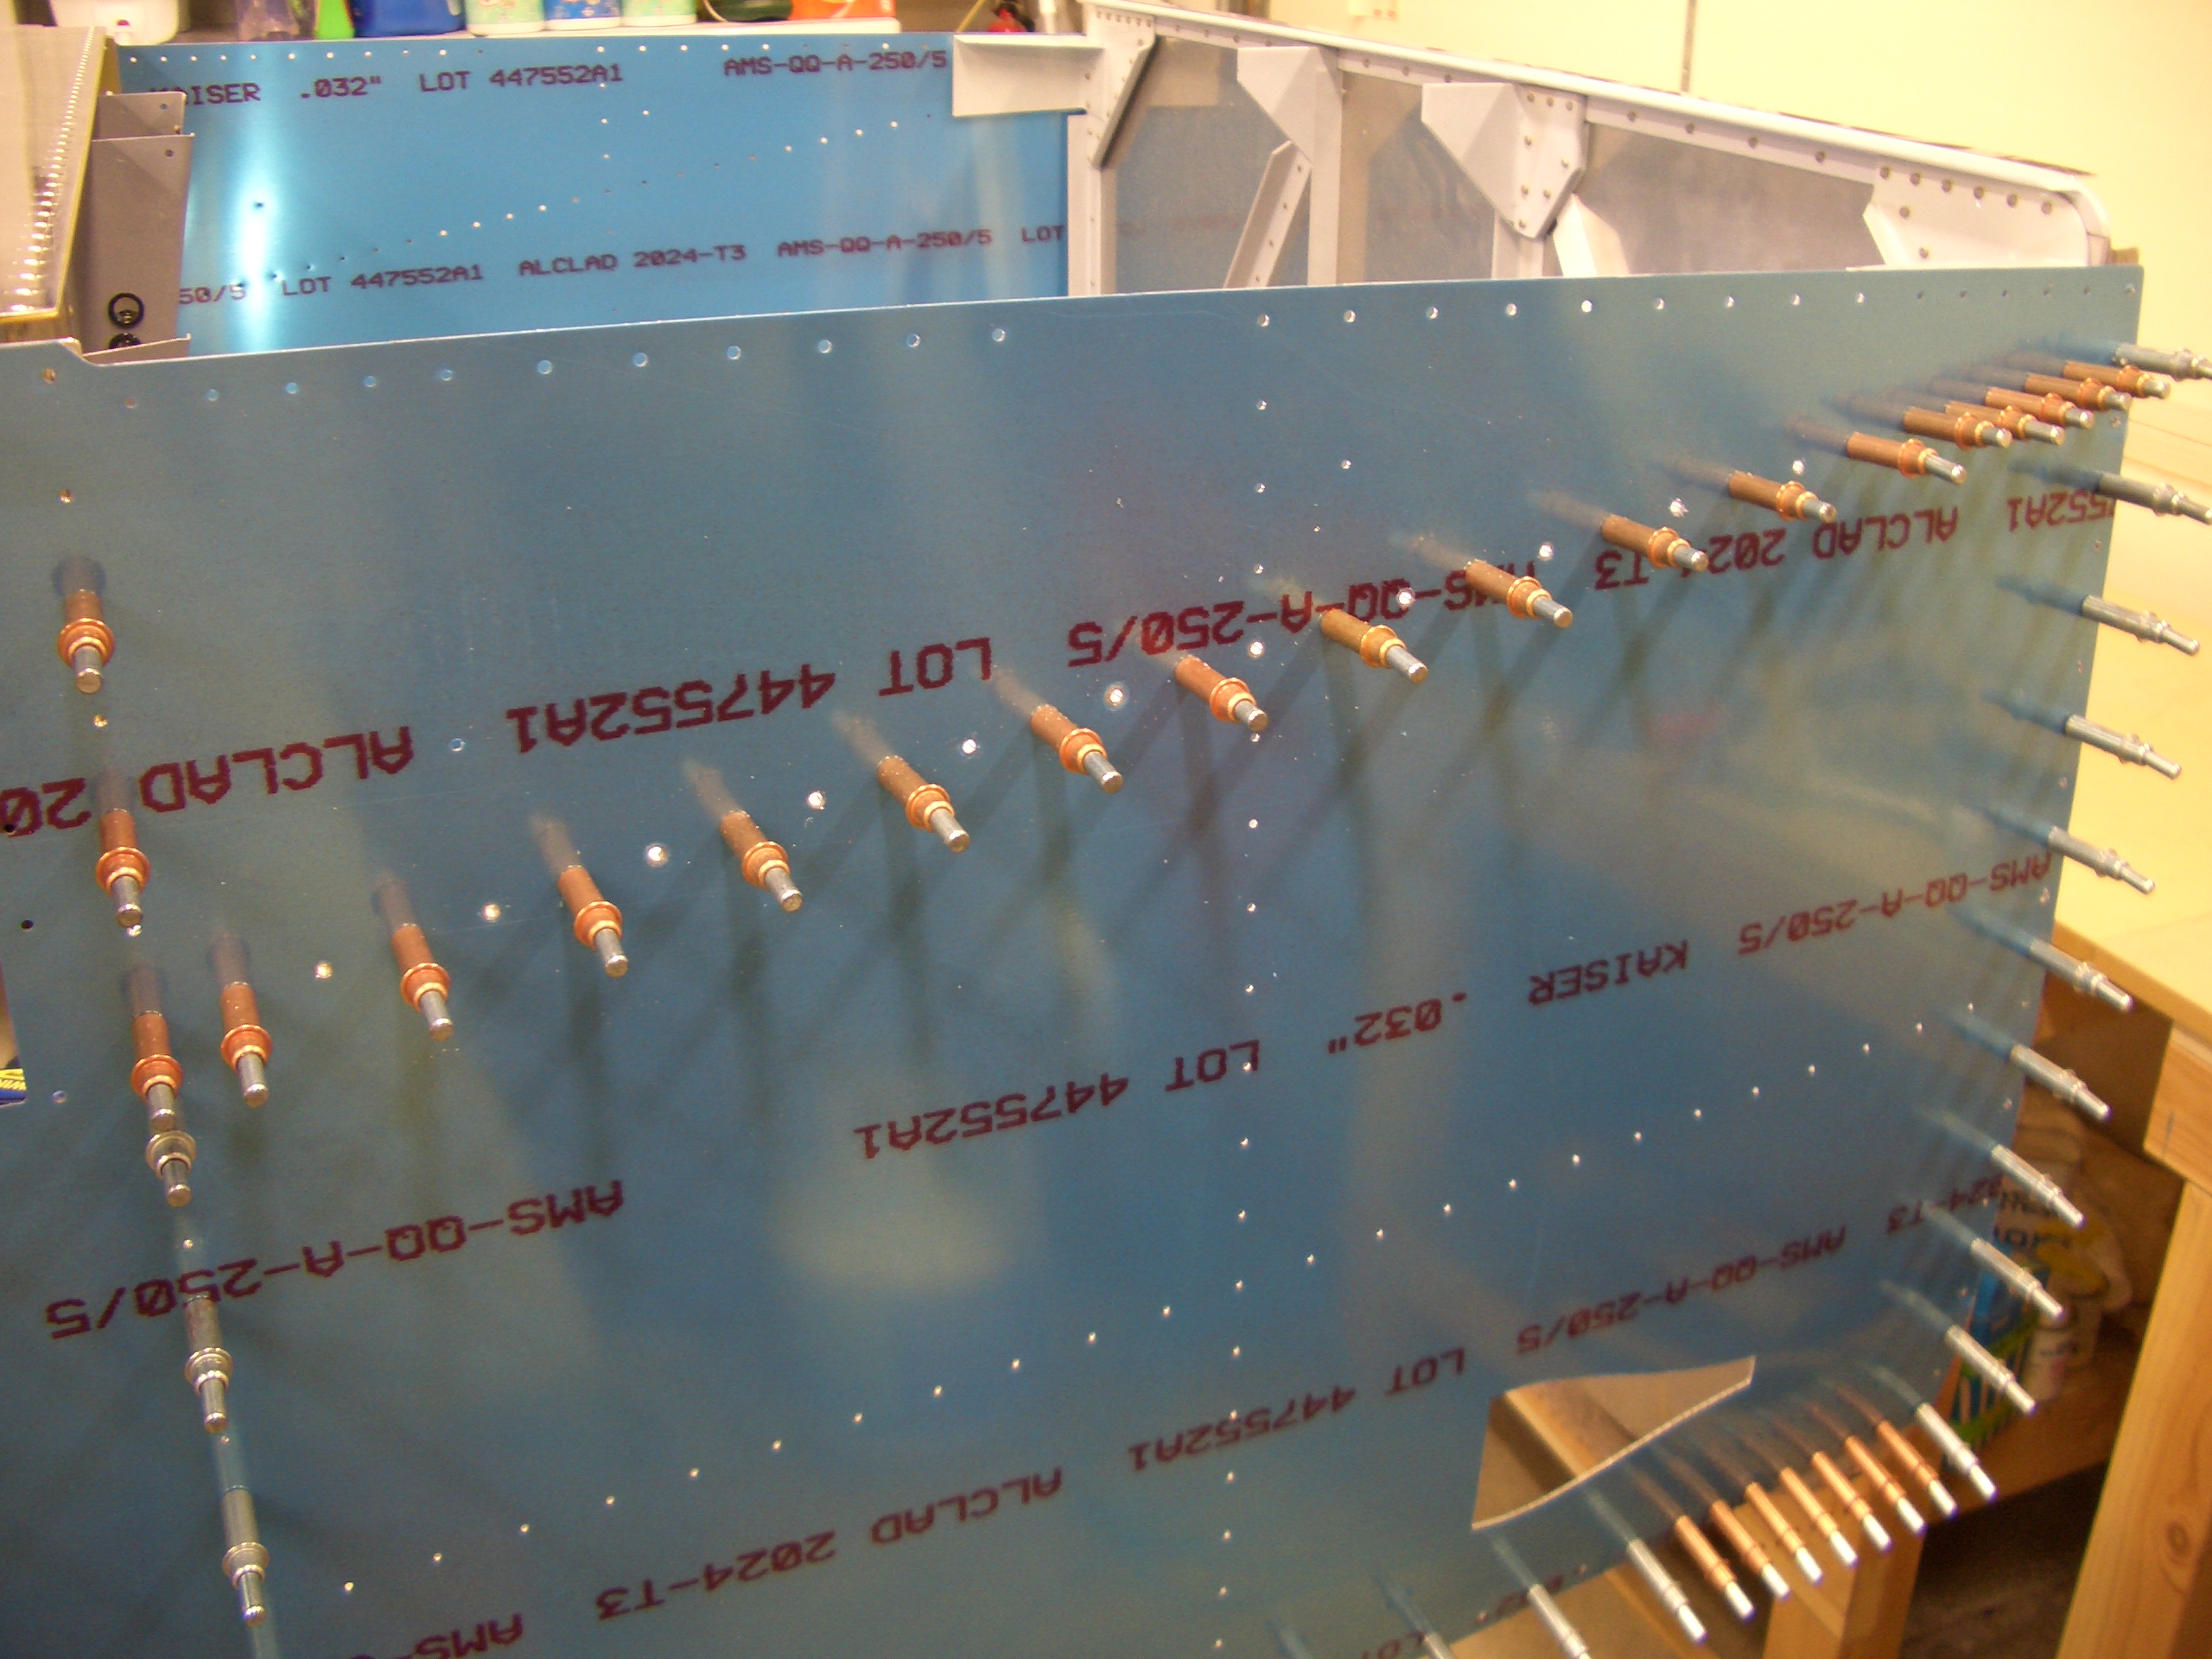
Finally, the forward bottom skin can be clecoed on. Make sure you draw the centerline on the lower firewall stiffener before doing this.
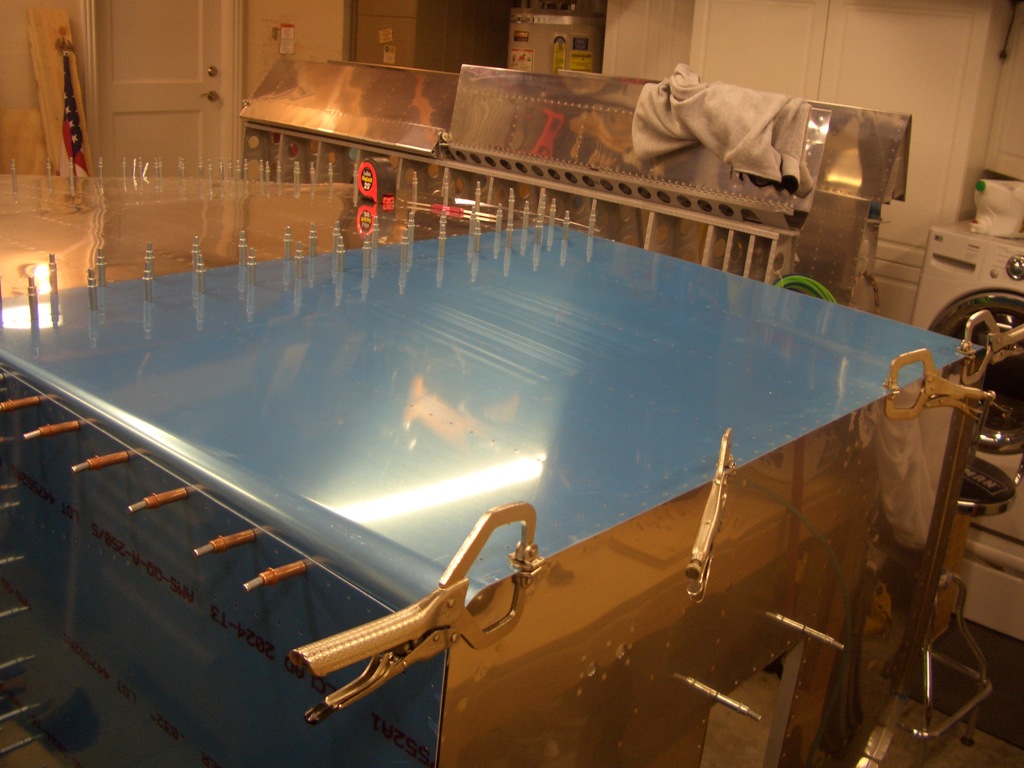
The centerline on this stiffener should land in the second row of holes on the bottom skin.
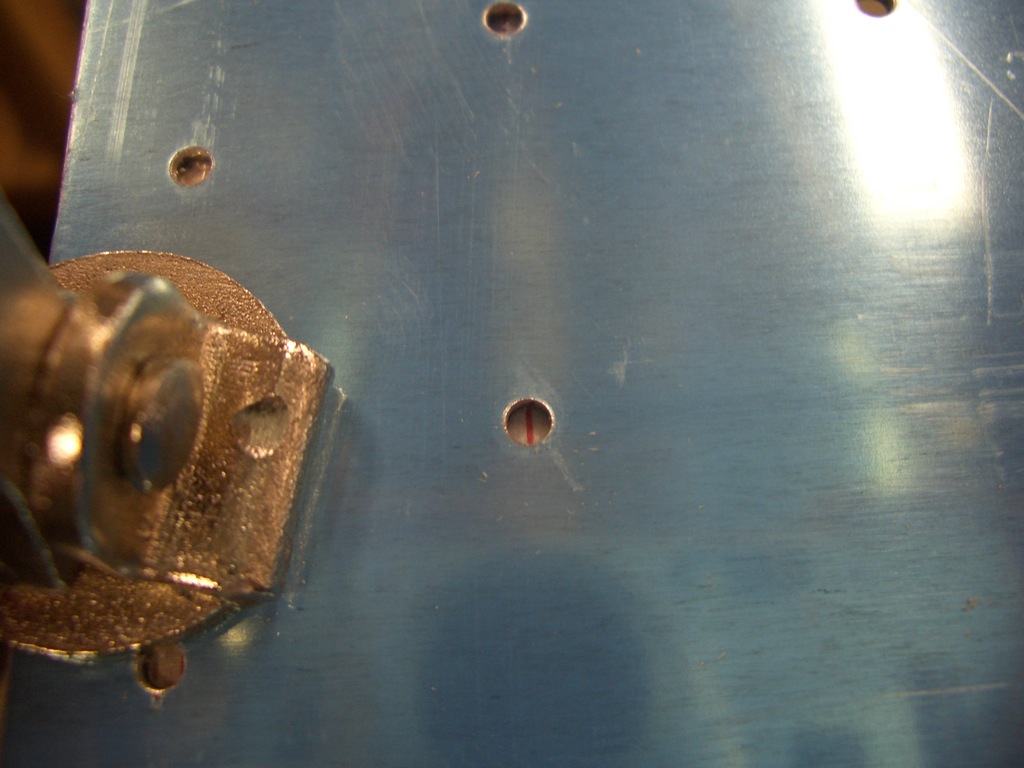
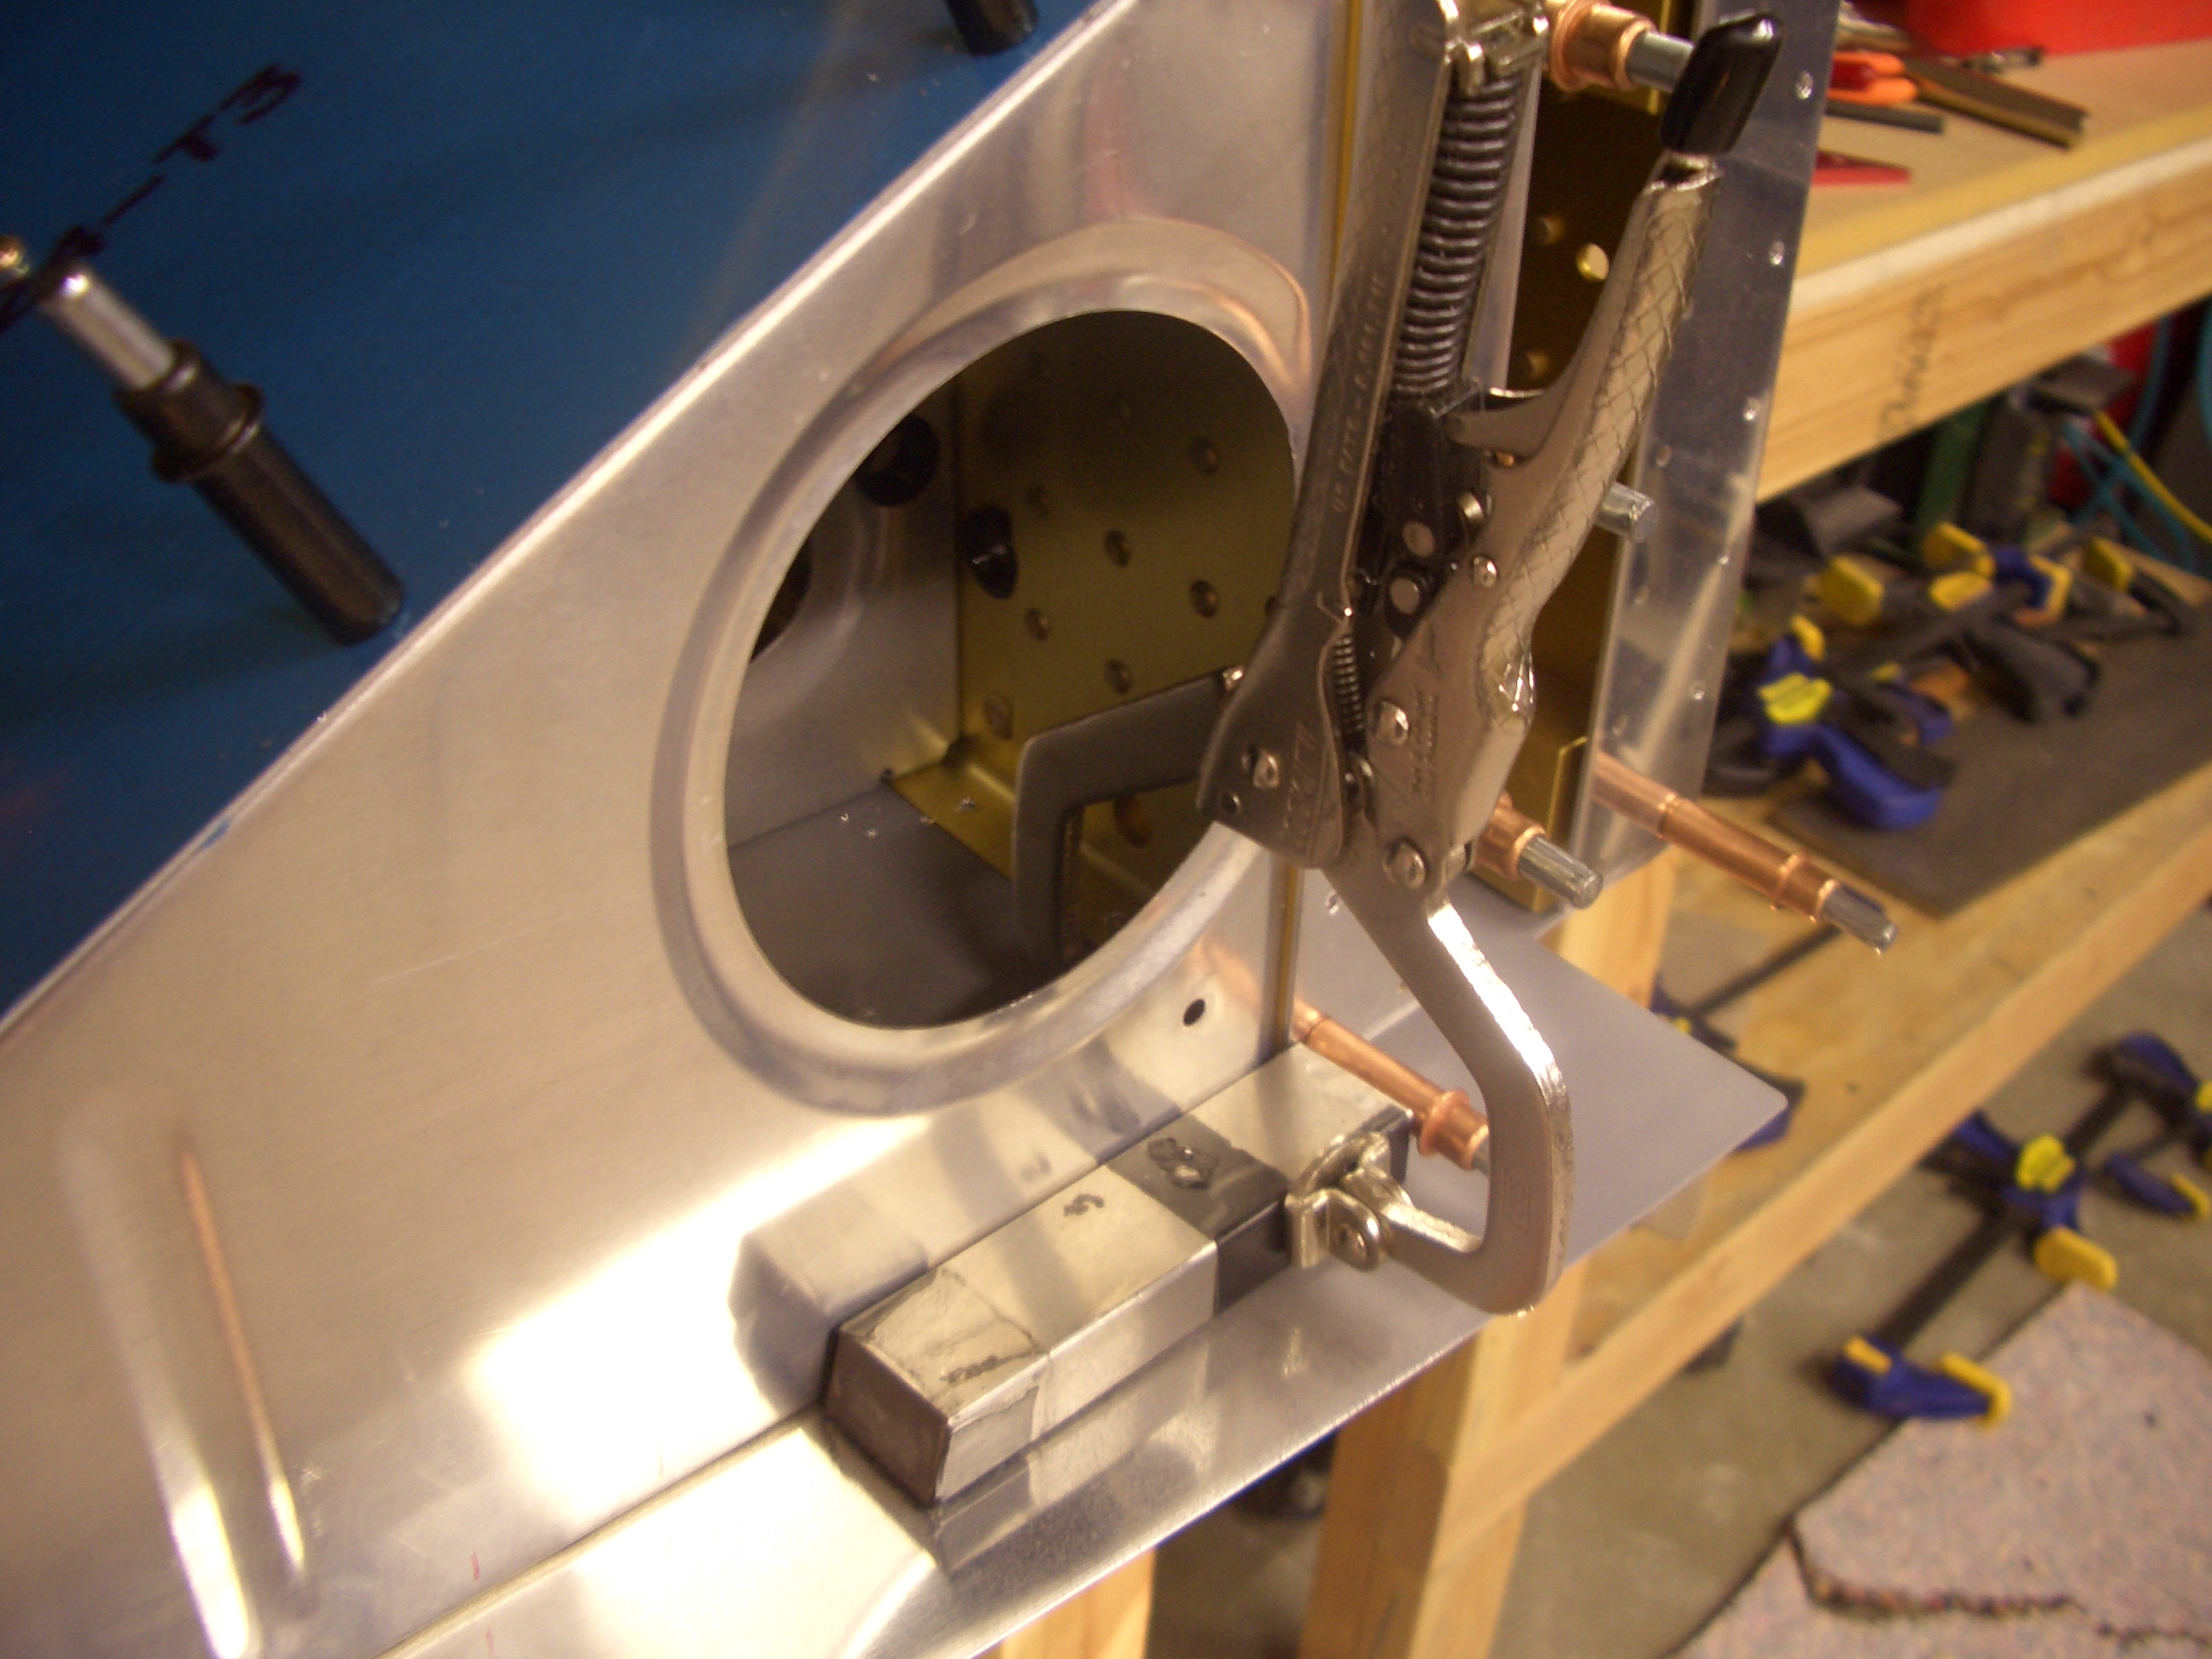
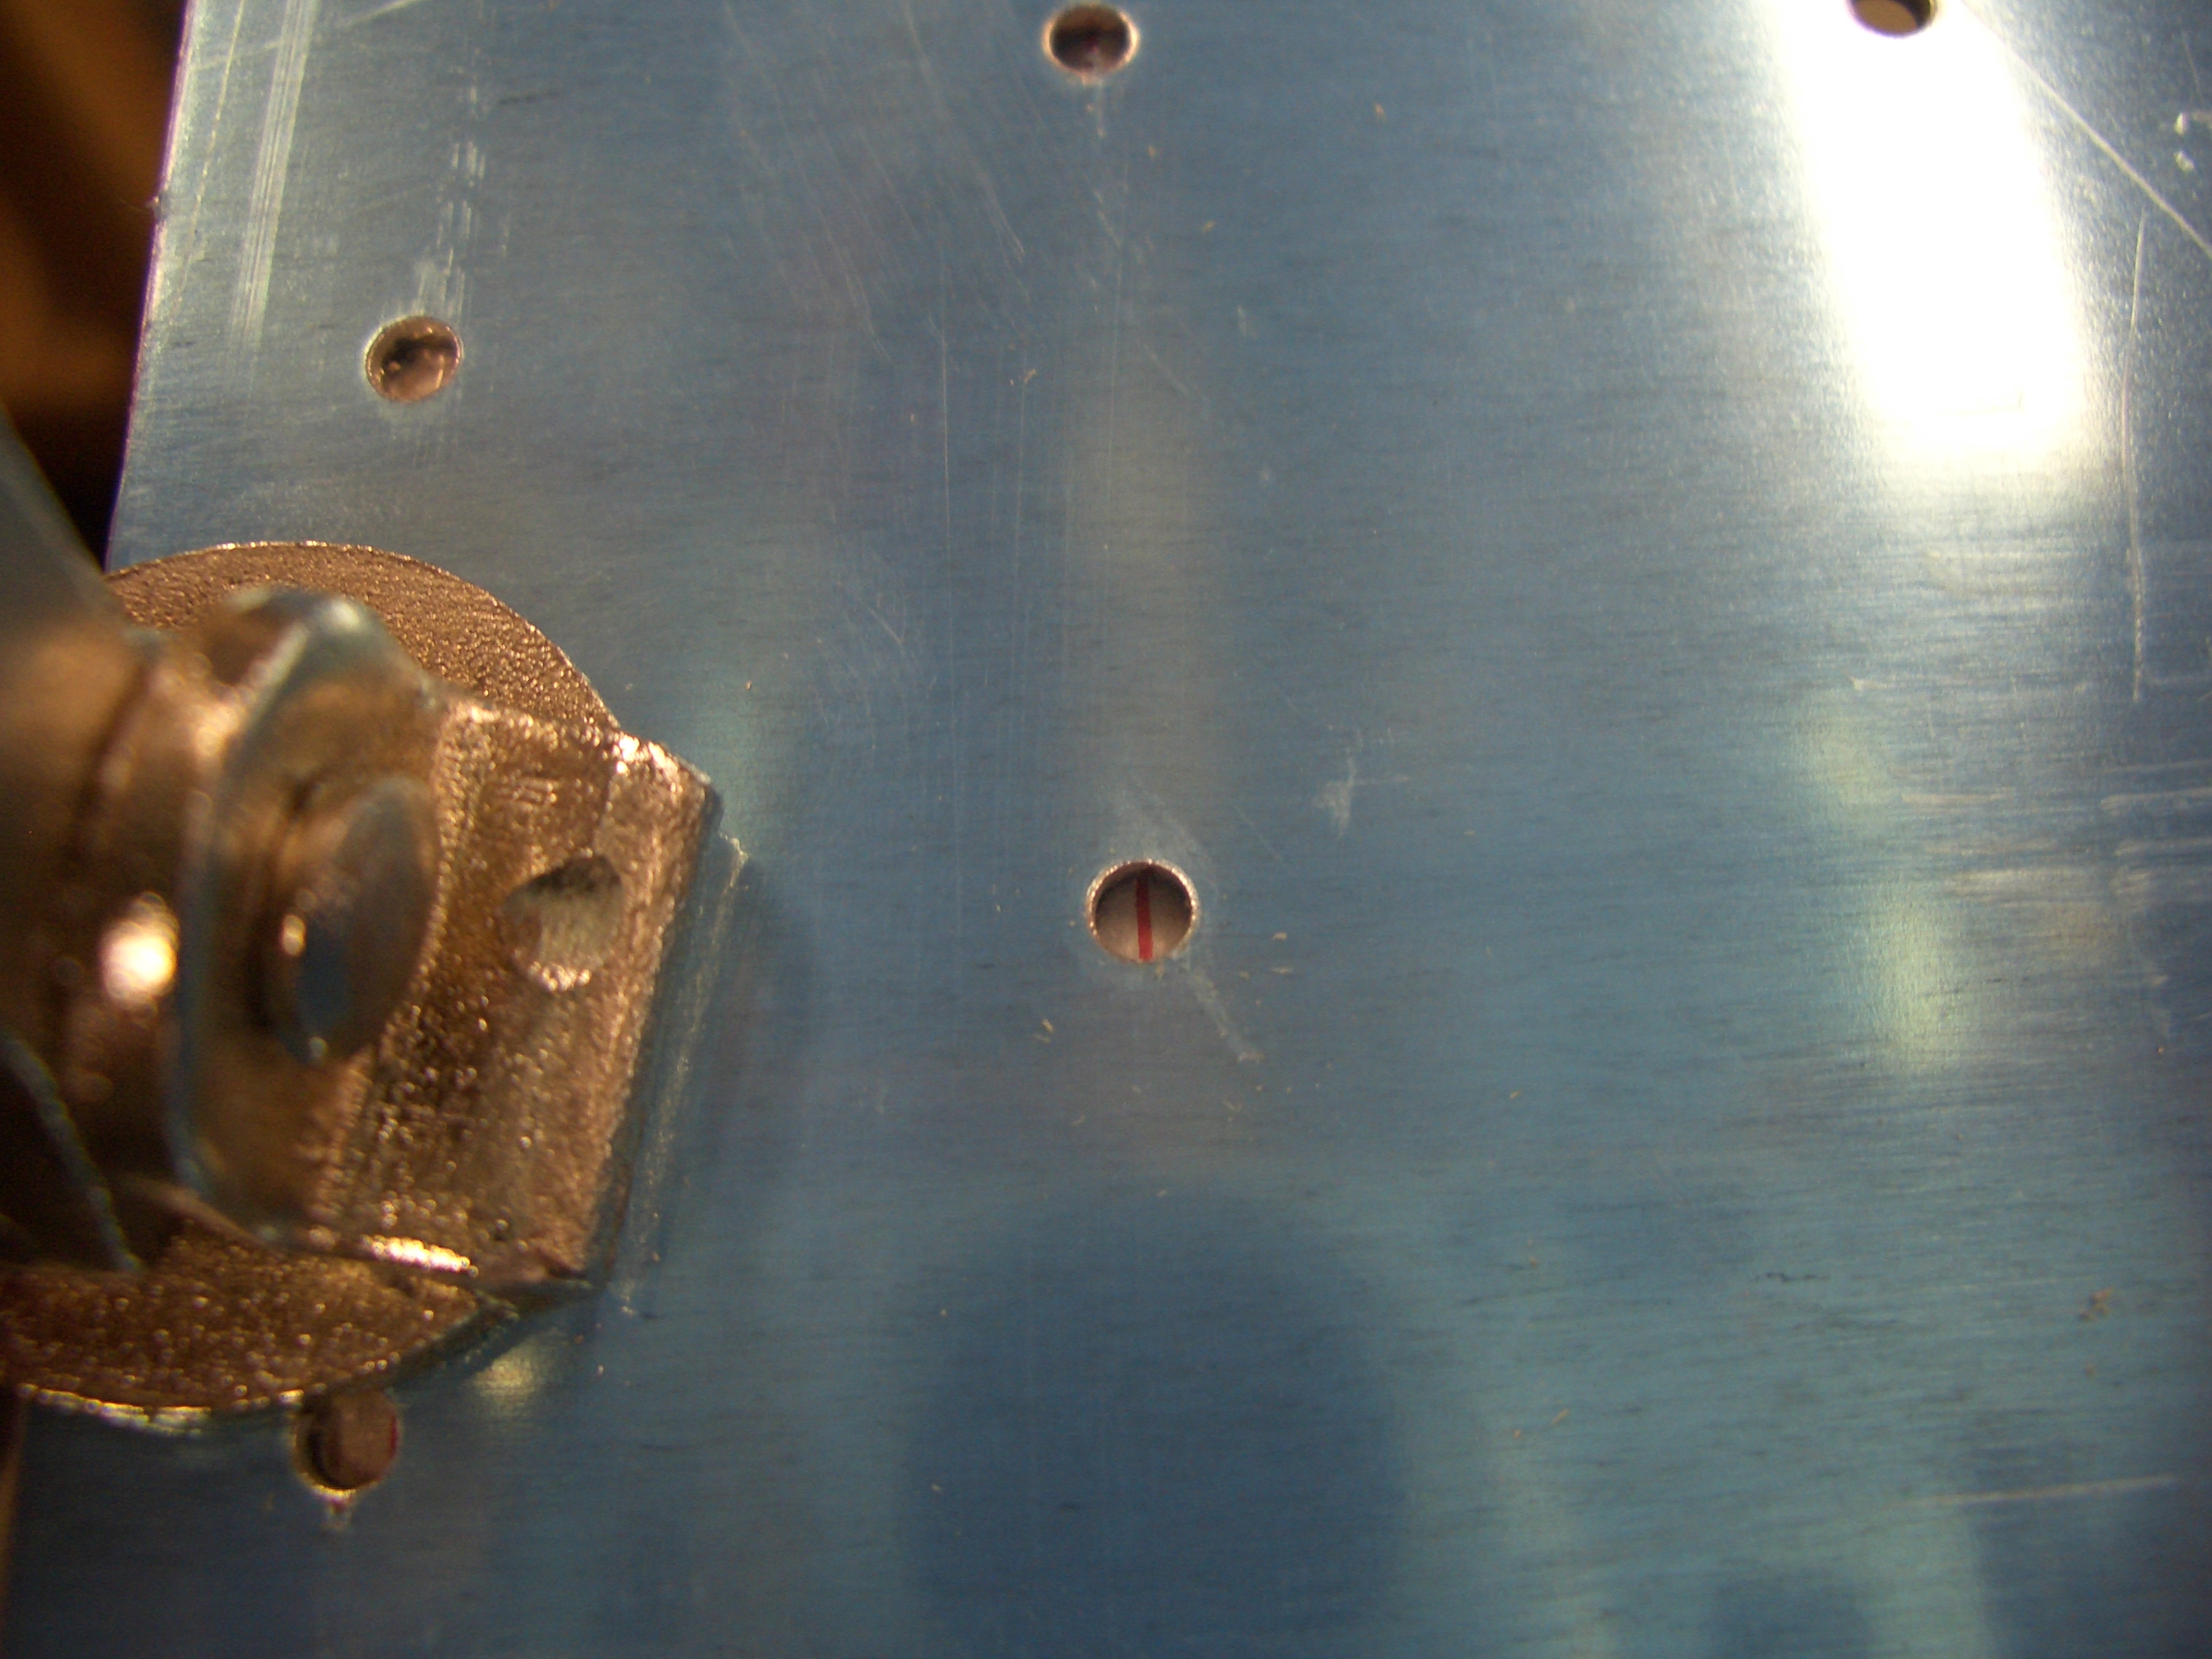
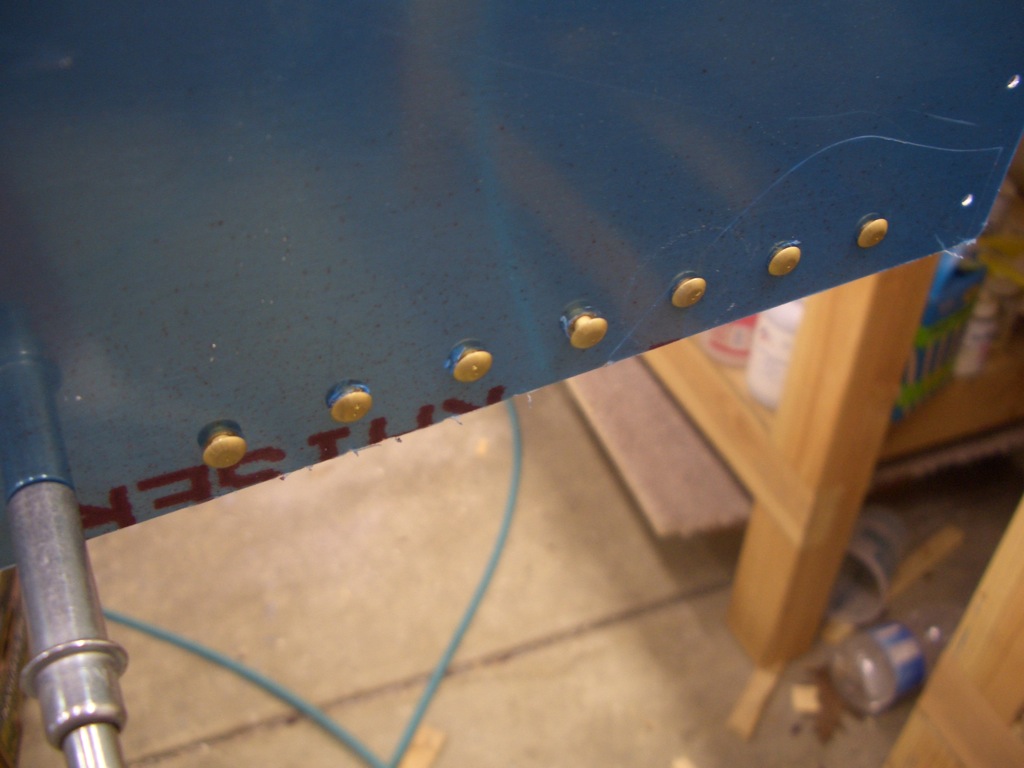
I drilled one hole at each end of the bottom stiffener to lock in the correct position of the firewall.

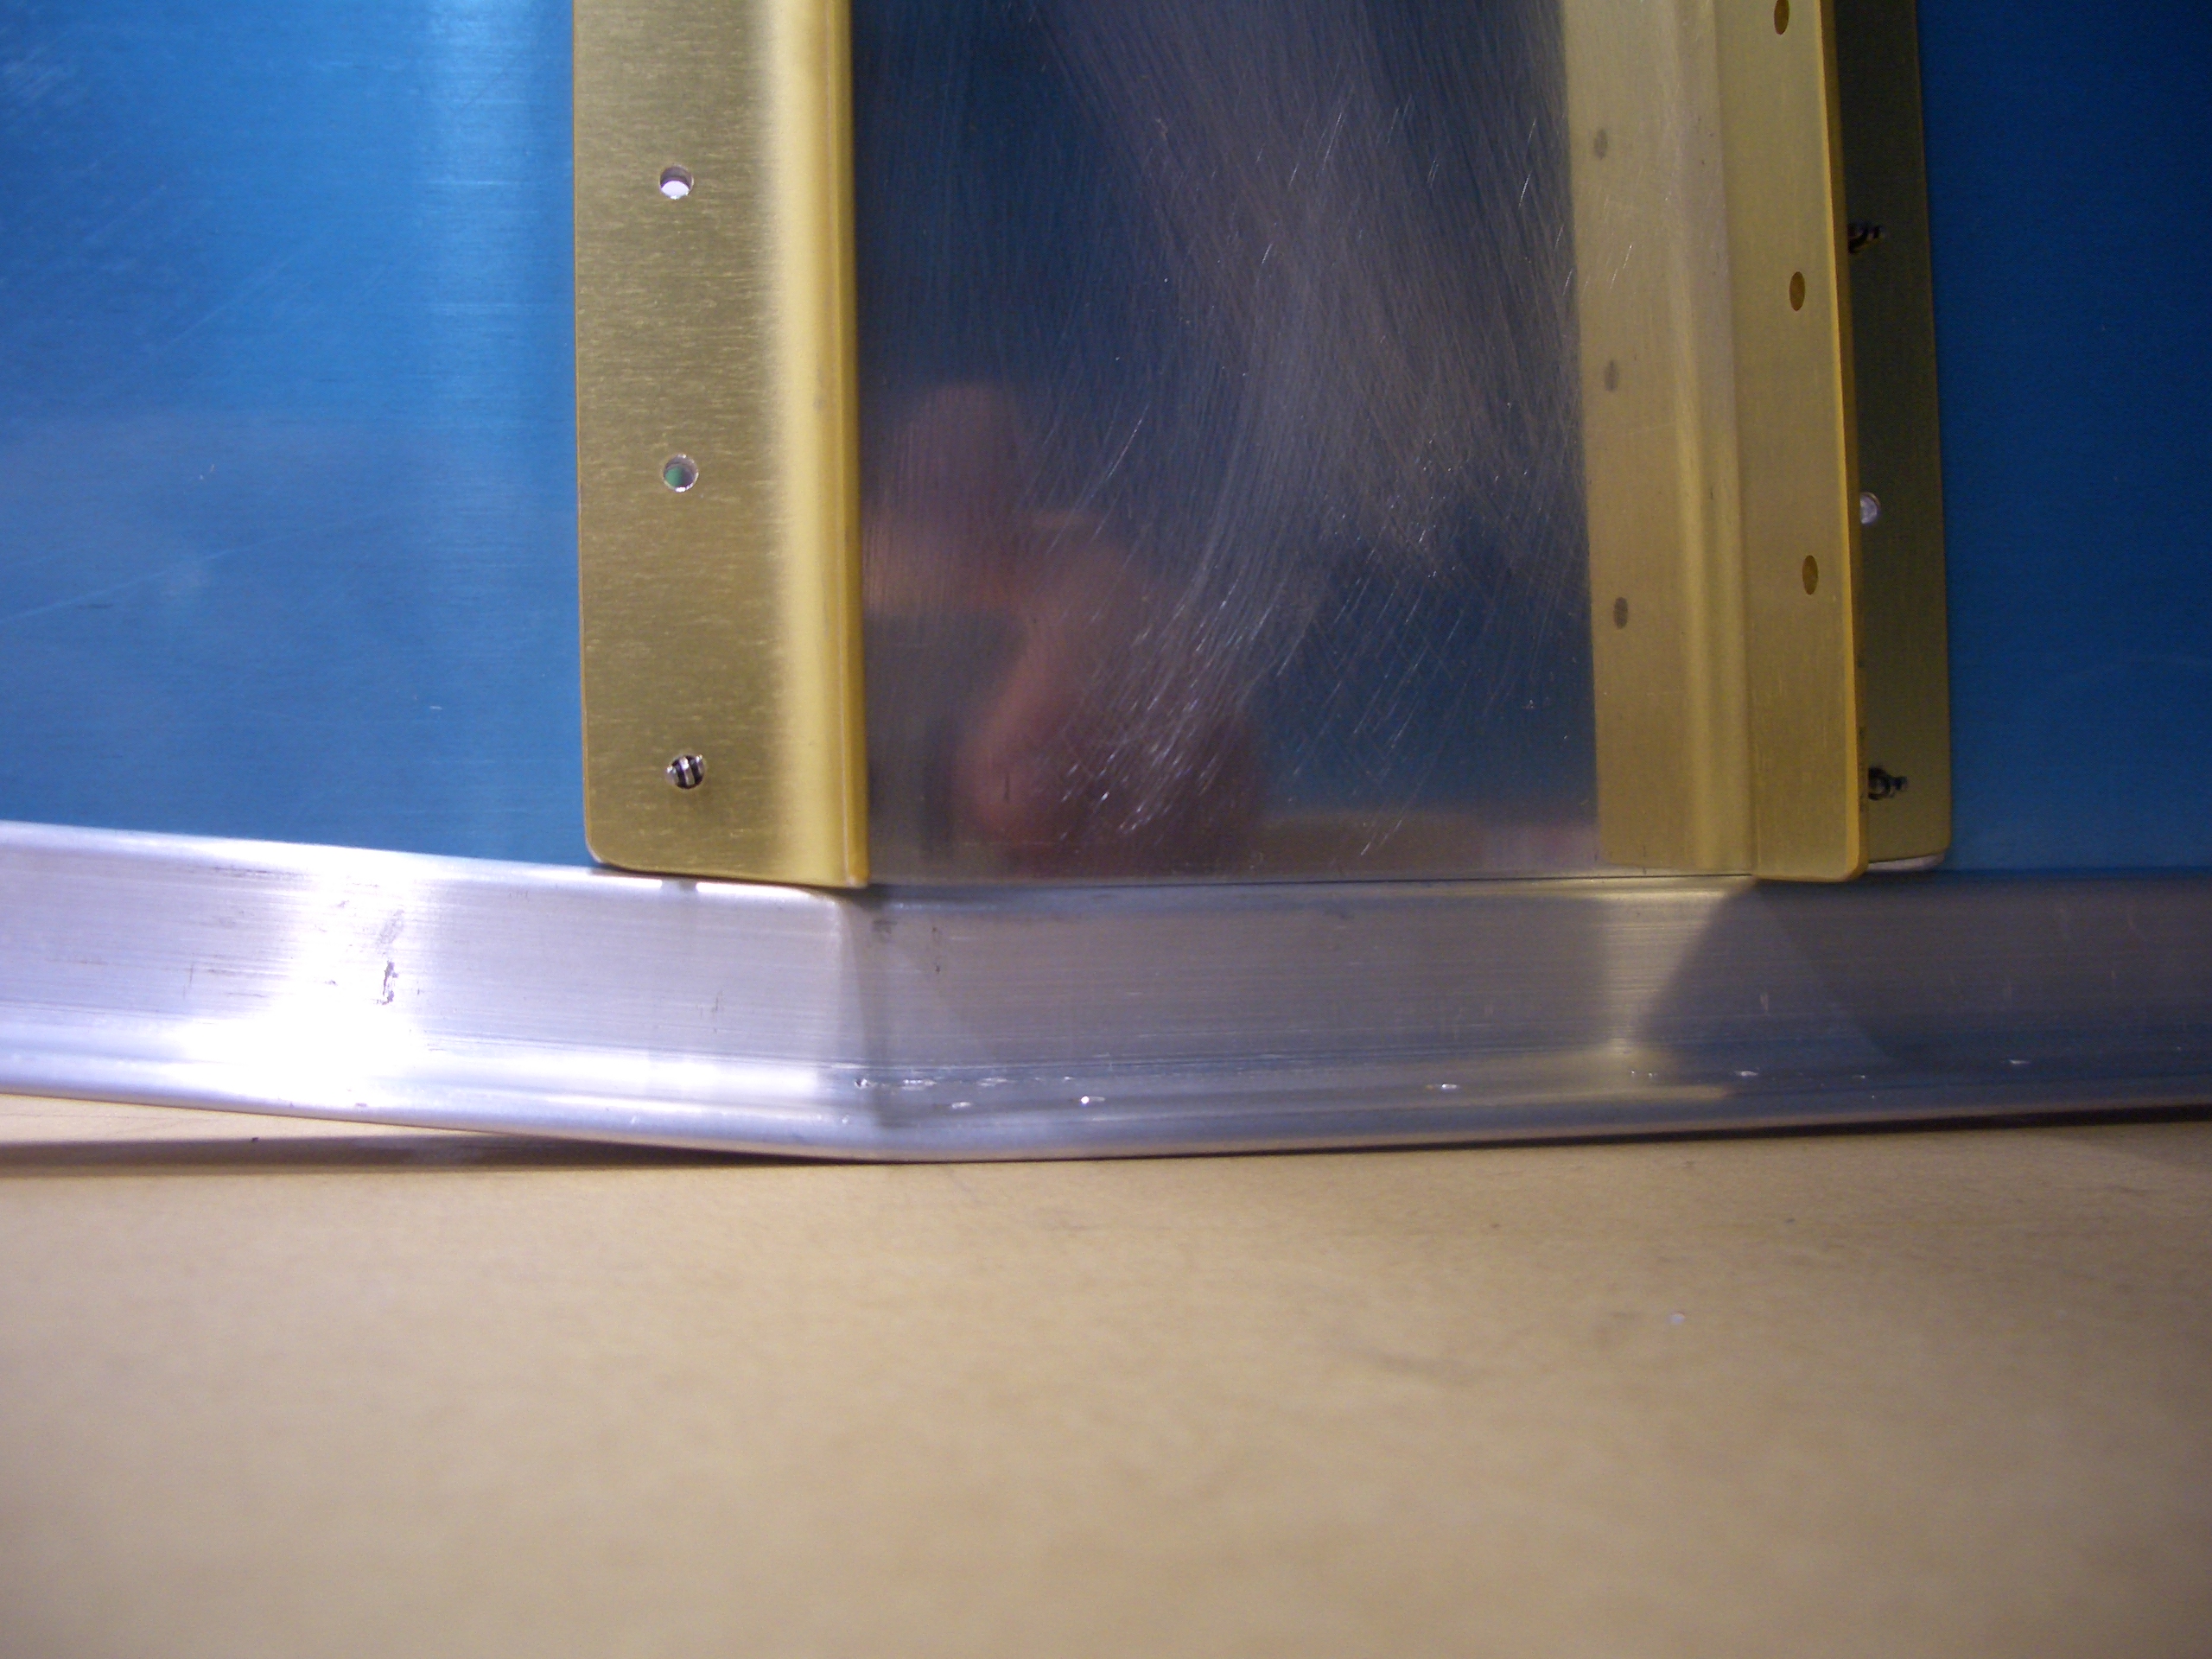
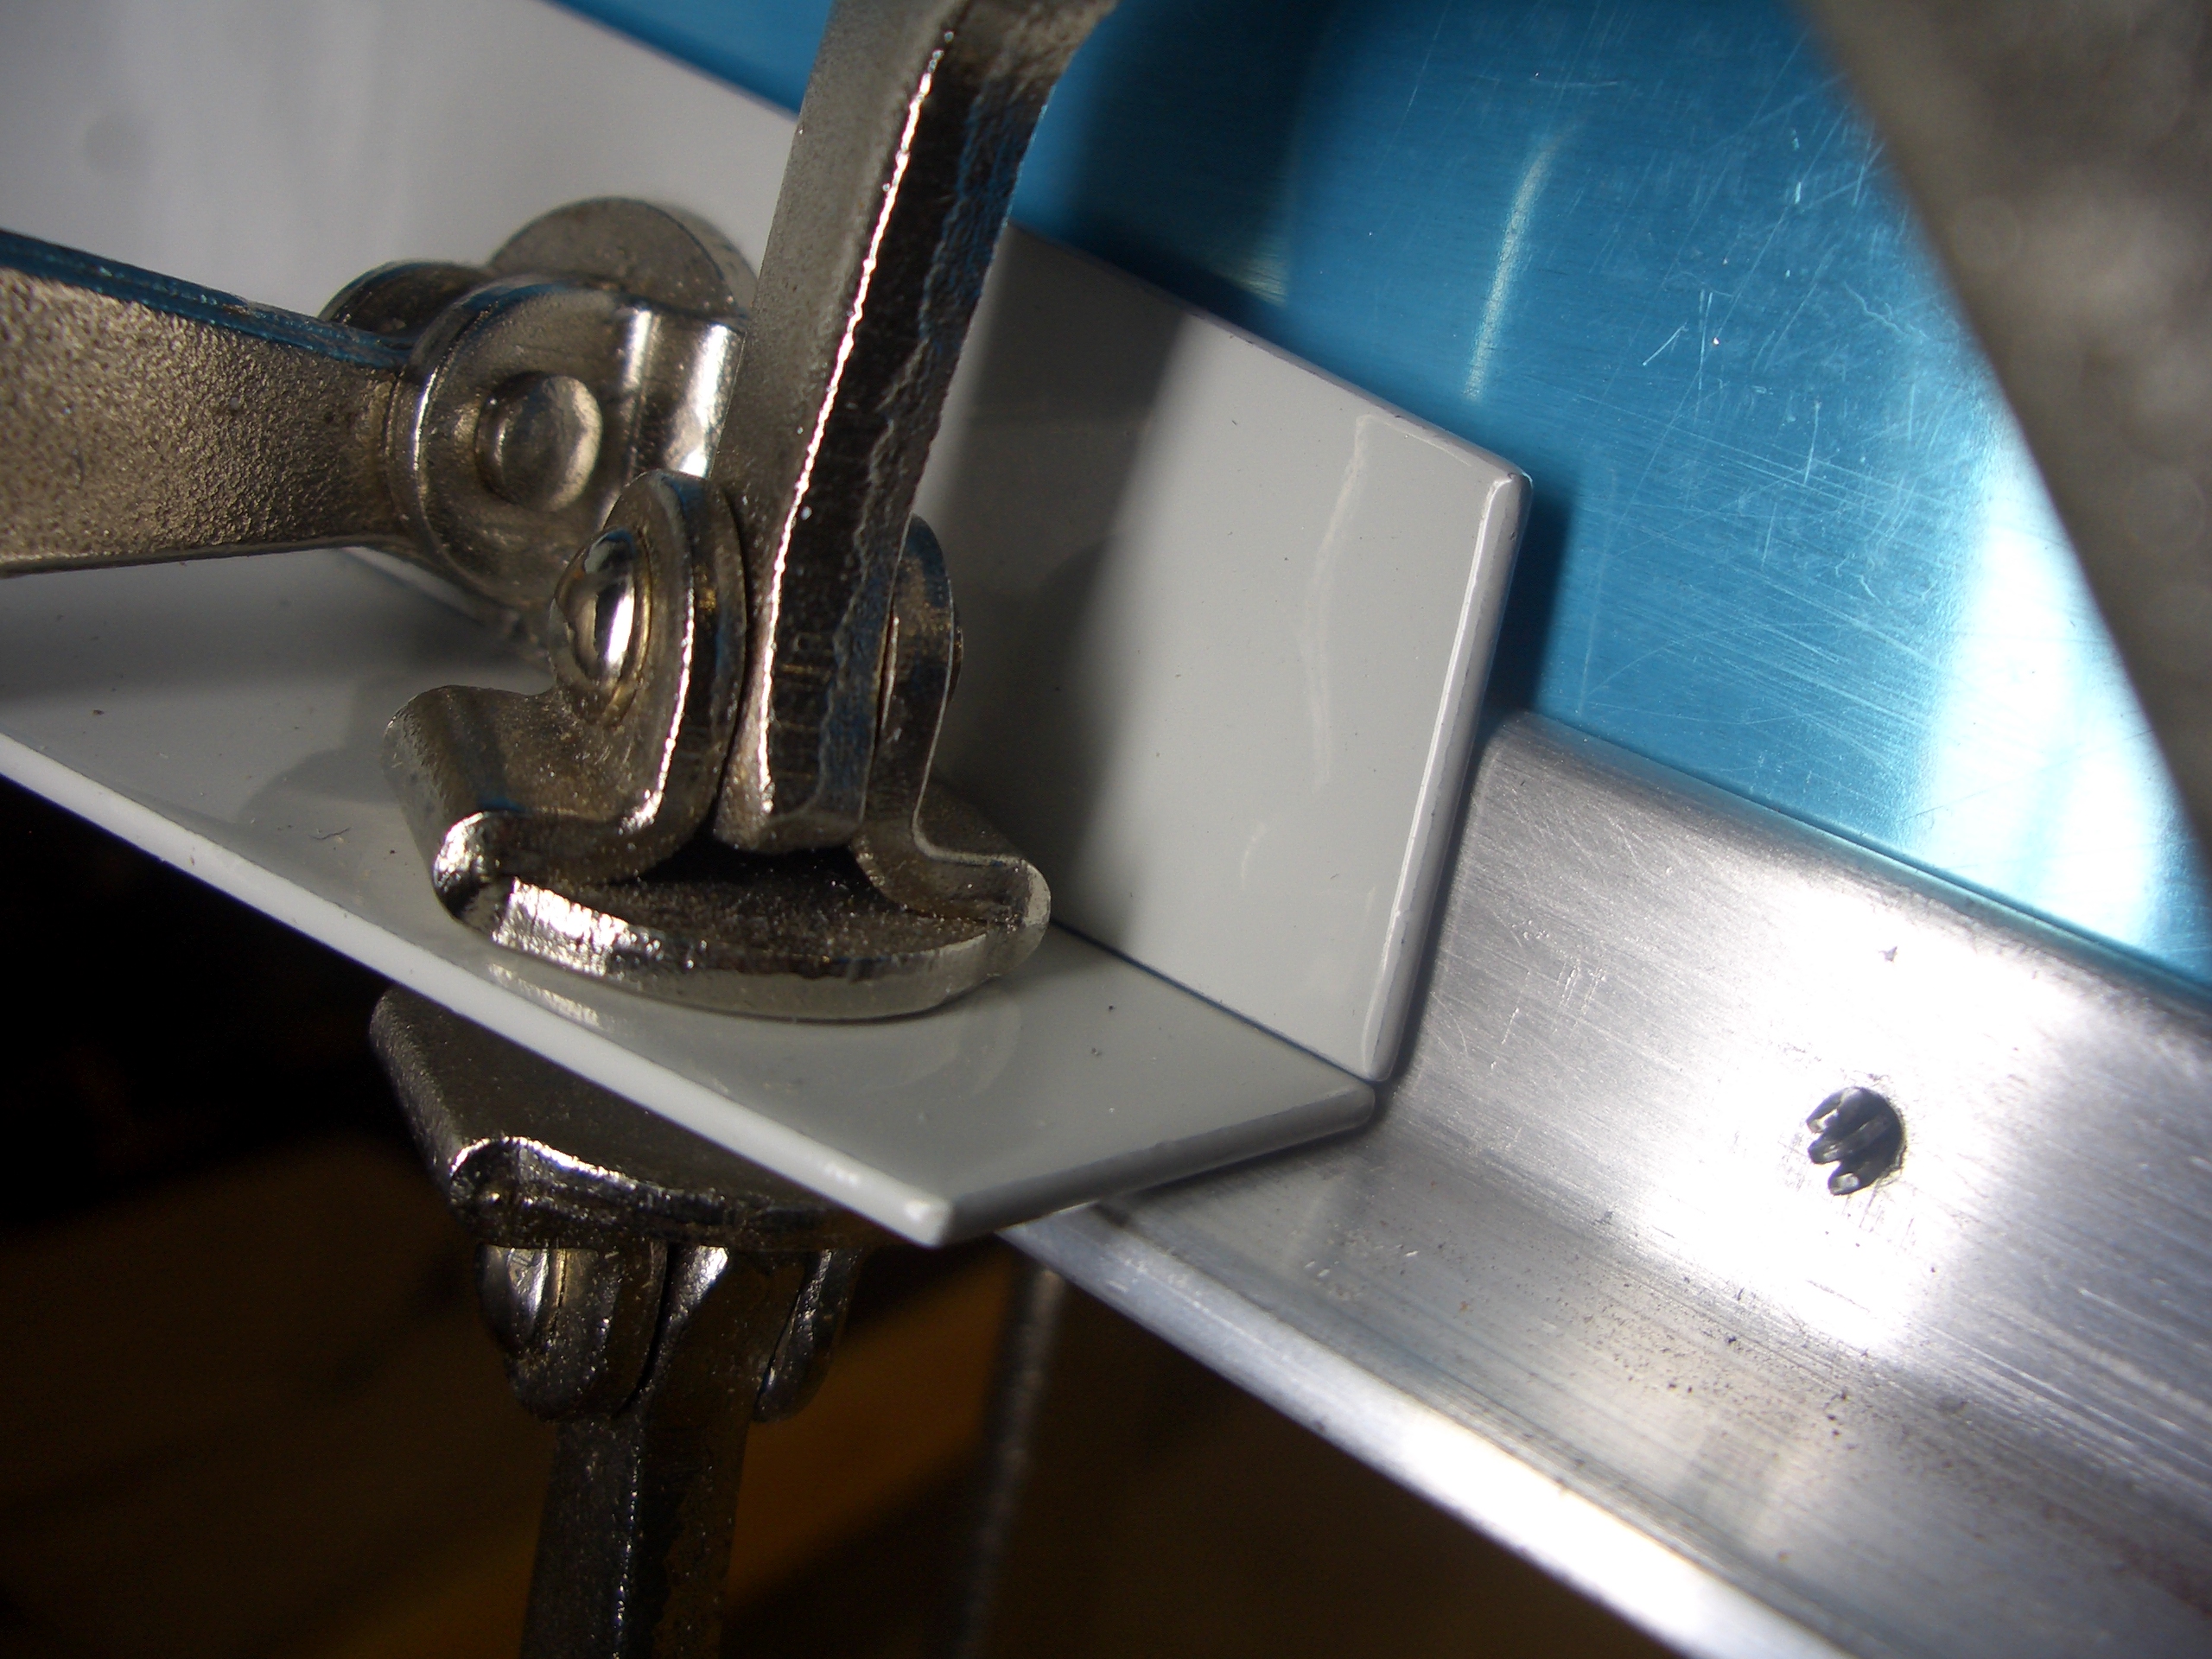
Next, I double checked that the ears on the upper engine mounts were nestled tightly into the corner of the longeron and tightly clamped.

The plans say to take a break at this point, and it’s pretty late, so this is a good stopping point for the night.