Jenn helped me pull the wings down off of the jig this morning and put them in the cradle. This is a big milestone in the construction of the wings, and it feels really good to reach this point.
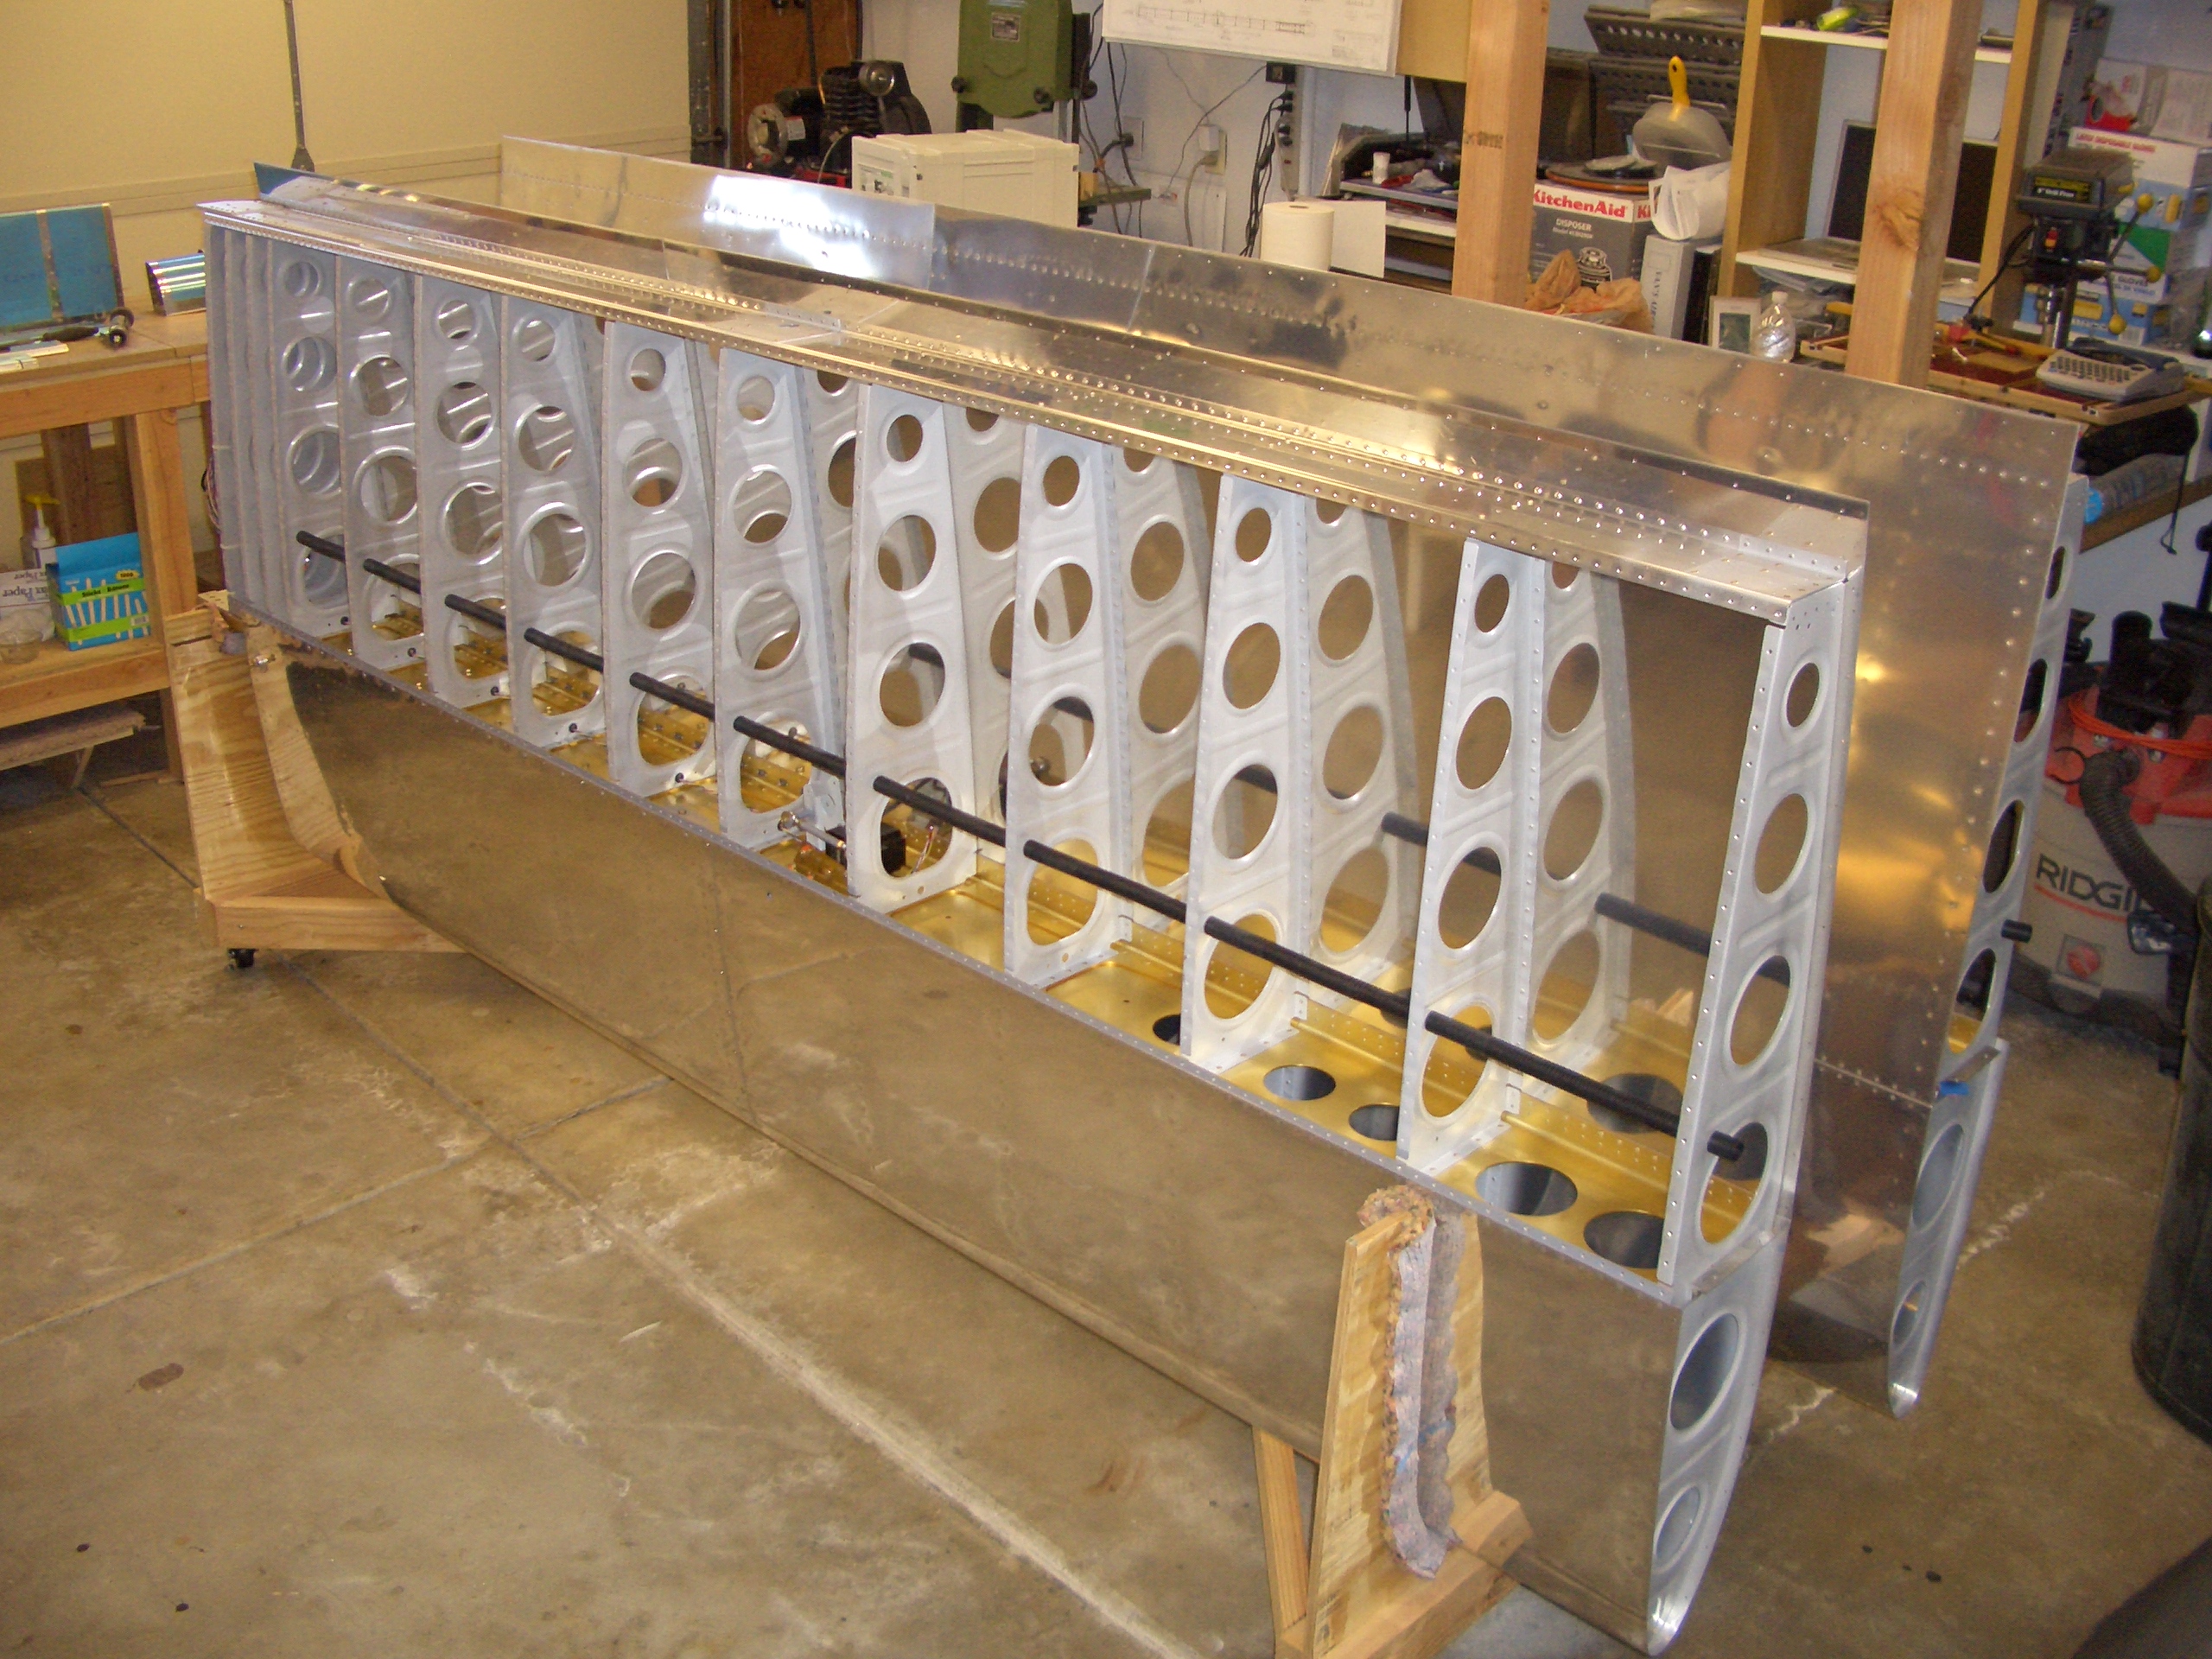
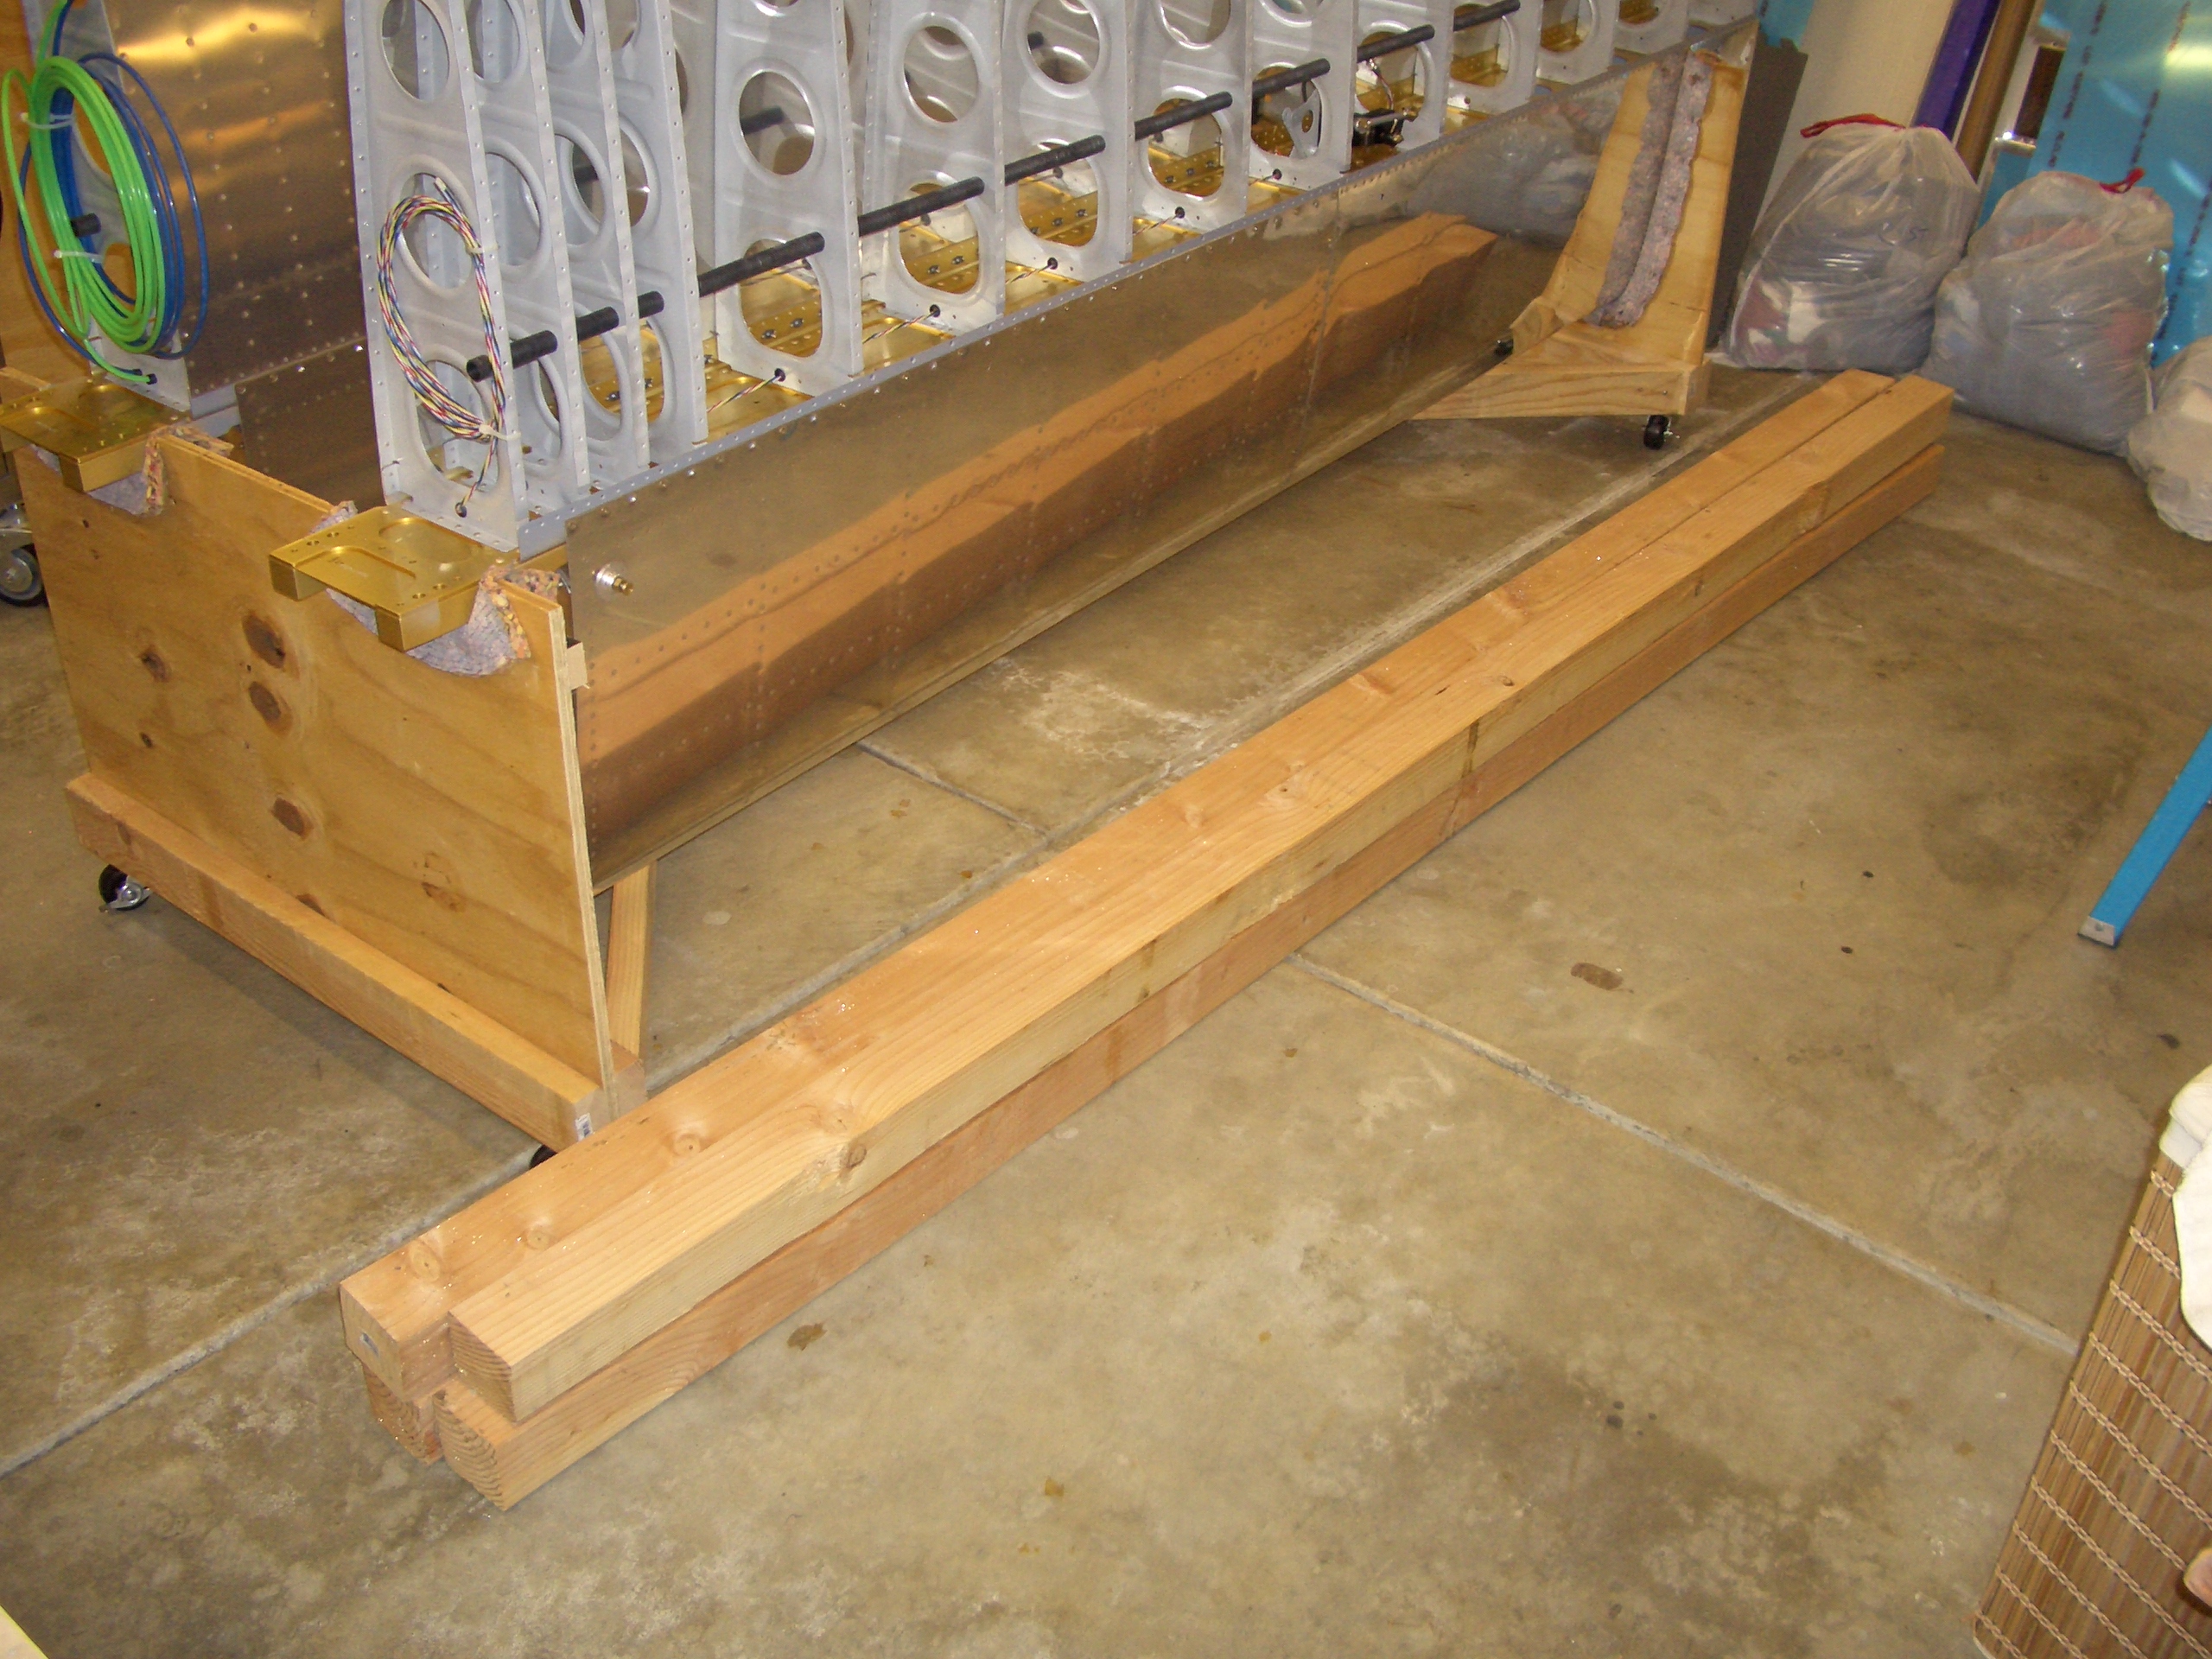

Jenn helped me pull the wings down off of the jig this morning and put them in the cradle. This is a big milestone in the construction of the wings, and it feels really good to reach this point.
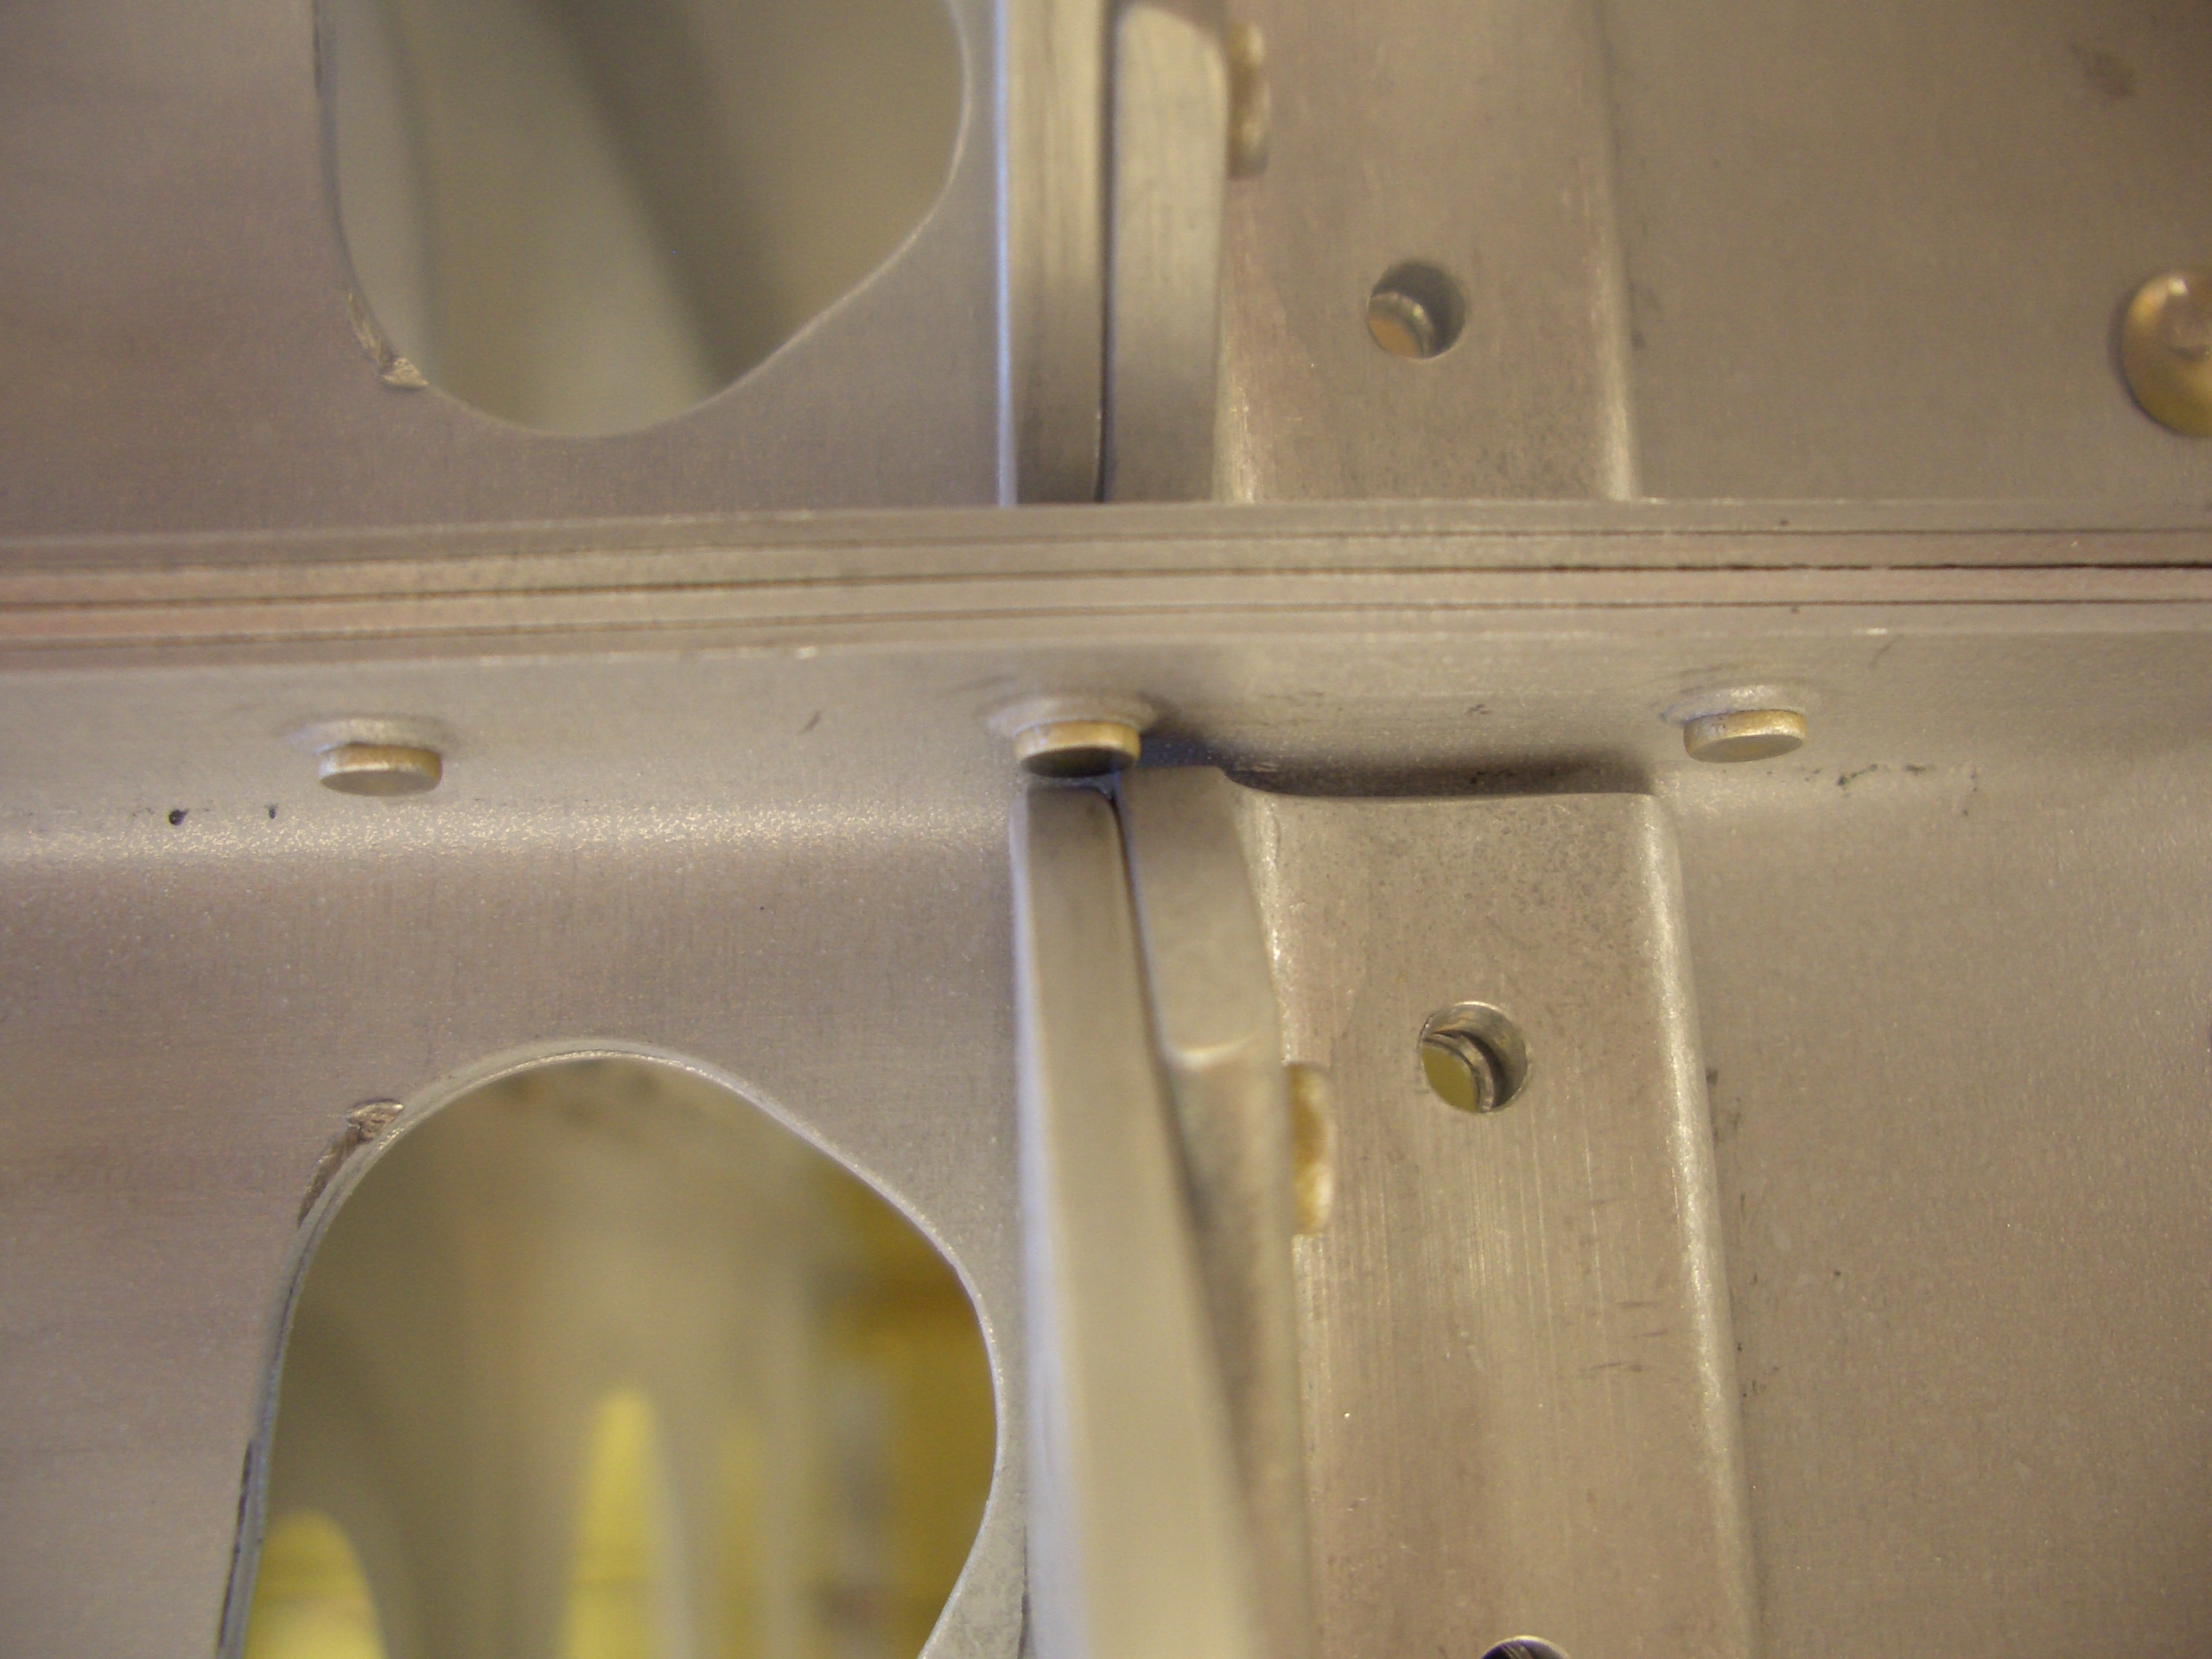
I started out by fitting the aileron hinge brackets on the right wing. One of the rivets interfered with the hinge bracket slightly. A few seconds on the scotchbrite wheel took care of that and the hinge bracket now fits perfectly.

My first tech counselor, Dan Checkoway, moved out of the area since he visited during my empennage construction, so I needed to find someone new. Several people recommended Brian Dal Porto, a local RV-7 builder who is also an A&P mechanic, so I called him last week to schedule a visit. He stopped by today to check out the progress on my wings. He didn’t find anything that needed to be redone, but it was great to be able to run a few questions by him. He said the quality of my work was very good and well above average.
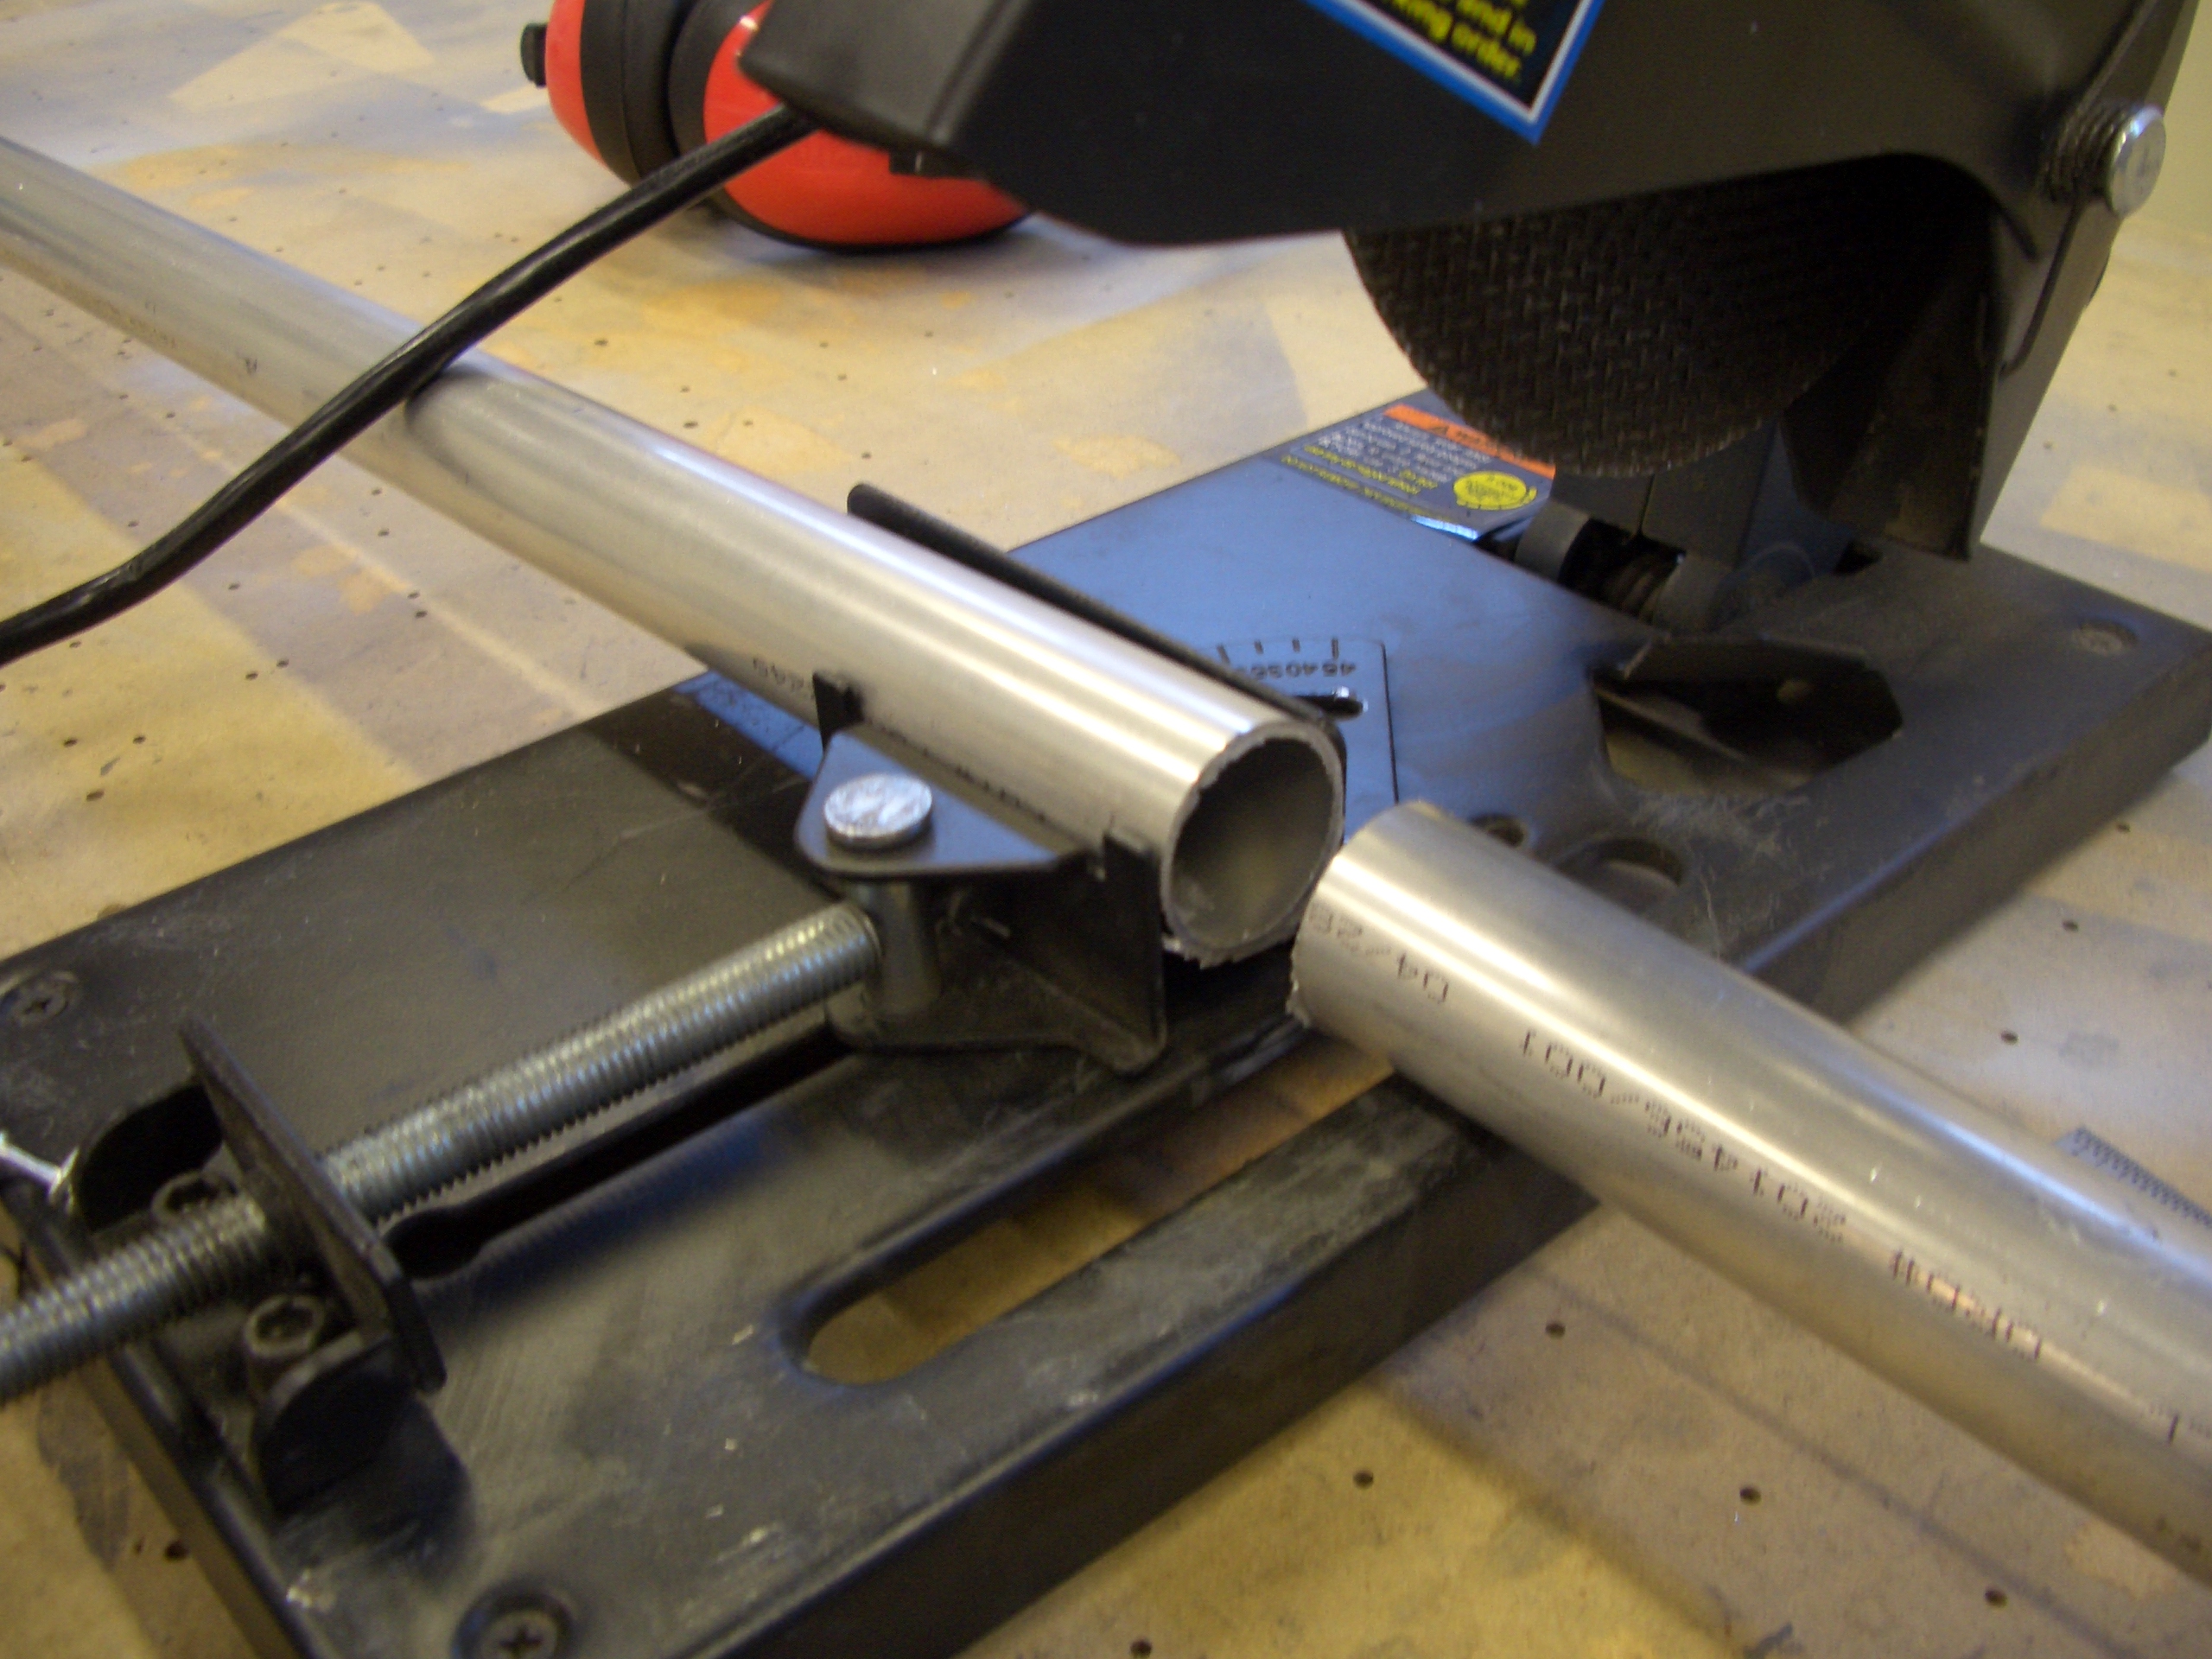
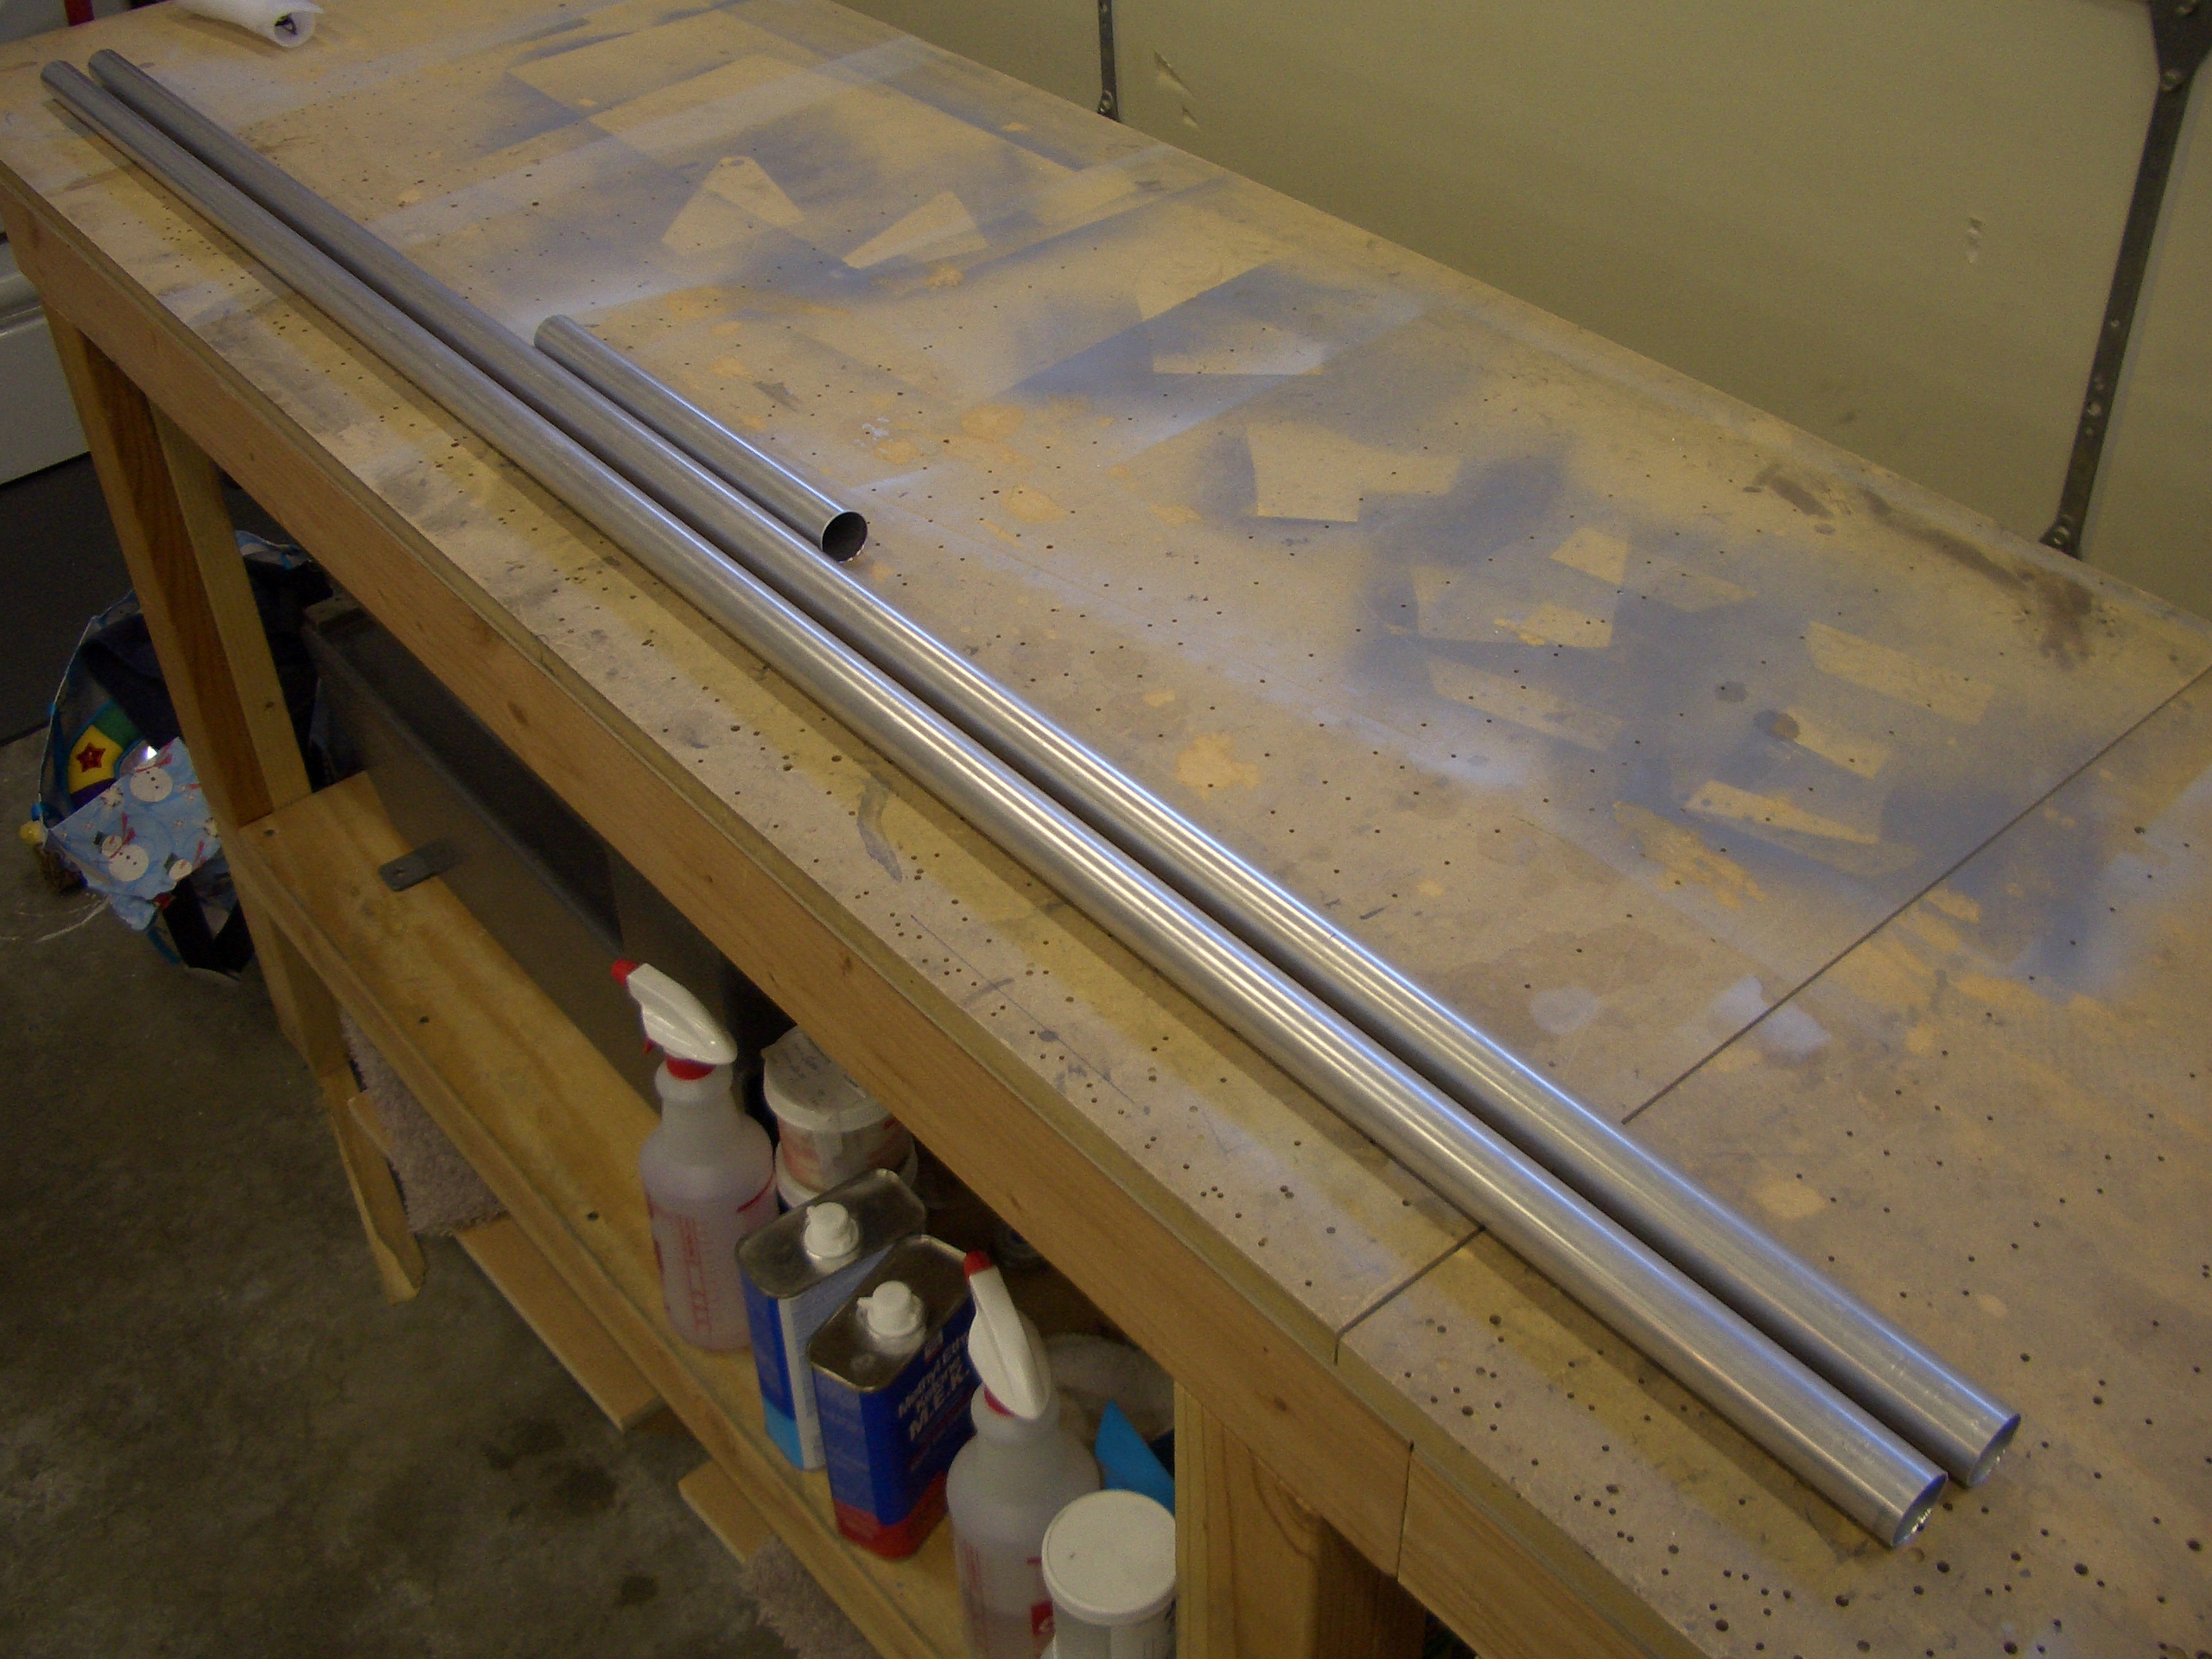
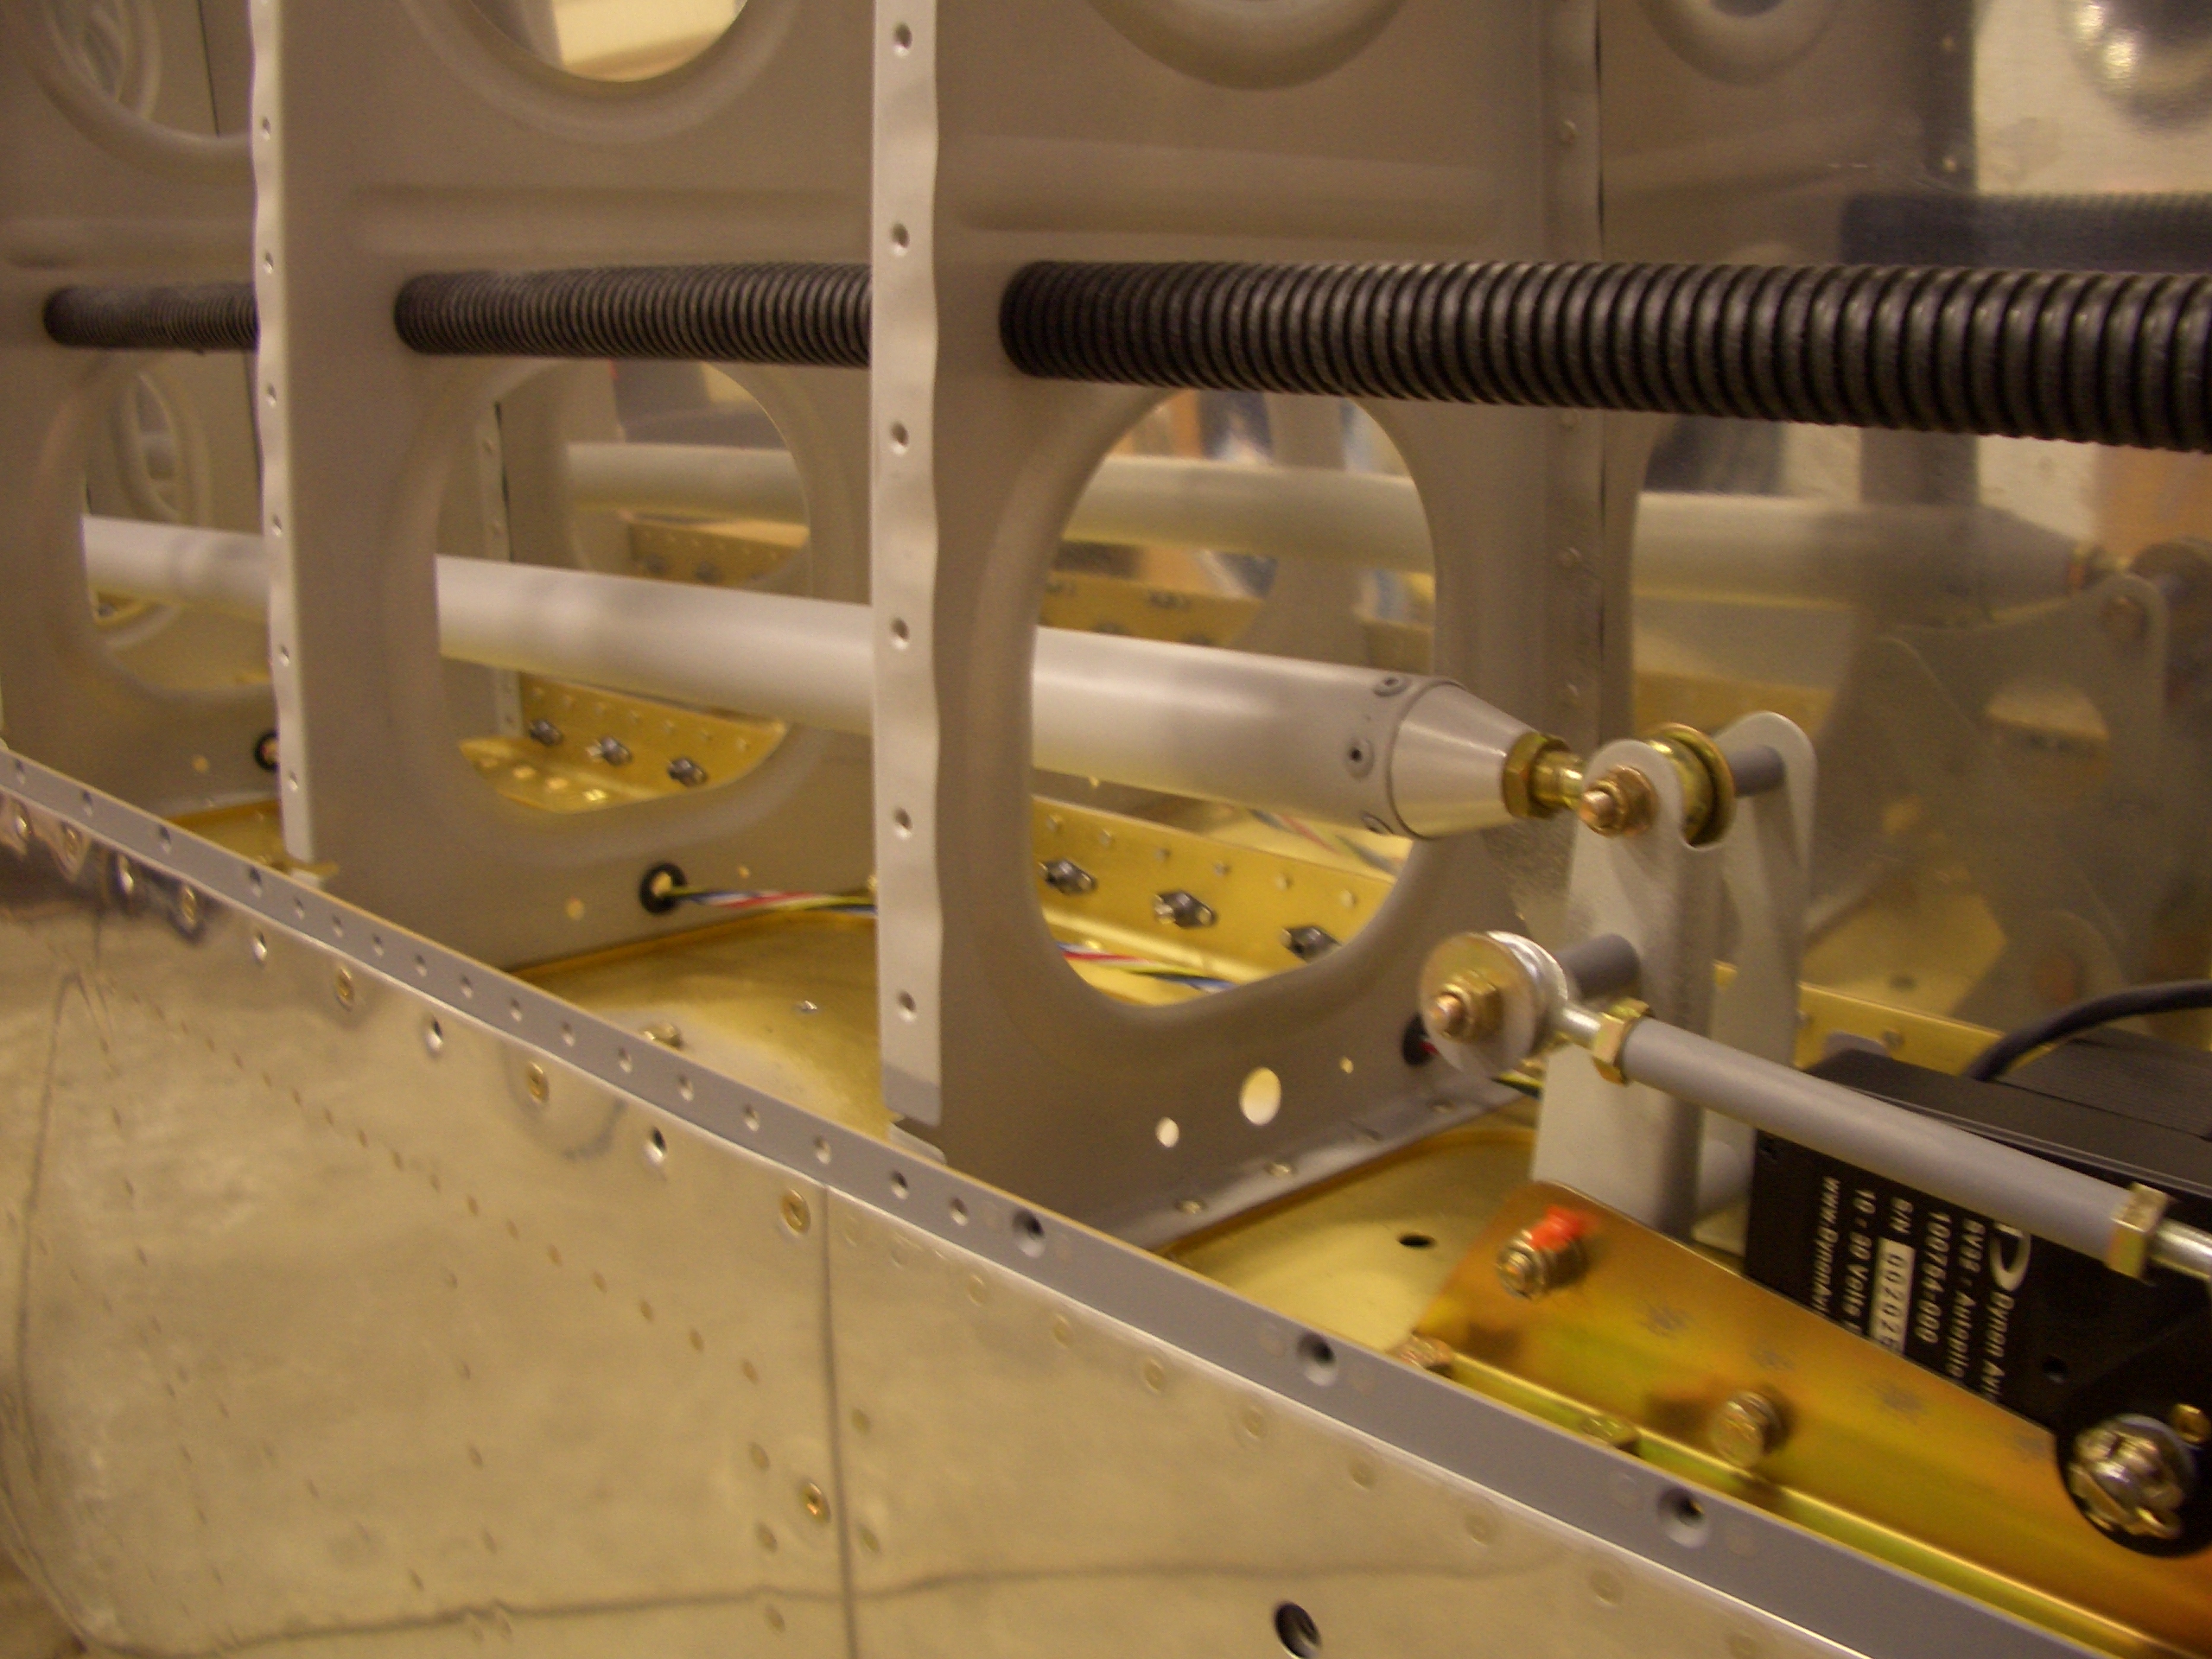
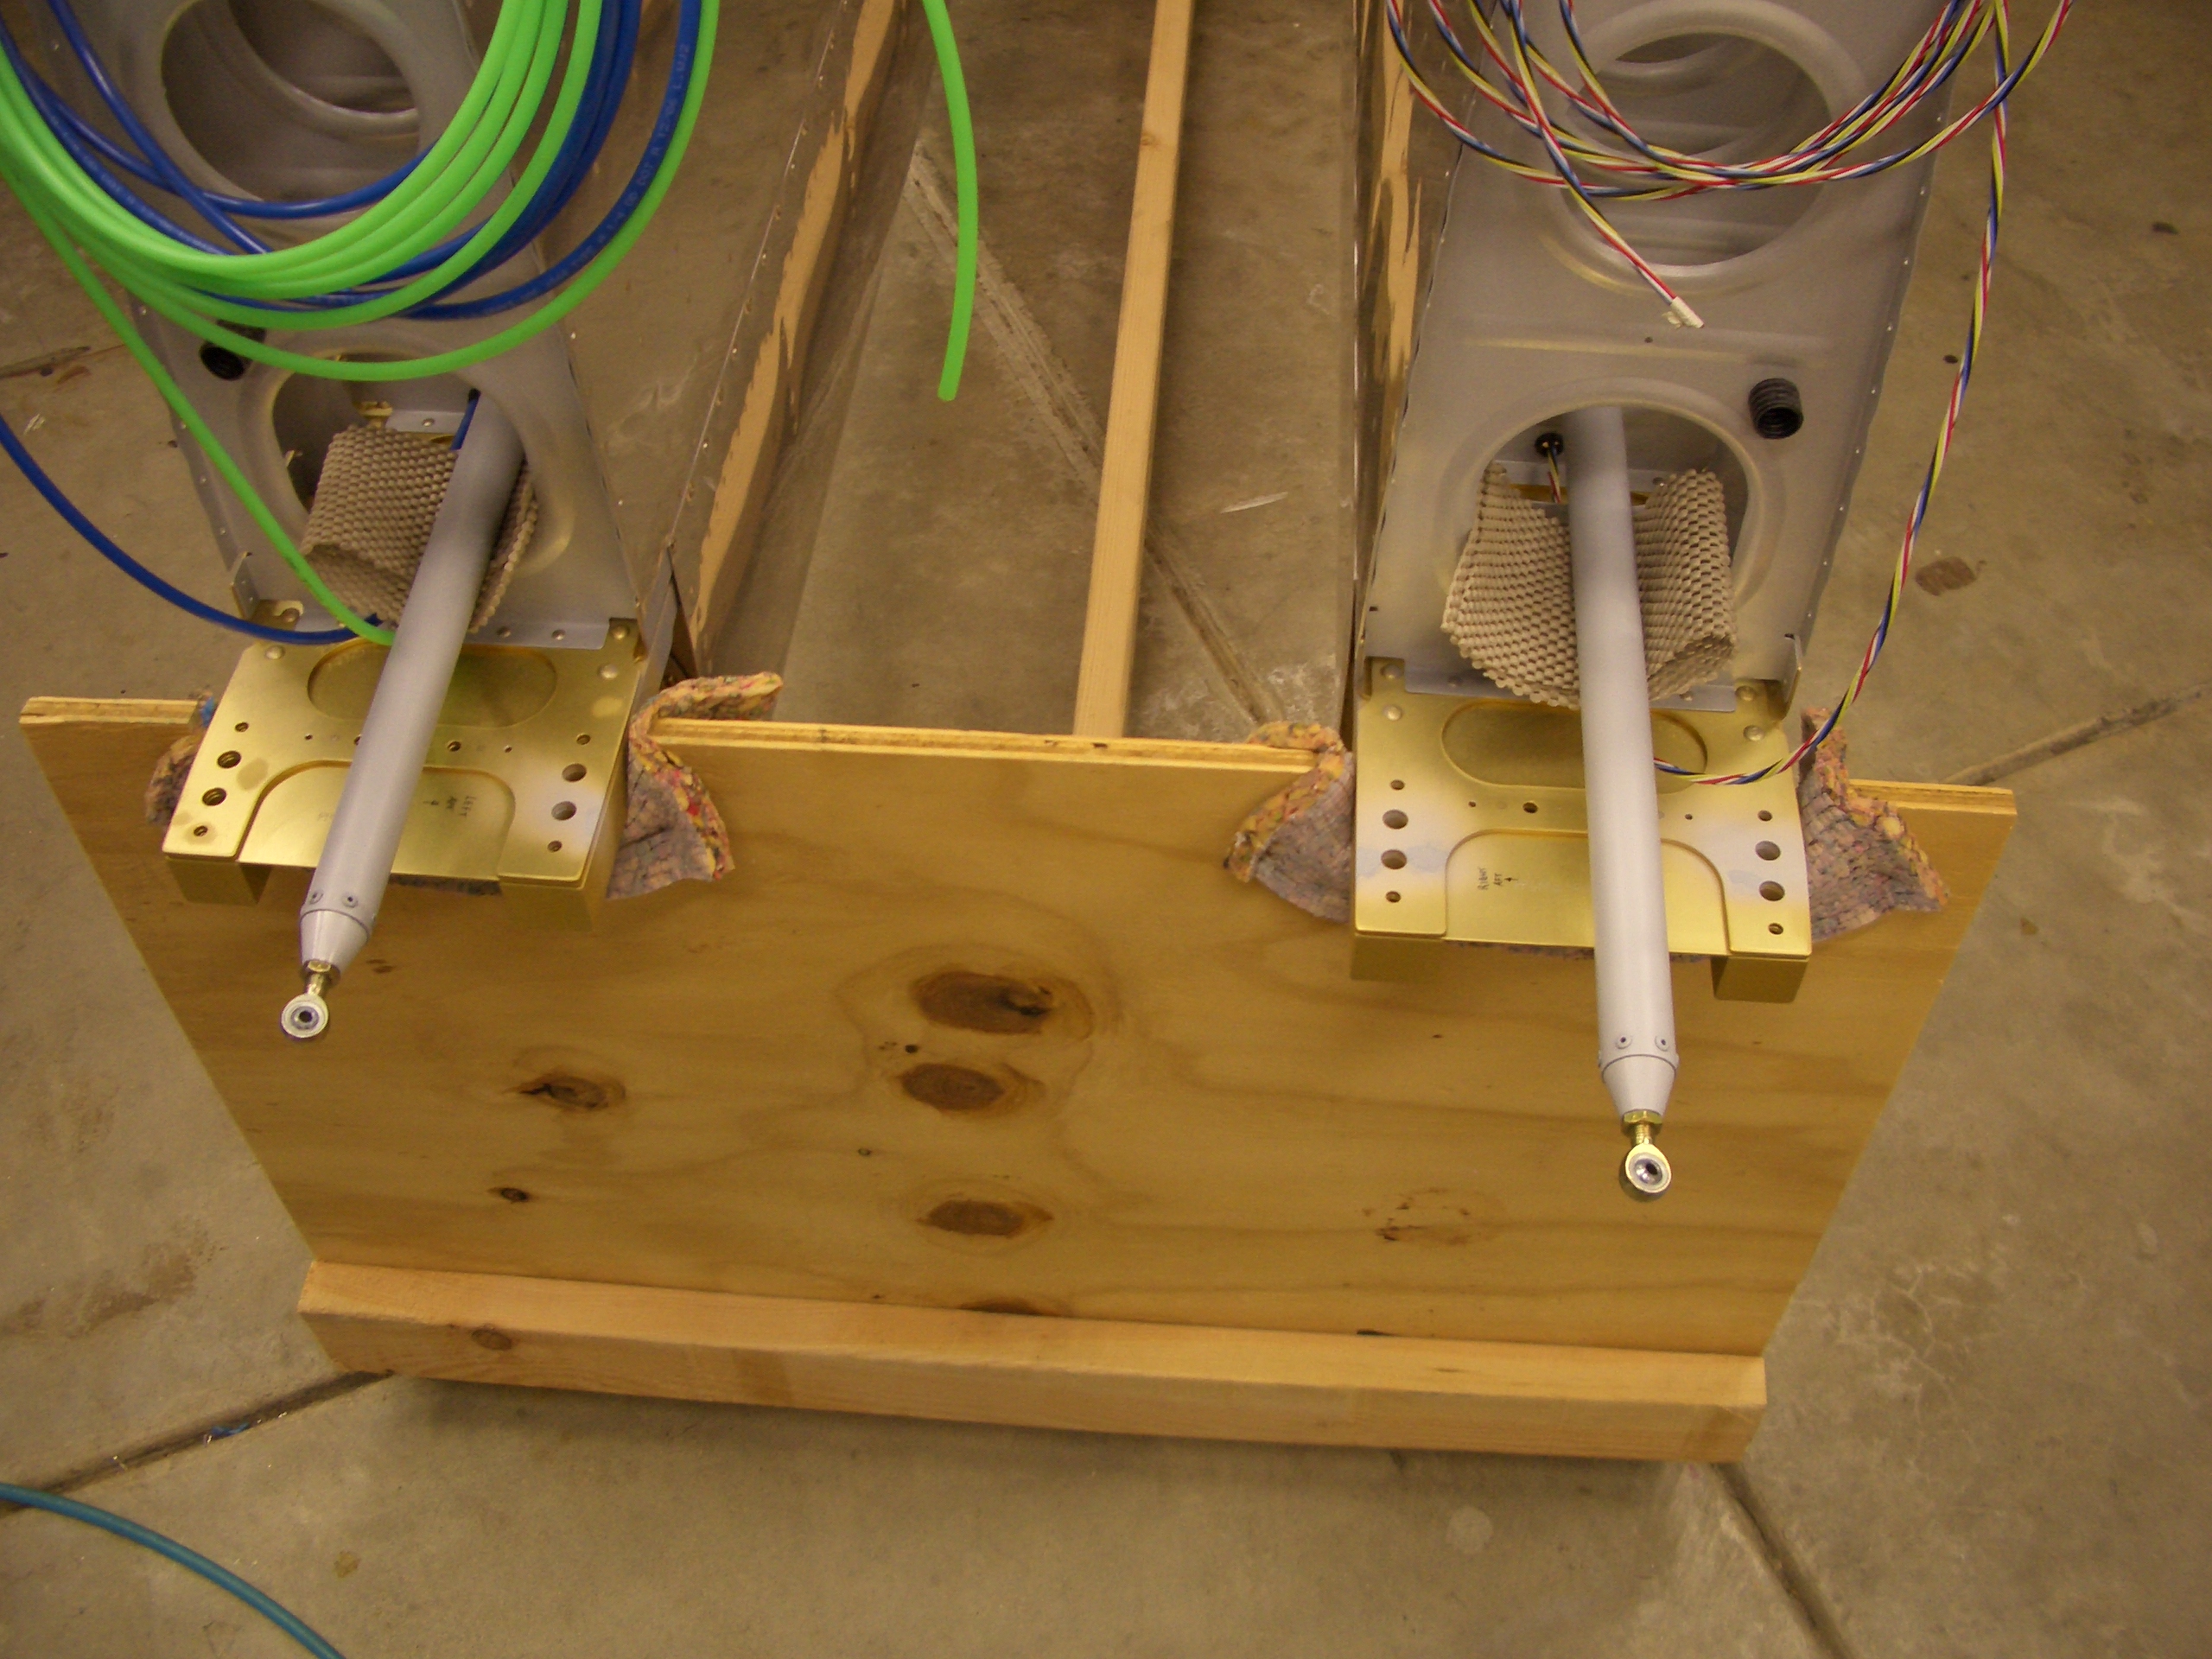
I cut the large push tubes using the cut-off saw. This was really the wrong tool for the job as it didn’t make a perfectly straight cut. Fortunately, I was able to square up the end and still have it be the correct length. I cut the other one using a pipe cutter which worked much better.

My son and I were both sick today, but I was feeling enough better by this evening to put a little time in on the project. I started by drilling the hinge to the flap skin and spar. I’m using the recommended 1/4″ edge distance. If it turns out I don’t have enough edge distance on the other side once the flaps are aligned with the ailerons, I’ll switch the wing side out with the P4 hinge material that has a longer leg.
I had just ordered these long reach cleco clamps and they worked beautifully for holding the hinge material on while I drilled it. I only ordered two, but they were so handy that I wish I had ordered several more.
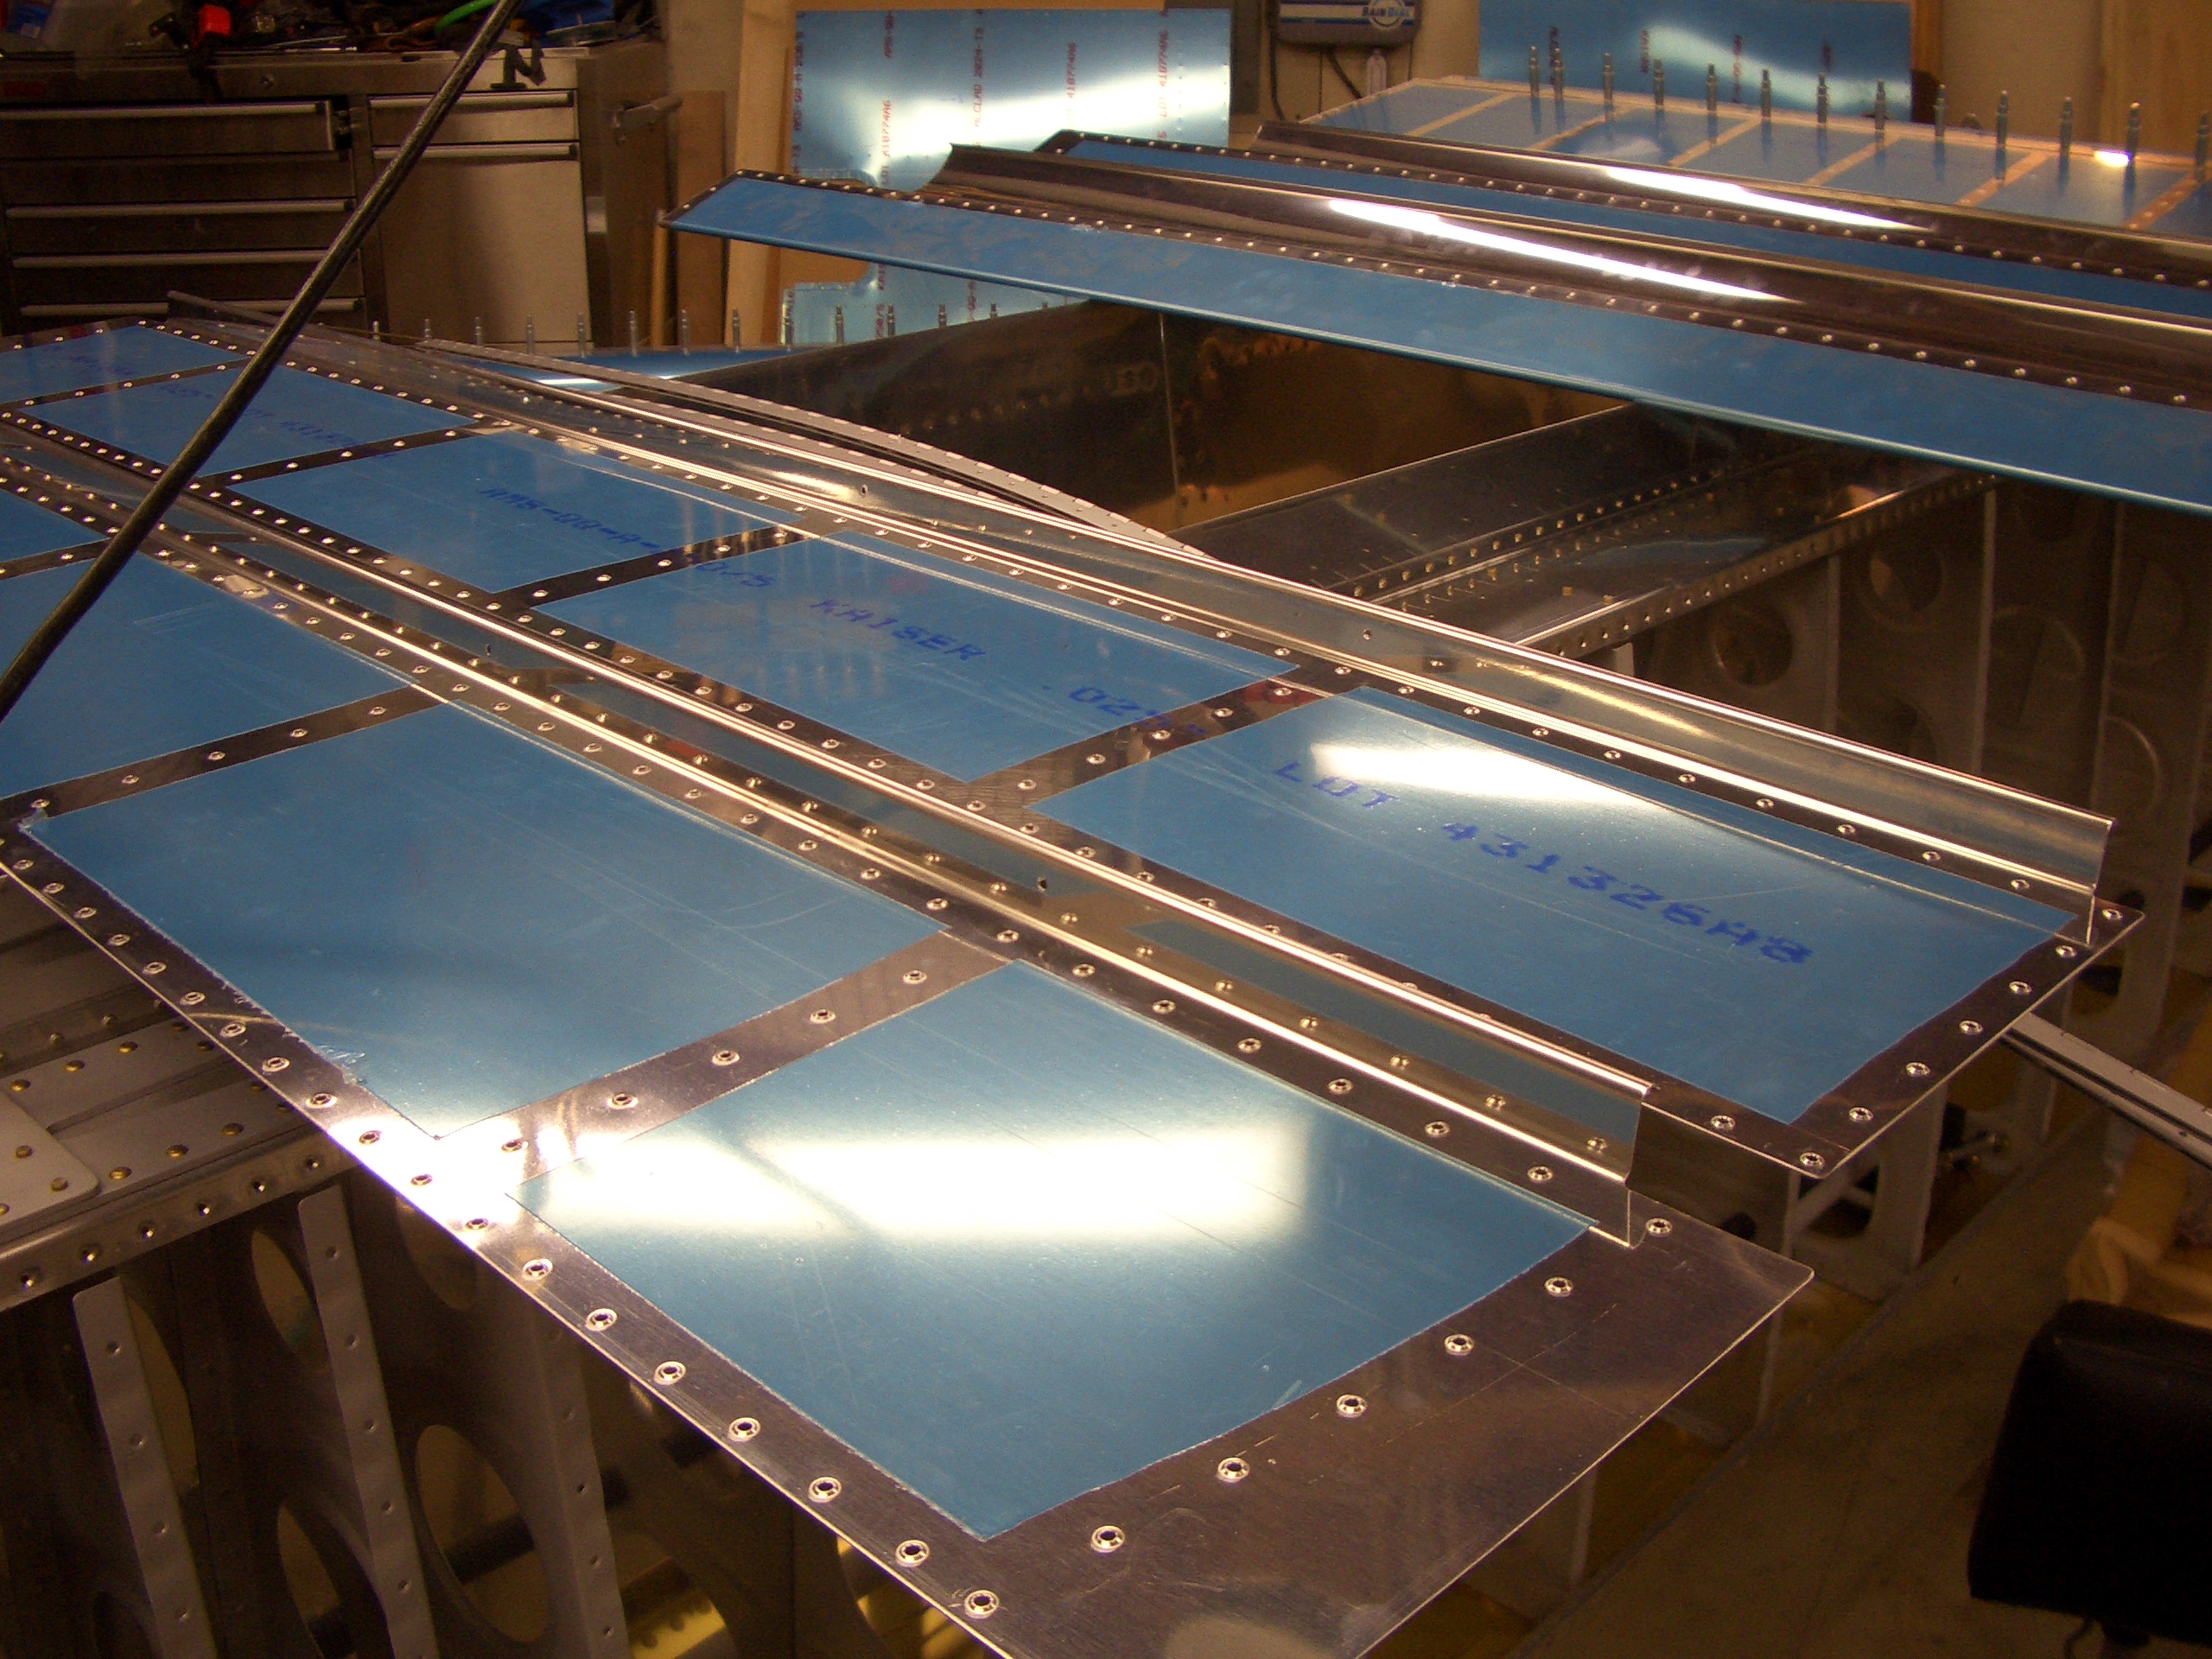
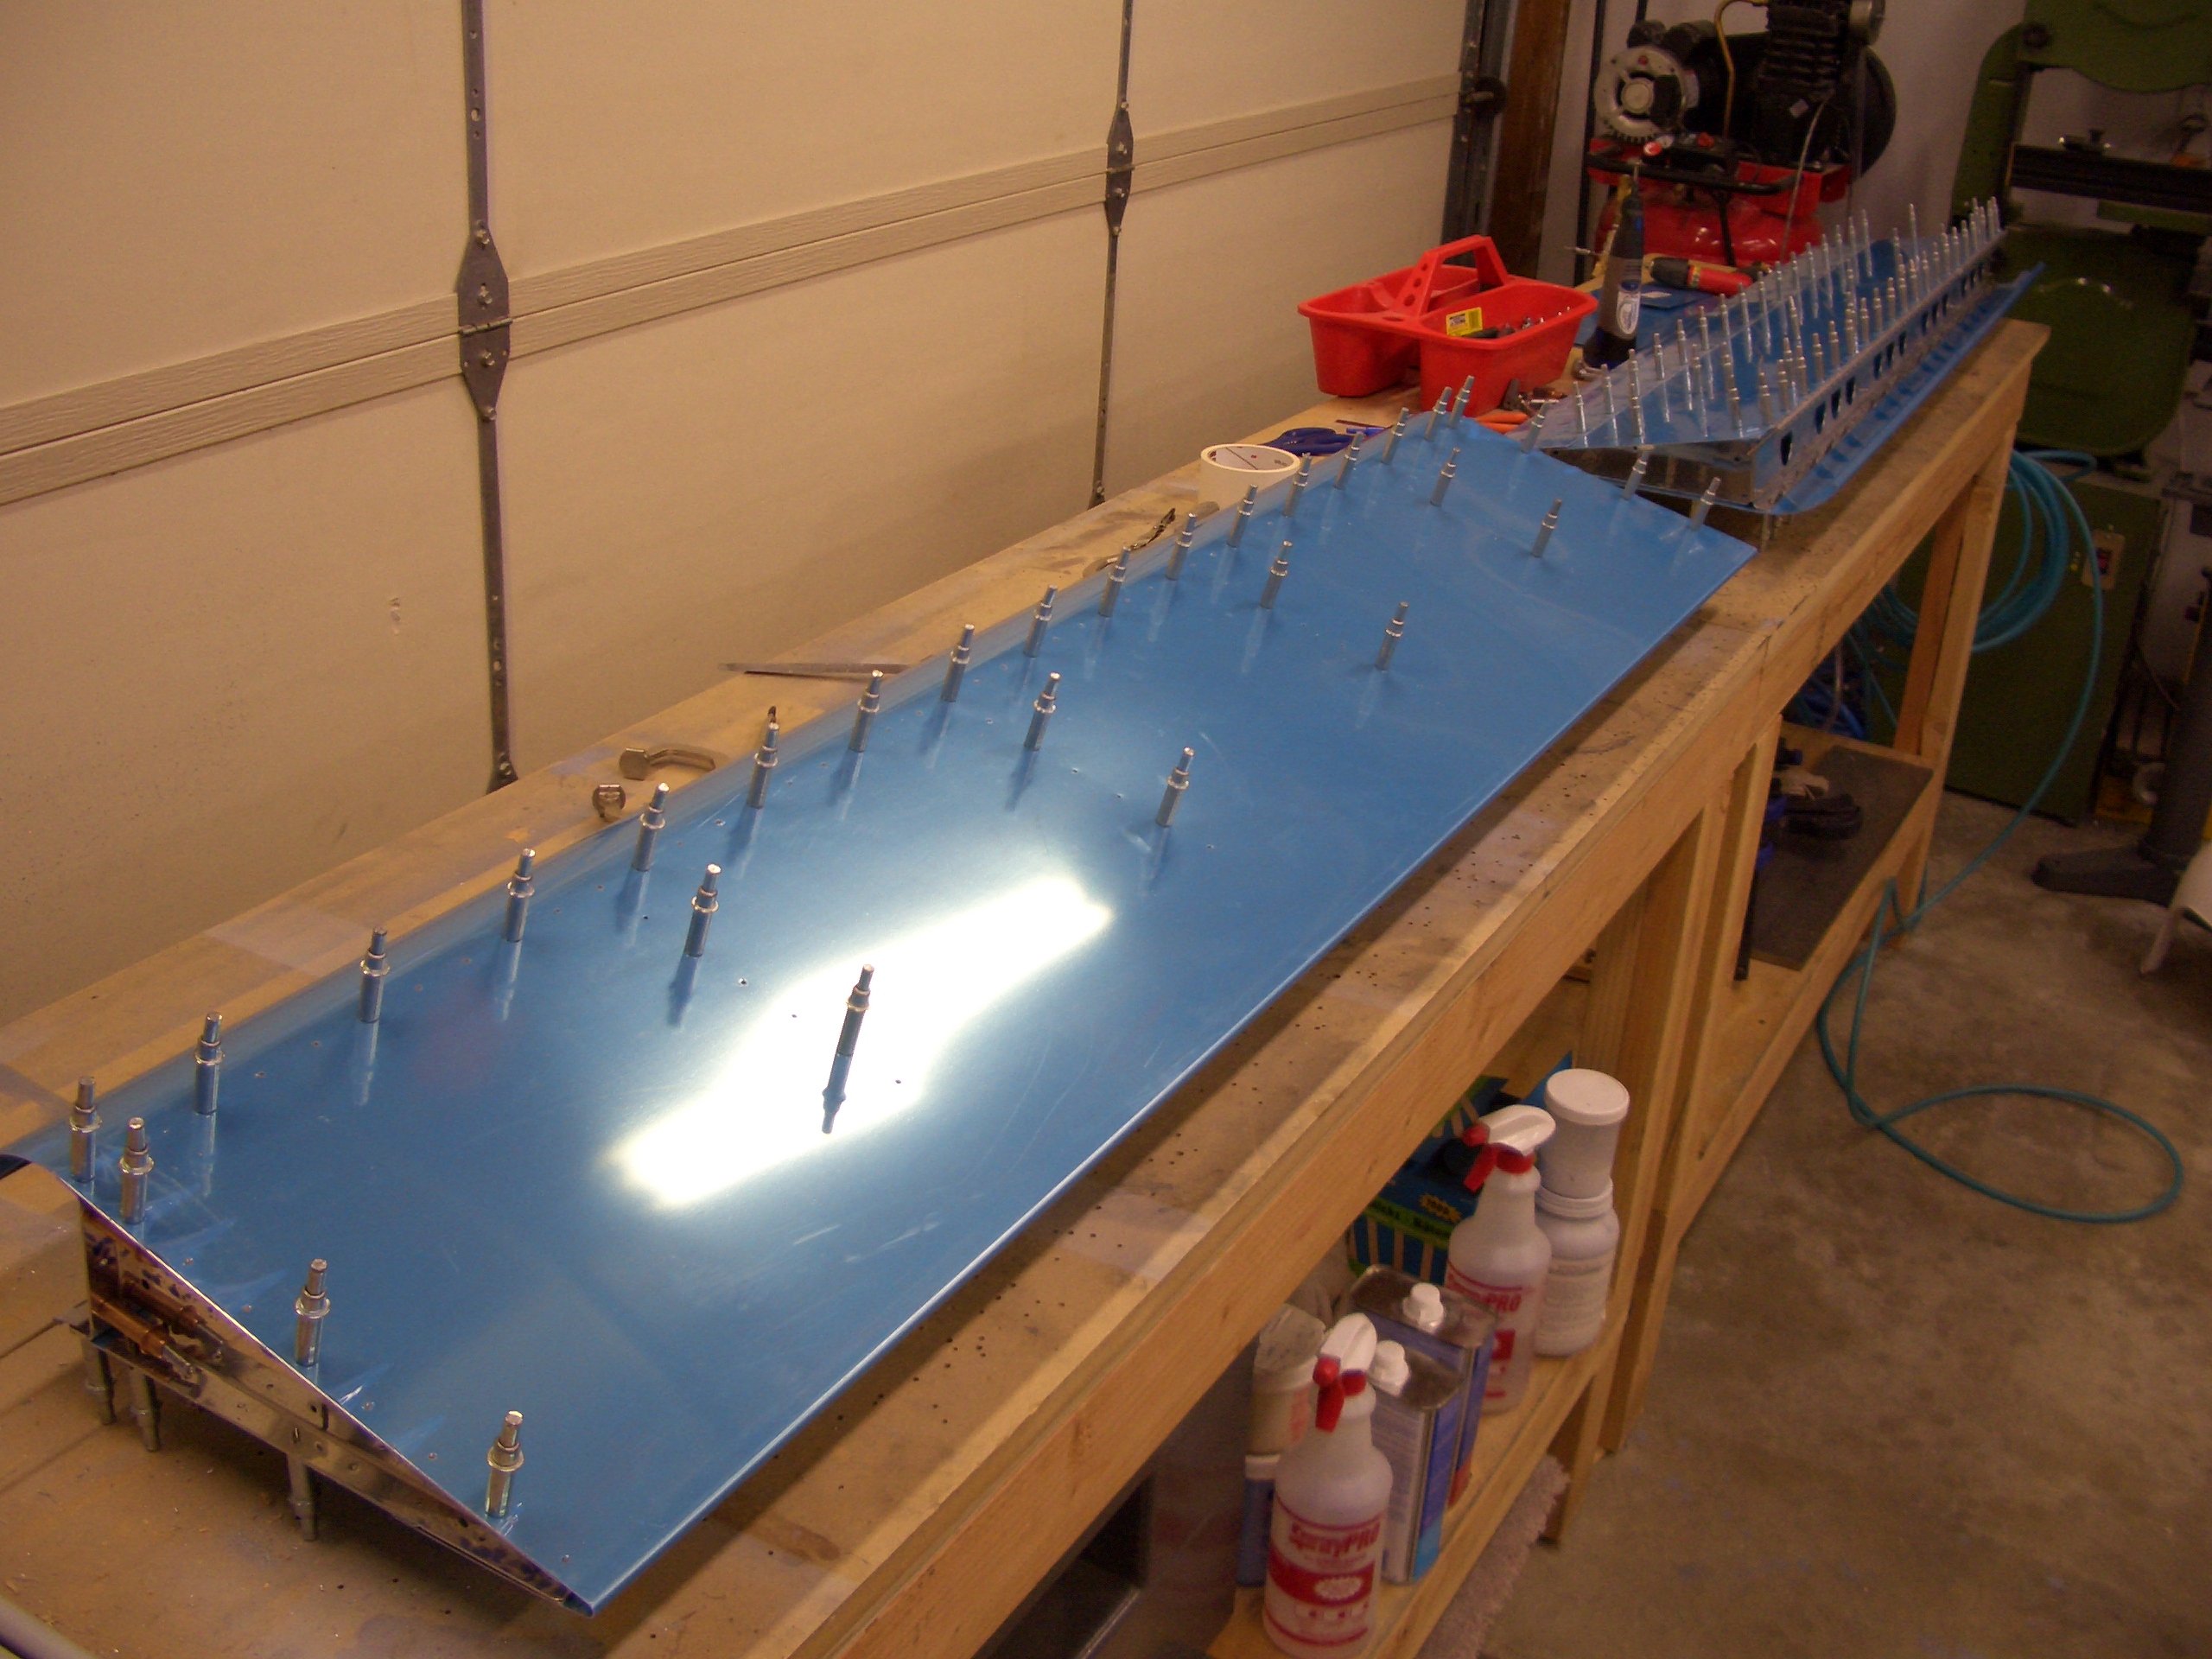
I put the top skin on and drilled all of the holes to final size. I didn’t take any pictures of it, but I also needed to make four 0.024″ shims for the inboard and outboard ribs to take up the space between the top skin and the rib where the bottom skin stops short.
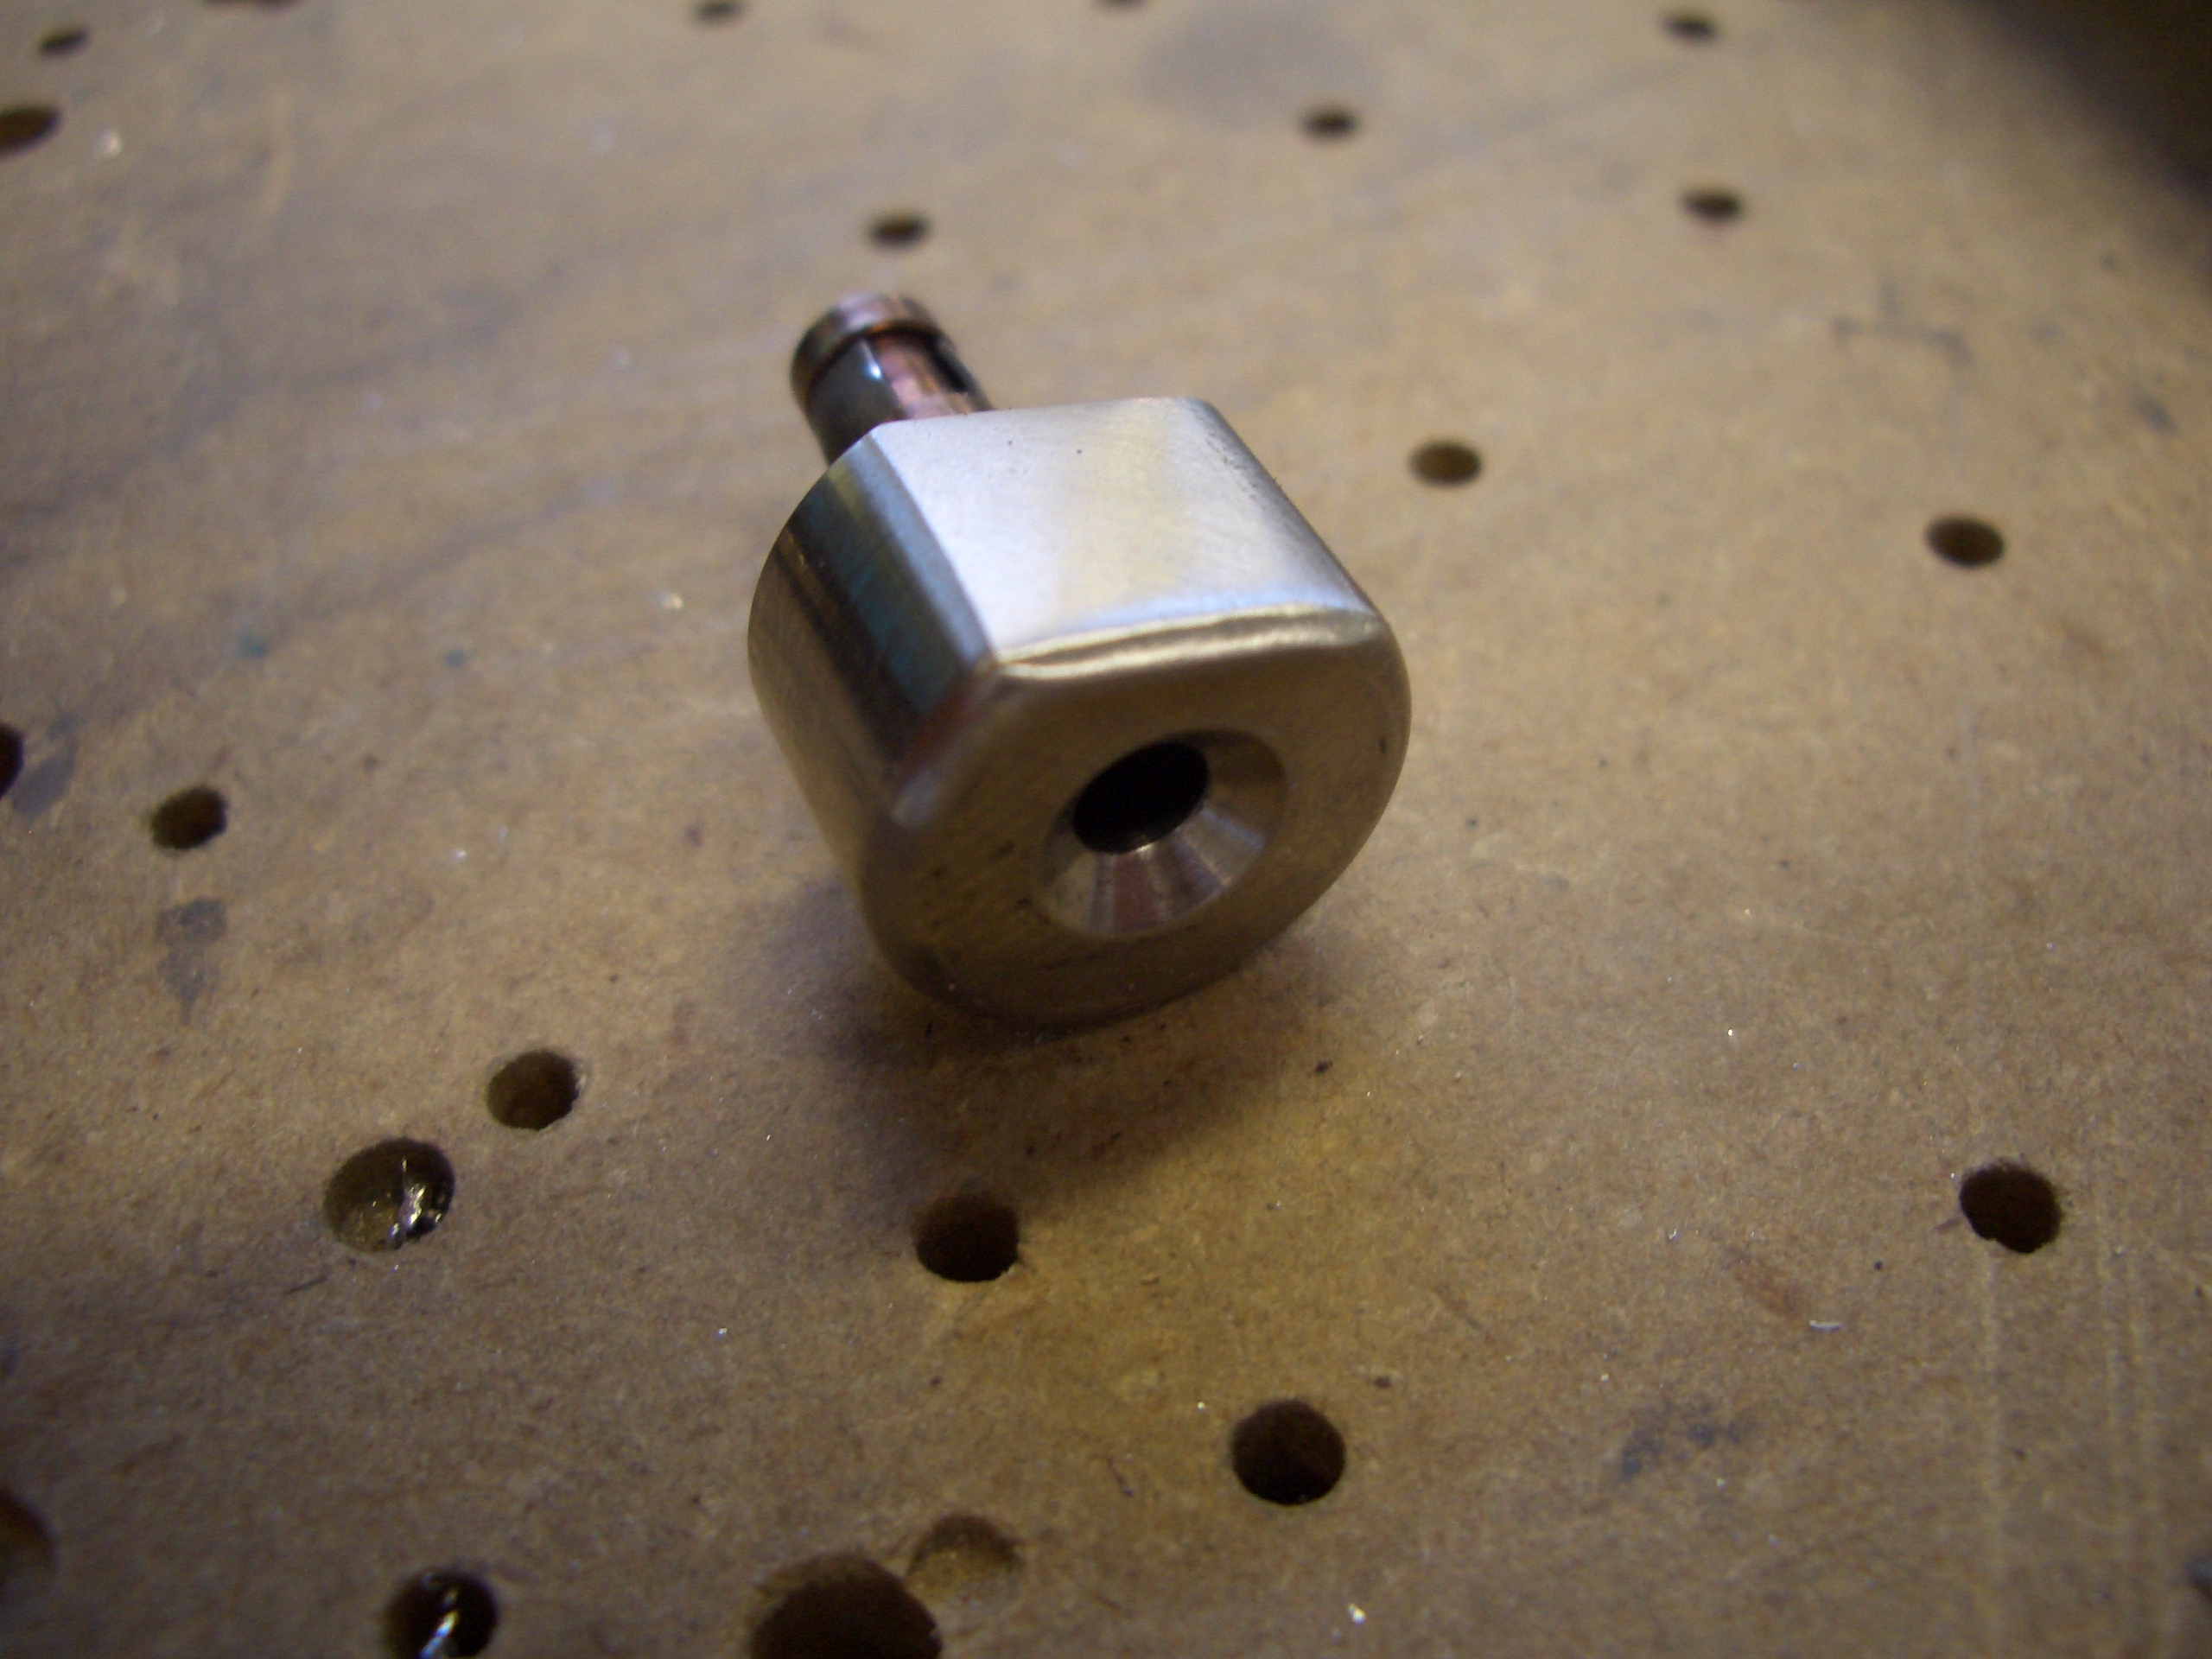
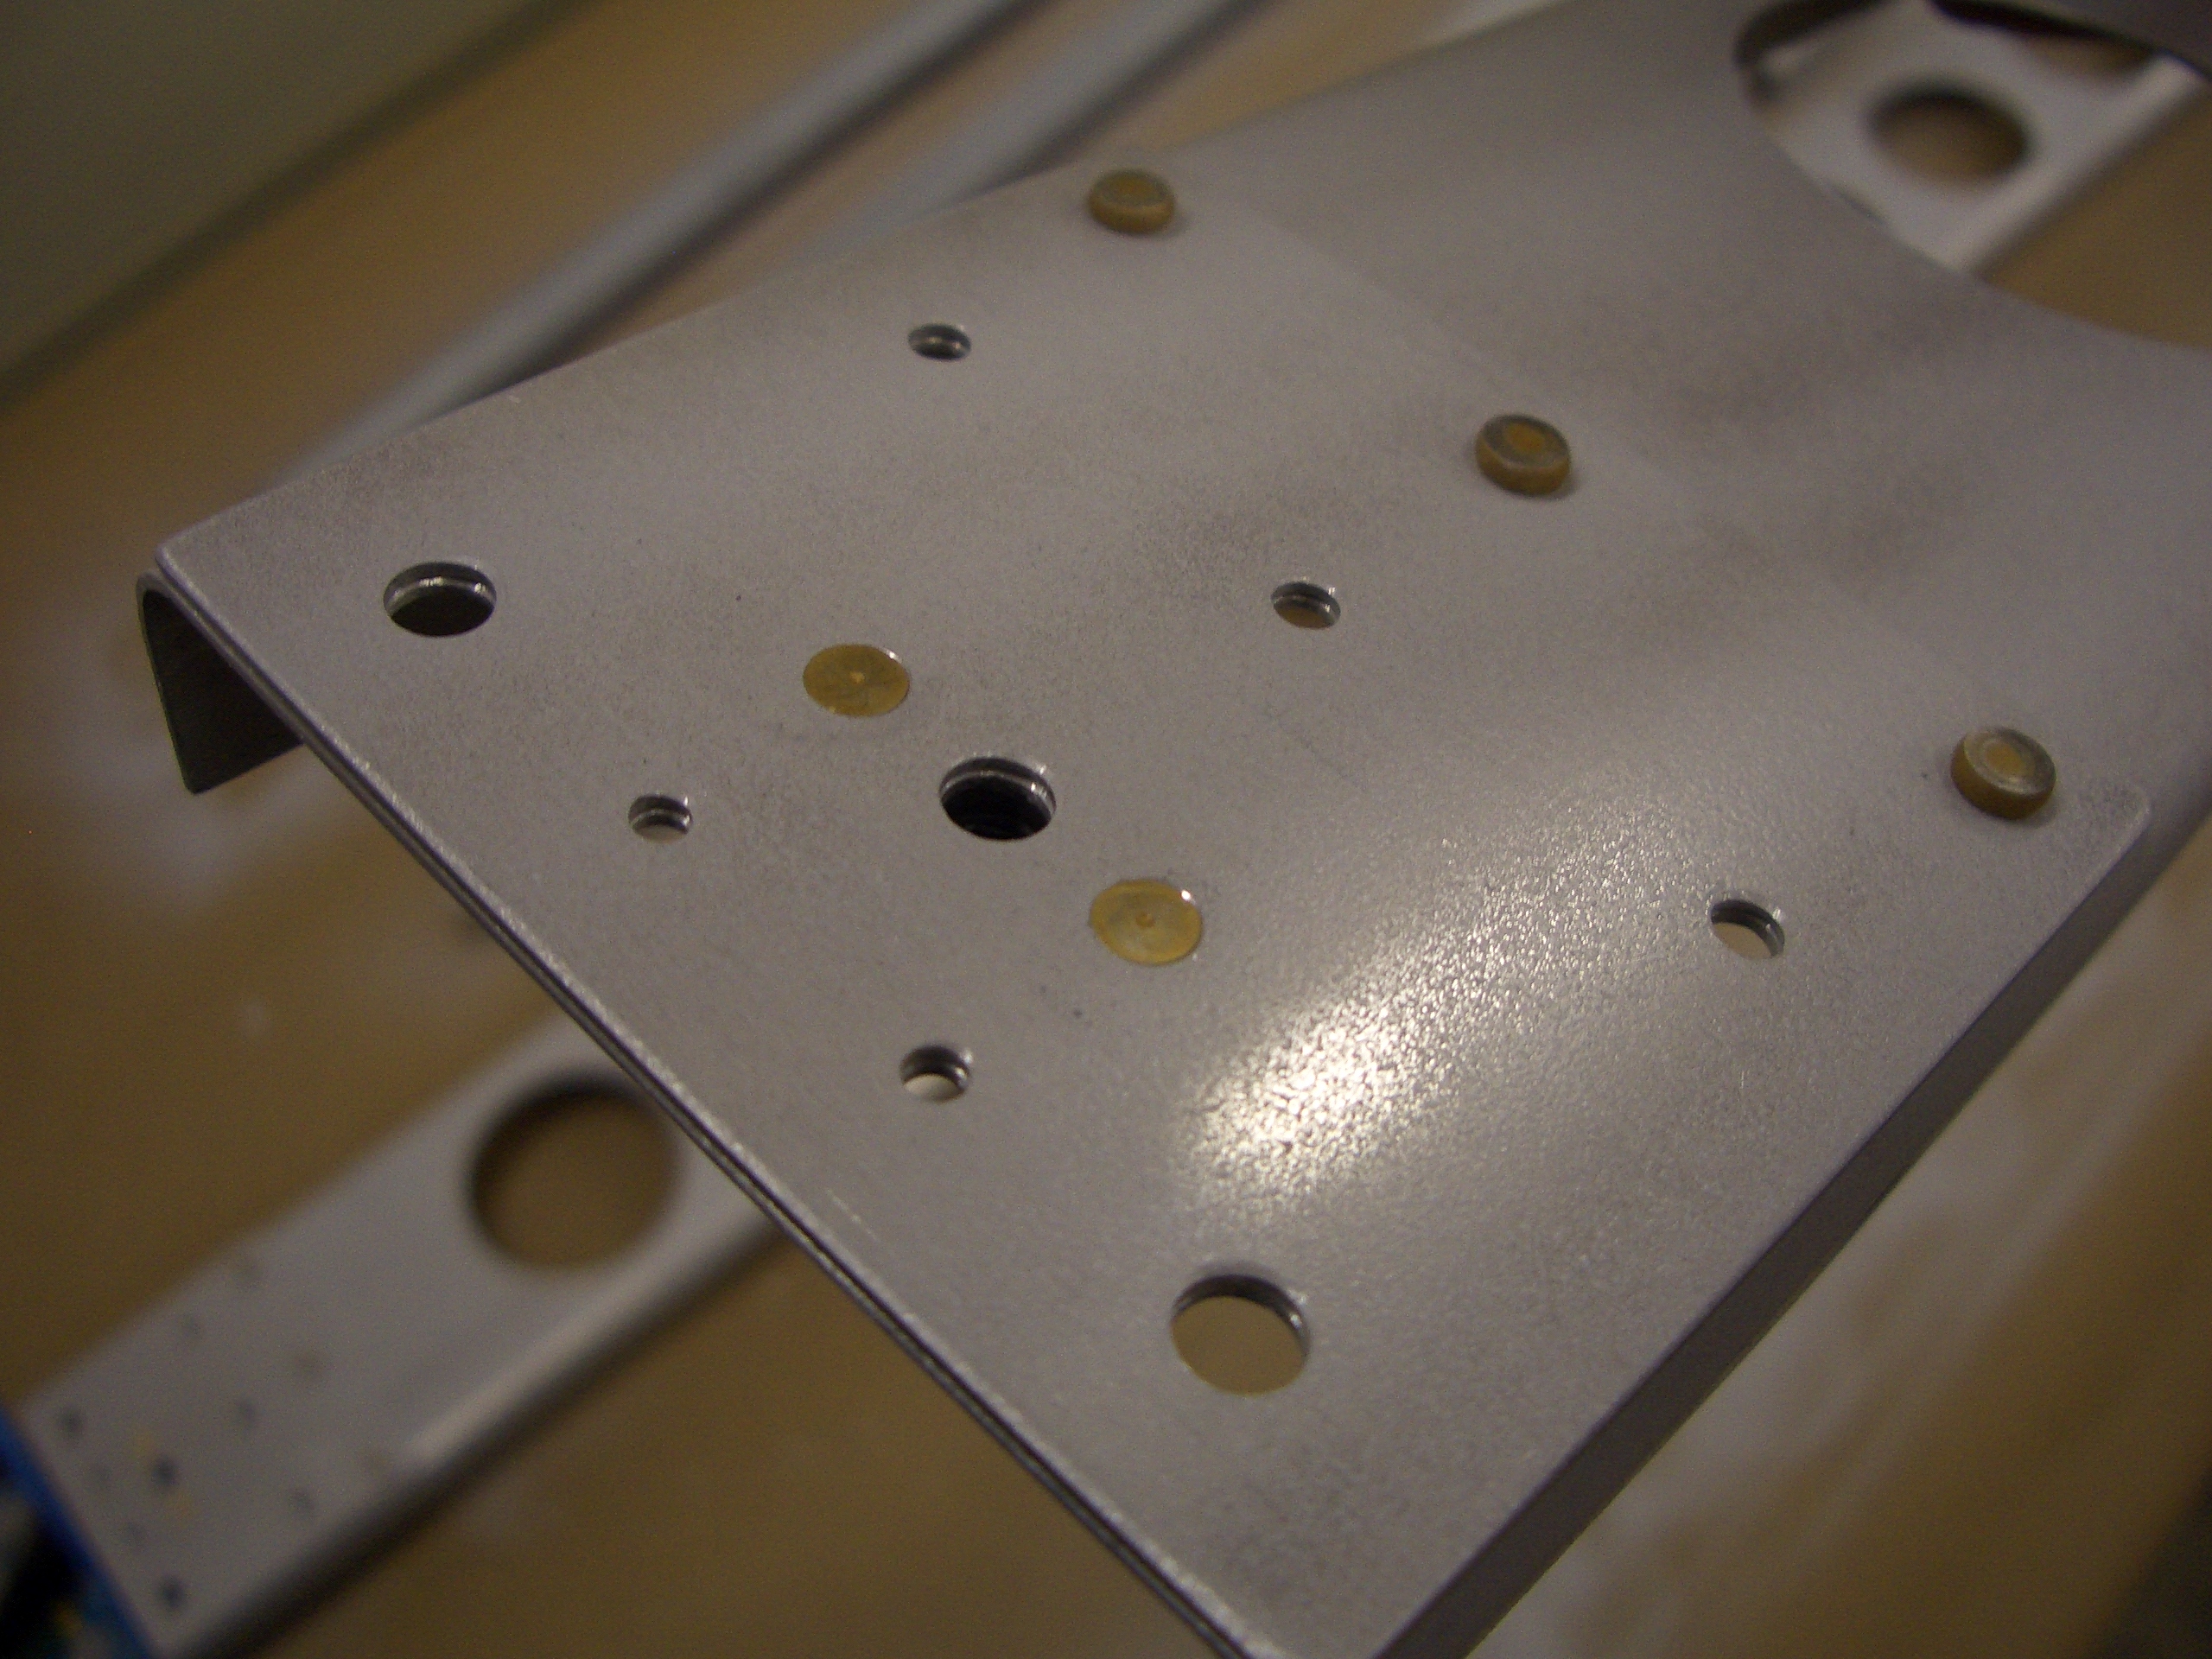
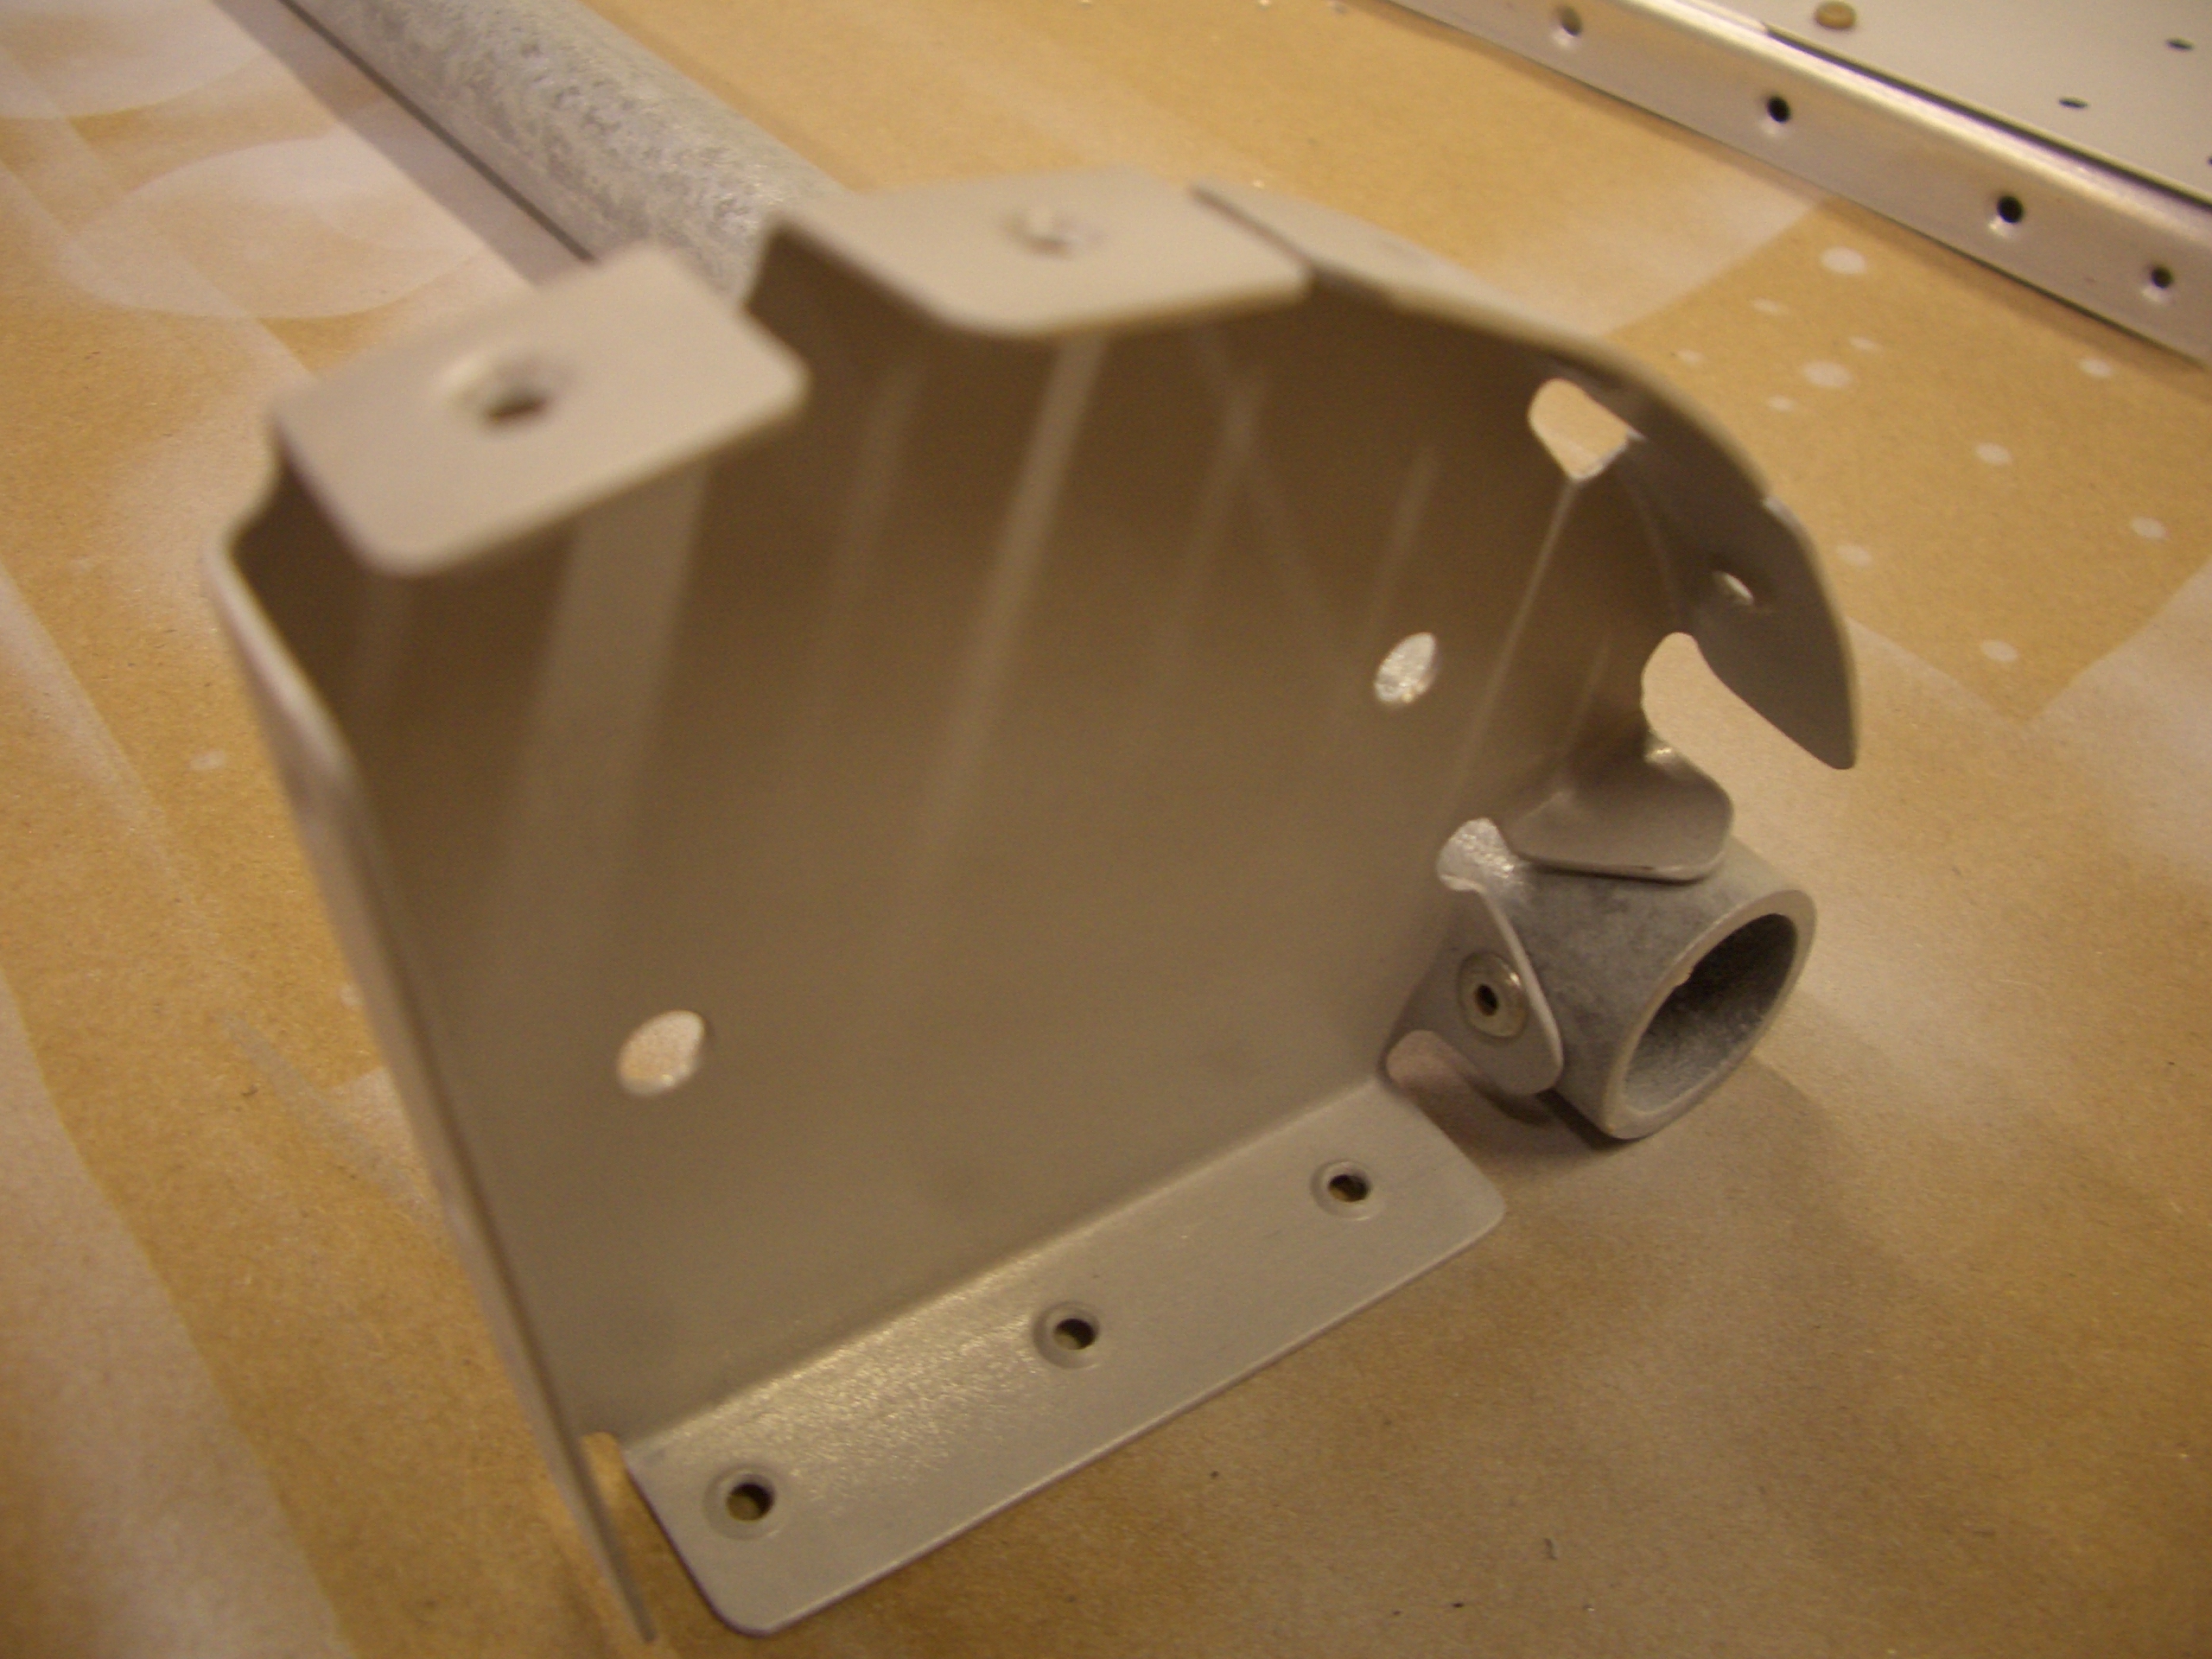
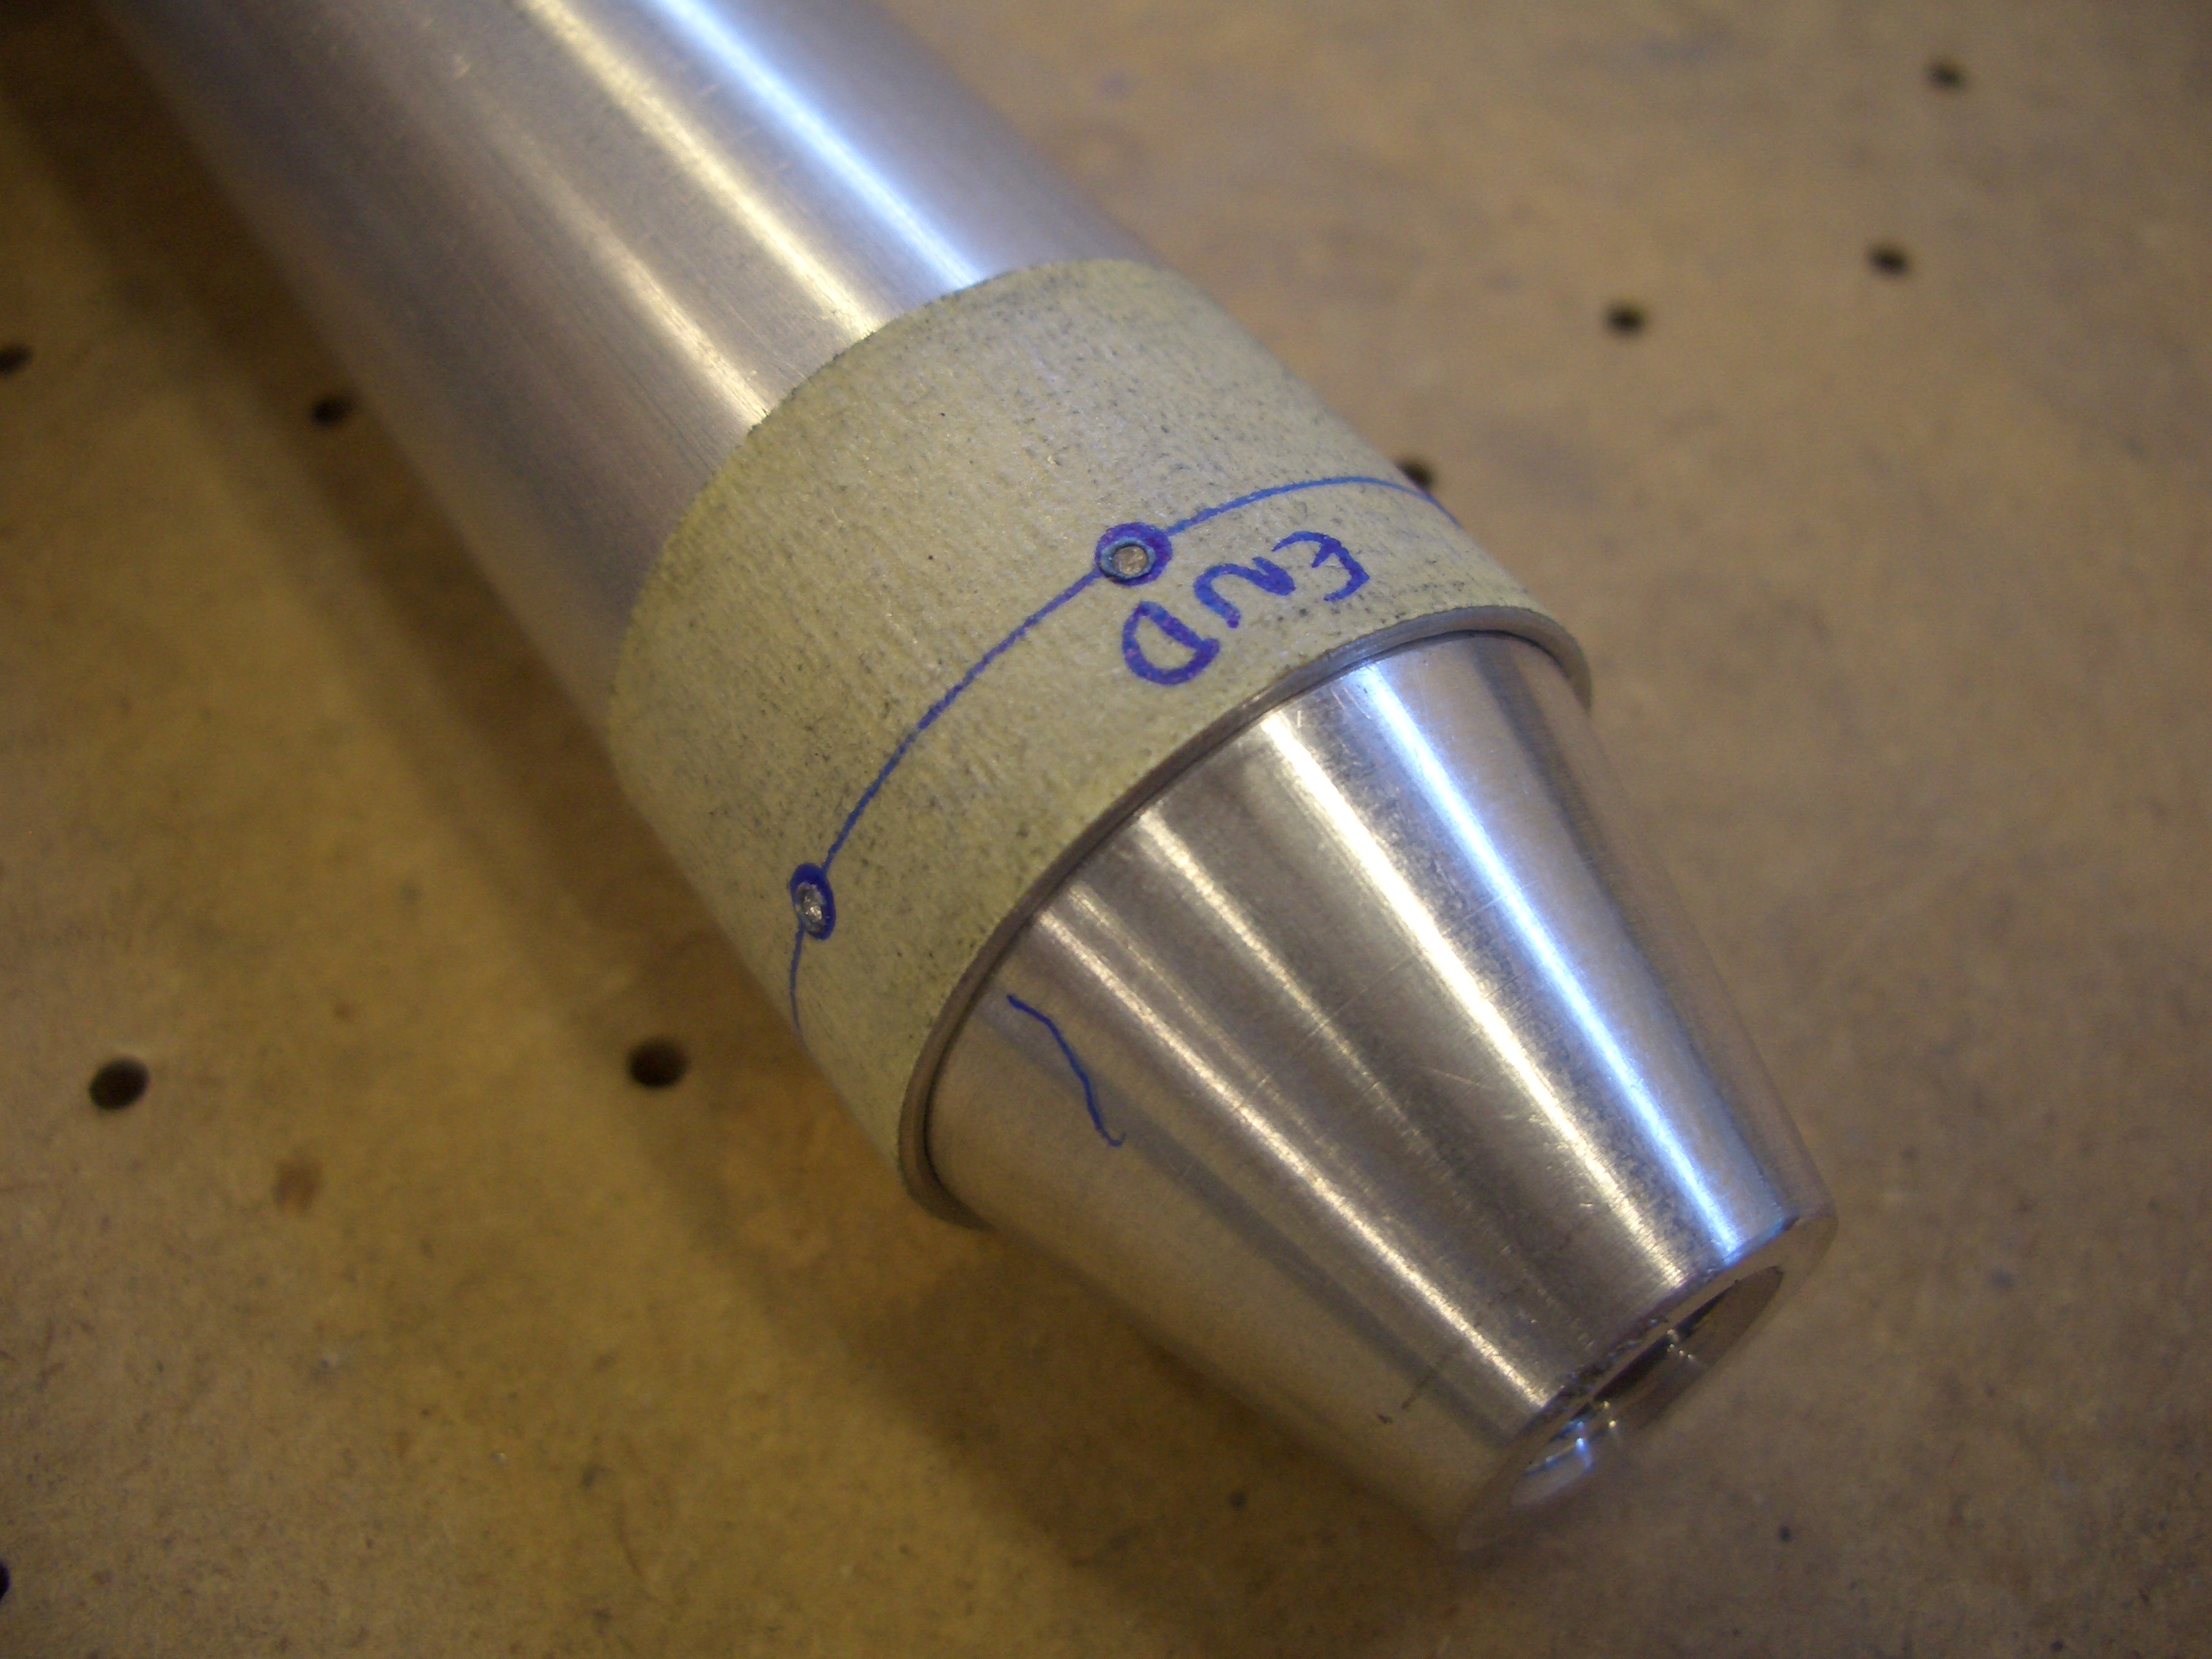
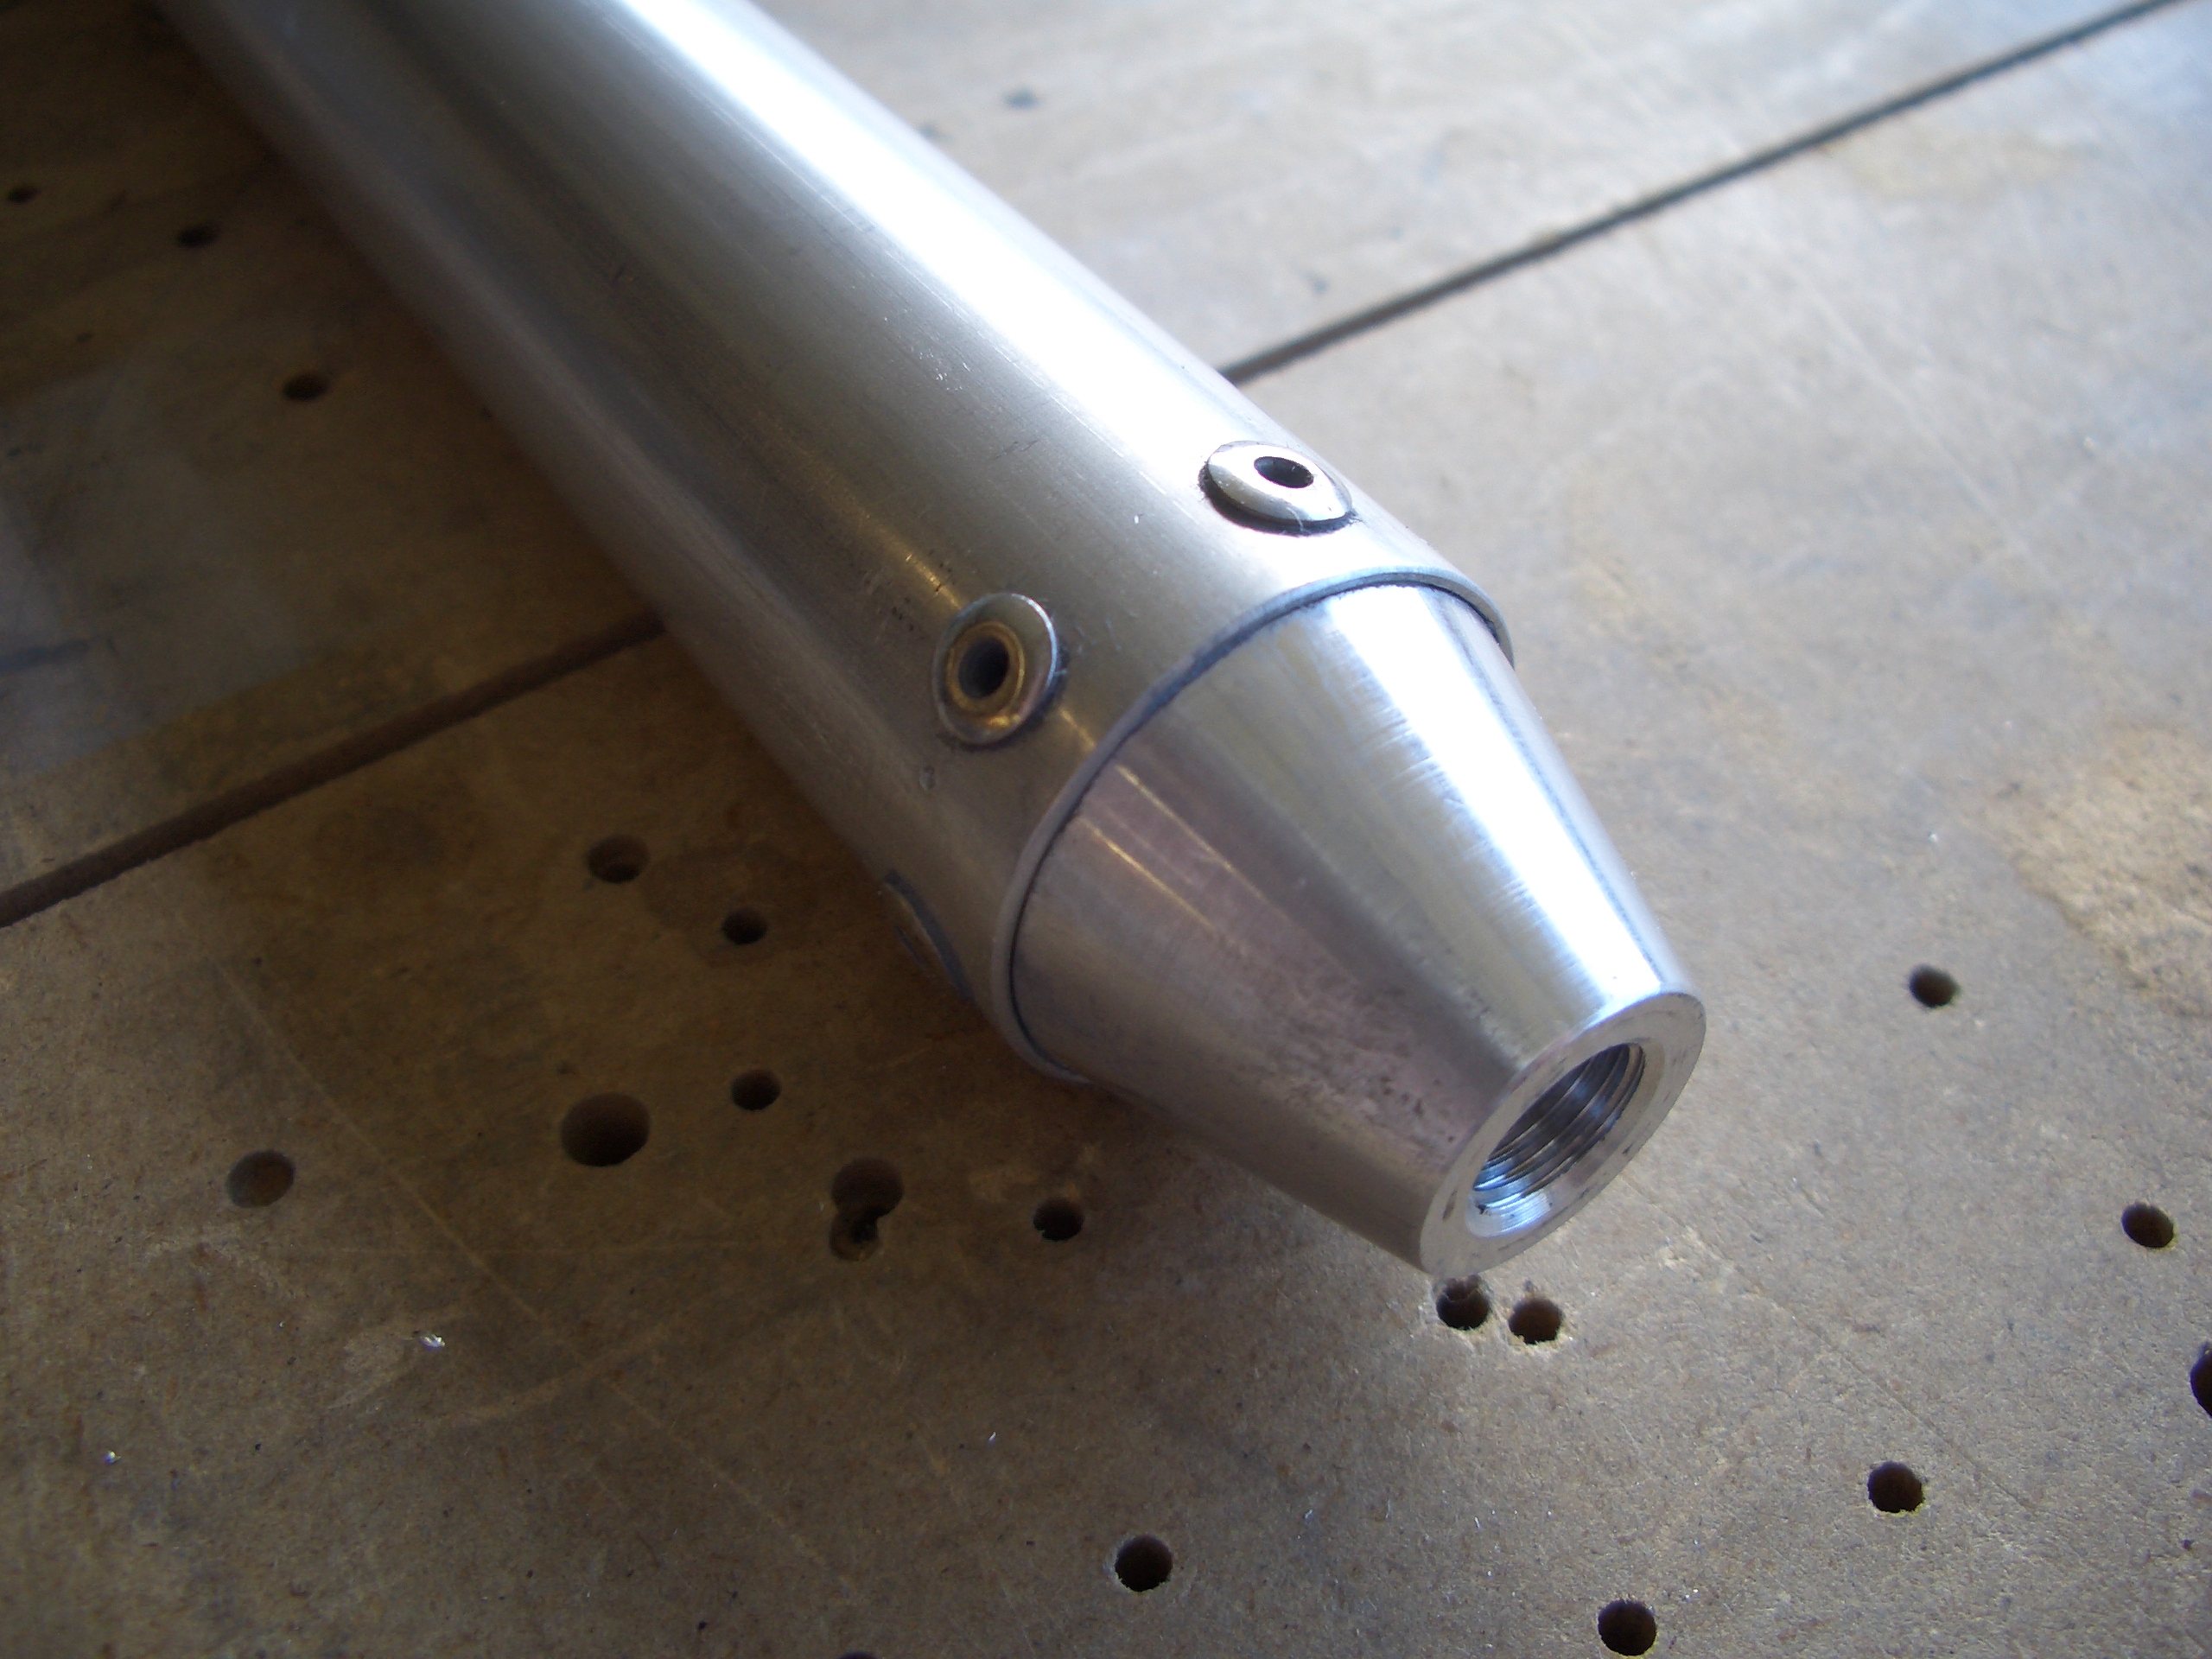
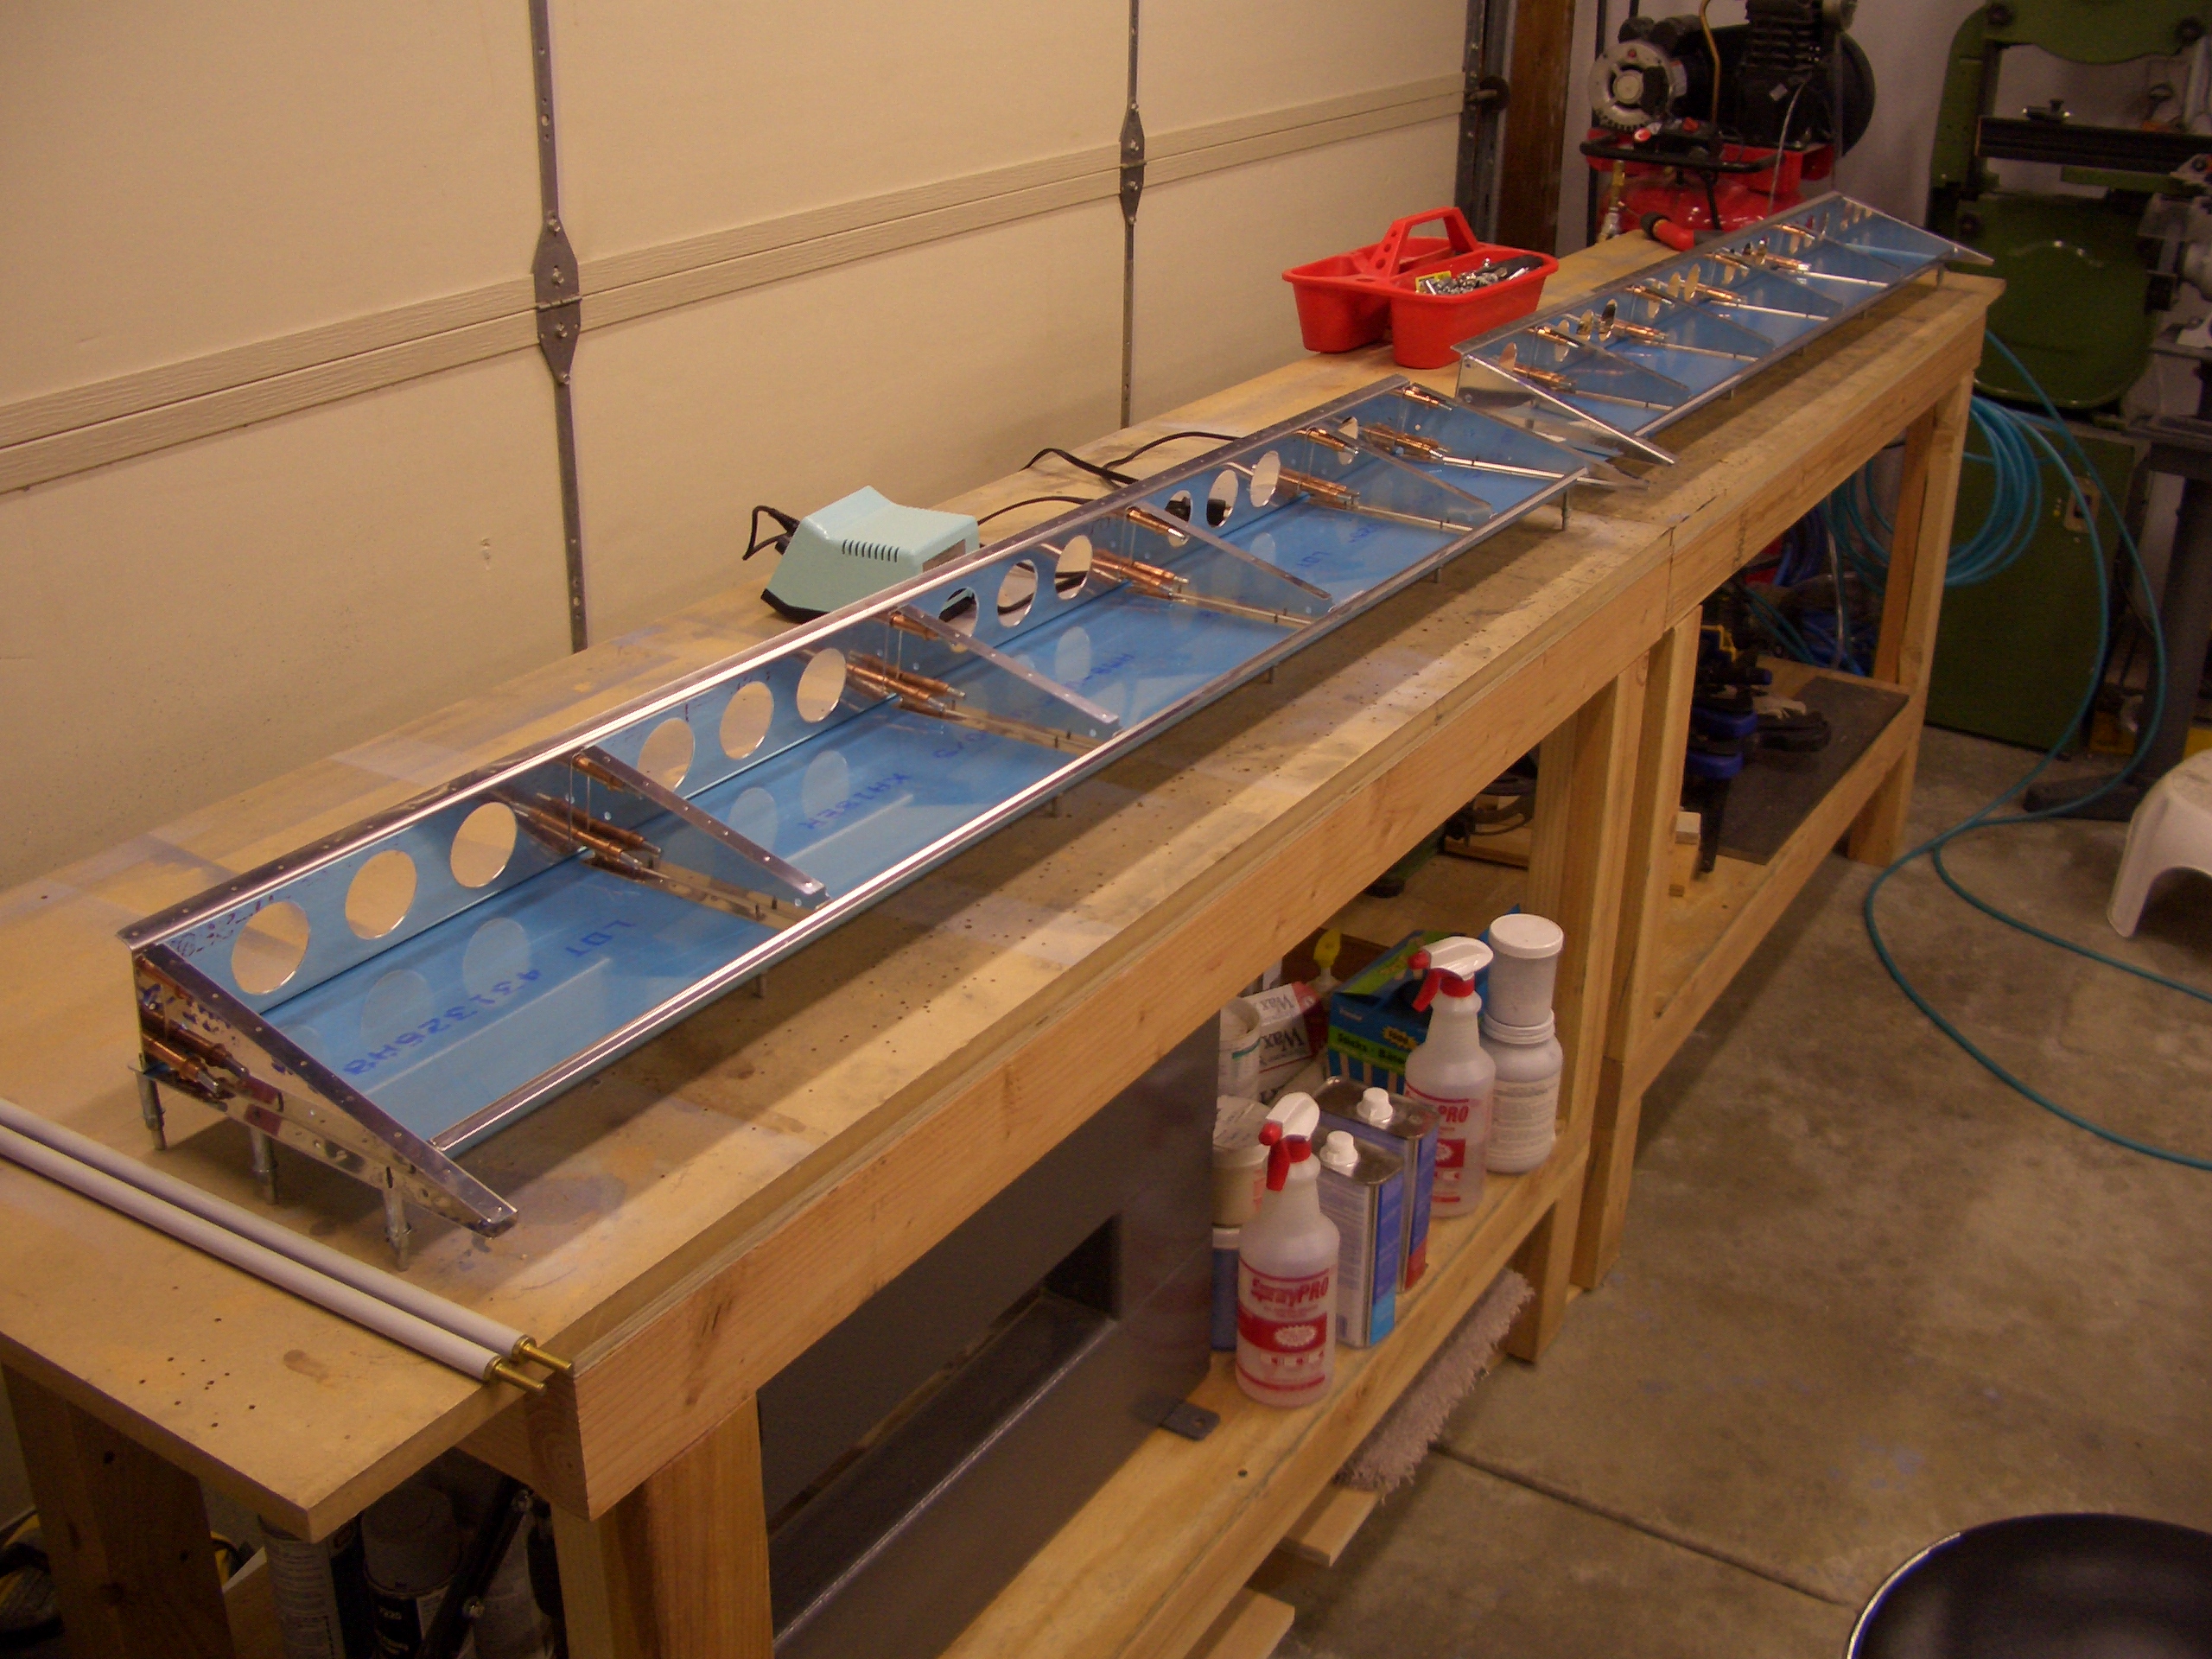
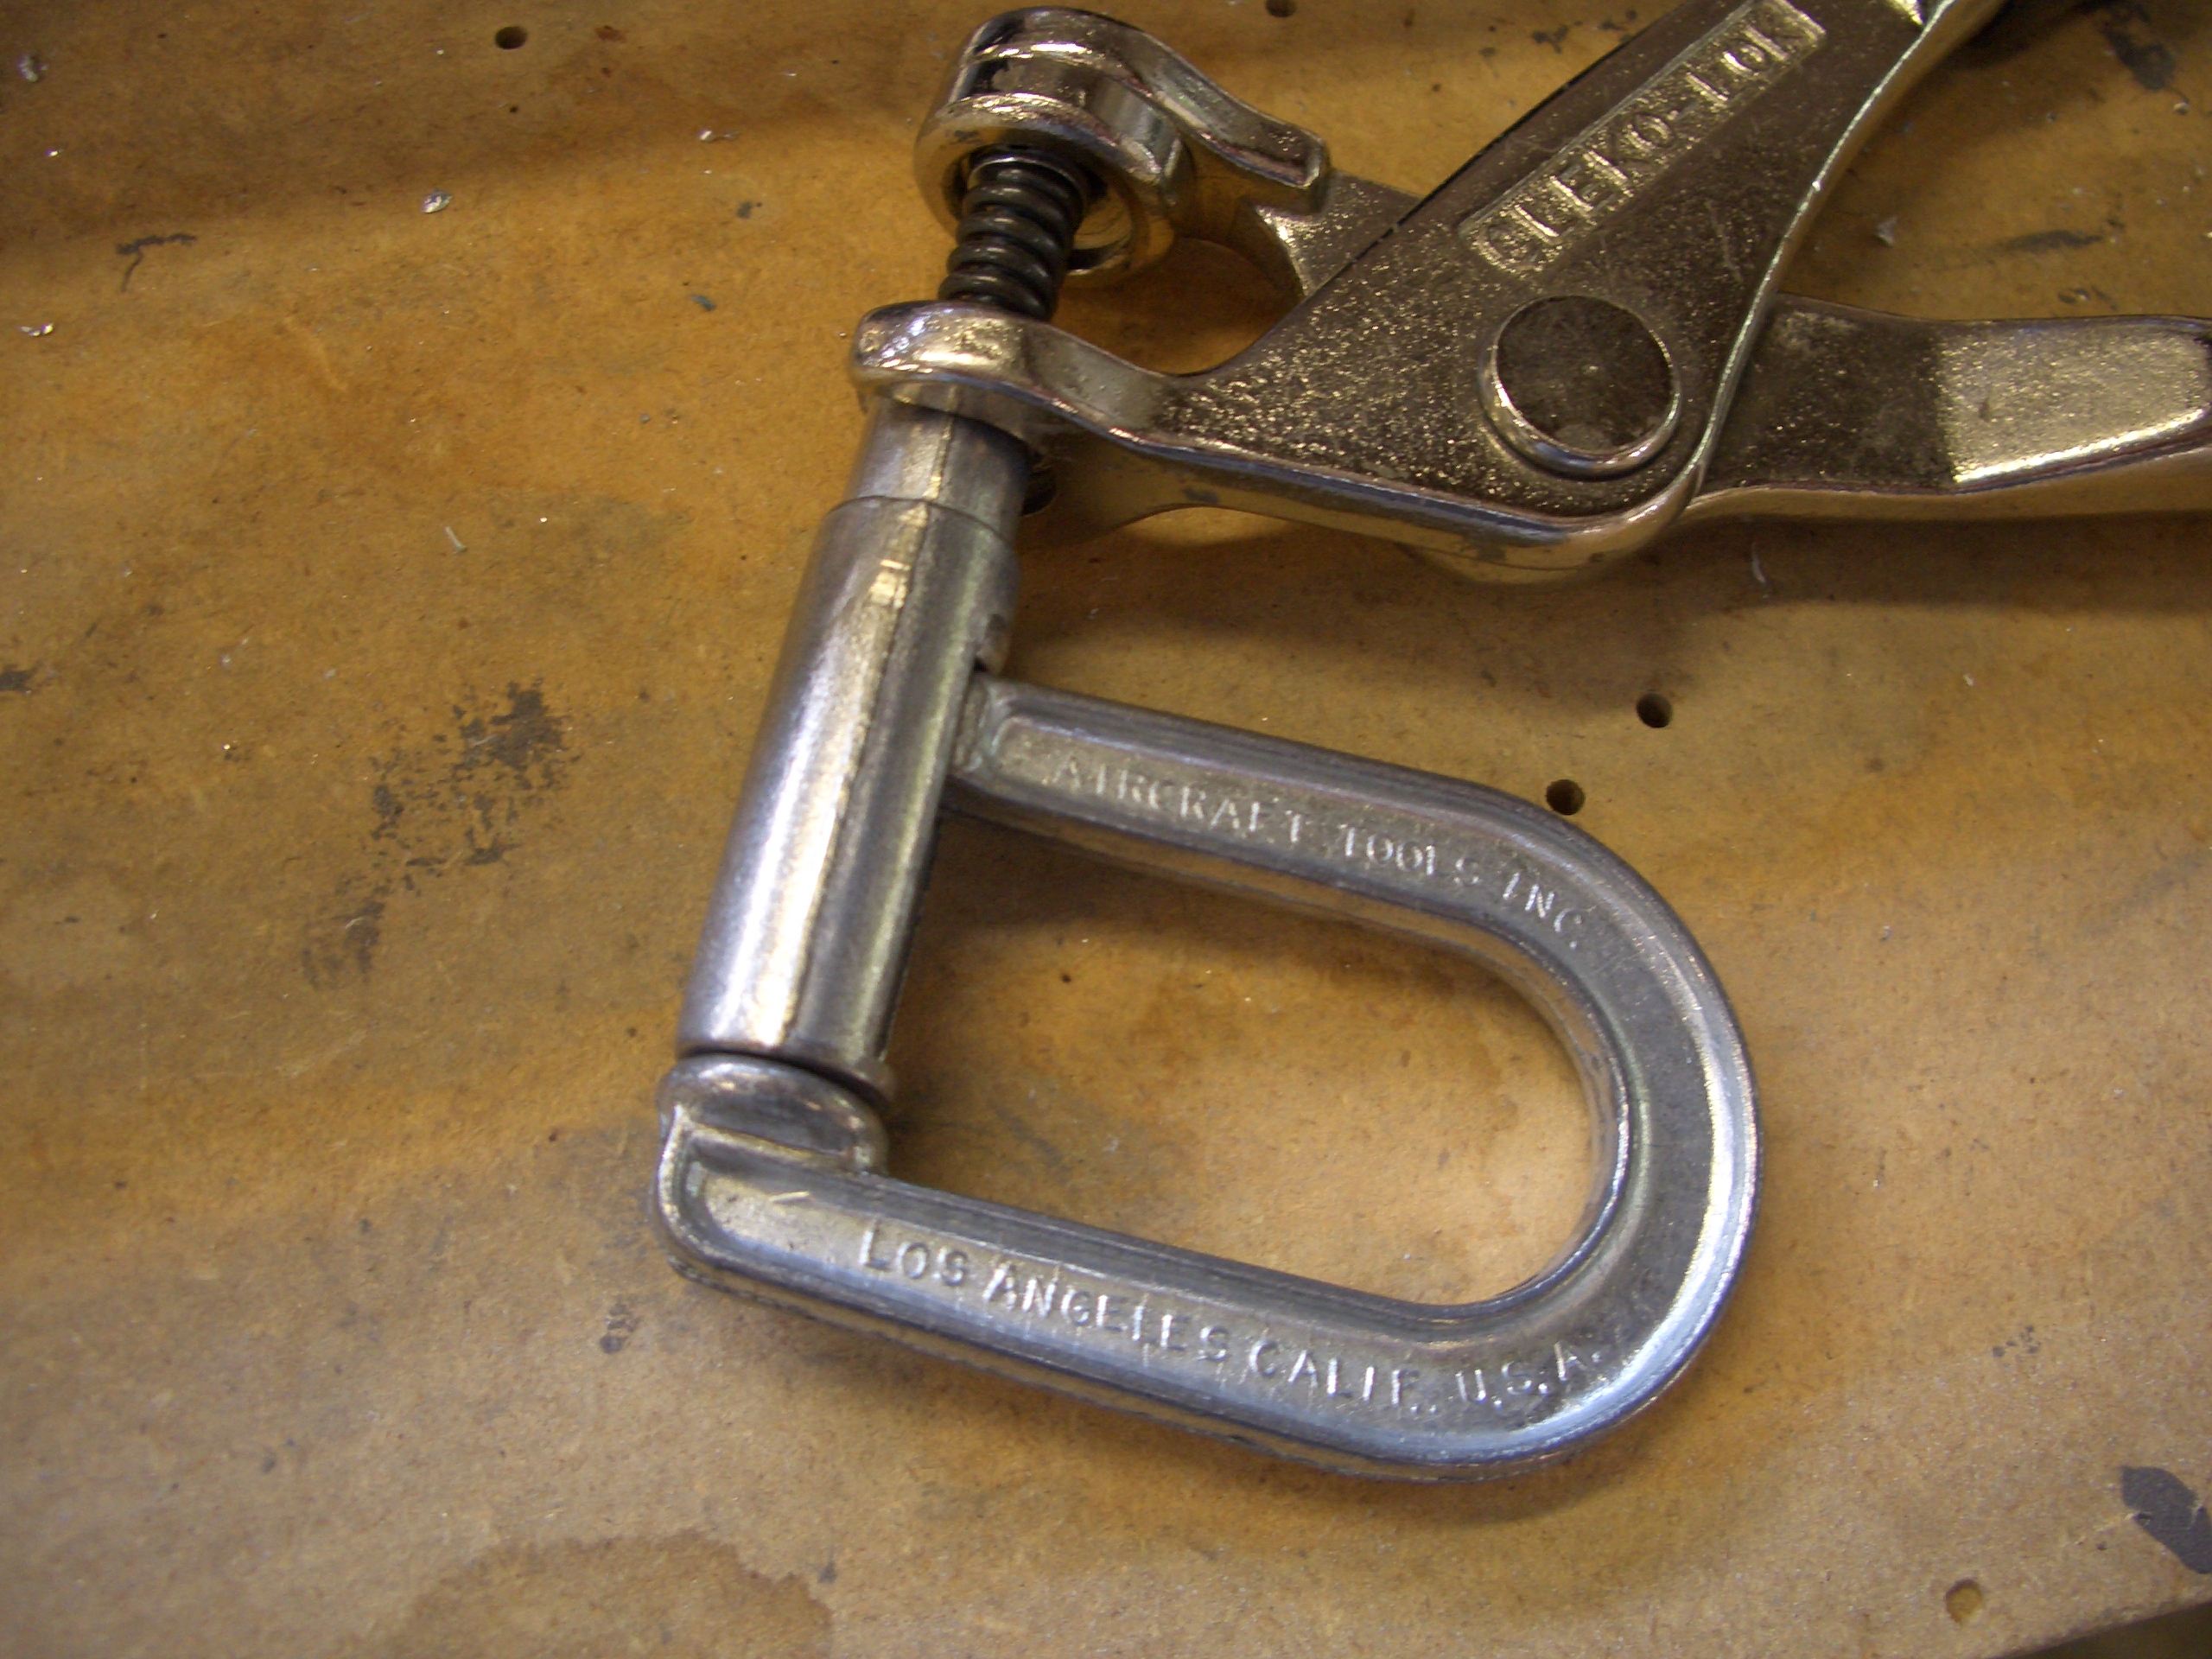
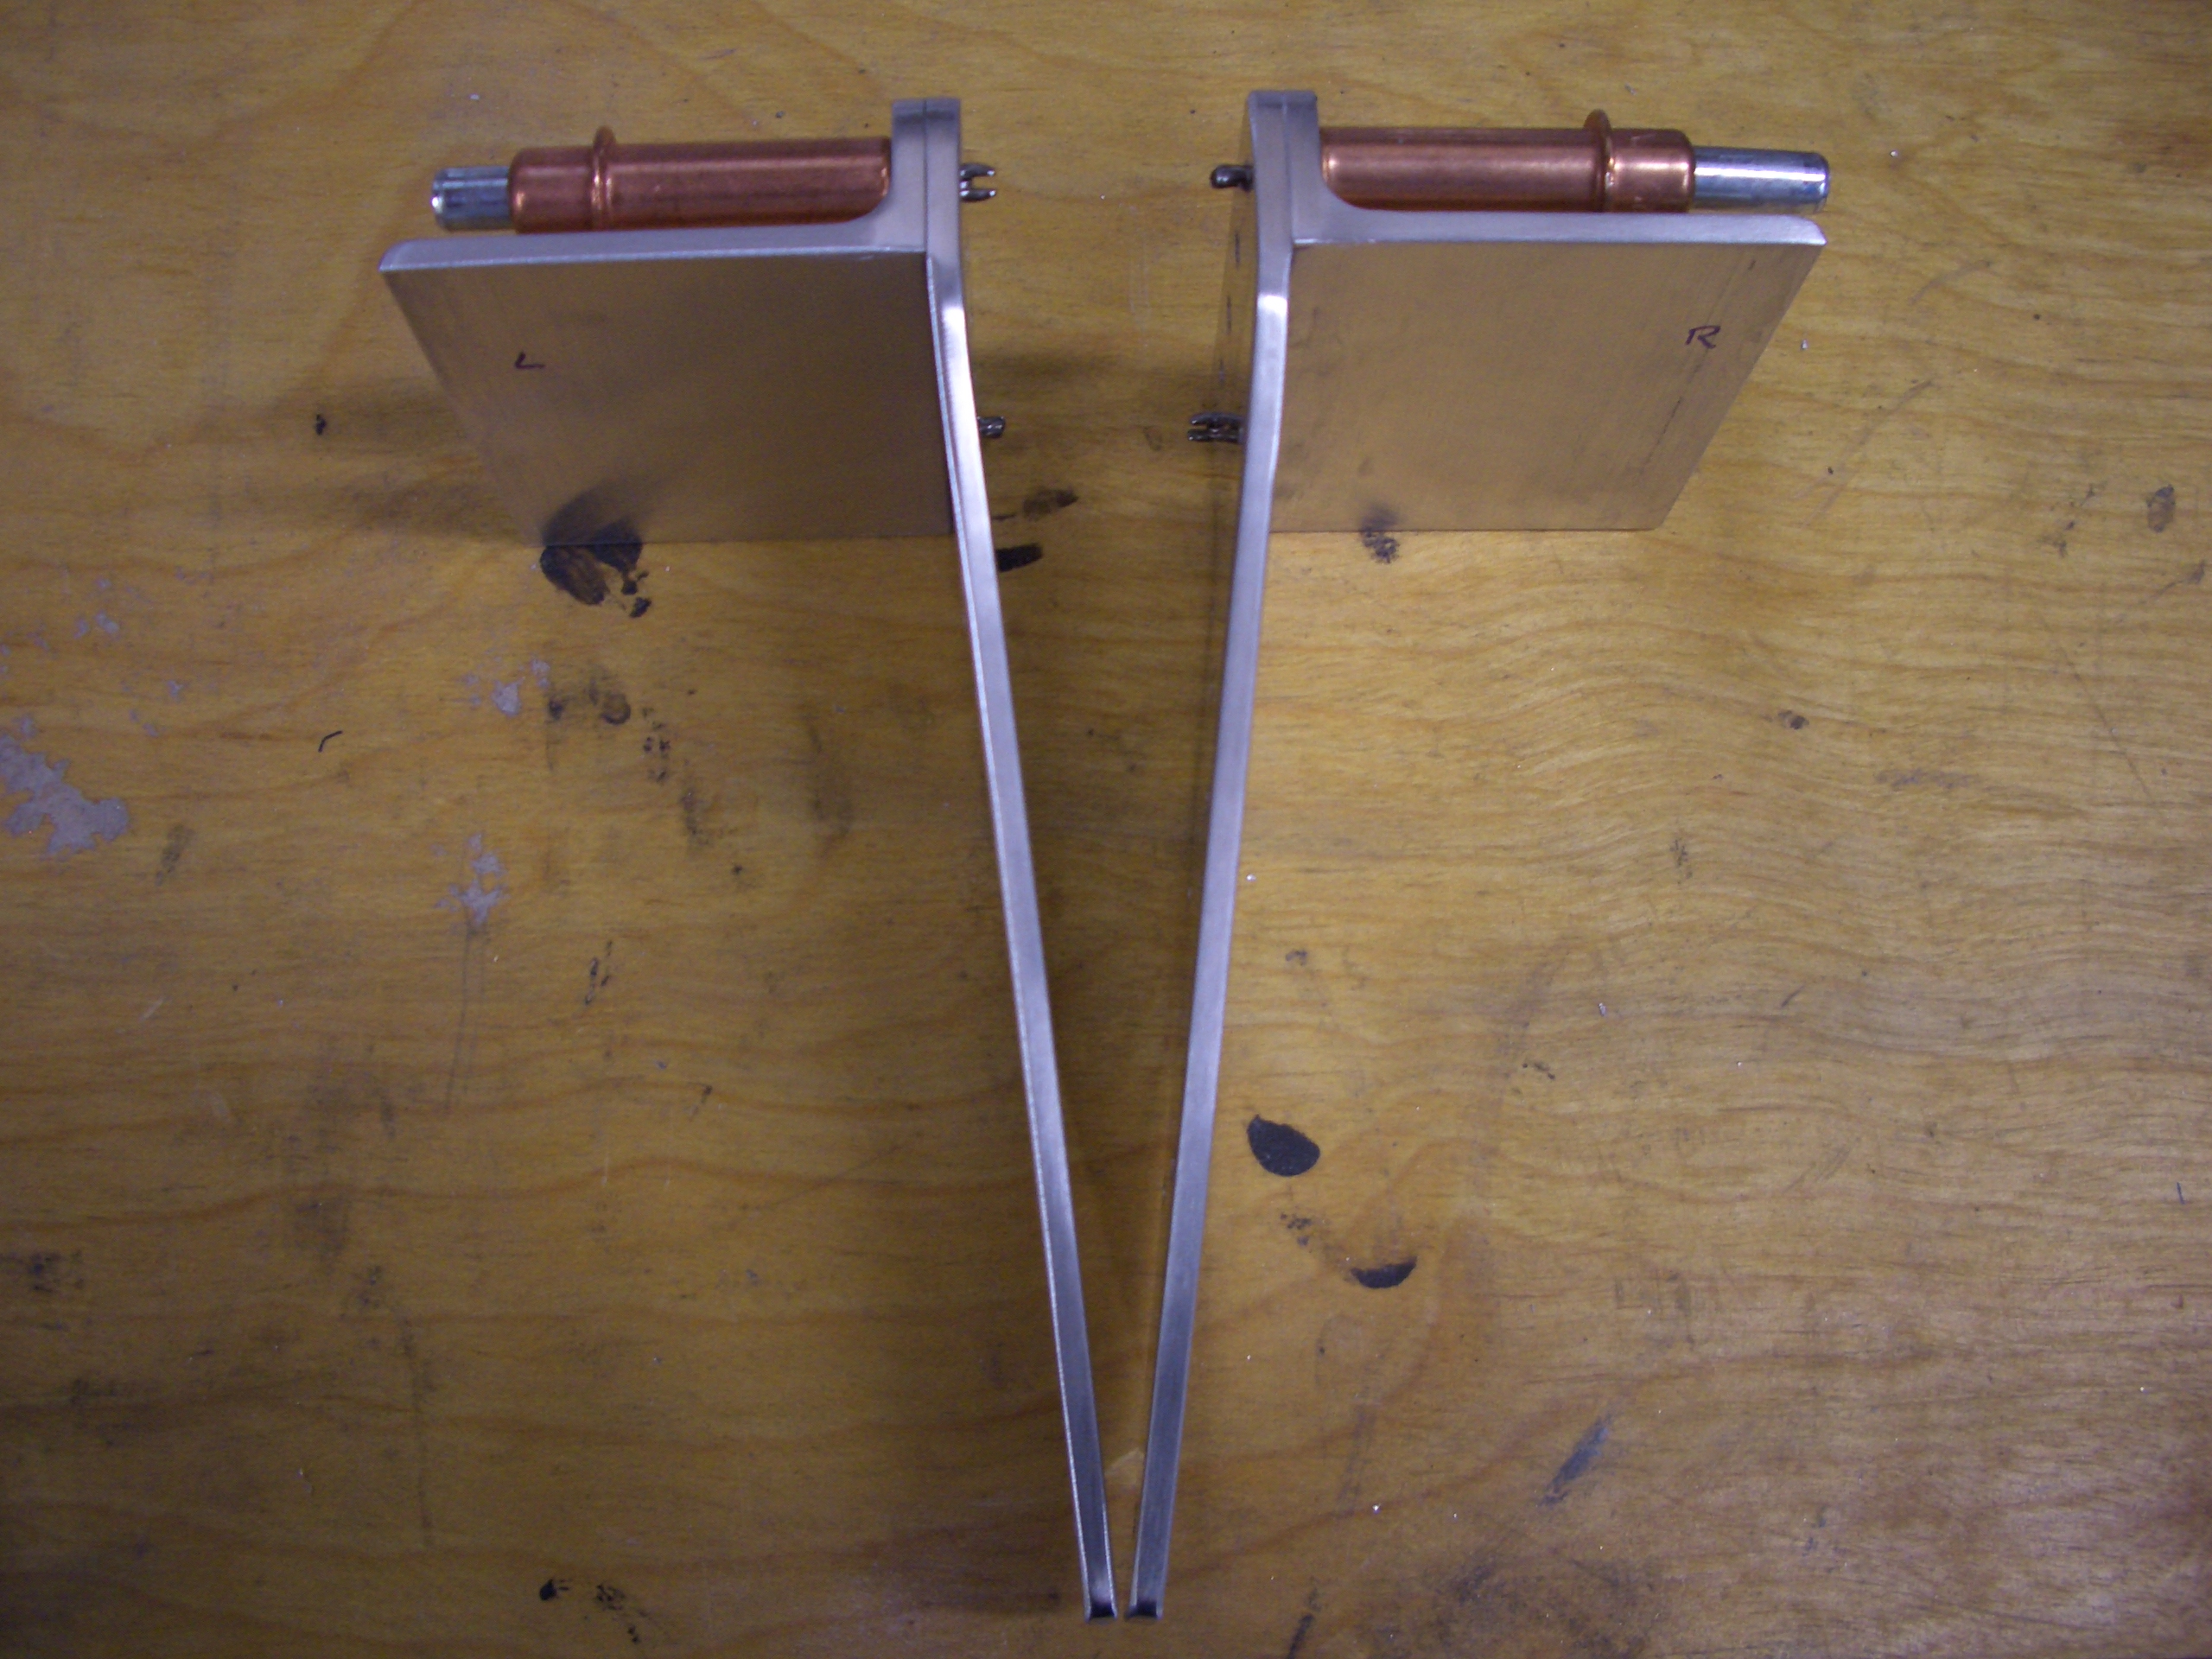
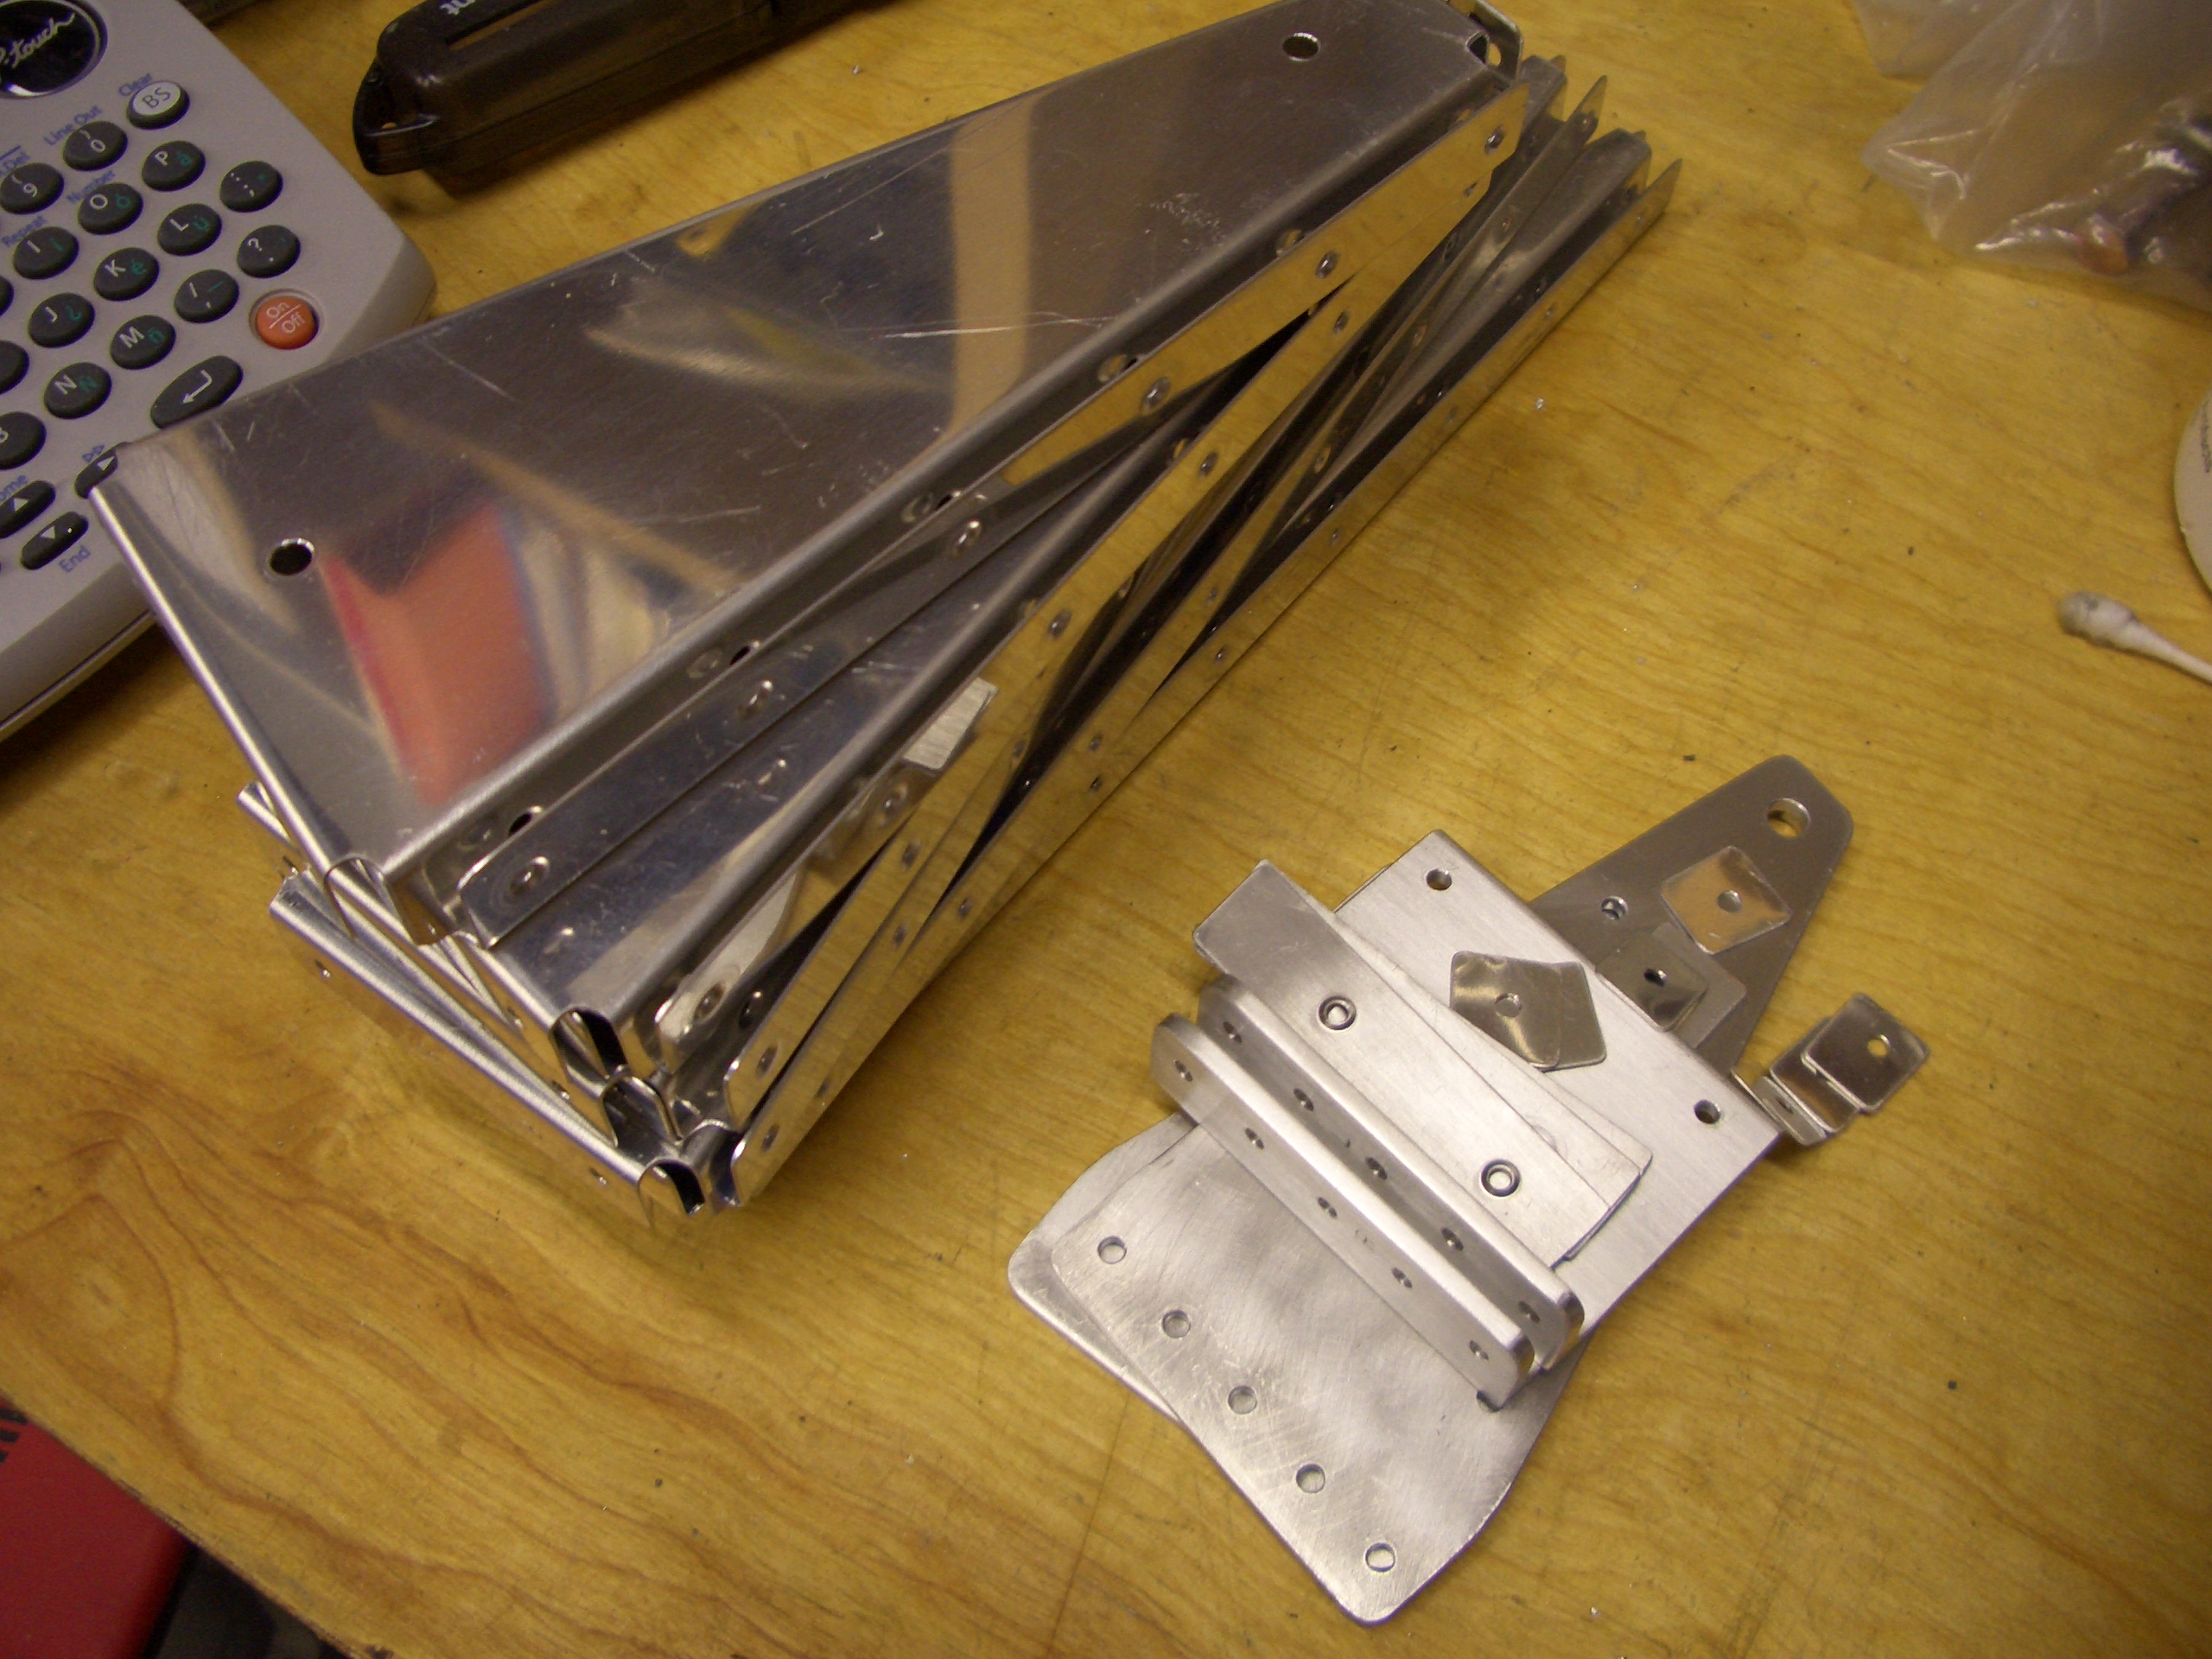
Here’s a closeup of the inboard end of the right flap. A bracket will rivet around this corner that connects the flap pushrod to the flap and transfers the load from the rib and spar into the pushrod. The hinge along the lower right (where the hinge pin is sticking out) will rivet to the flap brace and bottom skin of the wing. The curved top edge will tuck under the trailing edge of the top wing skin. I can see why they say this is the easiest control surface to build. I only started on this last night, and with the exception of the bracket I just described, this is ready for disassembly, deburring, priming and reassembly.

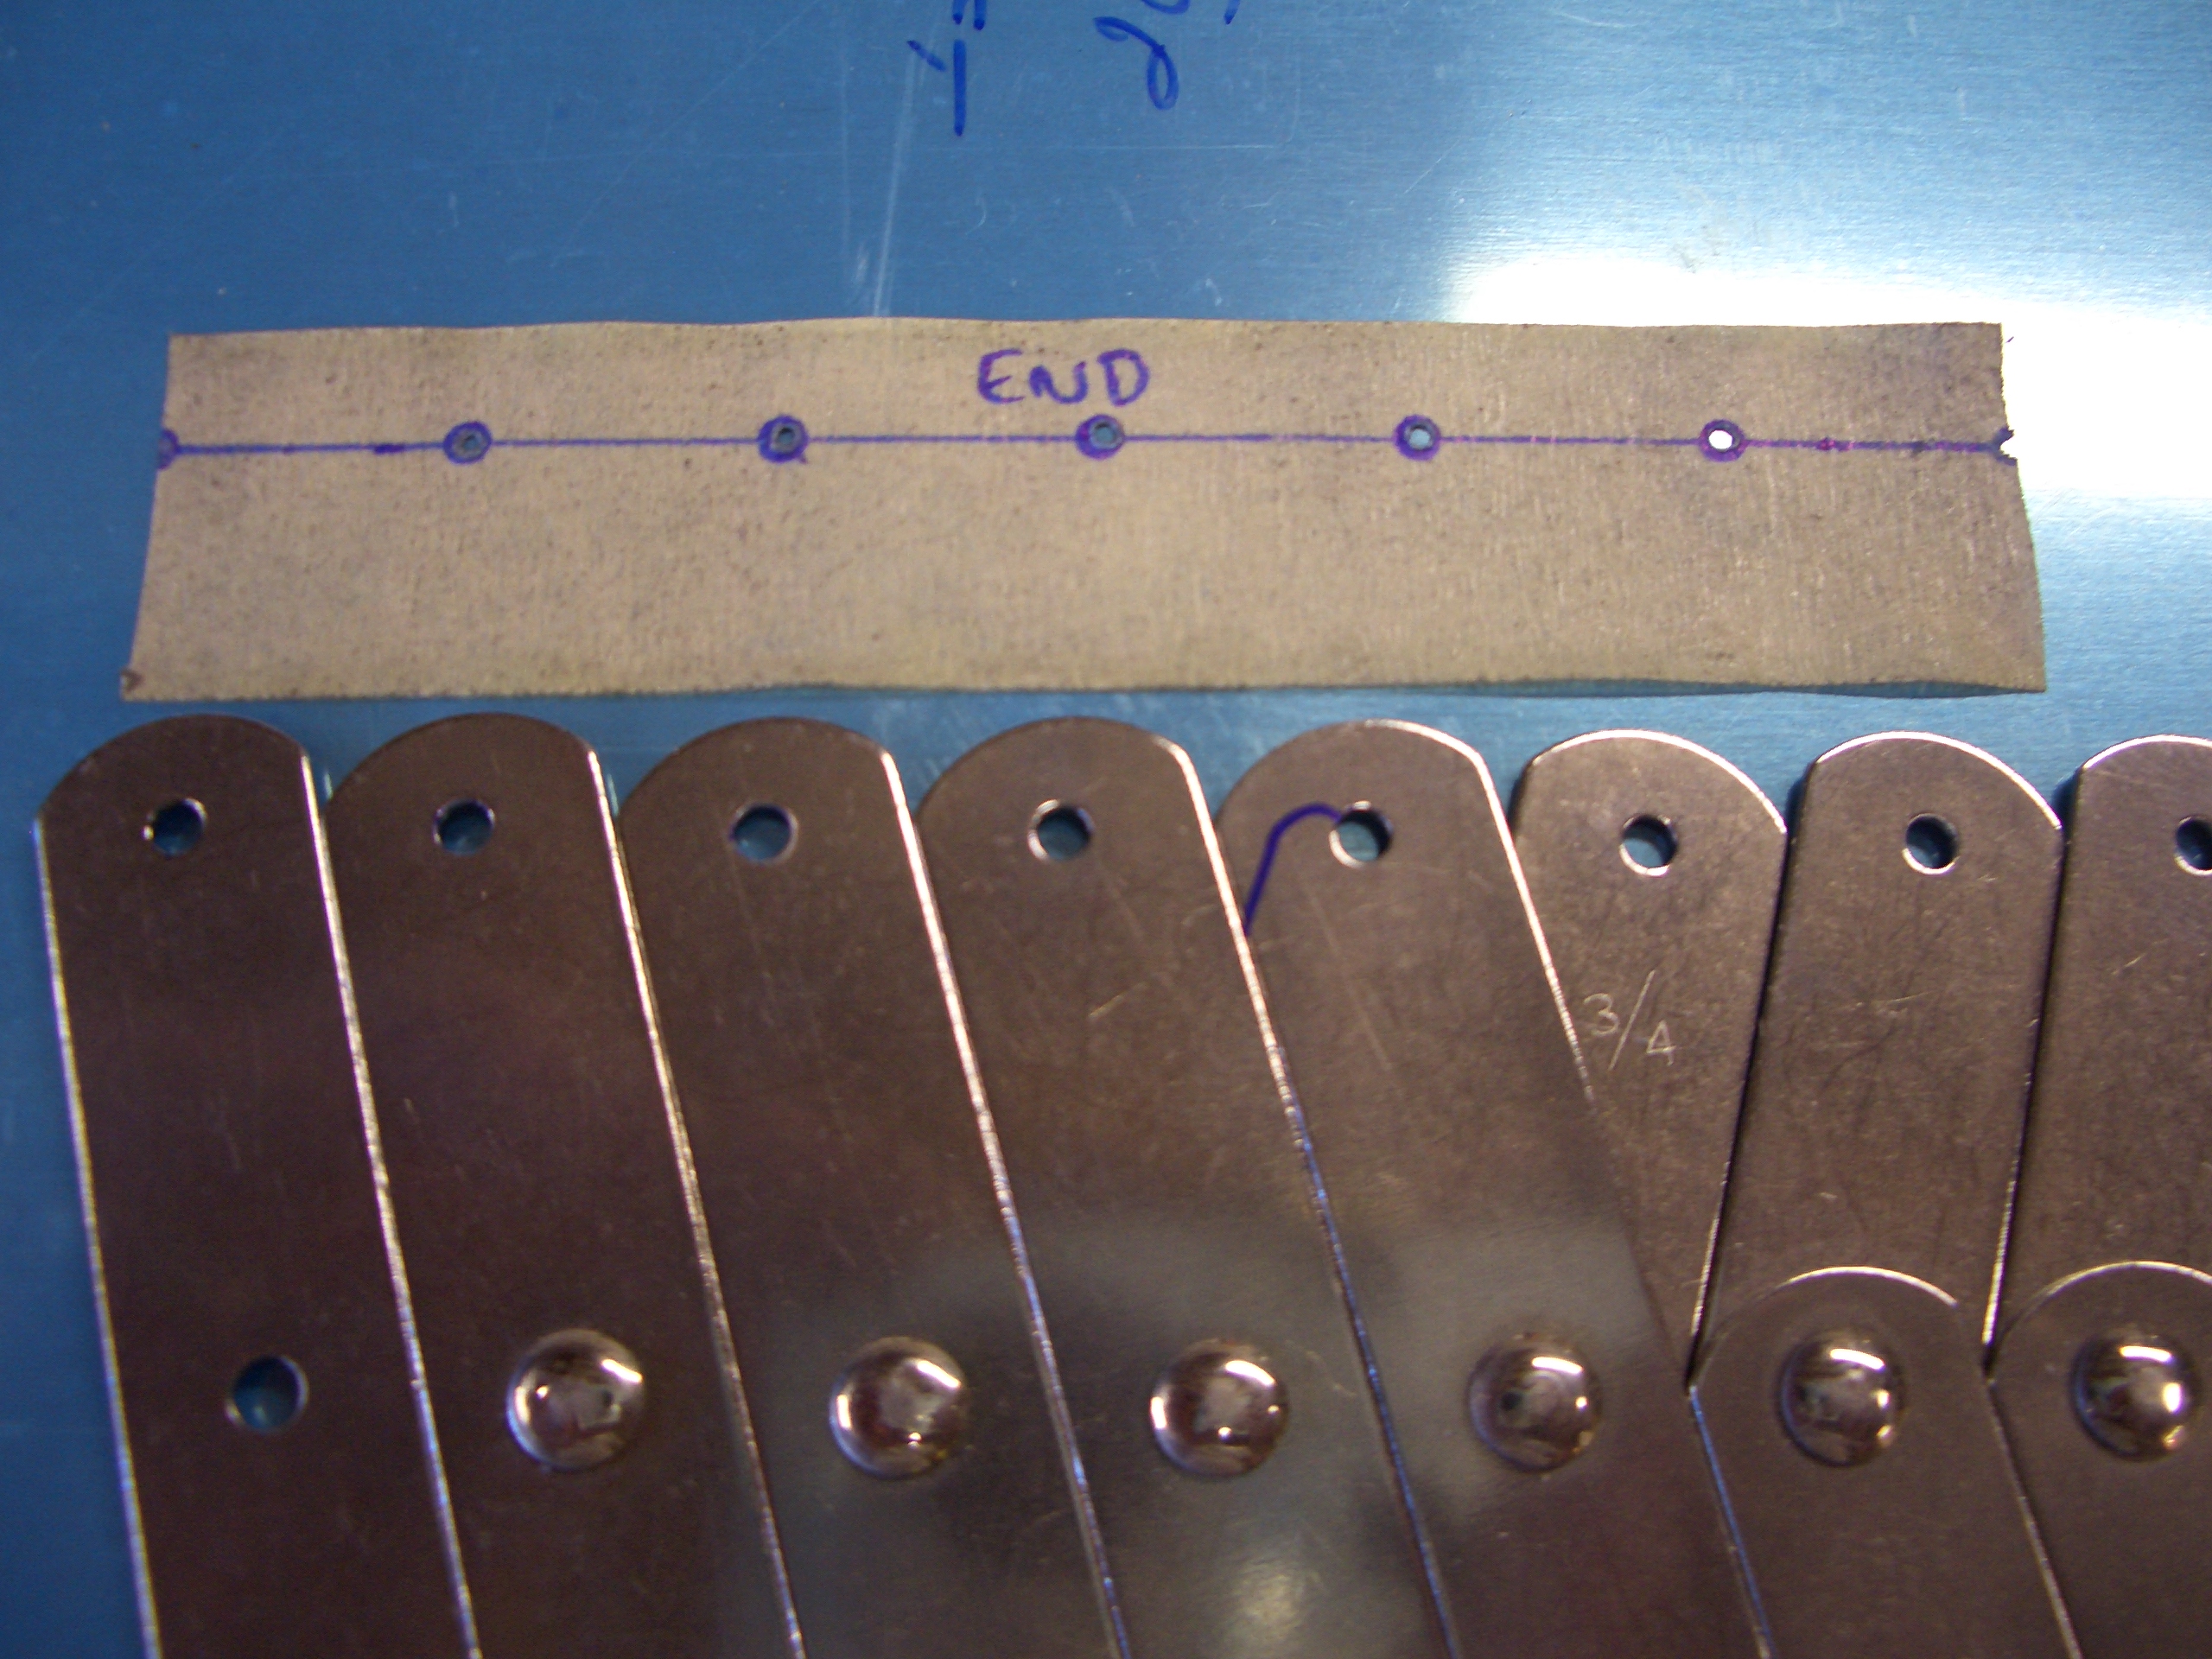
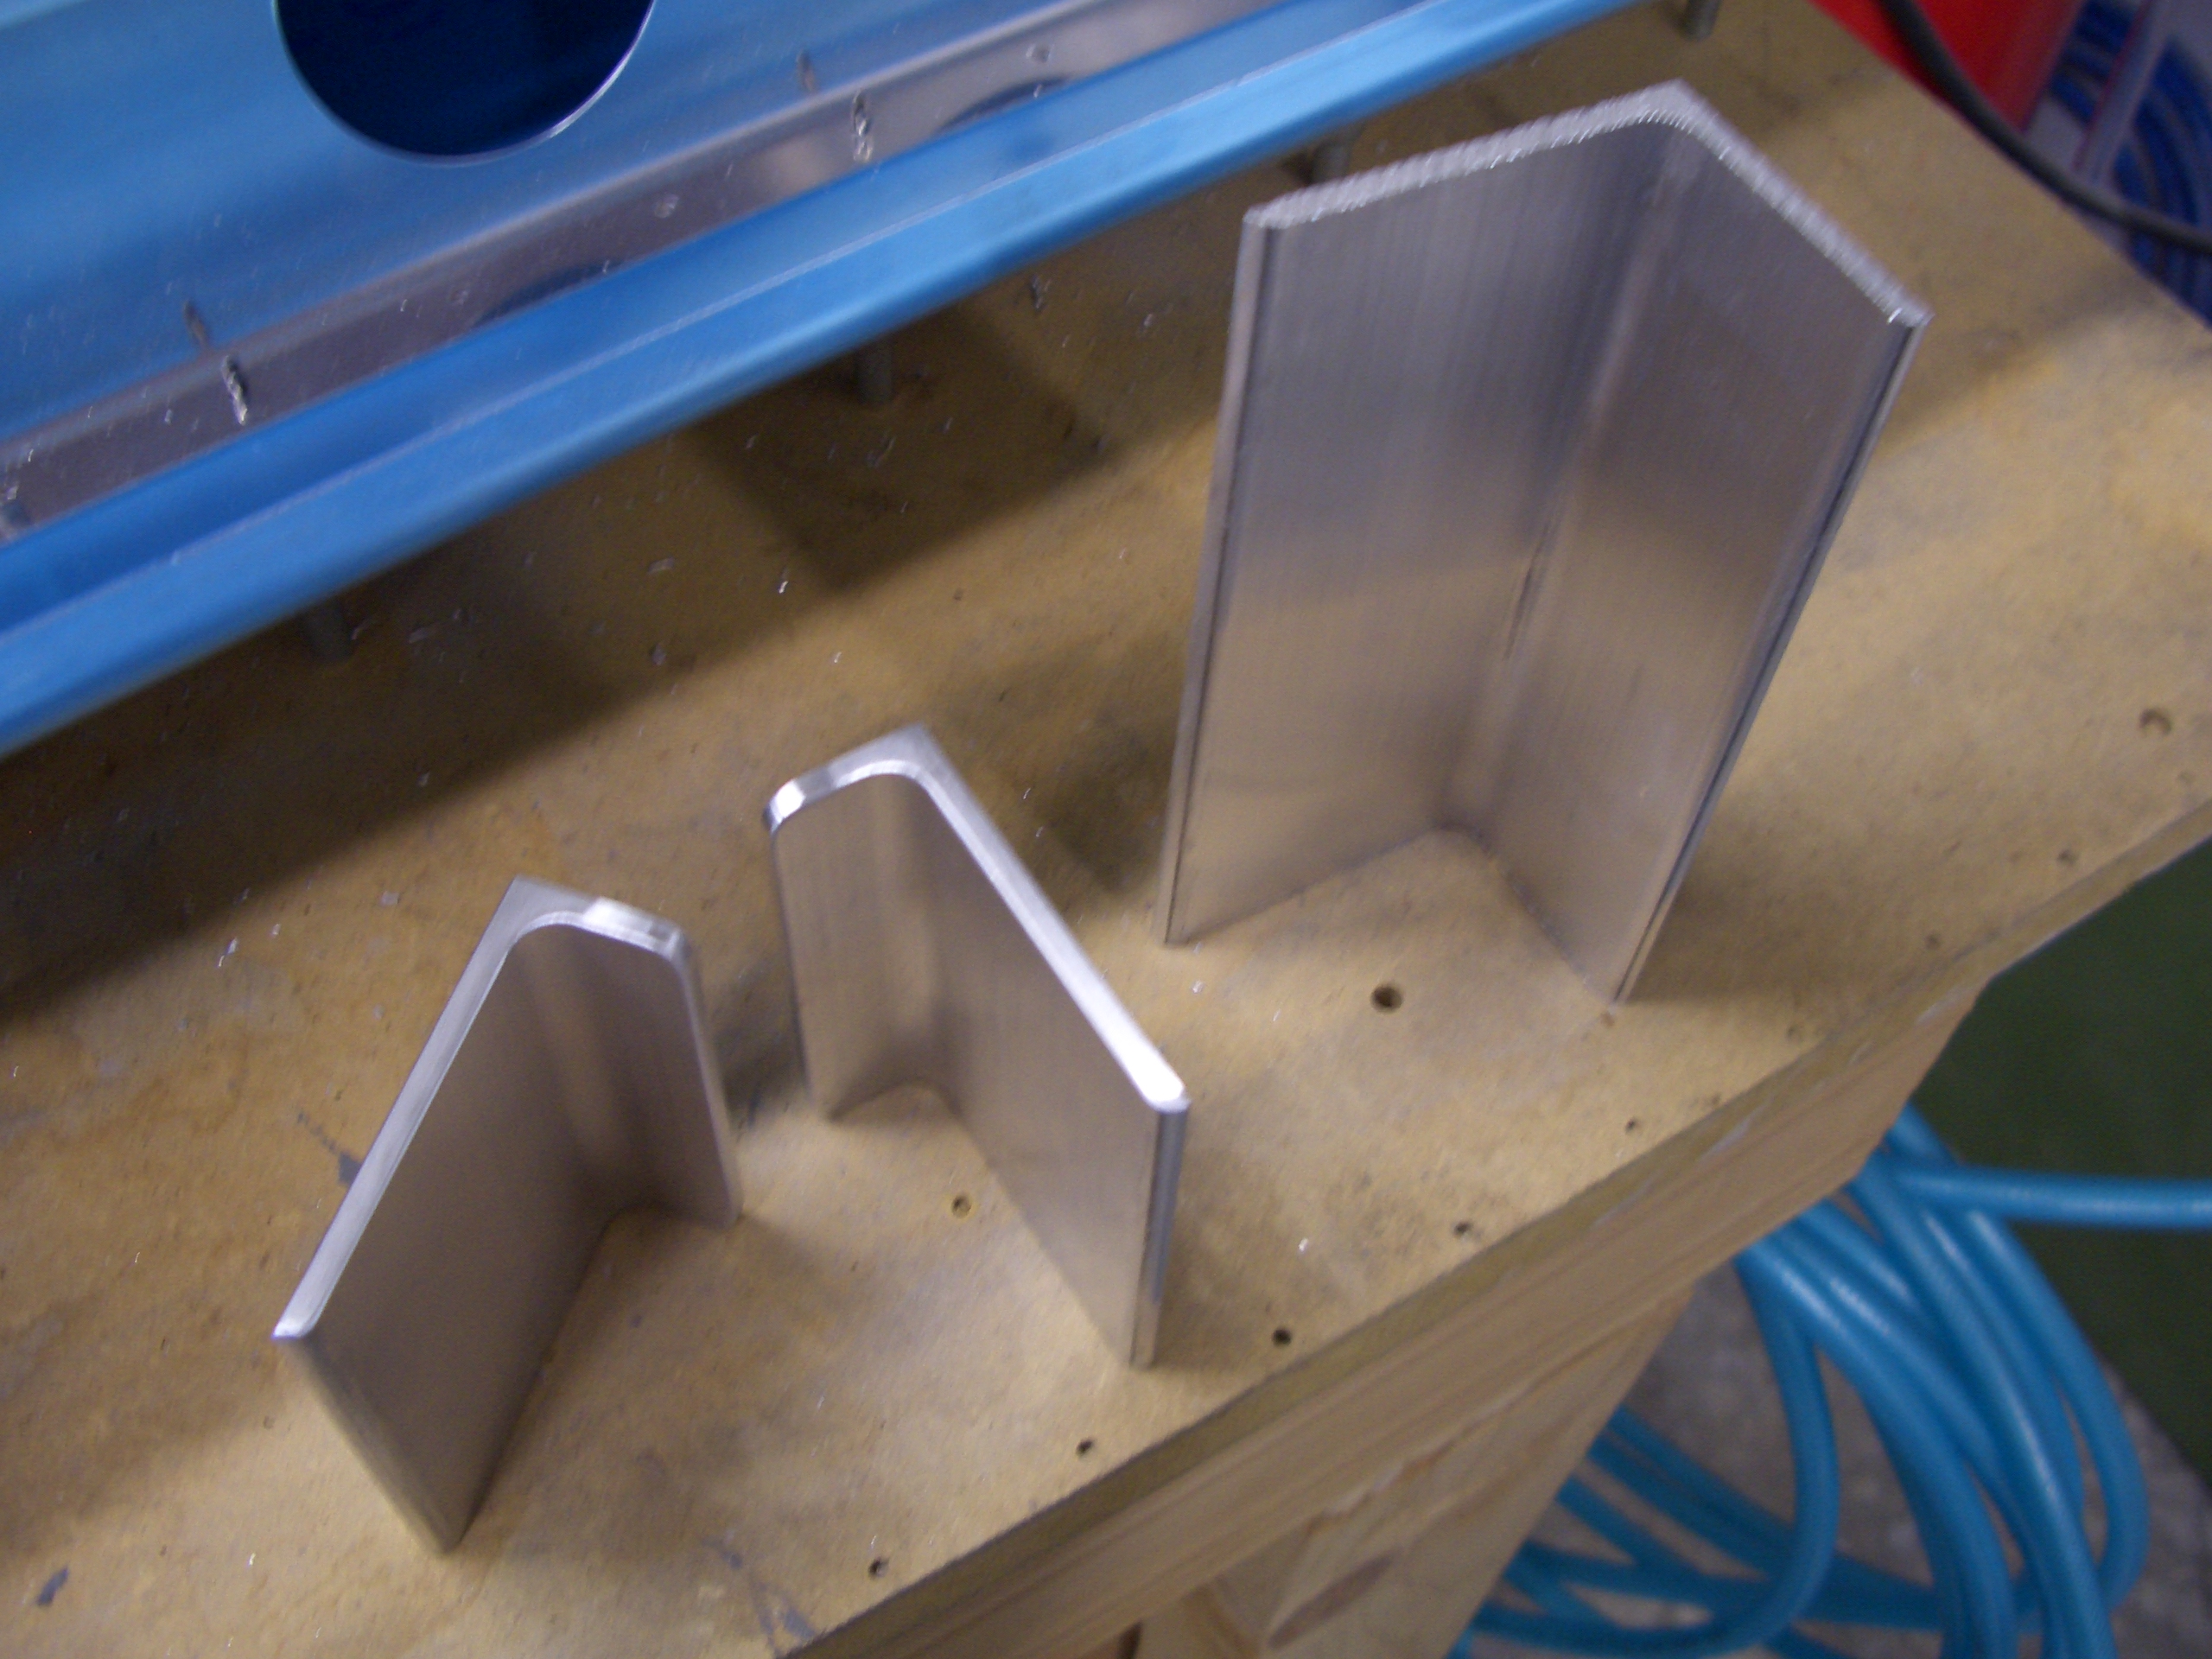
The portion of the bracket that rivets to the flap spar has to be fabricated out of a long piece of the aluminum angle on the right. I cut two pieces to length and cut off part of the short leg to get the two pieces on the left. It’s late, so I’ll match drill these to the rest of the bracket tomorrow.
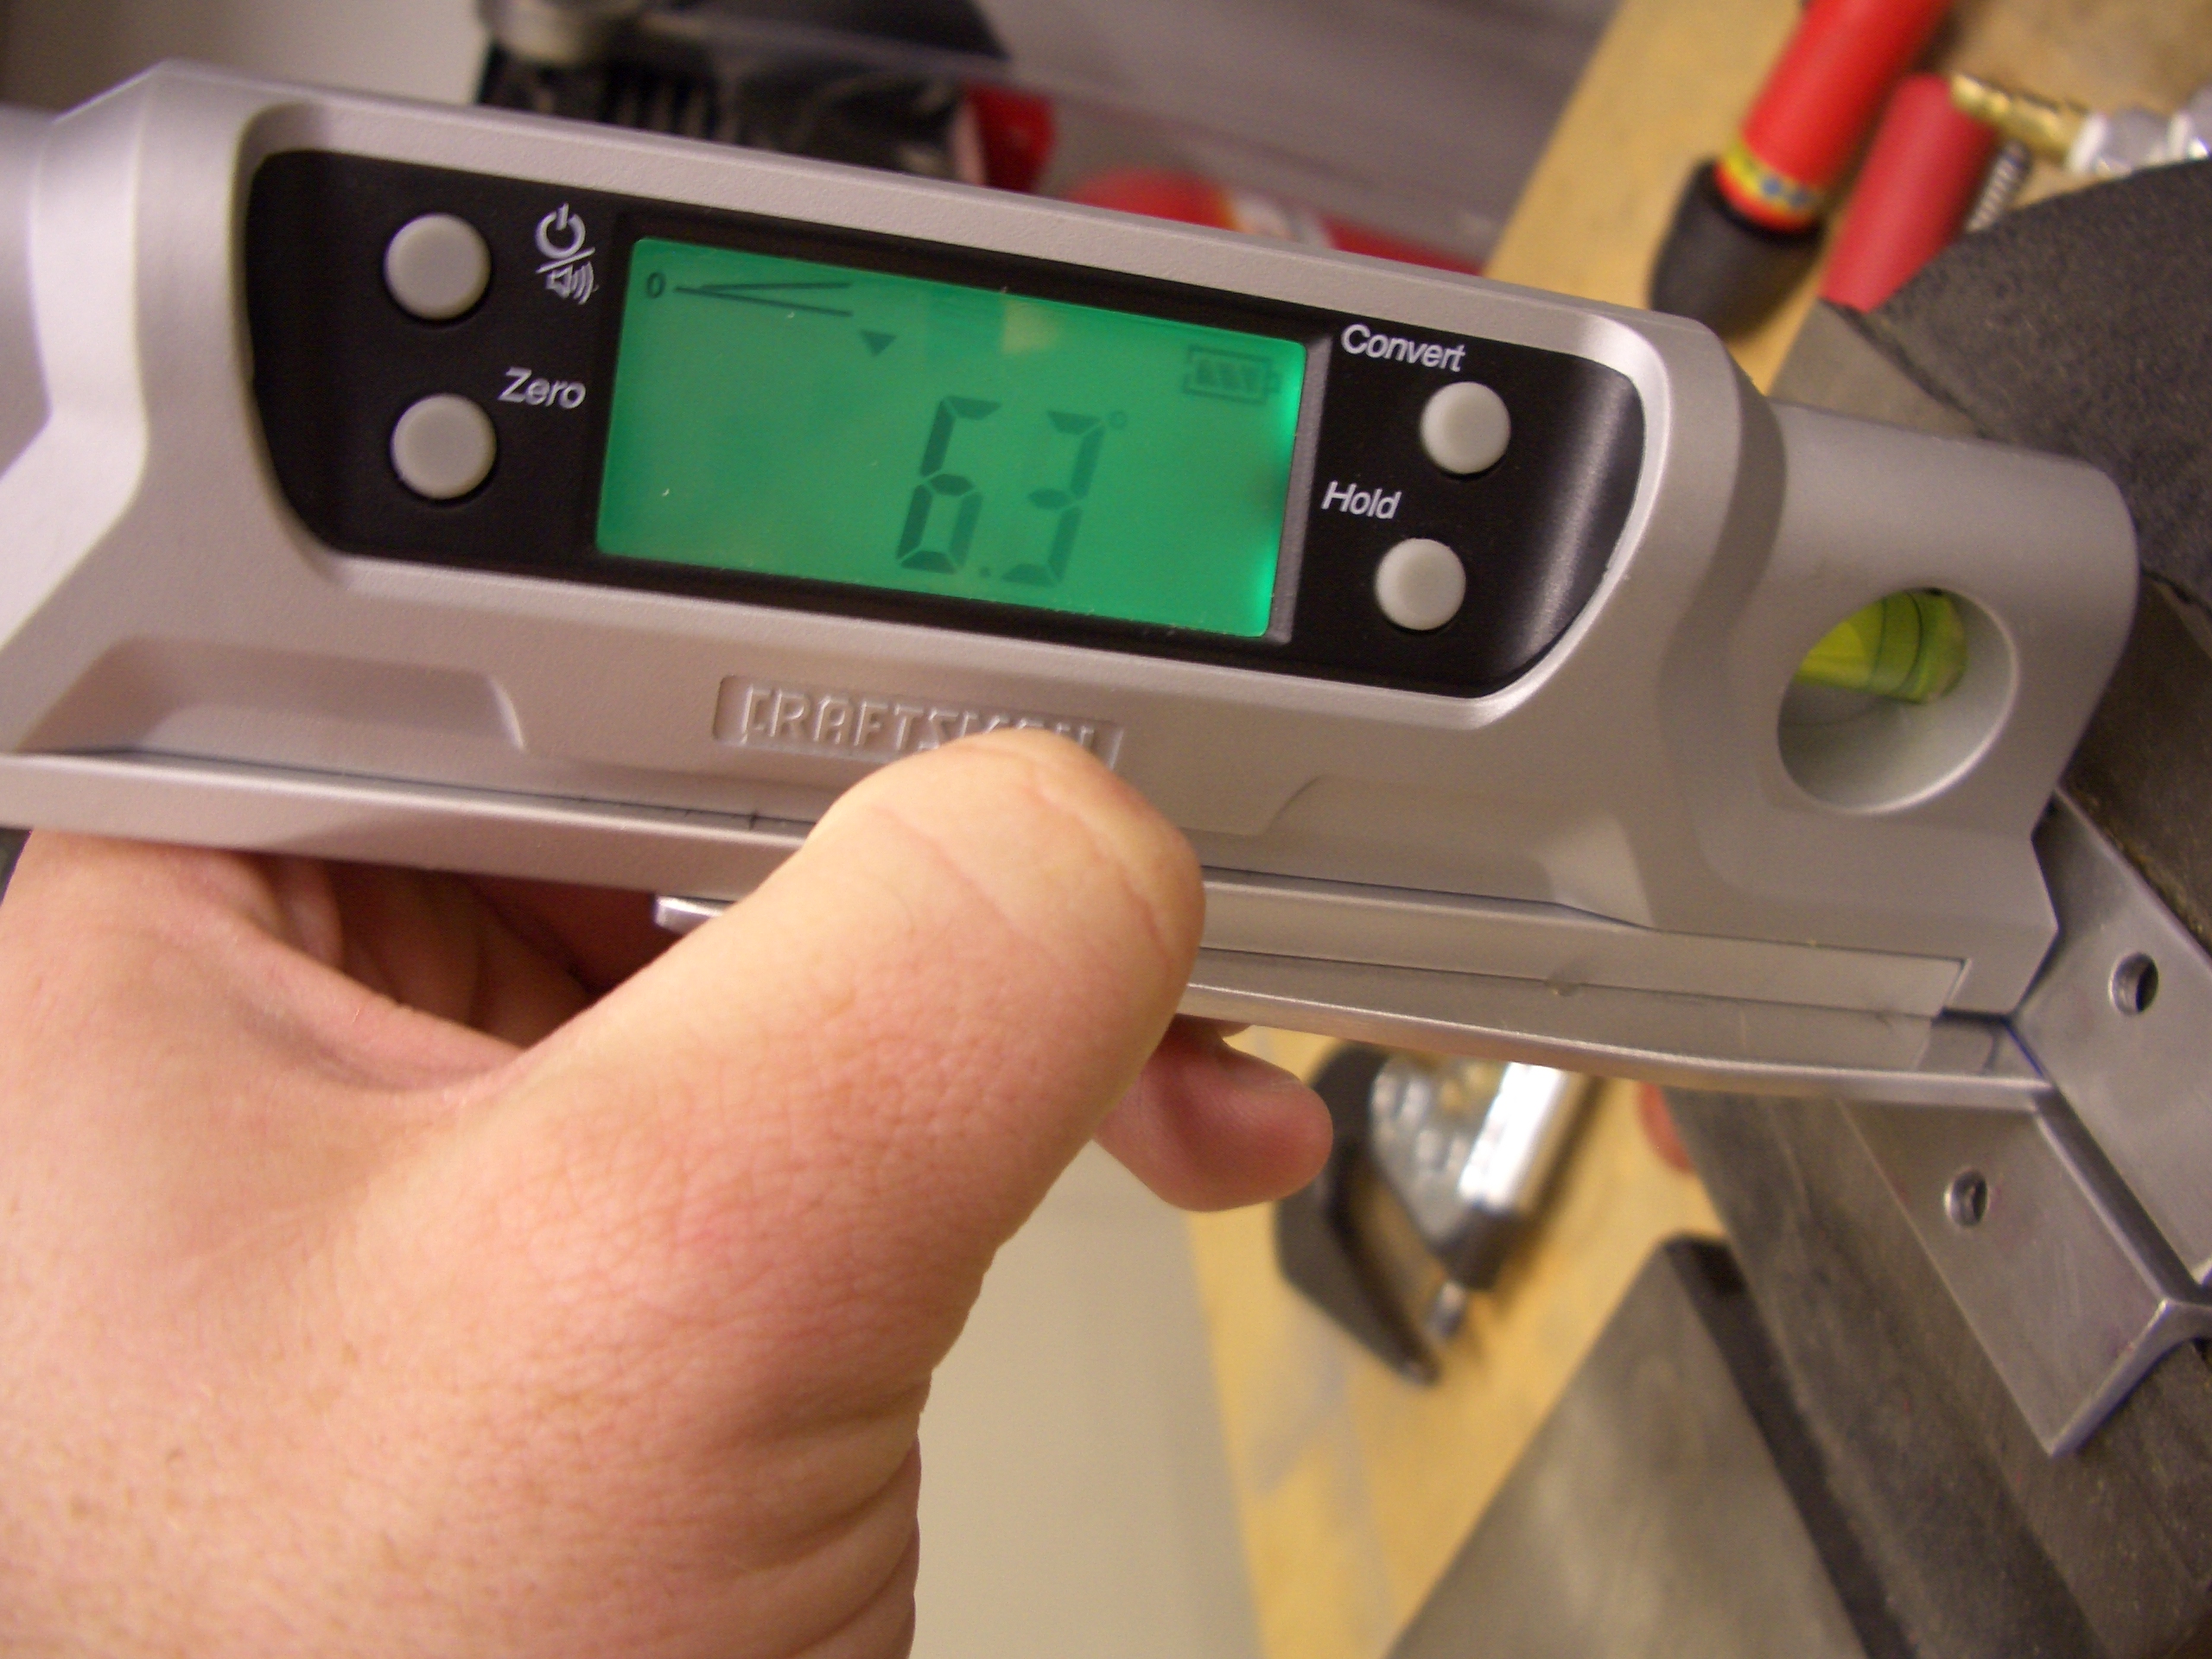
The flap brackets needed to be bent to 6.3º. I used my fancy digital level to zero out the angle before bending and beat on this with a deadblow mallet until it read 6.3º. I then repeated this for the other bracket.
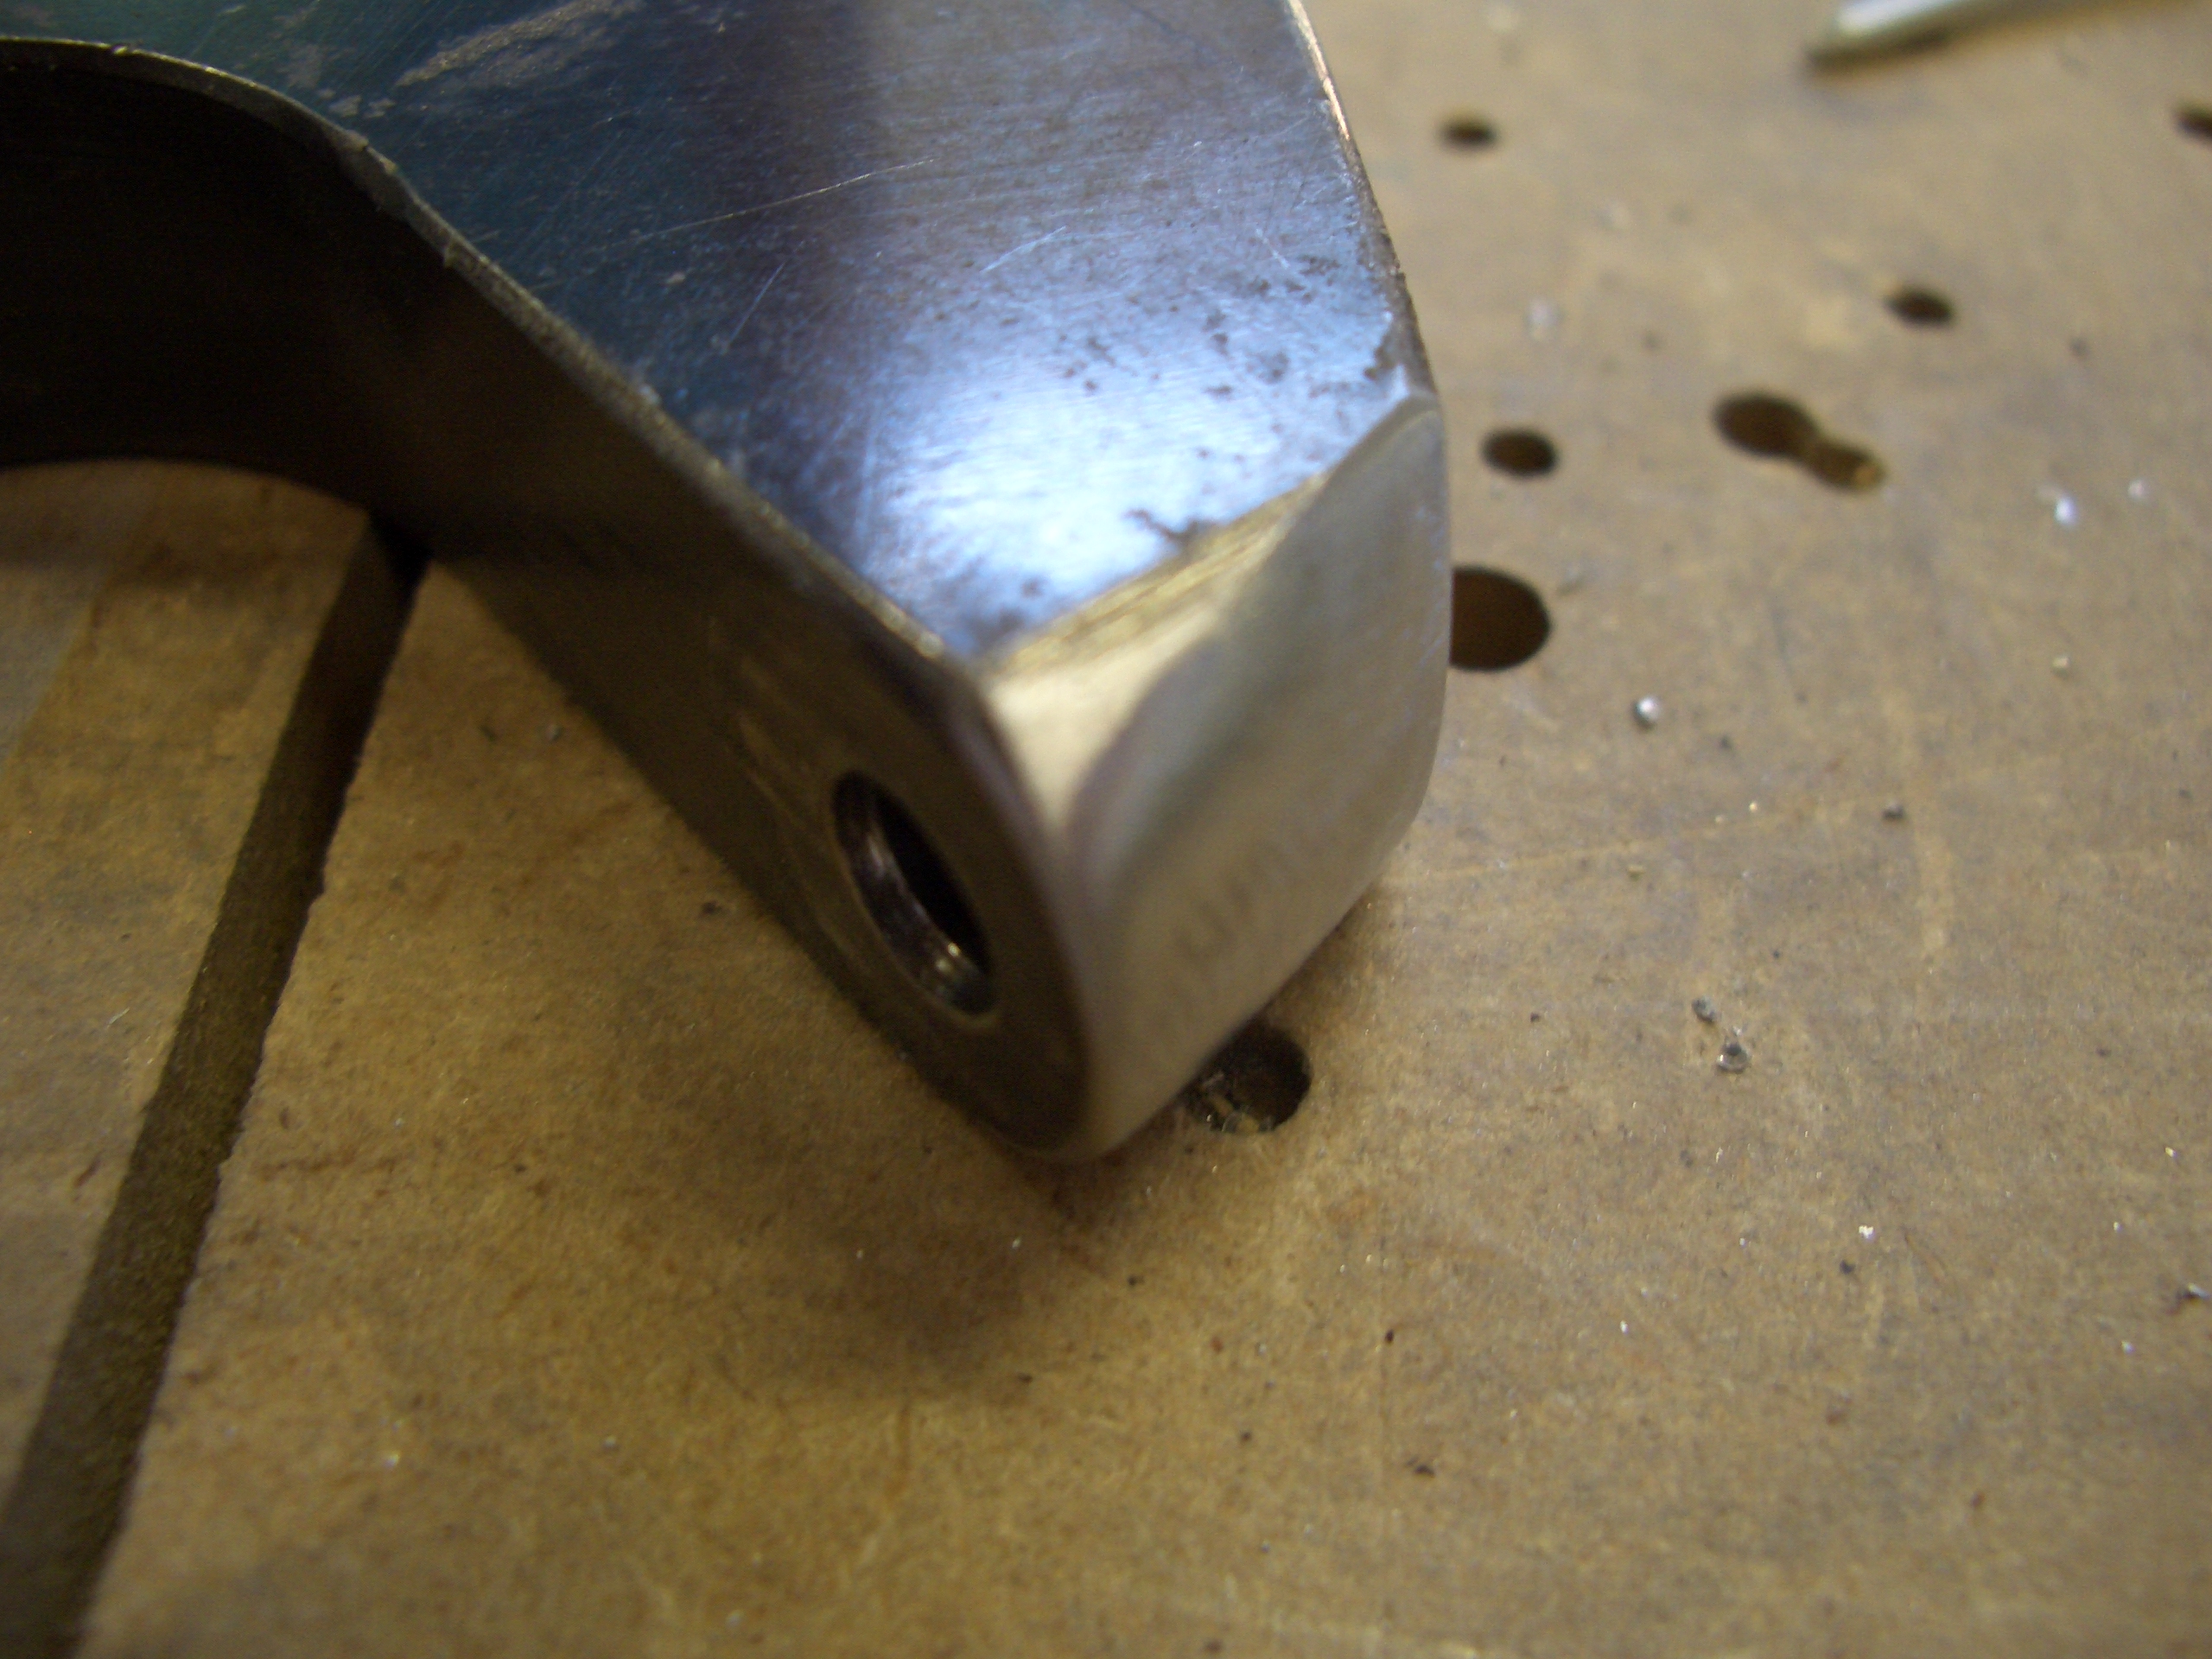
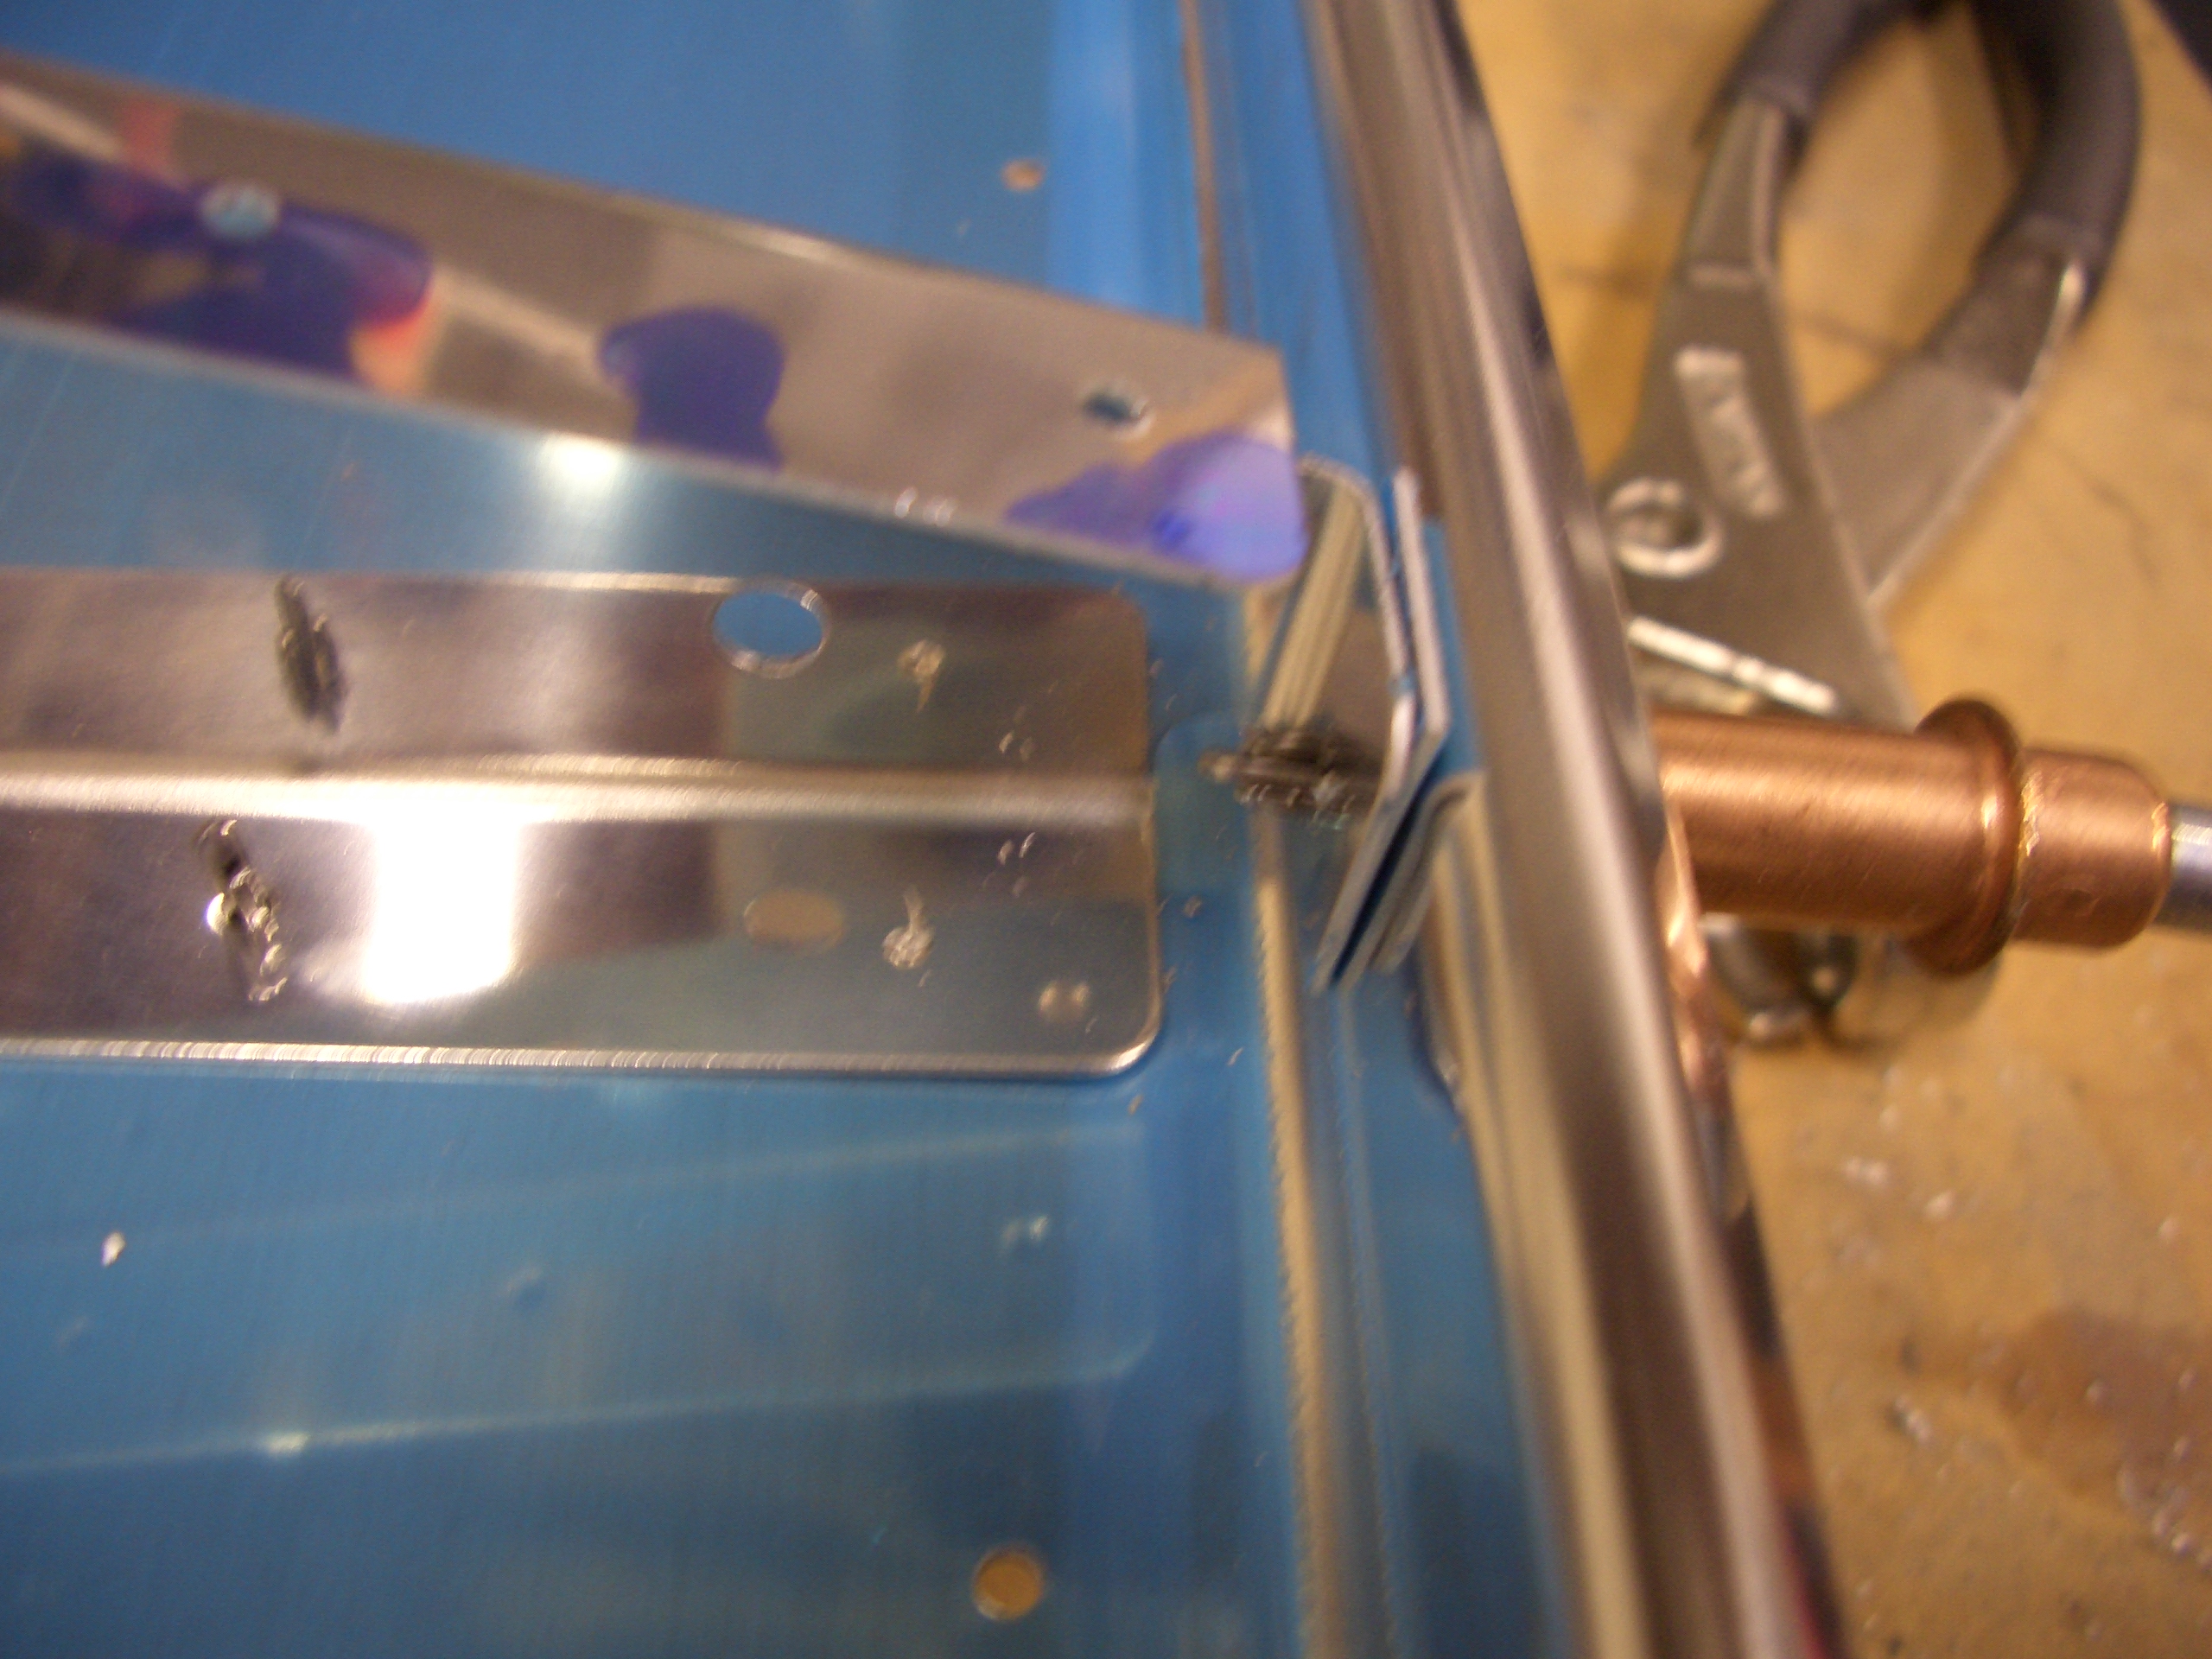
Here are the two brackets clecoed back together. You can see the angle clearly here. I need to diassemble the flaps and match drill these to the spars and inboard ribs, but I don’t have time tonight.
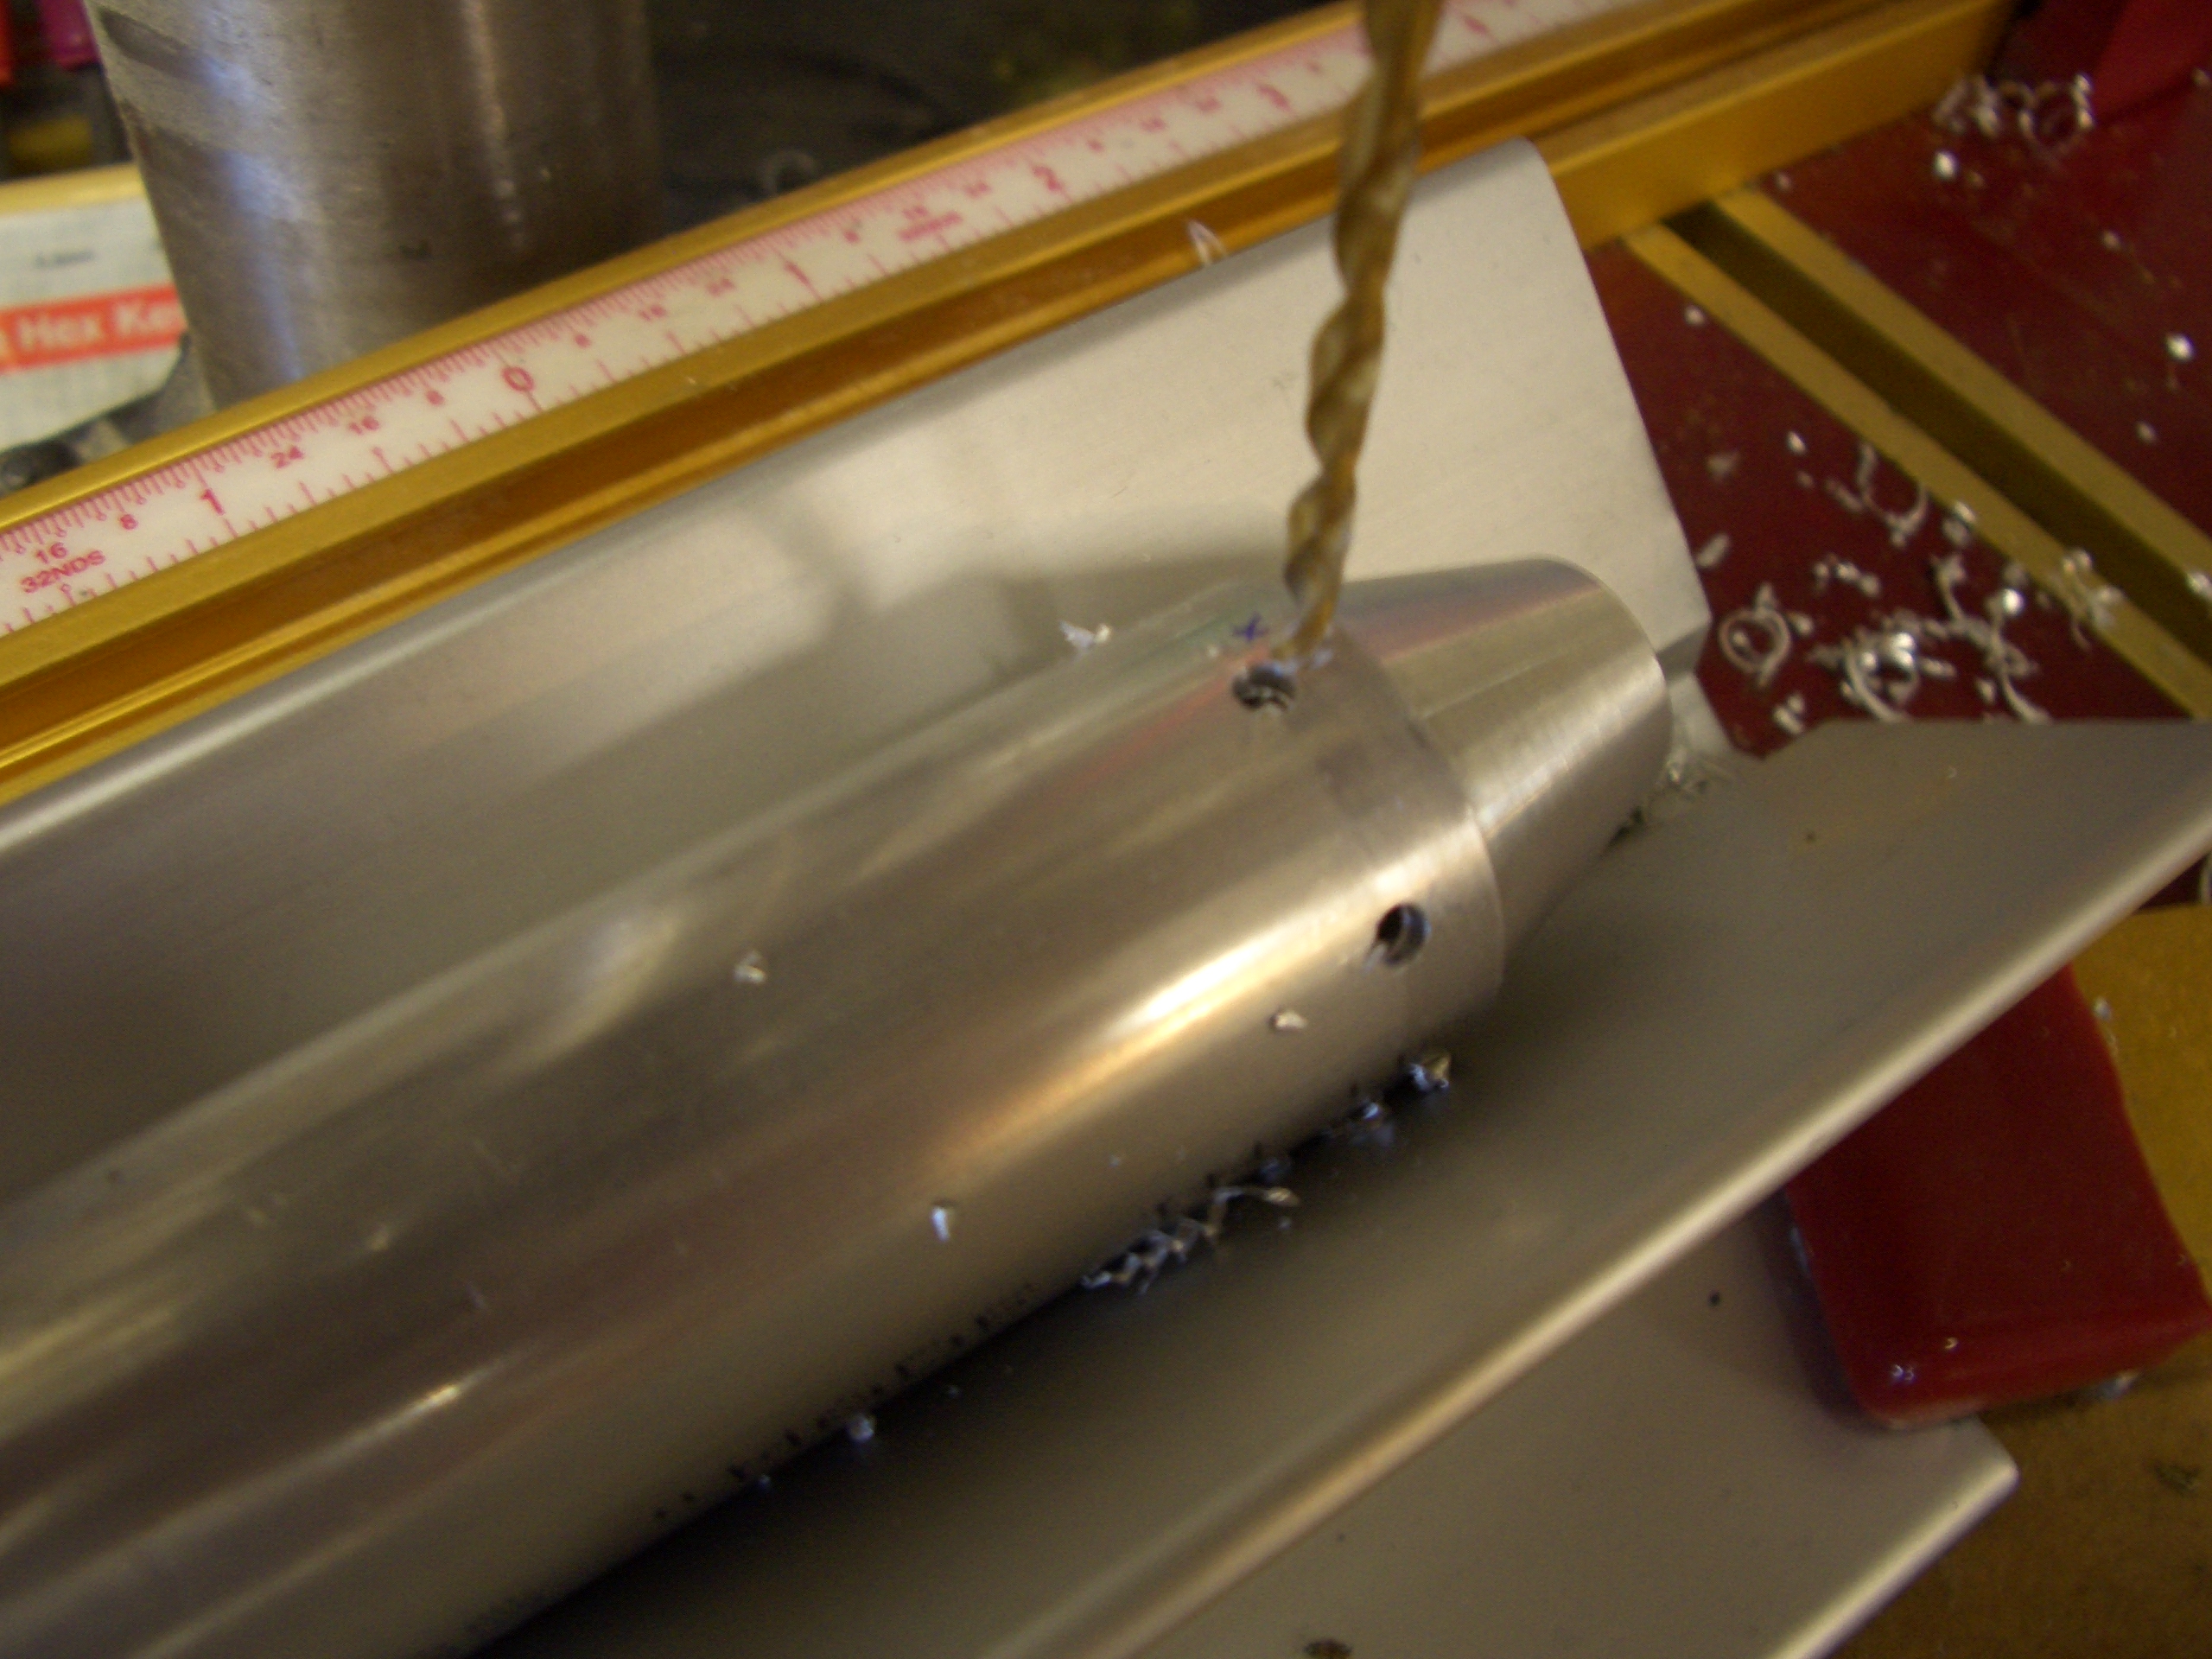
I drilled the flap brackets to the inboard ribs and spars, then disassembled the flap components for deburring. I made it through most of the ribs before calling it a night.
No pictures tonight since it would just be another shot of a pile of parts on my bench. I finished deburring all of the flap ribs, brackets, and shims and dimpled/countersunk everything. Once I get the spars ready, the flap components can be primed.
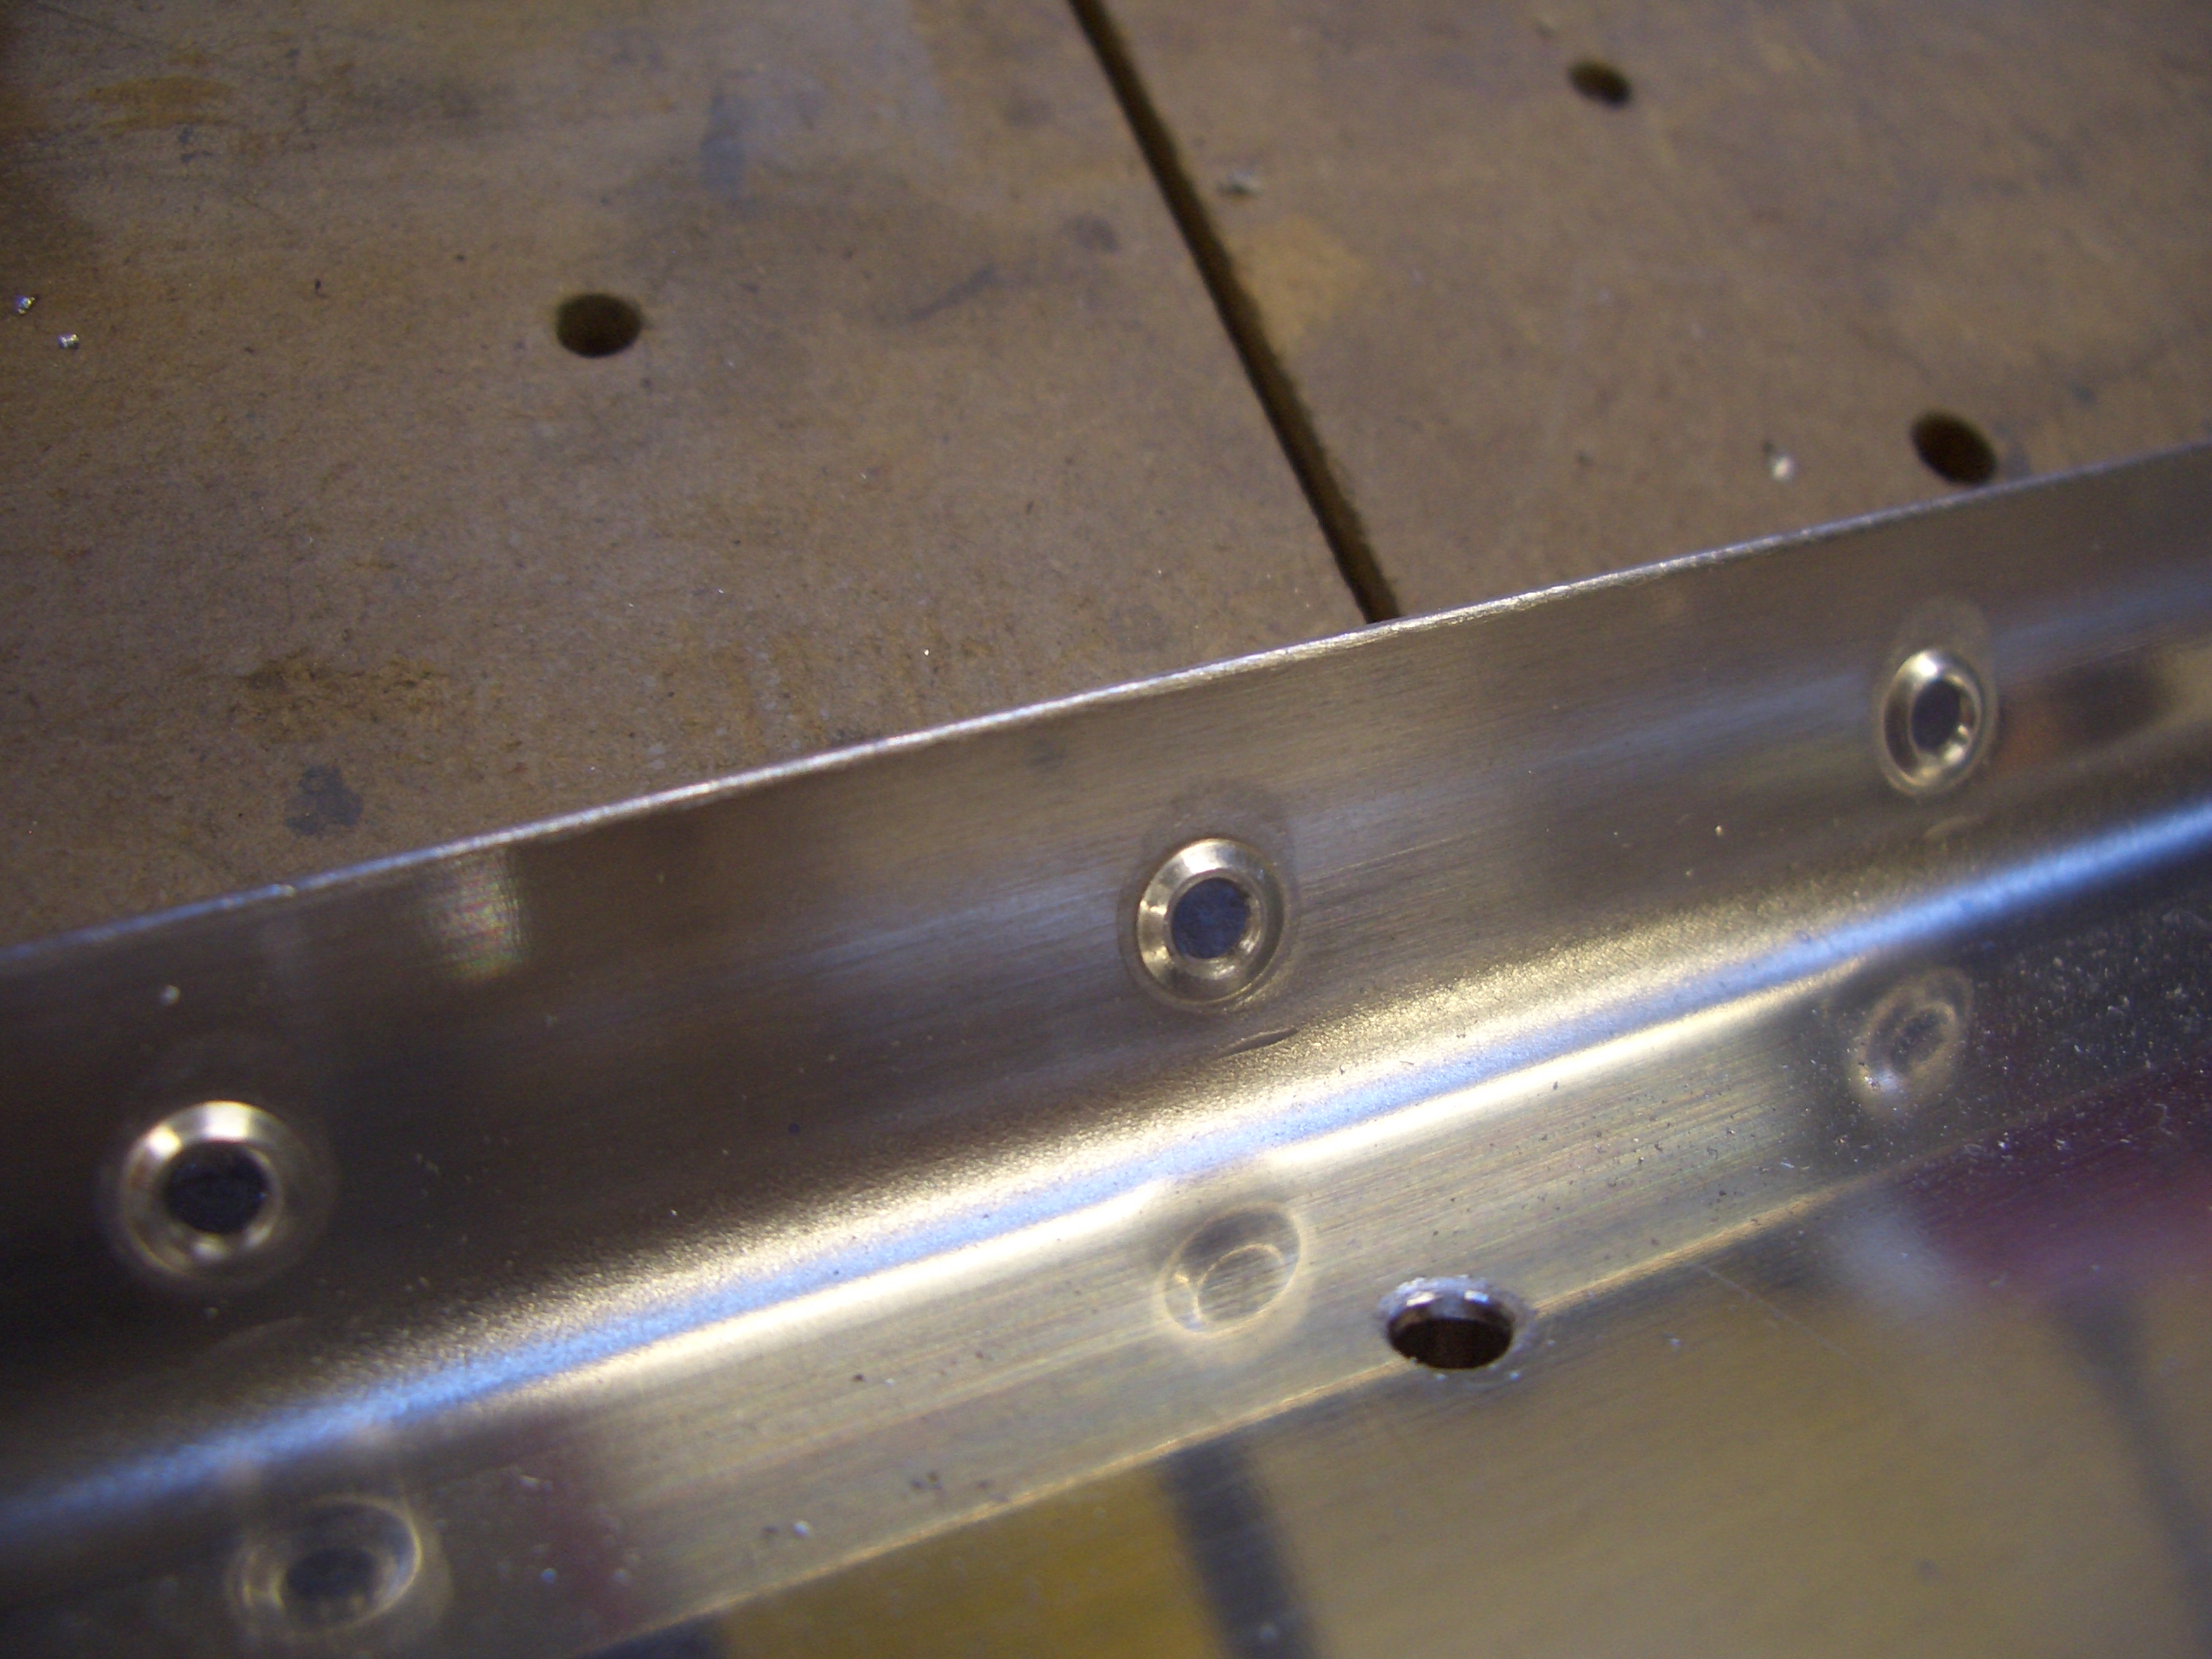
The bottom edge of the spar needs to be machine countersunk because the flap hinge mounts on the inside surface of the spar.

The top edge can be dimpled to receive the skin dimples.
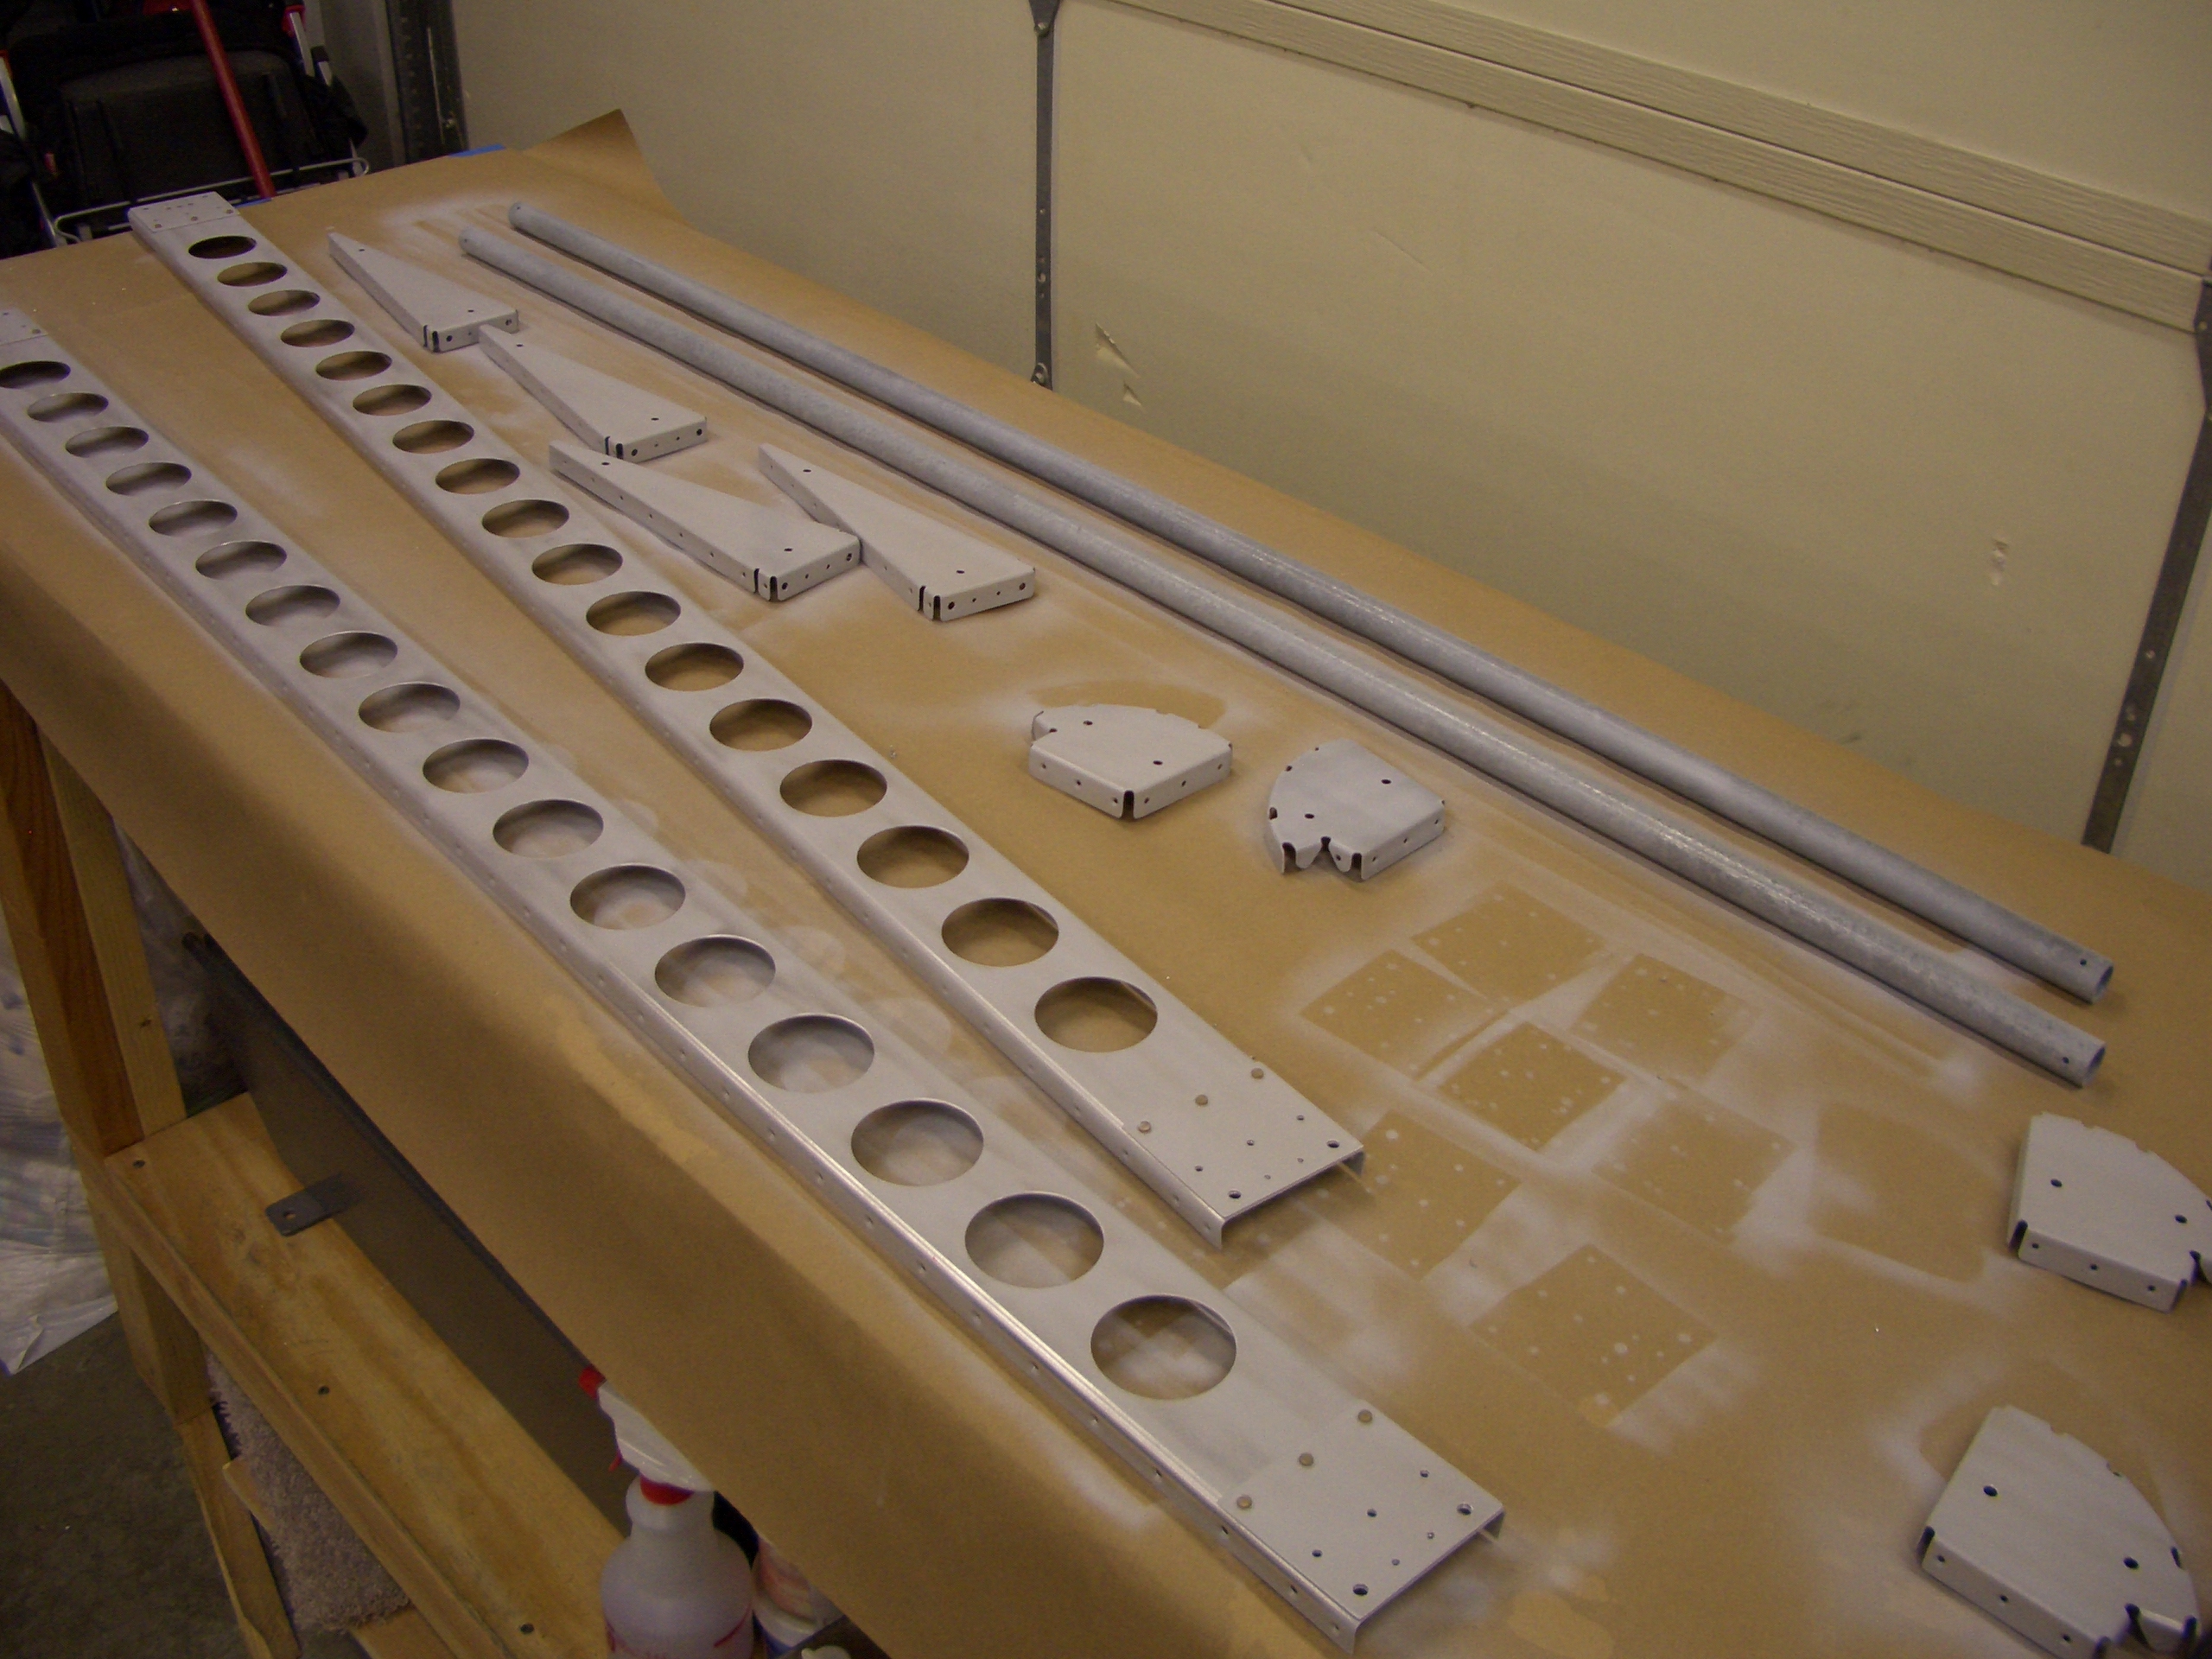
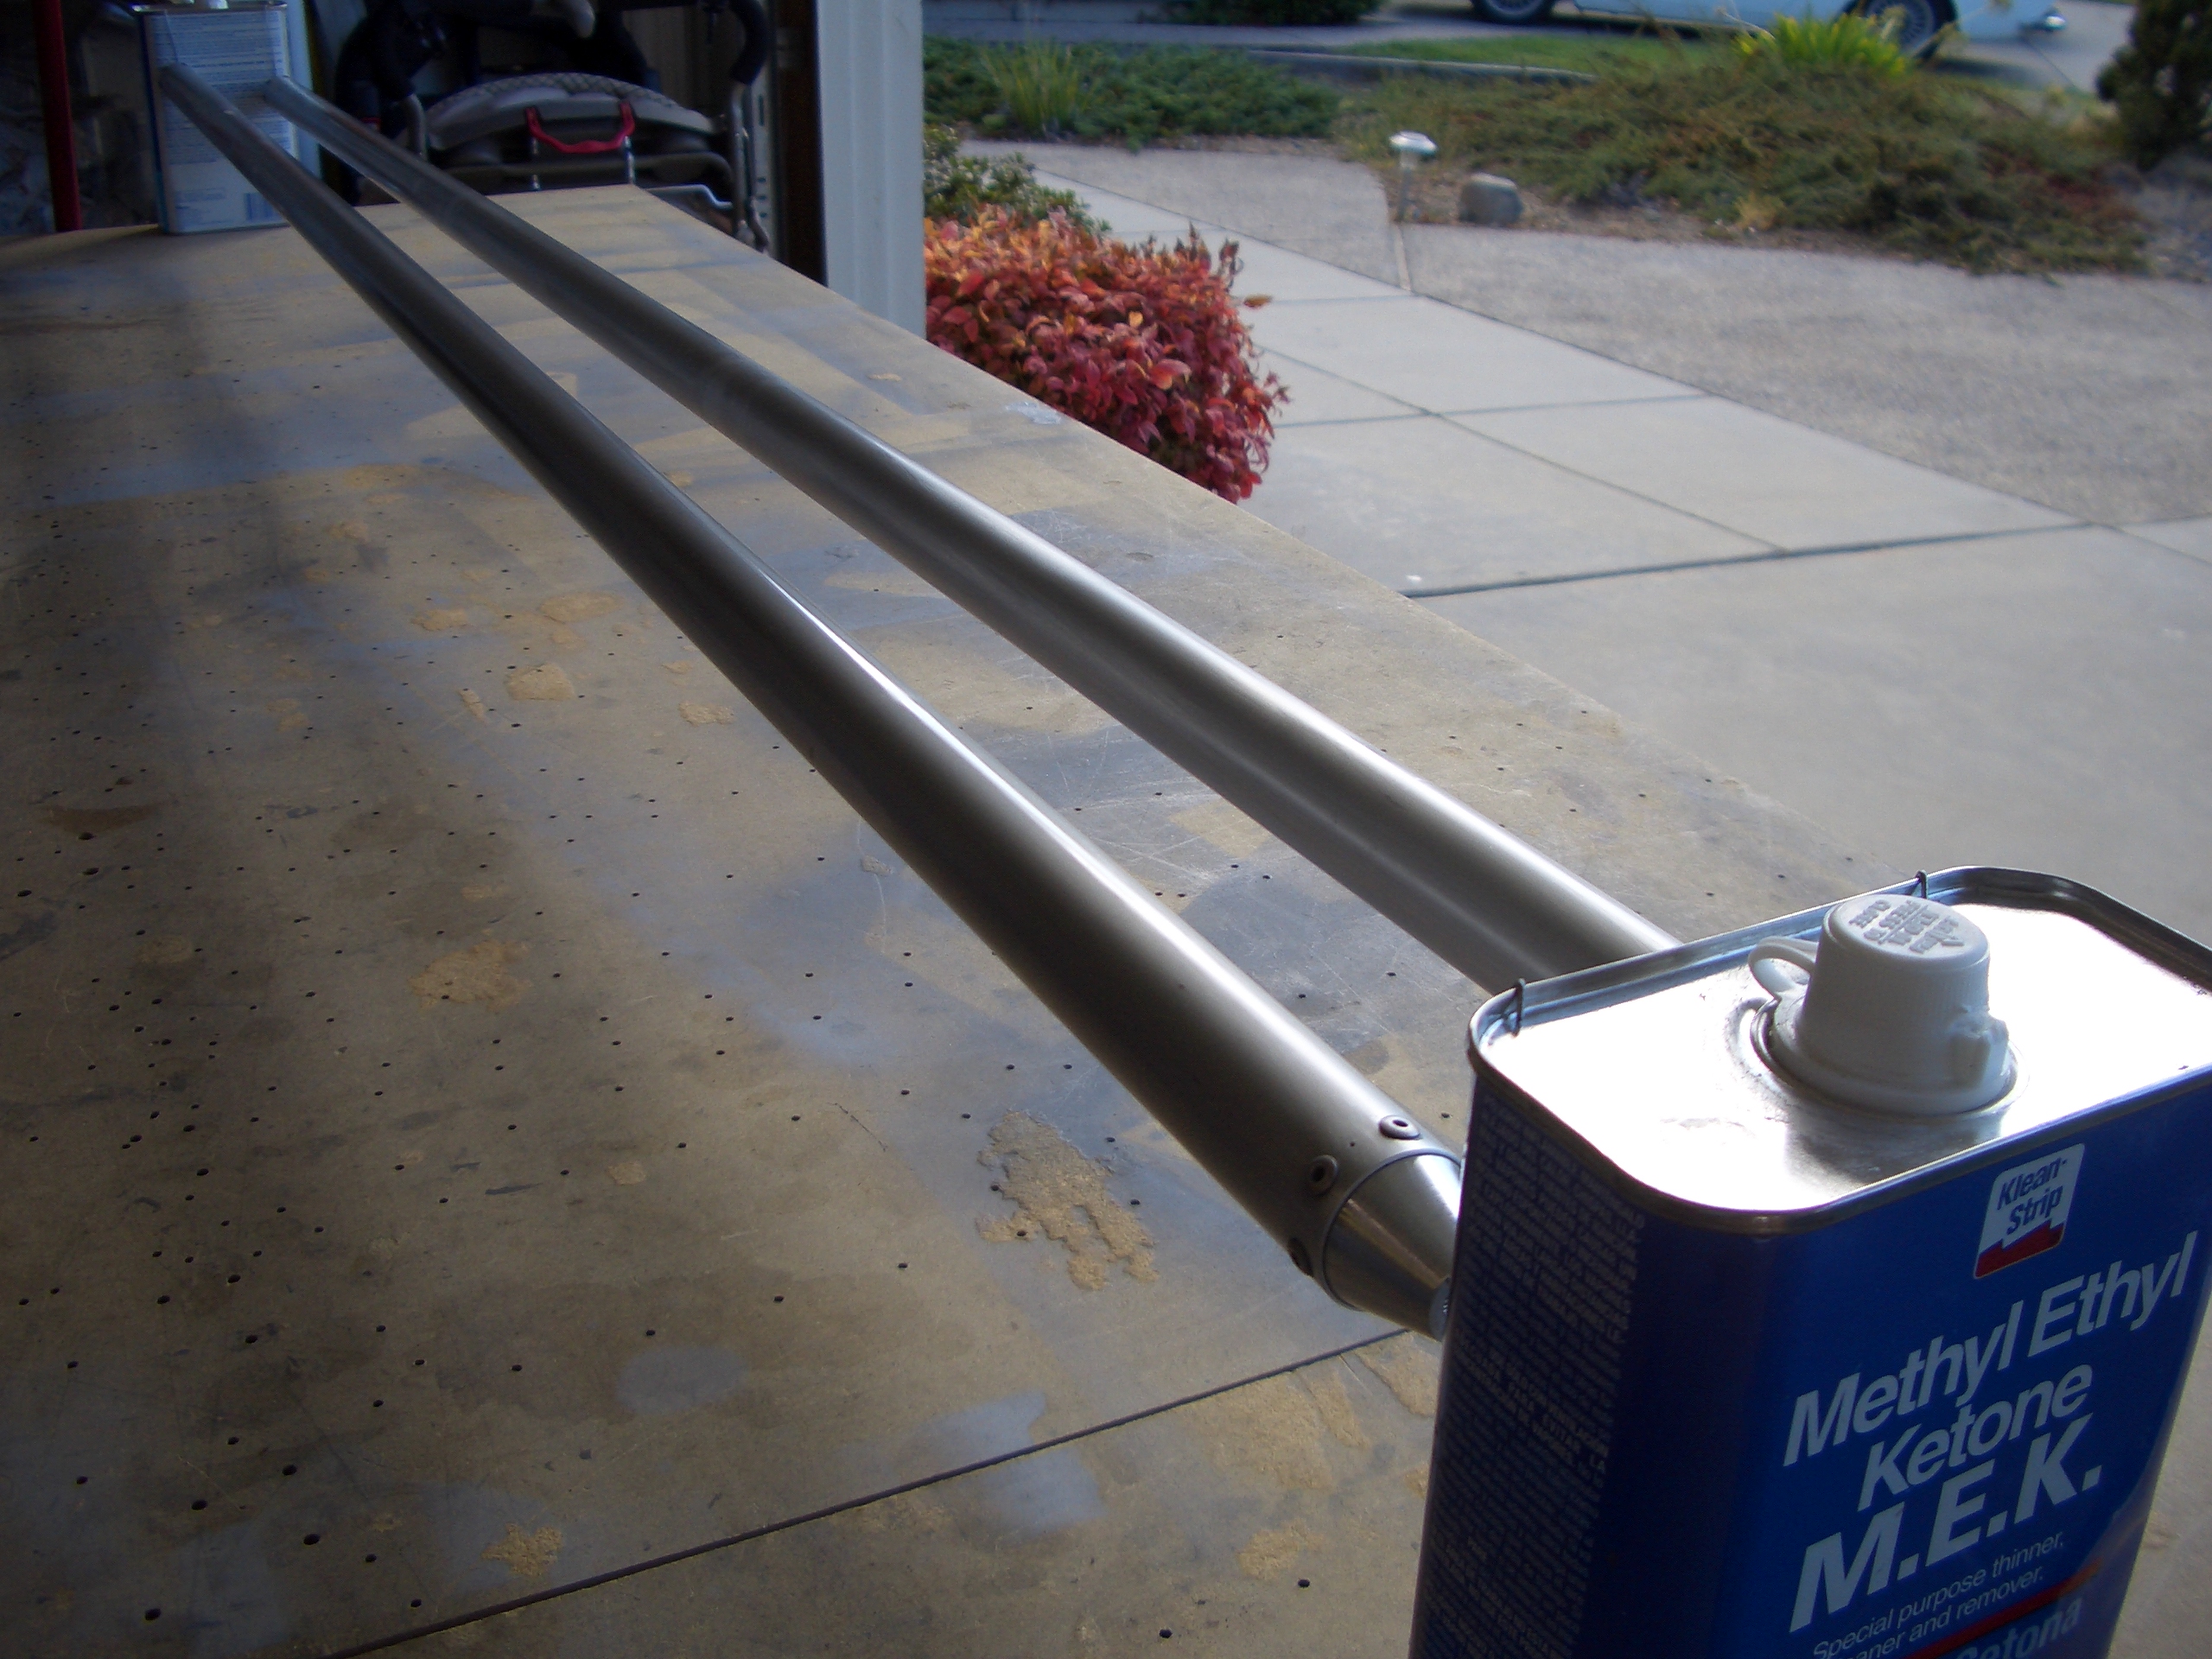
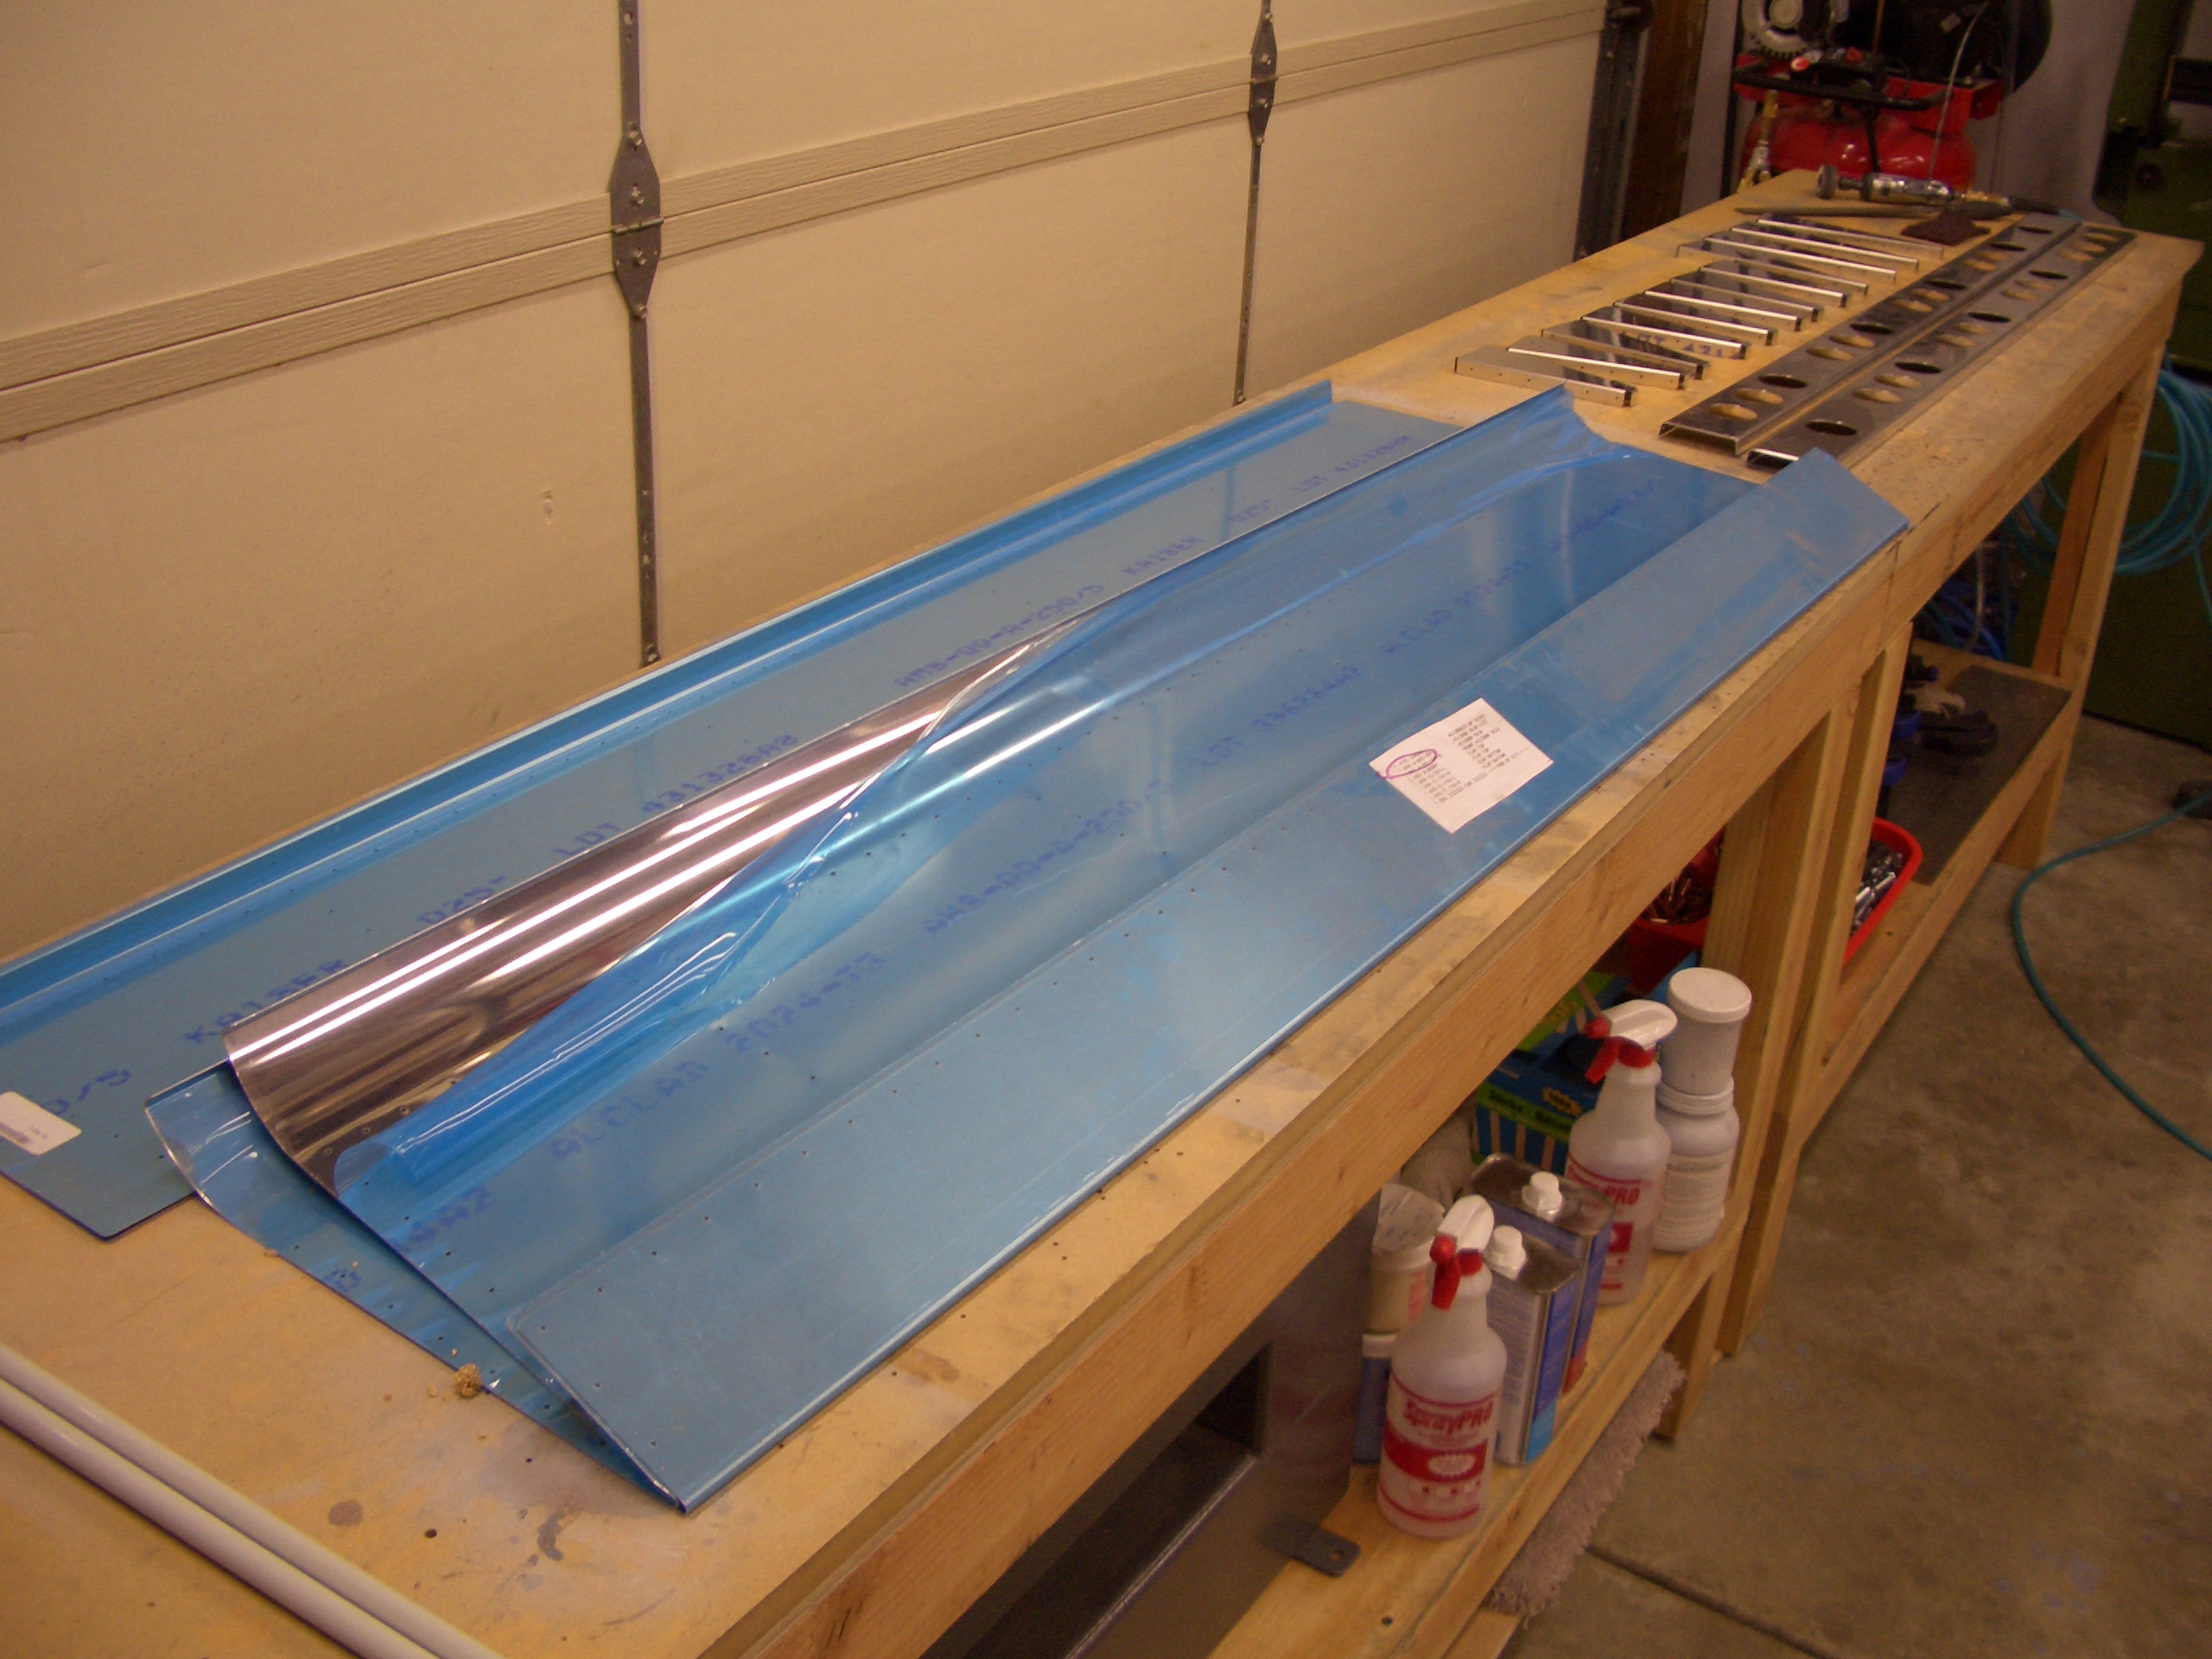
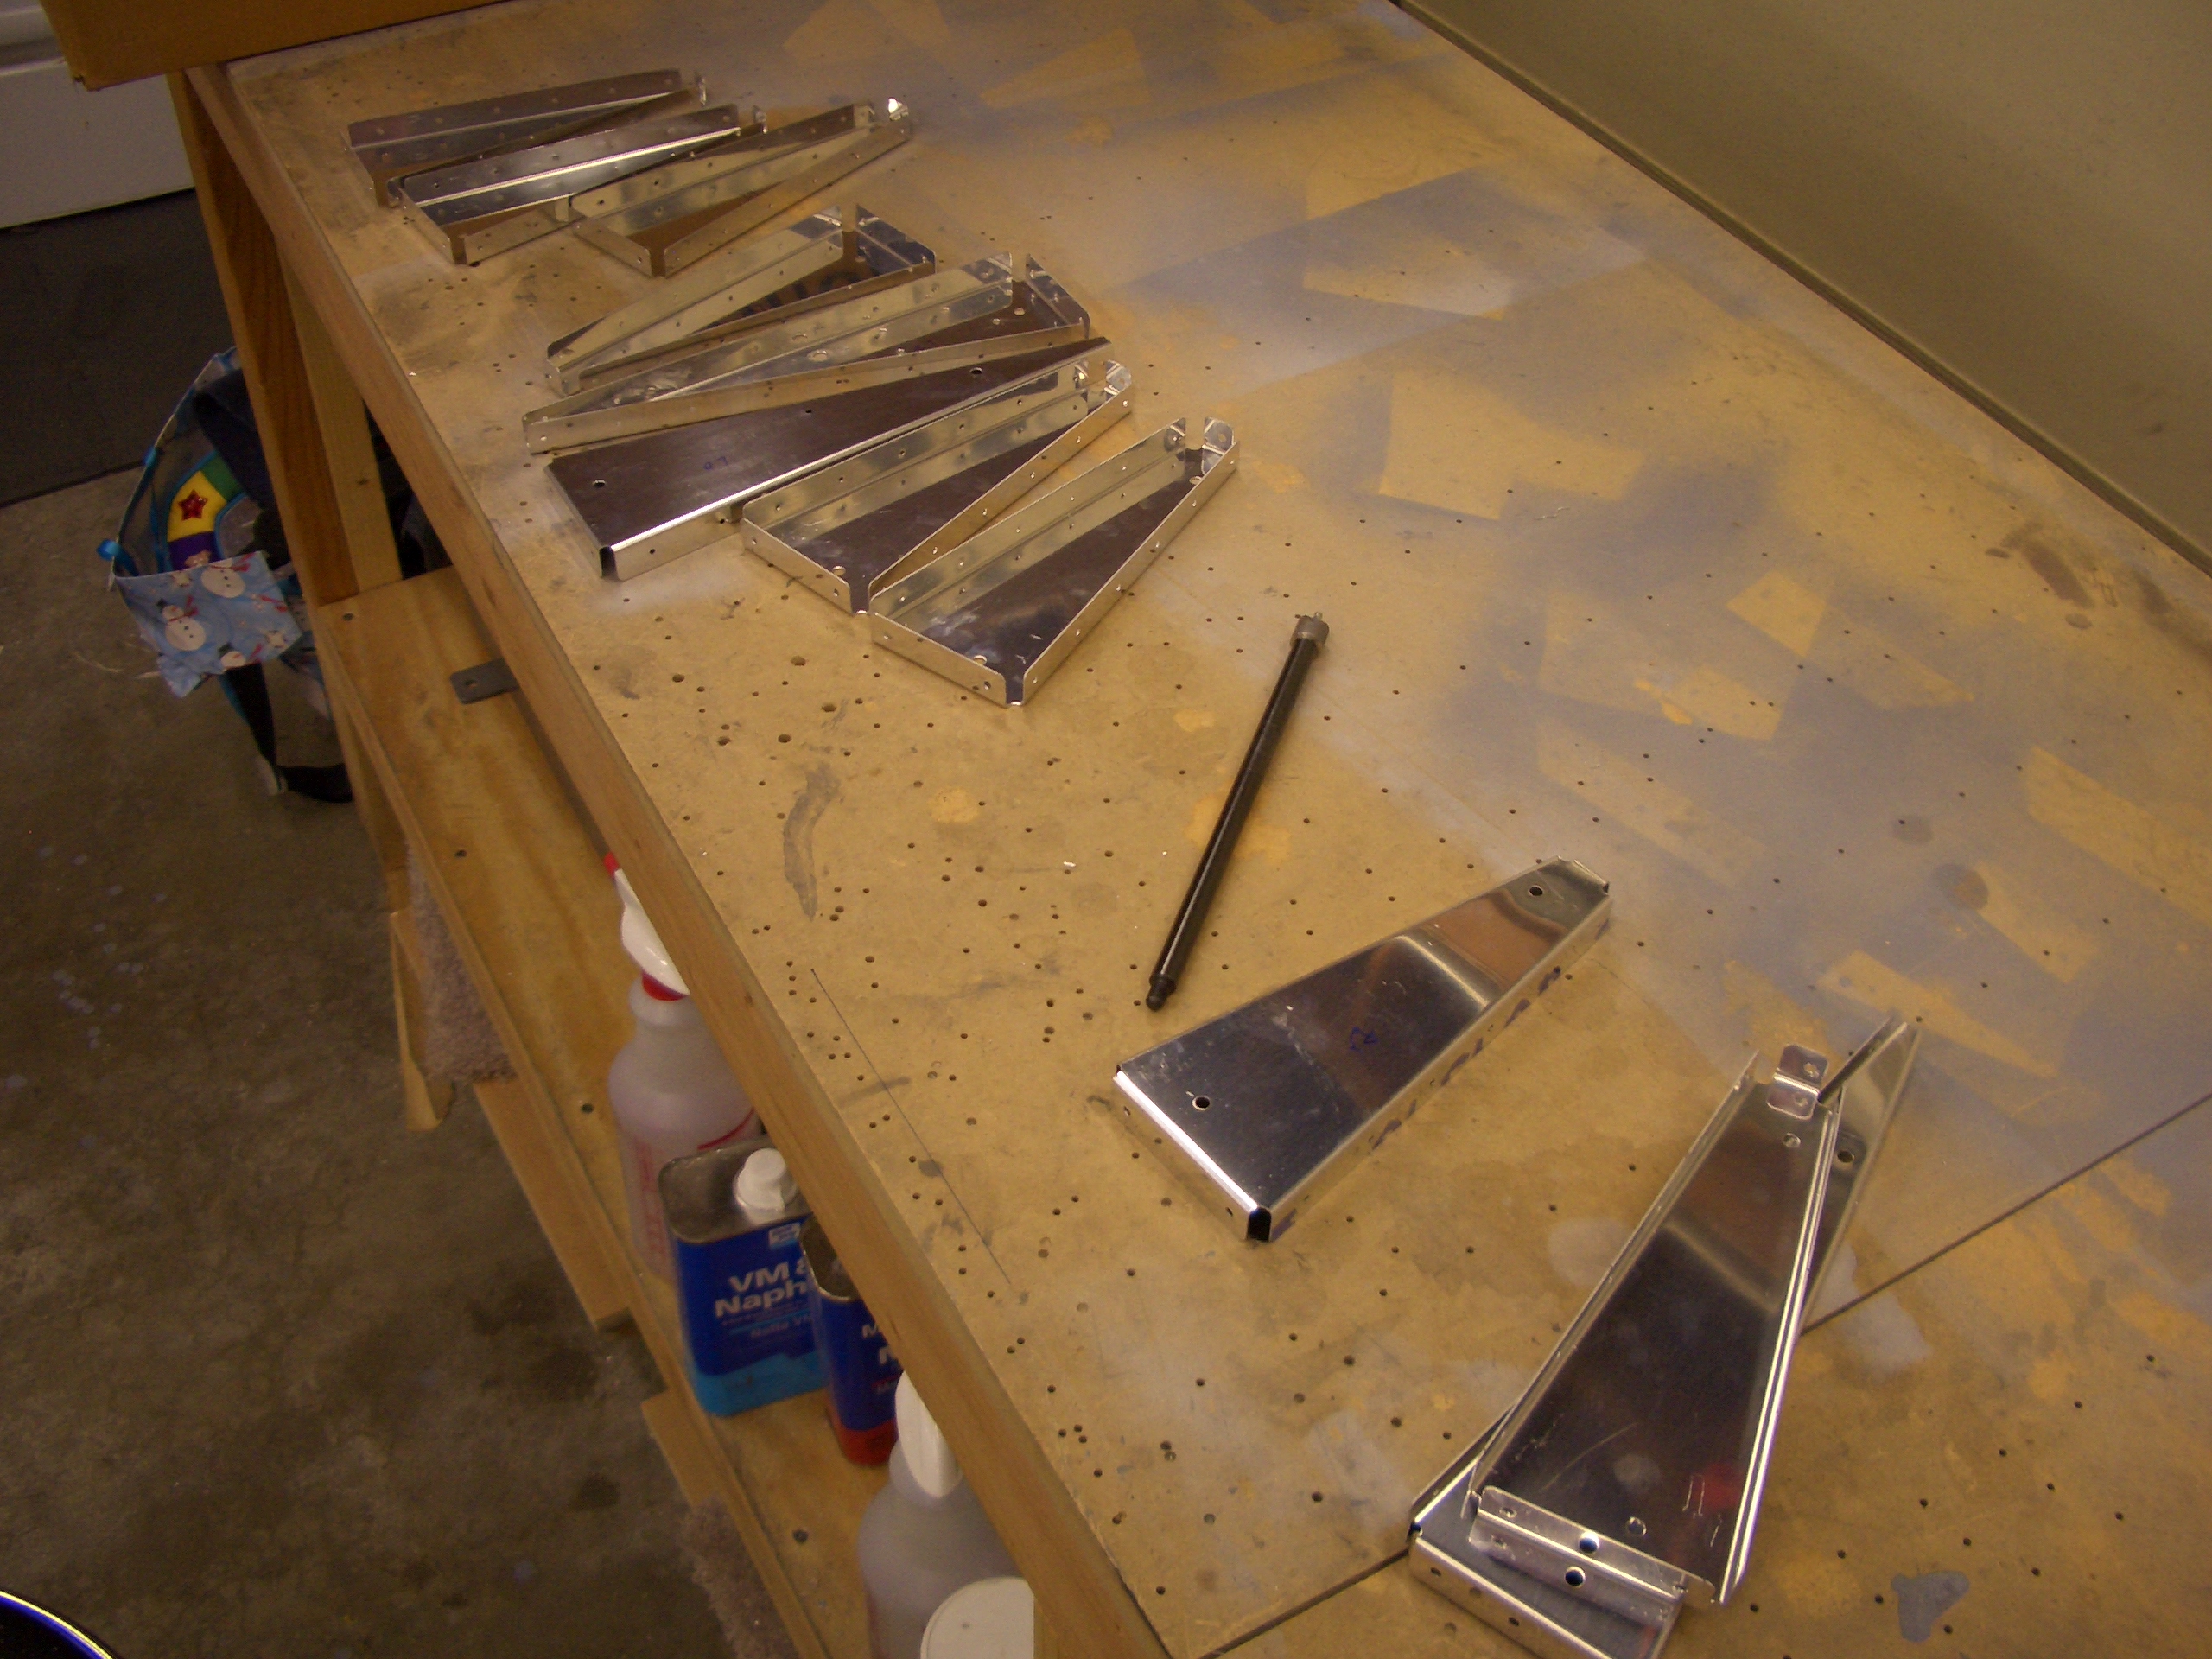
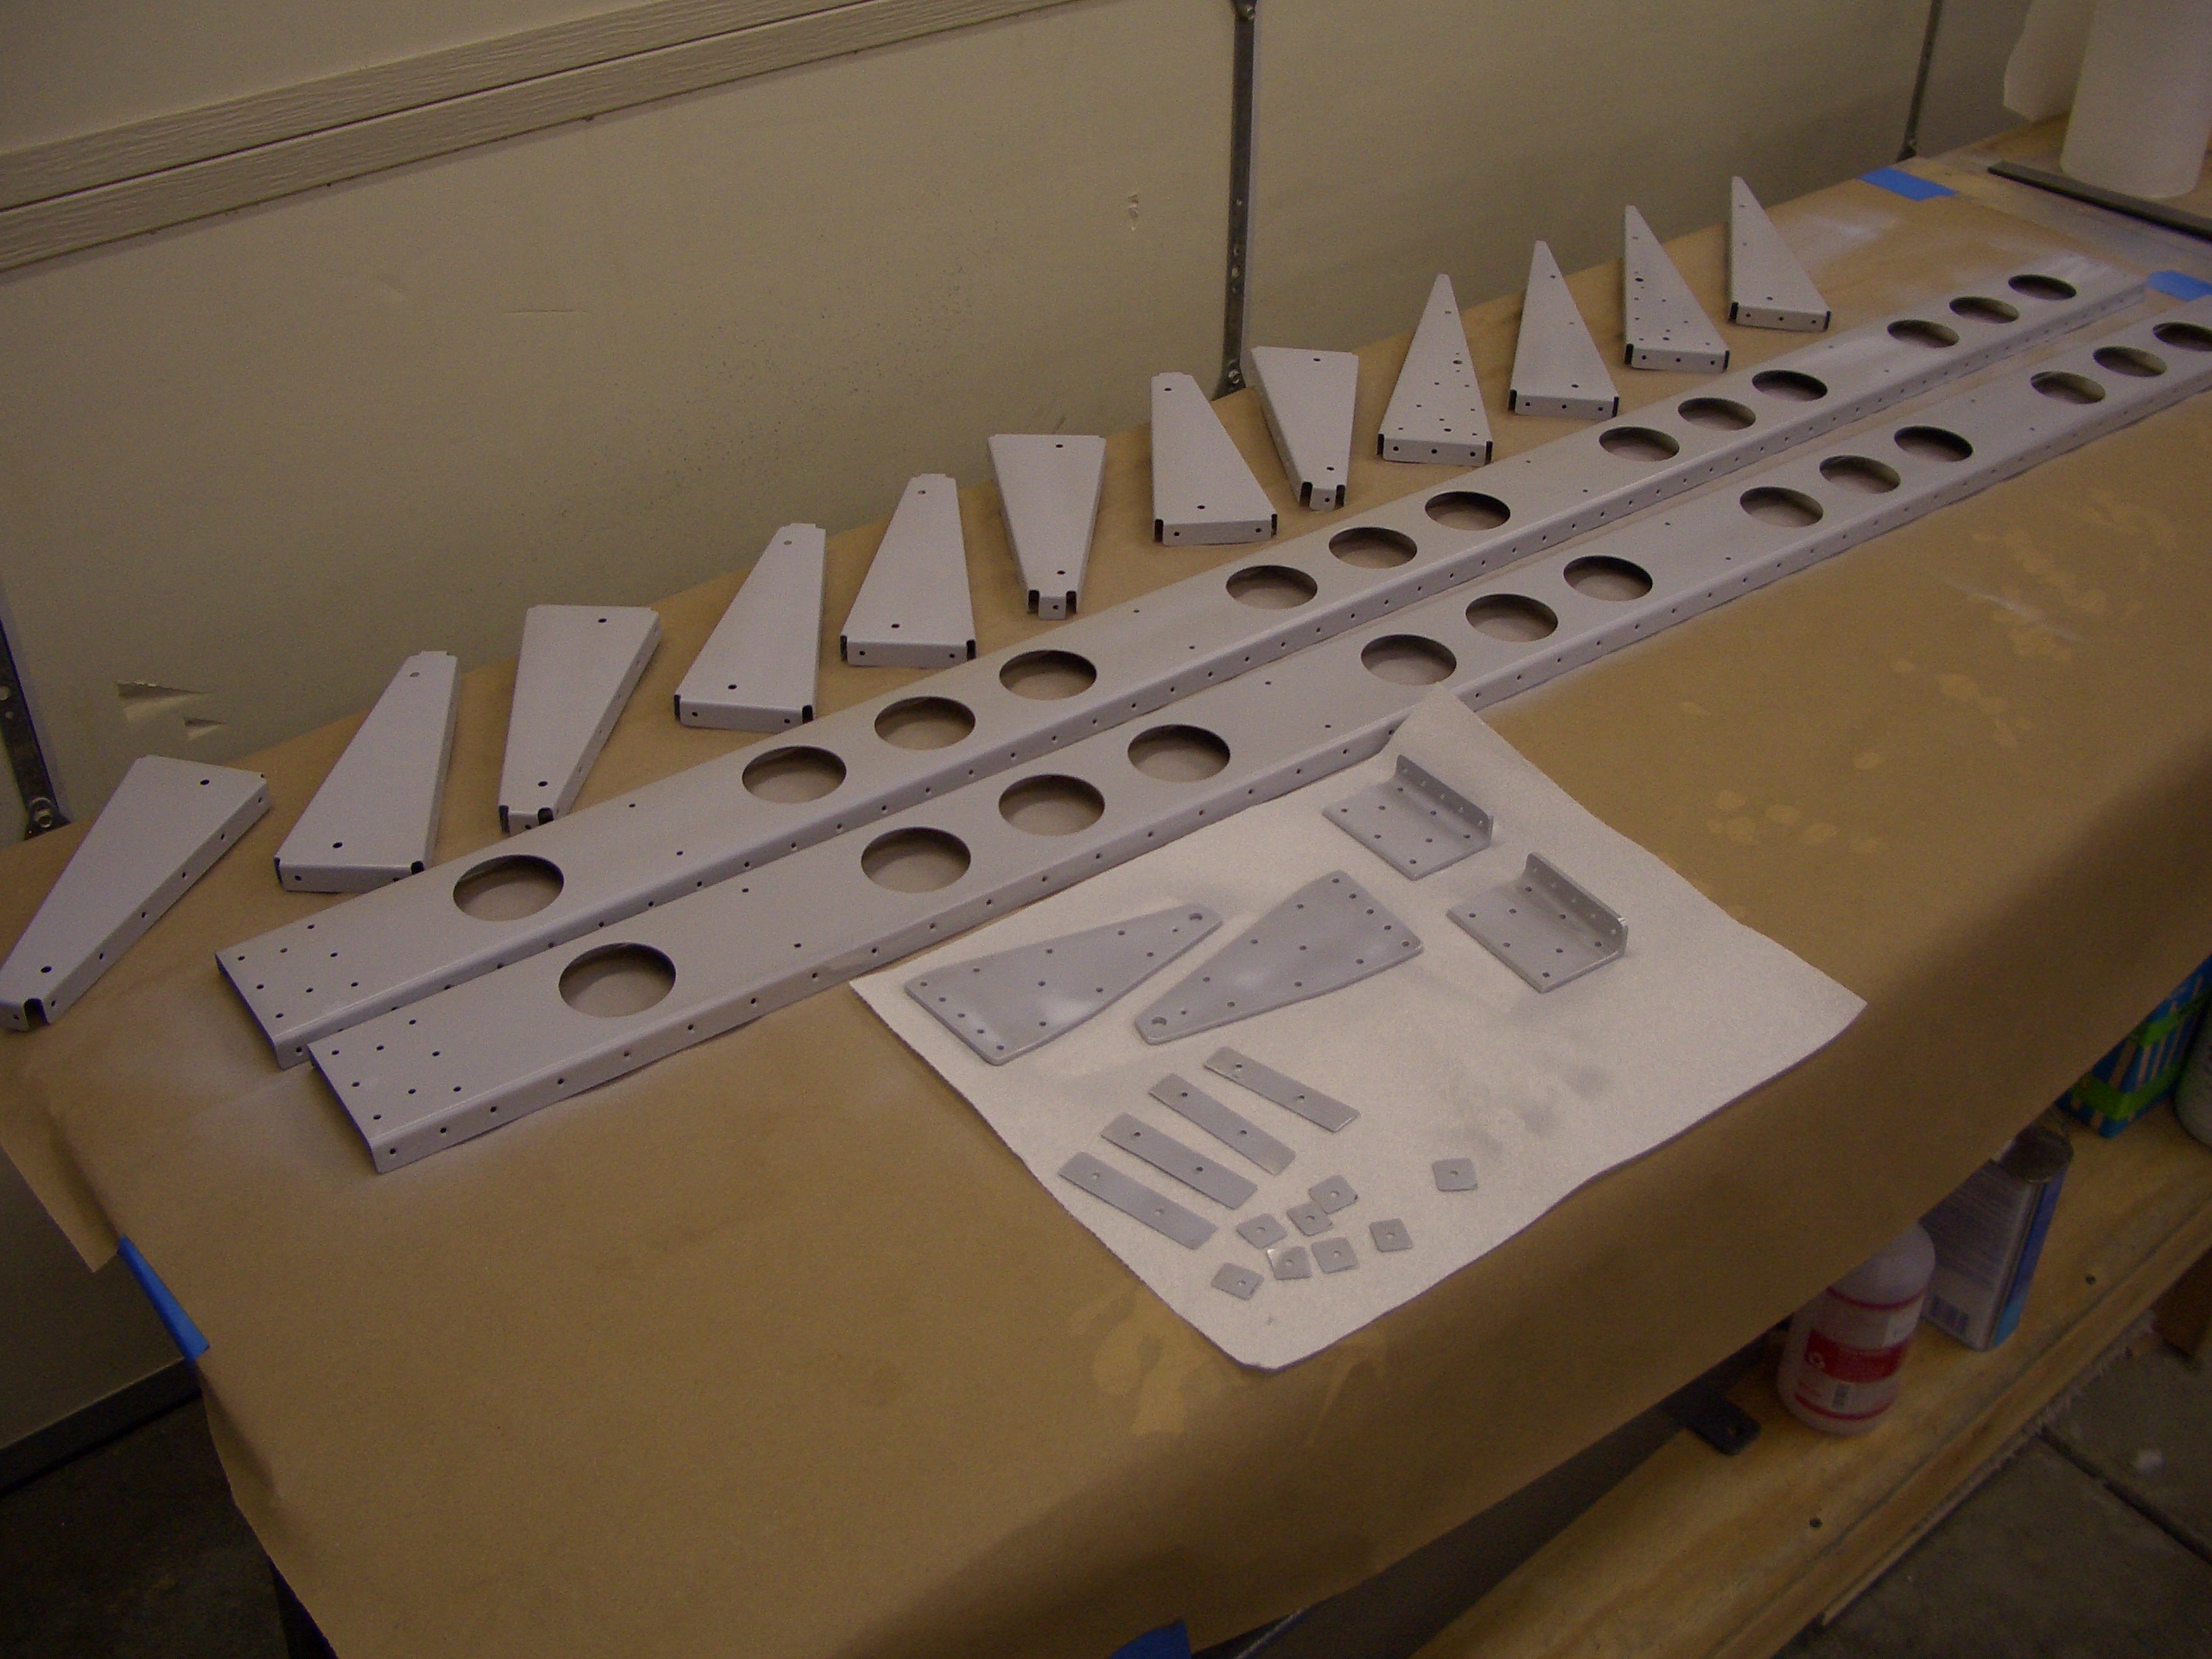
Here are the flap skins, spar, and hinges, all deburred and ready for priming.
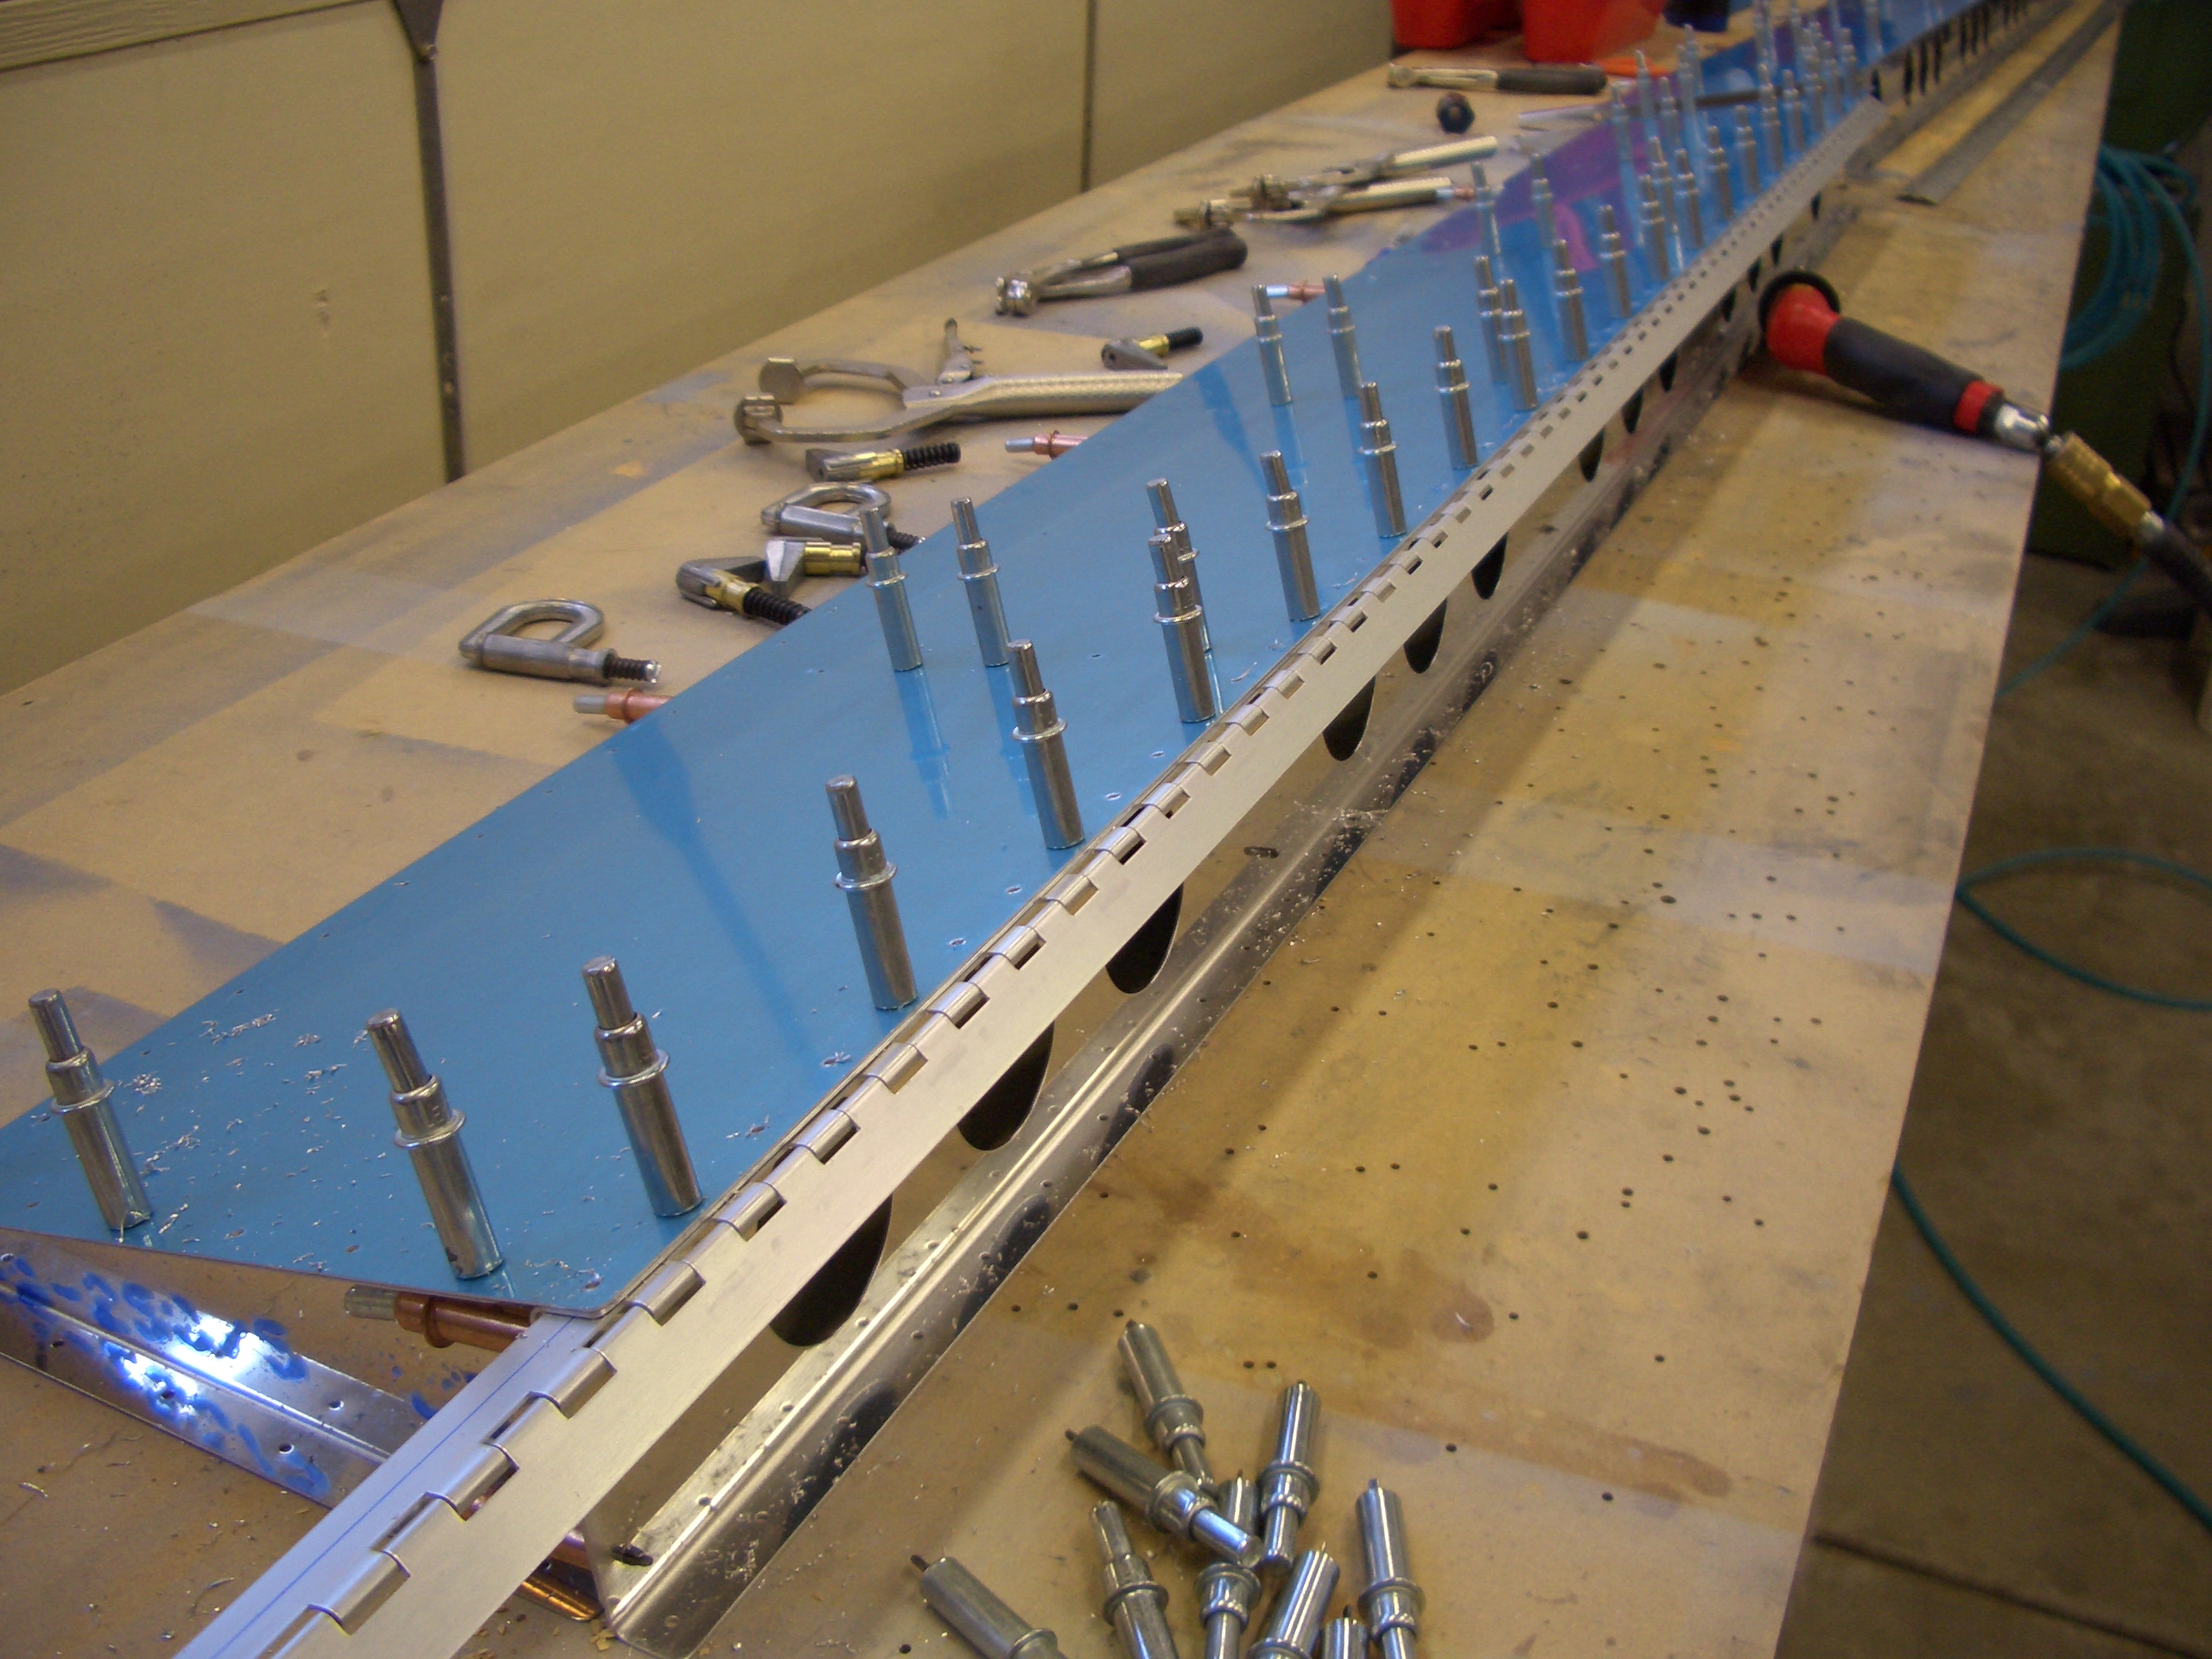
The flap ribs, brackets and shims are also all ready for deburred, dimpled/countersunk, etc. and ready for priming.
I primed all of the flap spars, ribs, brackets and shims.
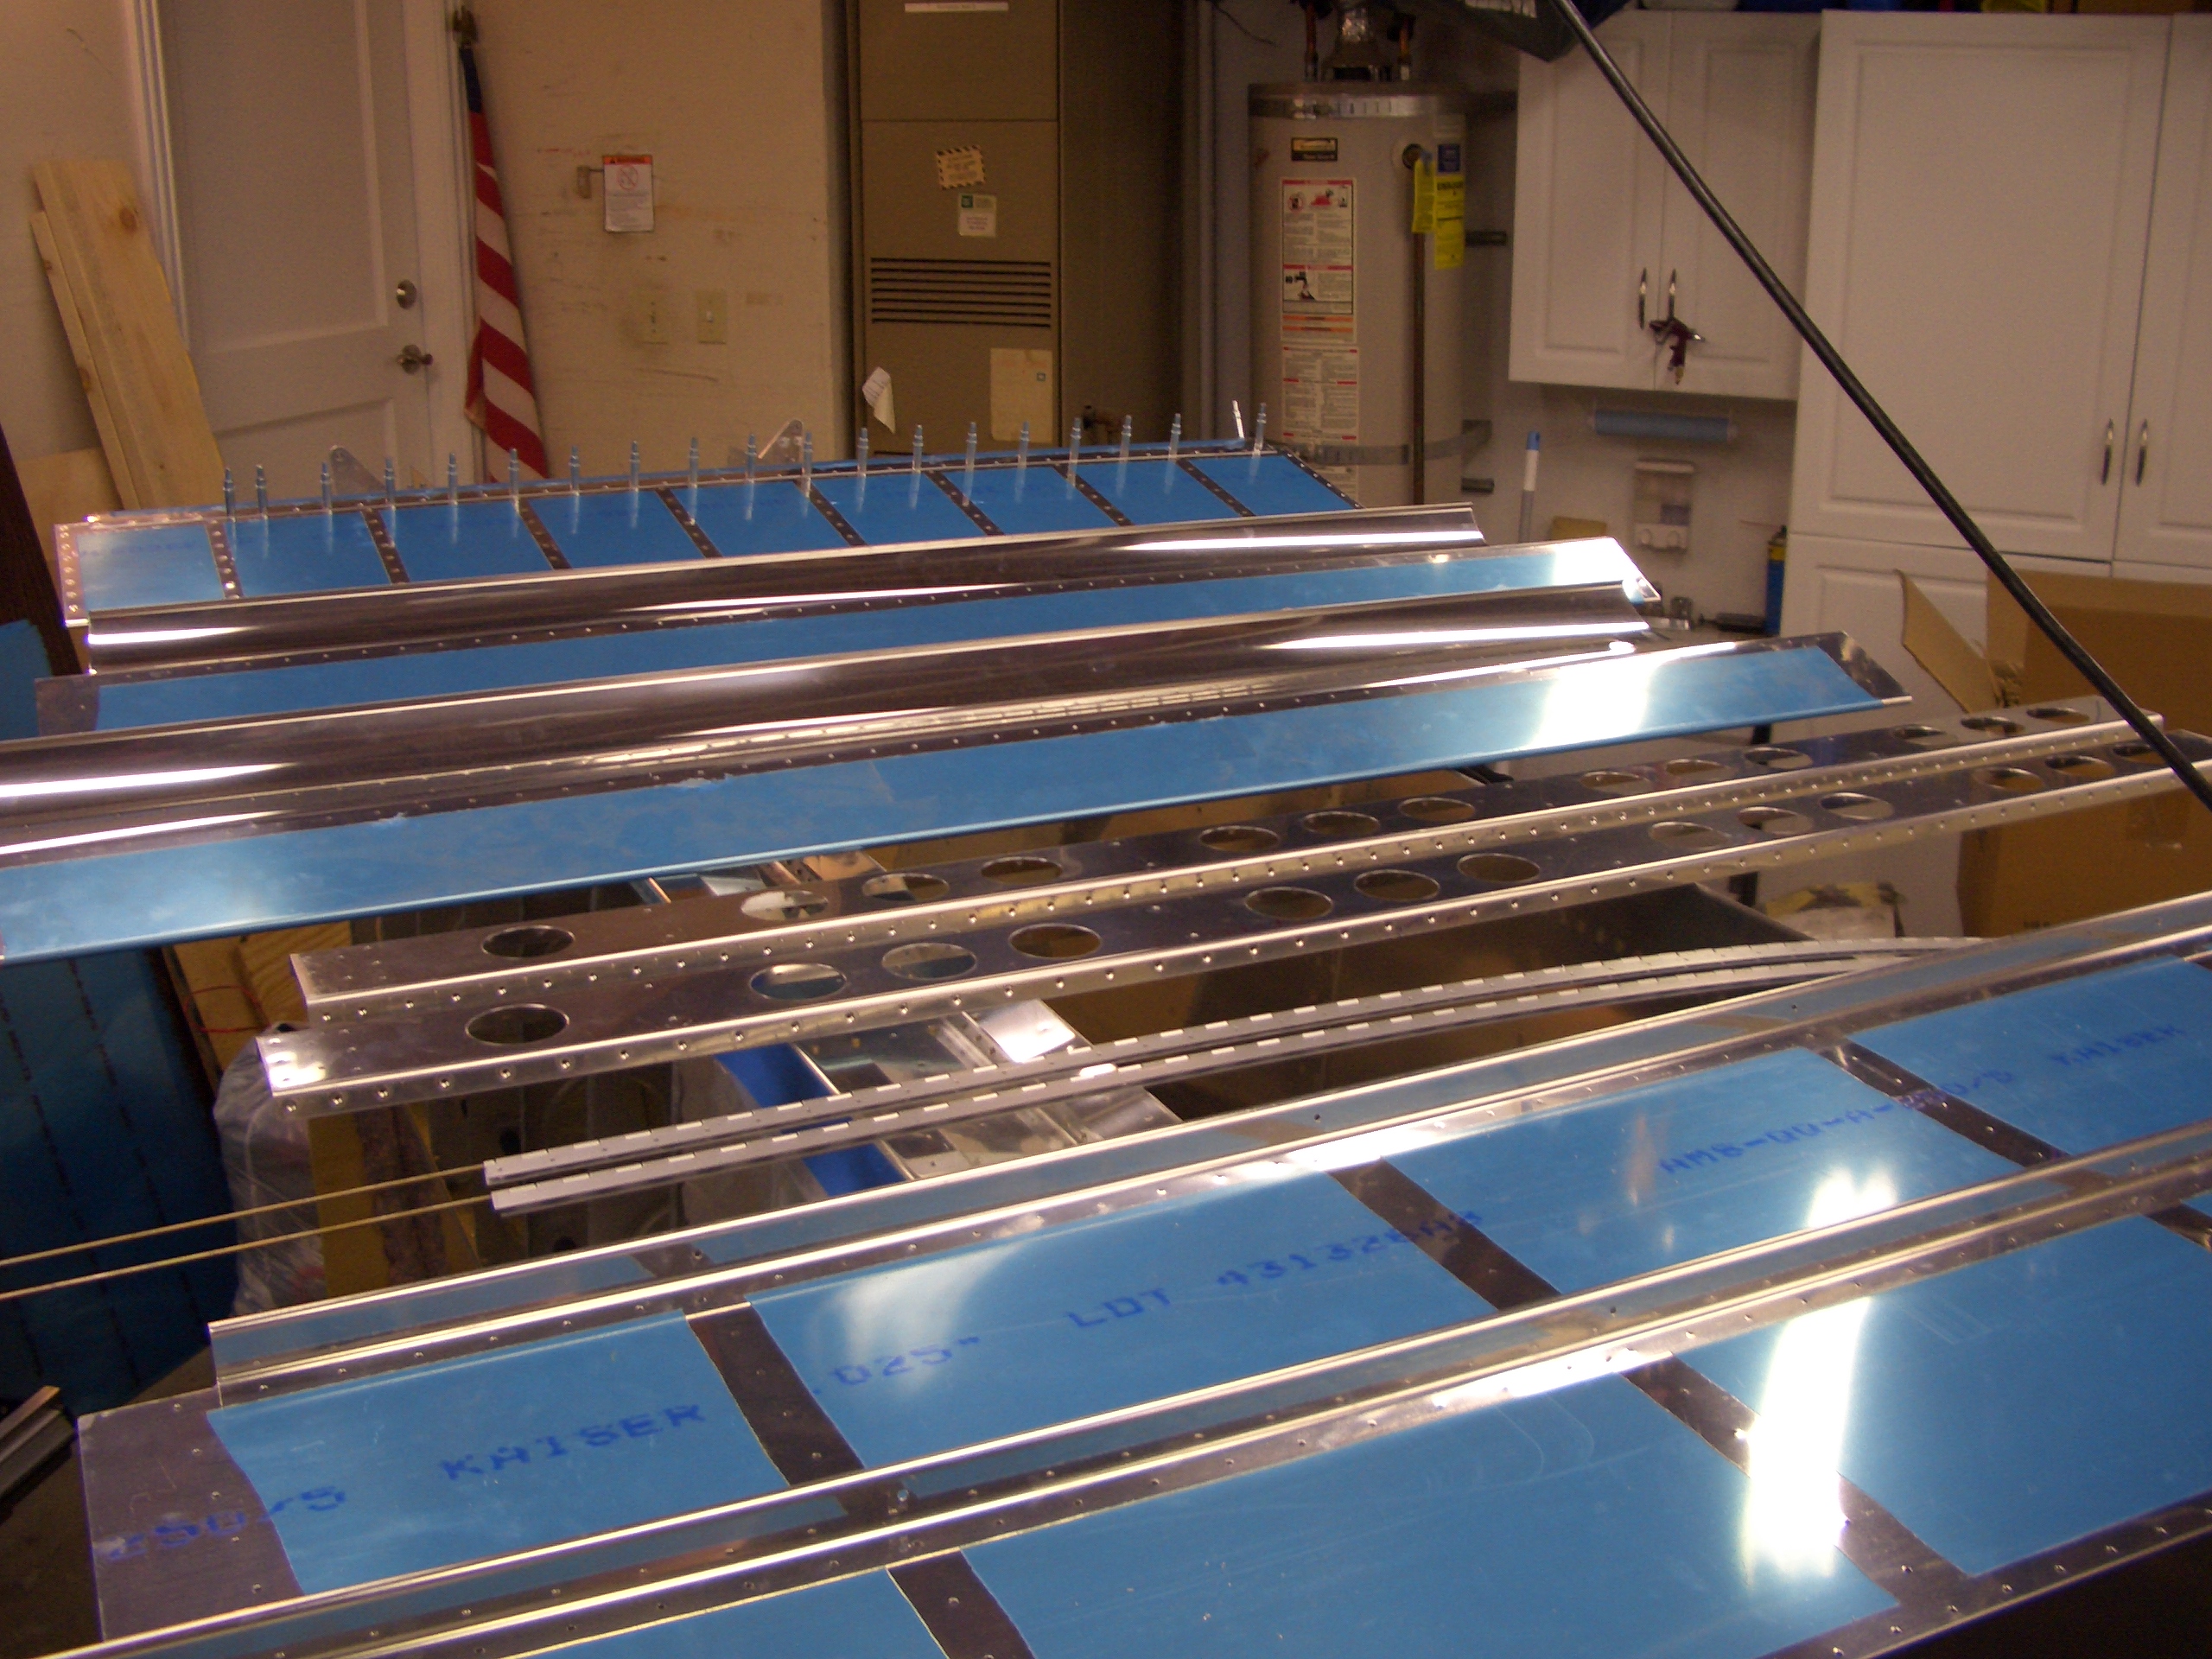
This picture looks a lot like the one from last night; the difference is that now all of the skin holes have been dimpled. The flaps are now ready for riveting.